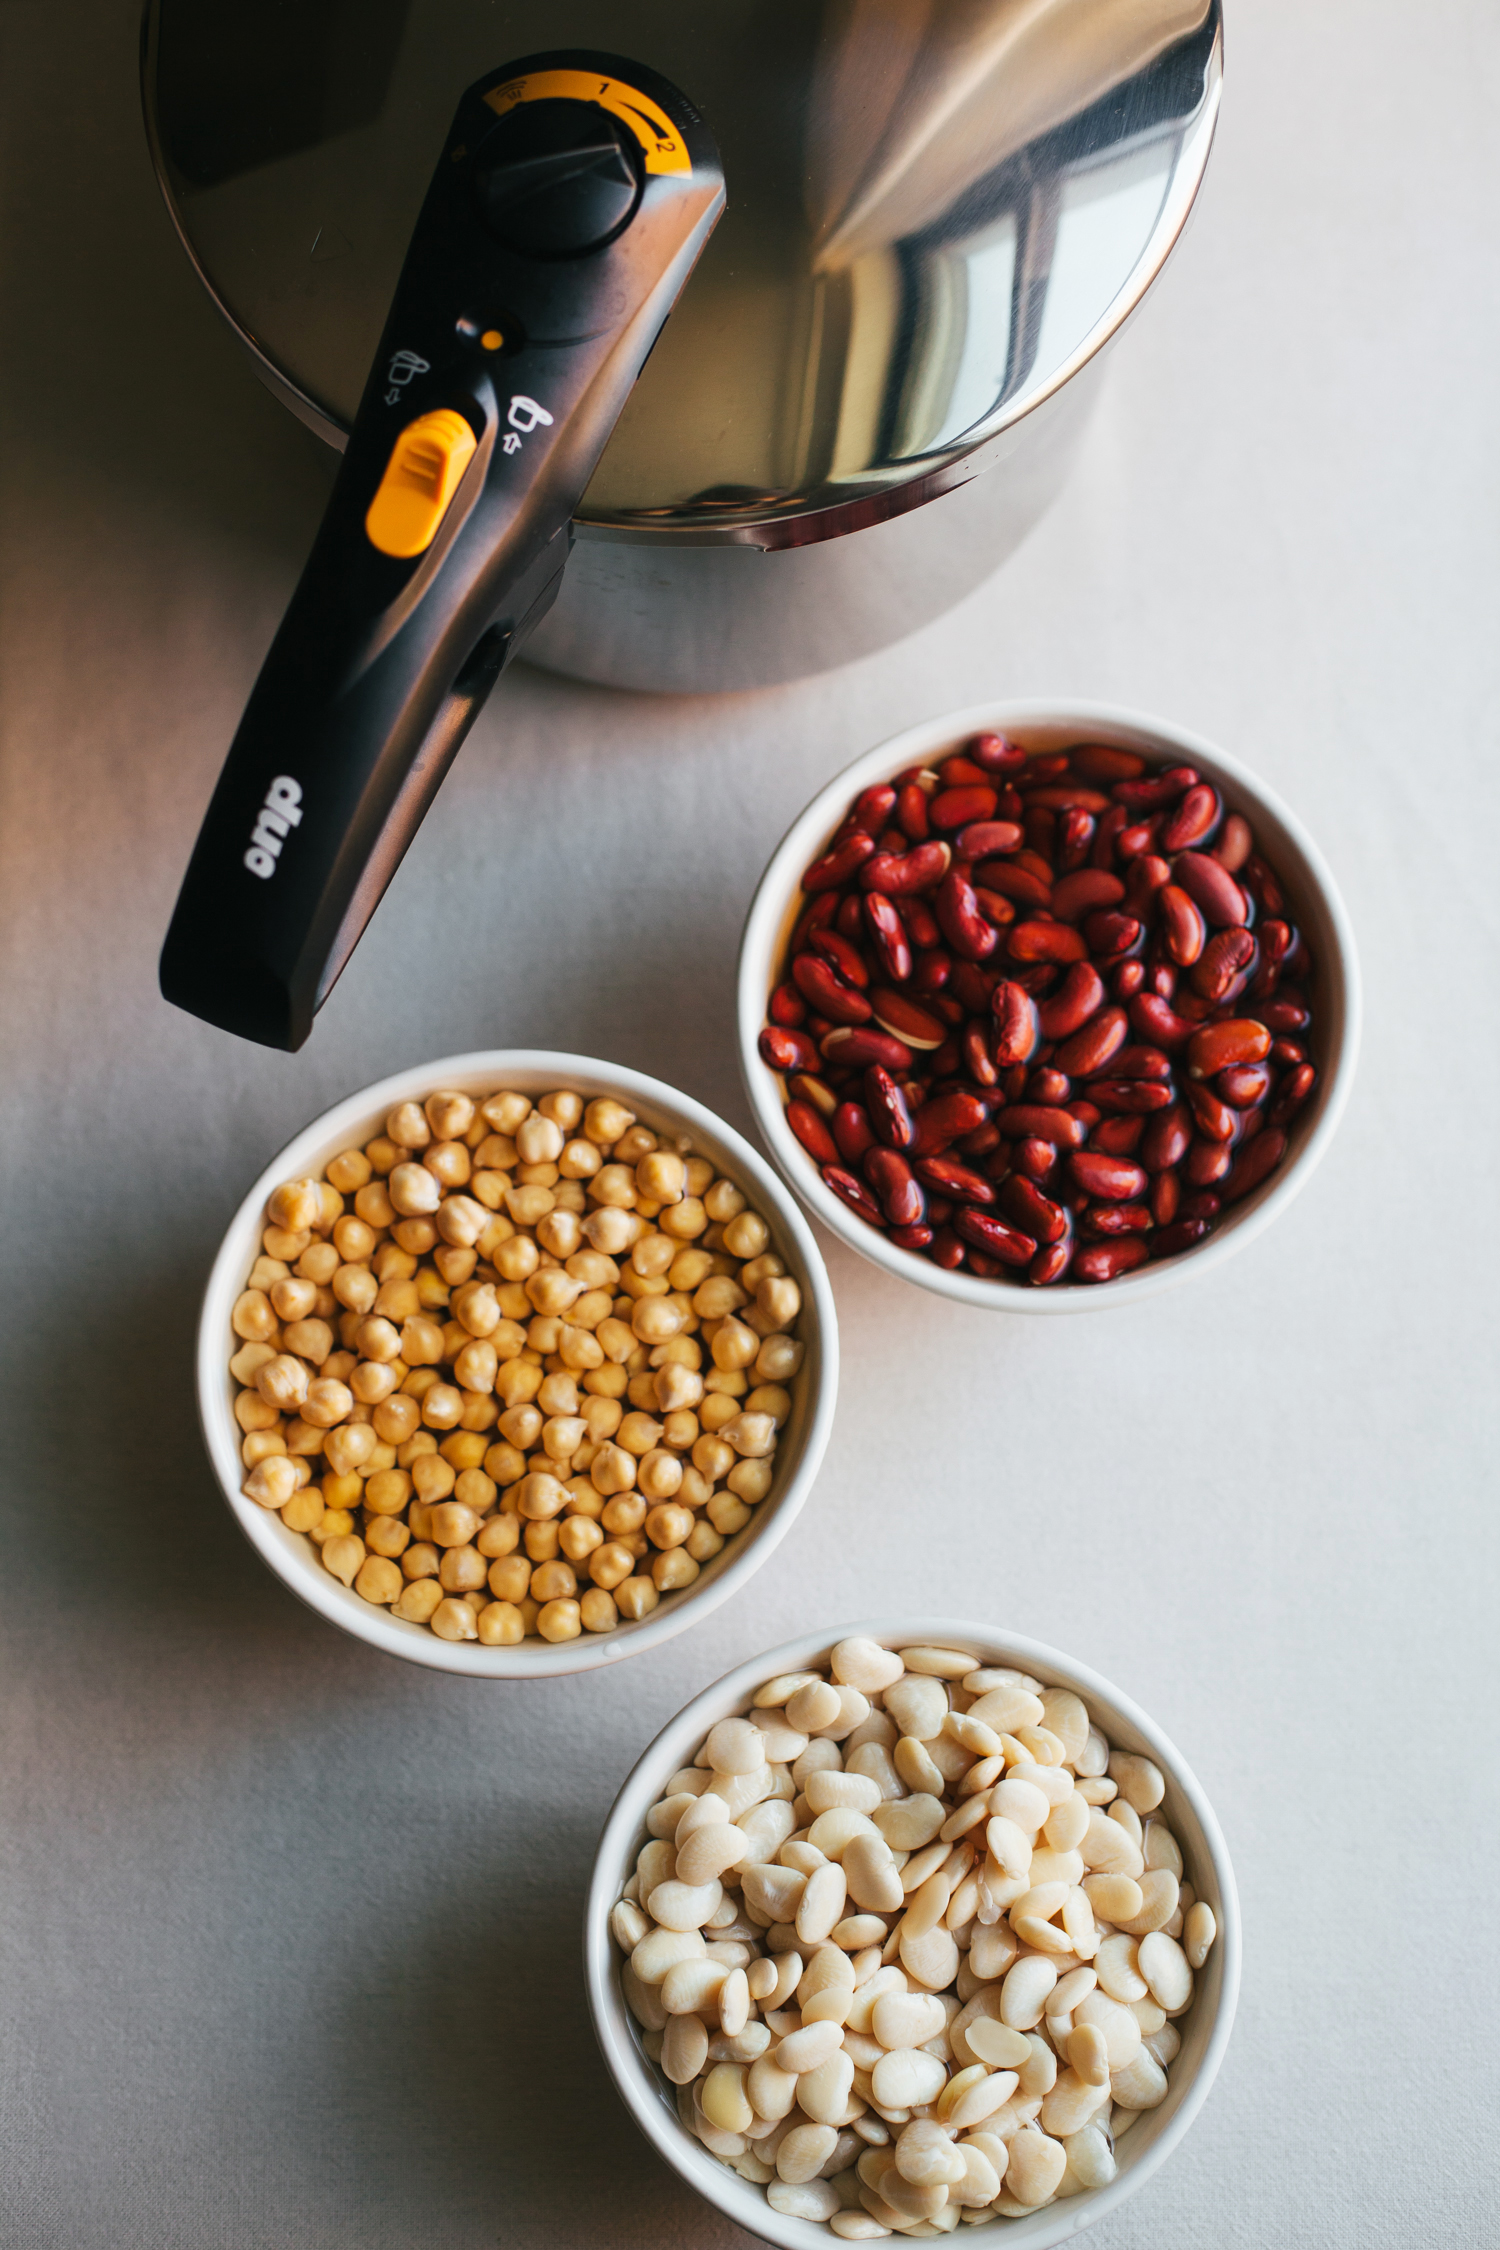
Fagor recently sent me their 6 quart pressure cooker, and I was very excited since I’ve never had one before and knew that it would be a very practical addition to my kitchen. Aside from stews, soups, and rich veggie broth, I was especially thrilled about the prospect of perfect home-cooked beans. I’d heard that cooking beans in a pressure cooker makes them amazingly creamy, yet firm and intact, on top of significantly speeding up the cooking process. As an example, soaked kidney beans only take 5 minutes of active cooking time in the pressure cooker. Crazy stuff!
All the rumors turned out to be true – my pressure cooker beans have been coming out amazingly buttery. The reason I’m so excited about a more efficient way to cook beans is that I really dislike buying canned ones. I’ll do it in case of an emergency, but it’s really not my favorite way to go. Firstly, canned beans never taste as good as my homemade ones, since I usually include some aromatics like peppercorns, garlic and bay leaf in the cooking water. Canned beans also seem to be harder on my digestion, since I take time to soak and rinse my beans, as well as cook them with kombu (more on that below), while most companies don’t. Maybe I’m just sensitive, but that’s a big factor as well. Plus, dried beans are more affordable than canned ones, and that’s always a great bonus.
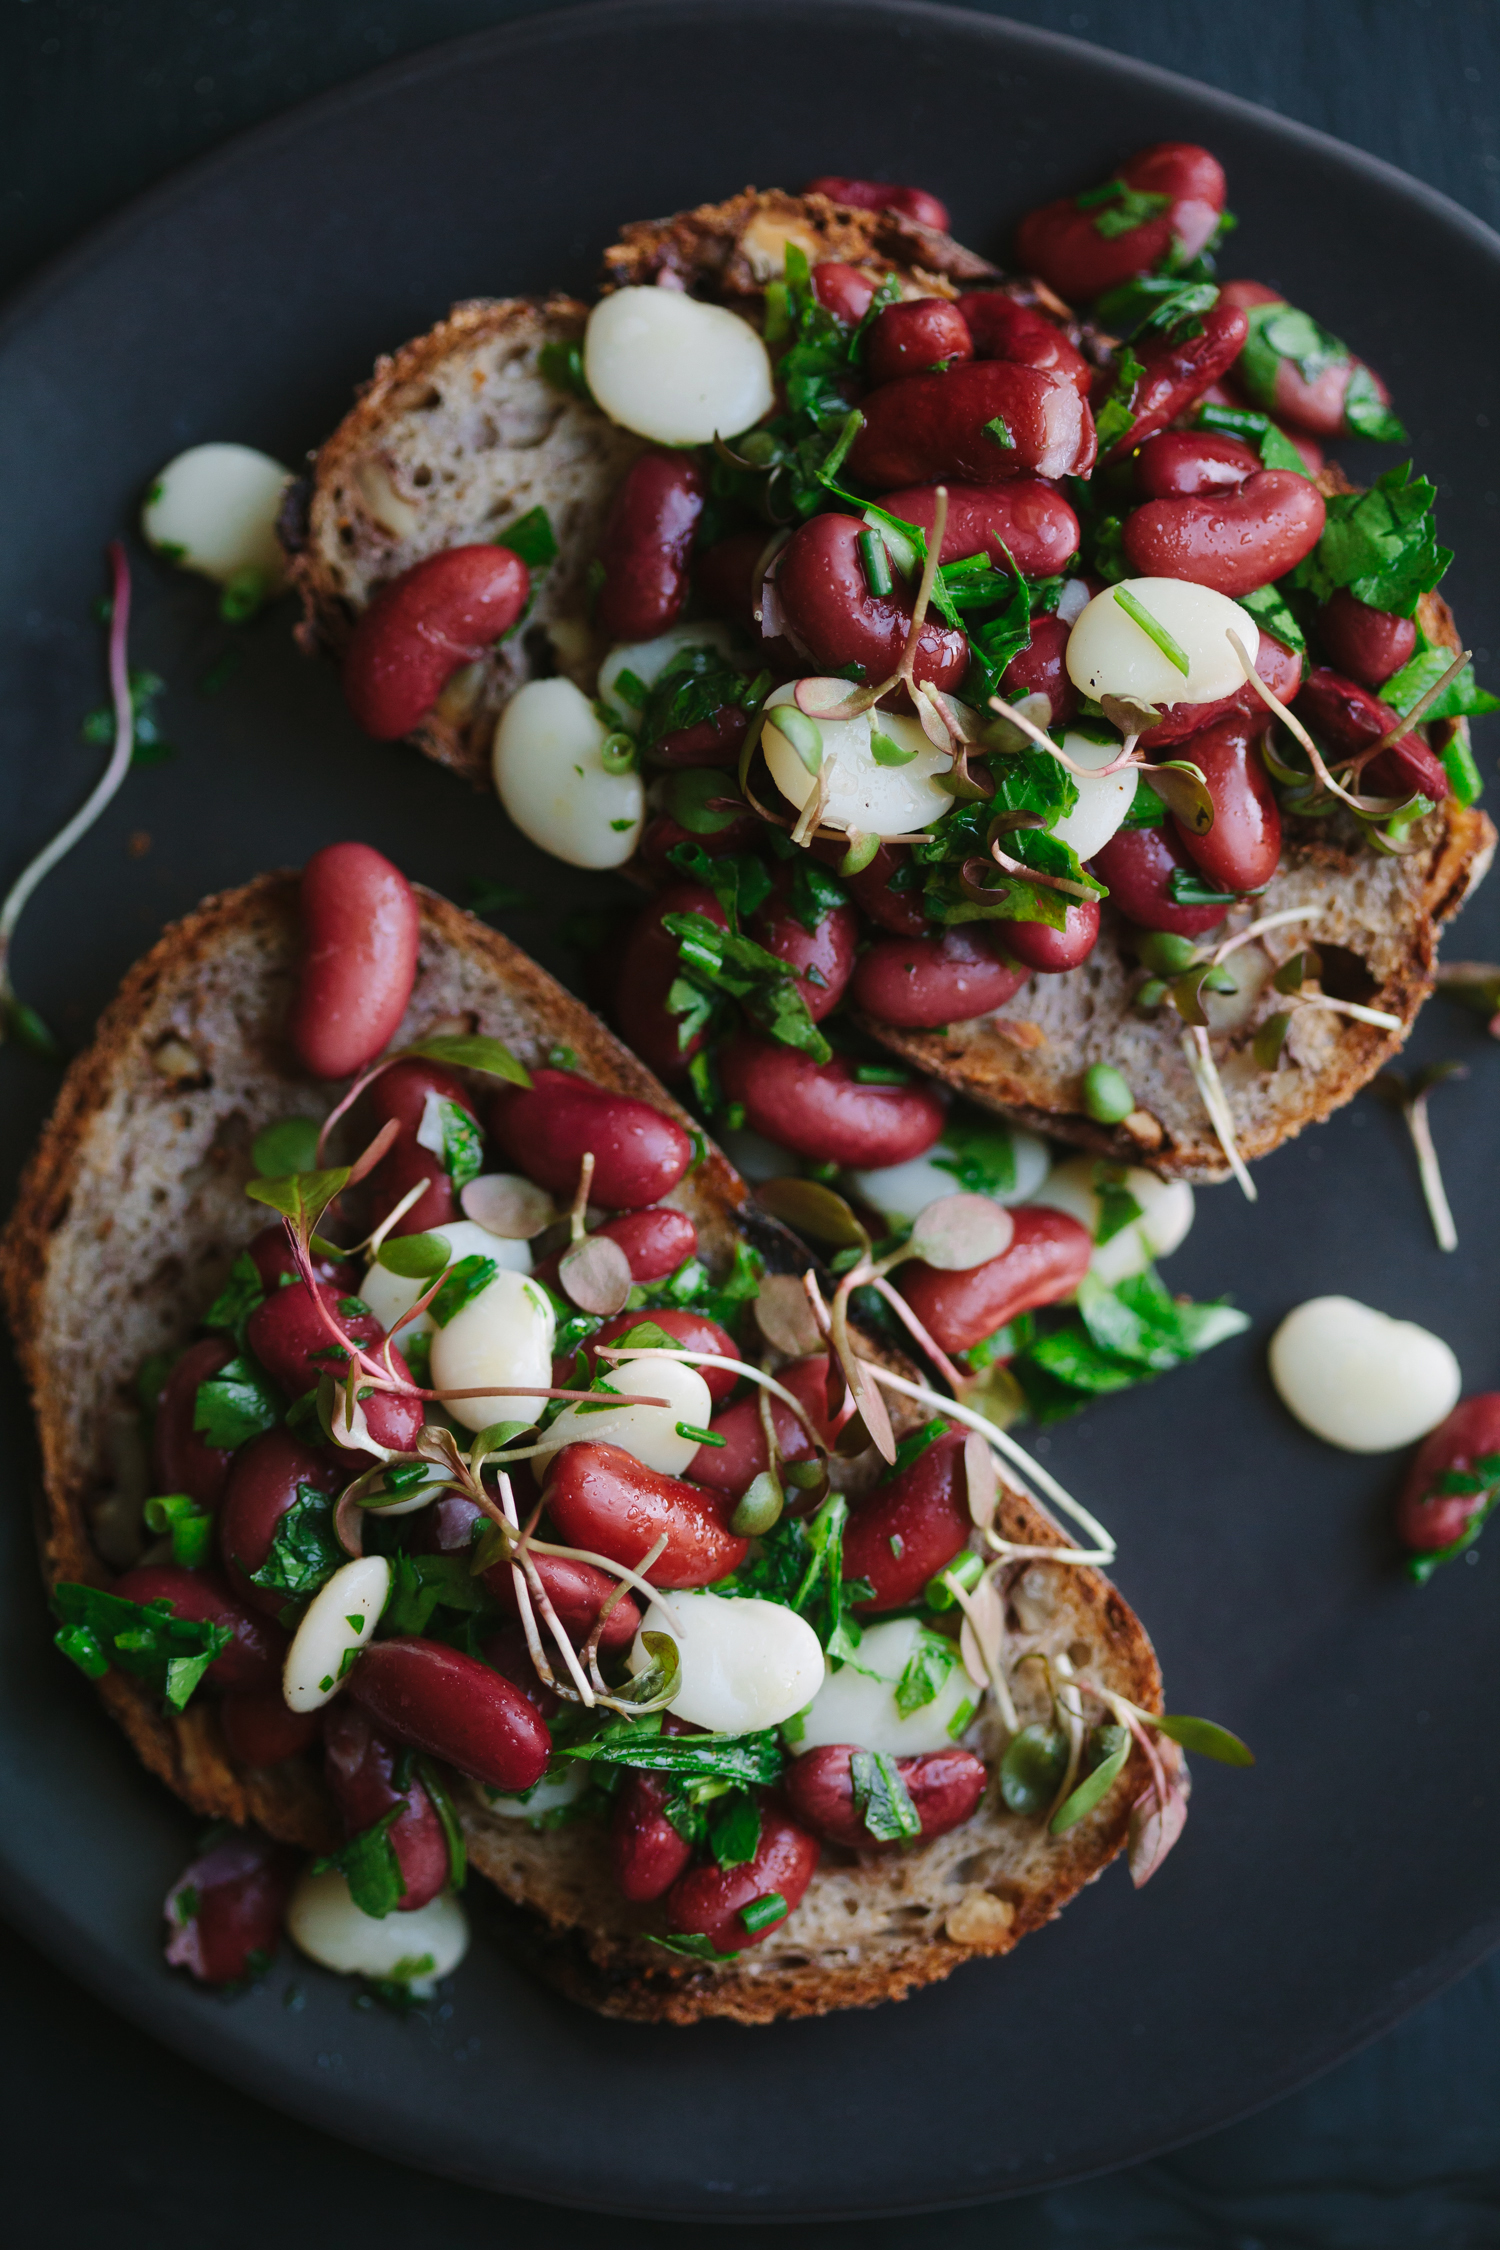
Today I’m sharing a few useful things I’ve learned about cooking my own beans after years of practice, as well as my favorite recipe for simple marinated beans. I like to make those on a Sunday and spoon them into meals throughout the week. Even if you don’t have a pressure cooker, there are still plenty of great tips and tricks that you might find helpful below. Have a great Sunday :)

Soak
I always soak dried beans before cooking them. I know, it seems like an annoying practice that doesn’t allow for any spontaneity in the kitchen, but it’s also really easy to make a habit out of it. Soaking reduces the cooking time, as well as helps eliminate the phytic acid (antinutrient) in beans and activates the germination process, making the beans easier to digest/more nutritious. To help break down phytic acid, especially during shorter soaking times, add a splash of acidic liquid, such as lemon juice, vinegar or even a few pinches of salt to your soaking water. Cover your beans with plenty of water and leave room in the bowl, since the beans will grow quite a bit as they take on the water. Once done soaking, rinse and drain the beans really well to wash off all of that unwanted stuff.
I like to soak my beans overnight. I’ve gotten into the habit of asking myself if there’s anything that needs to be soaked before I go to bed, and sometimes I’ll just soak a cup of some bean/lentil/grain without even knowing what I’ll do with it the next day. If you happen to soak some beans and don’t have the time to cook them the next day, just change the water, cover, and put them in the fridge until ready to cook.
Batch Cook & Freeze
The trick that does allow for spontaneity when using home-cooked beans is batch cooking and freezing them for future use. Cook a whole pound of beans at a time and freeze them in 1 1/2 cup batches (equal to around a 16 oz can), and you’ve got a foundation for so many meals right in your freezer. It feels really good! You can freeze the beans in glass containers or zip lock bags for anywhere from 6 months to a whole year (labeling with a date is a good idea in these cases). A good tip I learned for preventing freezer burn is to cover the beans with their cooking liquid, then freeze.
Add Aromatics & Kombu
Another great thing about cooking beans at home is that you can flavor the cooking water any way you want. That will make the beans taste better, as well as provide you with a whole batch of broth, which you can use in place vegetable broth in any recipe. I pretty much never throw away the cooking water, and usually end up freezing it for future use. That way, I almost never have to buy boxed broth.
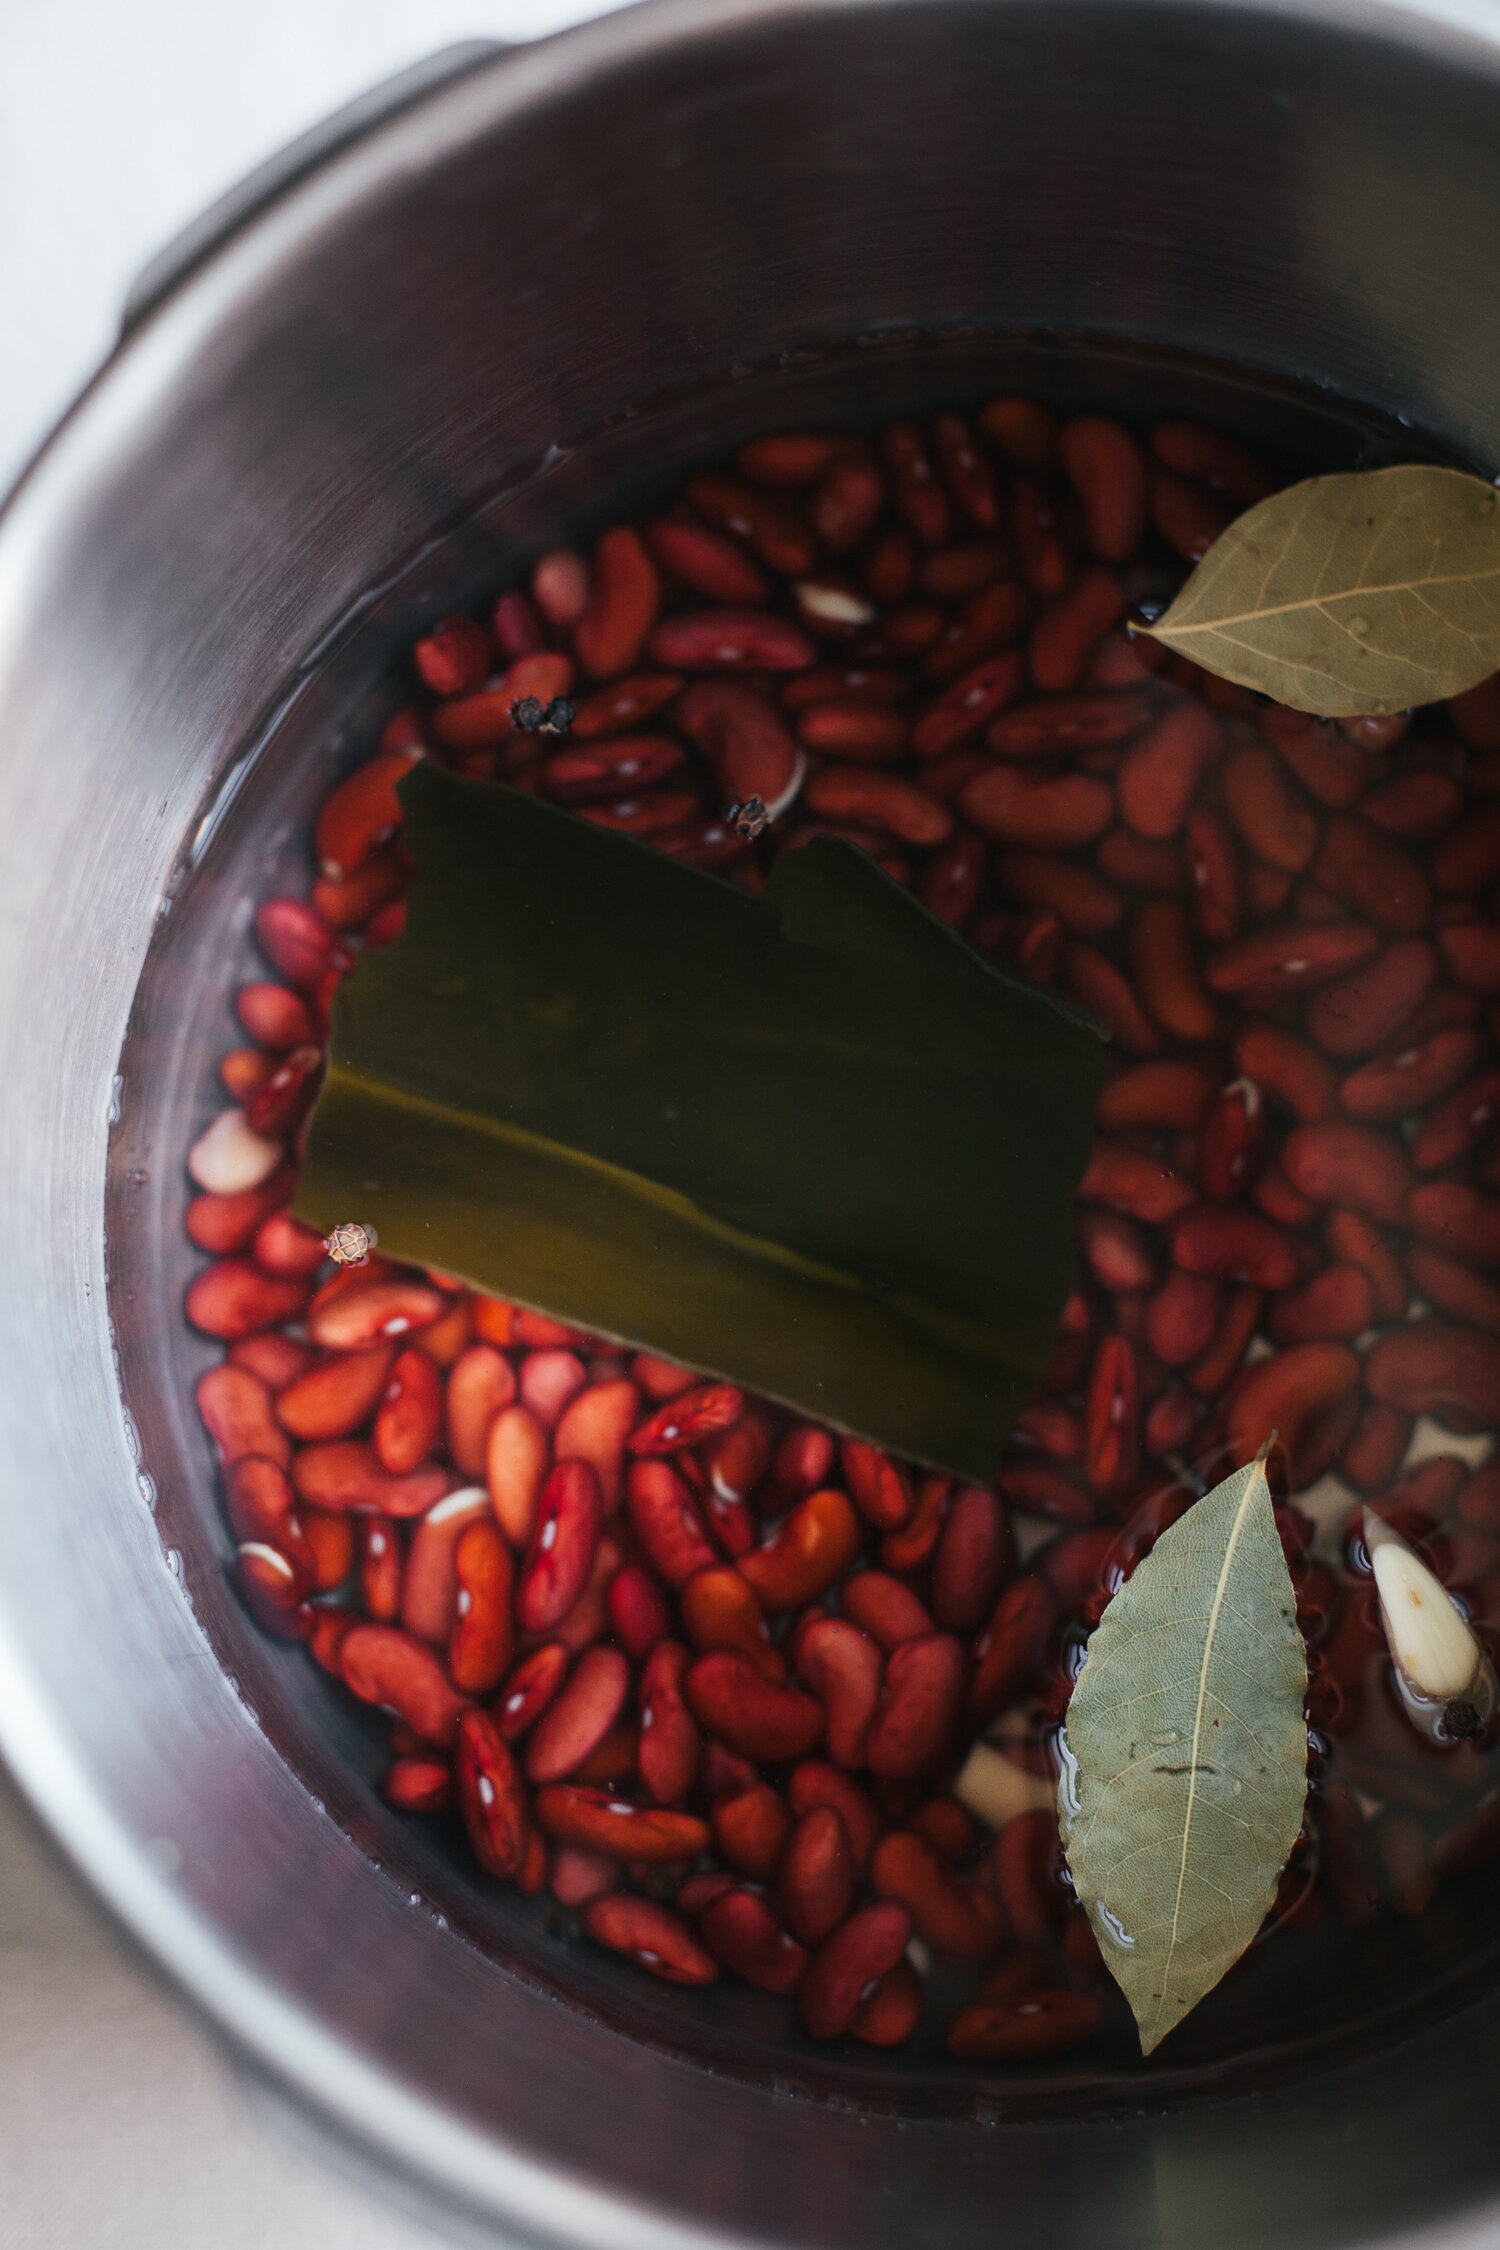
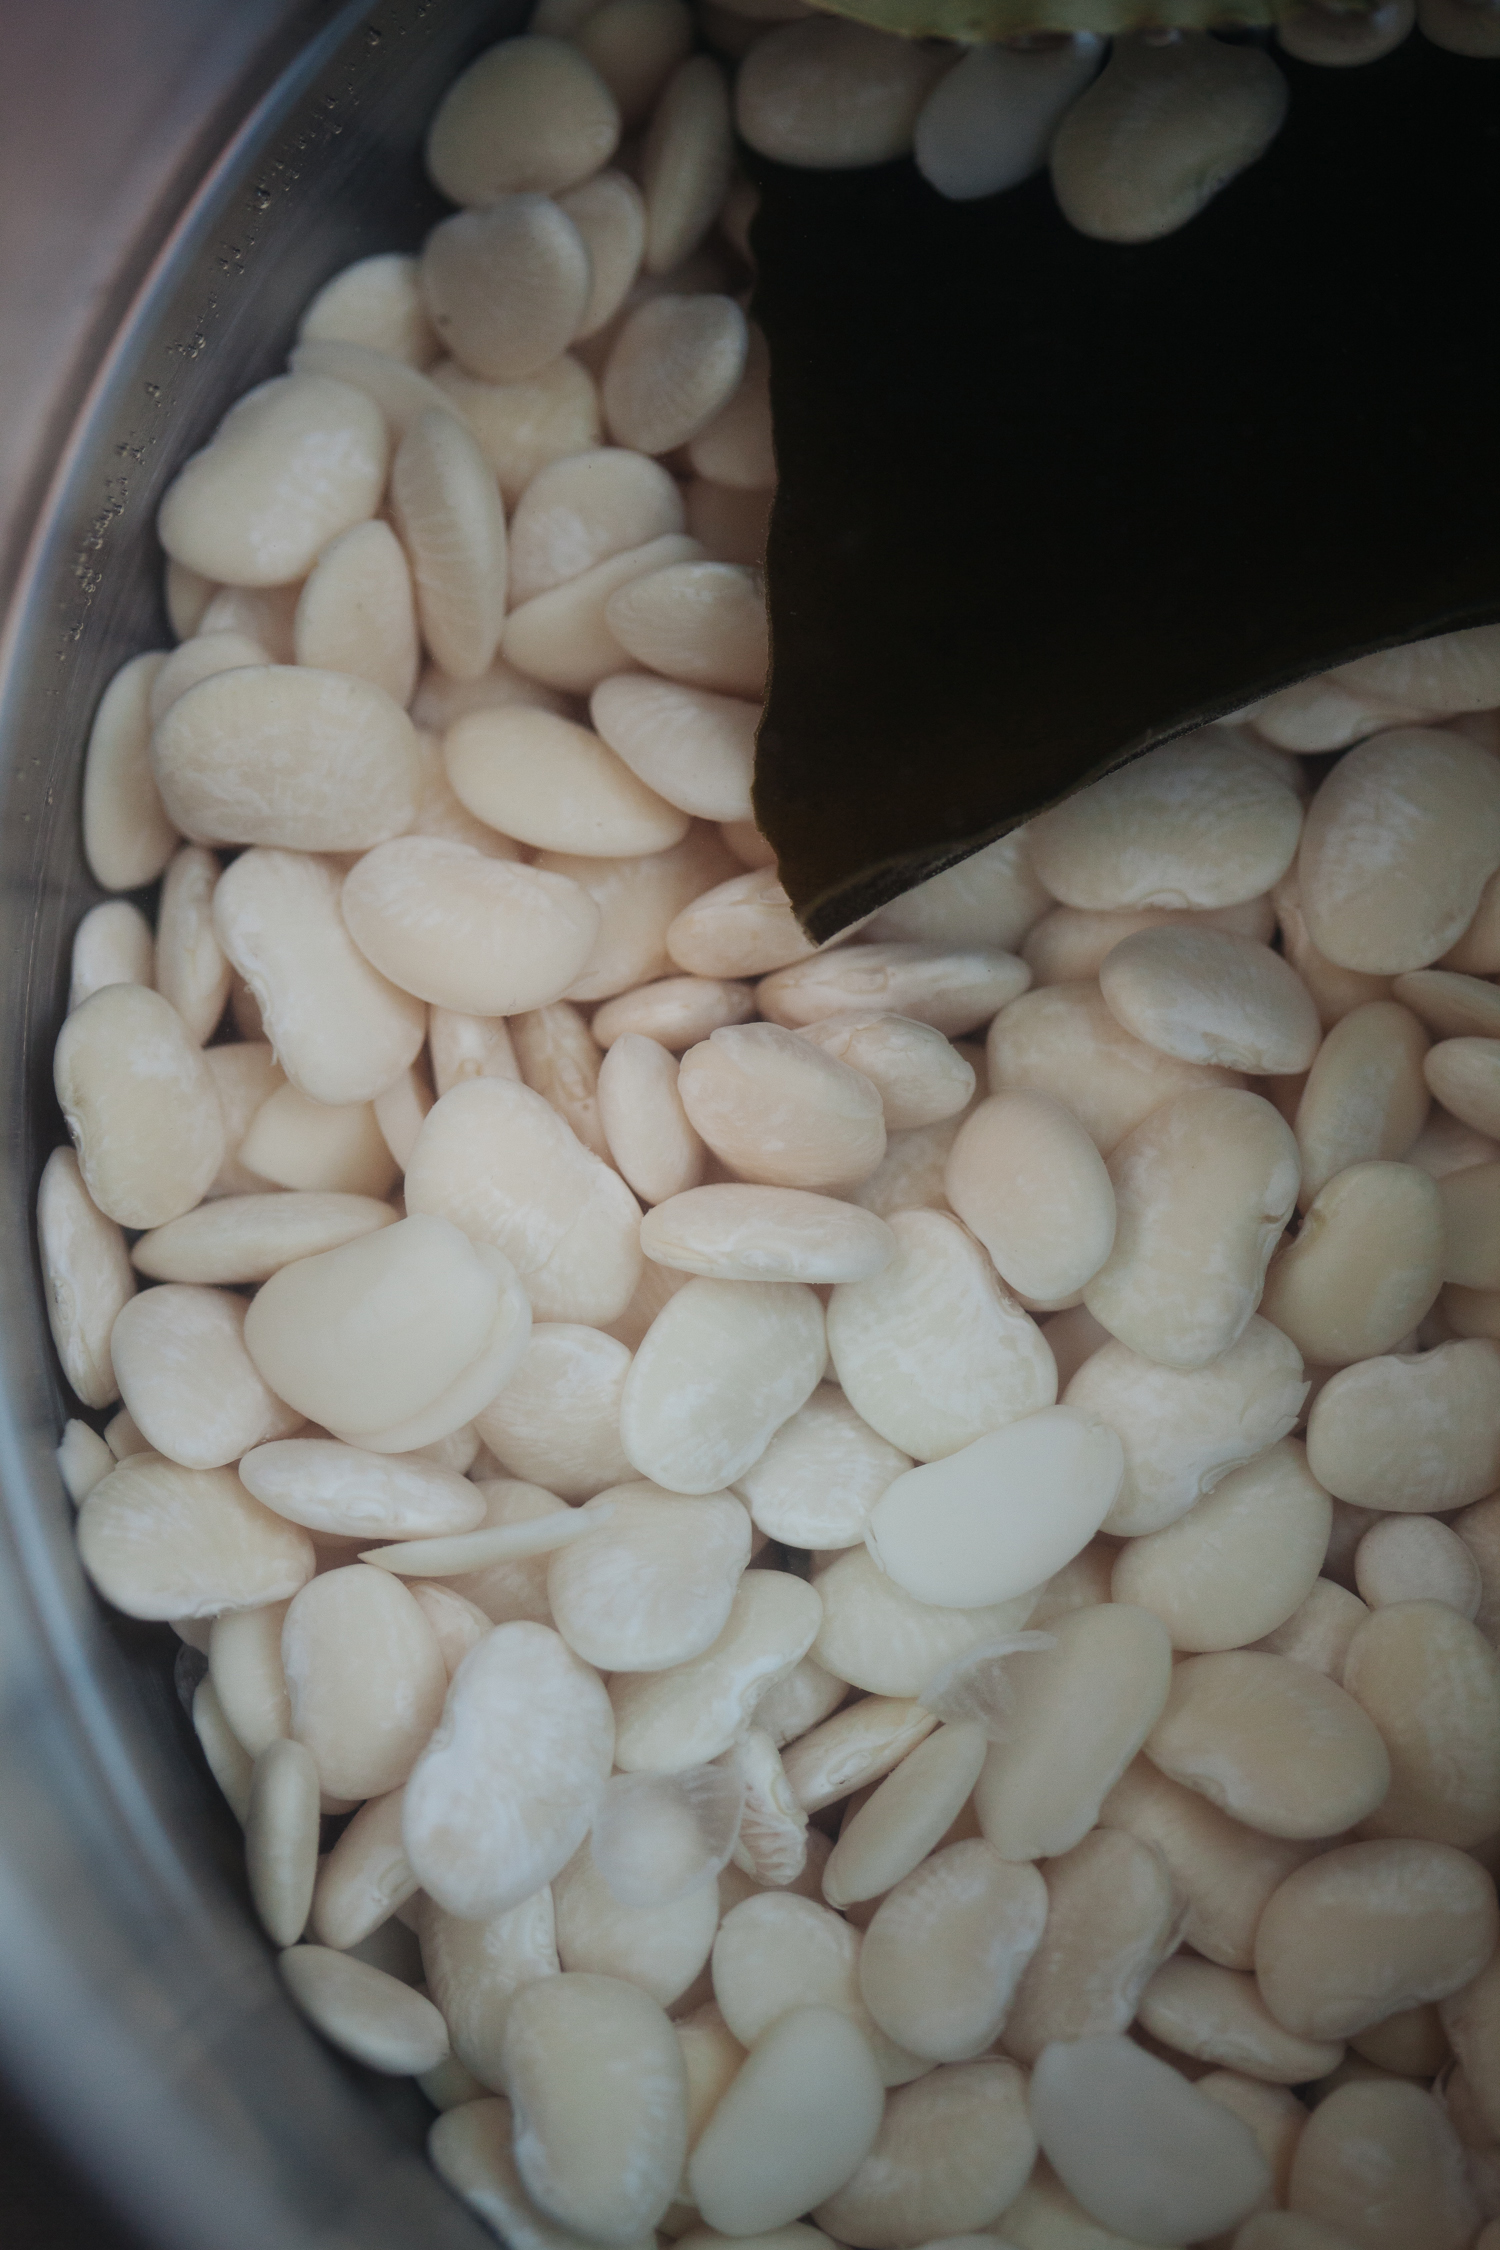
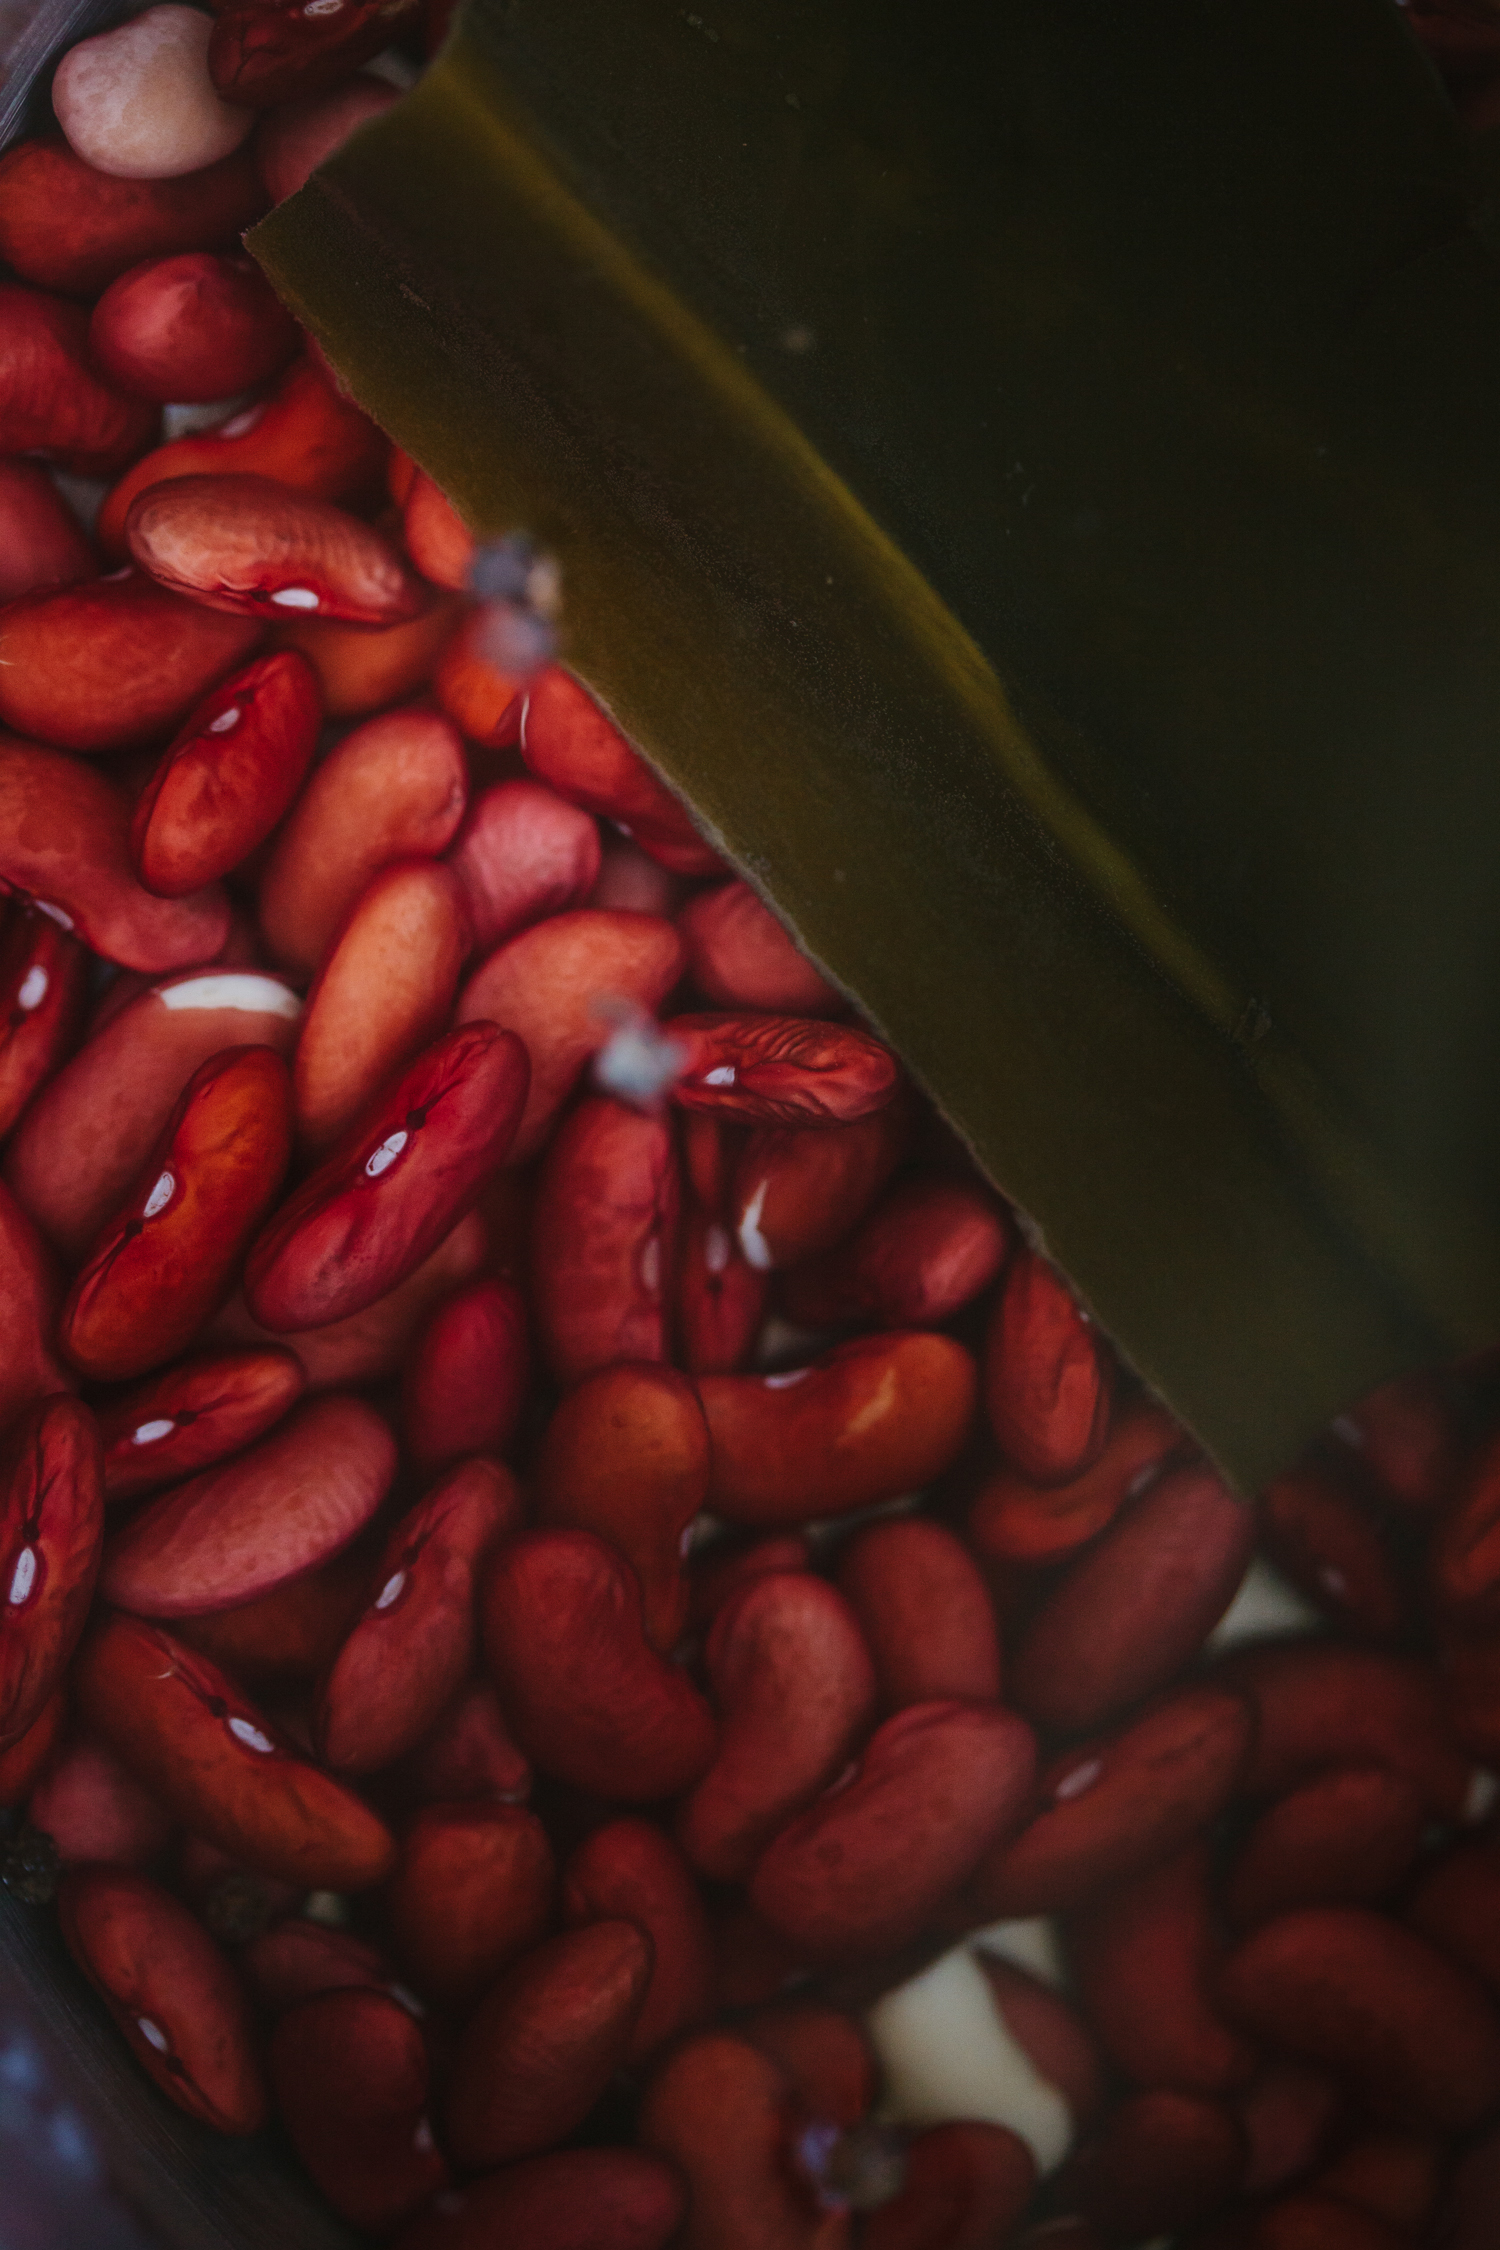
The aromatics I personally like to add to the cooking water are bay leaf, black peppercorns and garlic. Some people add onions, carrots and herbs – the possibilities are endless. Another important addition to bean cooking liquid is kombu, which is a mineral-rich seaweed. Kombu yields all of its beneficial minerals to the beans and the water, as well as helps tenderize the beans and make them easier to digest – a life-changing tip I learned from Amy Chaplin.
Pressure Cooking
One quirk of pressure cooking is not being able to check the food for doneness while it’s cooking, since the pot cannot be opened while there’s pressure built up inside. It’s helpful to know how long your ingredient will take to cook ahead of time, and time the cooking process accordingly. Thankfully, there is this very helpful chart that tells you suggested cooking times for most common types of beans. I love that it has cook times for both soaked and unsoaked beans, since those vary pretty significantly, and I’ve found them to be very accurate.
- 1 cup dried beans of your choice - soaked overnight in purified water w/ a splash of vinegar, lemon juice or salt
- 2 garlic cloves - crushed with a knife
- 2 bay leaves
- 1 piece kombu
- 1 teaspoon black peppercorns
- sea salt
- Drain and rinse the beans very well. In a pressure cooker, combine the beans, garlic, bay leaves, kombu, peppercorns and plenty of salt. Cover the beans with plenty of water, water level should be about 4 inches above the beans. Remember that when cooking beans, you cannot fill up the pressure cooker any more than half way, since the foam from the beans might clog up the pressure release valve if there is too much water.
- Close the pressure cooker lid, set the pressure to high (15PSI) and turn up the heat to high. Wait until the pressure indicator shows that the pressure has been built up and turn the heat down to low. This is when your cooking time starts. Refer to this chart to determine the cook time for your beans and cook accordingly. Once the time is up, turn off the heat and let the pressure release naturally, which will take around 10 minutes.
- Open the pressure cooker, drain the beans, preserving the cooking liquid to use as broth or as freezing liquid. Discard the bay leaf, peppercorns and kombu. Enjoy the beans :)
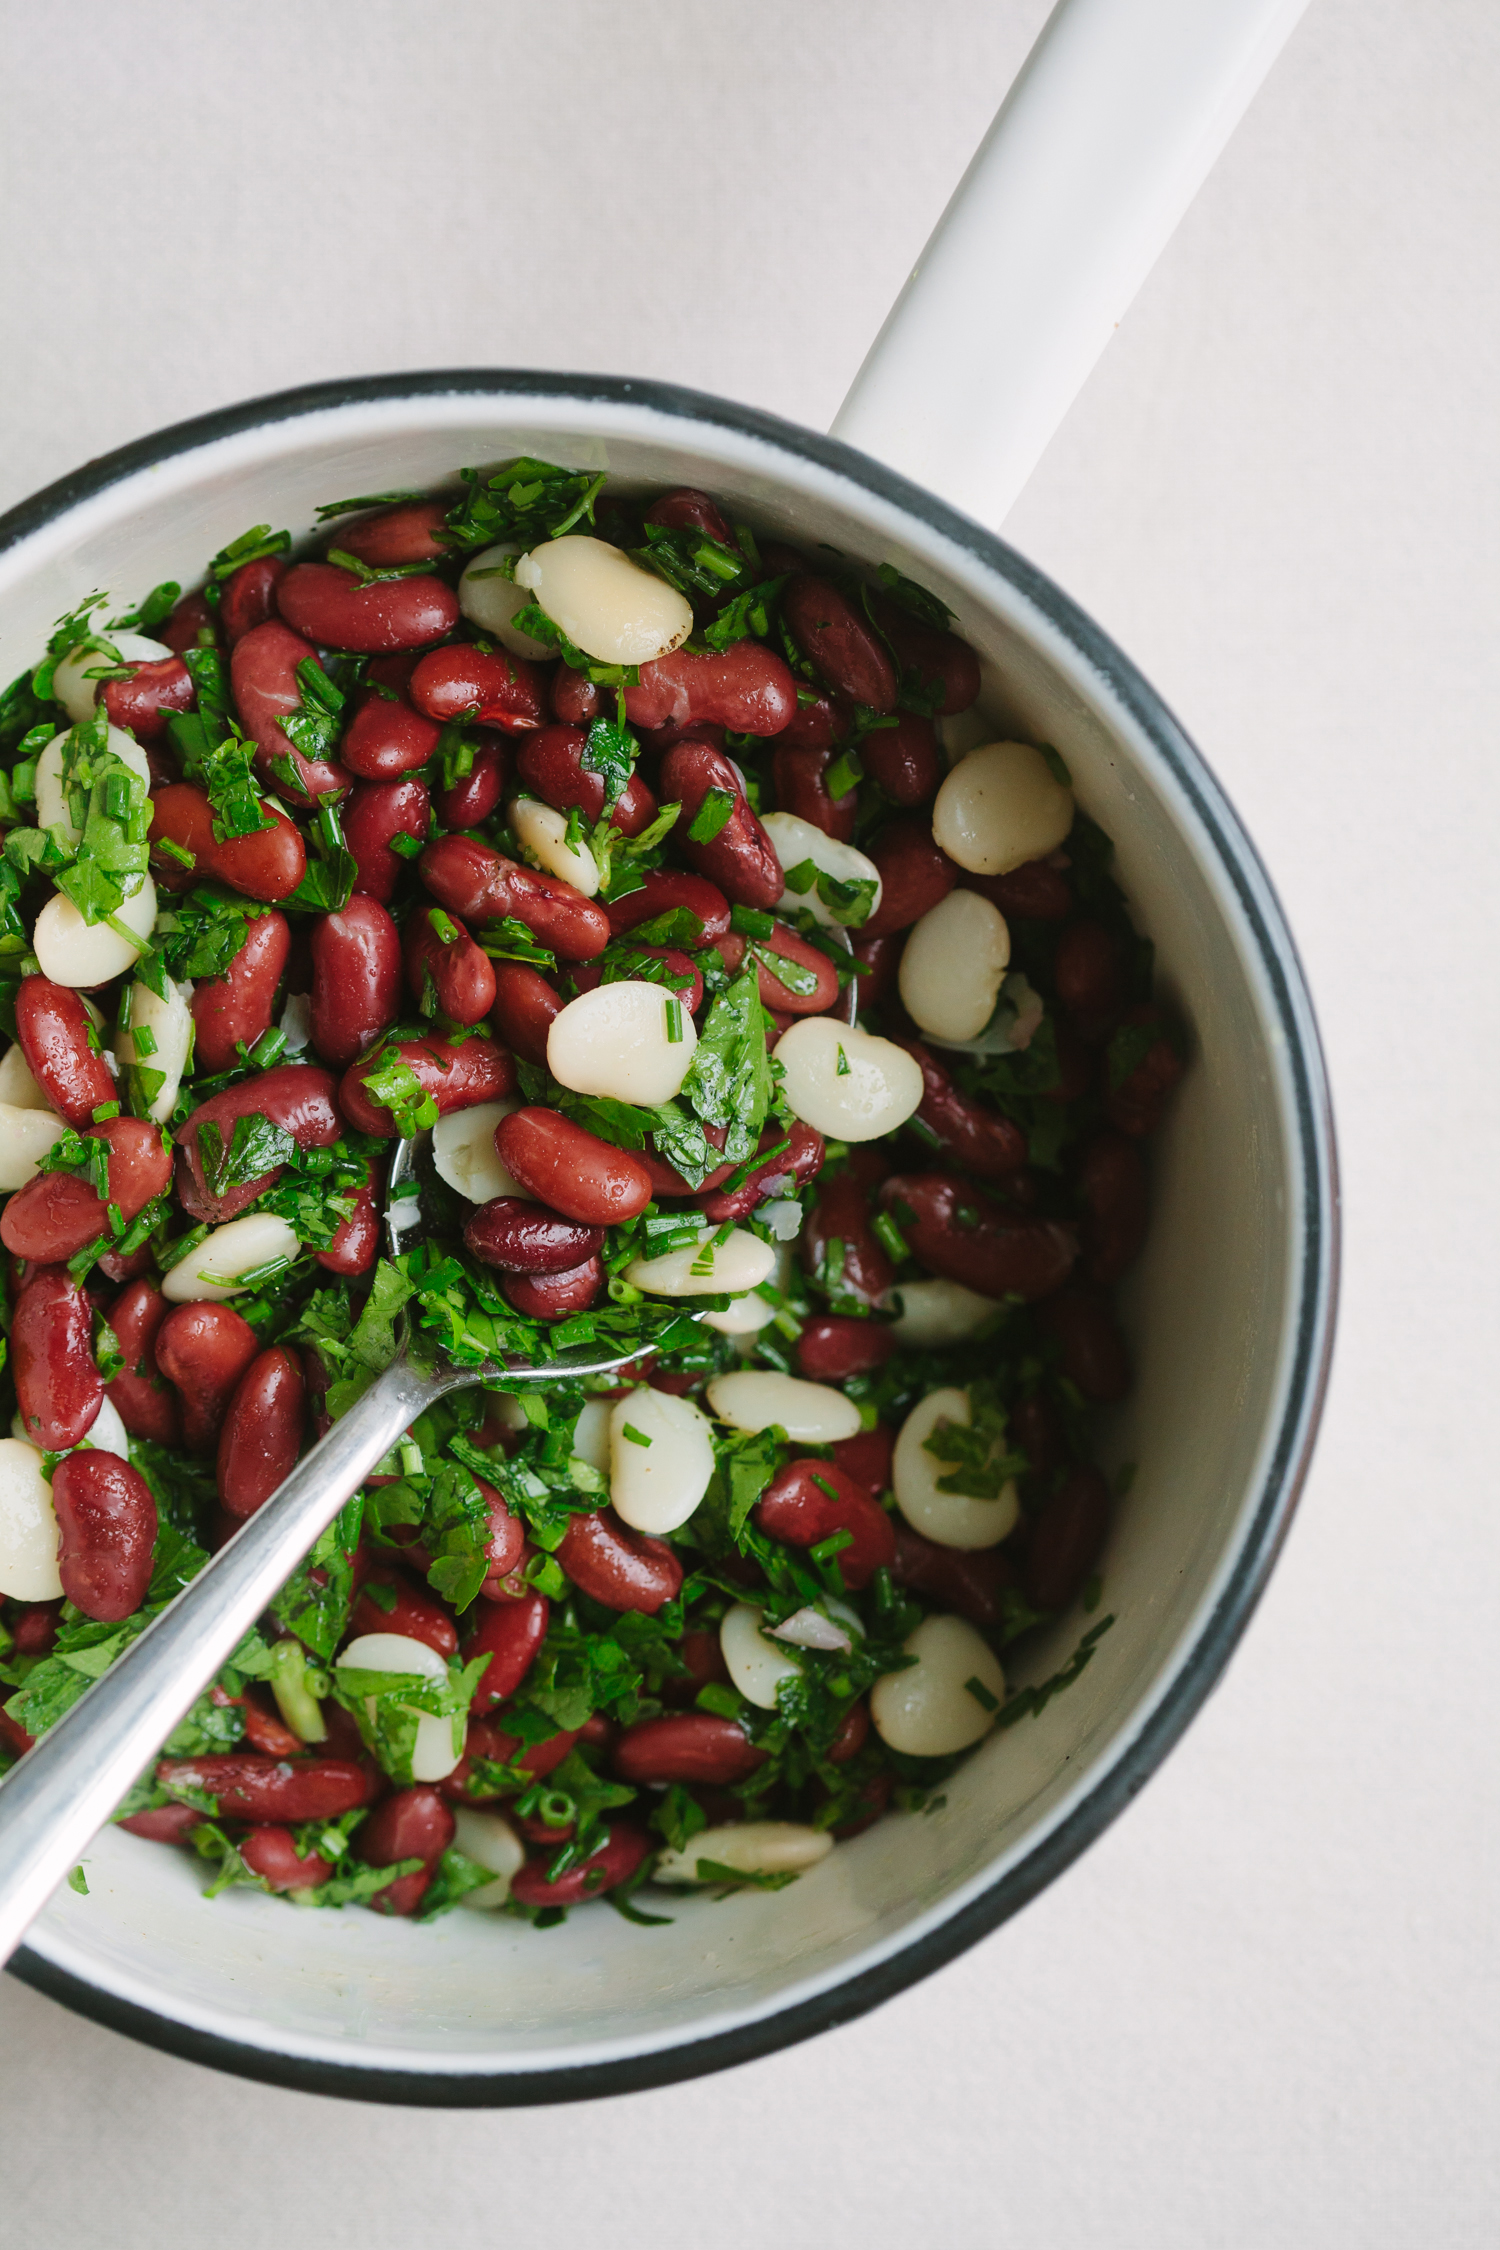
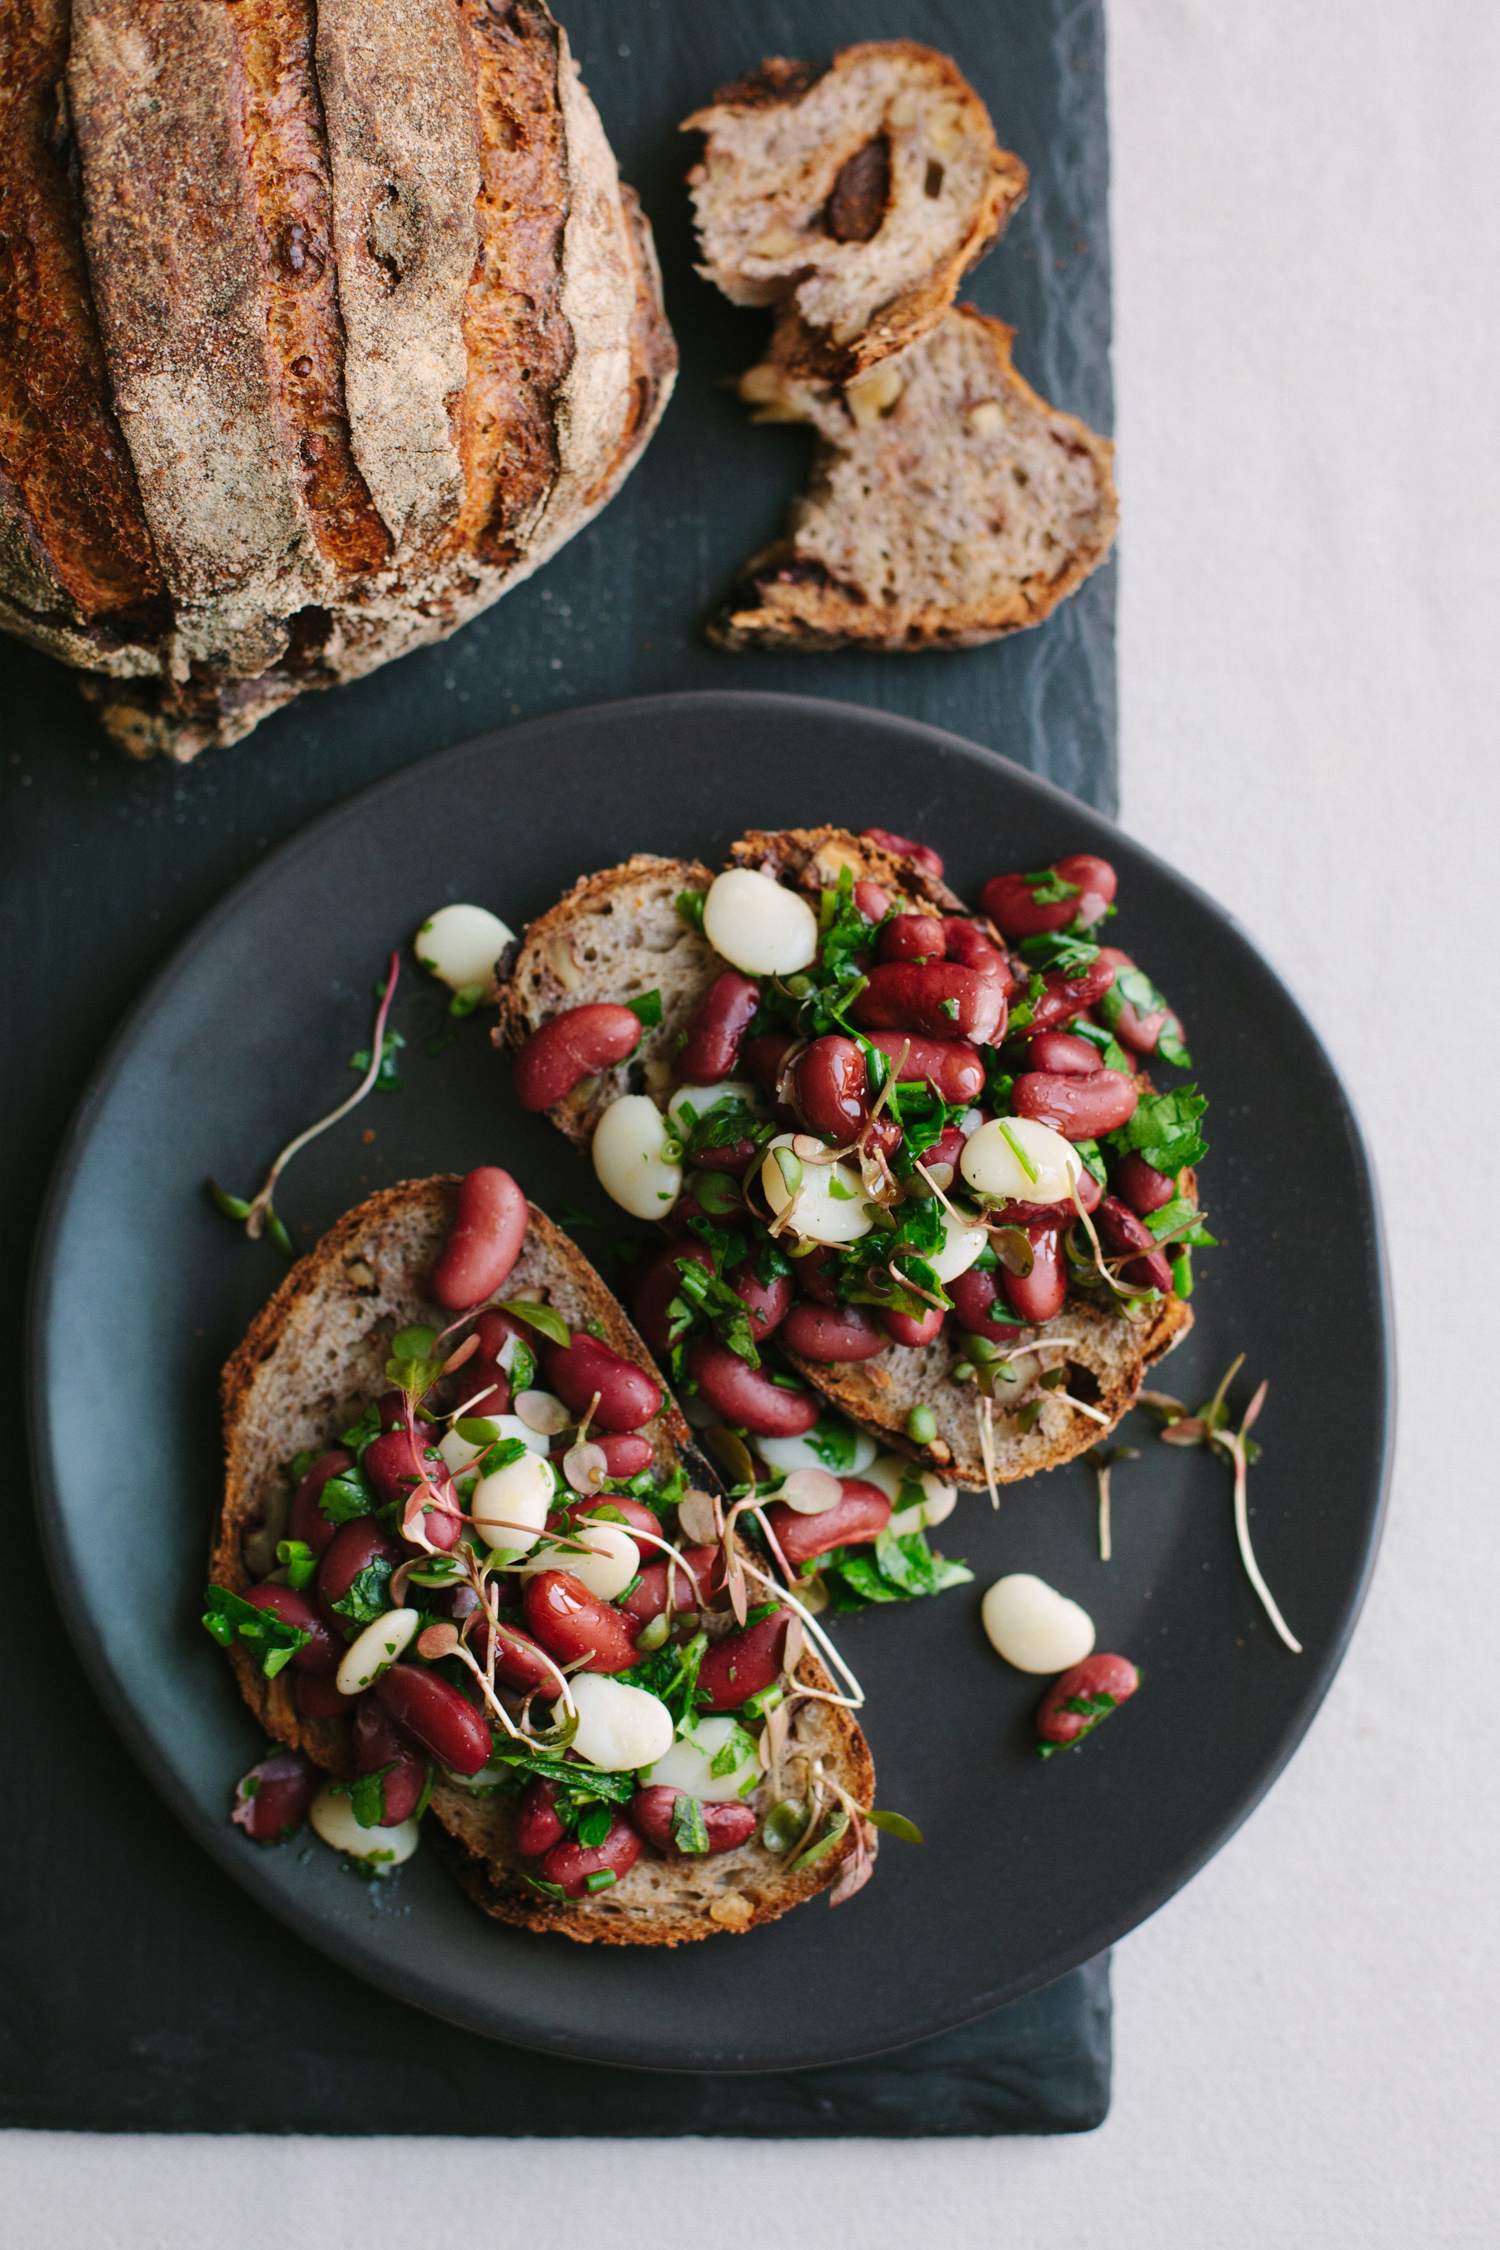
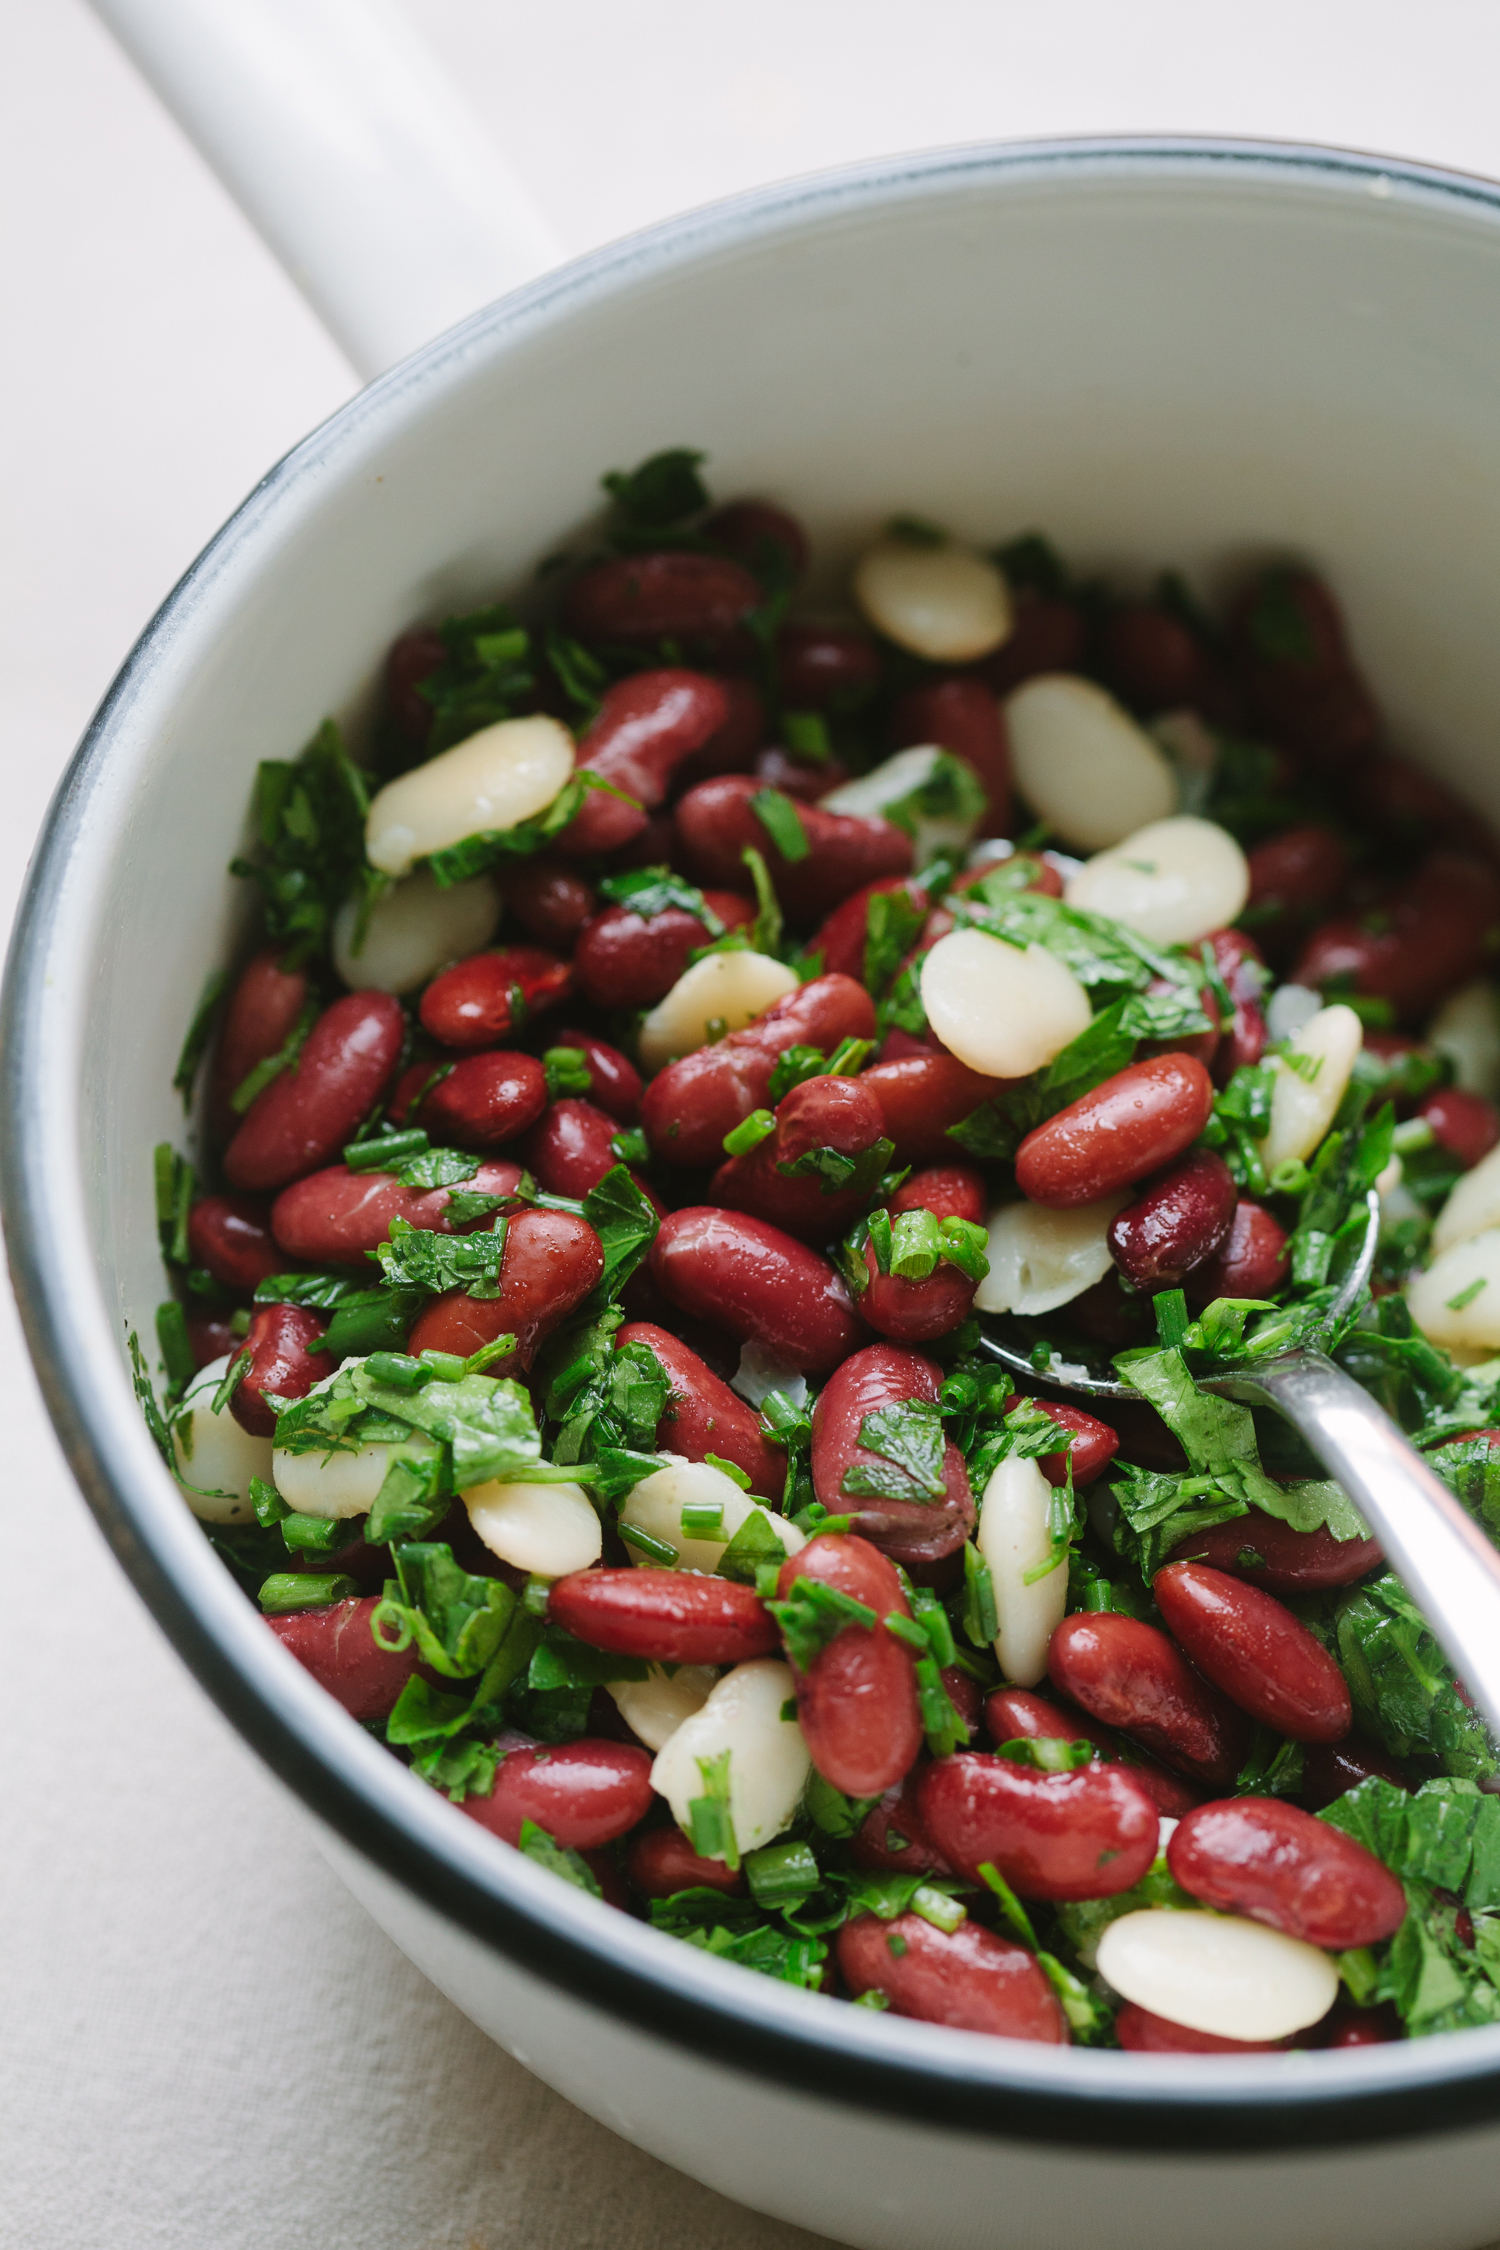
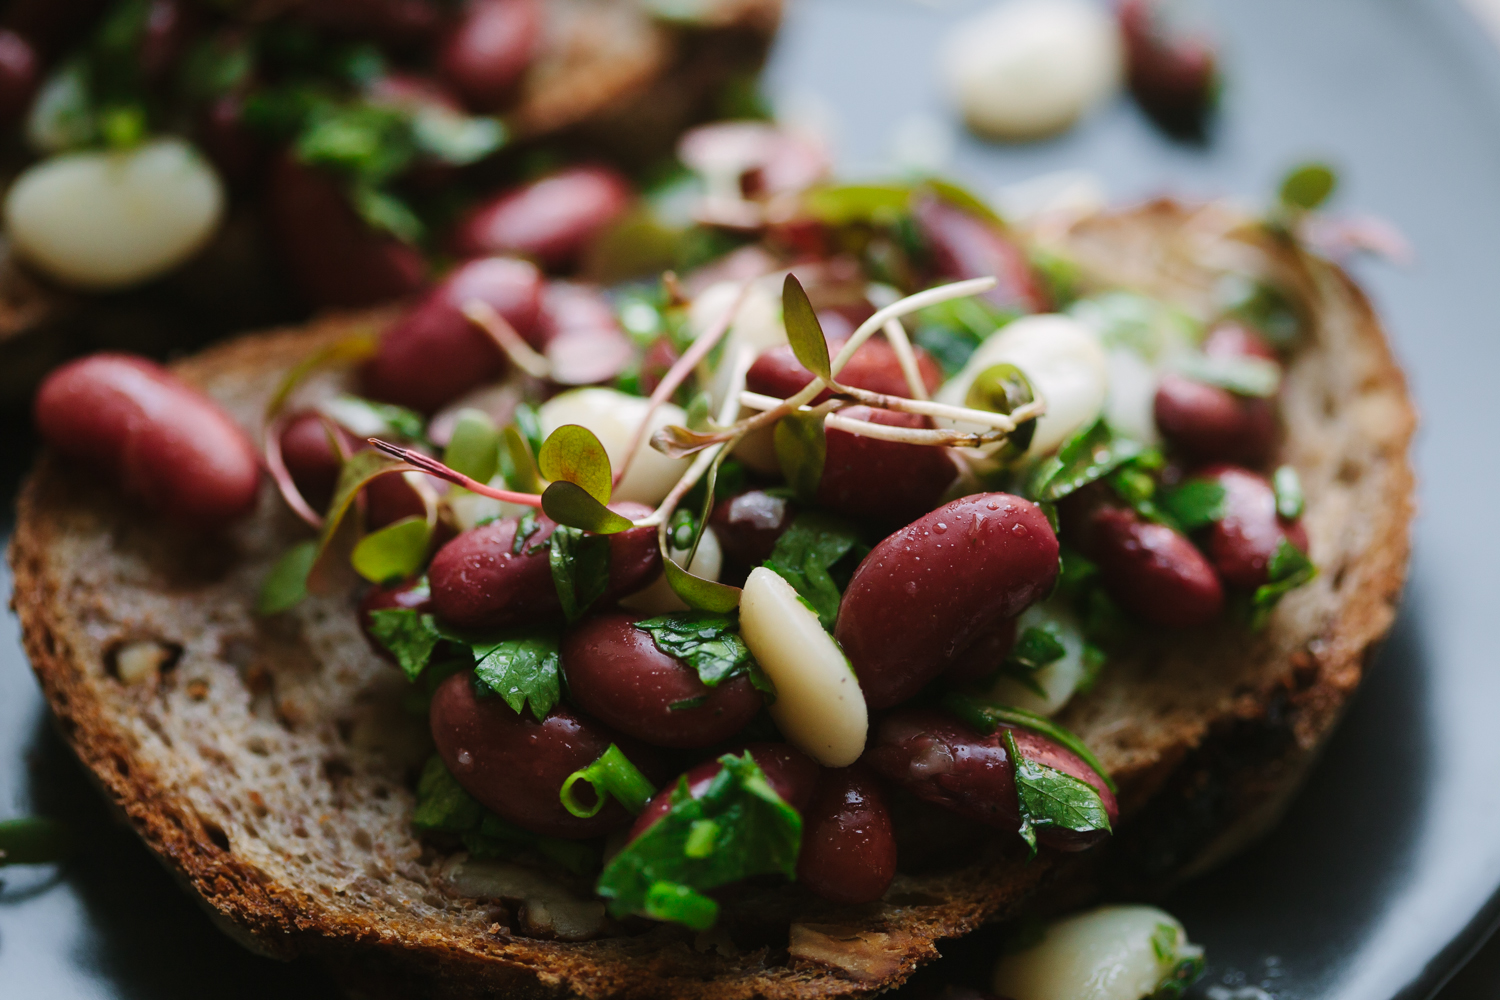
- 3 cups mixed cooked beans (I used baby Lima and kidney)
- handful of parsley - chopped
- handful of chives - sliced
- 3 tablespoons olive oil
- 1 teaspoon red wine vinegar
- juice of 1 lemon
- sea salt - to taste
- freshly ground black pepper - to taste
- In a bowl, combine the beans with parsley and chives and give everything a stir. Add the olive oil, vinegar, lemon juice, salt and pepper, and mix thoroughly. Taste for salt and pepper, adjust if needed.
- Store the beans in the refrigerator, in an air-tight container for up to 5 days. The flavors will develop further as the beans marinate.
Sooo yummy! We added a little bit of dijon mustard for some extra flavour. Thanks a bunch!
Love the addition of mustard, such a great idea :)