Gluten-Free Recipes Recipes
28
Favorite Plant-Based Holiday Recipes
by Anya
Read Recipe
Miso Tahini and Chocolate Peanut Butter Cookies with Coconut Glaze
by Masha
Read Recipe
Vegan Cauliflower and Leek Pie with Onion Crust
by Anya
Read Recipe
Peanut Butter & Pumpkin Caramel Bars
by Anya
Read Recipe
Favorite Tomato Recipes
by Masha
Read Recipe
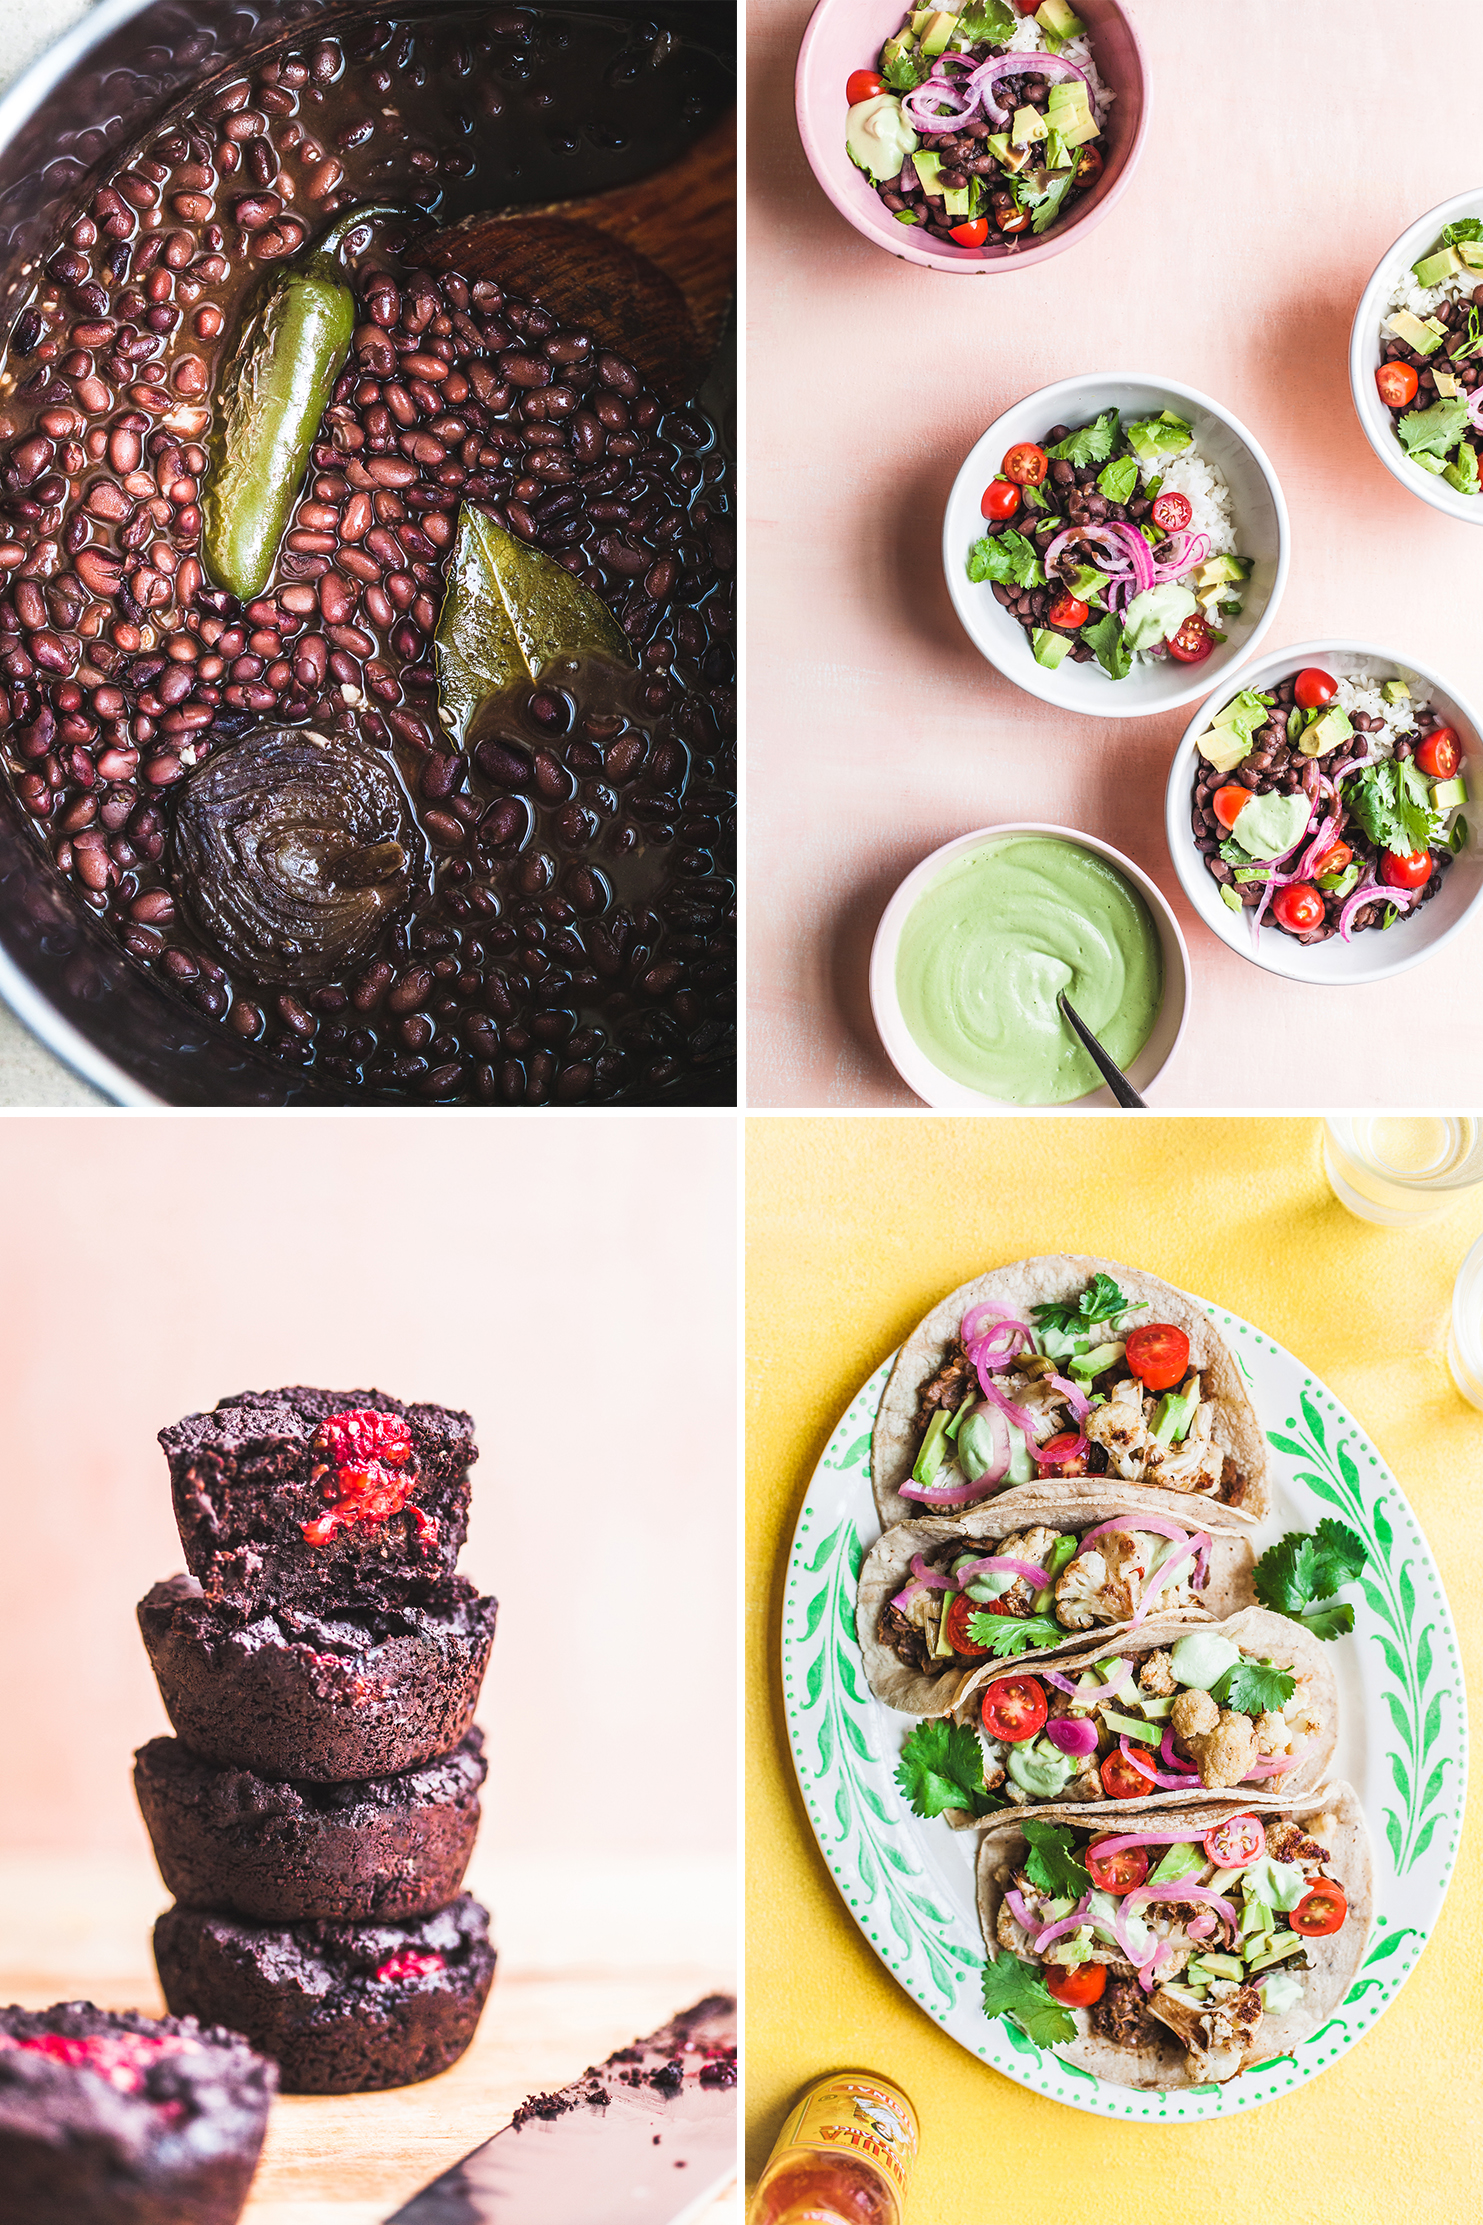
Meal Plan Mini: Creamy Black Bean Bowls, Cauliflower Tacos, Raspberry Brownies
by Masha
Read Recipe
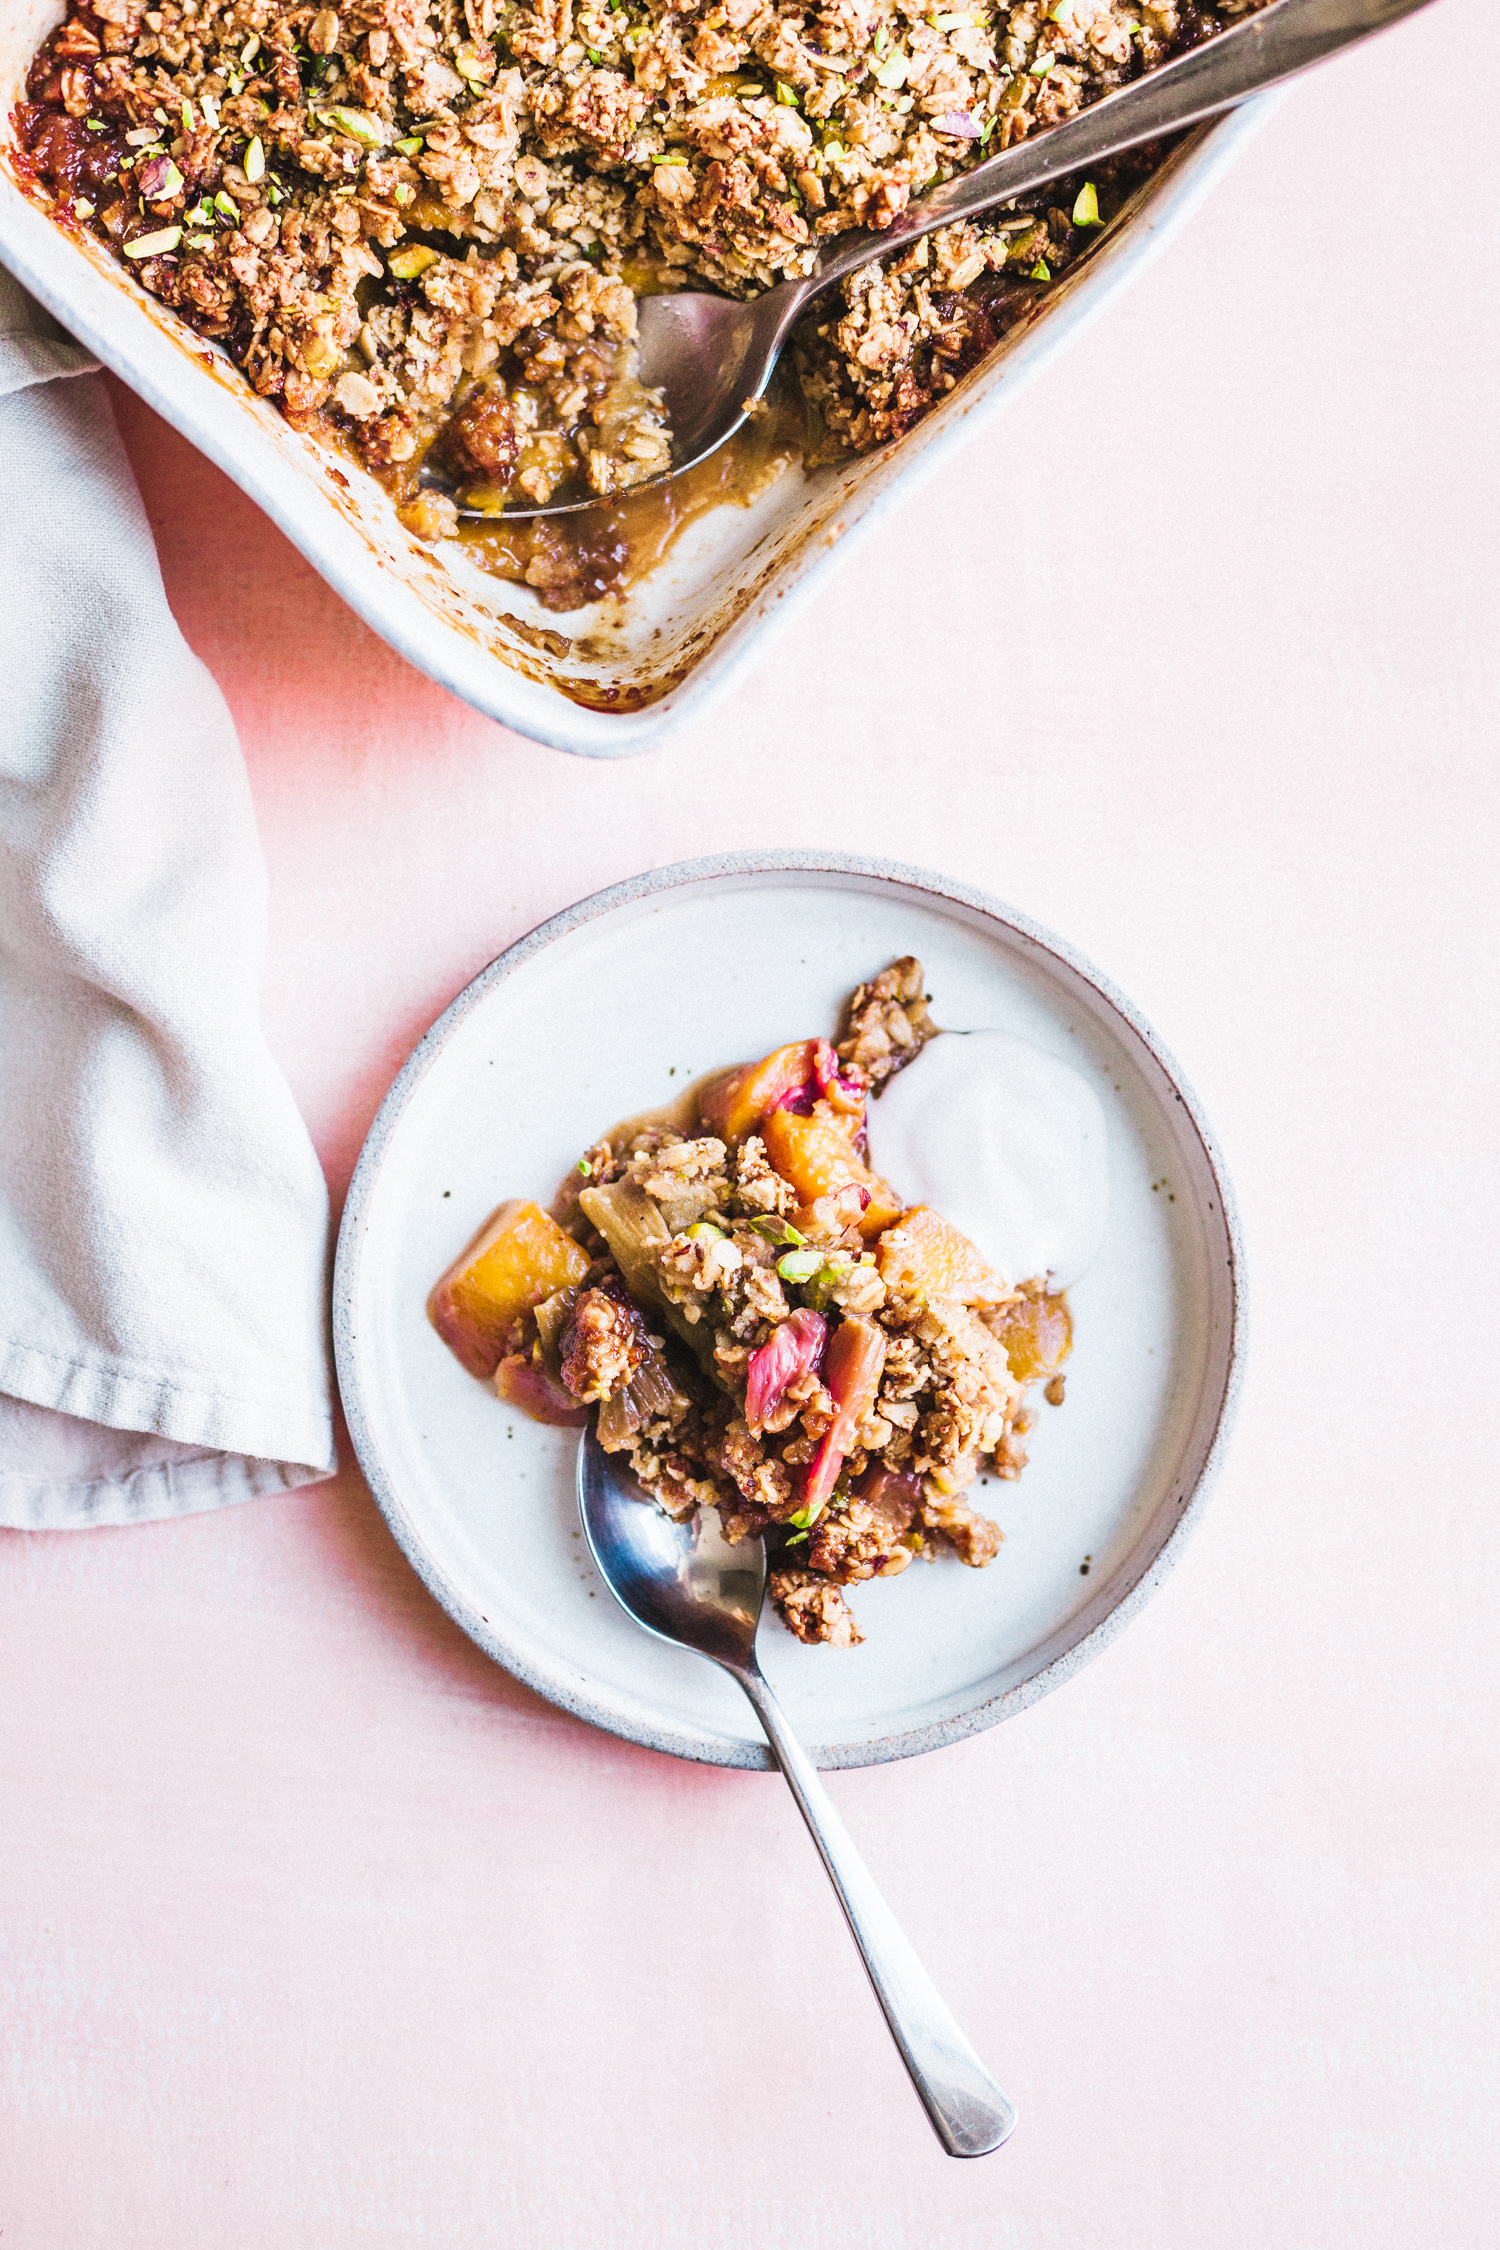
Easy Rhubarb Mango Crisp
by Masha
Read Recipe
Fudgy Sweet Potato Brownies
by Masha
Read Recipe
Earl Grey Tea Sandwich Cookies, Vegan and Gluten-Free + Giveaway
by Anya
Read Recipe
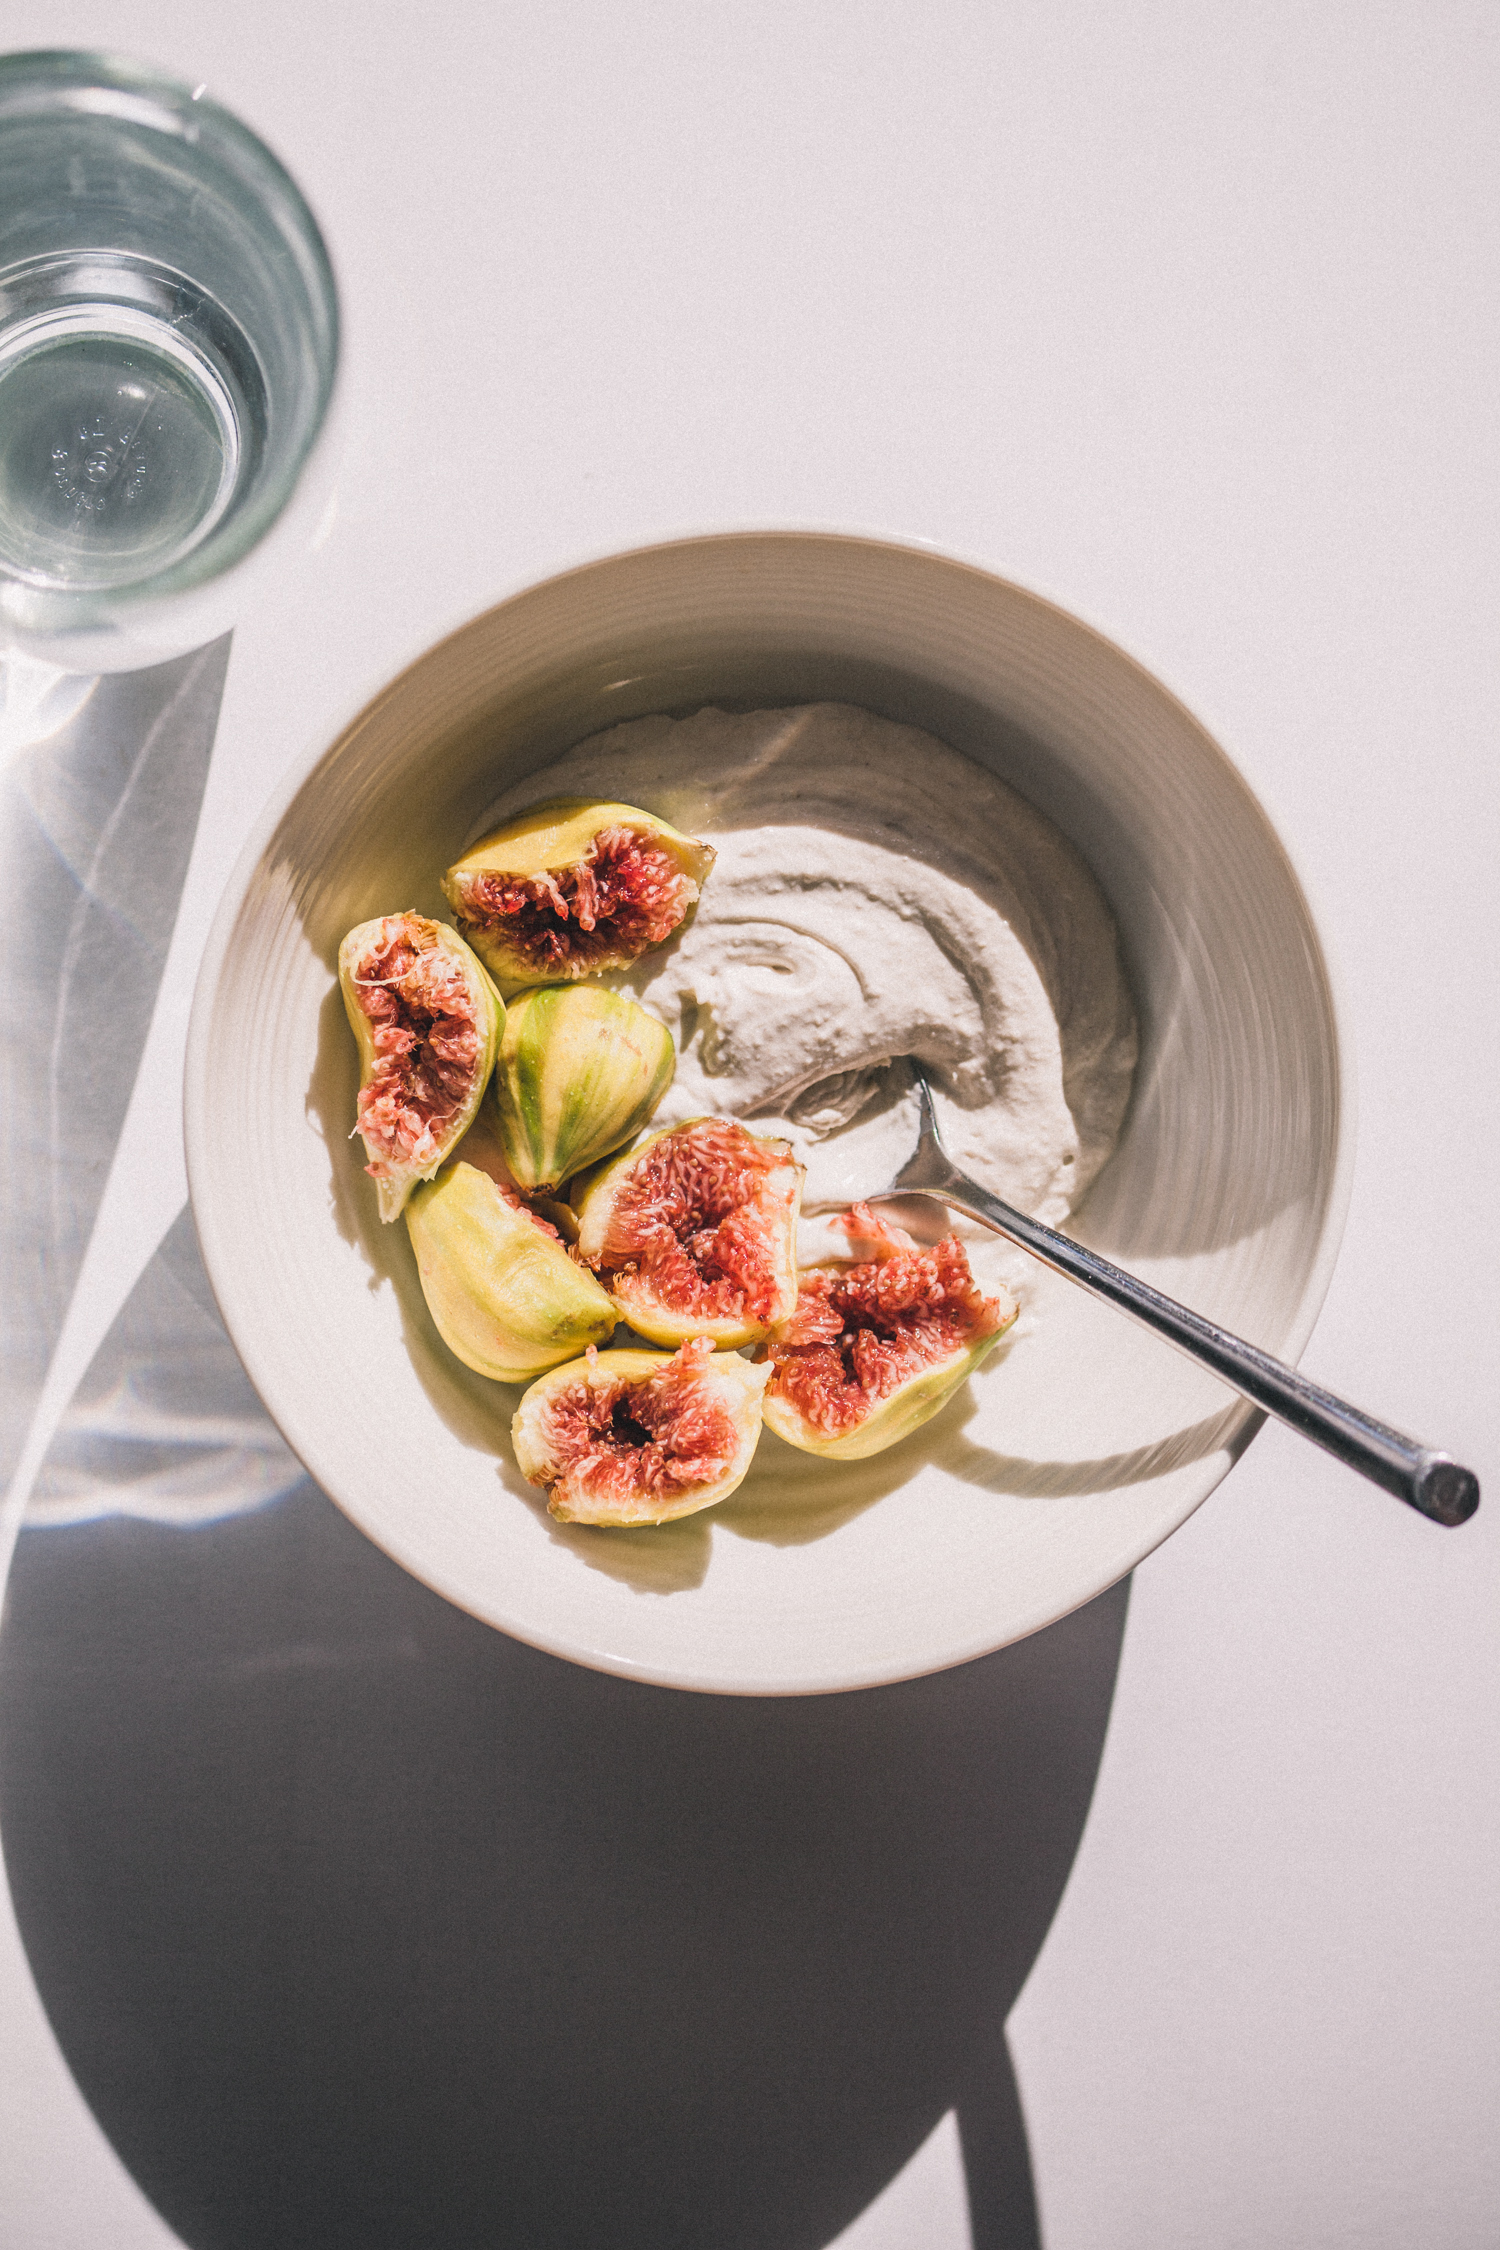
Easy Homemade Cashew-Oat Yogurt
by Anya
Read Recipe
Gluten-Free Lemon Blueberry Donuts with a Coconut Glaze
by Anya
Read Recipe
Favorite Spring Cleaning Recipes
by Anya
Read Recipe
Chunky Monkey Cookies, Vegan and Gluten-Free
by Anya
Read Recipe
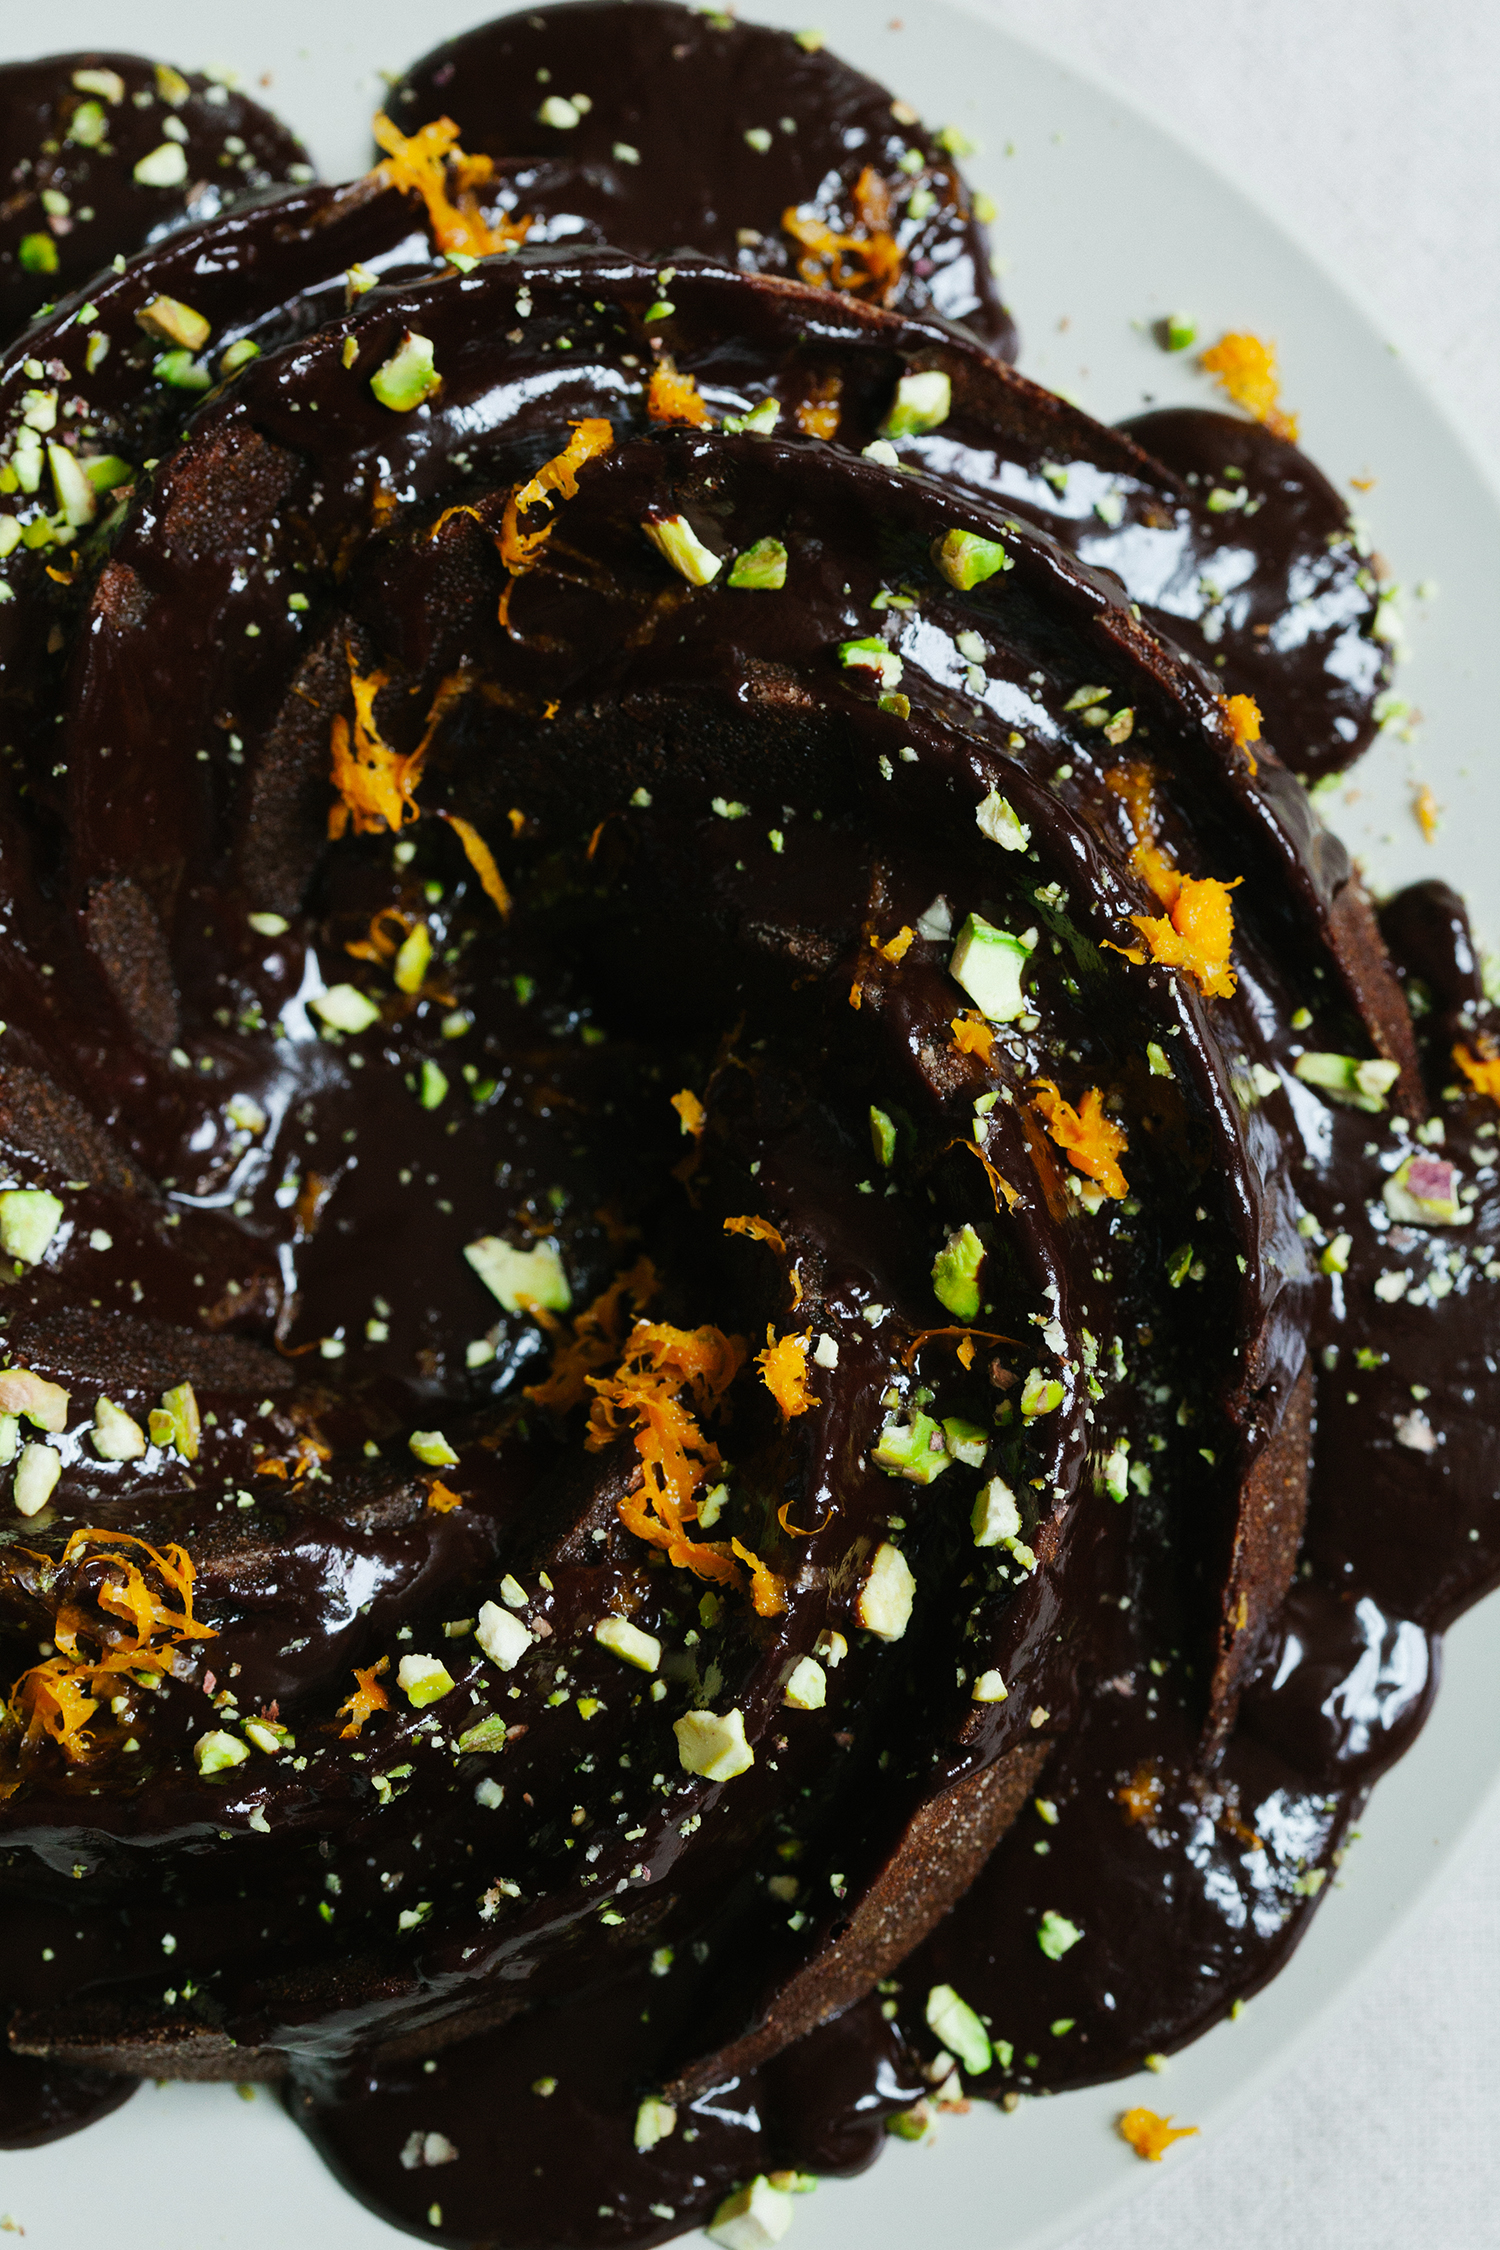
Chocolate Orange Bundt Cake from Simply Vibrant
by Anya
Read Recipe
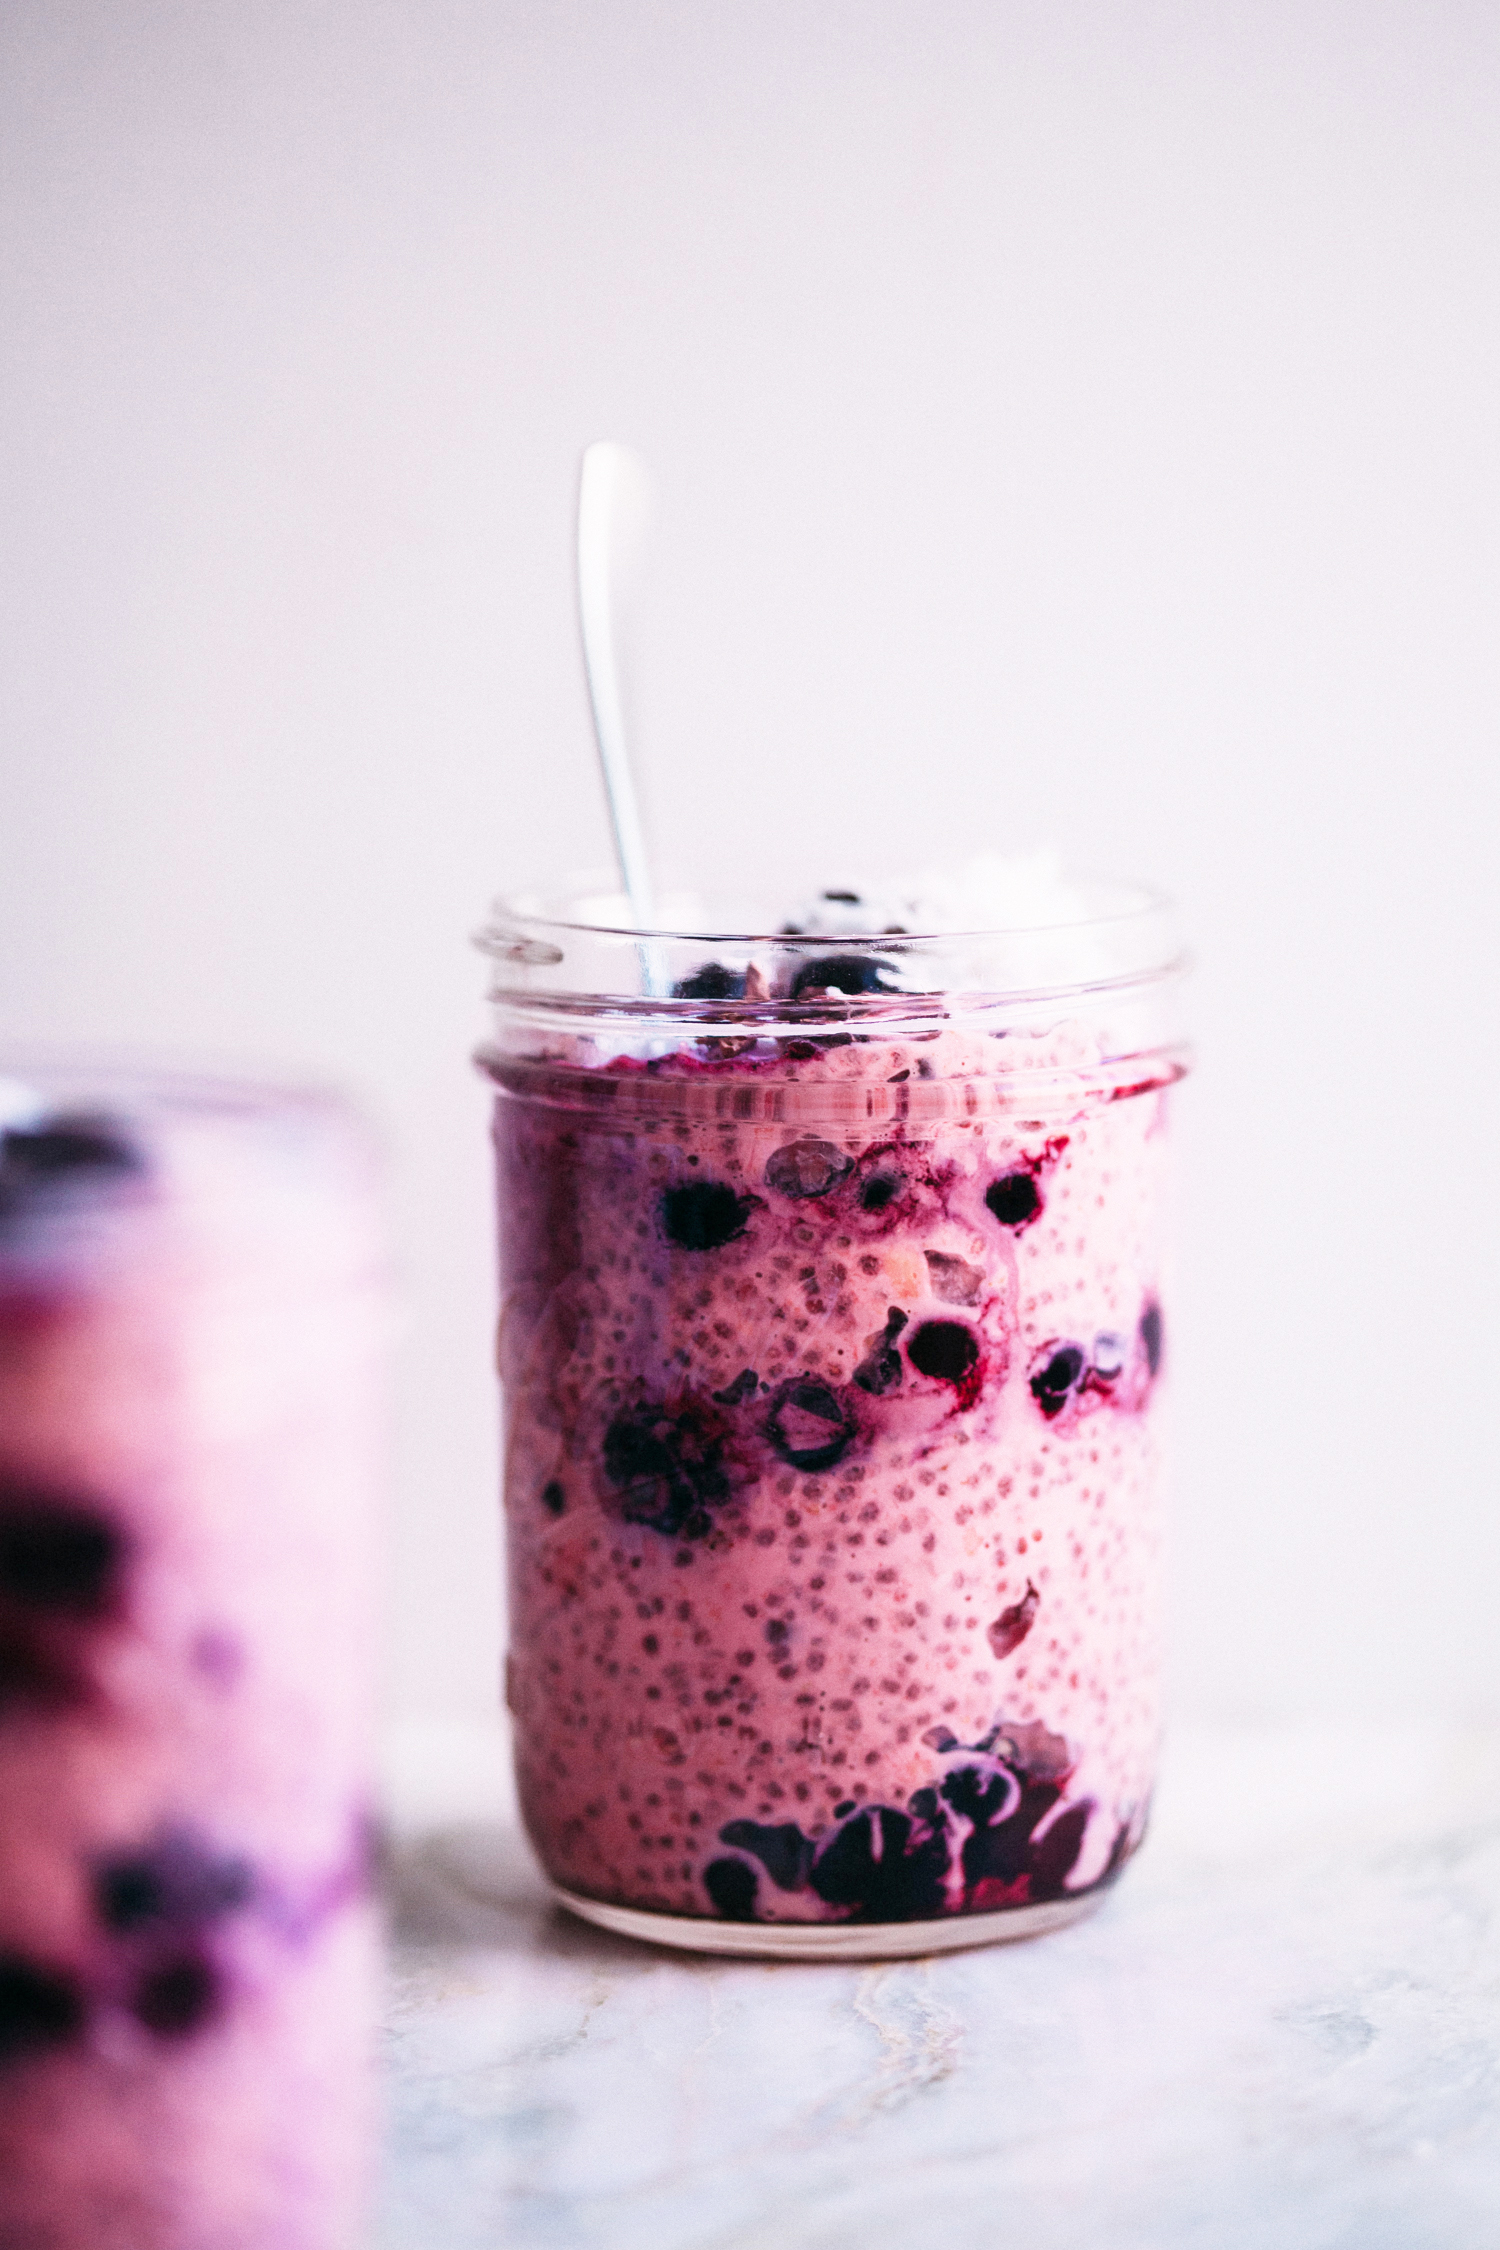
Coconut Beet Overnight Oats
by Anya
Read Recipe
Favorite New Year Reset Recipes
by Anya
Read Recipe
Chocolate Chip Cookie Dough Bites
by Anya
Read Recipe
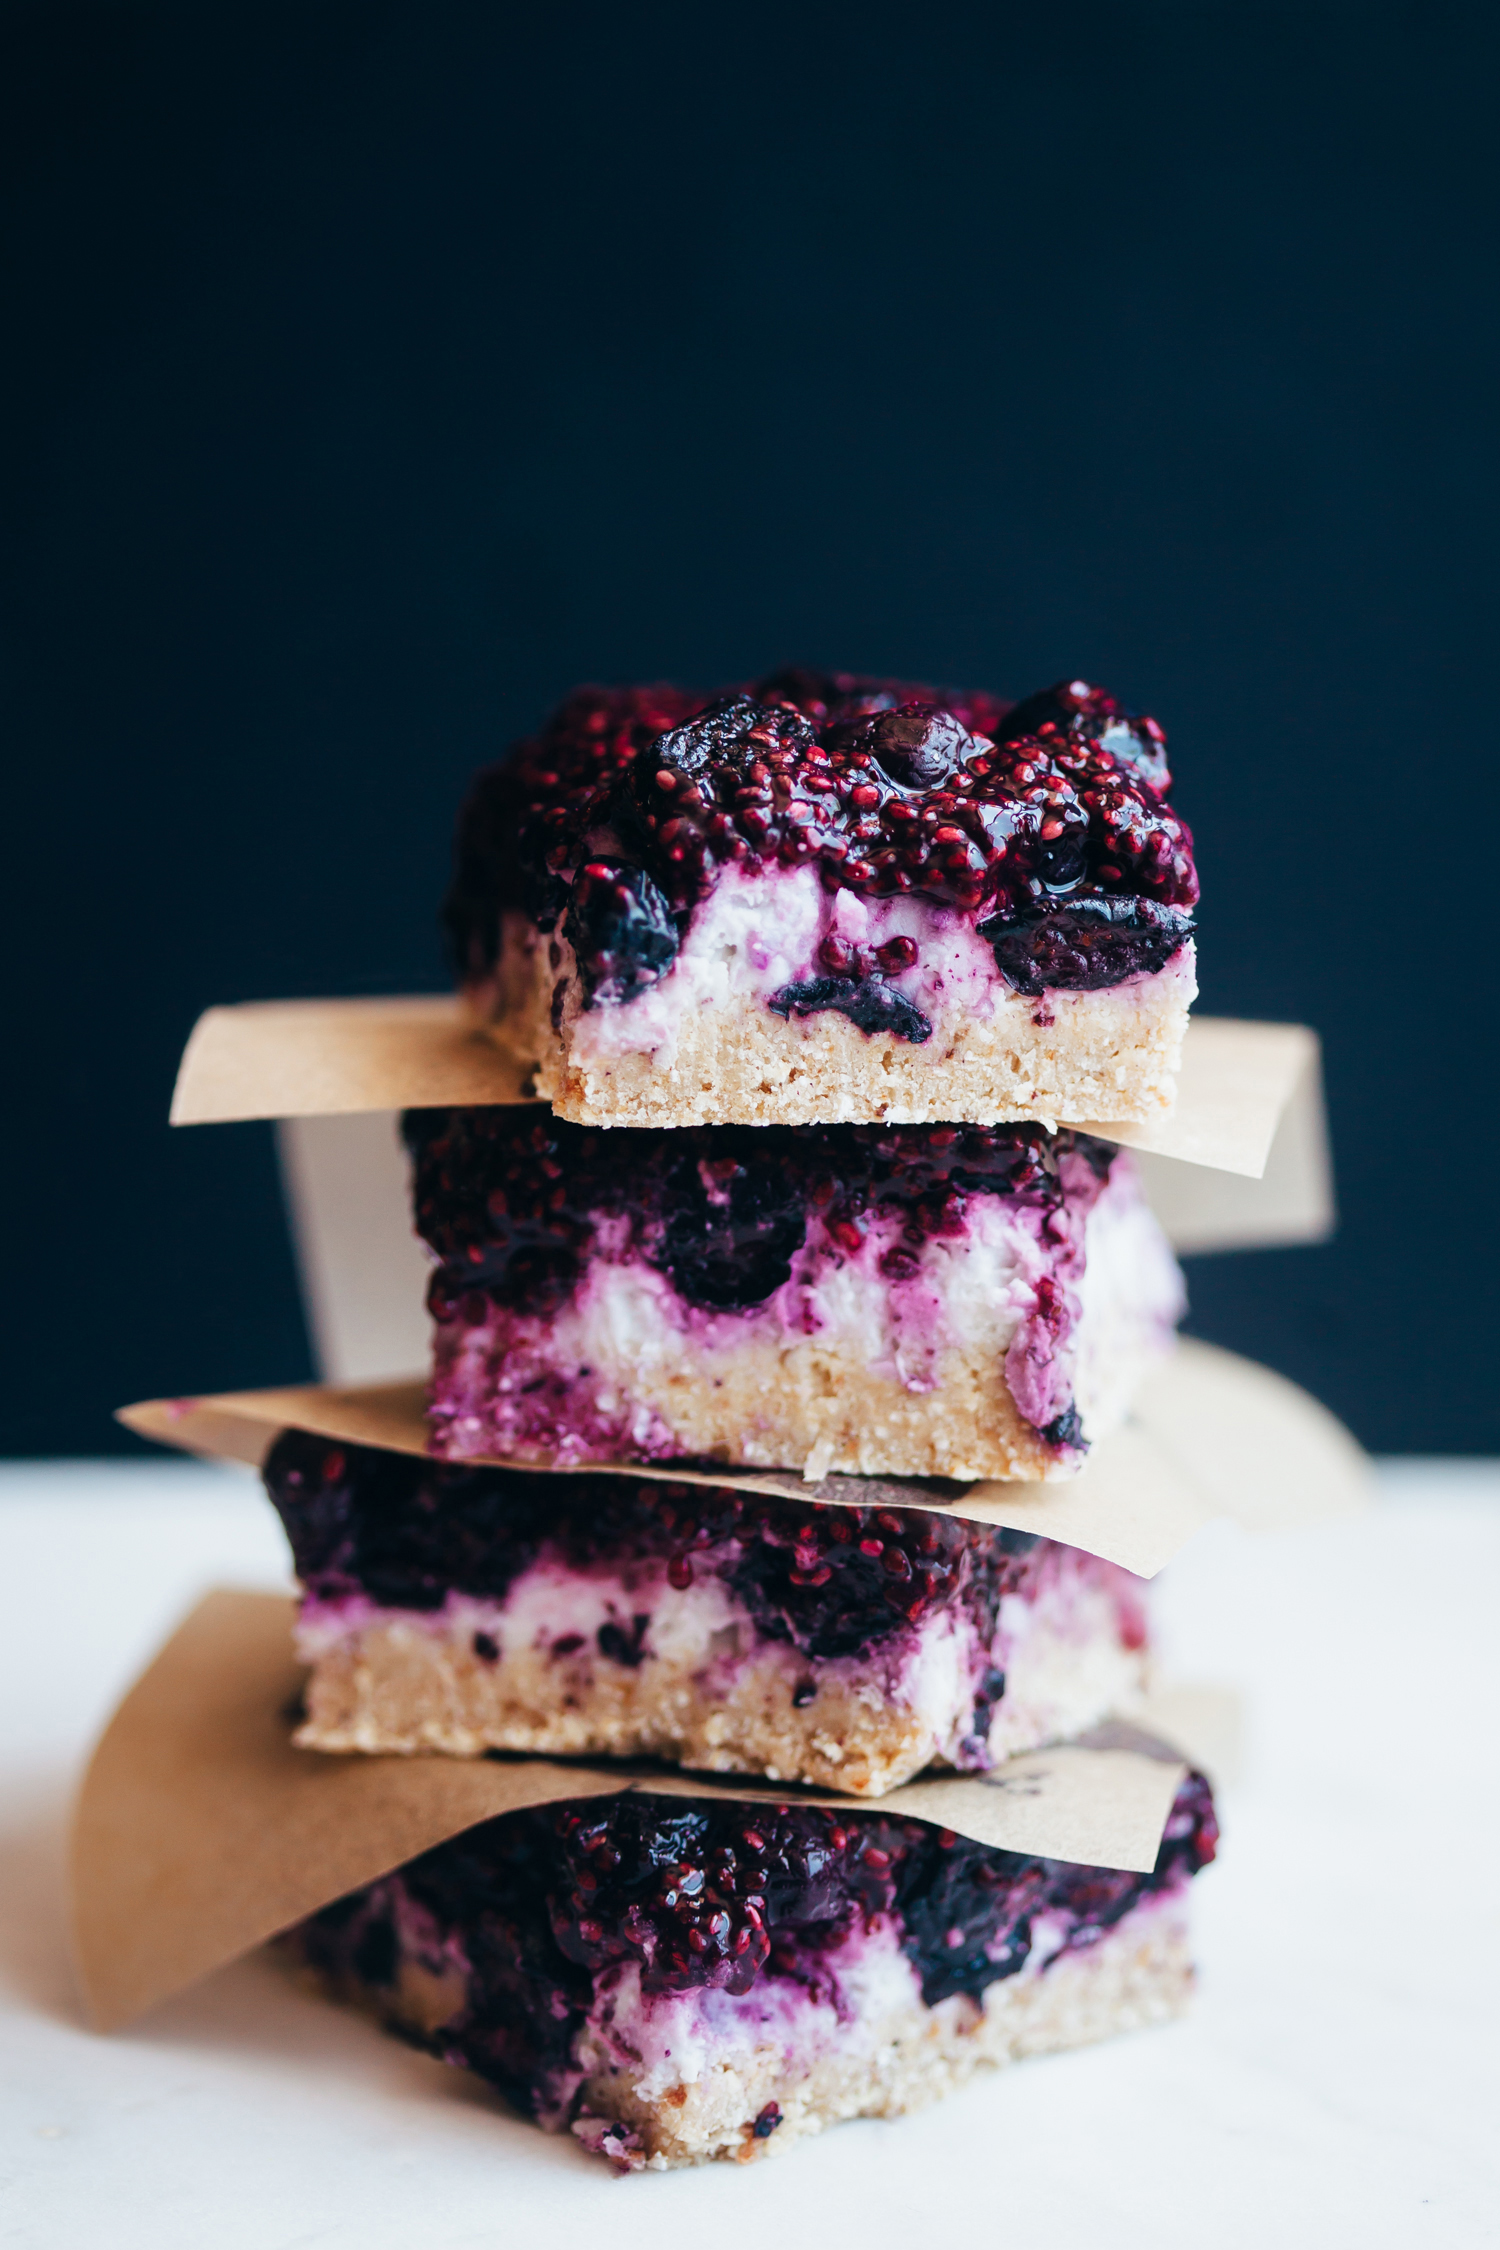
No Bake Blueberry Coconut Bars
by Anya
Read Recipe
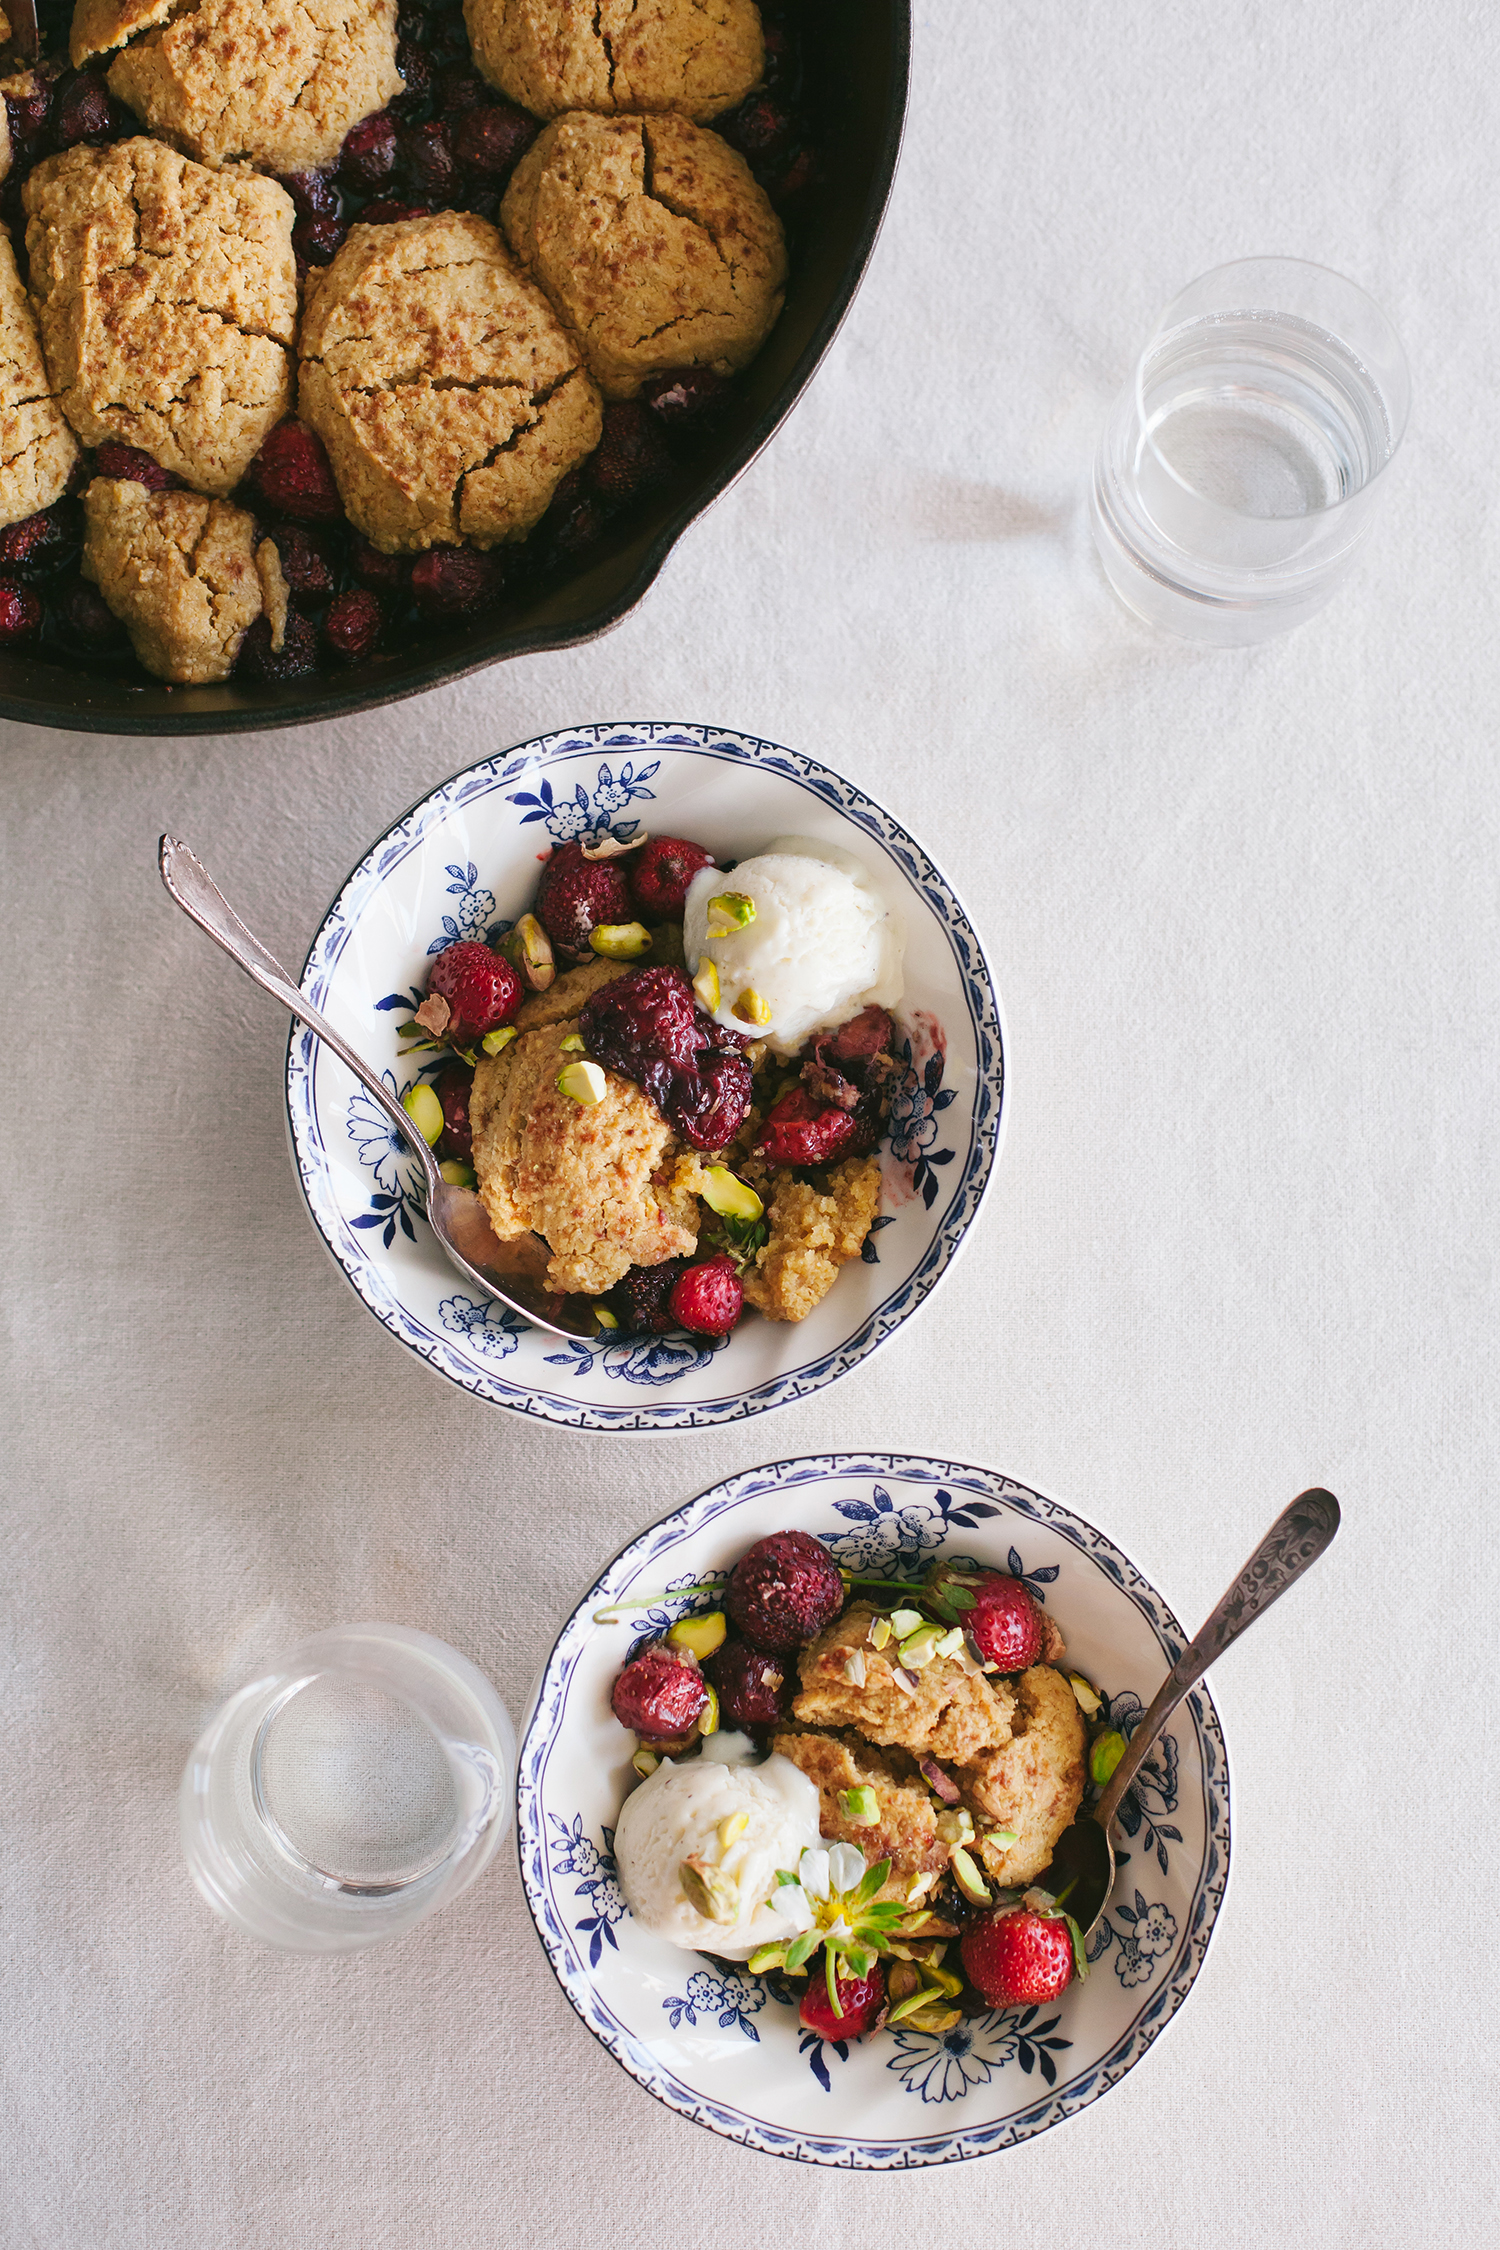
Gluten-Free Strawberry Cobbler
by Anya
Read Recipe
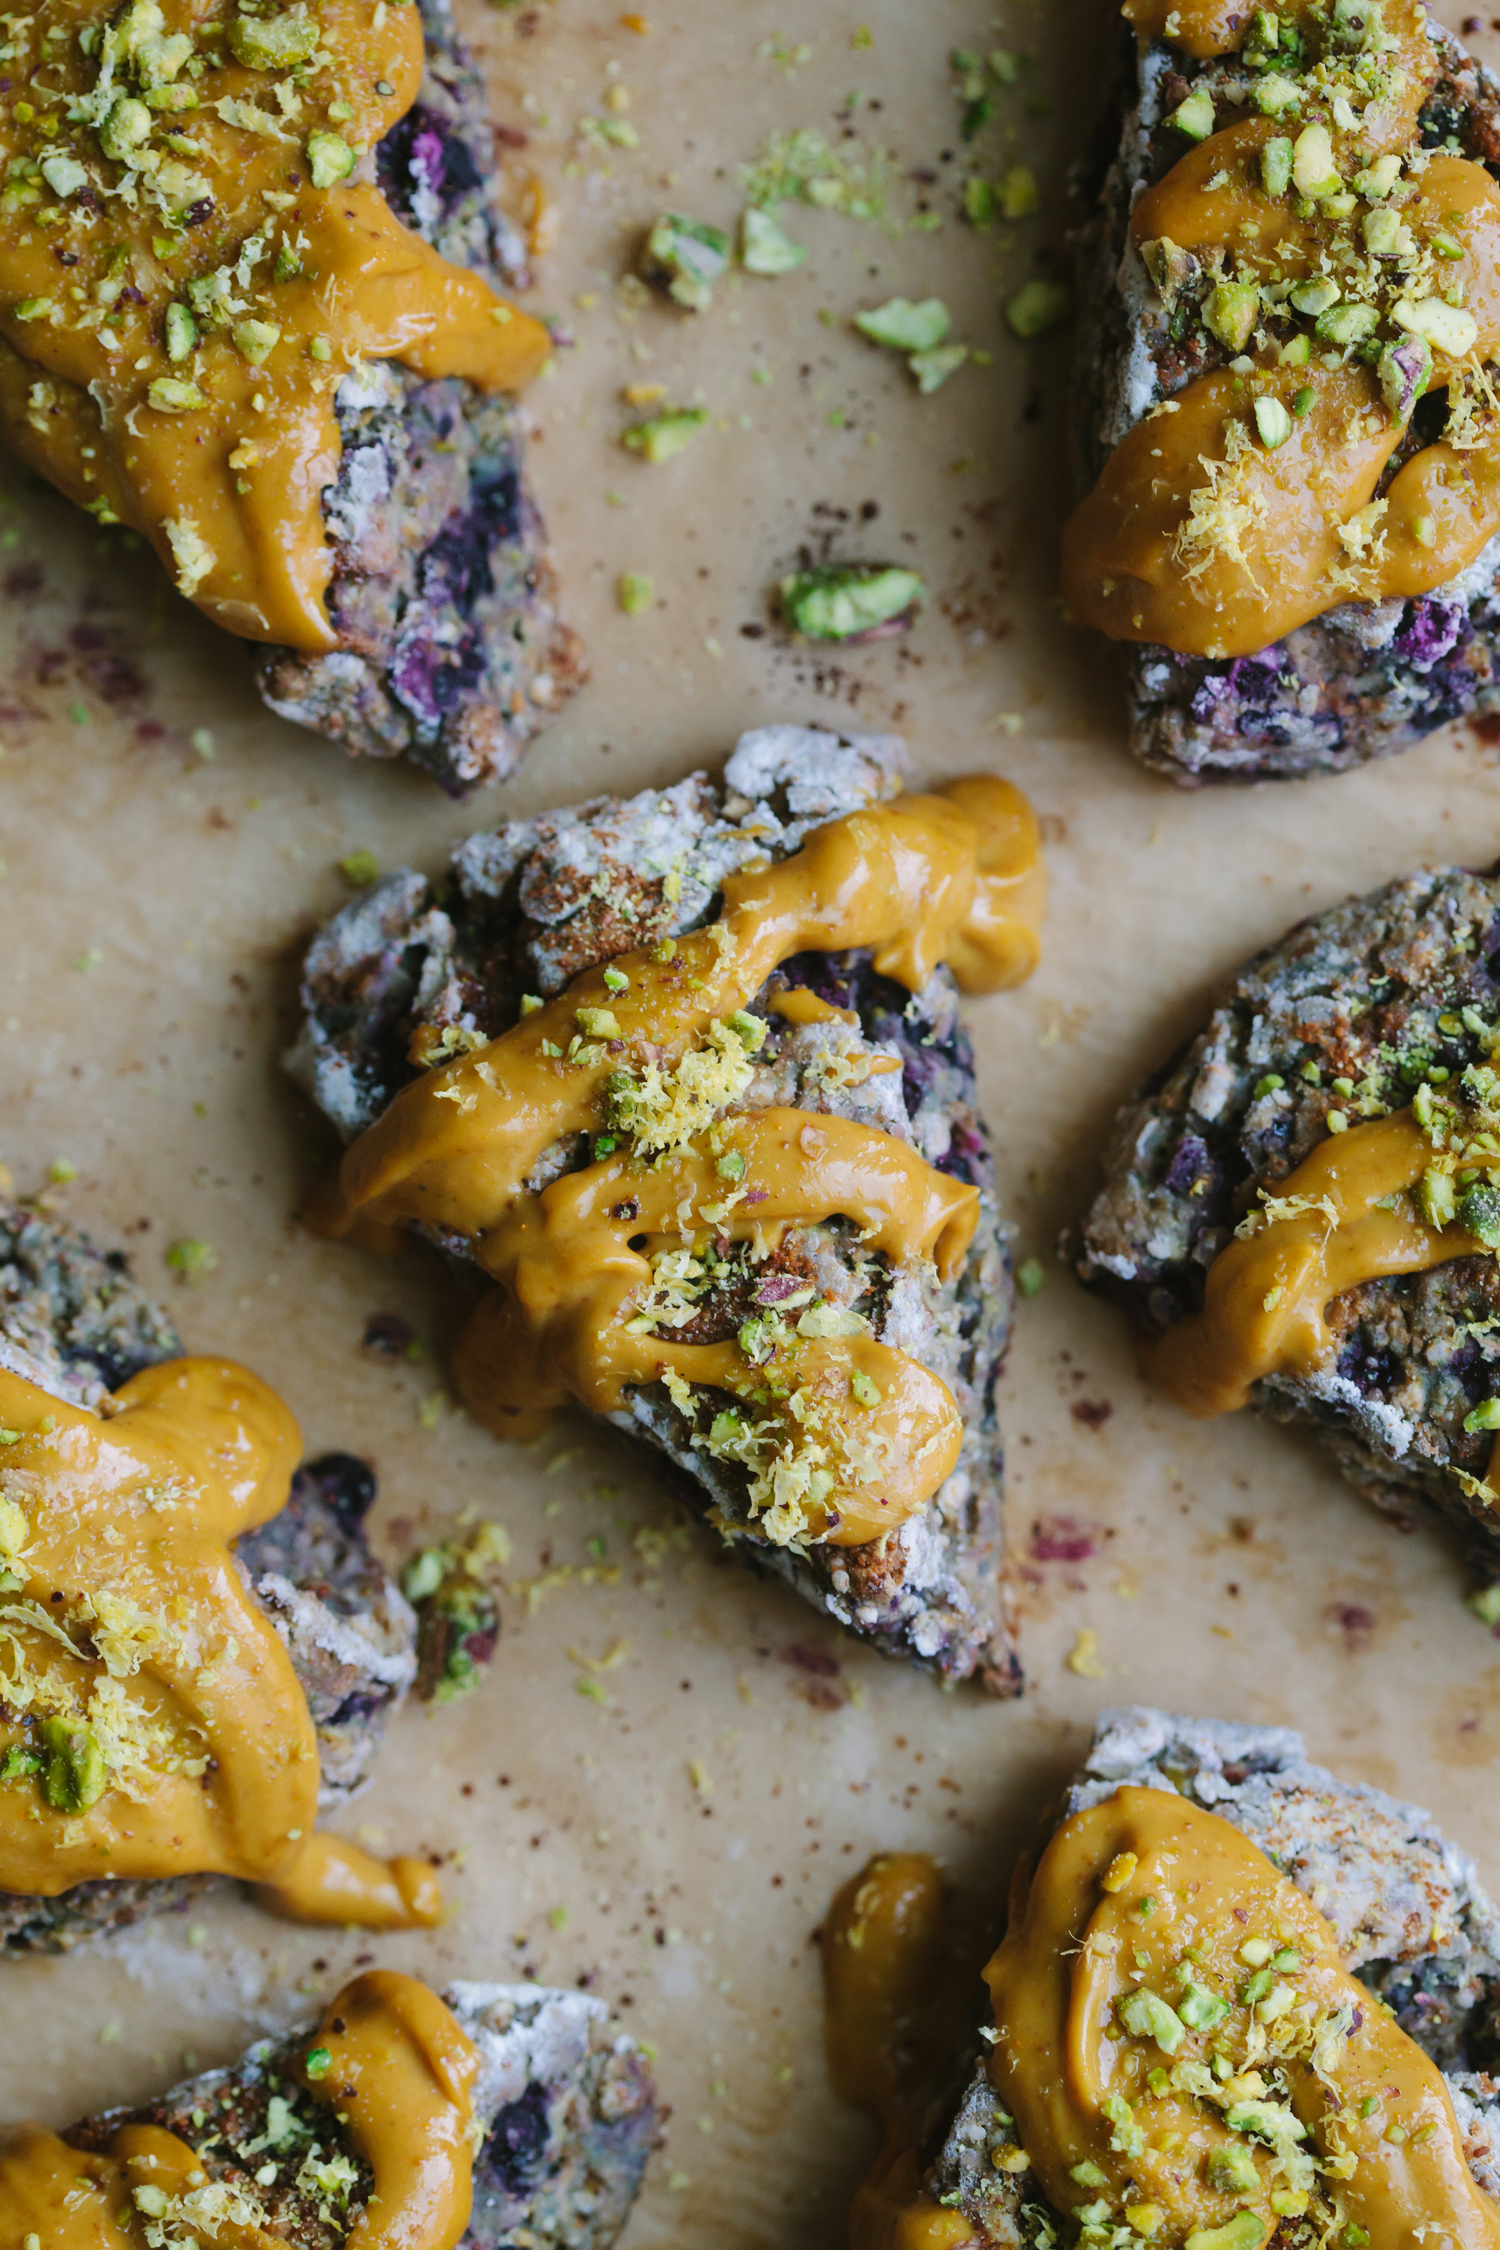
Gluten-Free Blueberry Lemon Scones
by Anya
Read Recipe
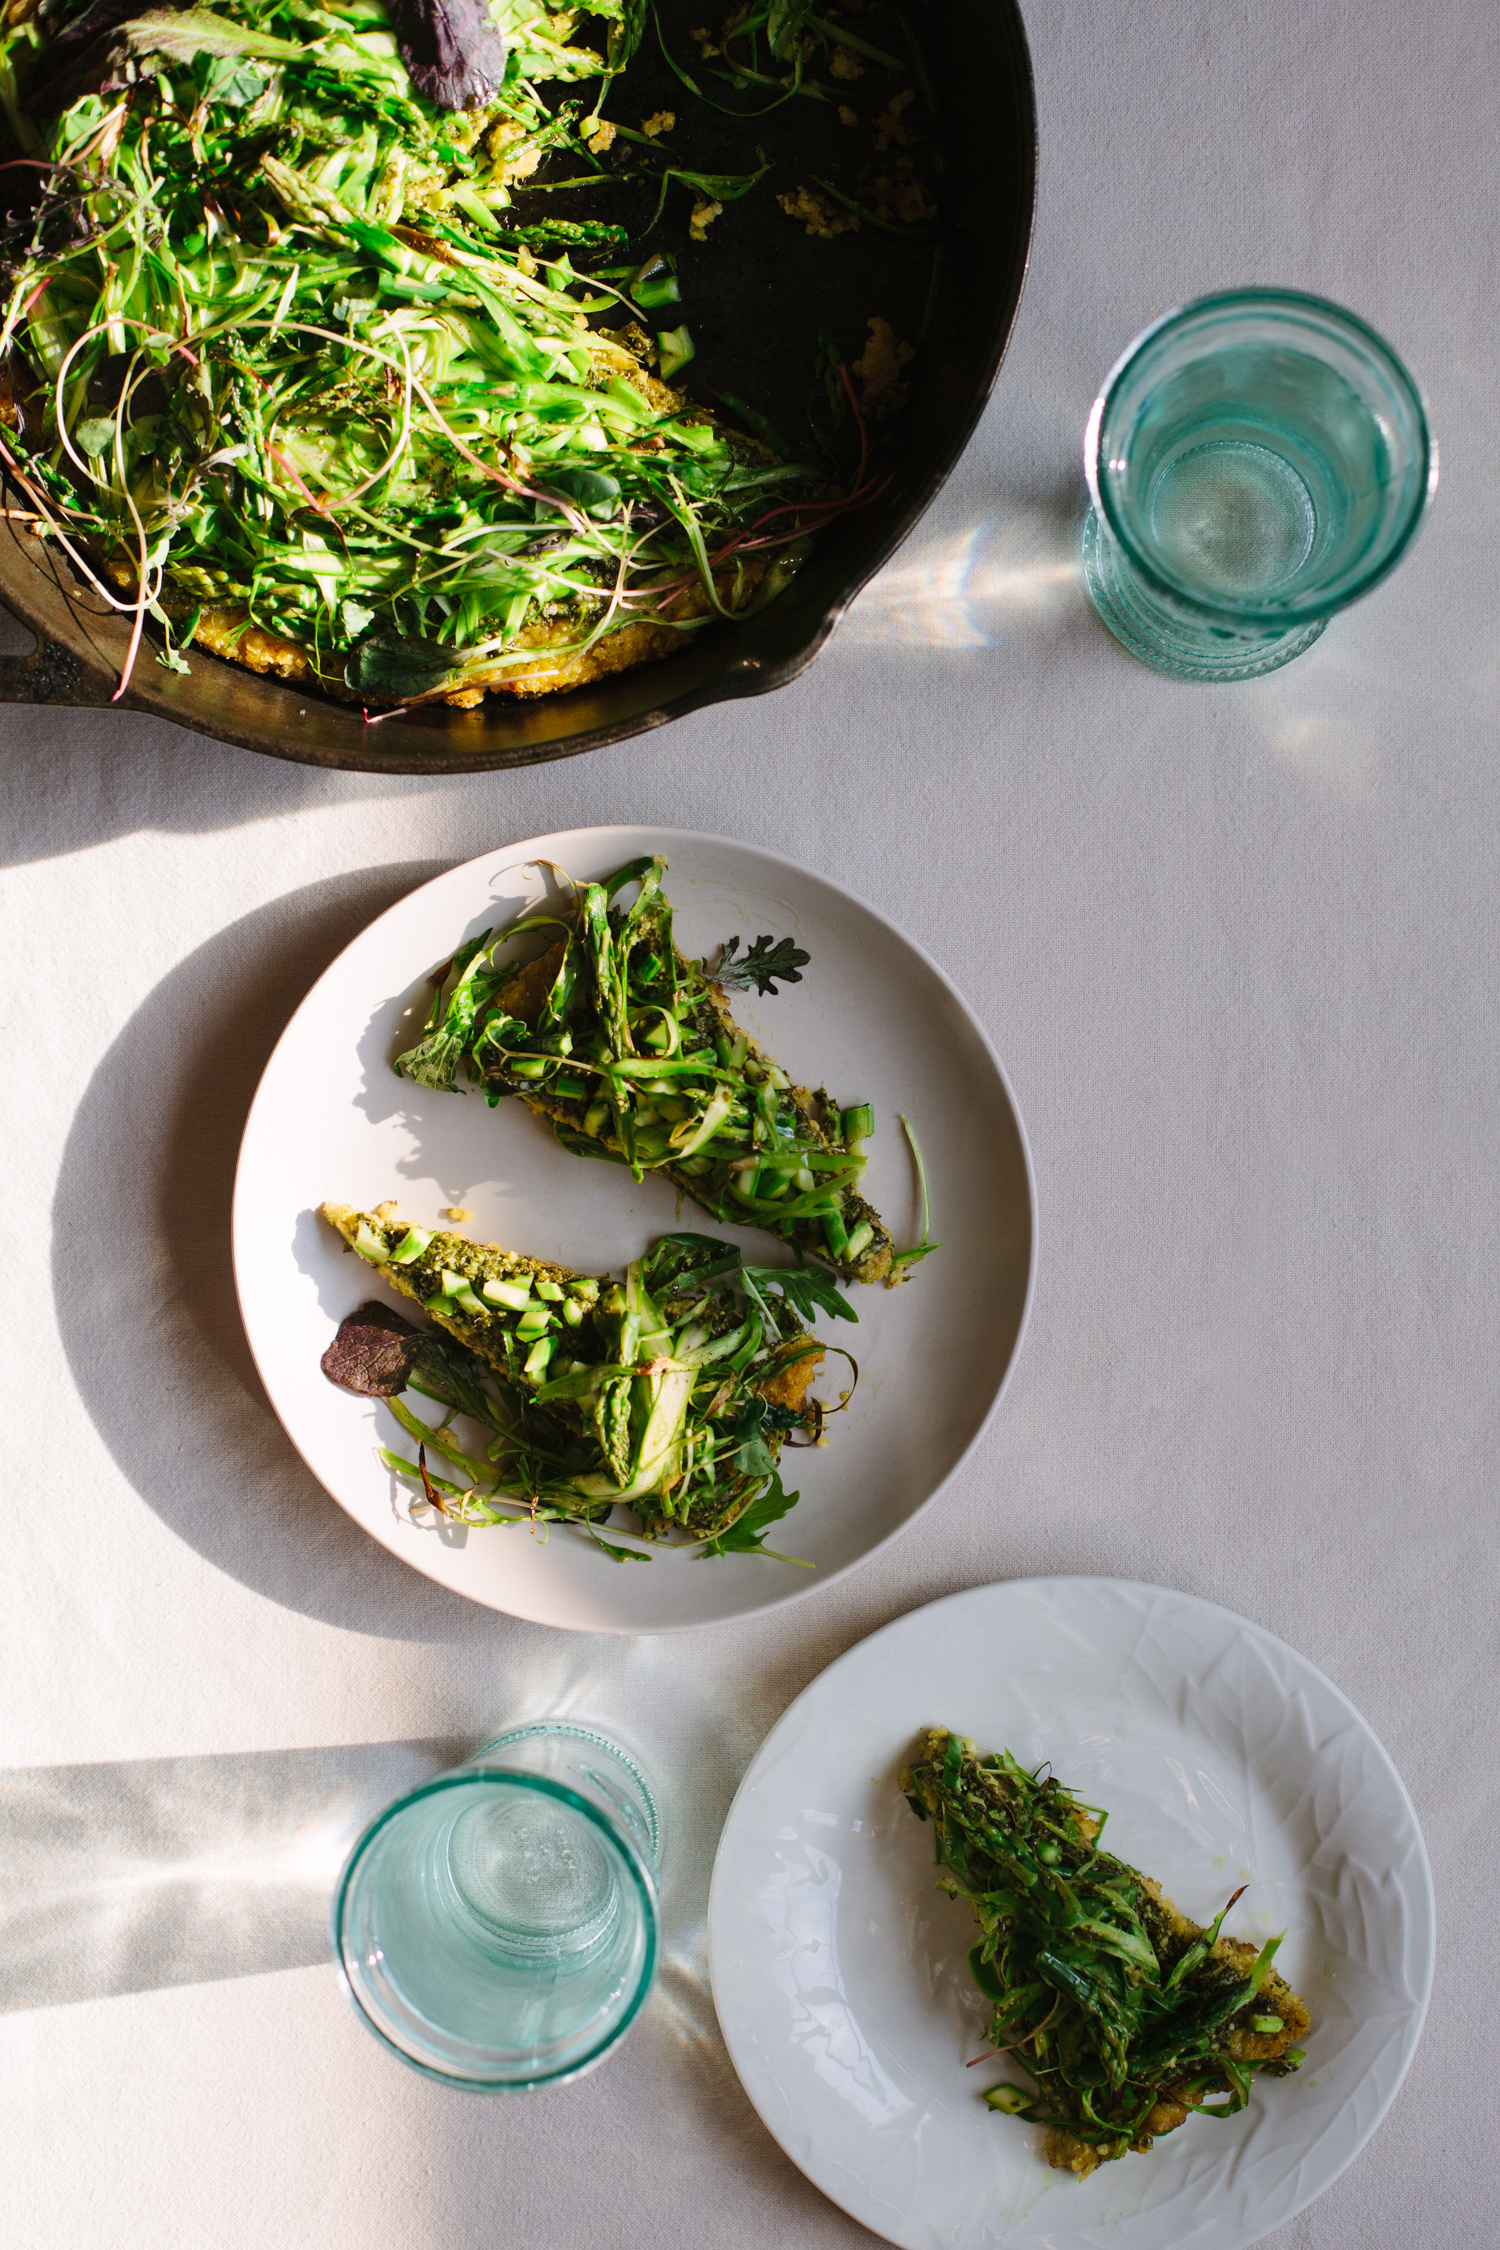
Green Skillet Pizza with Asparagus and Pesto
by Anya
Read Recipe
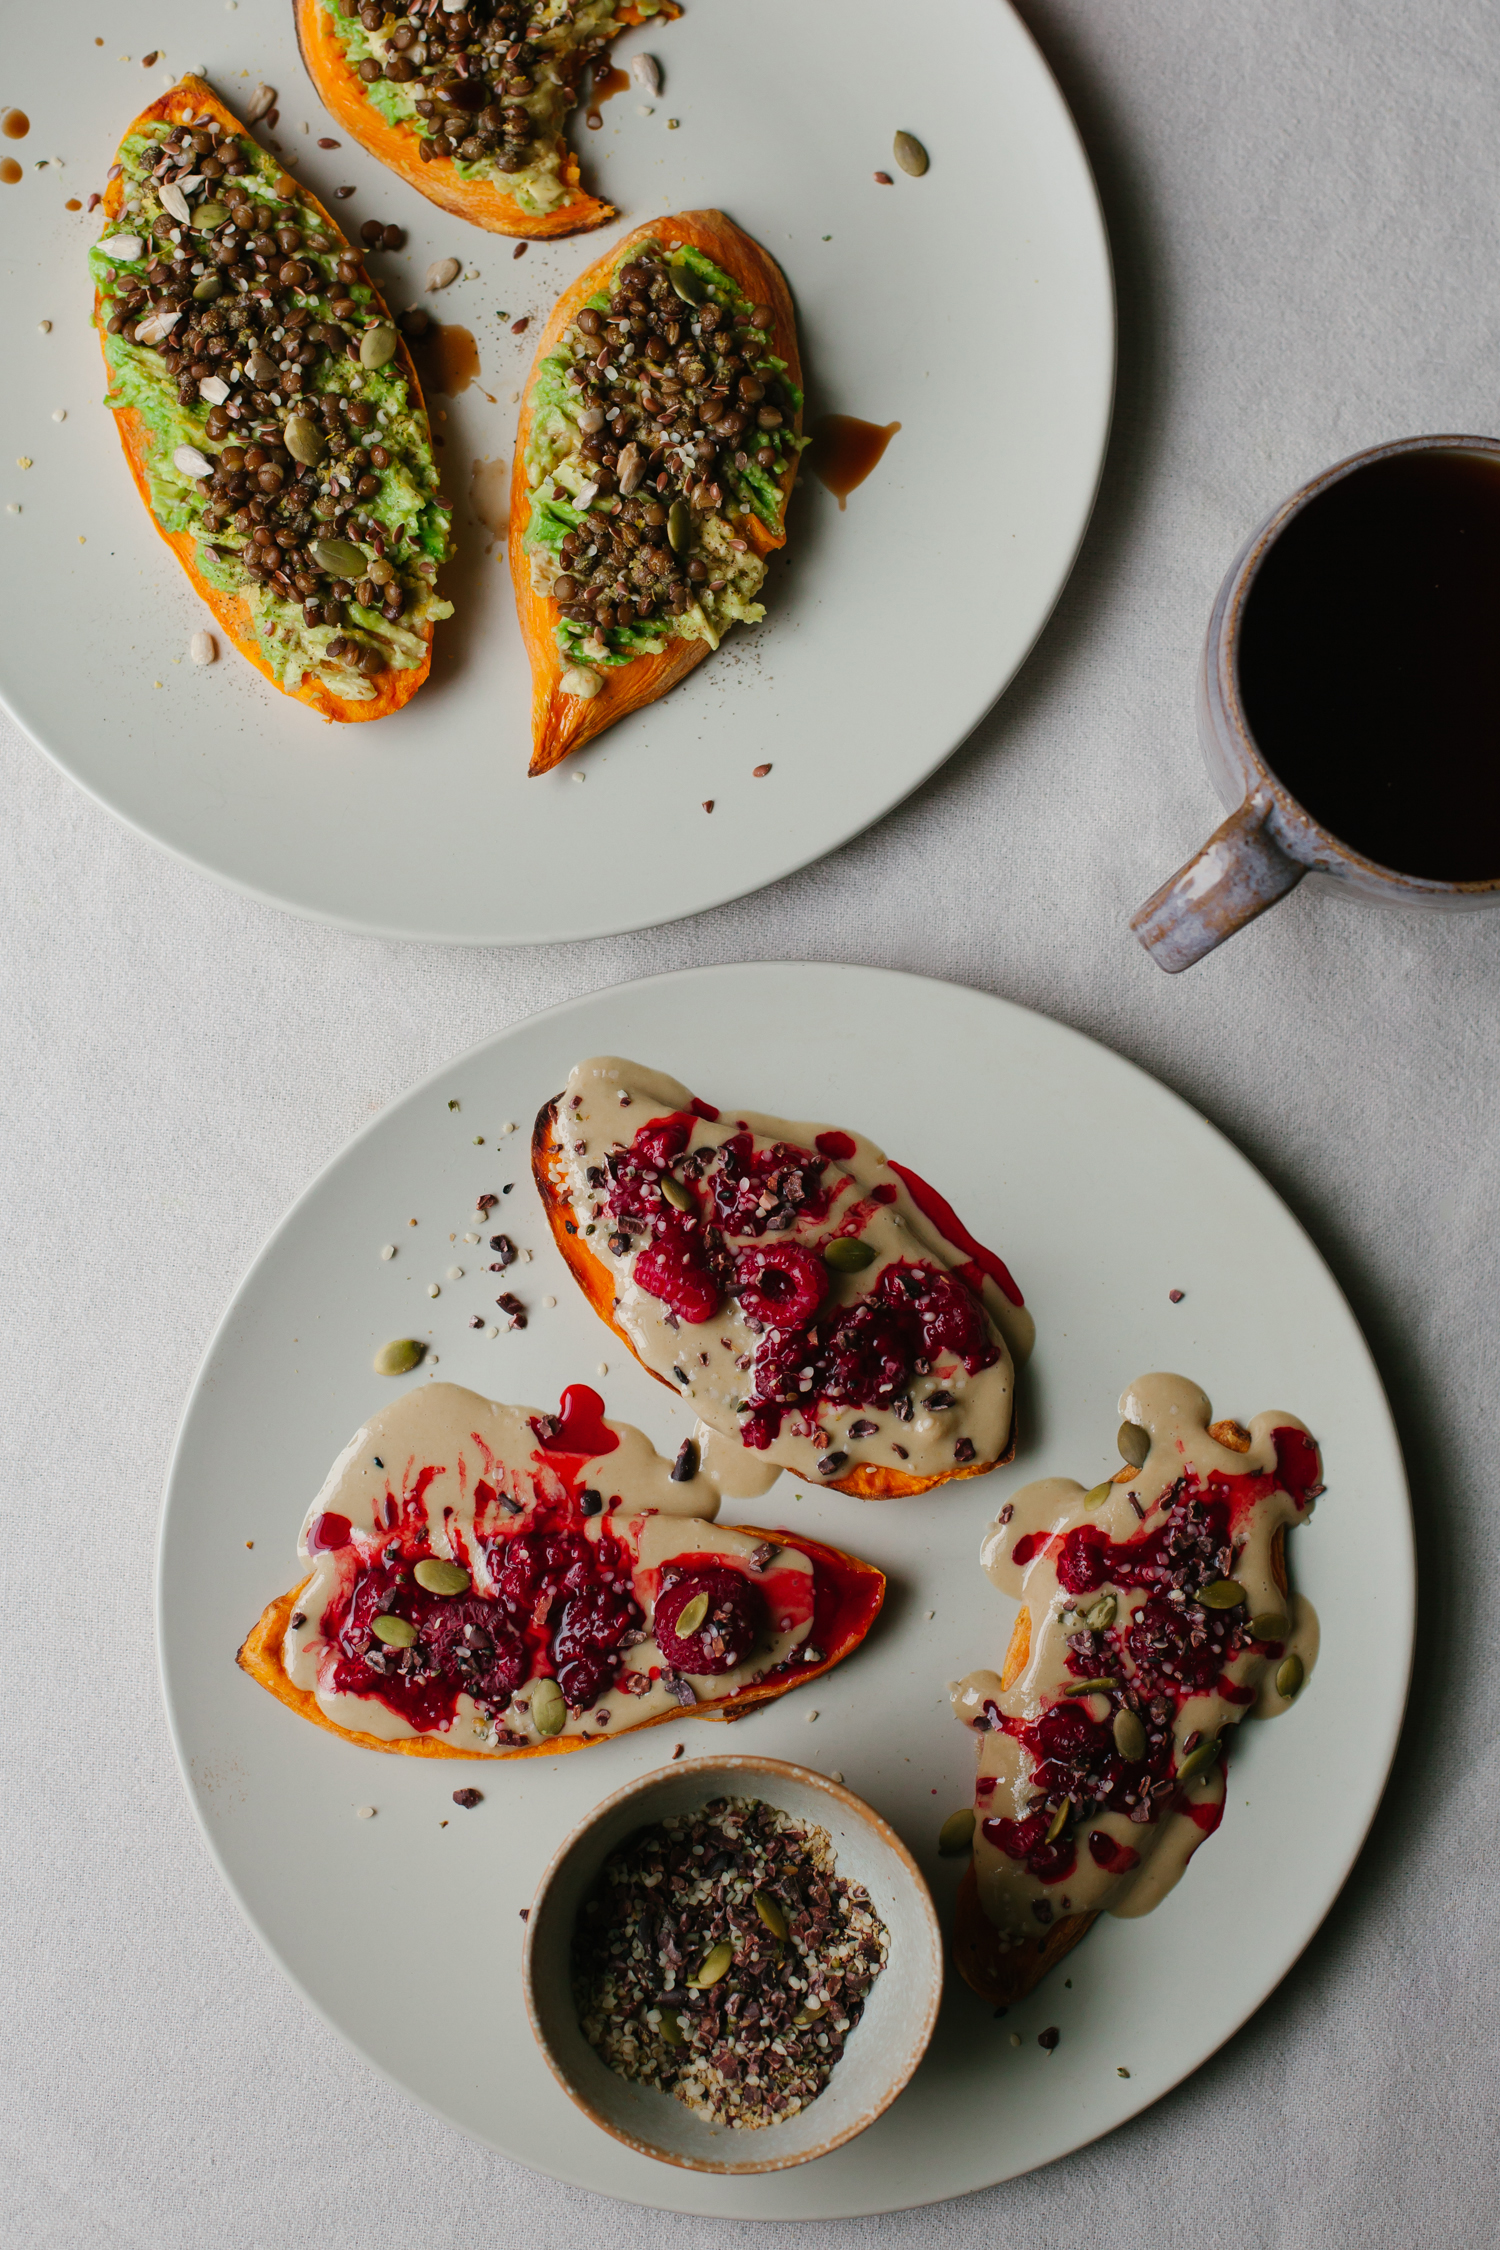
Sweet Potato Toast, Two Ways
by Anya
Read Recipe
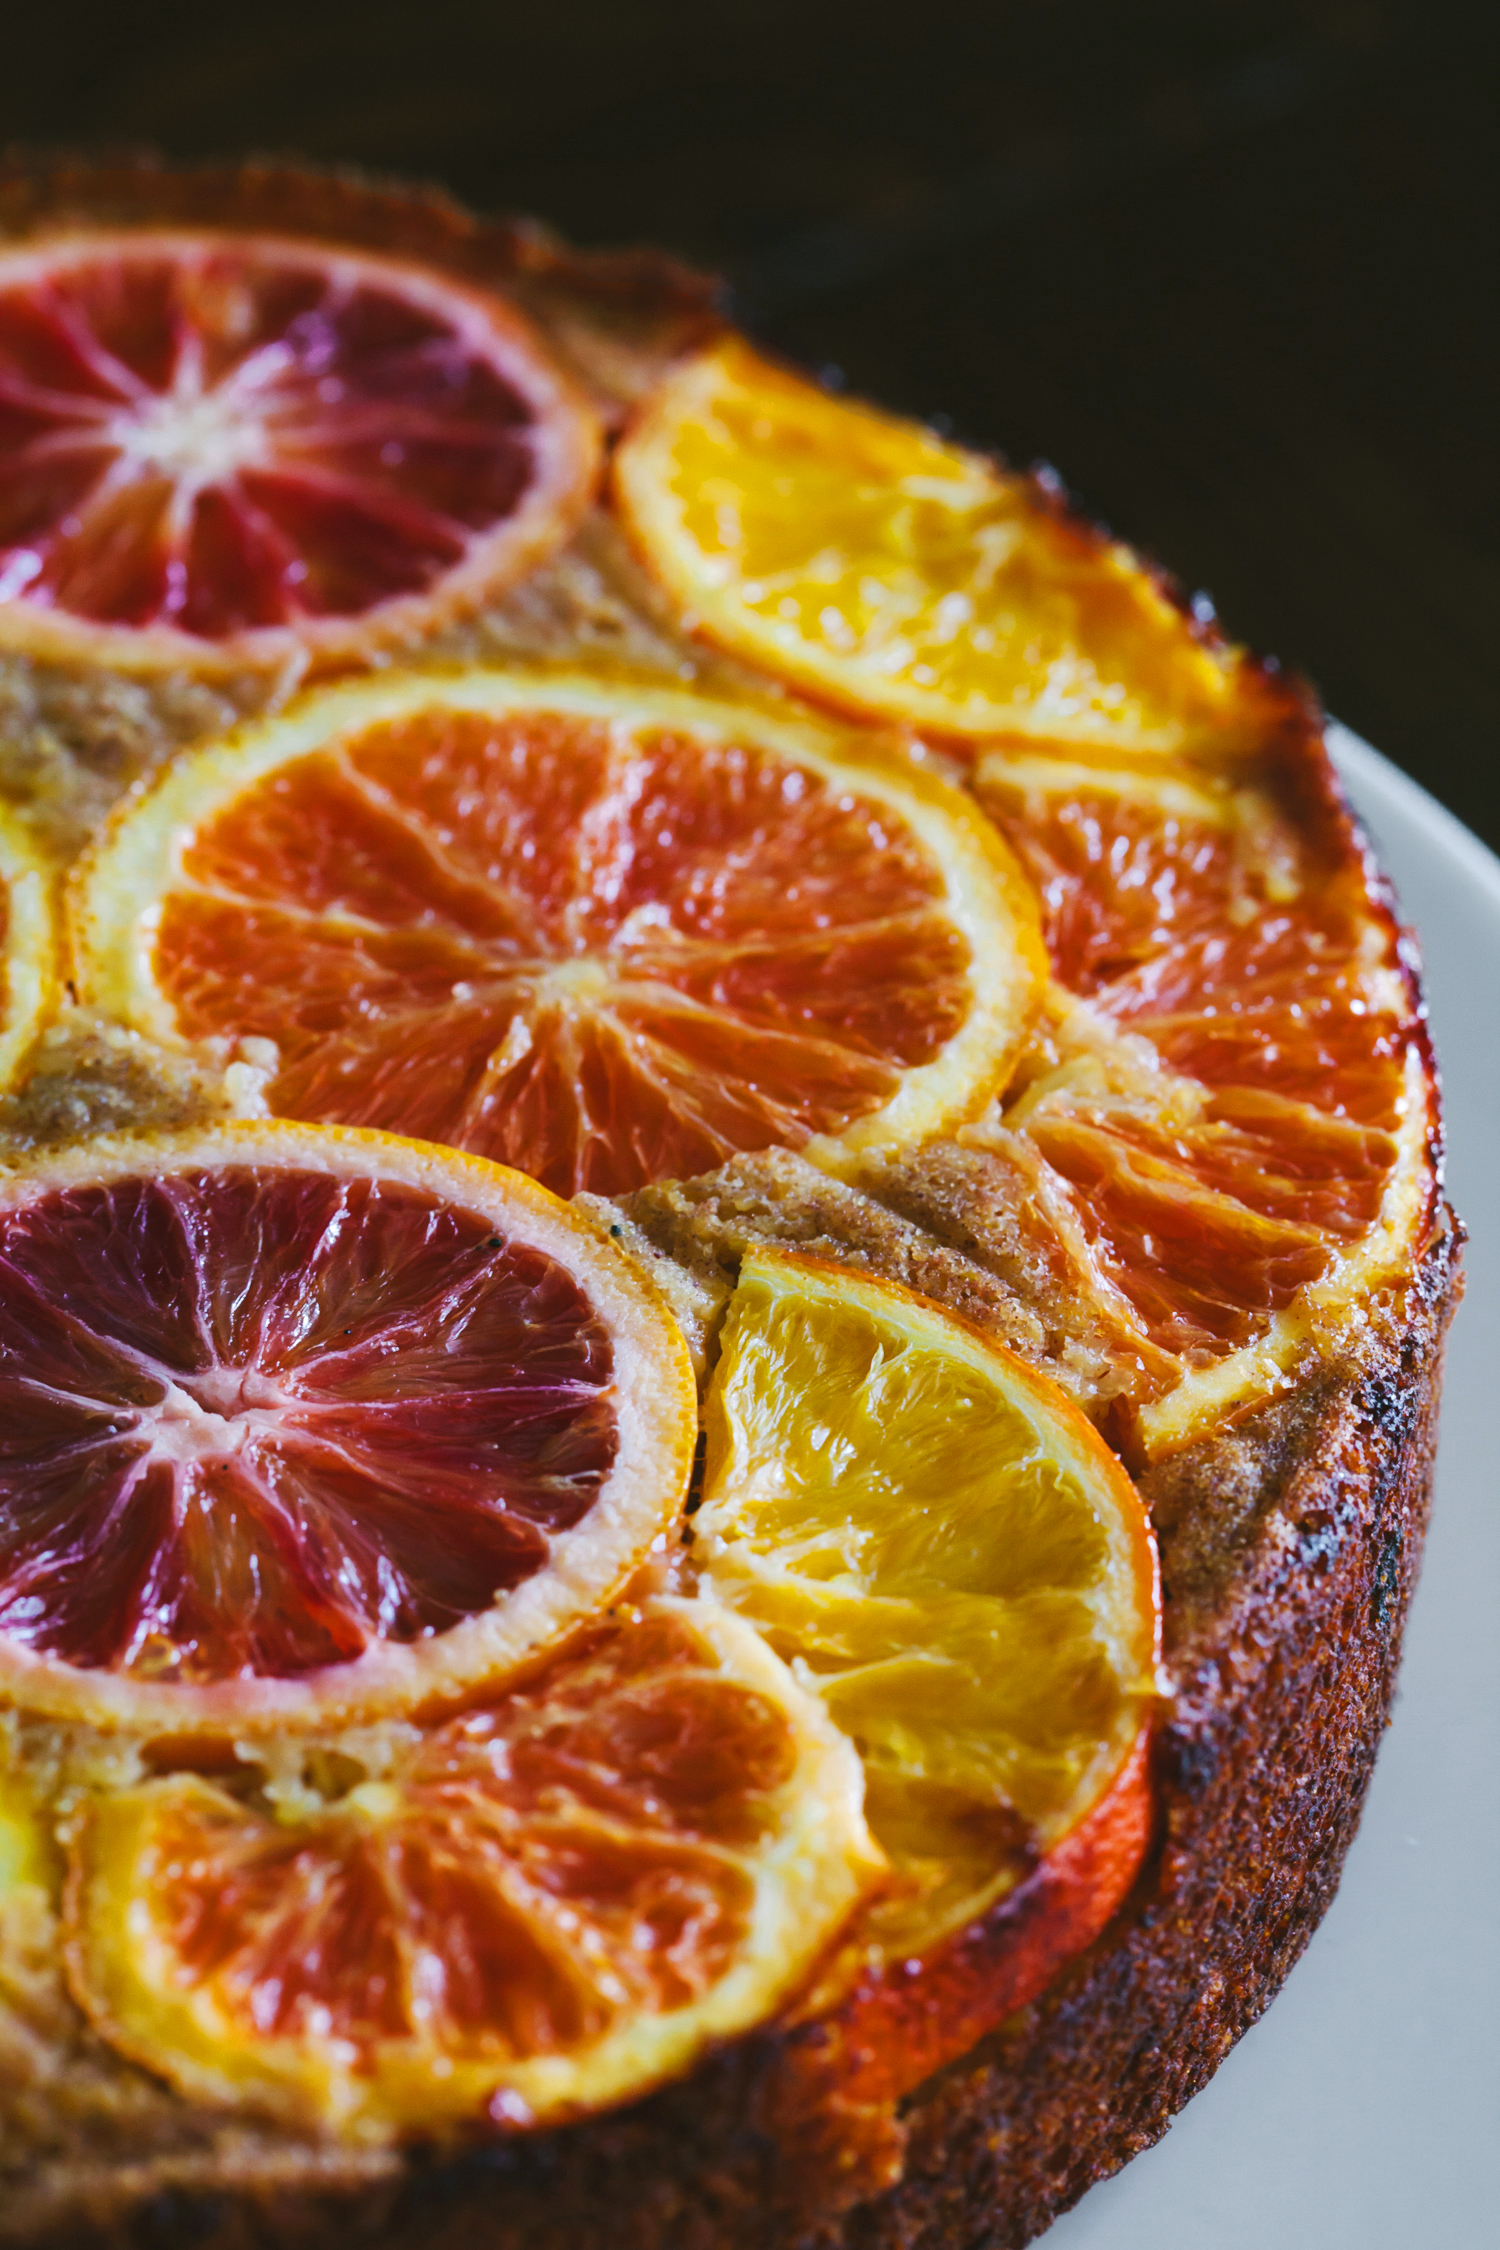
Upside Down Citrus Polenta Cake
by Anya
Read Recipe
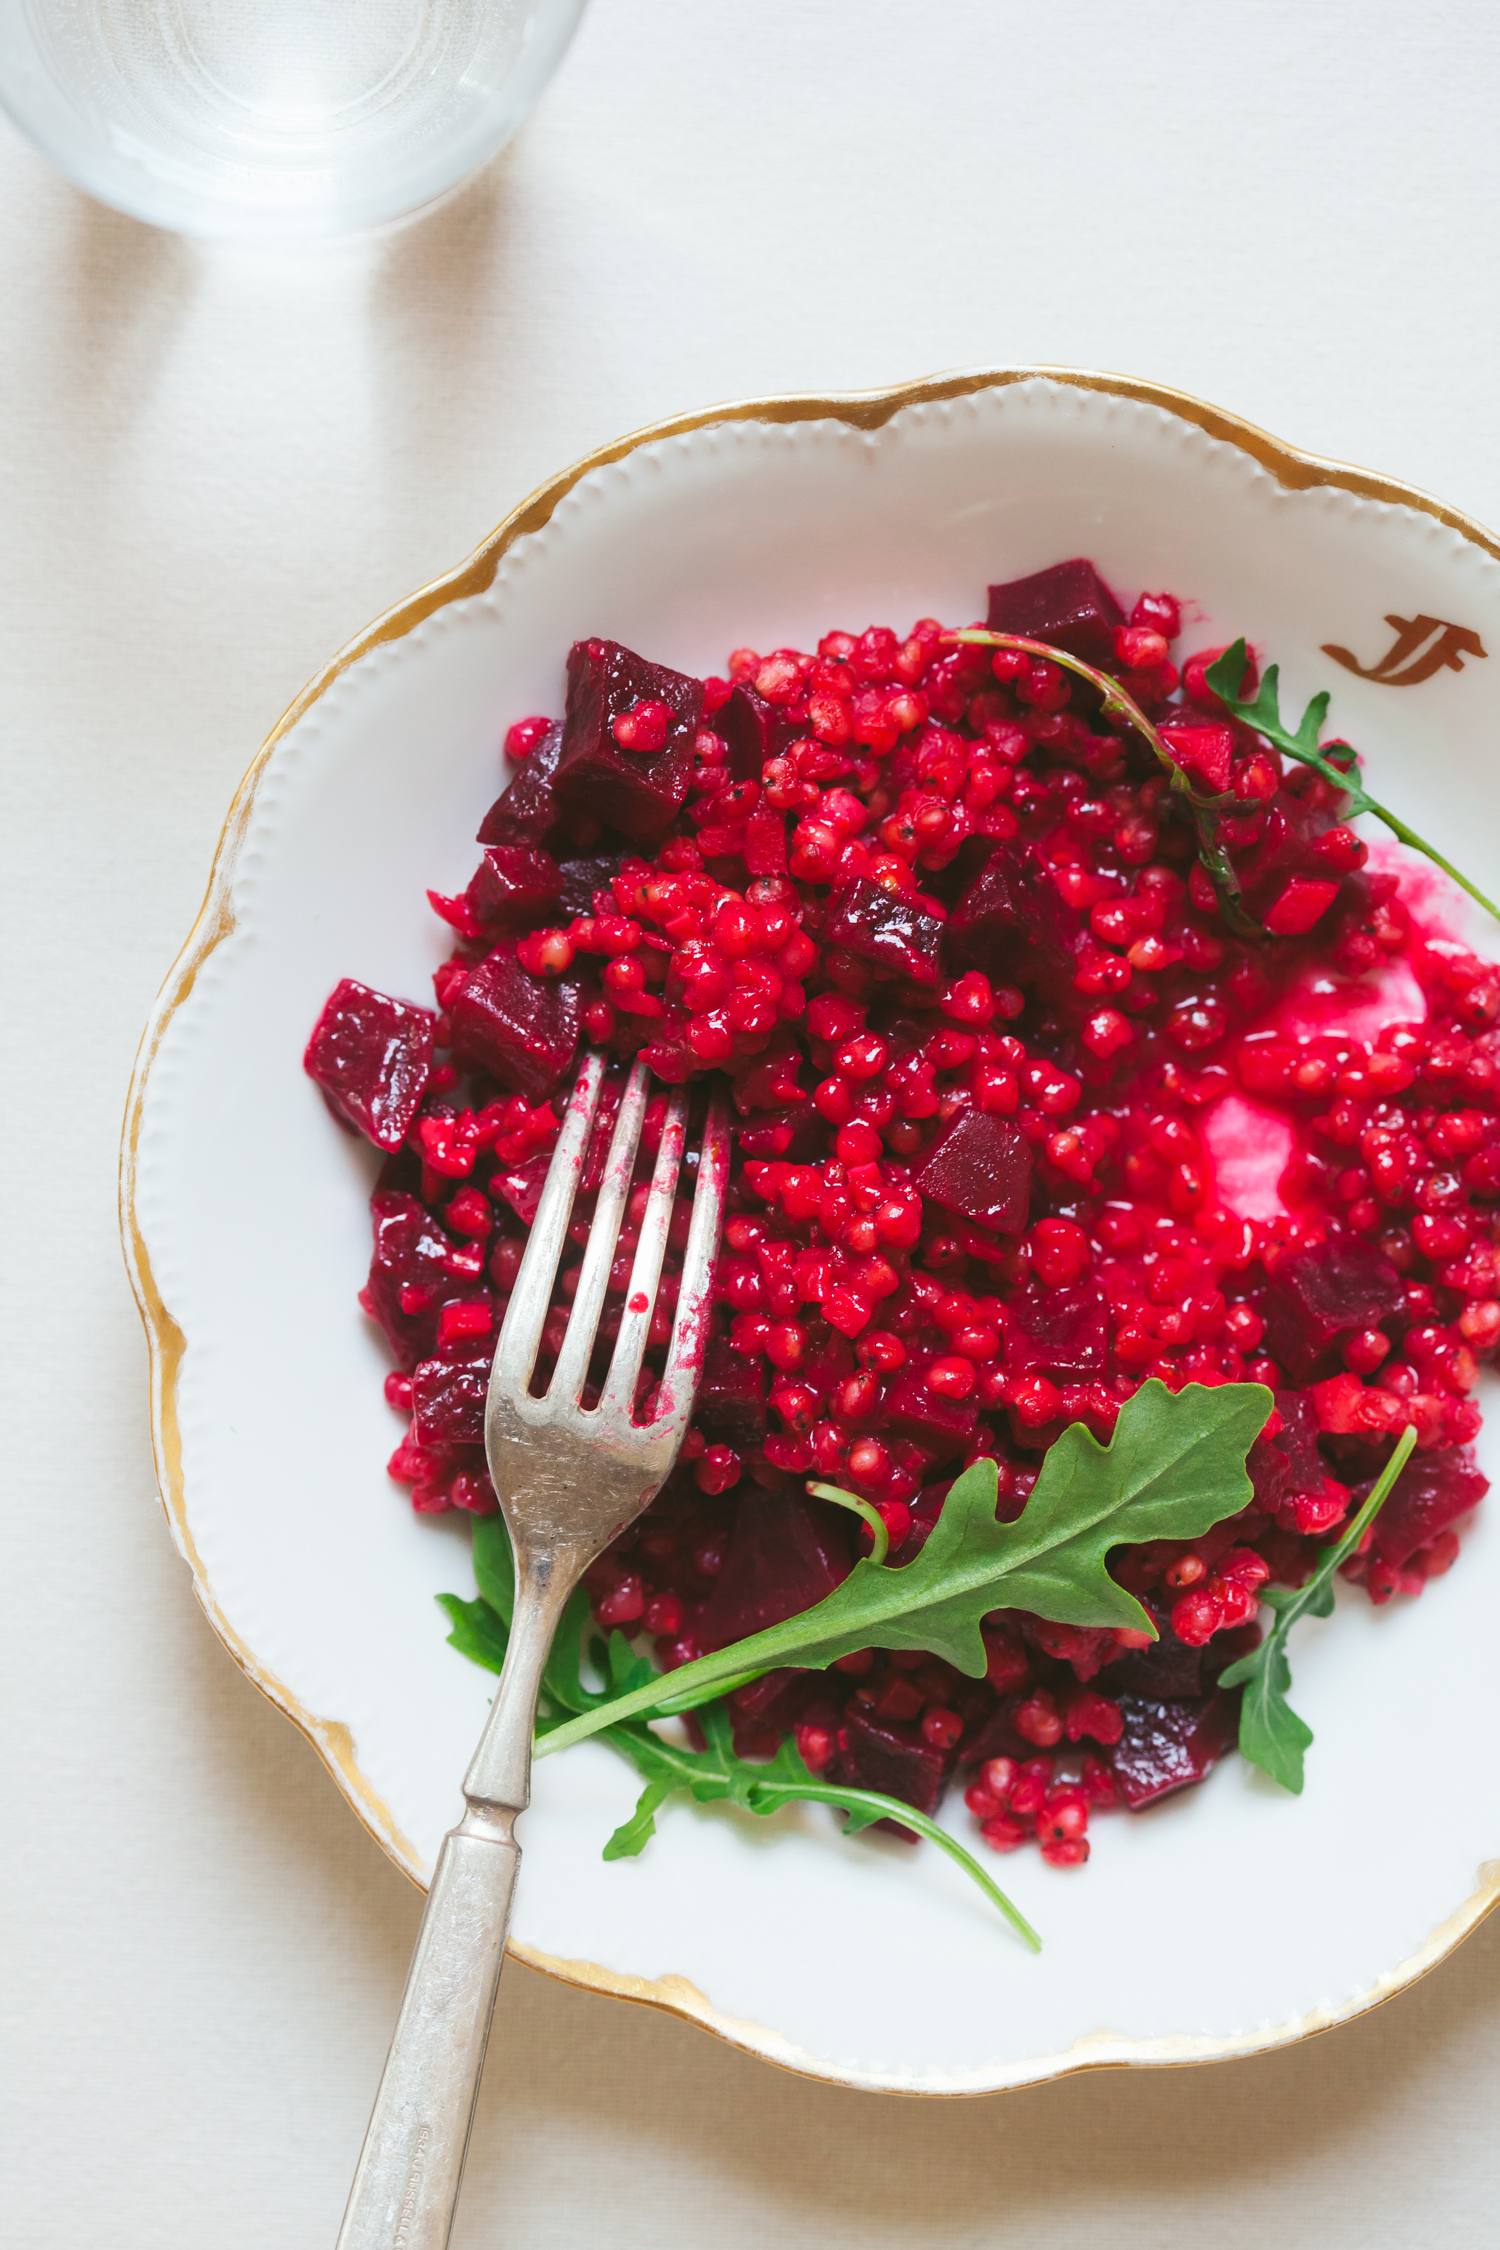
Sorghum Beet Risotto
by Anya
Read Recipe
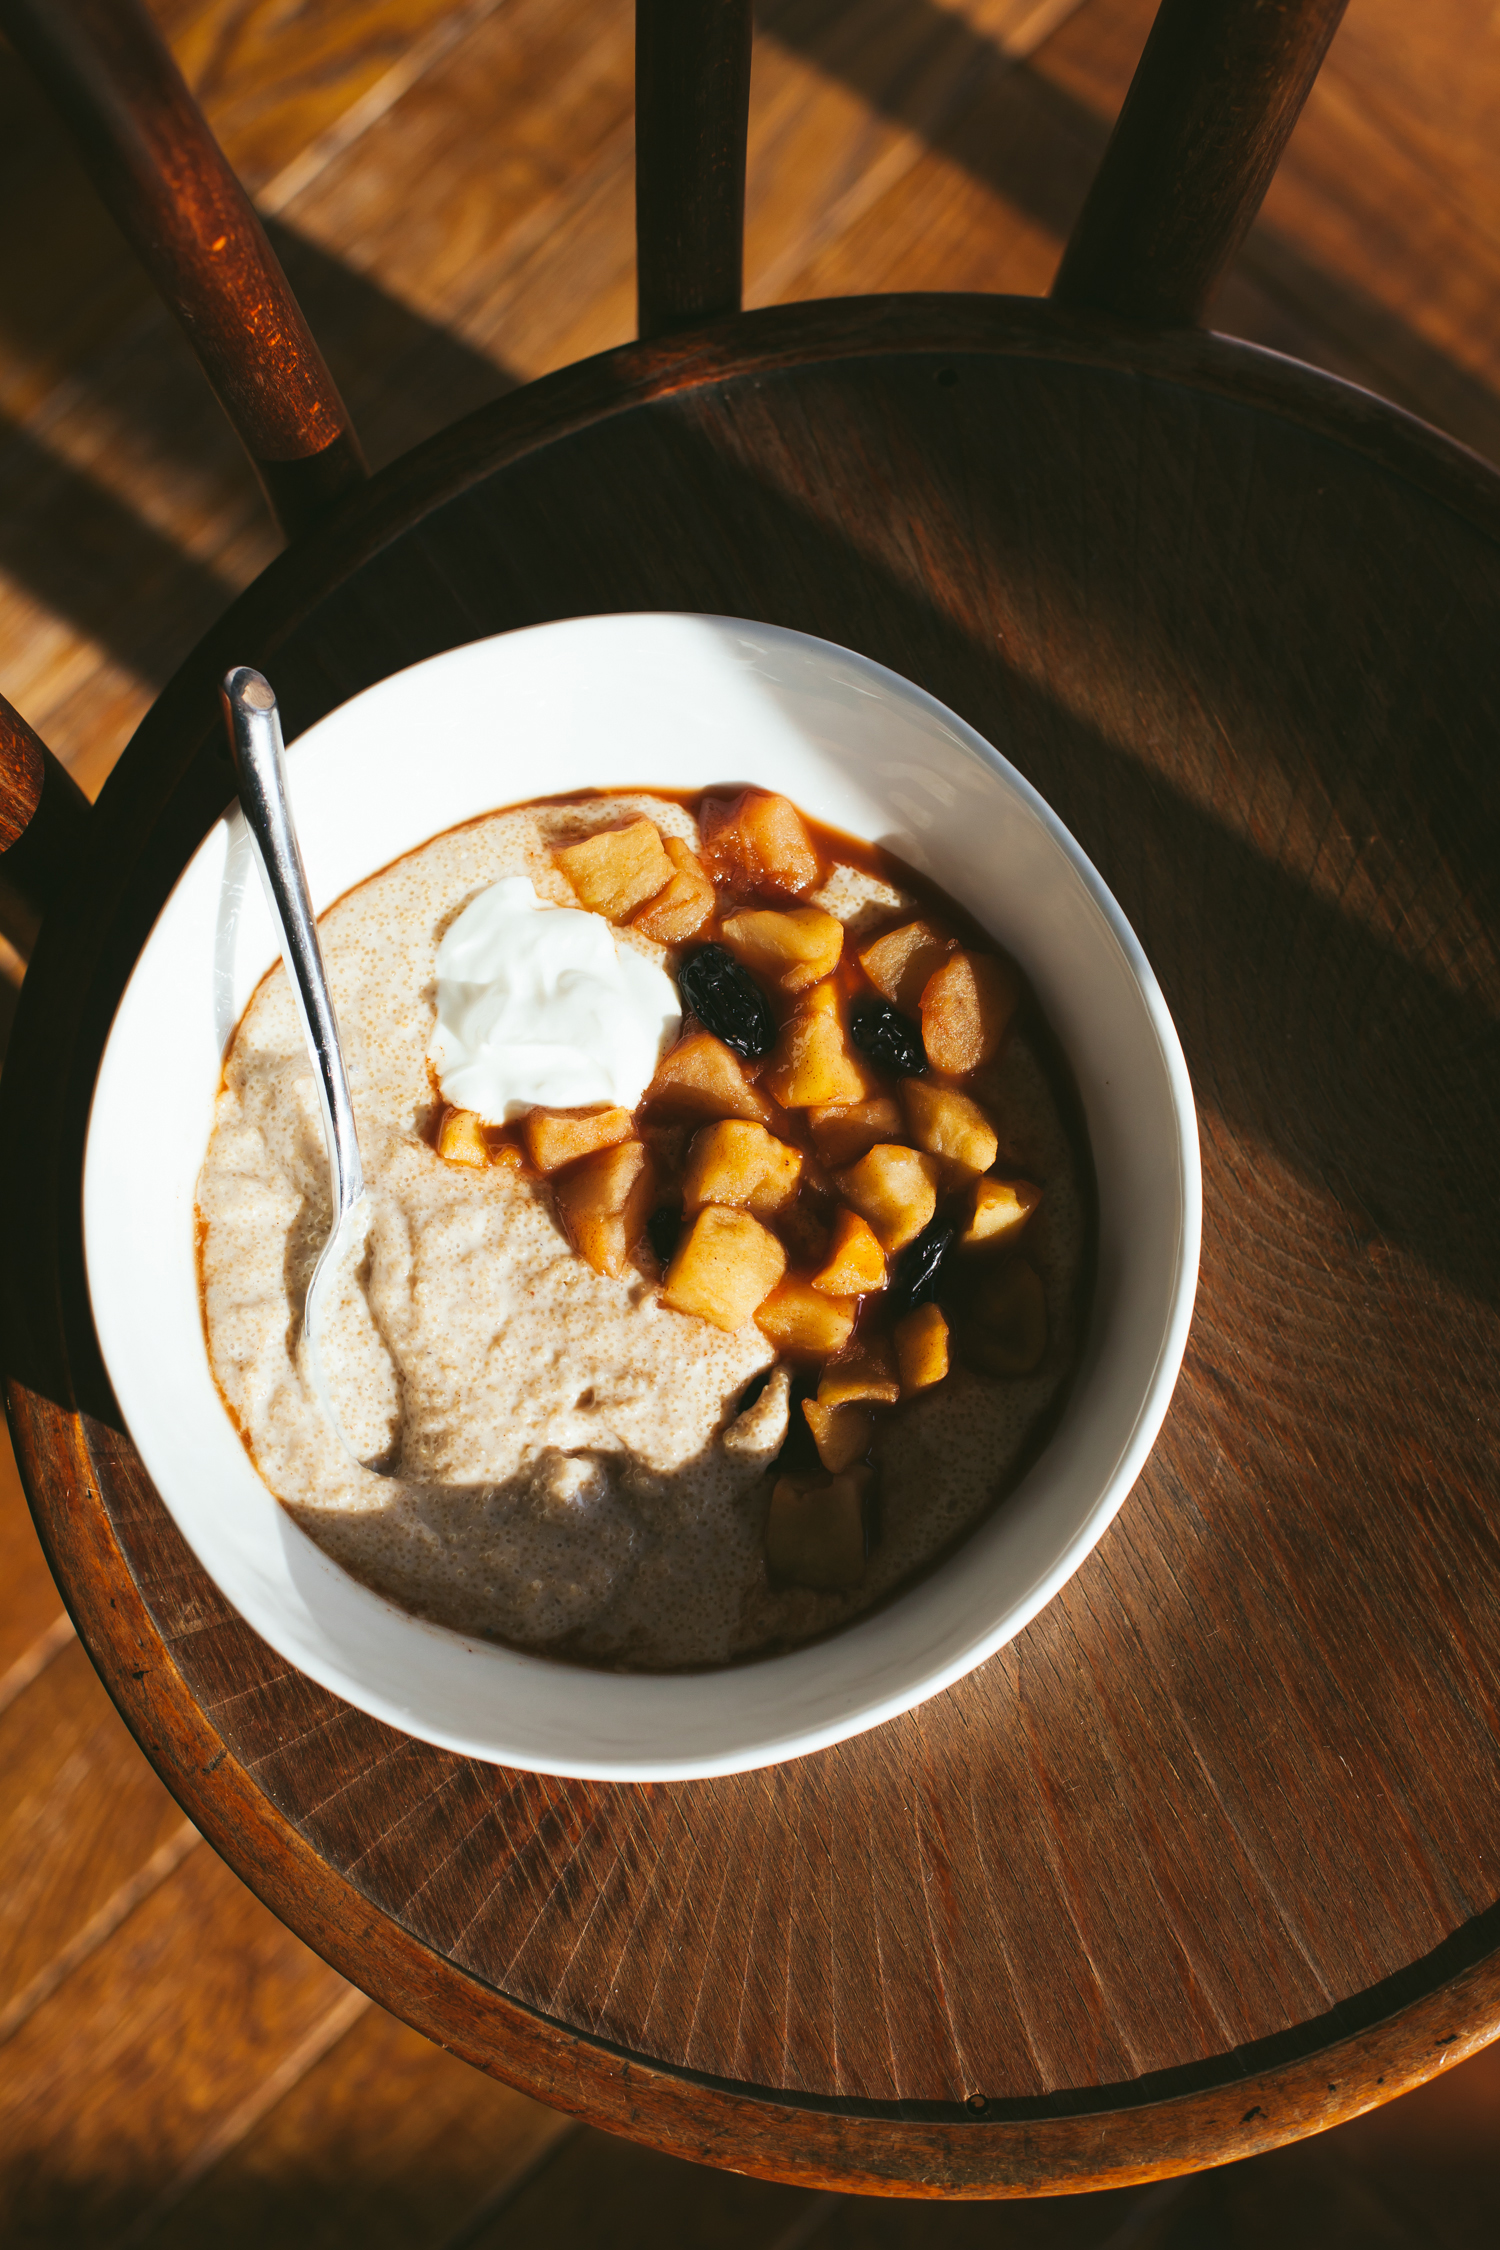
Spiced Amaranth Porridge with Ginger Stewed Apples and Raisins
by Anya
Read Recipe
Chocolate Beet Layer Cake with Pink Frosting and Chocolate Ganache
by Anya
Read Recipe
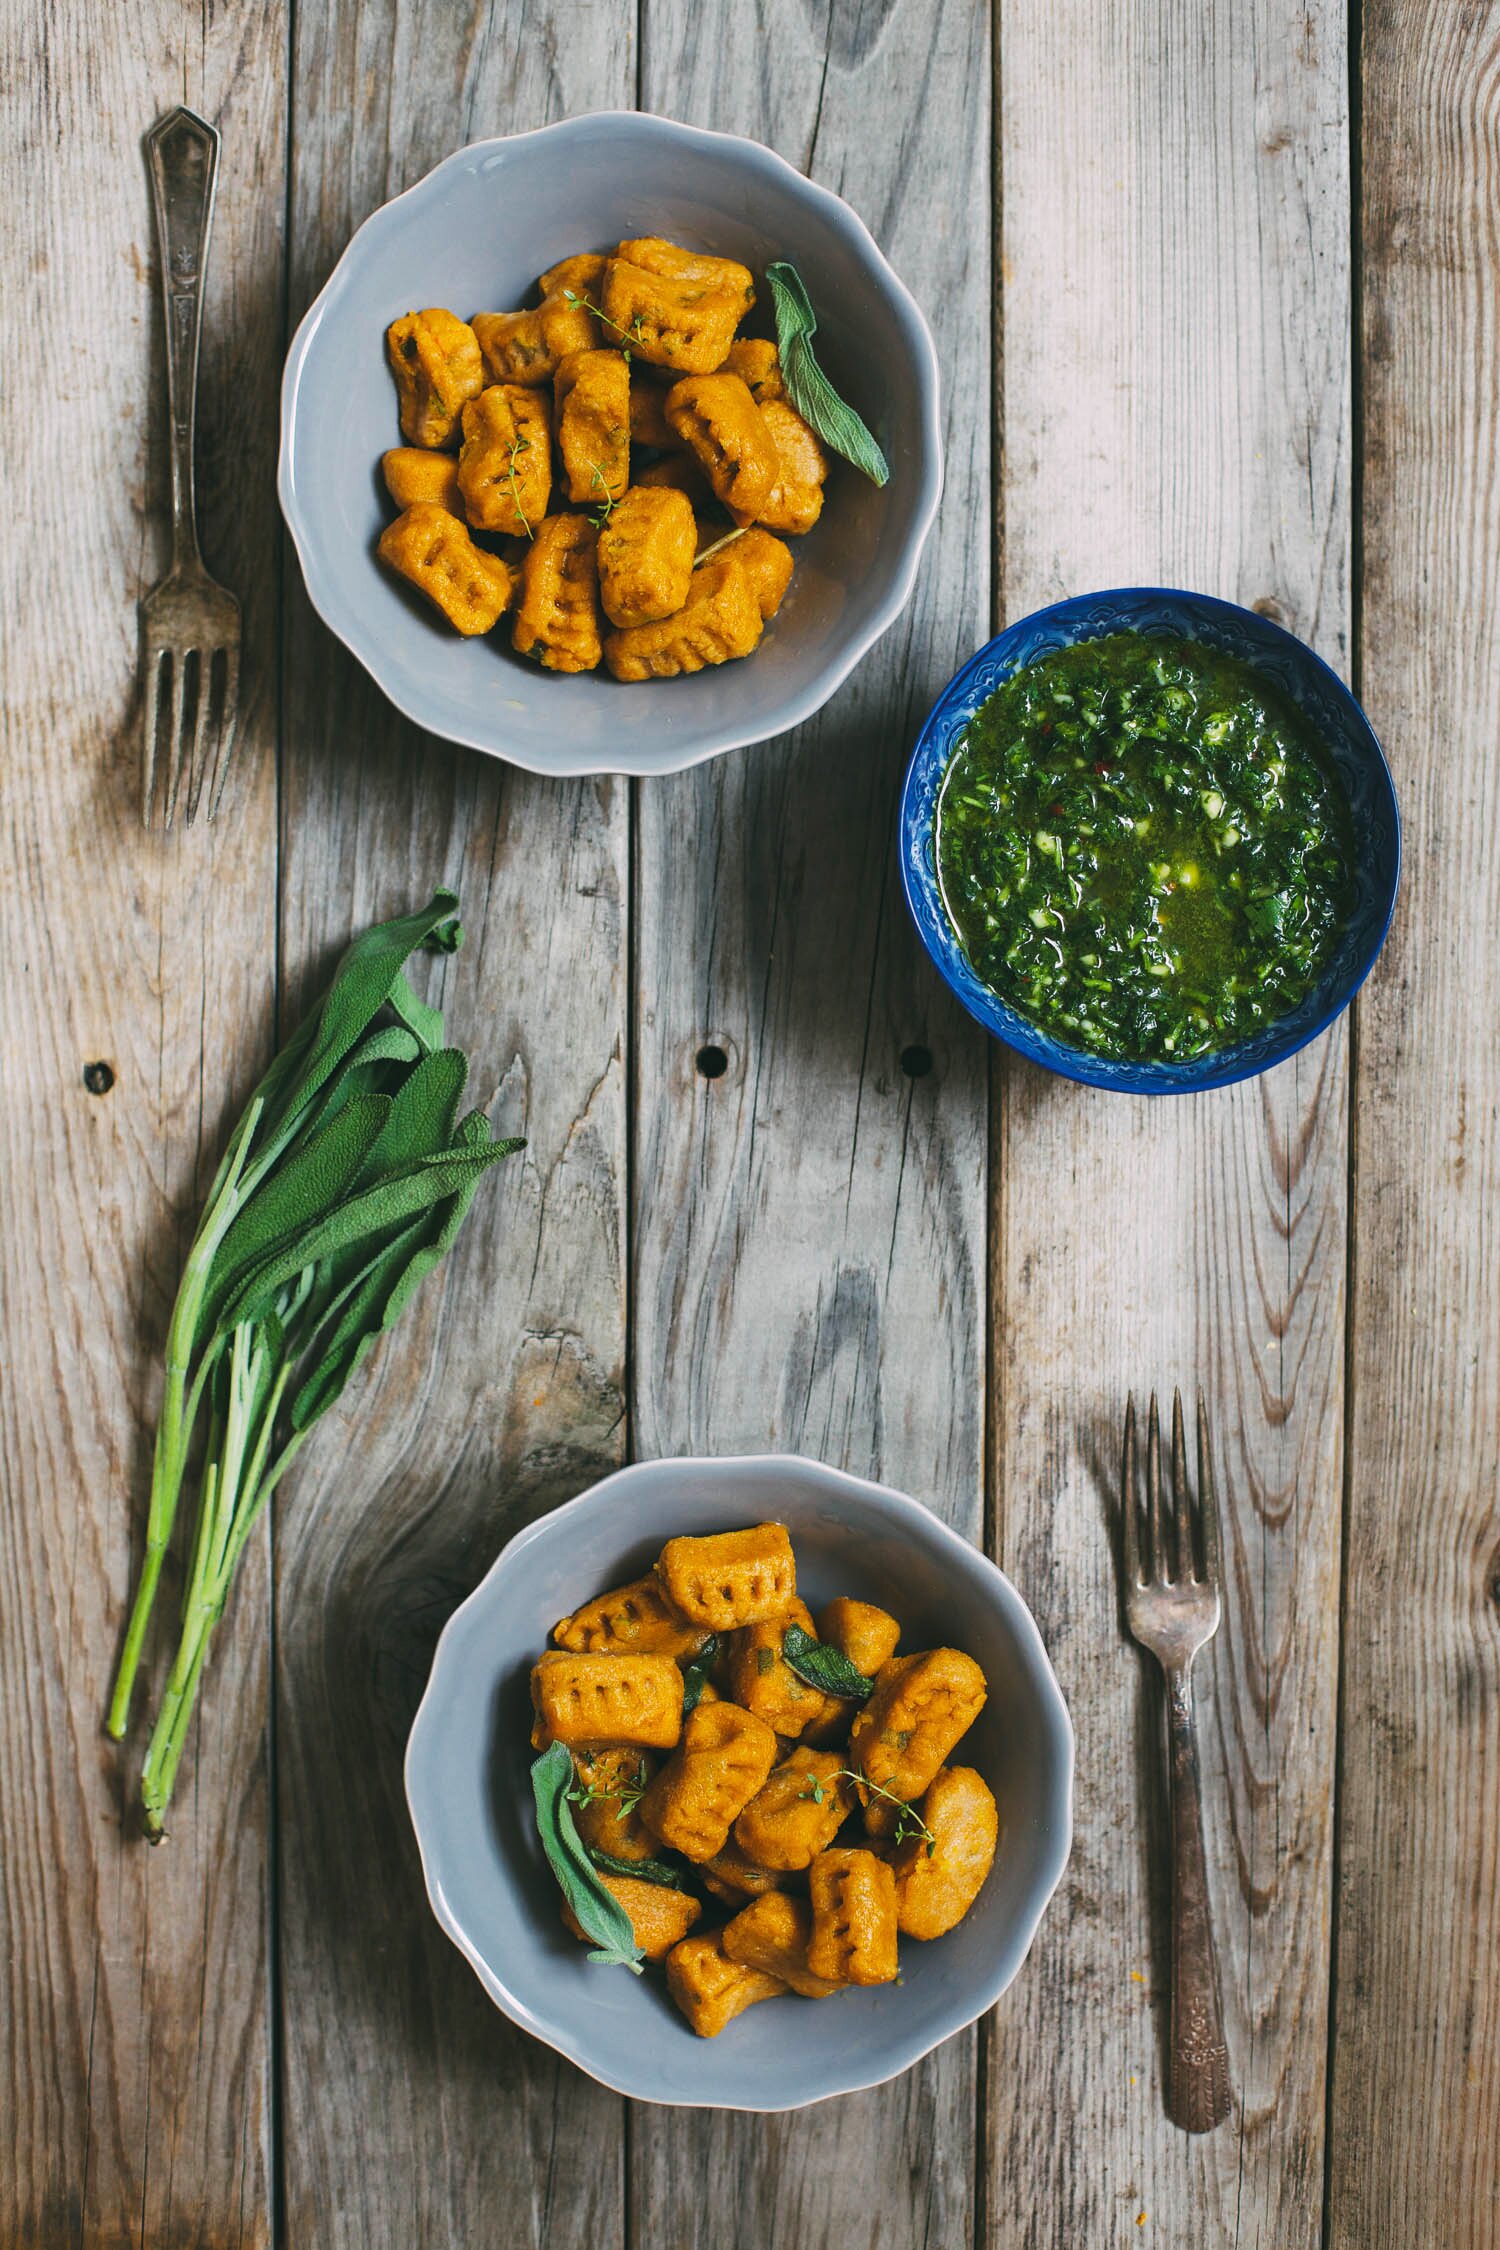
Gluten-Free Winter Squash Gnocchi
by Anya
Read Recipe
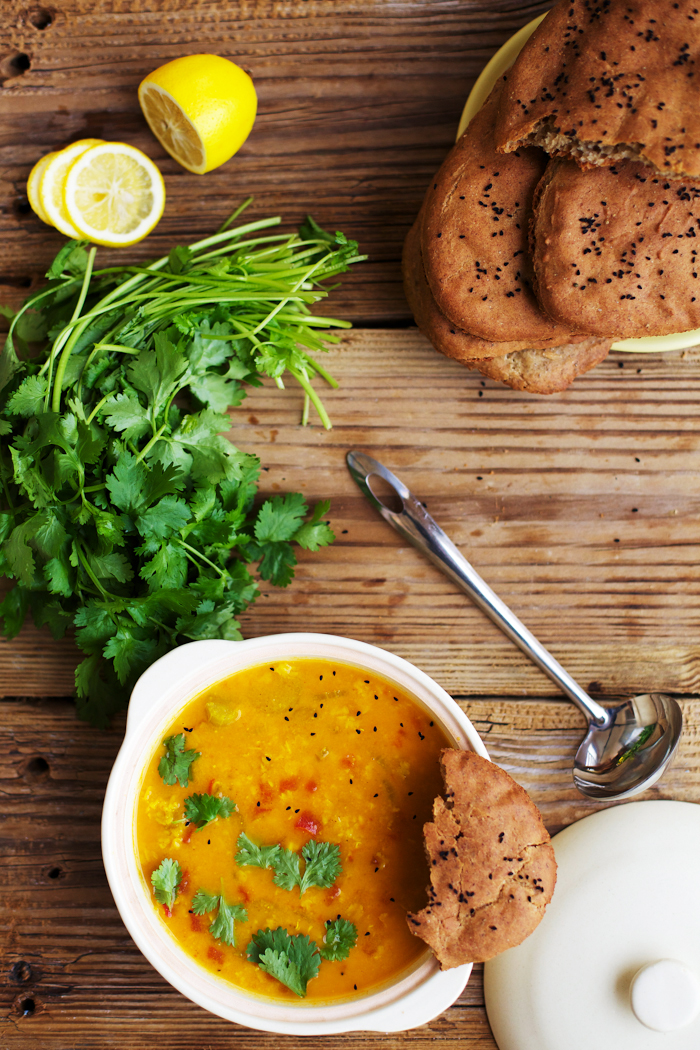
Tomato Dahl with Gluten-Free Naan
by Anya
Read Recipe