
Our Complete Recipe Collection
Explore 443+ plant-based recipes organized by ingredient and meal type. From seasonal favorites to everyday essentials, find your next delicious adventure.
Find Your Perfect Recipe
Browse by Category
Carrot and Lentil Salad
View Recipe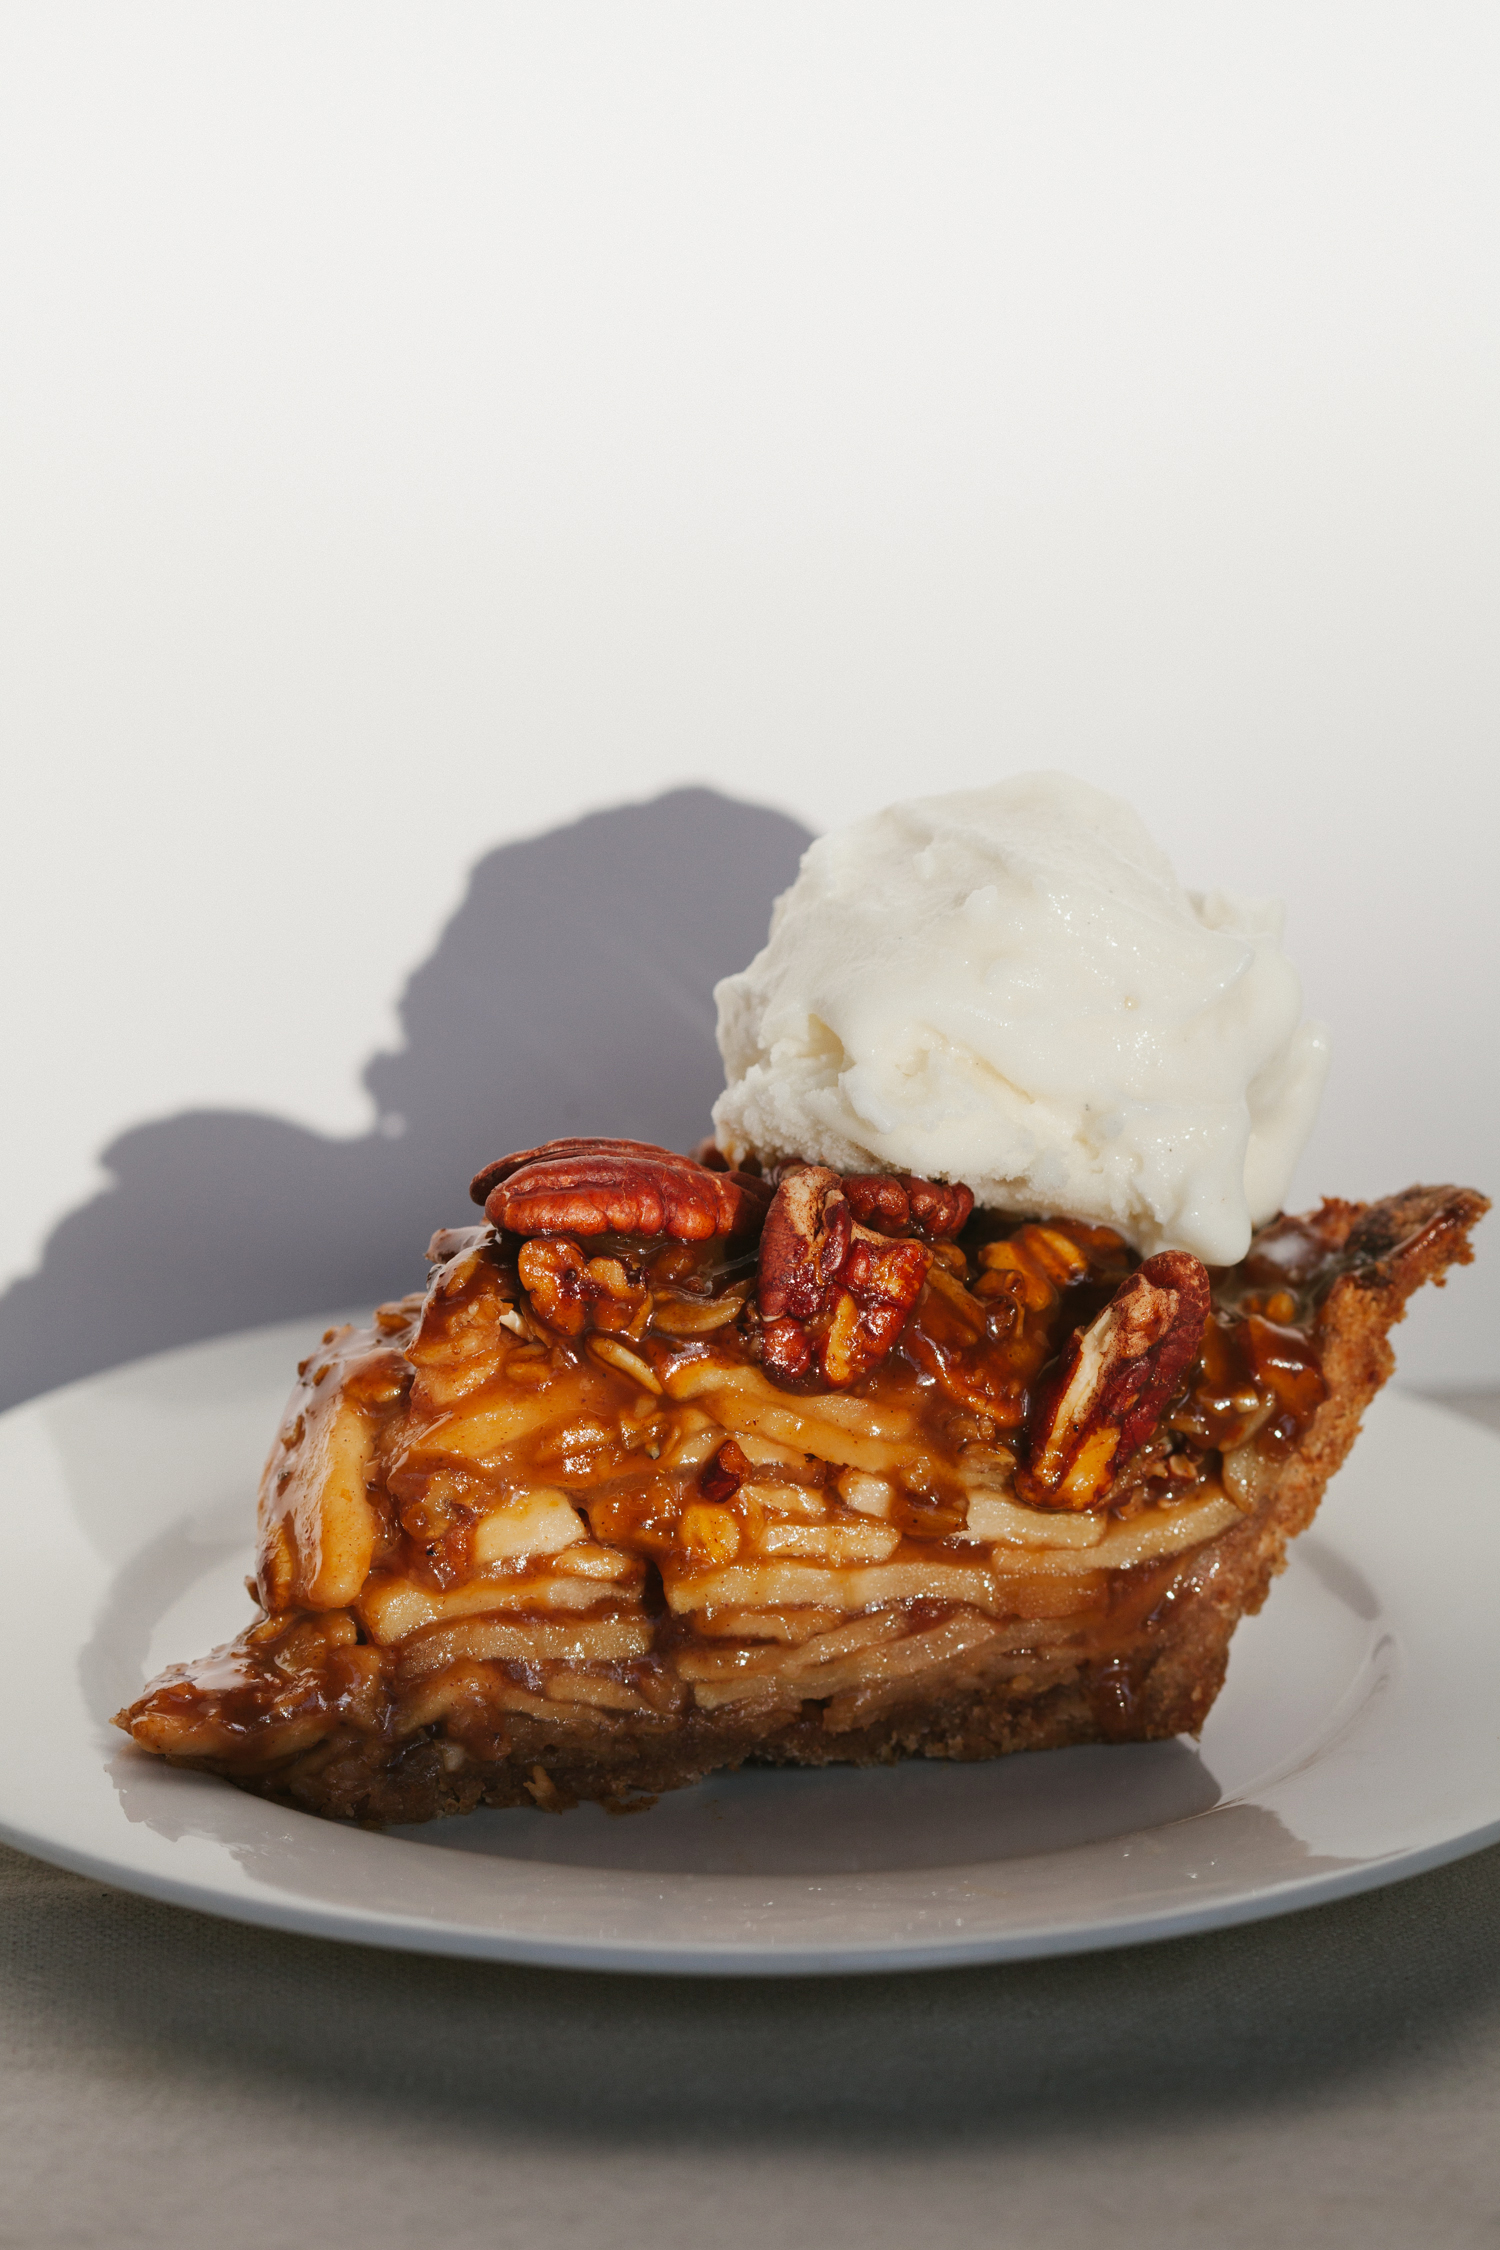
Favorite Plant-Based Holiday Recipes
View Recipe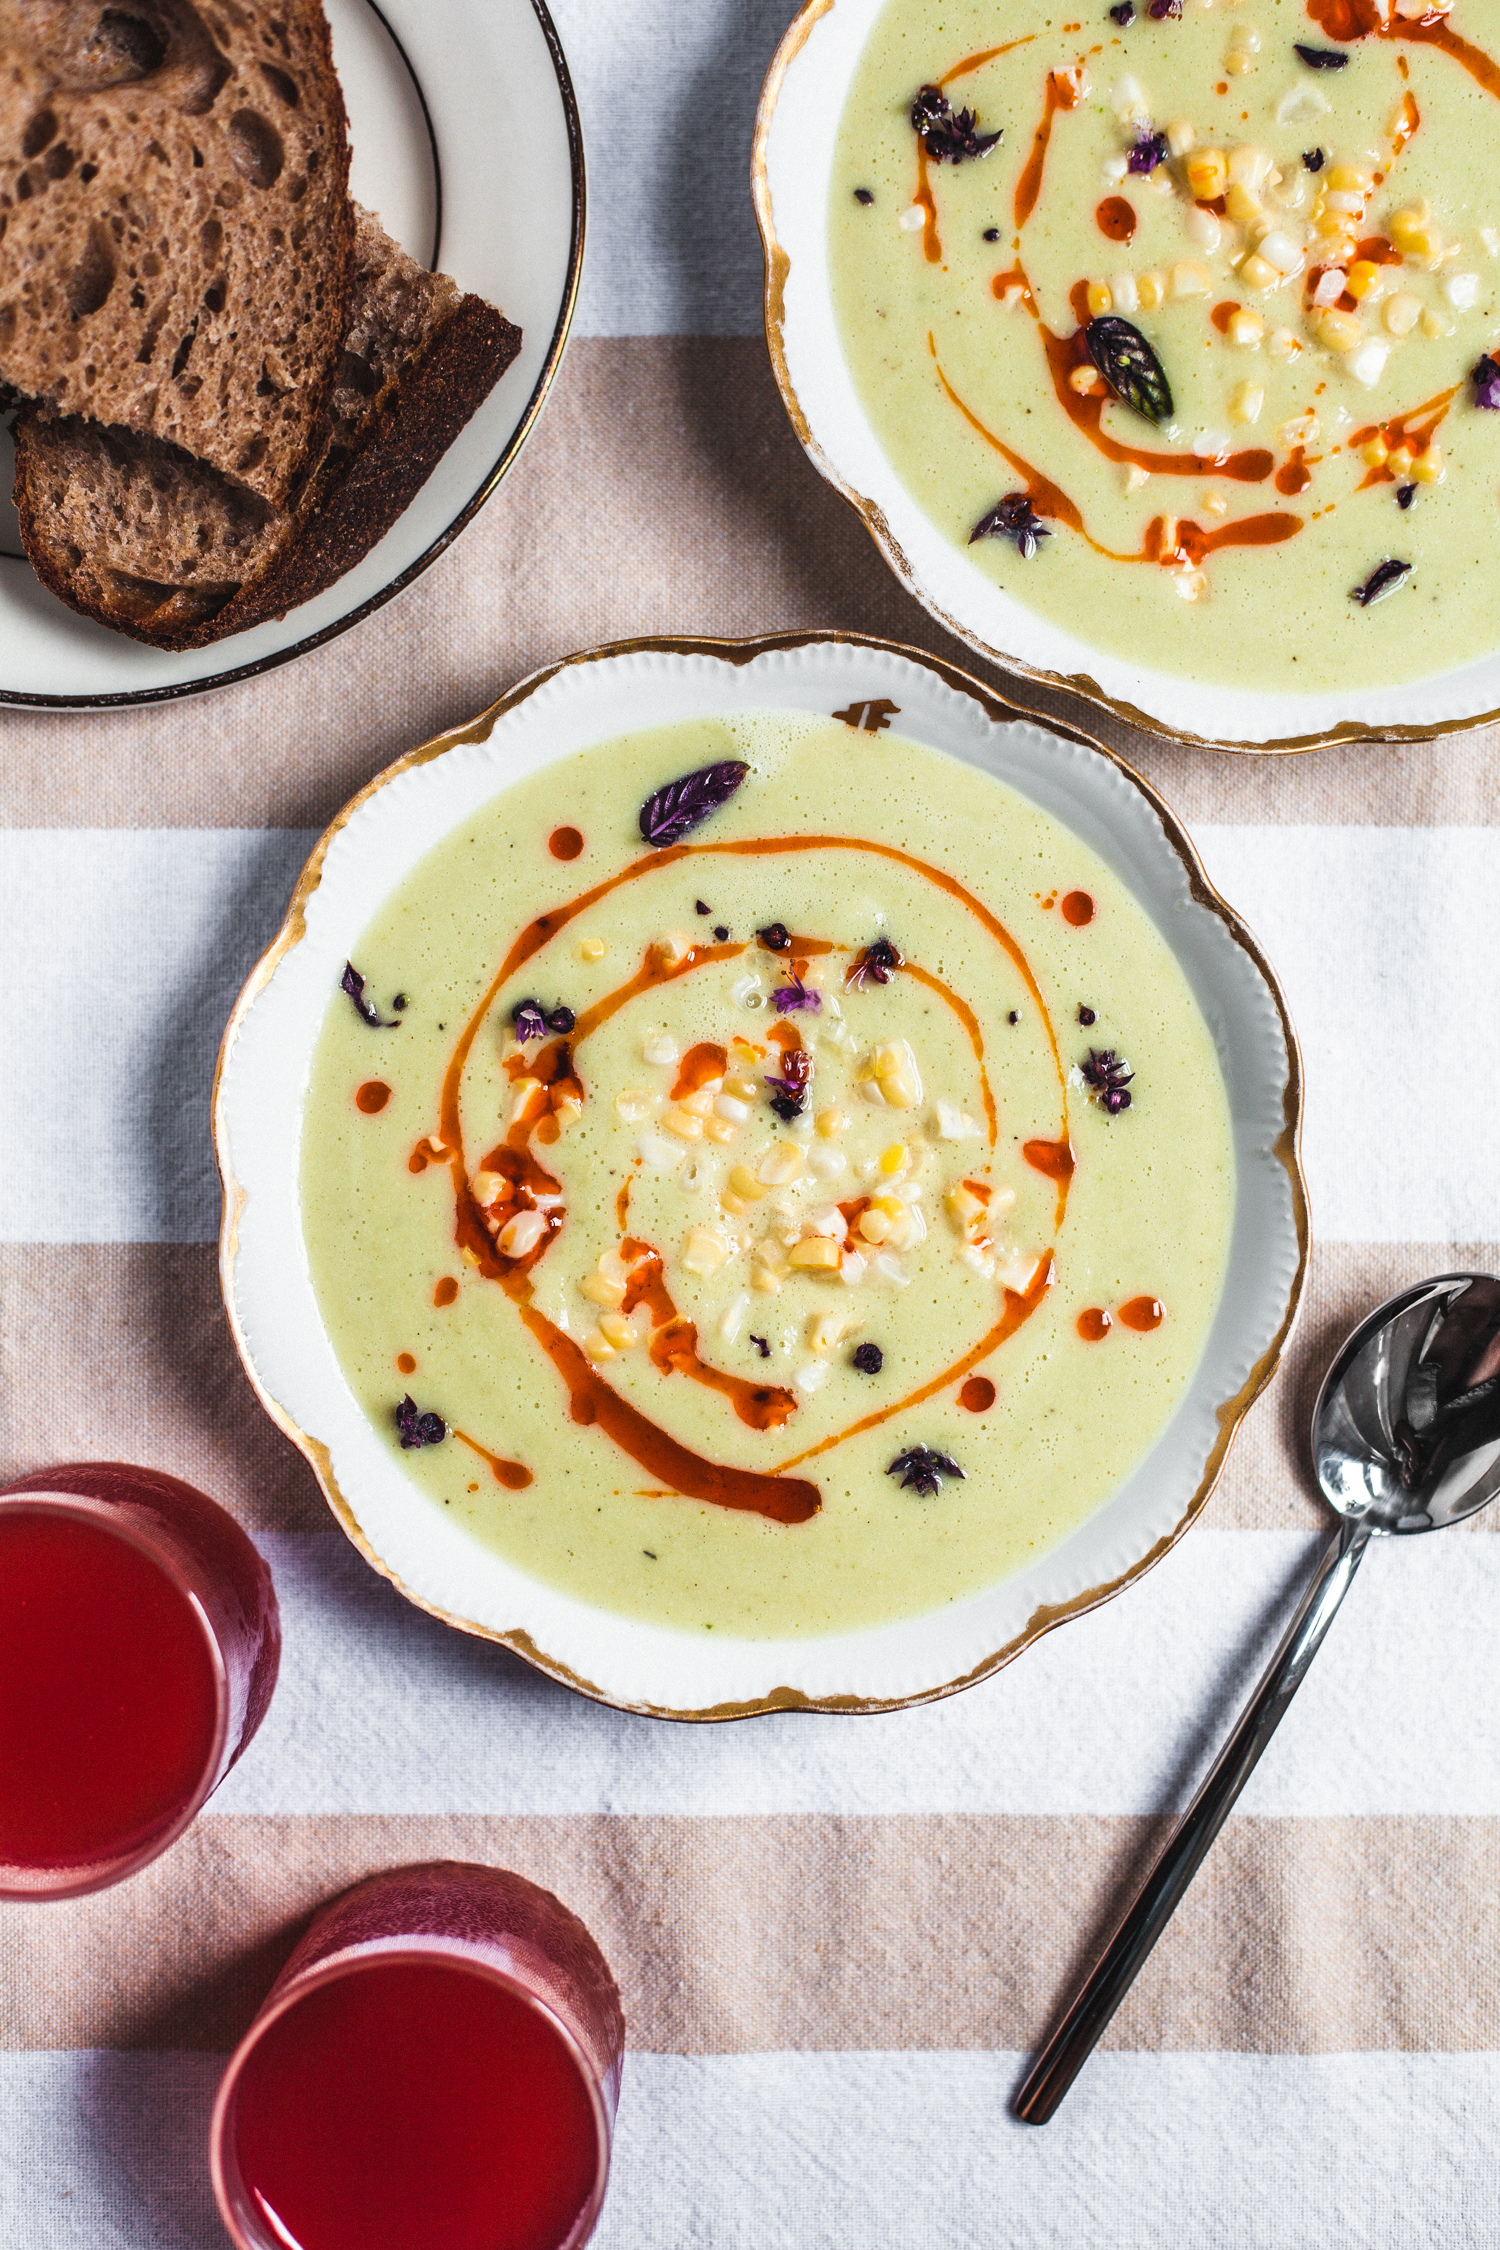
Corn and Zucchini Bisque with Paprika Oil
View Recipe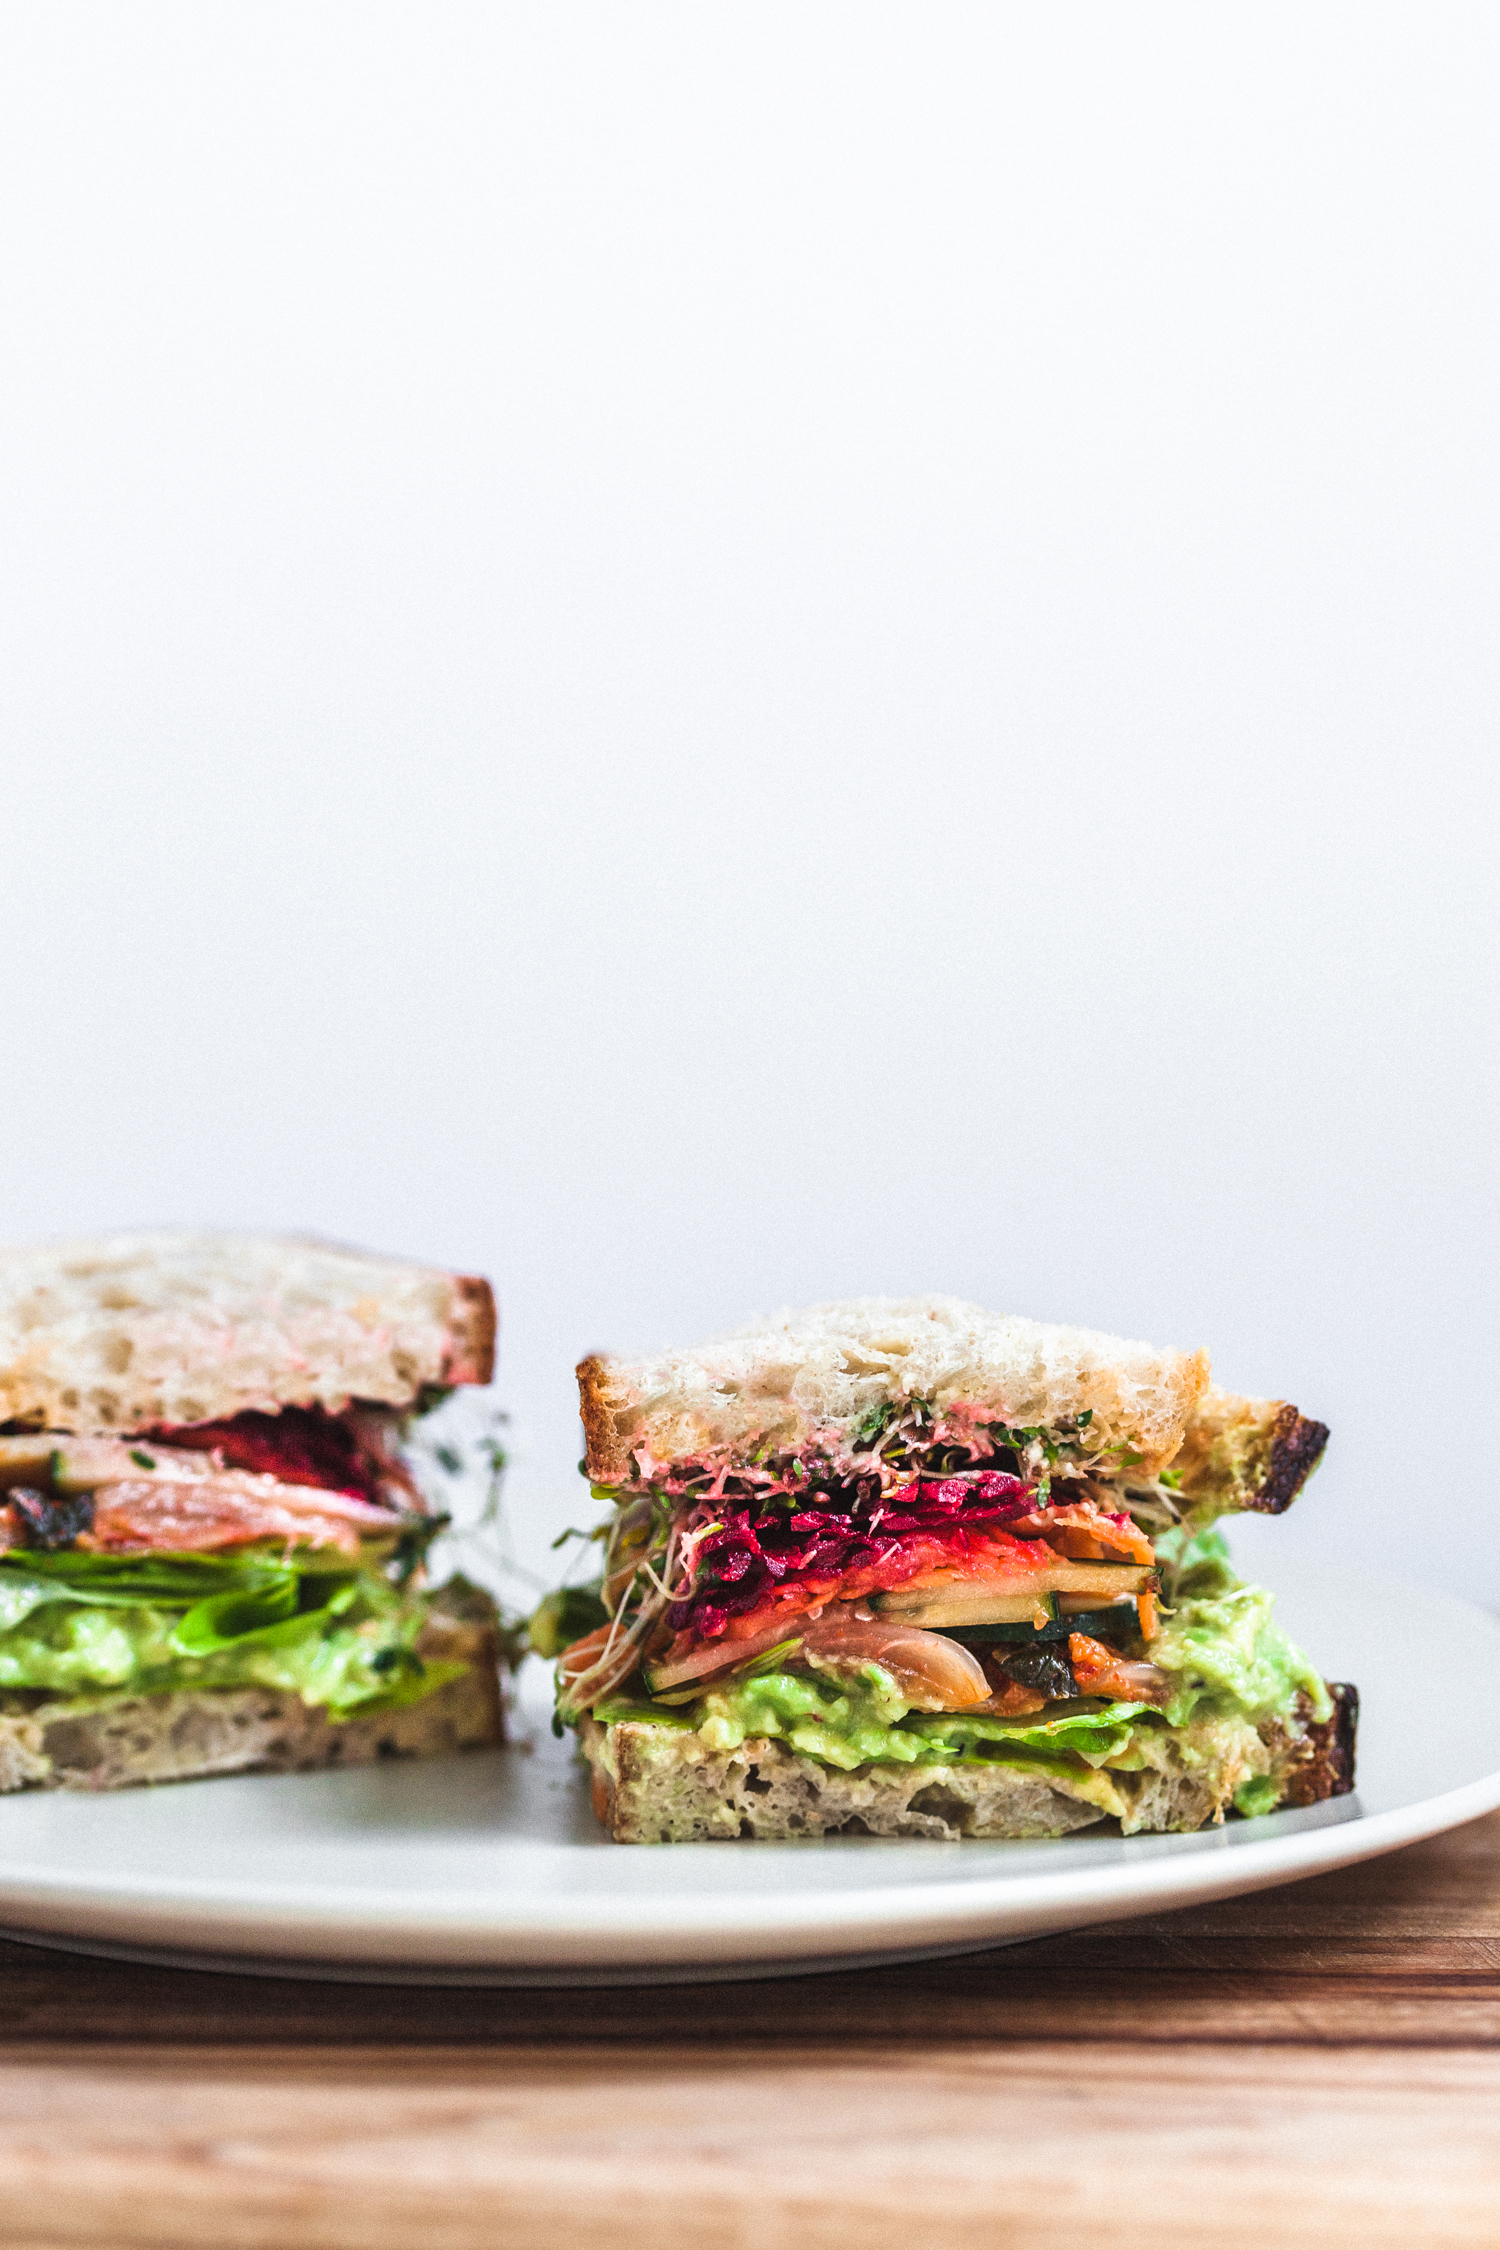
The Salad Sandwich
View Recipe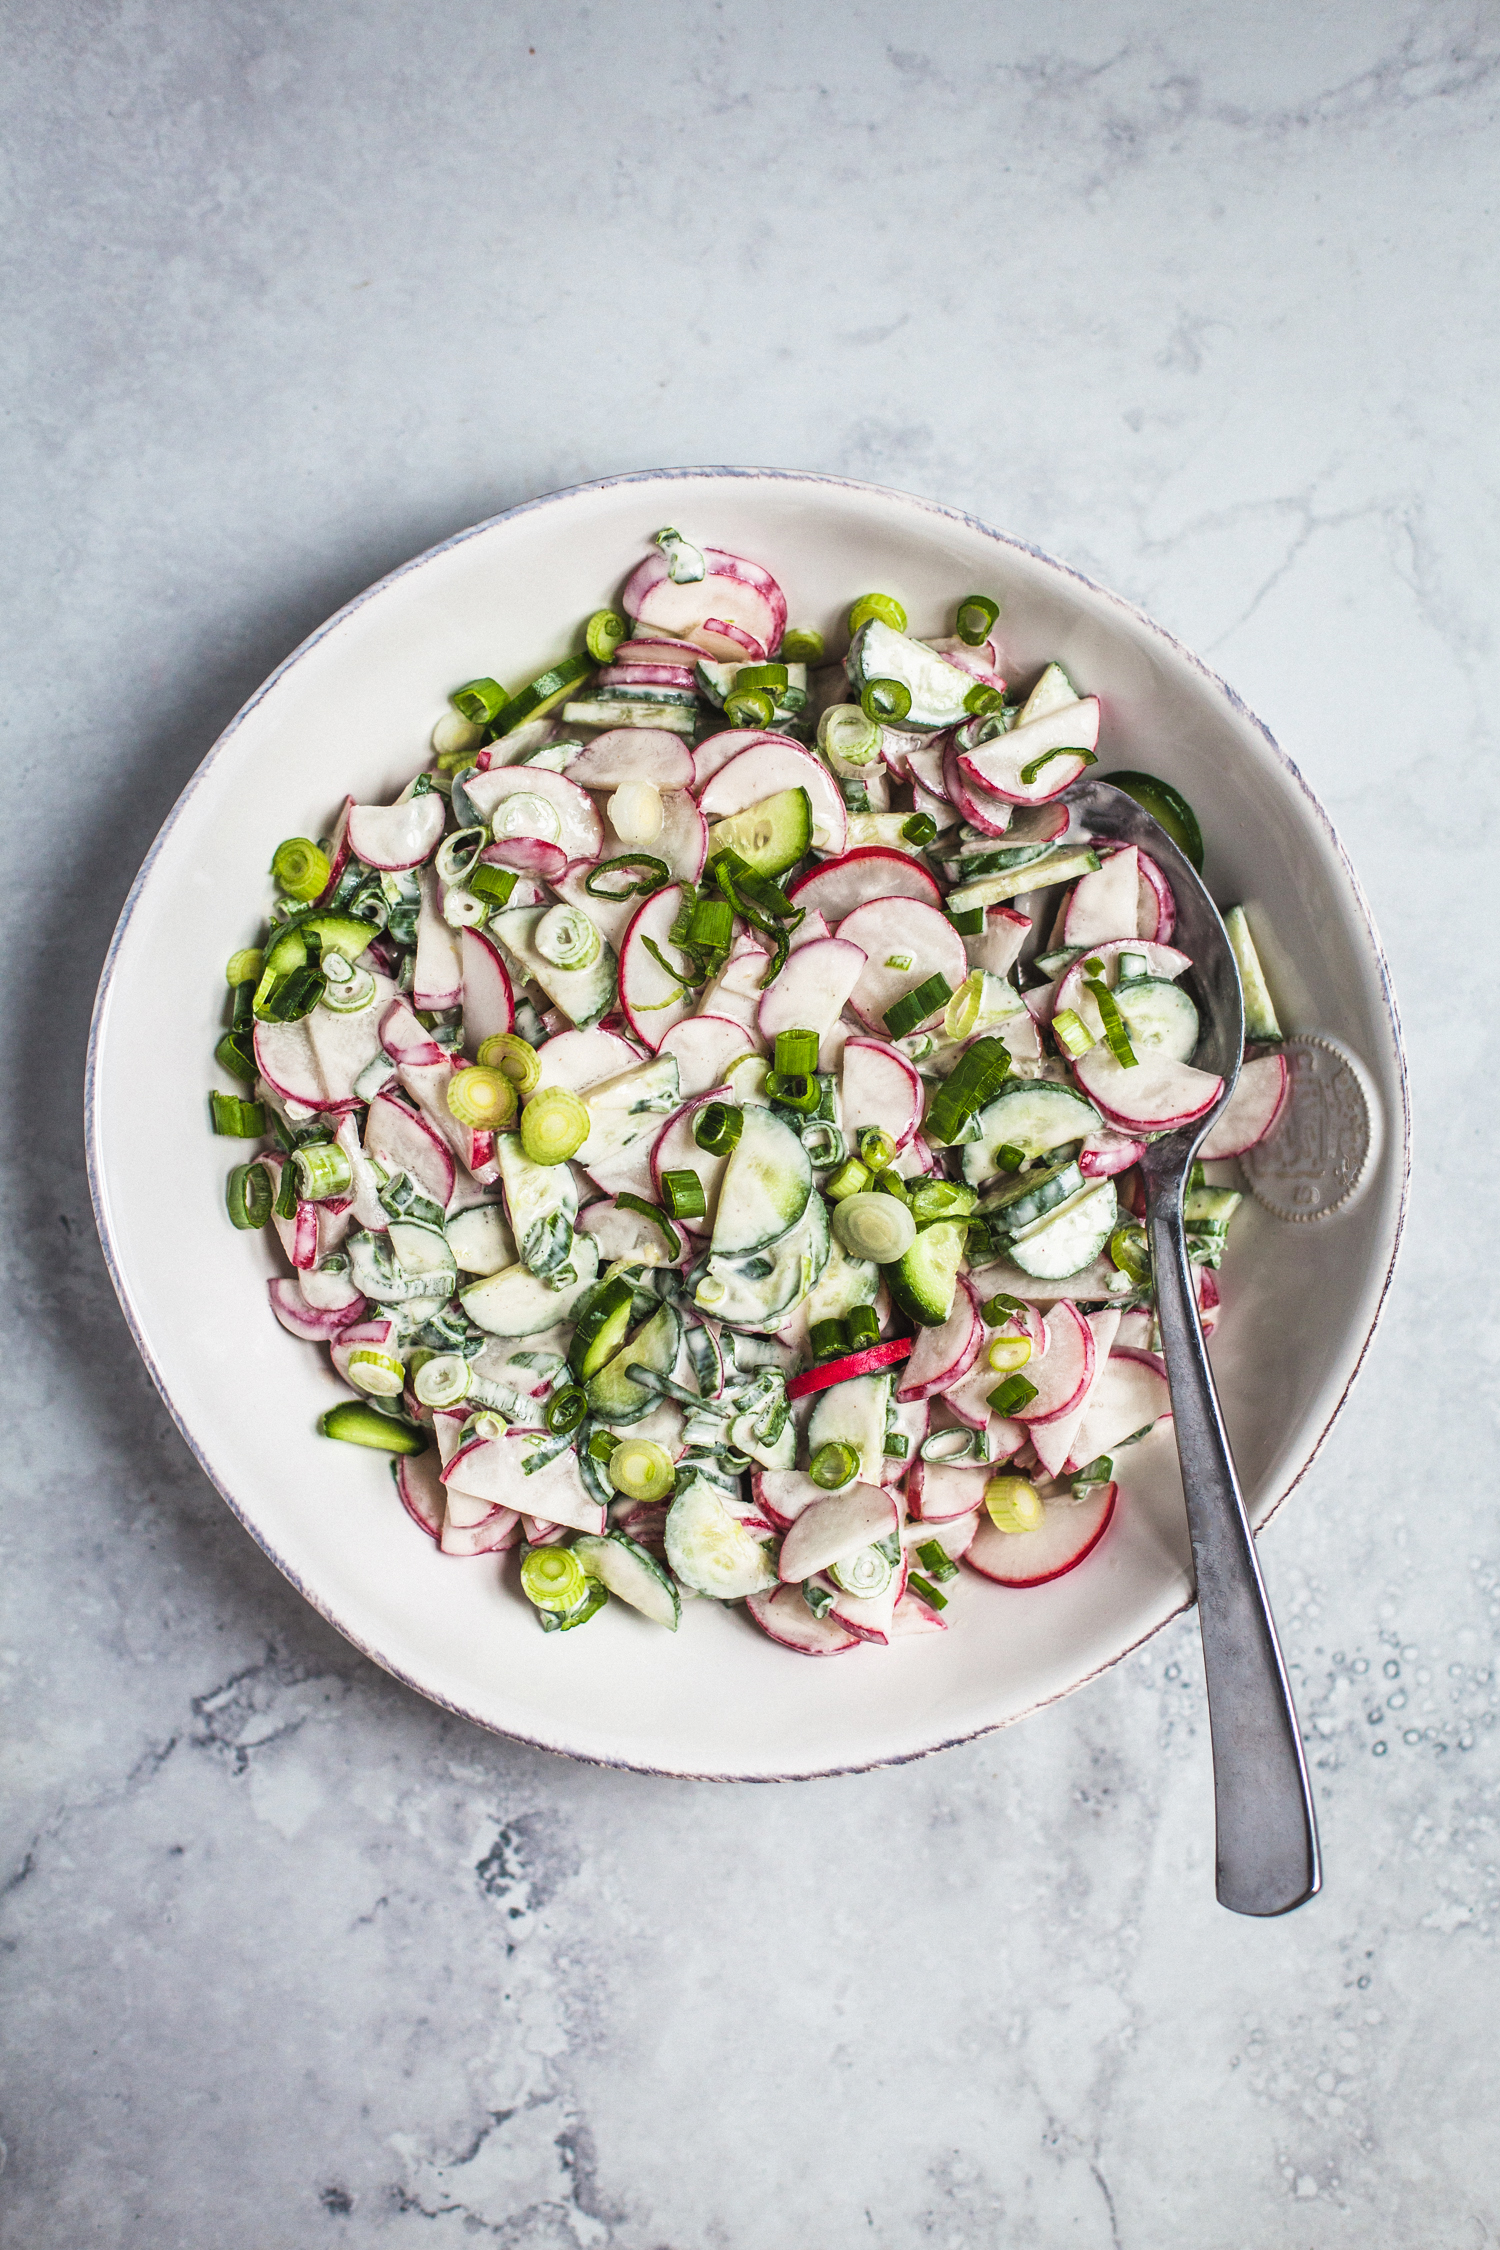
Radish Salad with Cashew Sour Cream Dressing
View Recipe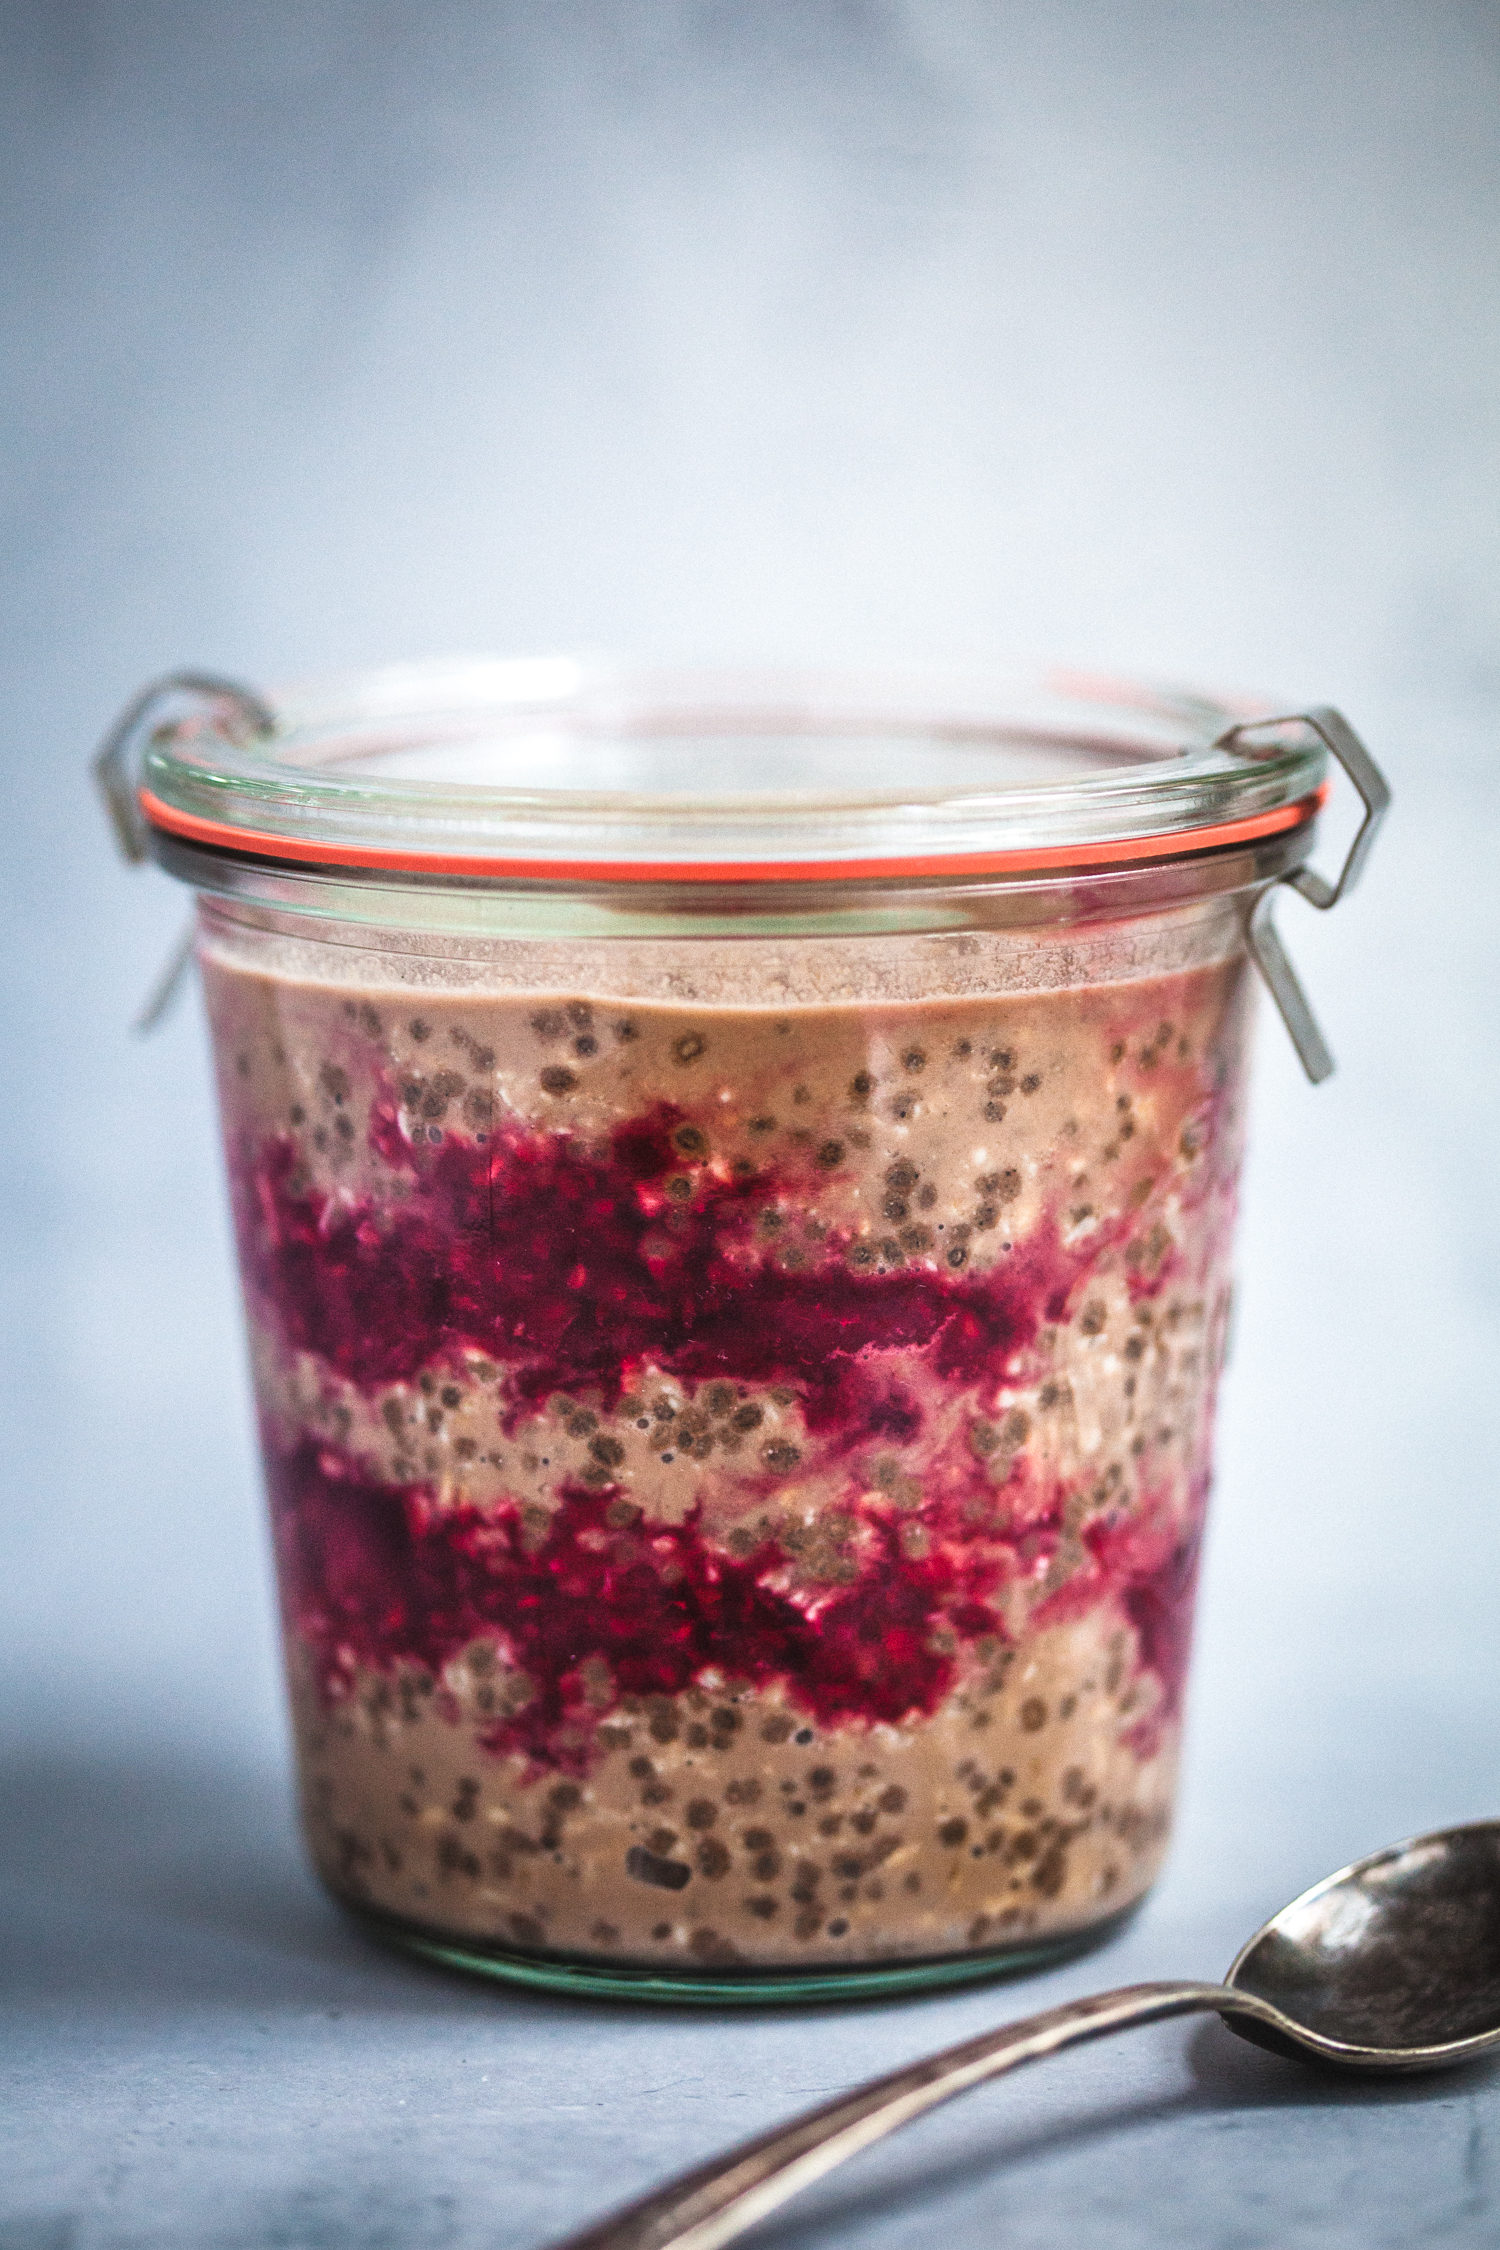
Chocolate Raspberry Overnight Oats
View Recipe
Spicy Black Bean and Sweet Potato Soup
View Recipe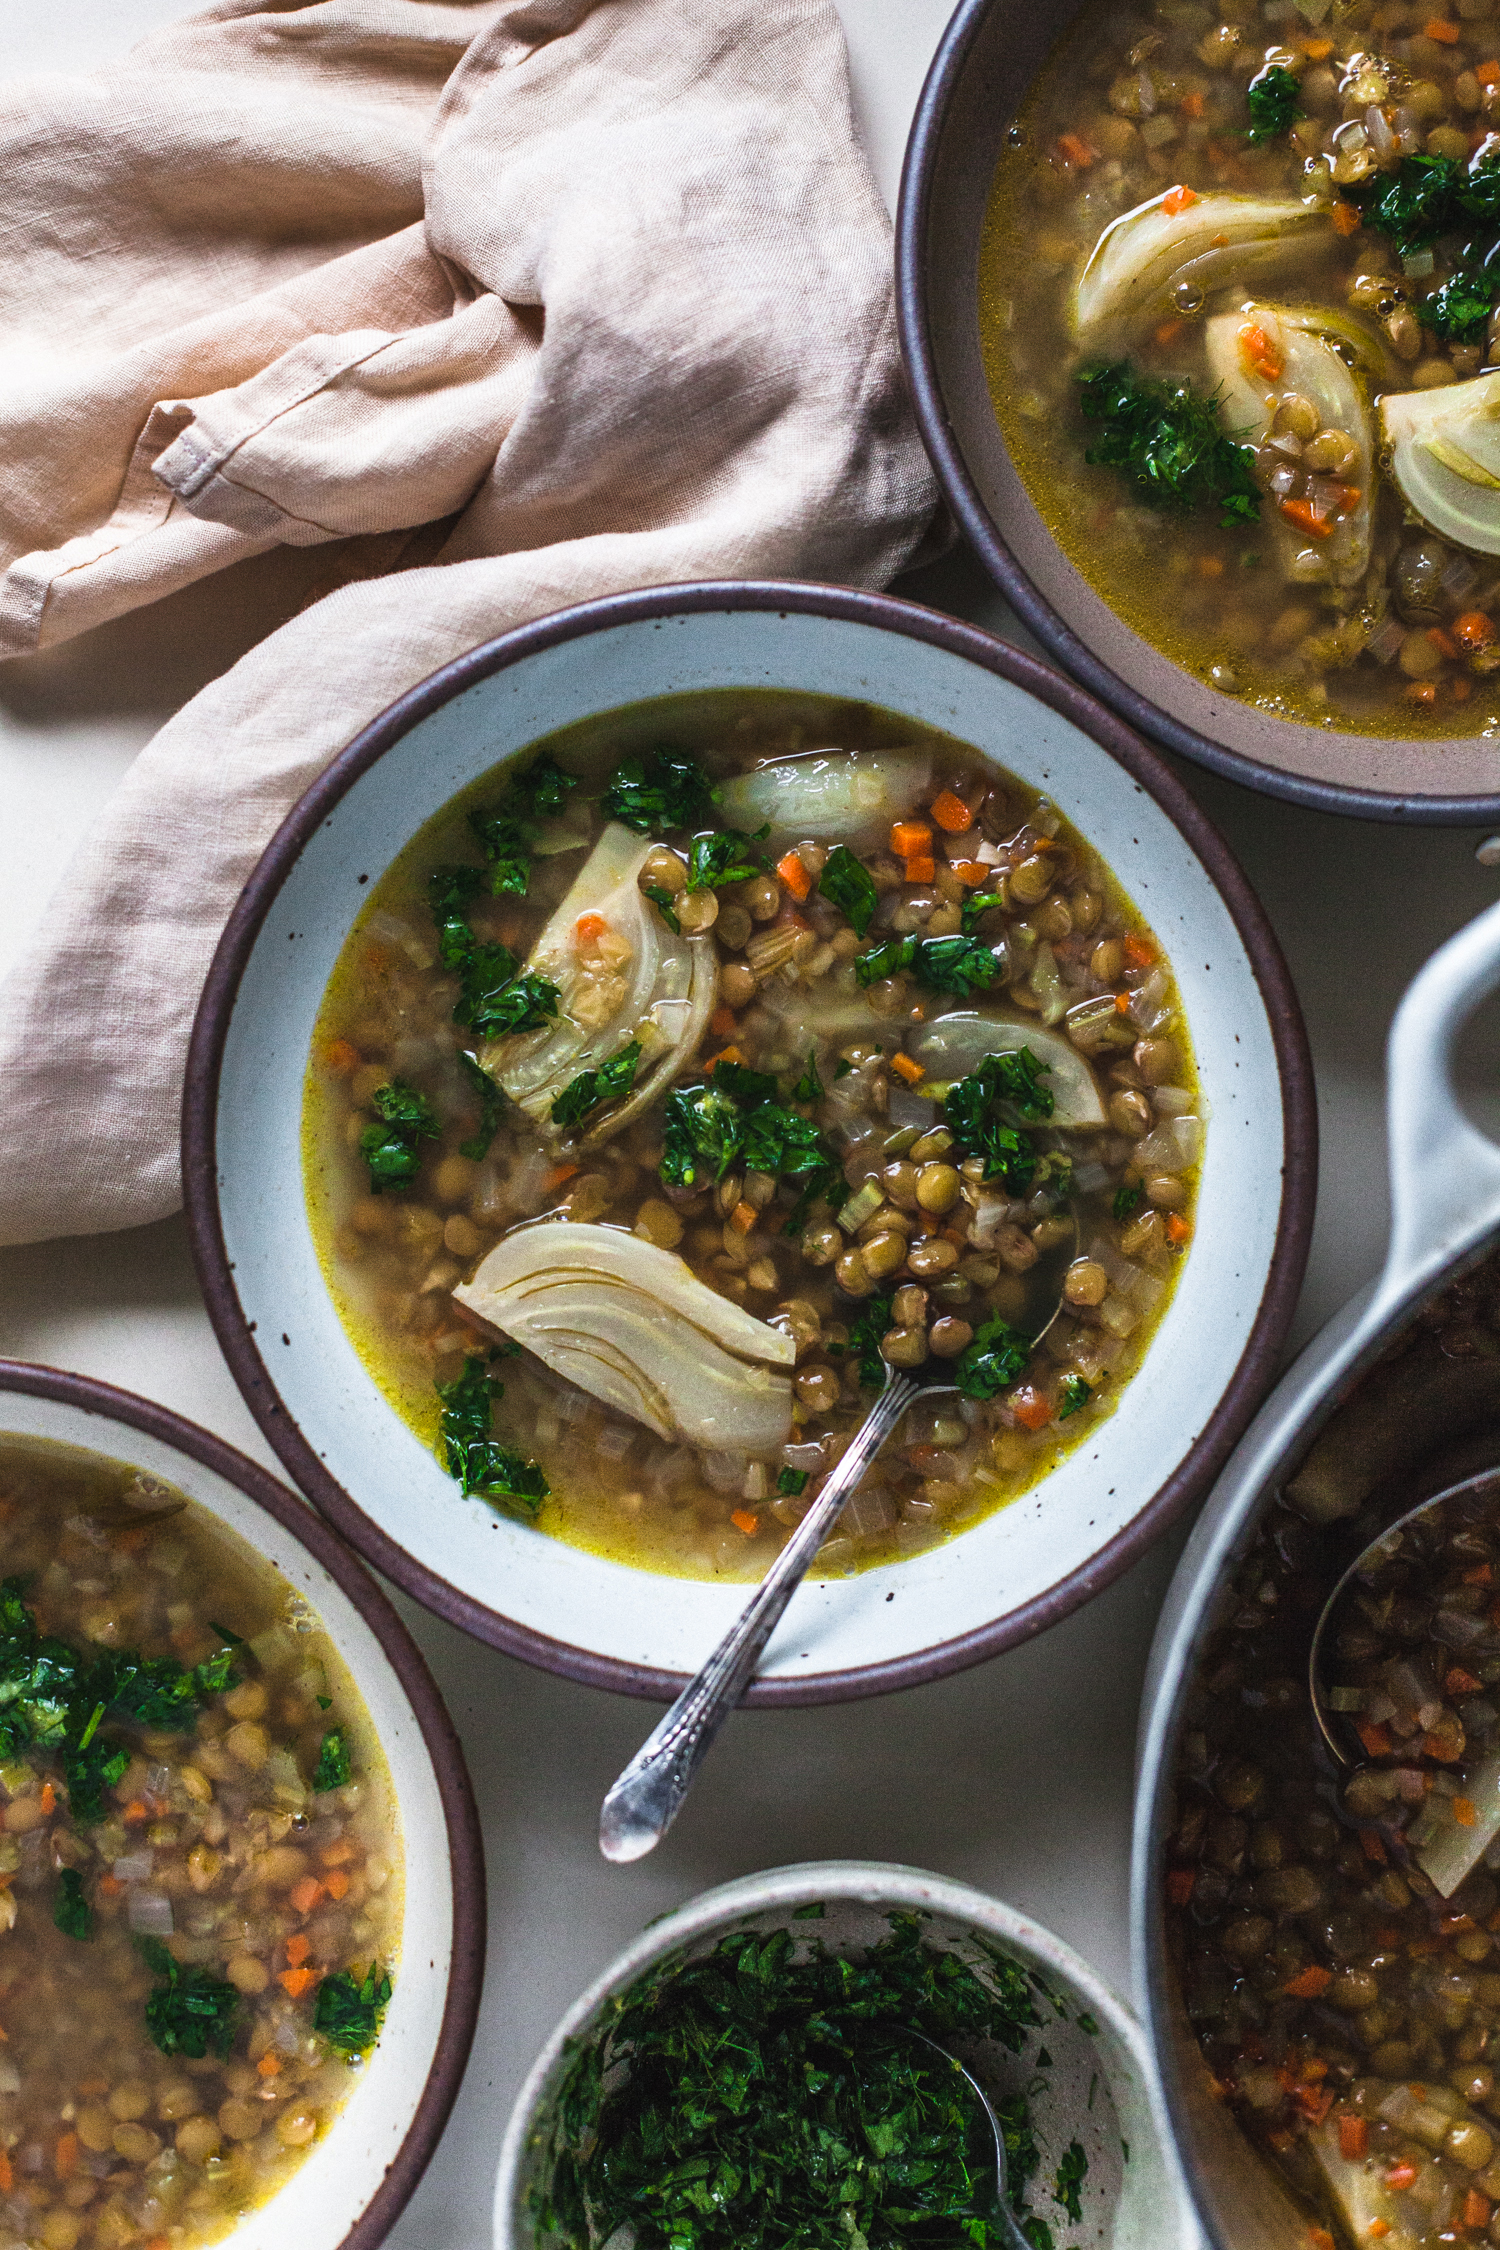
Fennel and Lentil Soup with Gremolata
View Recipe
Favorite Plant-Based Holiday Recipes
View Recipe
Super Green Gazpacho
View Recipe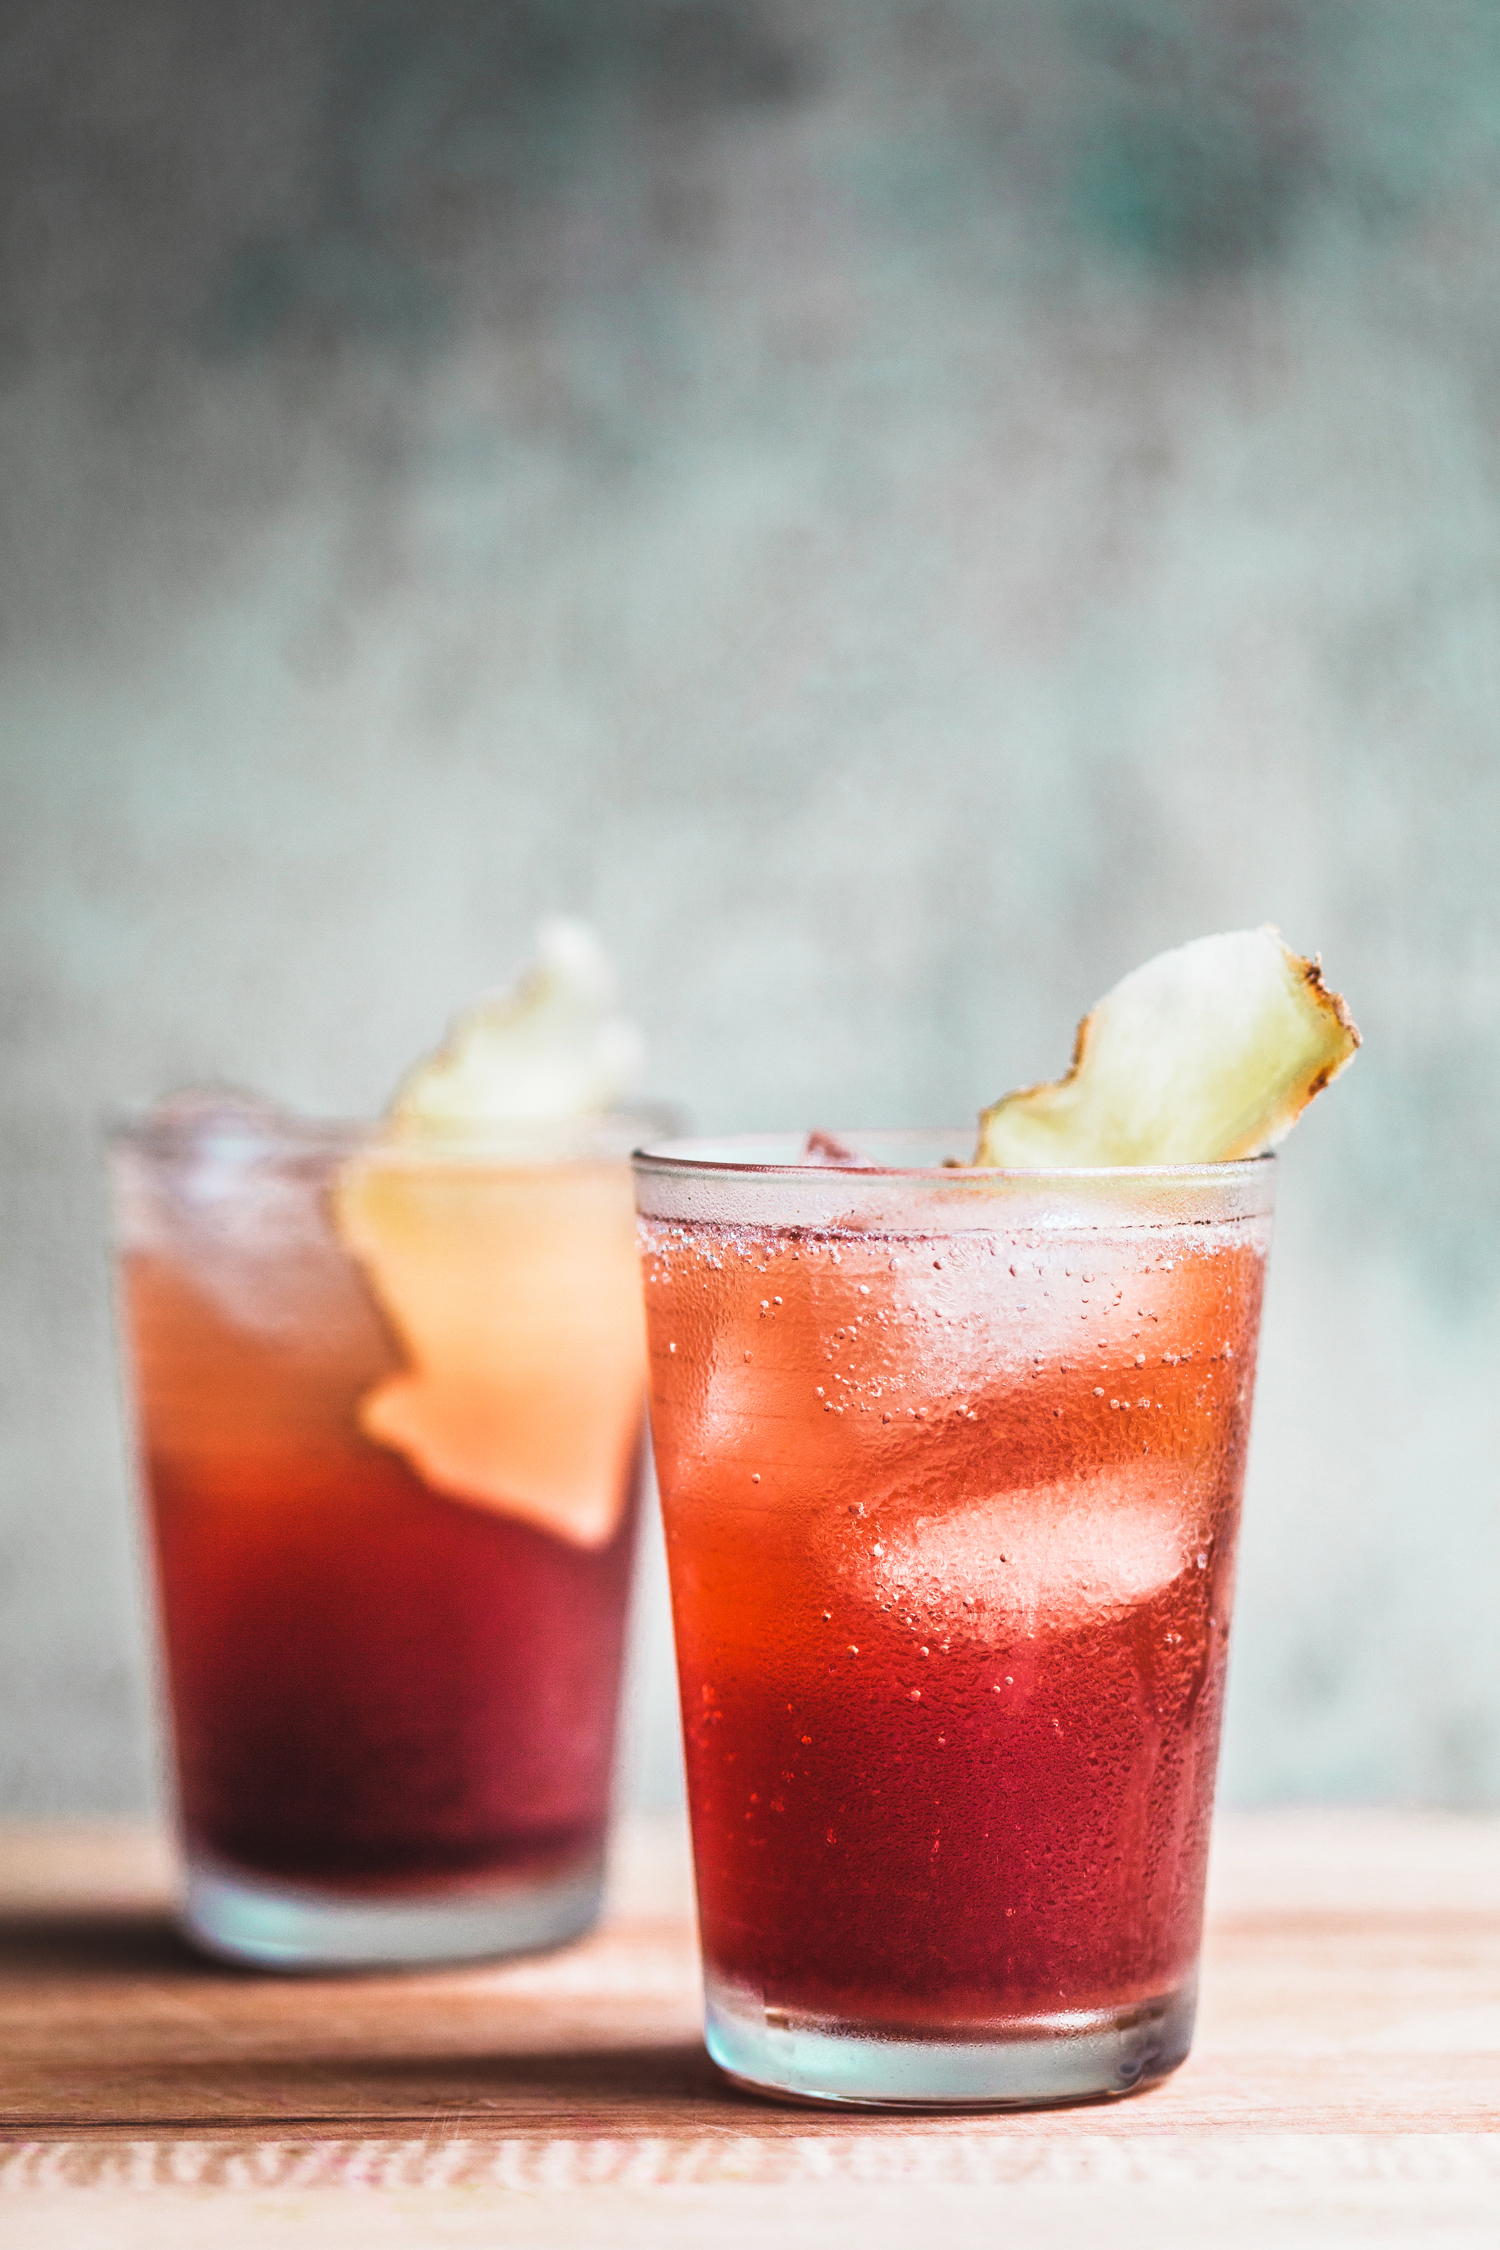
Fruit Shrub, The Most Refreshing Summer Drink
View Recipe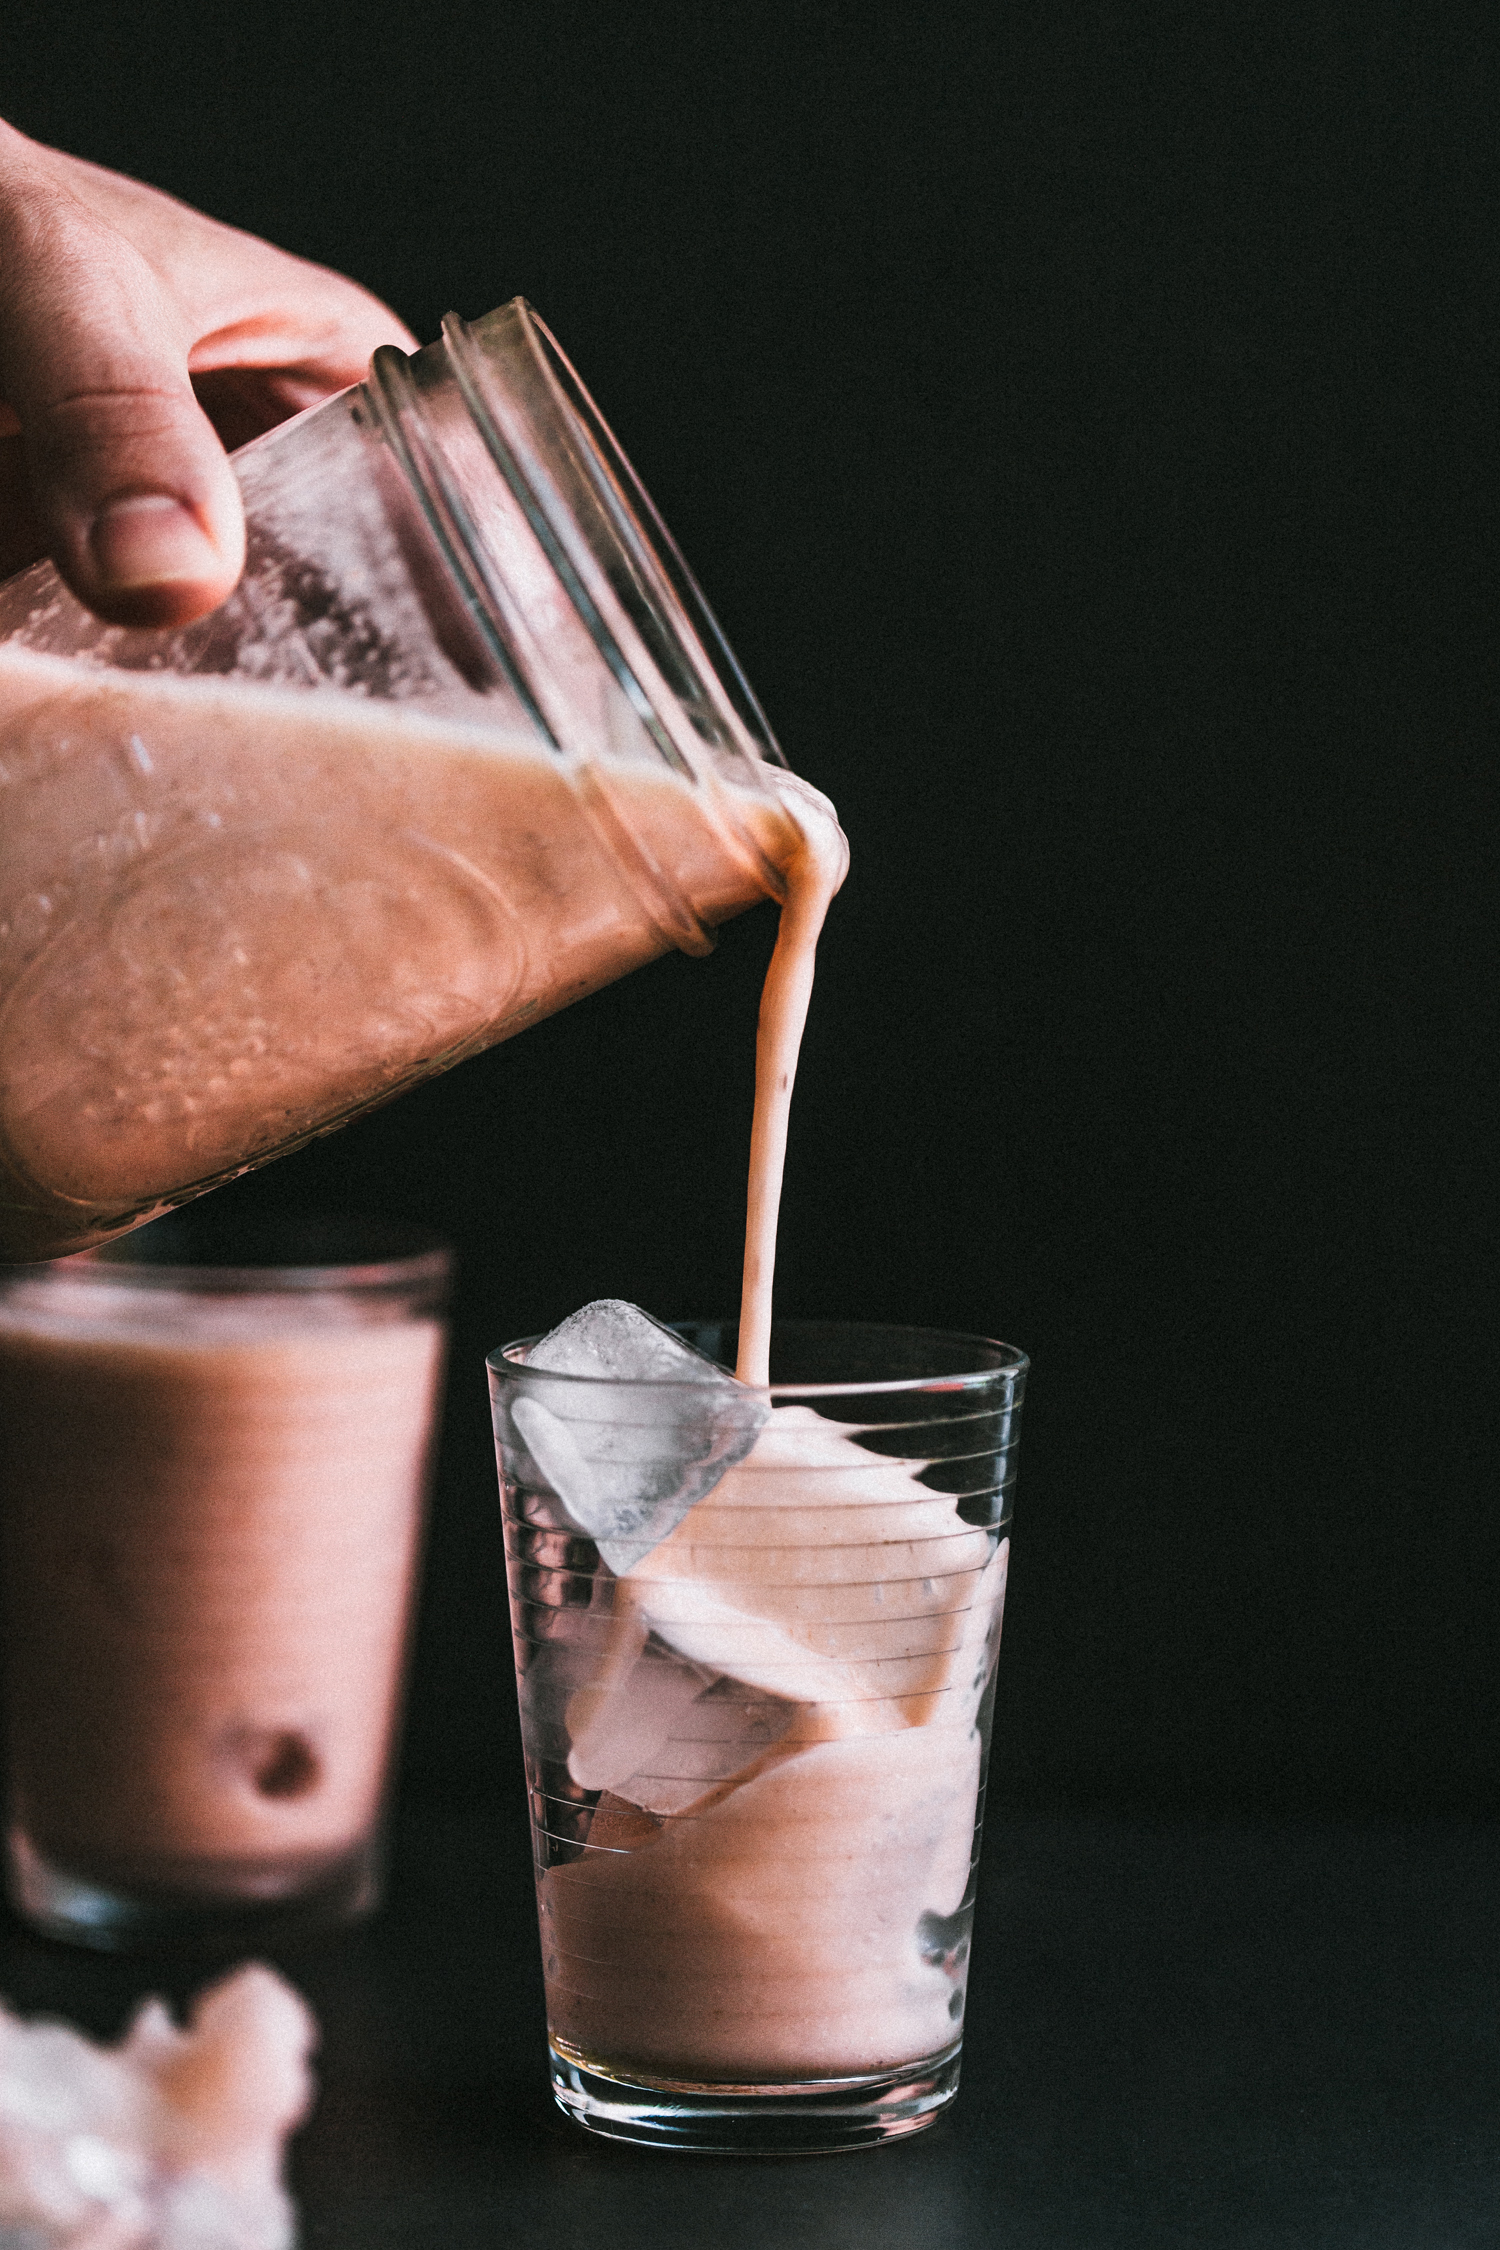
Rhubarb Milk
View Recipe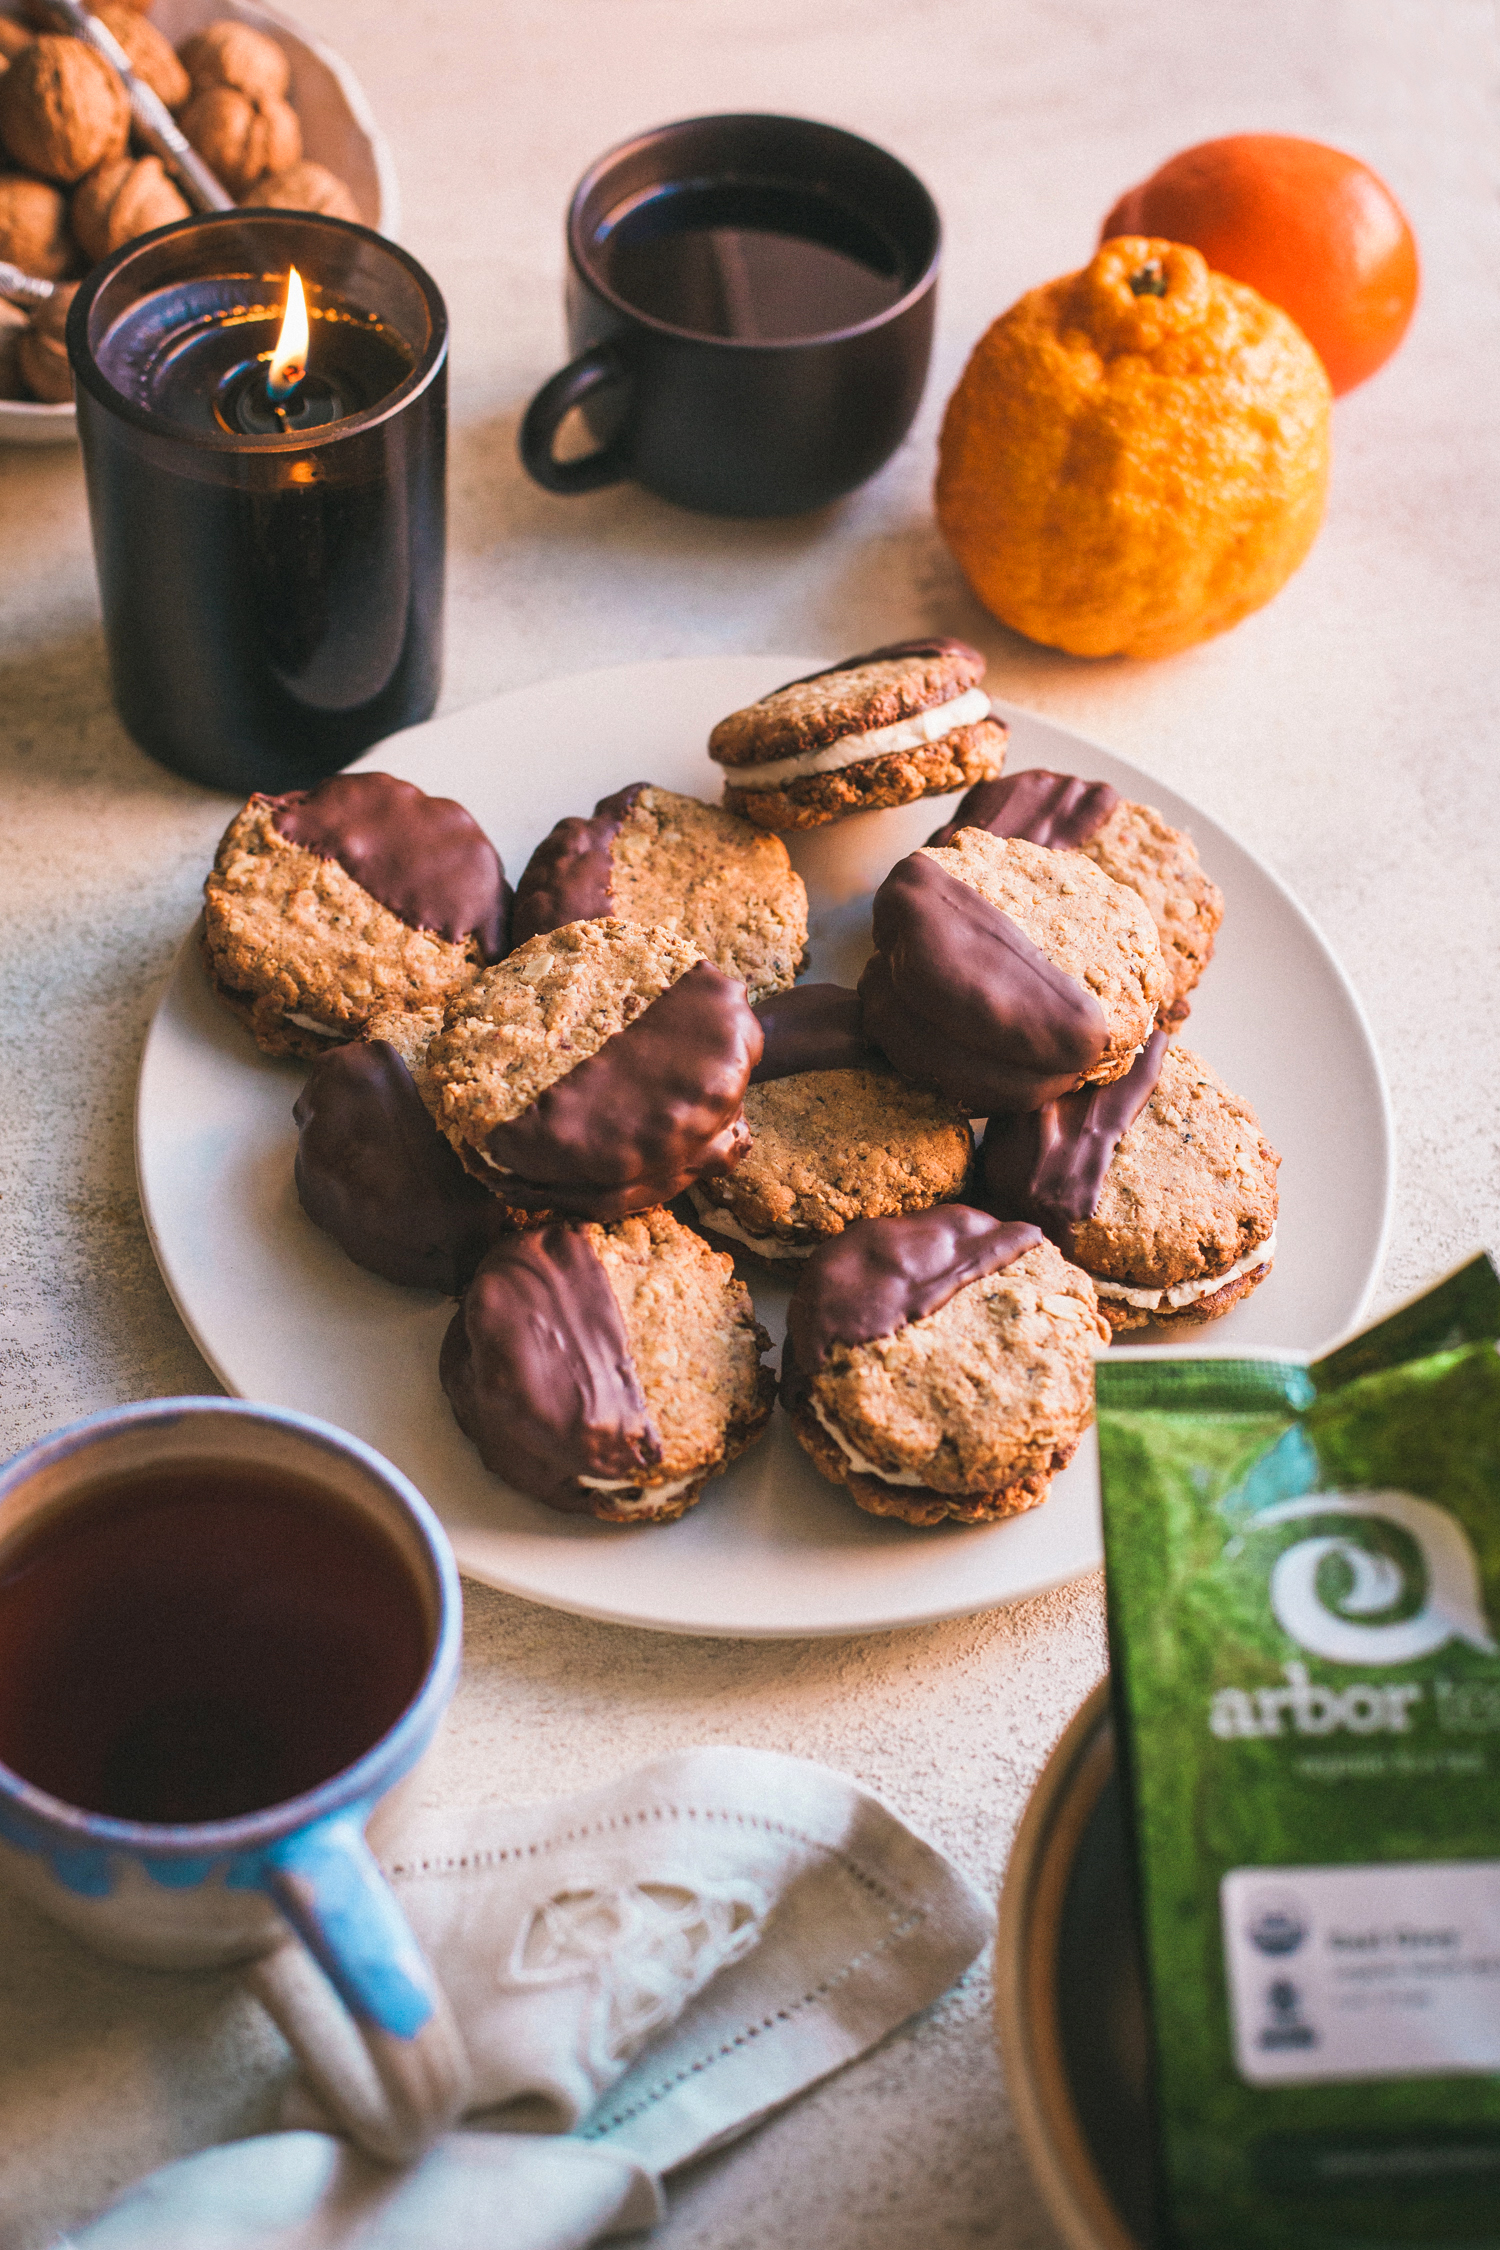
Earl Grey Tea Sandwich Cookies, Vegan and Gluten-Free + Giveaway
View Recipe
Orange Chai Latte + Video
View Recipe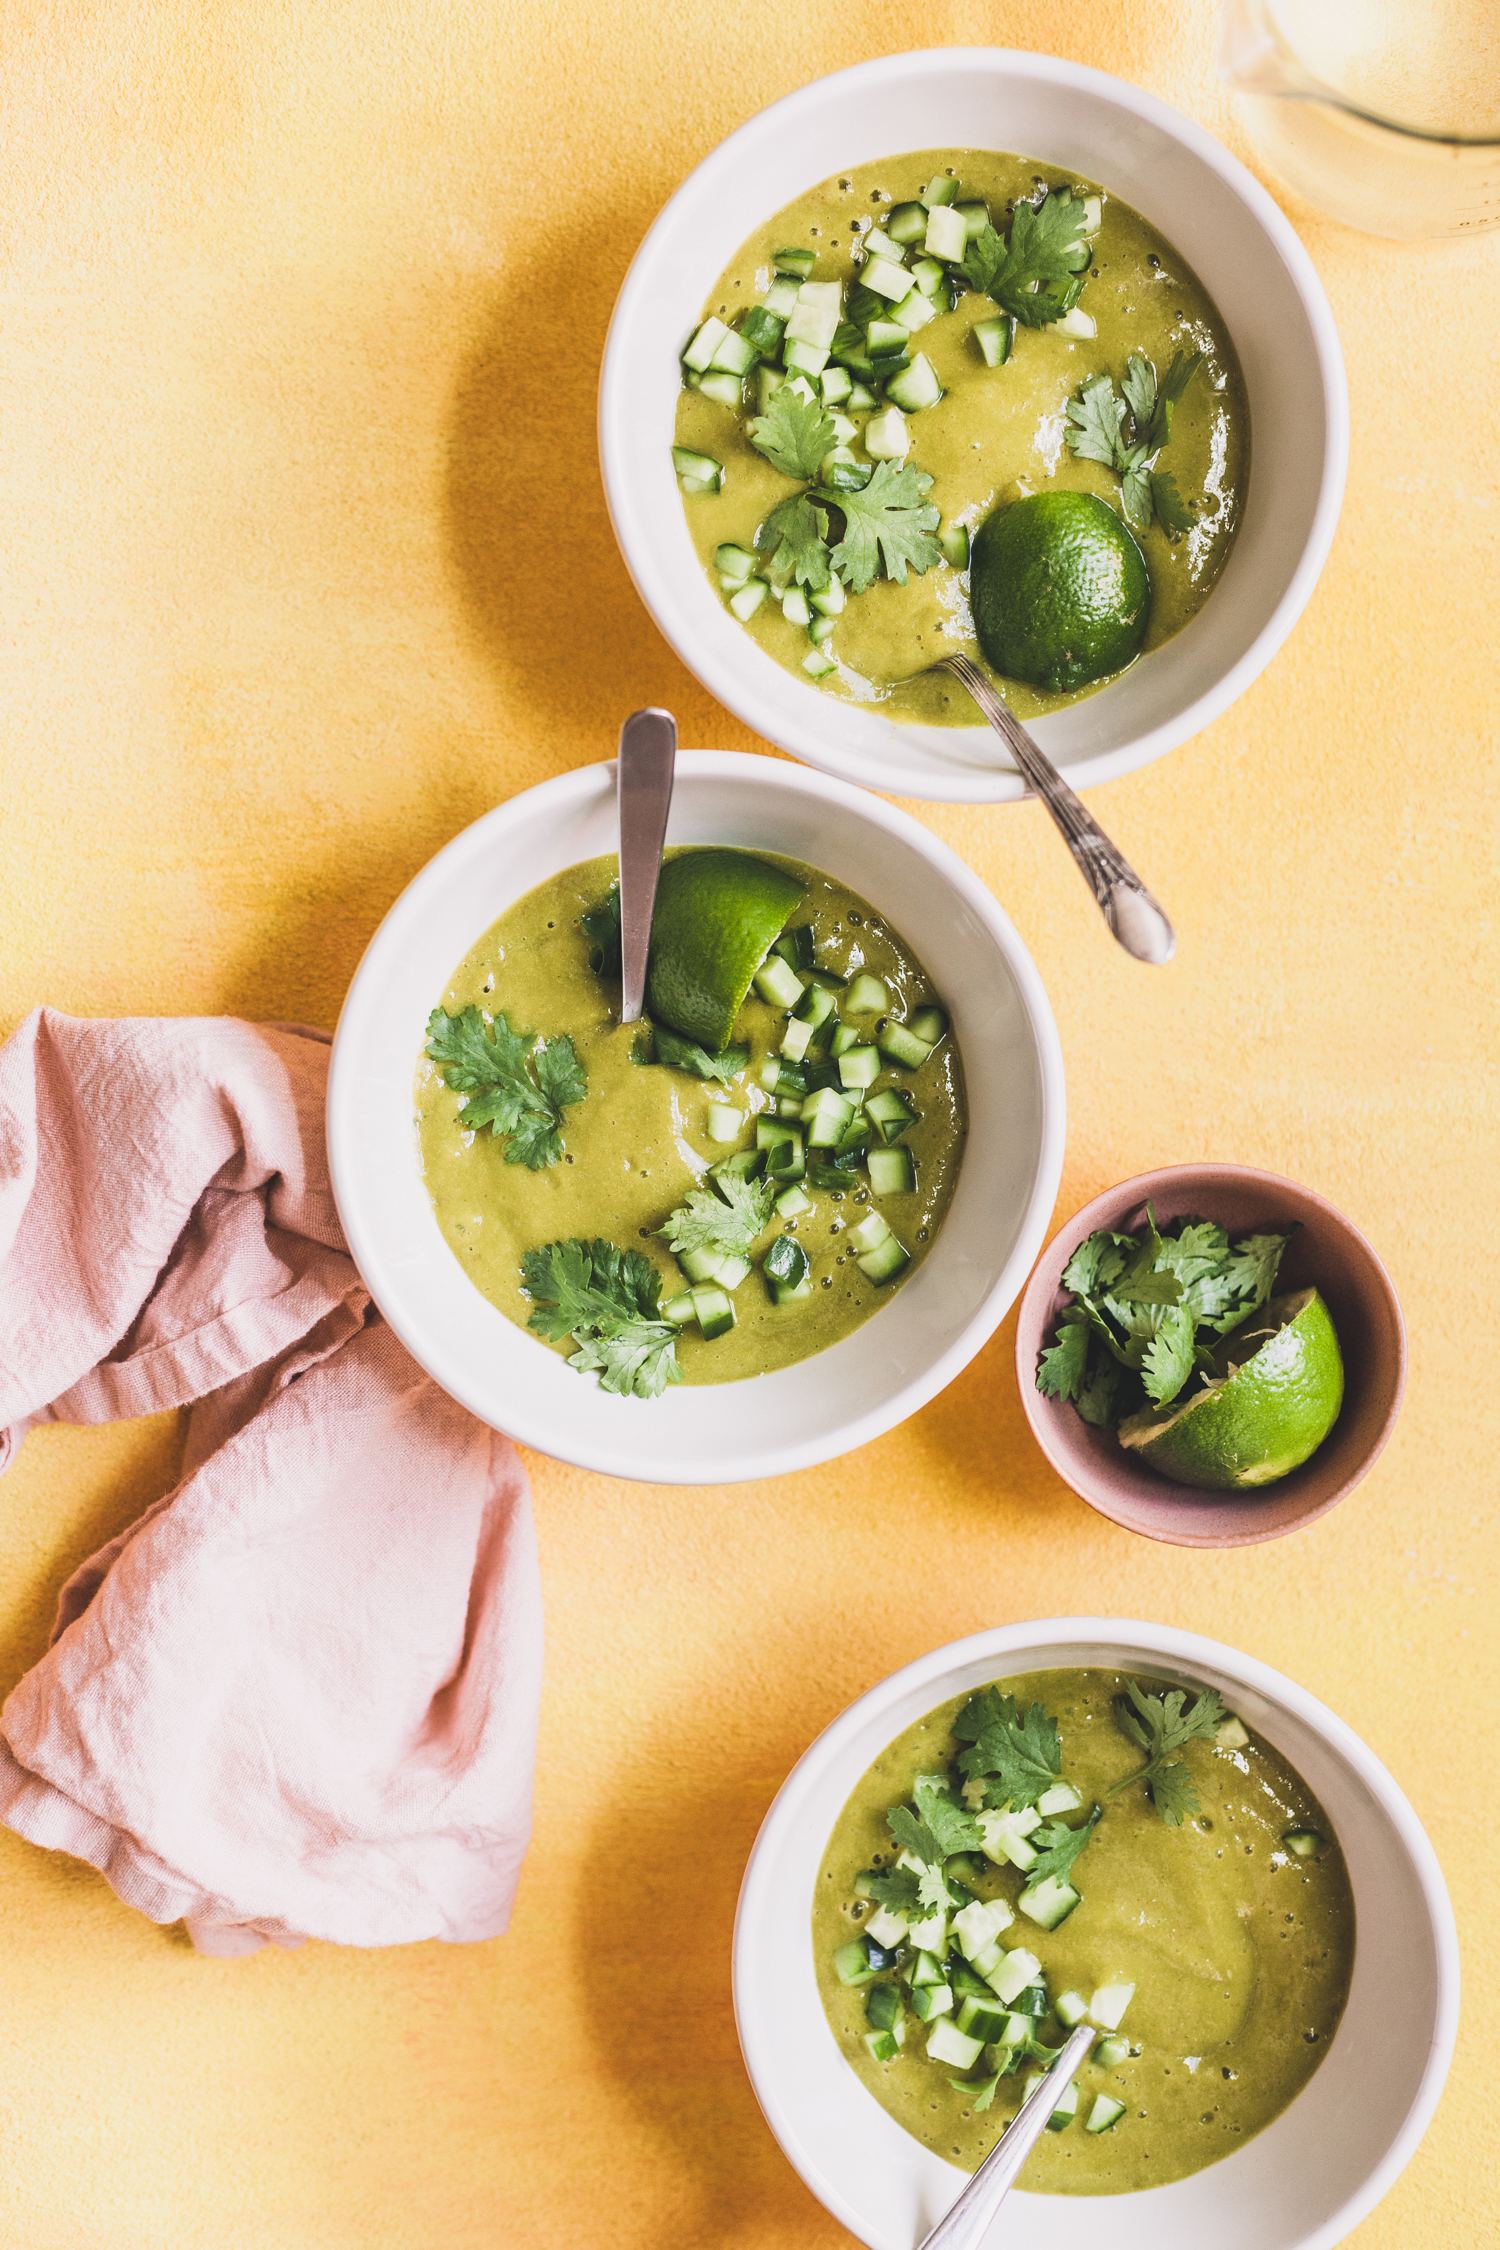
Simple Mango Gazpacho
View Recipe
Cherry Syrup + Cherry Kombucha Mocktail
View Recipe
Fresh Turmeric Moon Milk + Self-Care Giveaway
View Recipe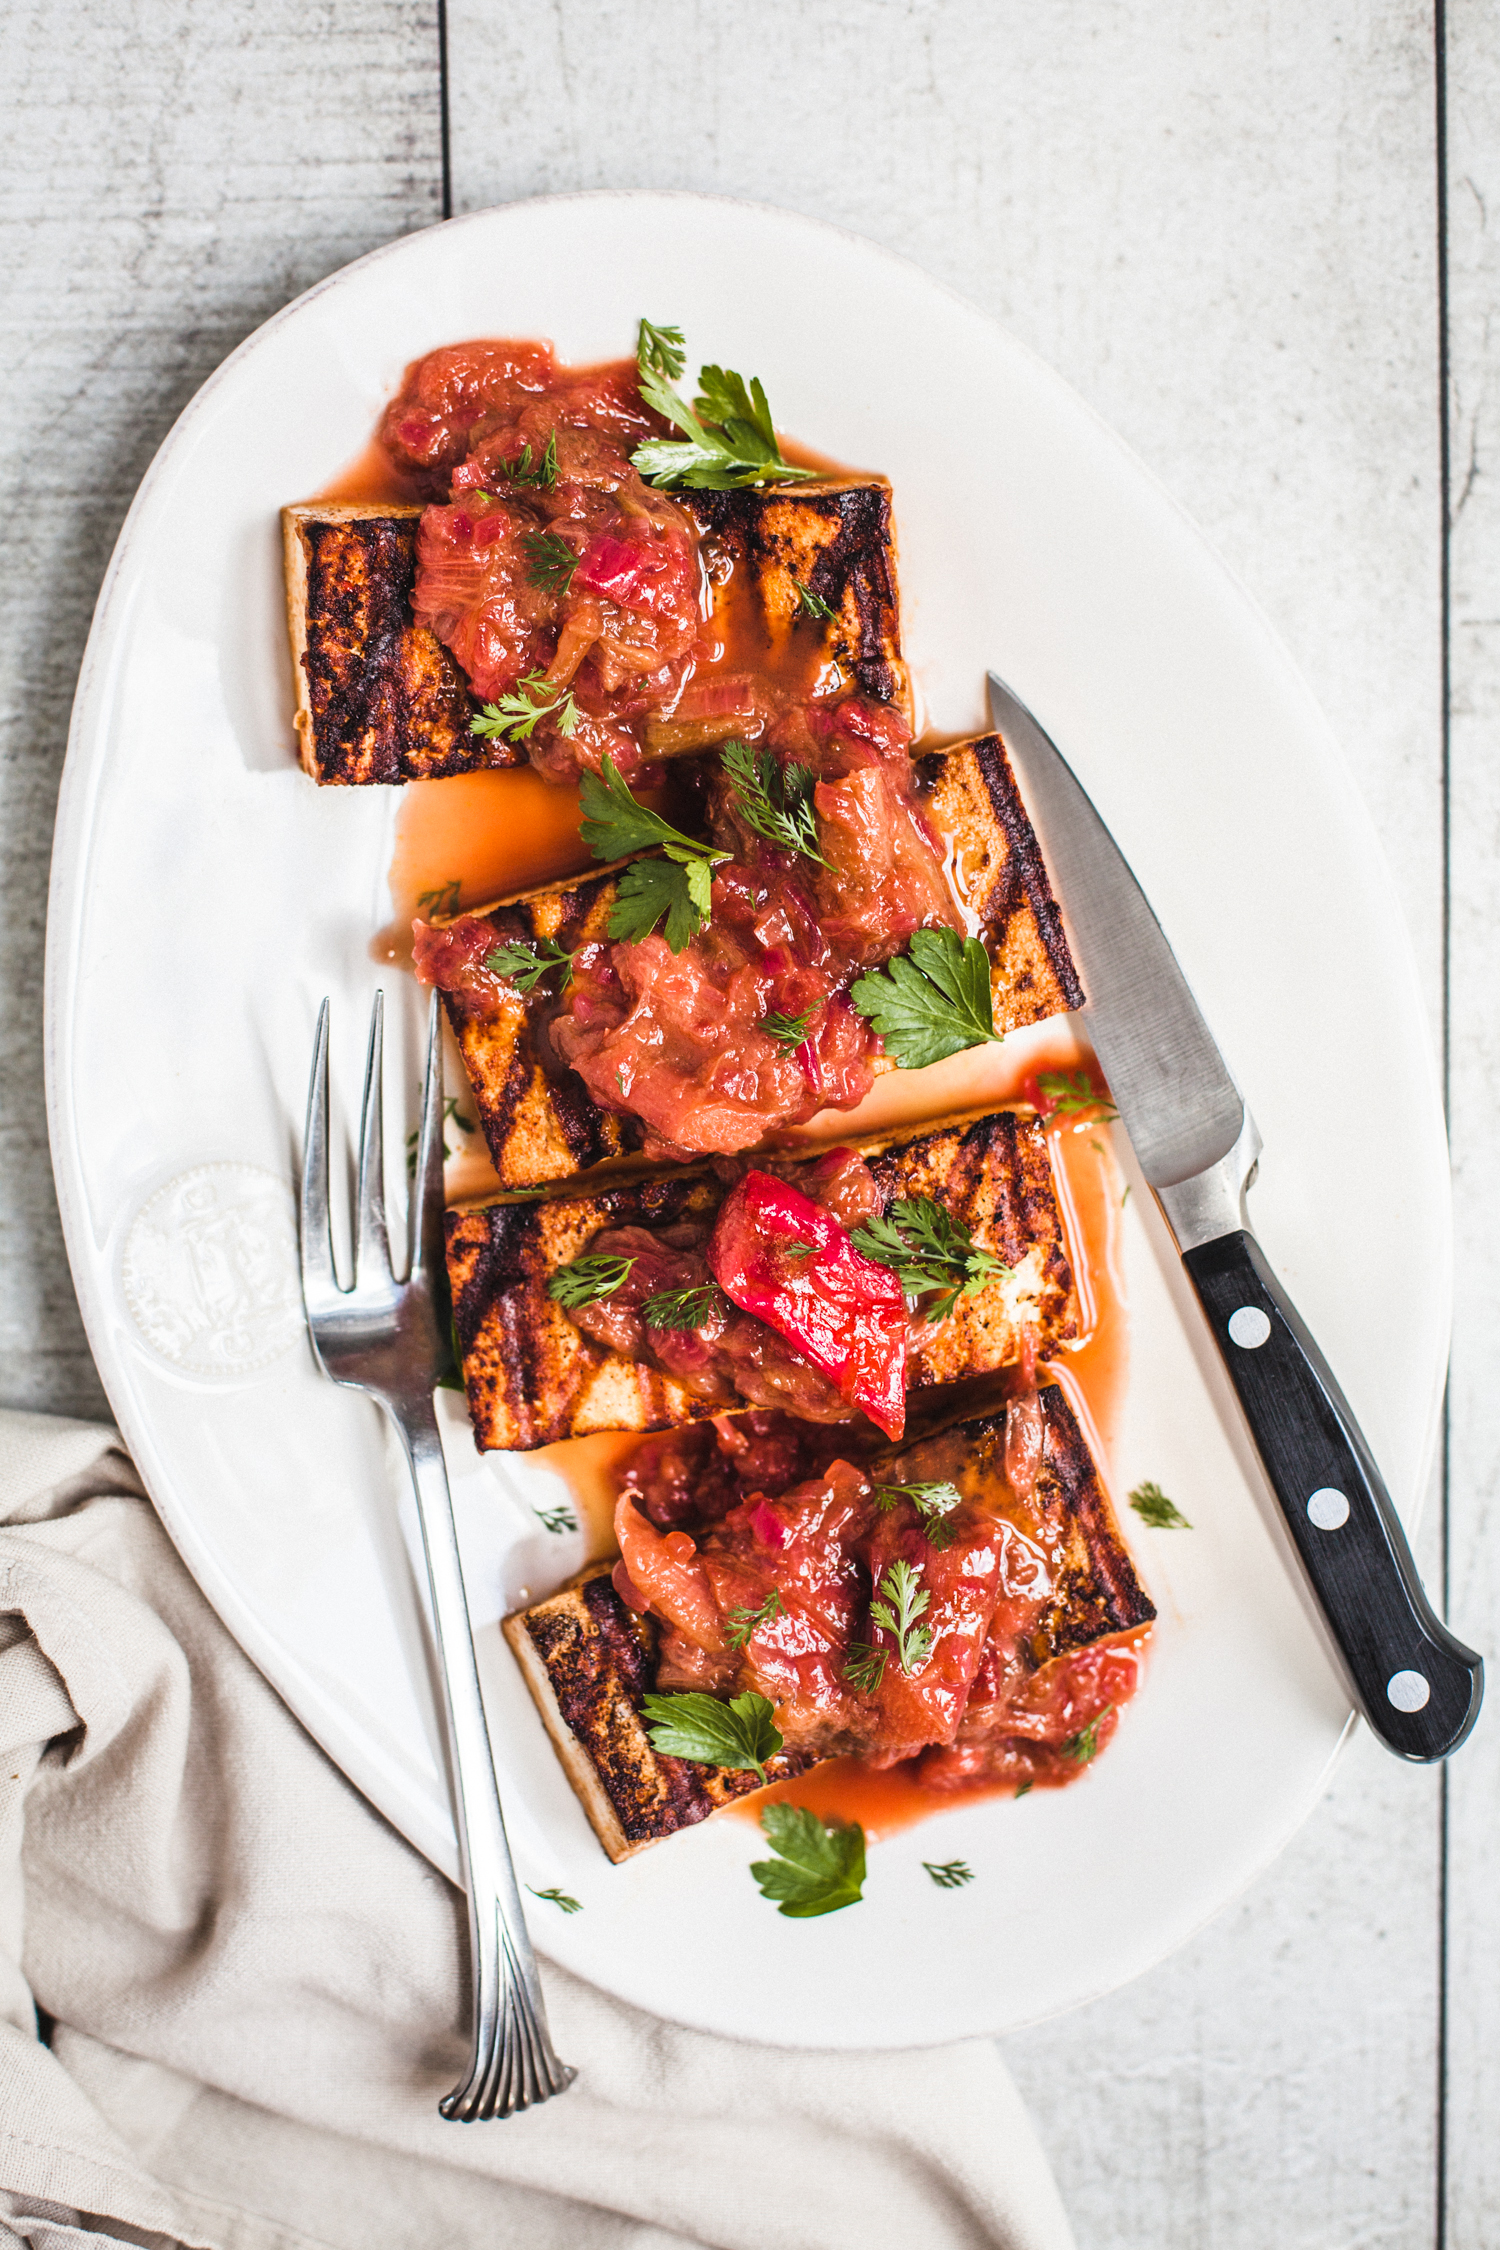
Savory Rhubarb Balsamic Sauce
View Recipe
Chocolate Raspberry Overnight Oats
View Recipe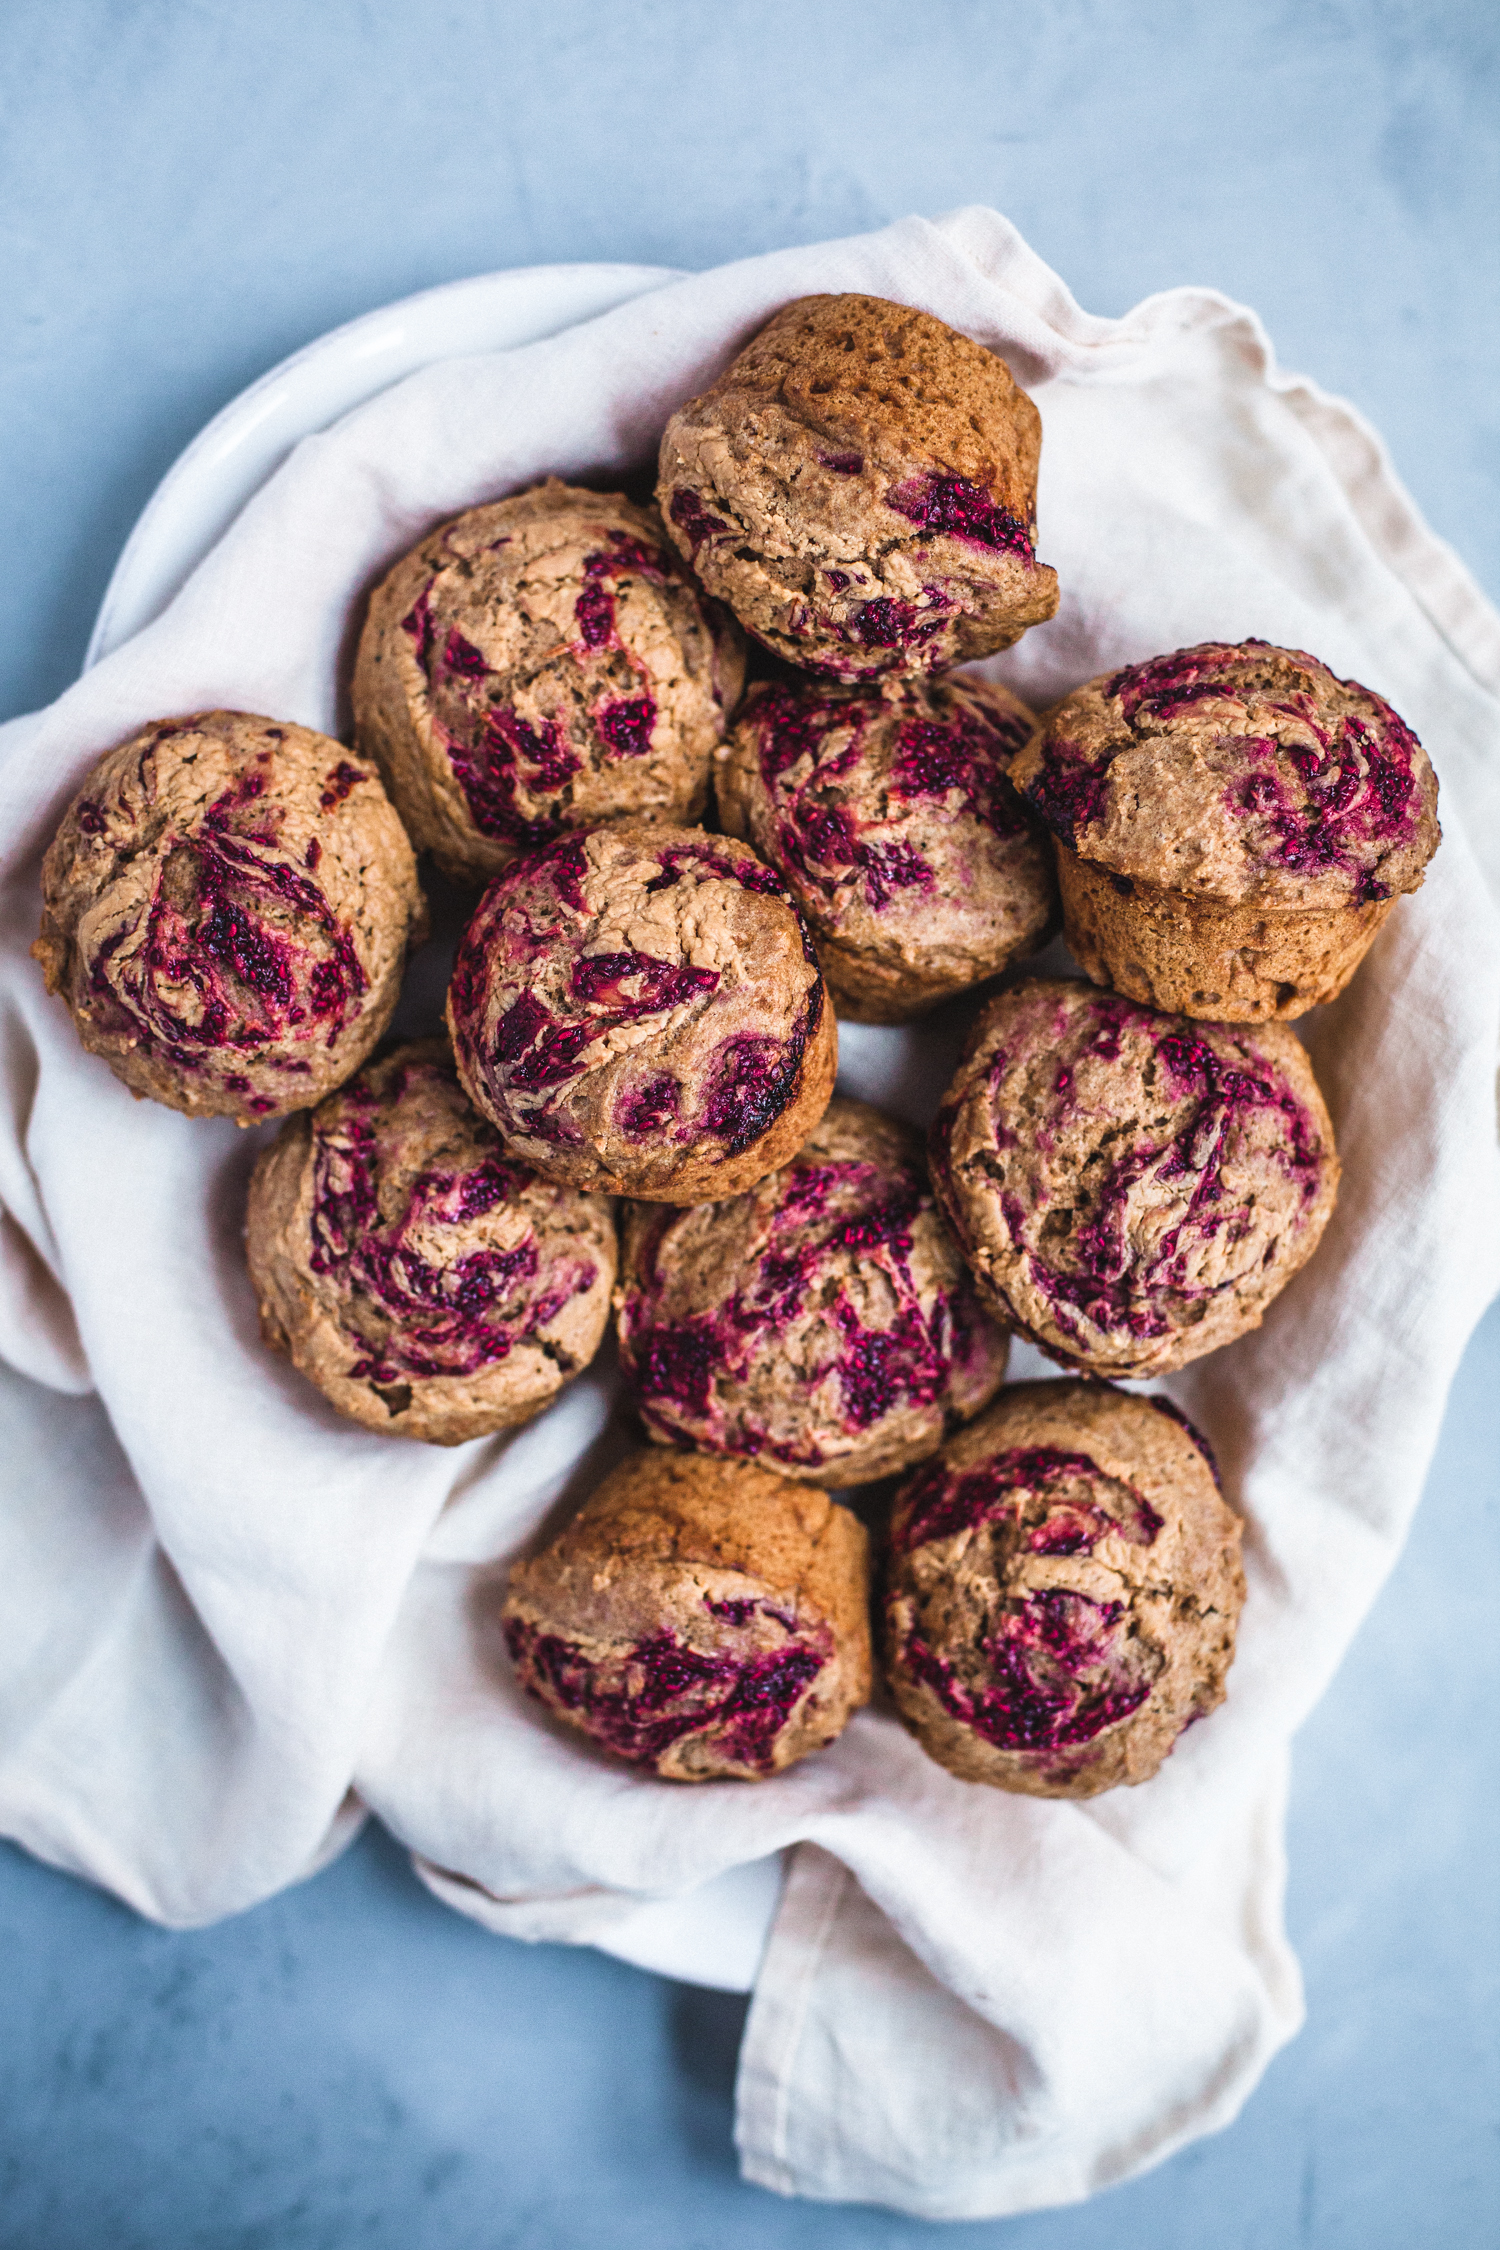
Vegan Peanut Butter and Jelly Muffins
View Recipe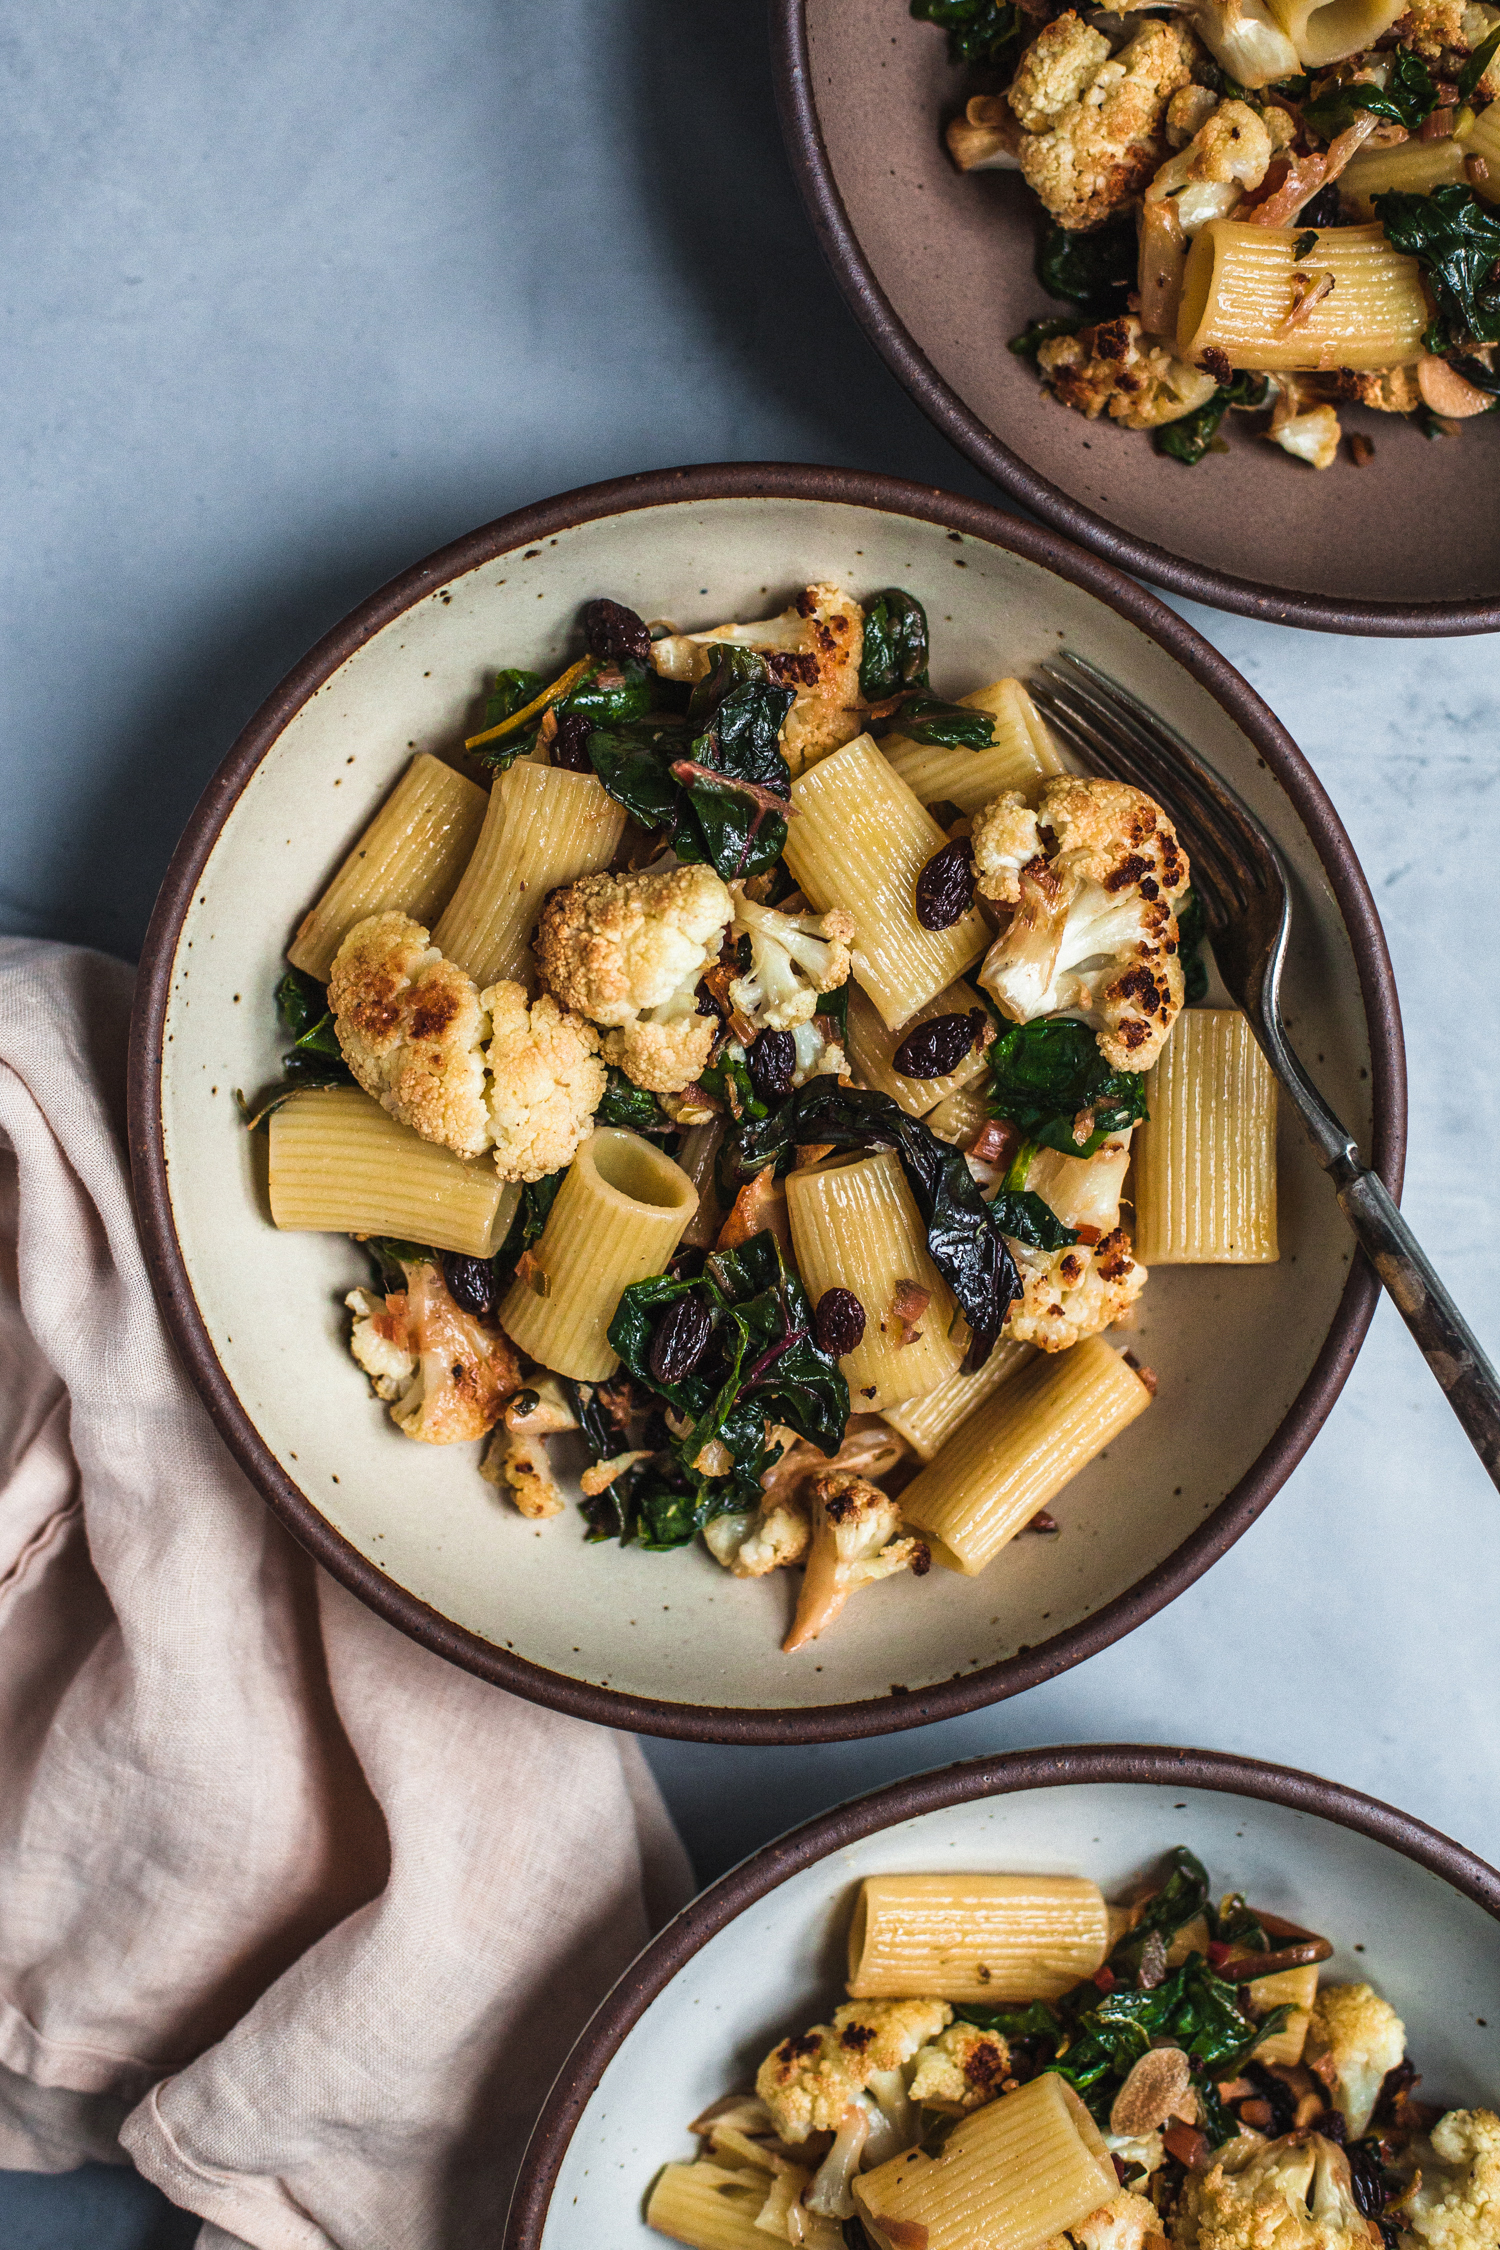
Roasted Cauliflower Pasta with Raisins, Capers, and Chard
View Recipe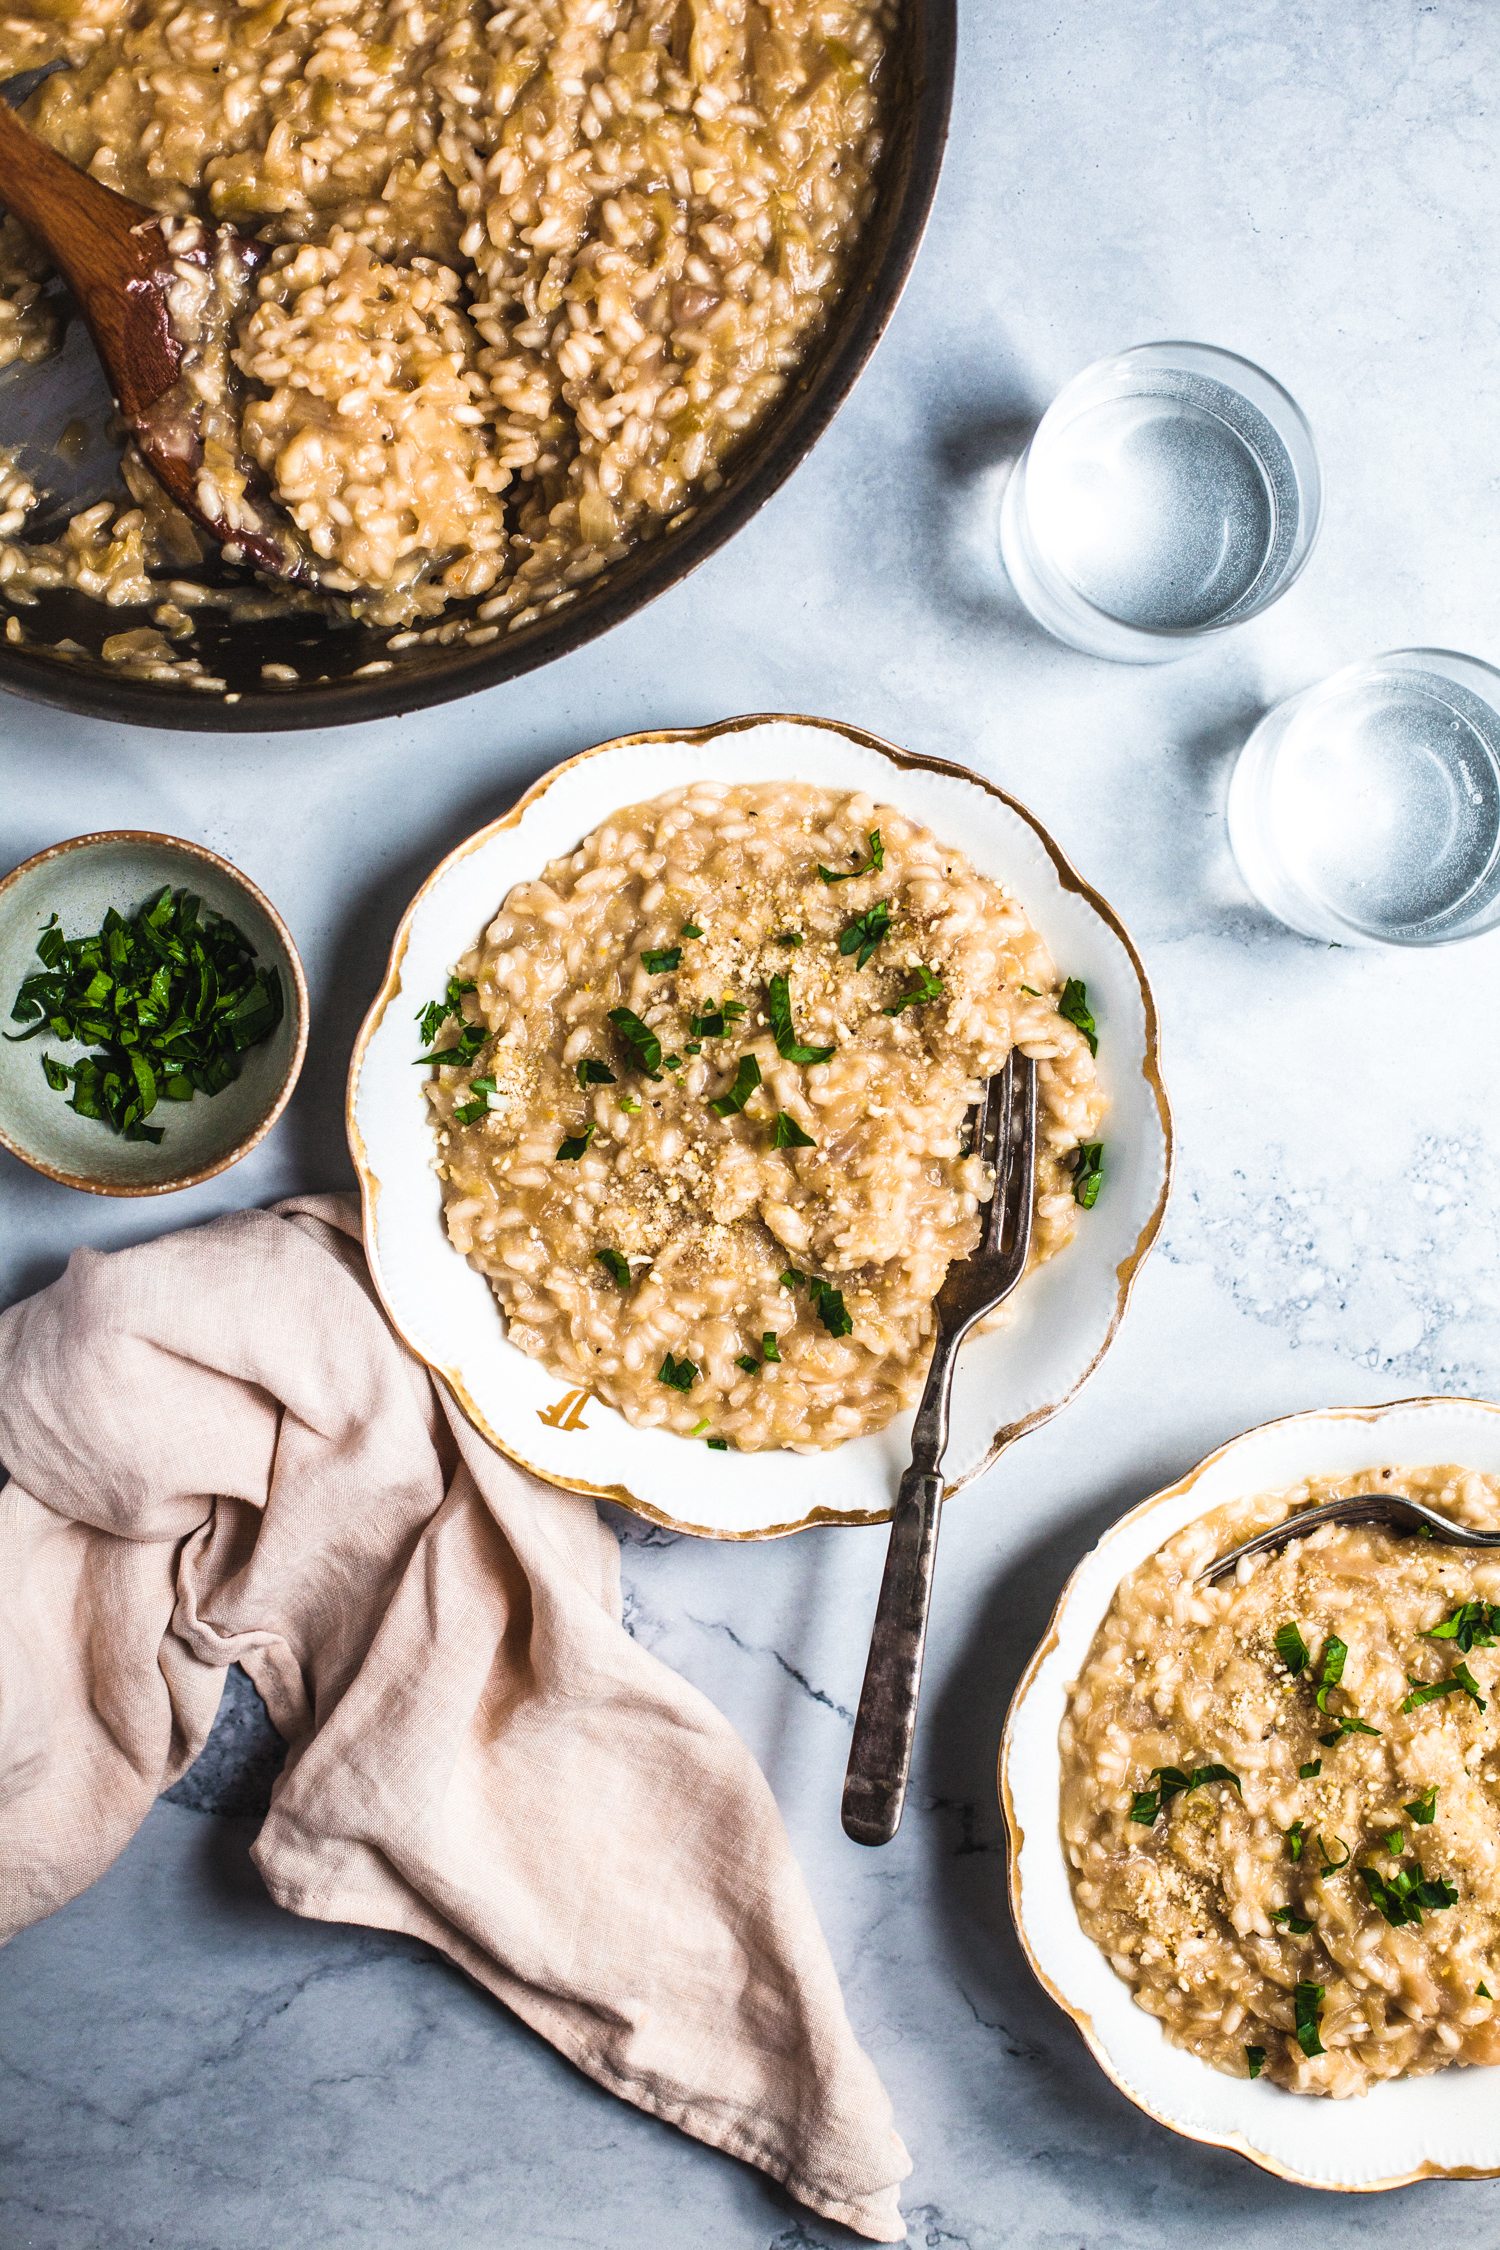
Cabbage and Lemon Risotto
View Recipe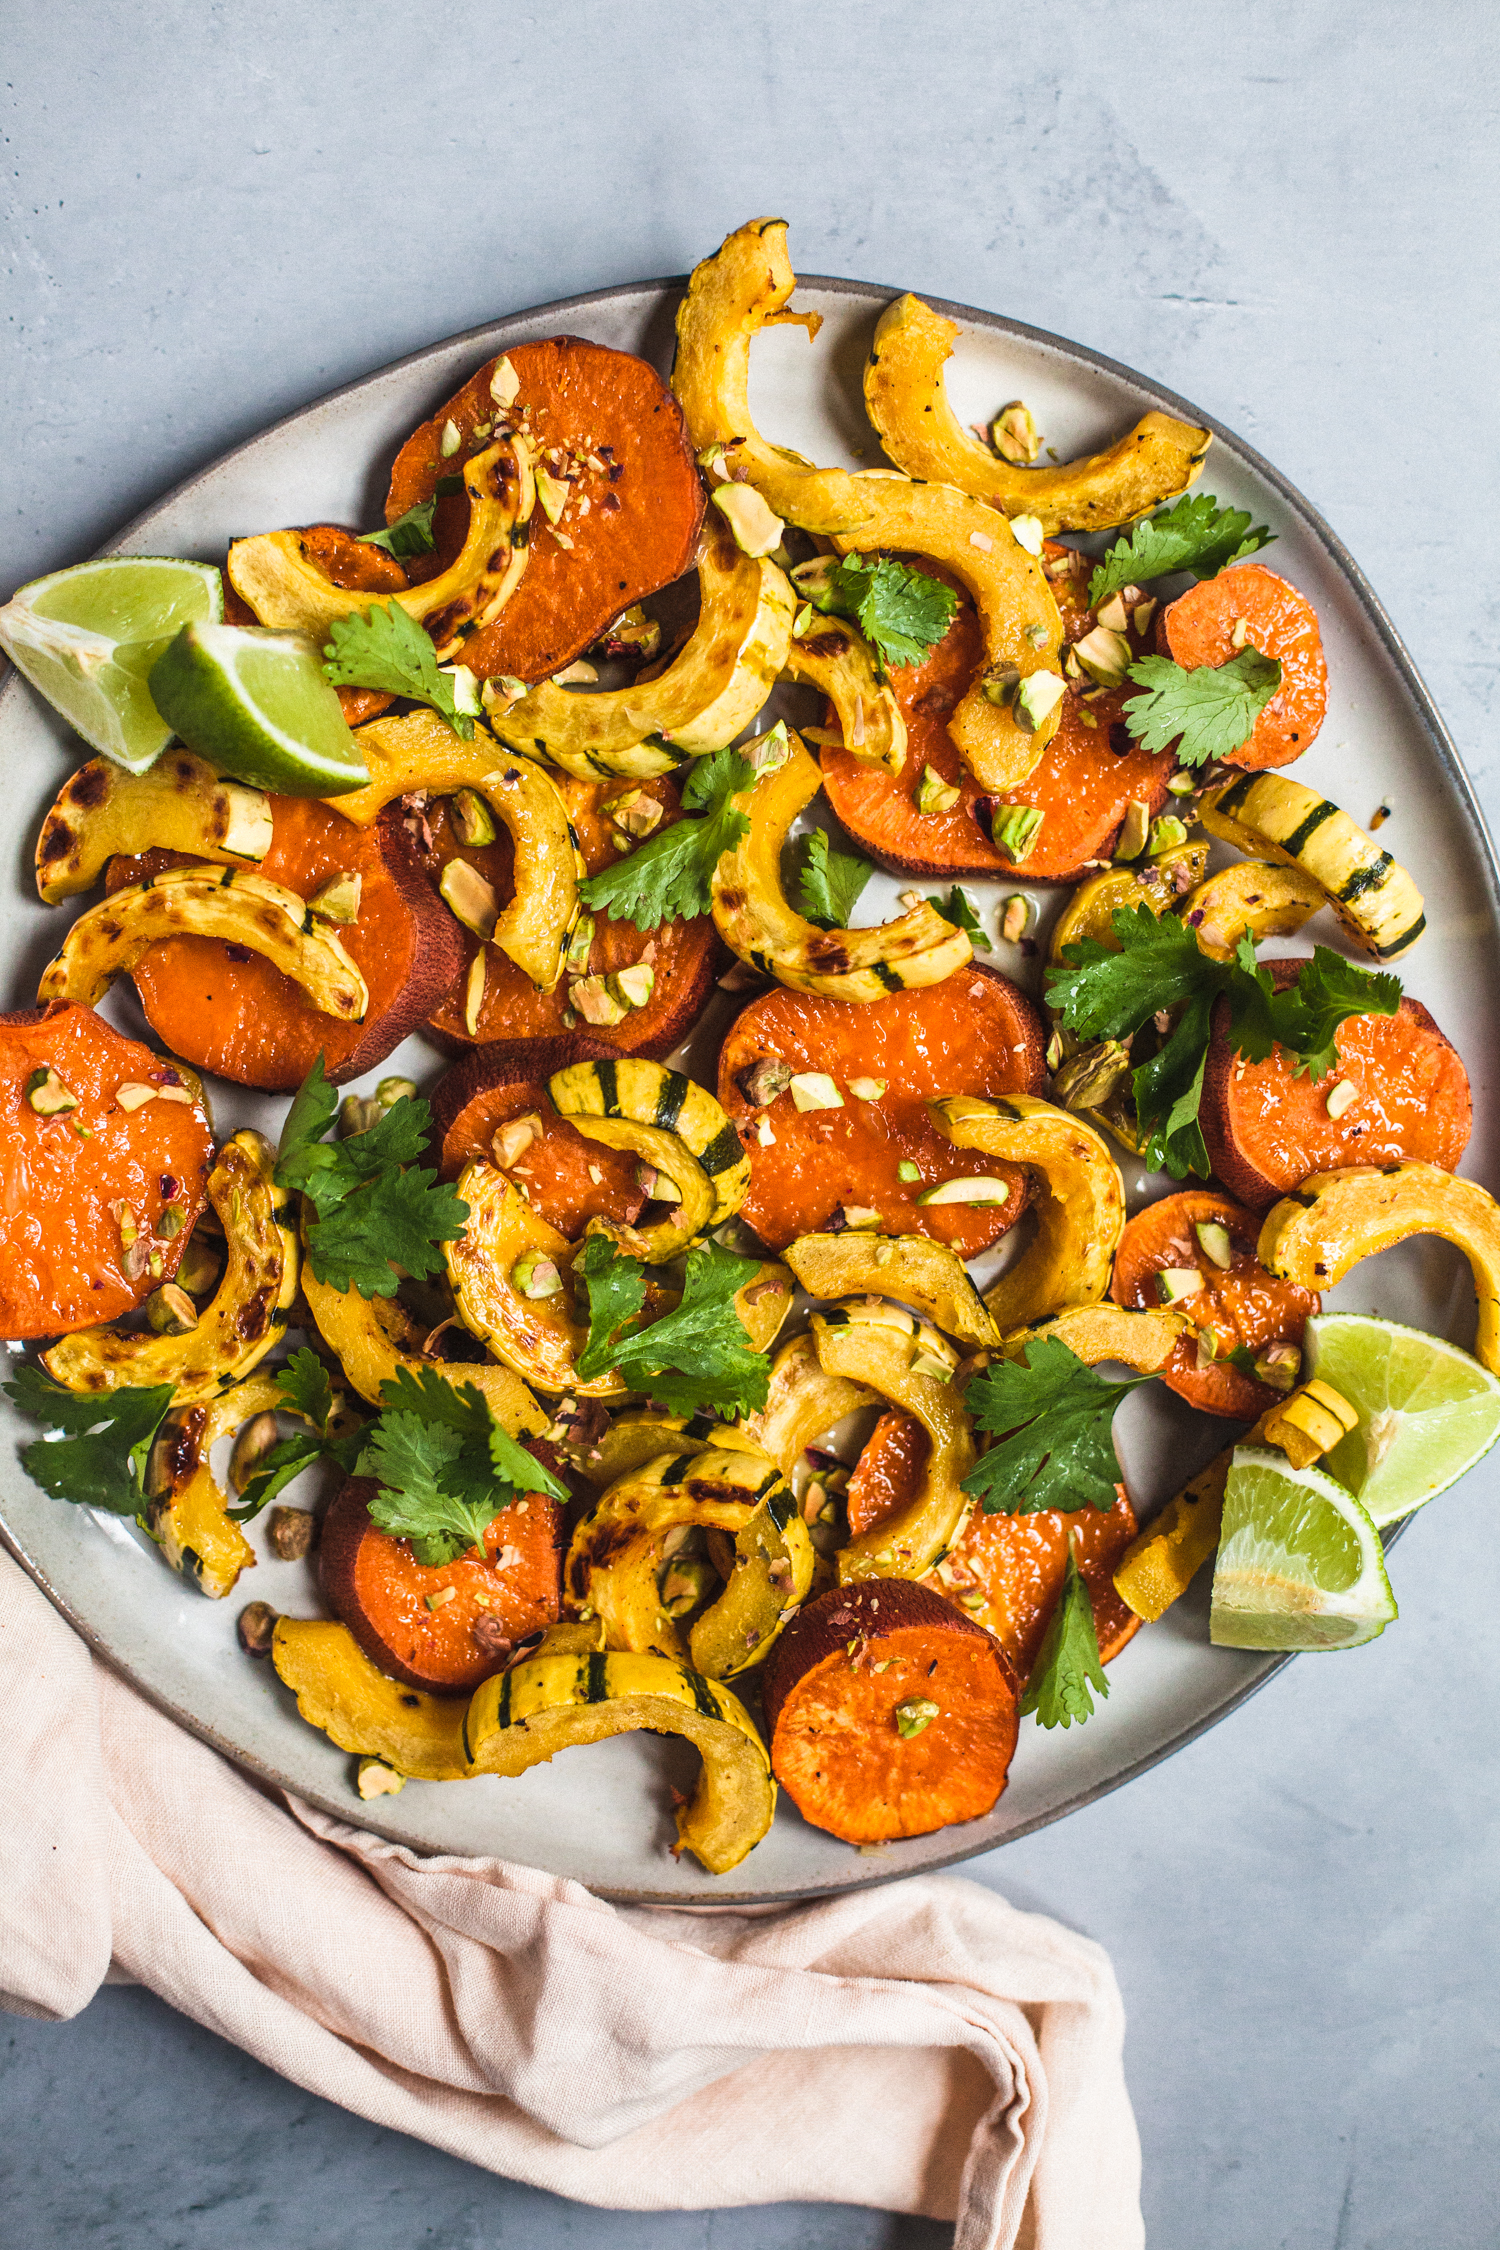
Limey Roasted Sweet Potatoes and Delicata Squash
View Recipe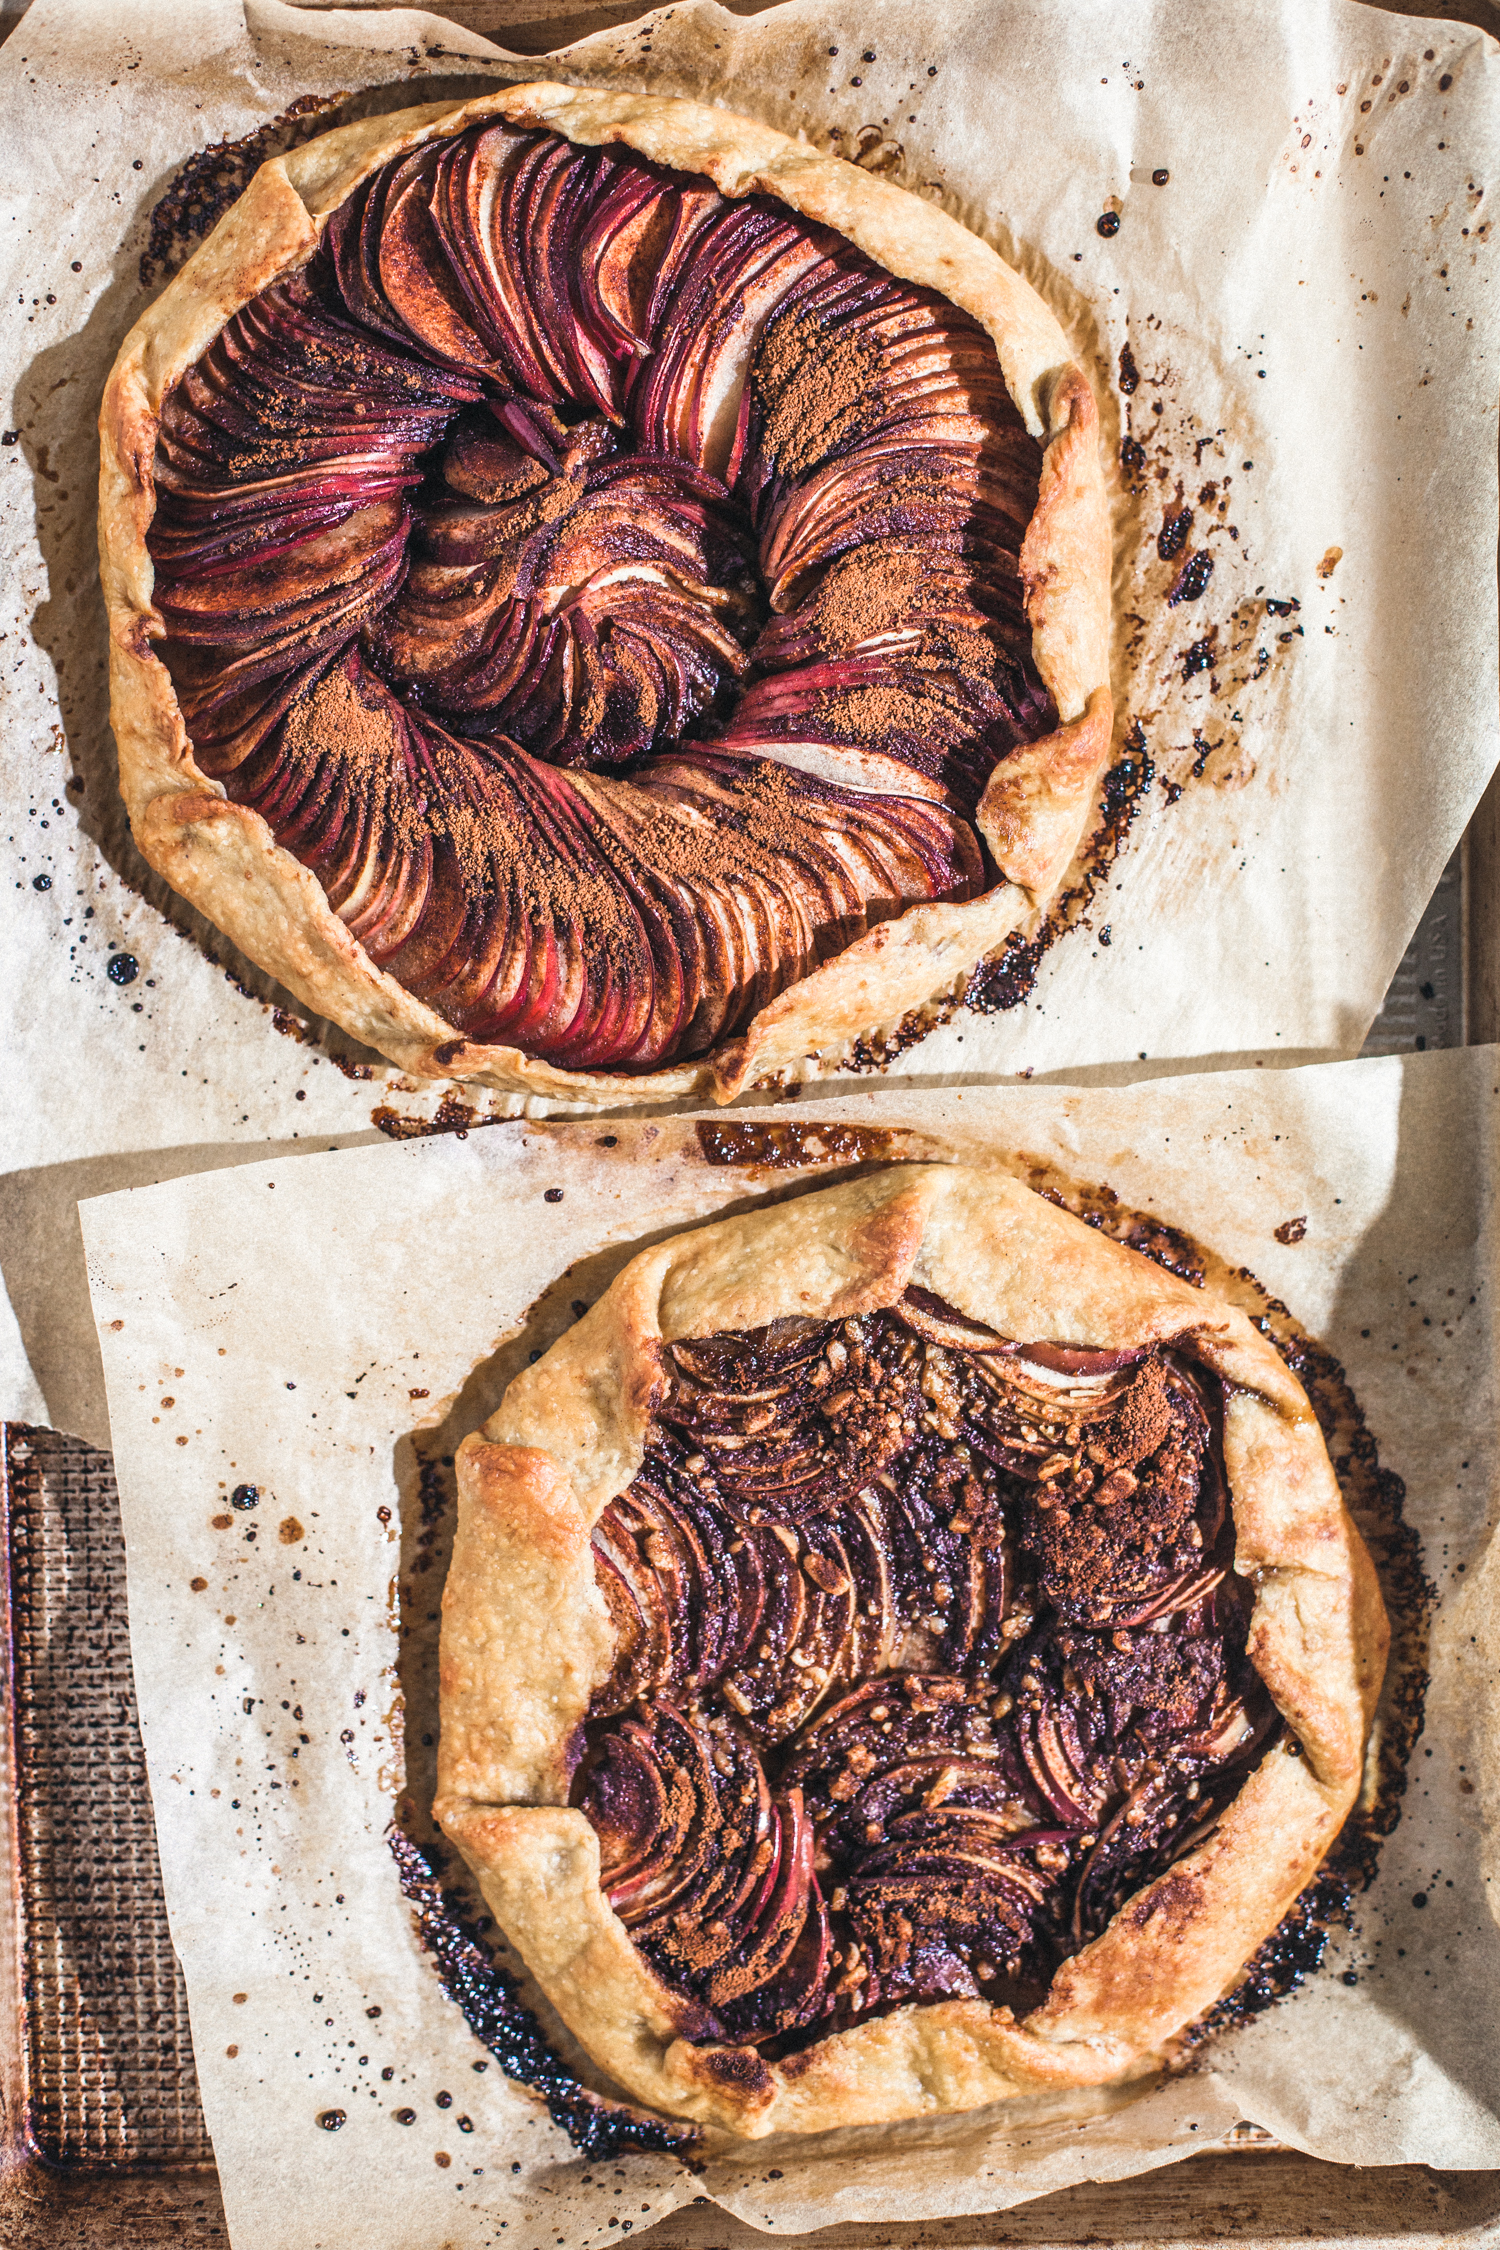
Apple Galette
View Recipe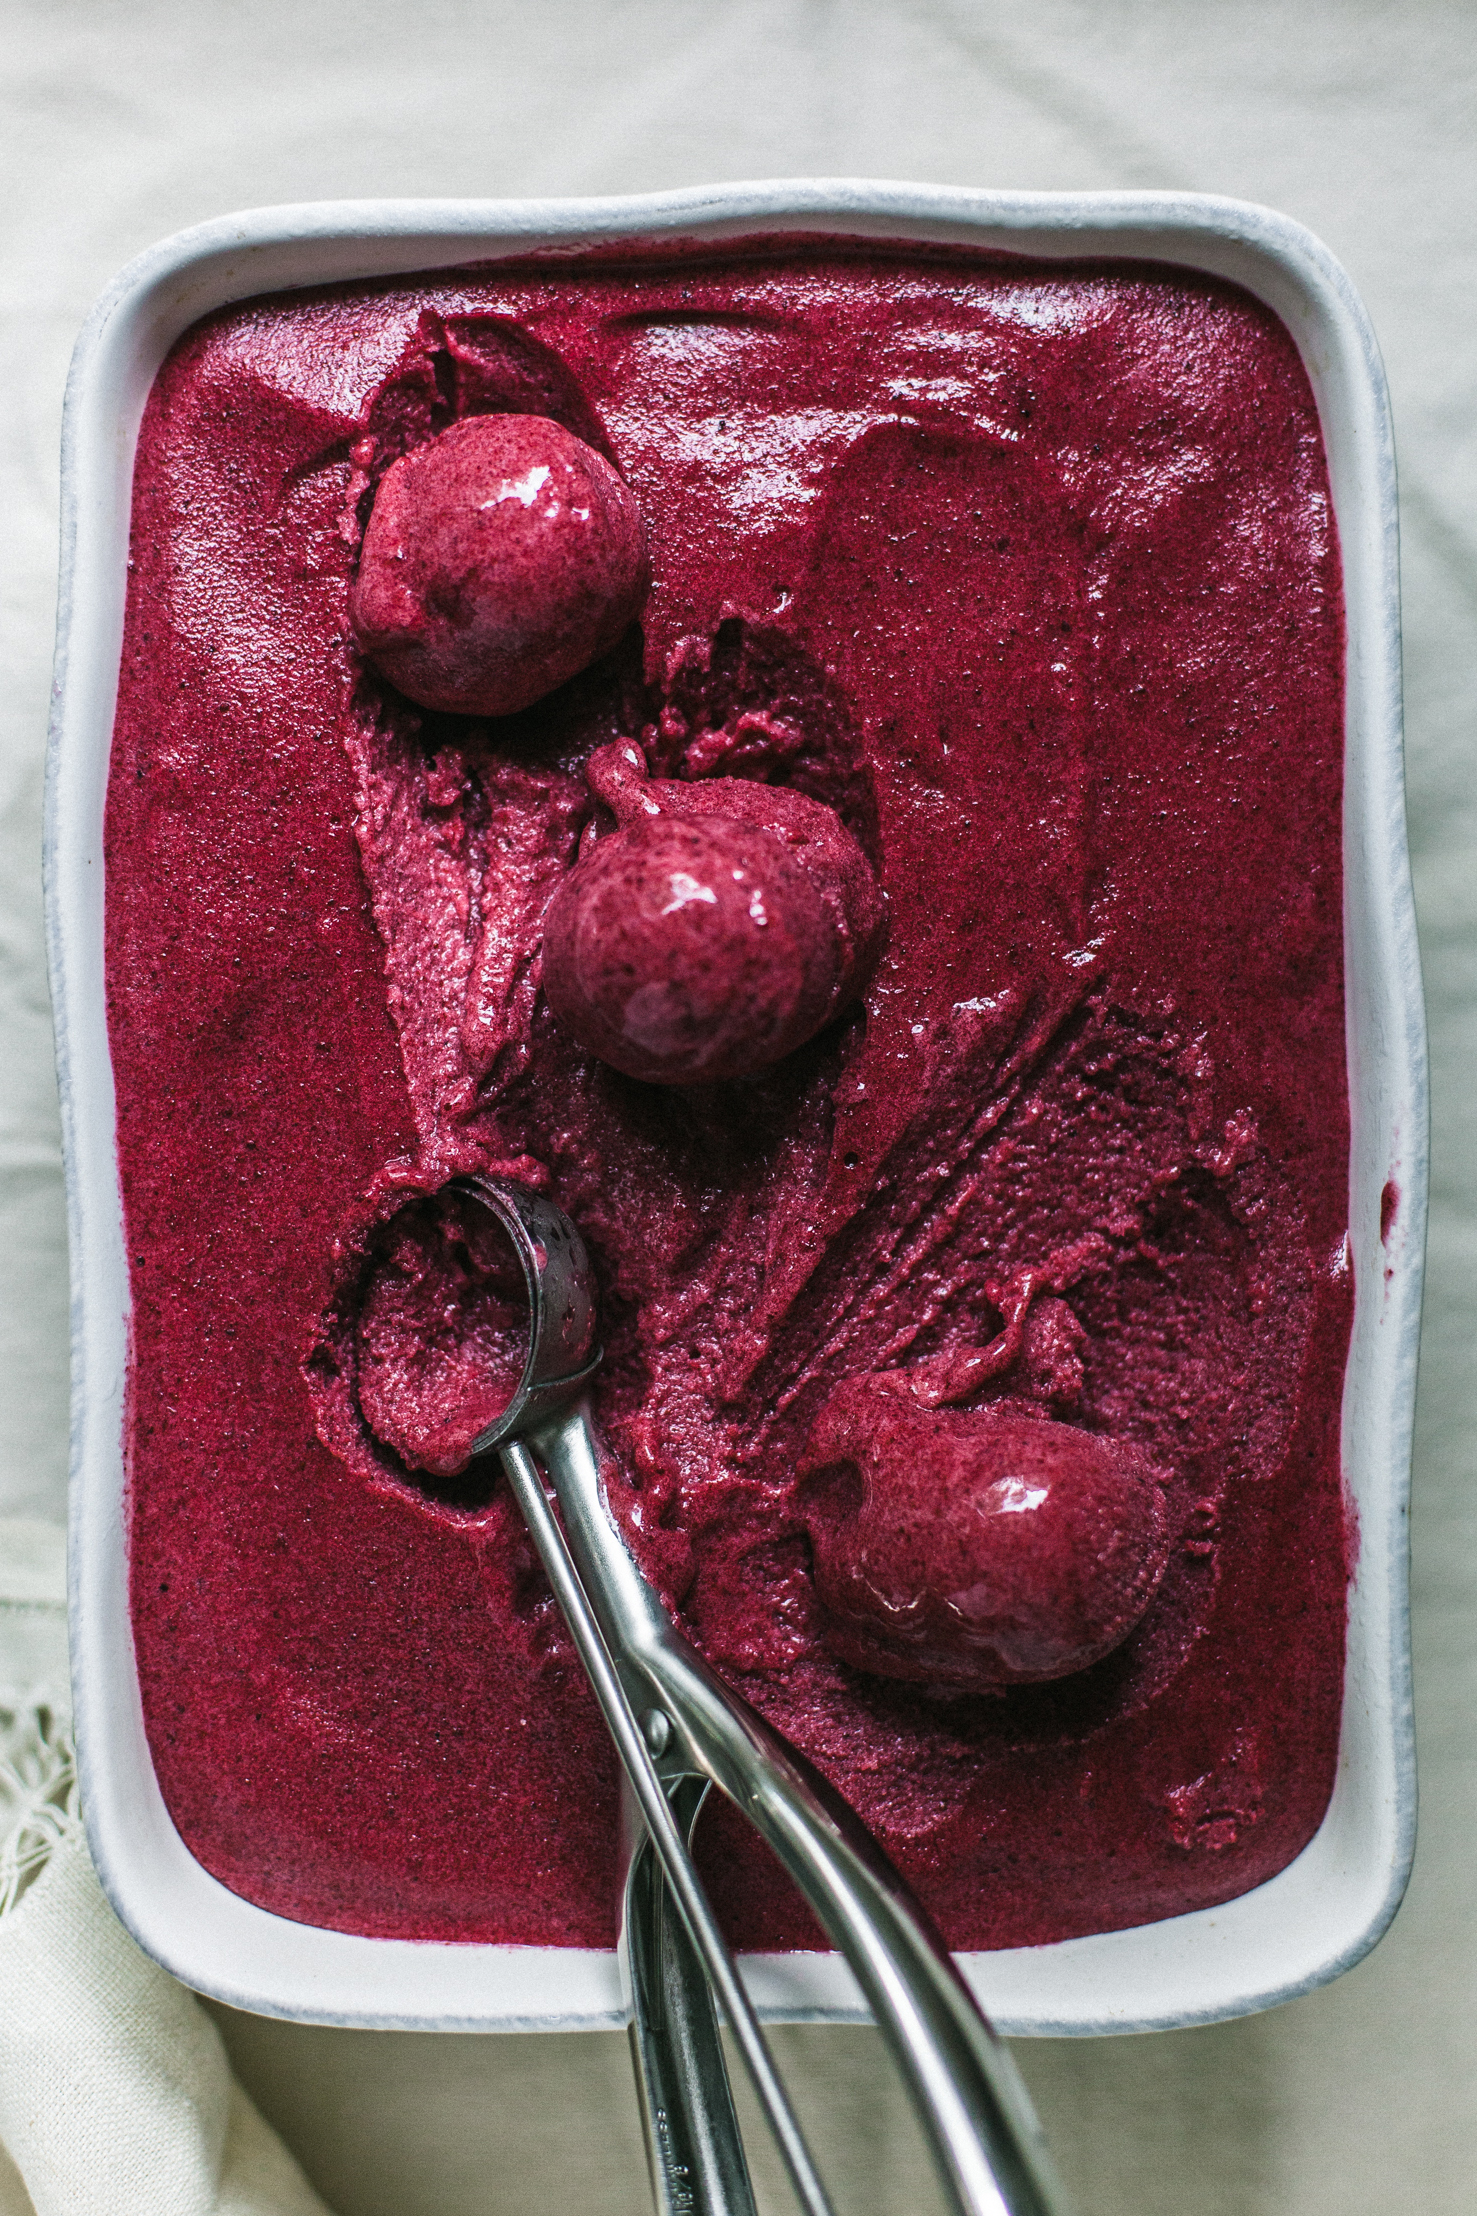
Roasted Berry Sorbet
View Recipe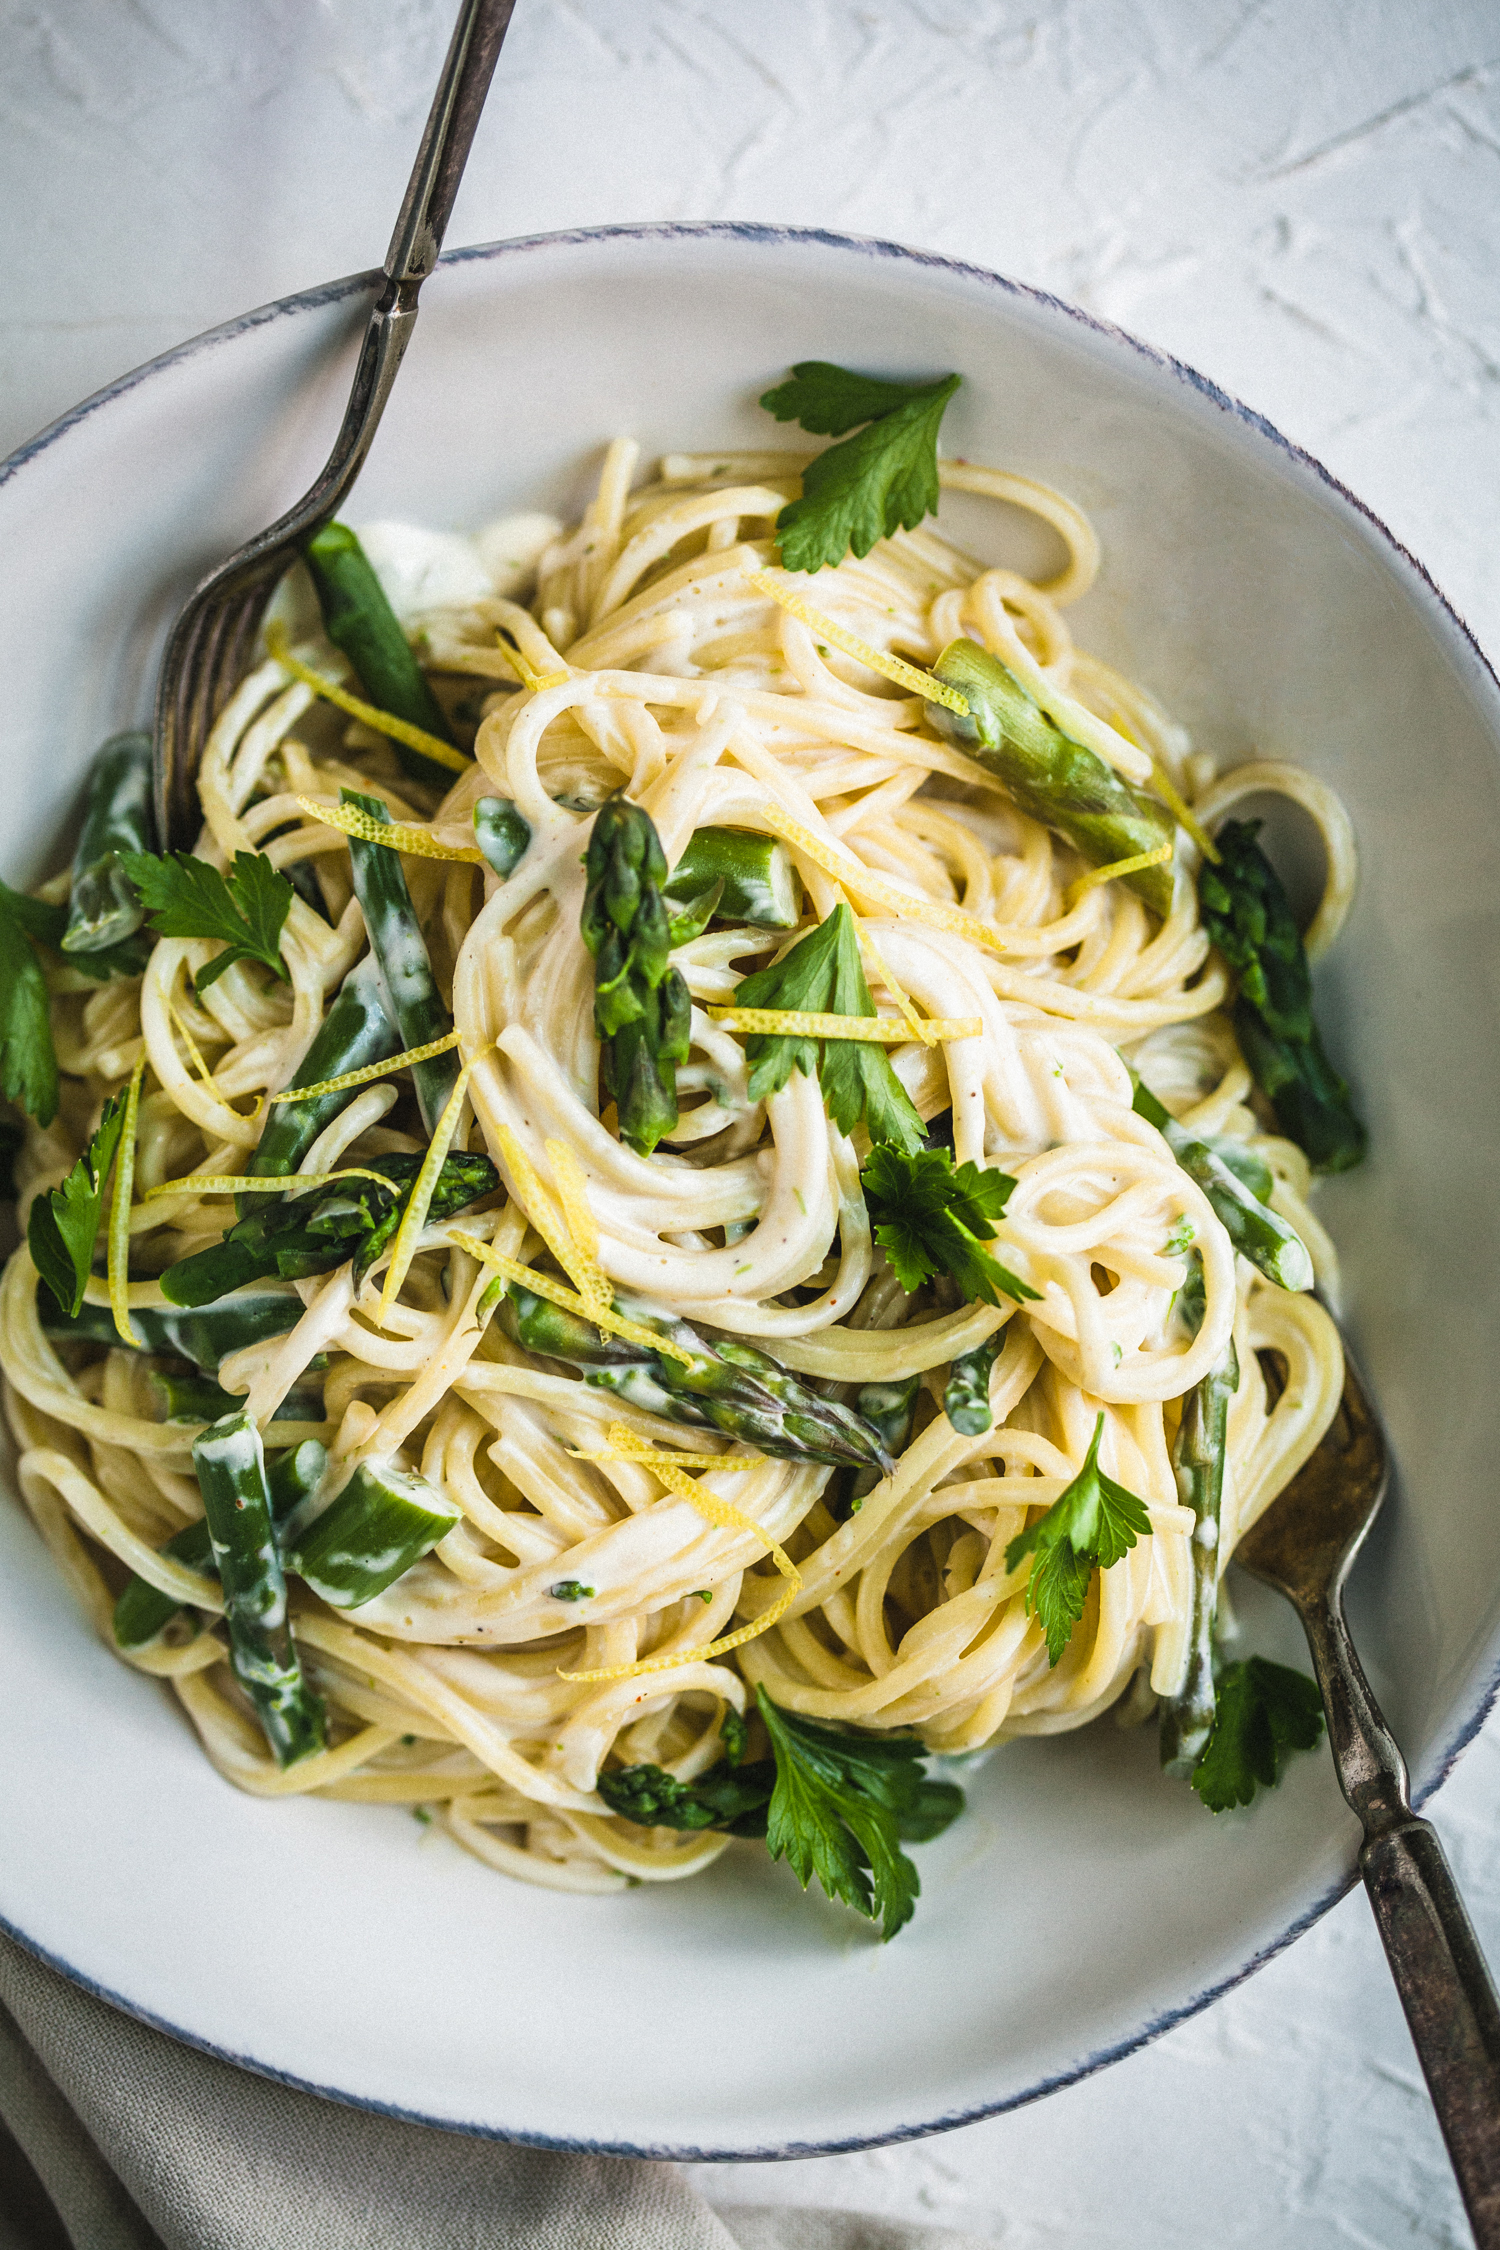
Creamy Vegan Lemon Pasta with Asparagus
View Recipe
Spring Onion Socca
View Recipe
Carrot and Lentil Salad
View Recipe
Corn and Zucchini Bisque with Paprika Oil
View Recipe
Radish Salad with Cashew Sour Cream Dressing
View Recipe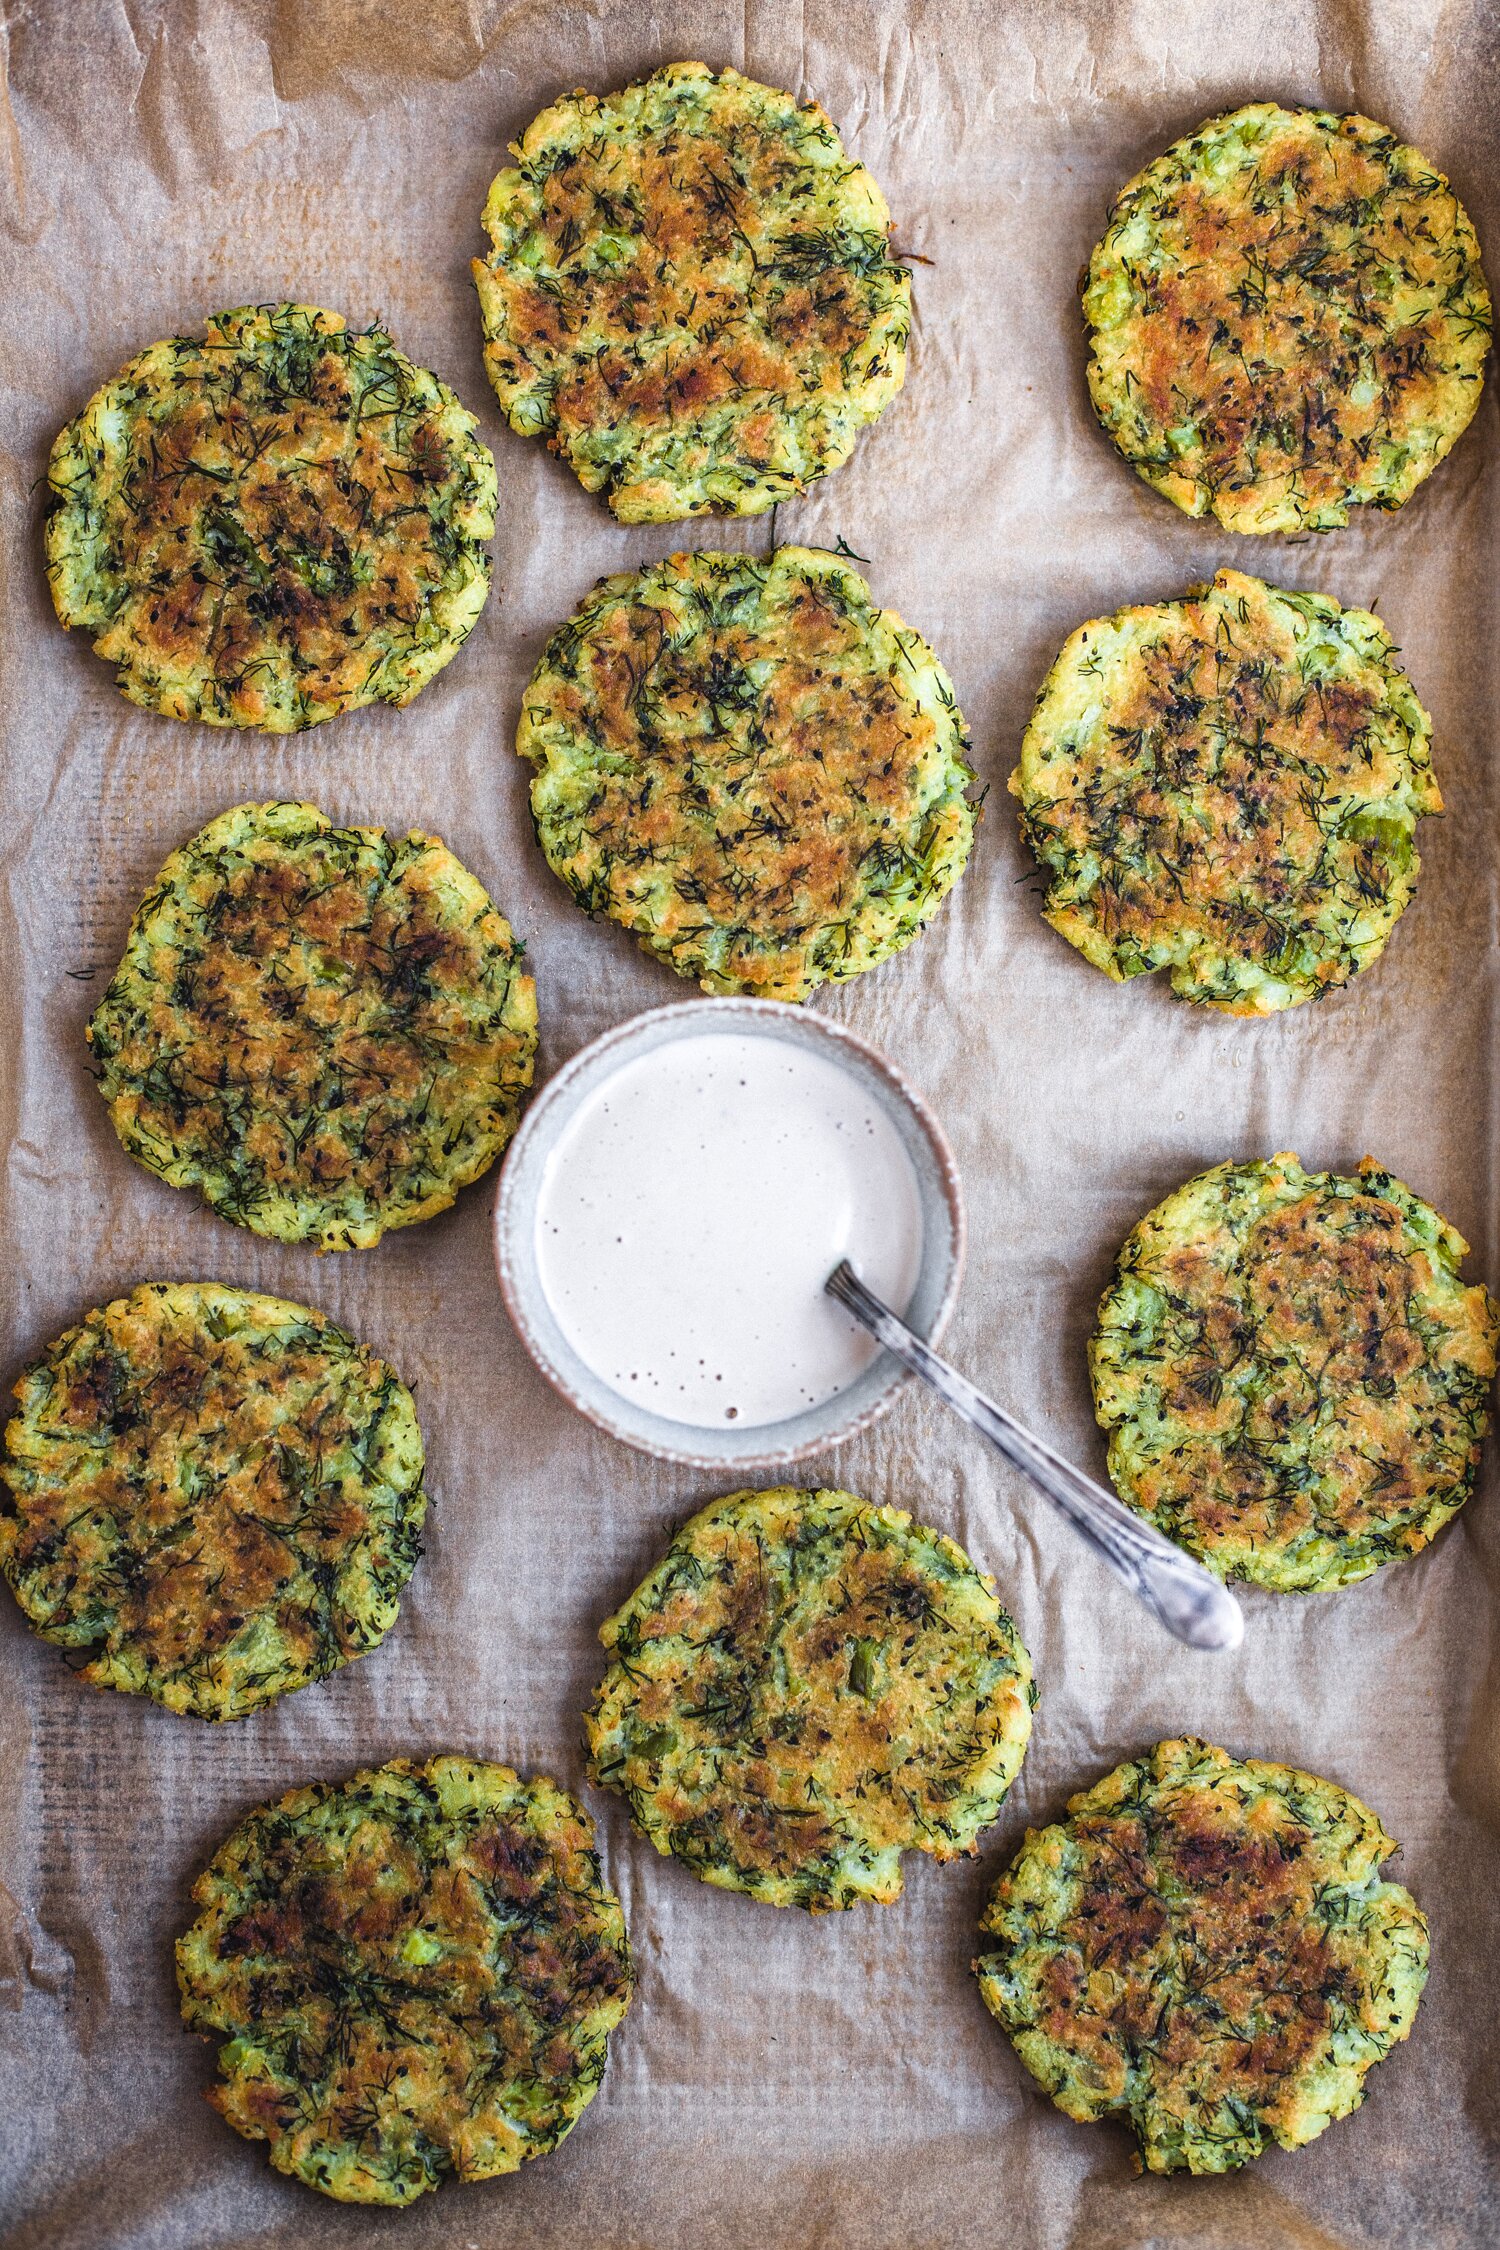
Potato, Dill, and Broccoli Cakes with Spicy Cashew Sauce
View Recipe
Spicy Black Bean and Sweet Potato Soup
View Recipe
Fennel and Lentil Soup with Gremolata
View Recipe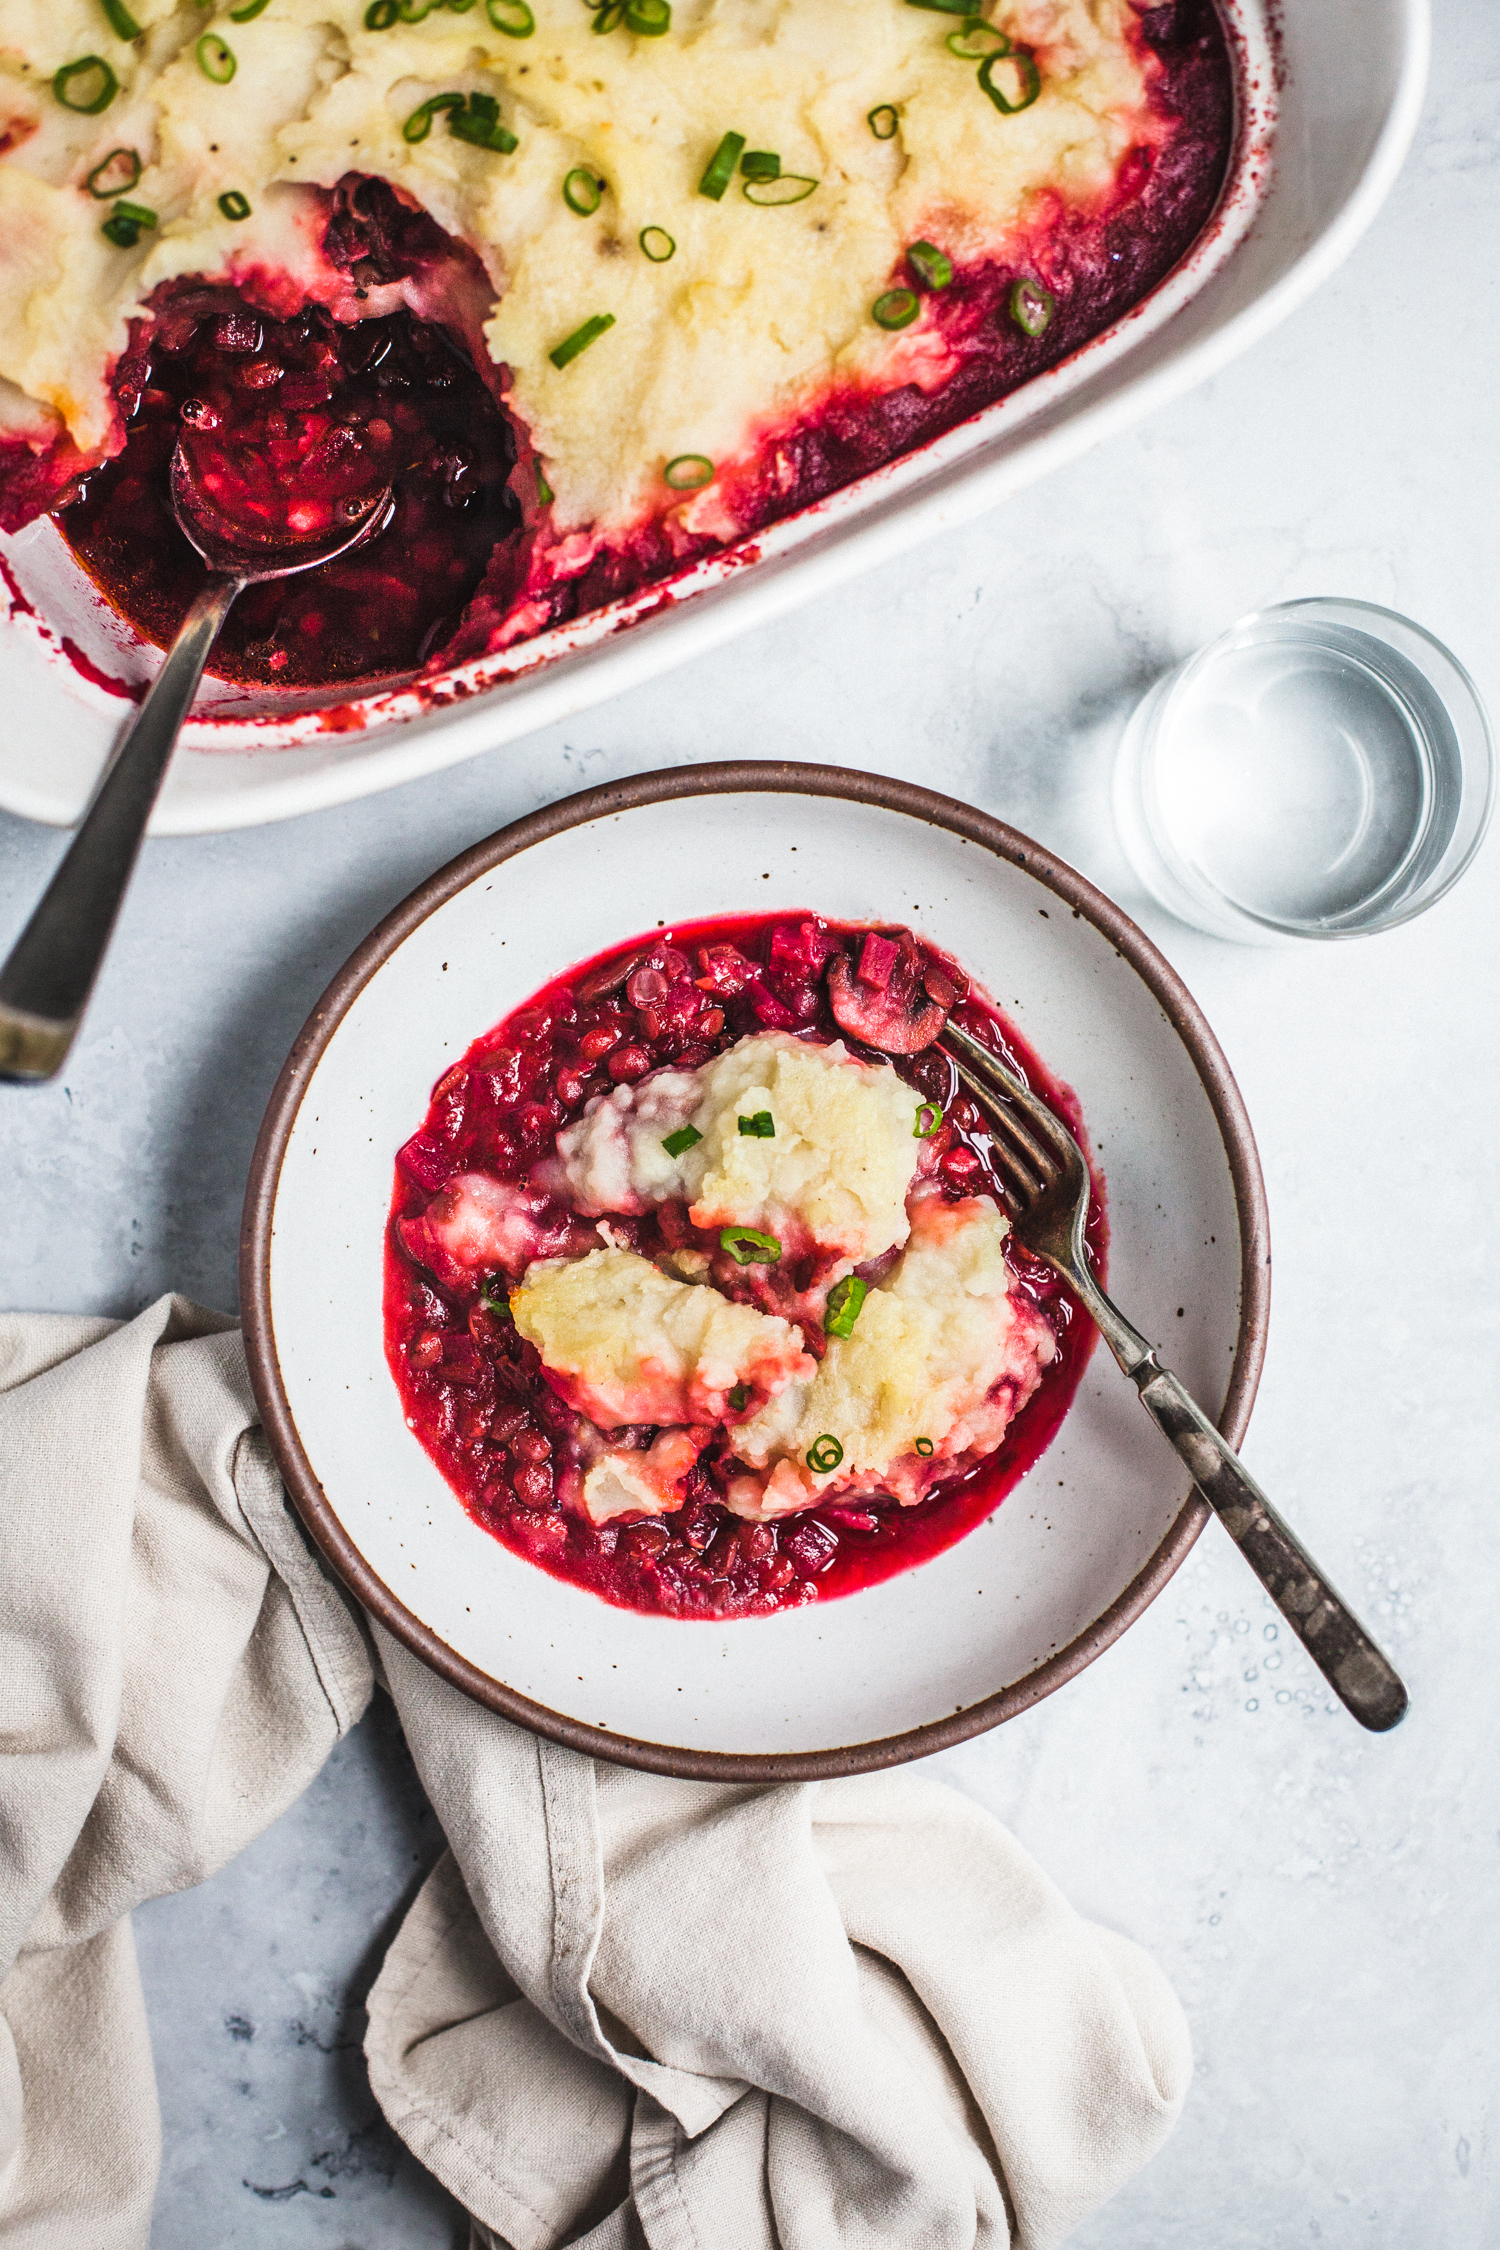
Beet Shepherd’s Pie with Balsamic, Lentils, and Mushrooms
View Recipe
Roasted Cauliflower Pasta with Raisins, Capers, and Chard
View Recipe
Chocolate Raspberry Overnight Oats
View Recipe
Vegan Peanut Butter and Jelly Muffins
View Recipe
Cabbage and Lemon Risotto
View Recipe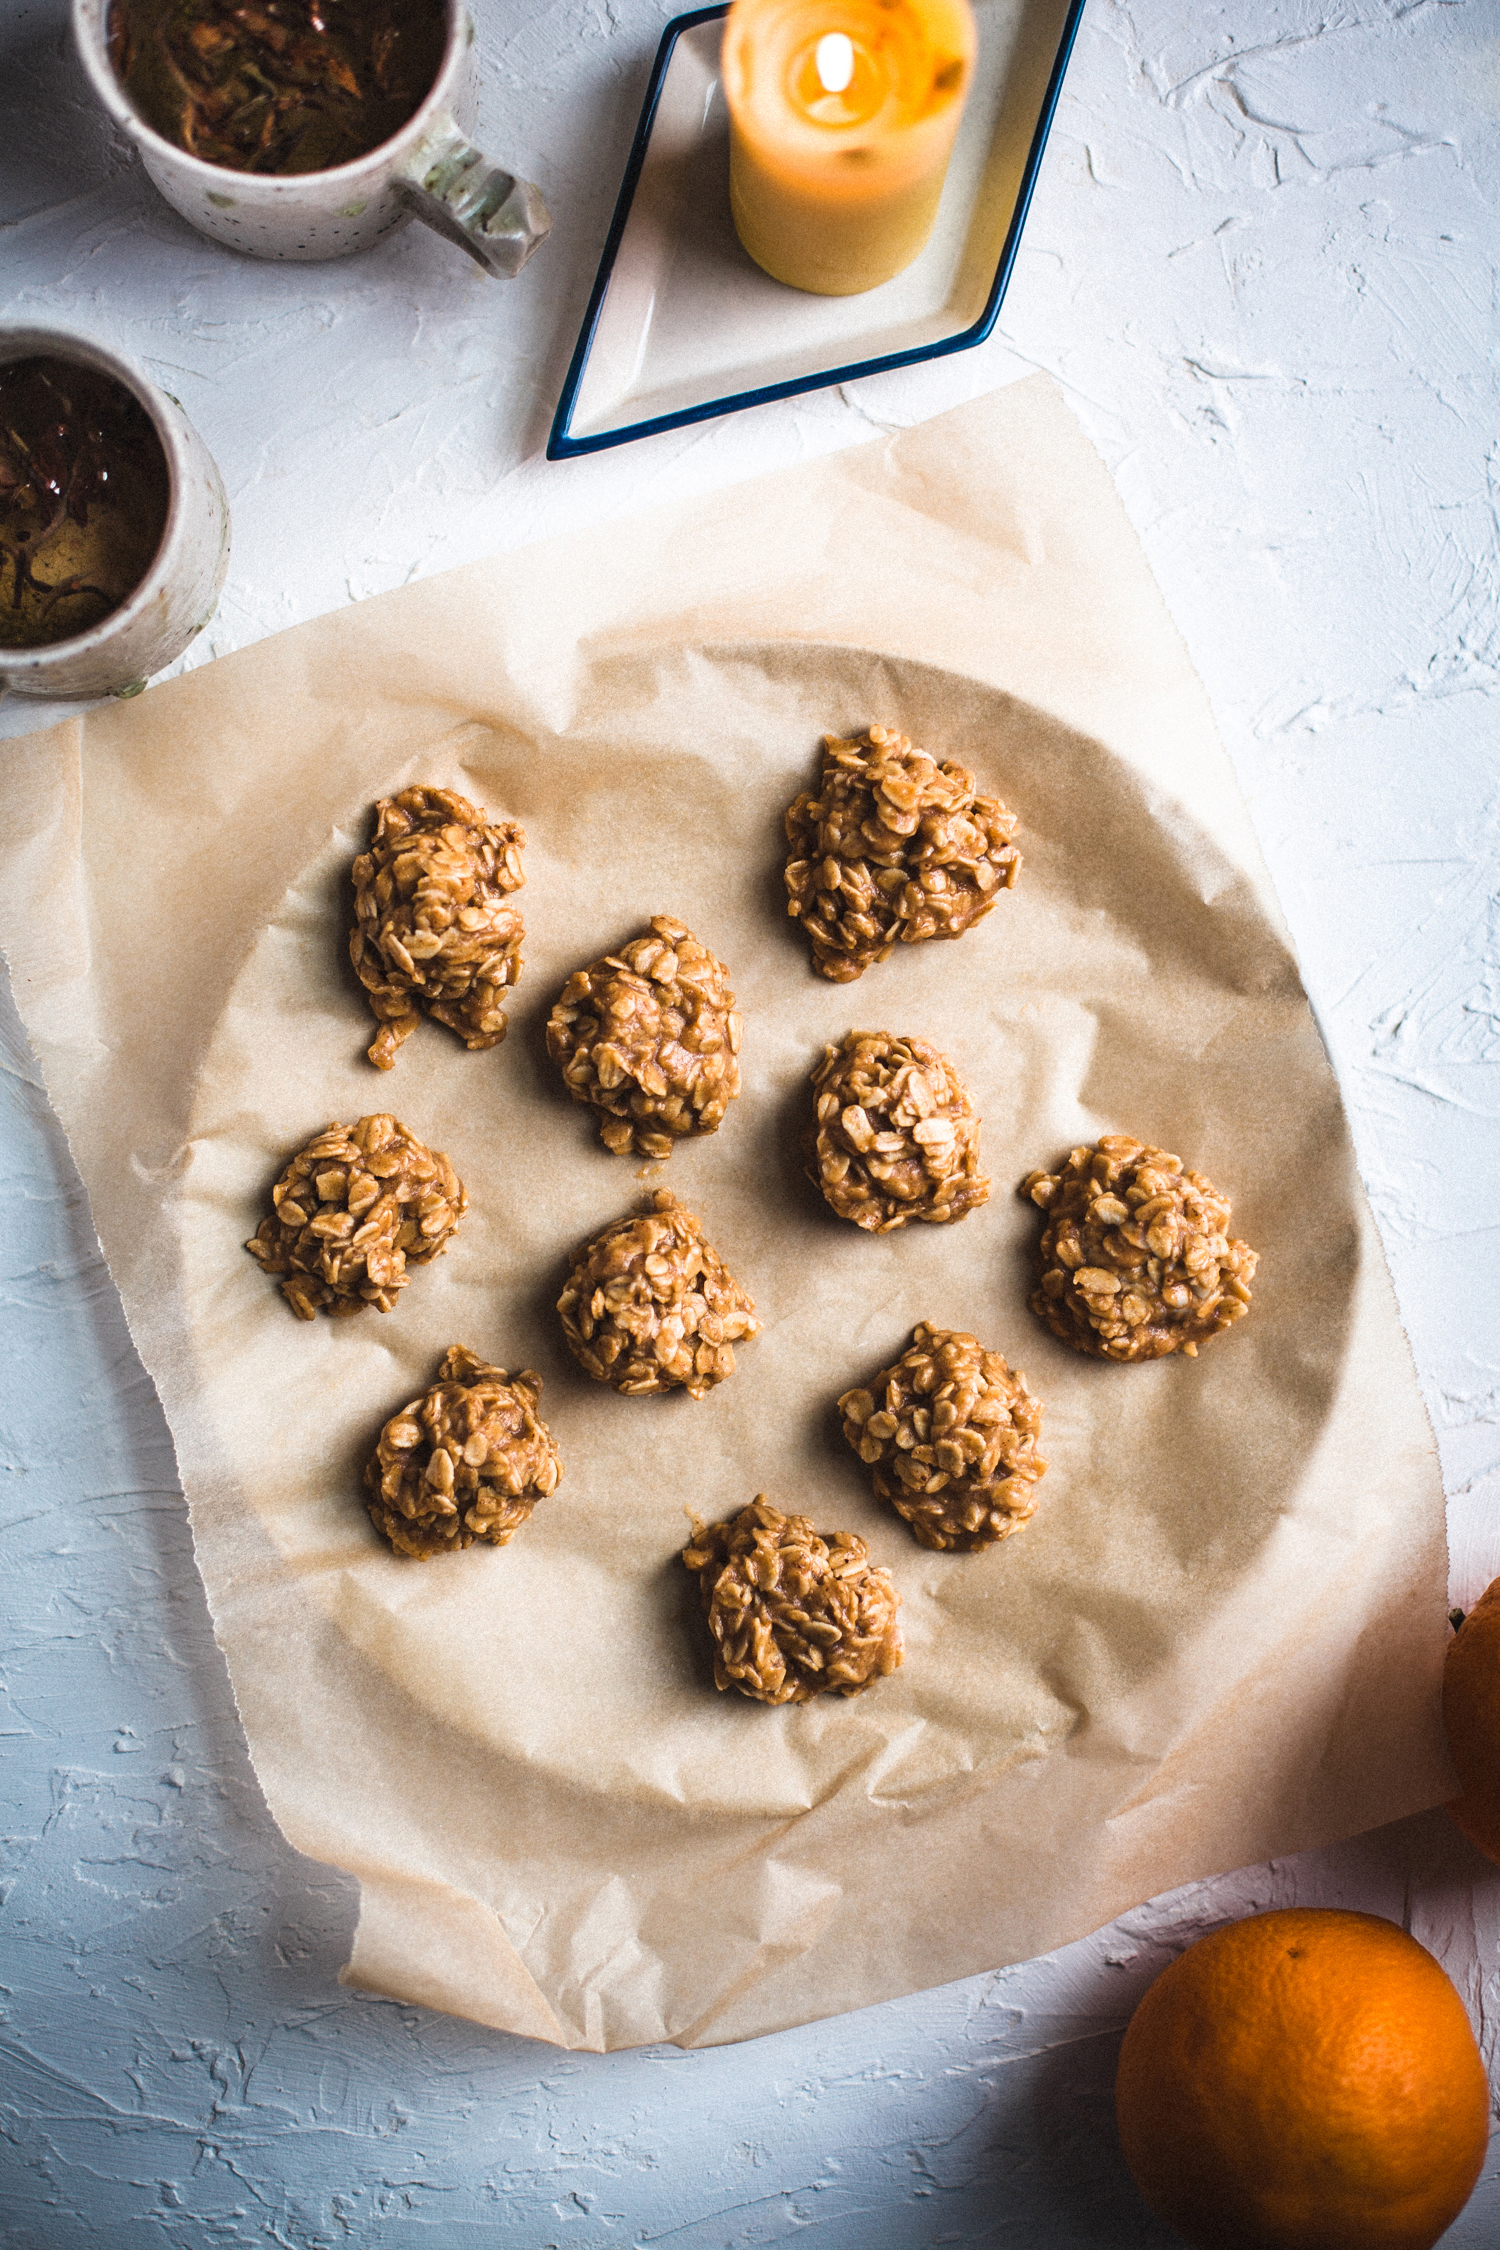
Sweet & Salty Nut Butter Oat Clusters
View Recipe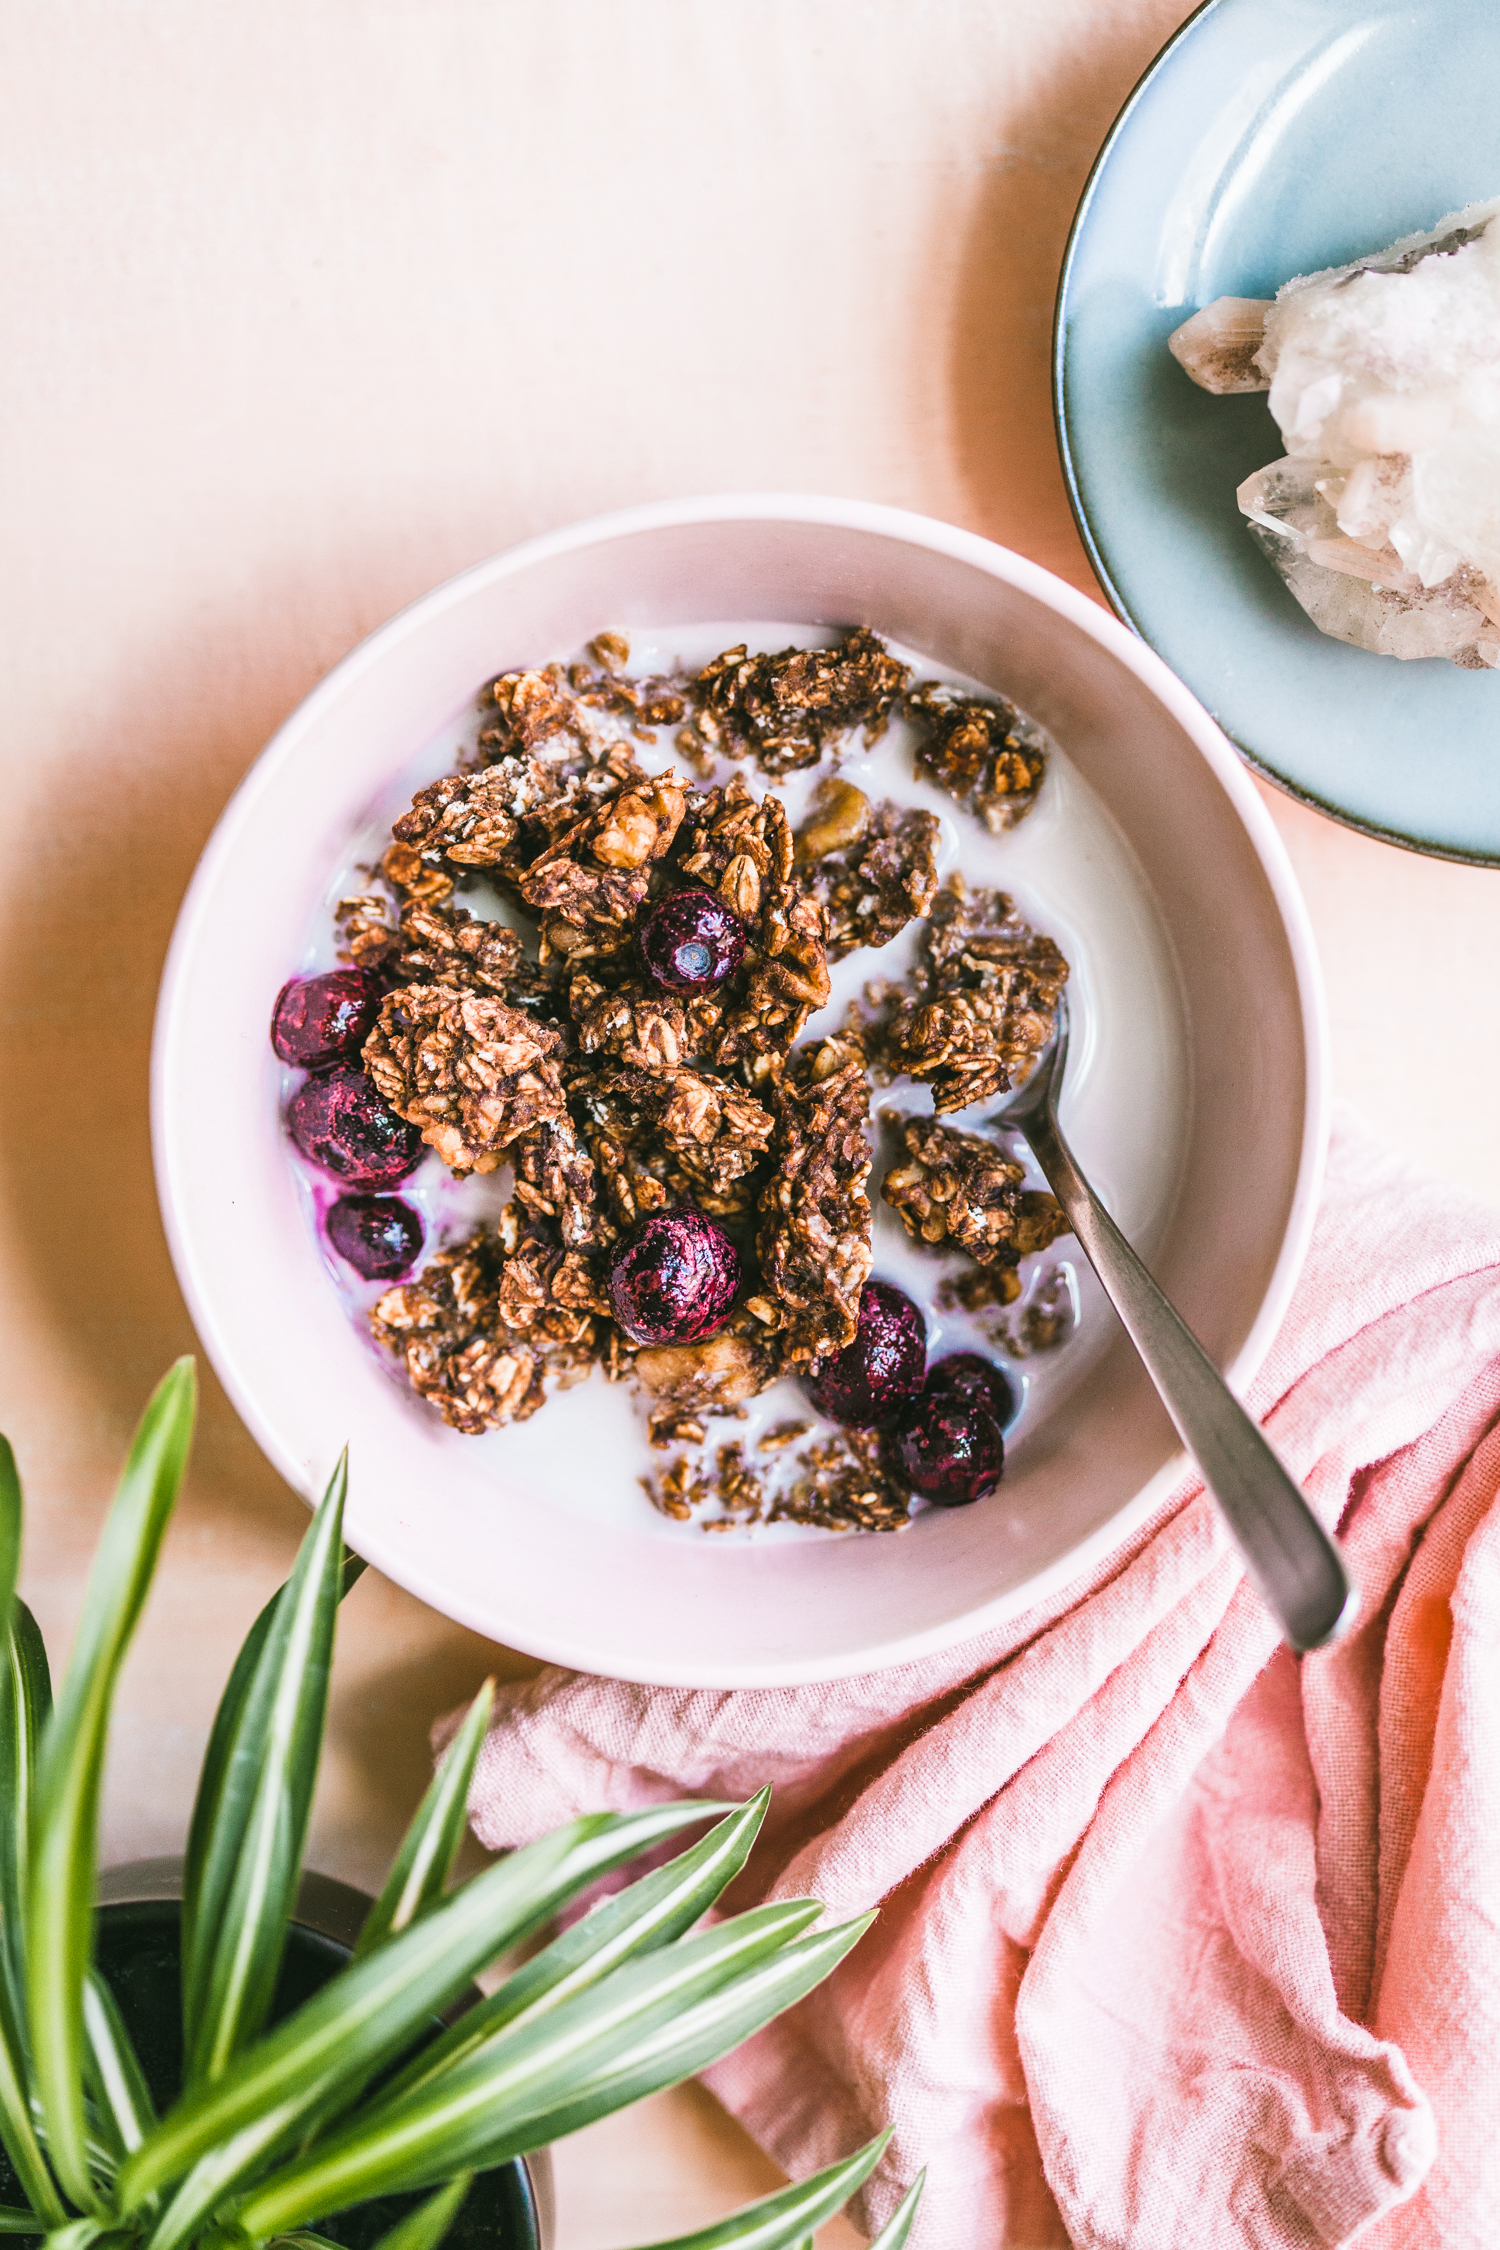
The Simplest Chocolate-Banana Granola (Oil-Free!)
View Recipe
Spring Vegetable and Quinoa Pot Pie
View Recipe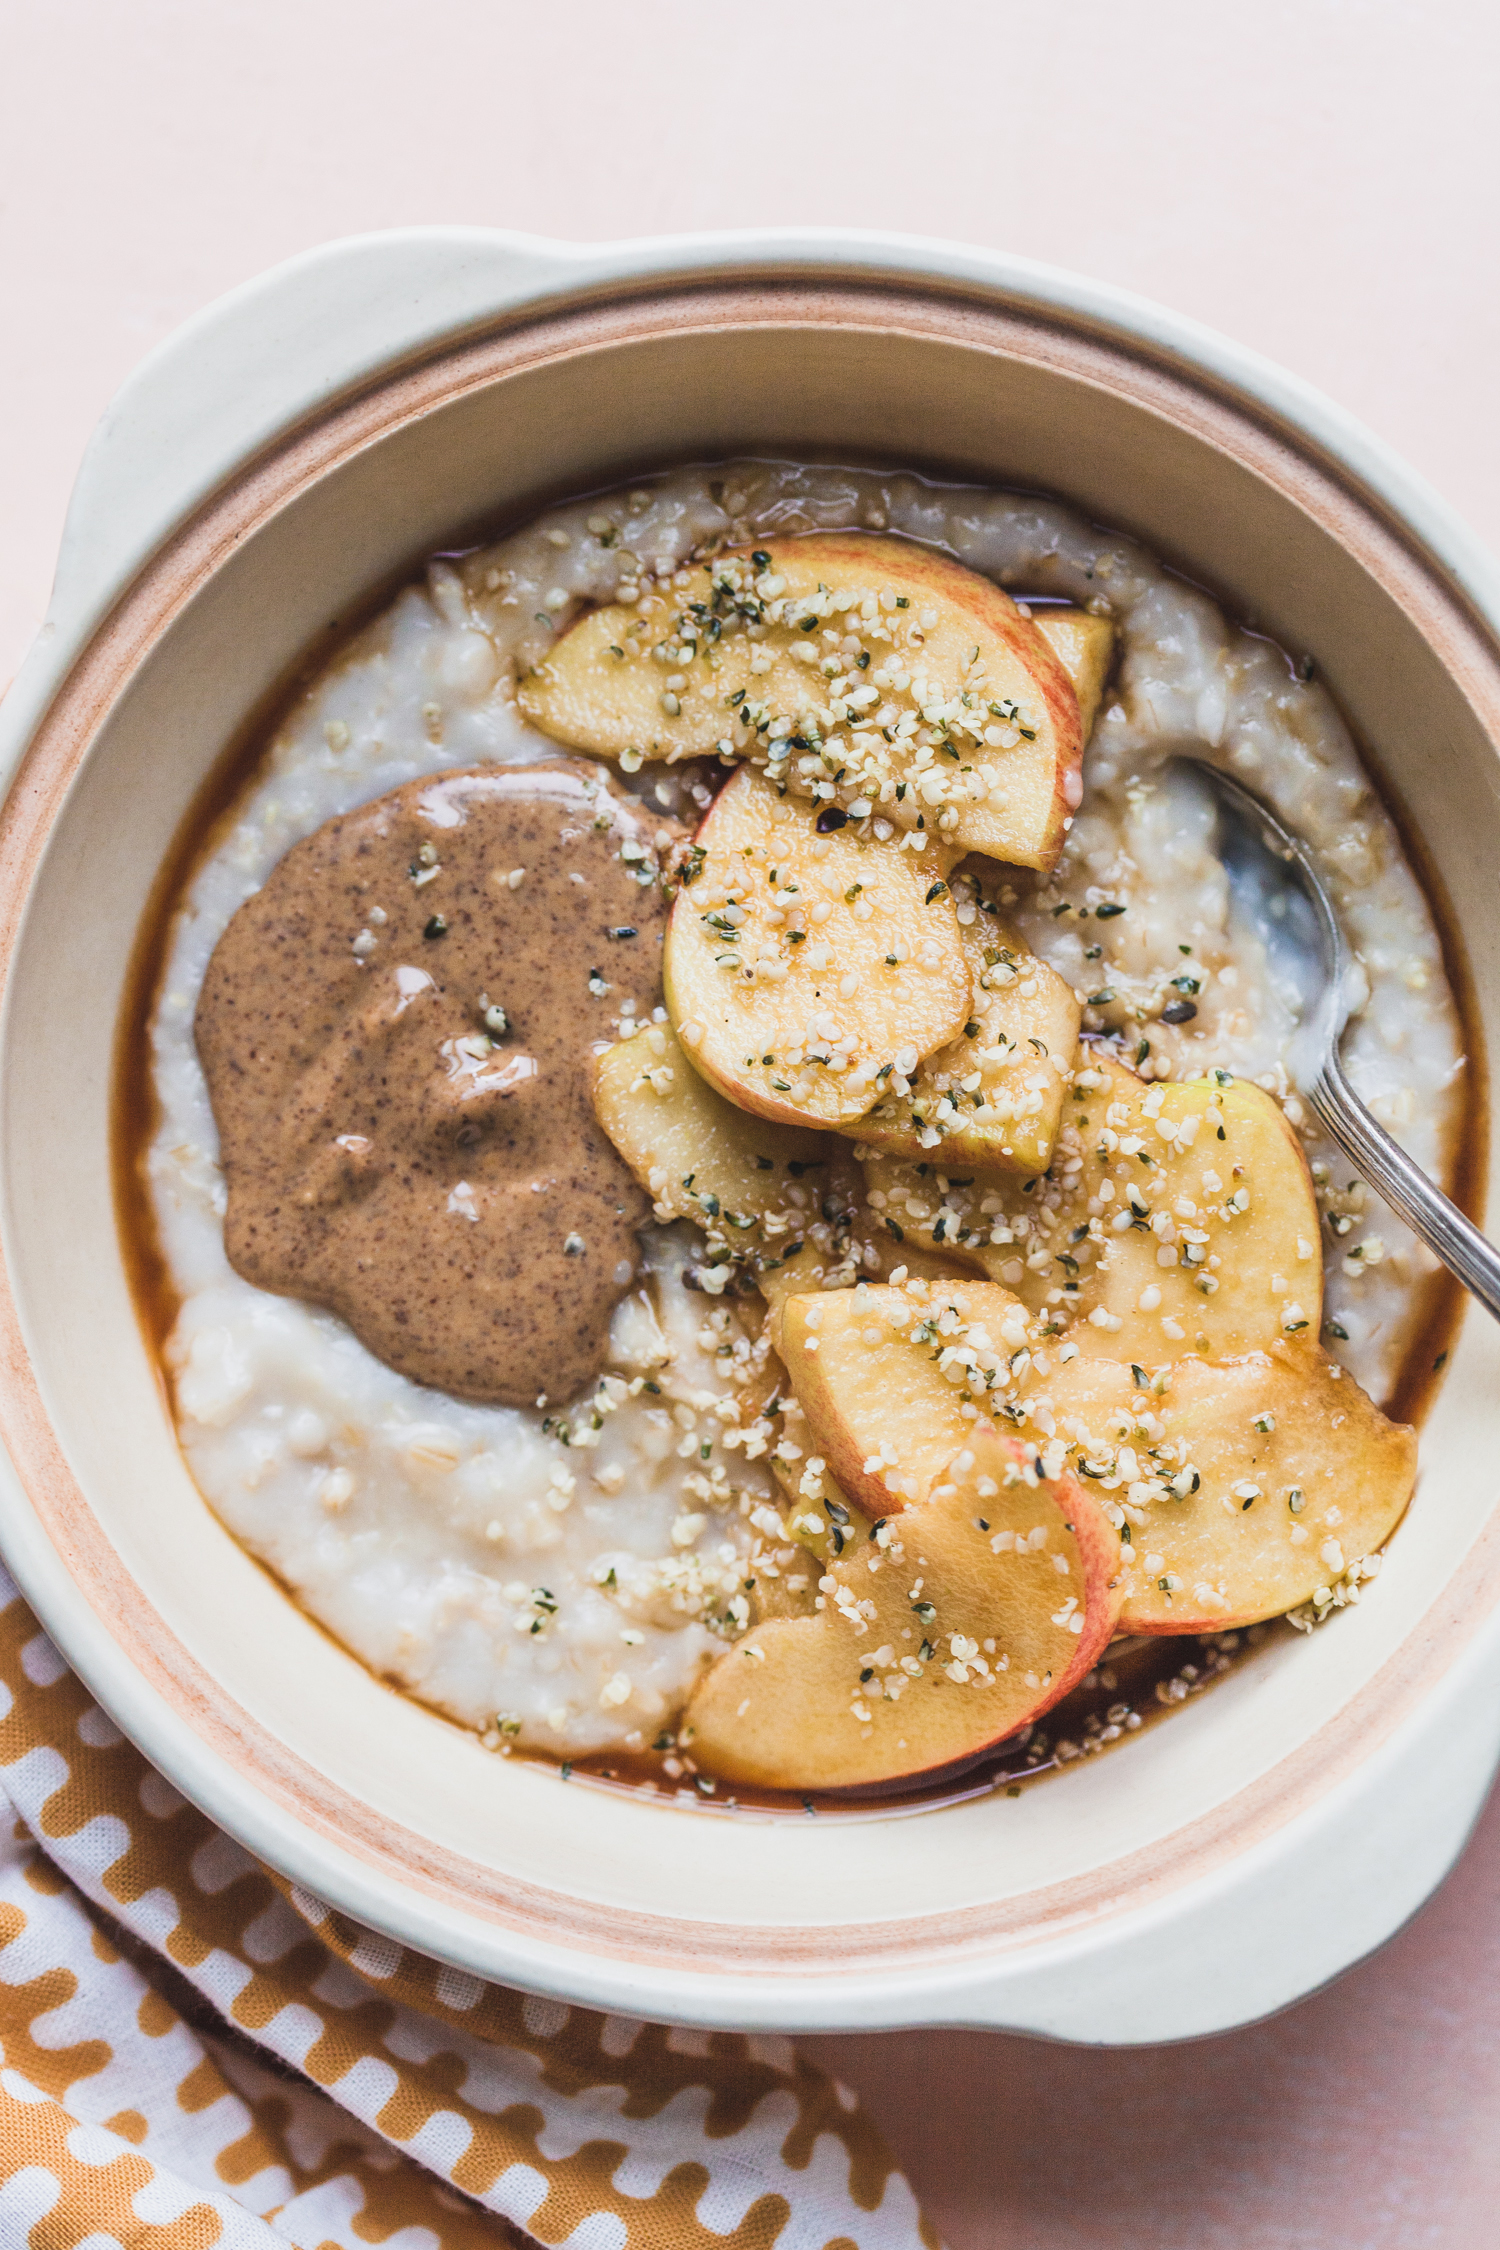
Shortcut Apple Steel Cut Oats + A Day of Eating Video
View Recipe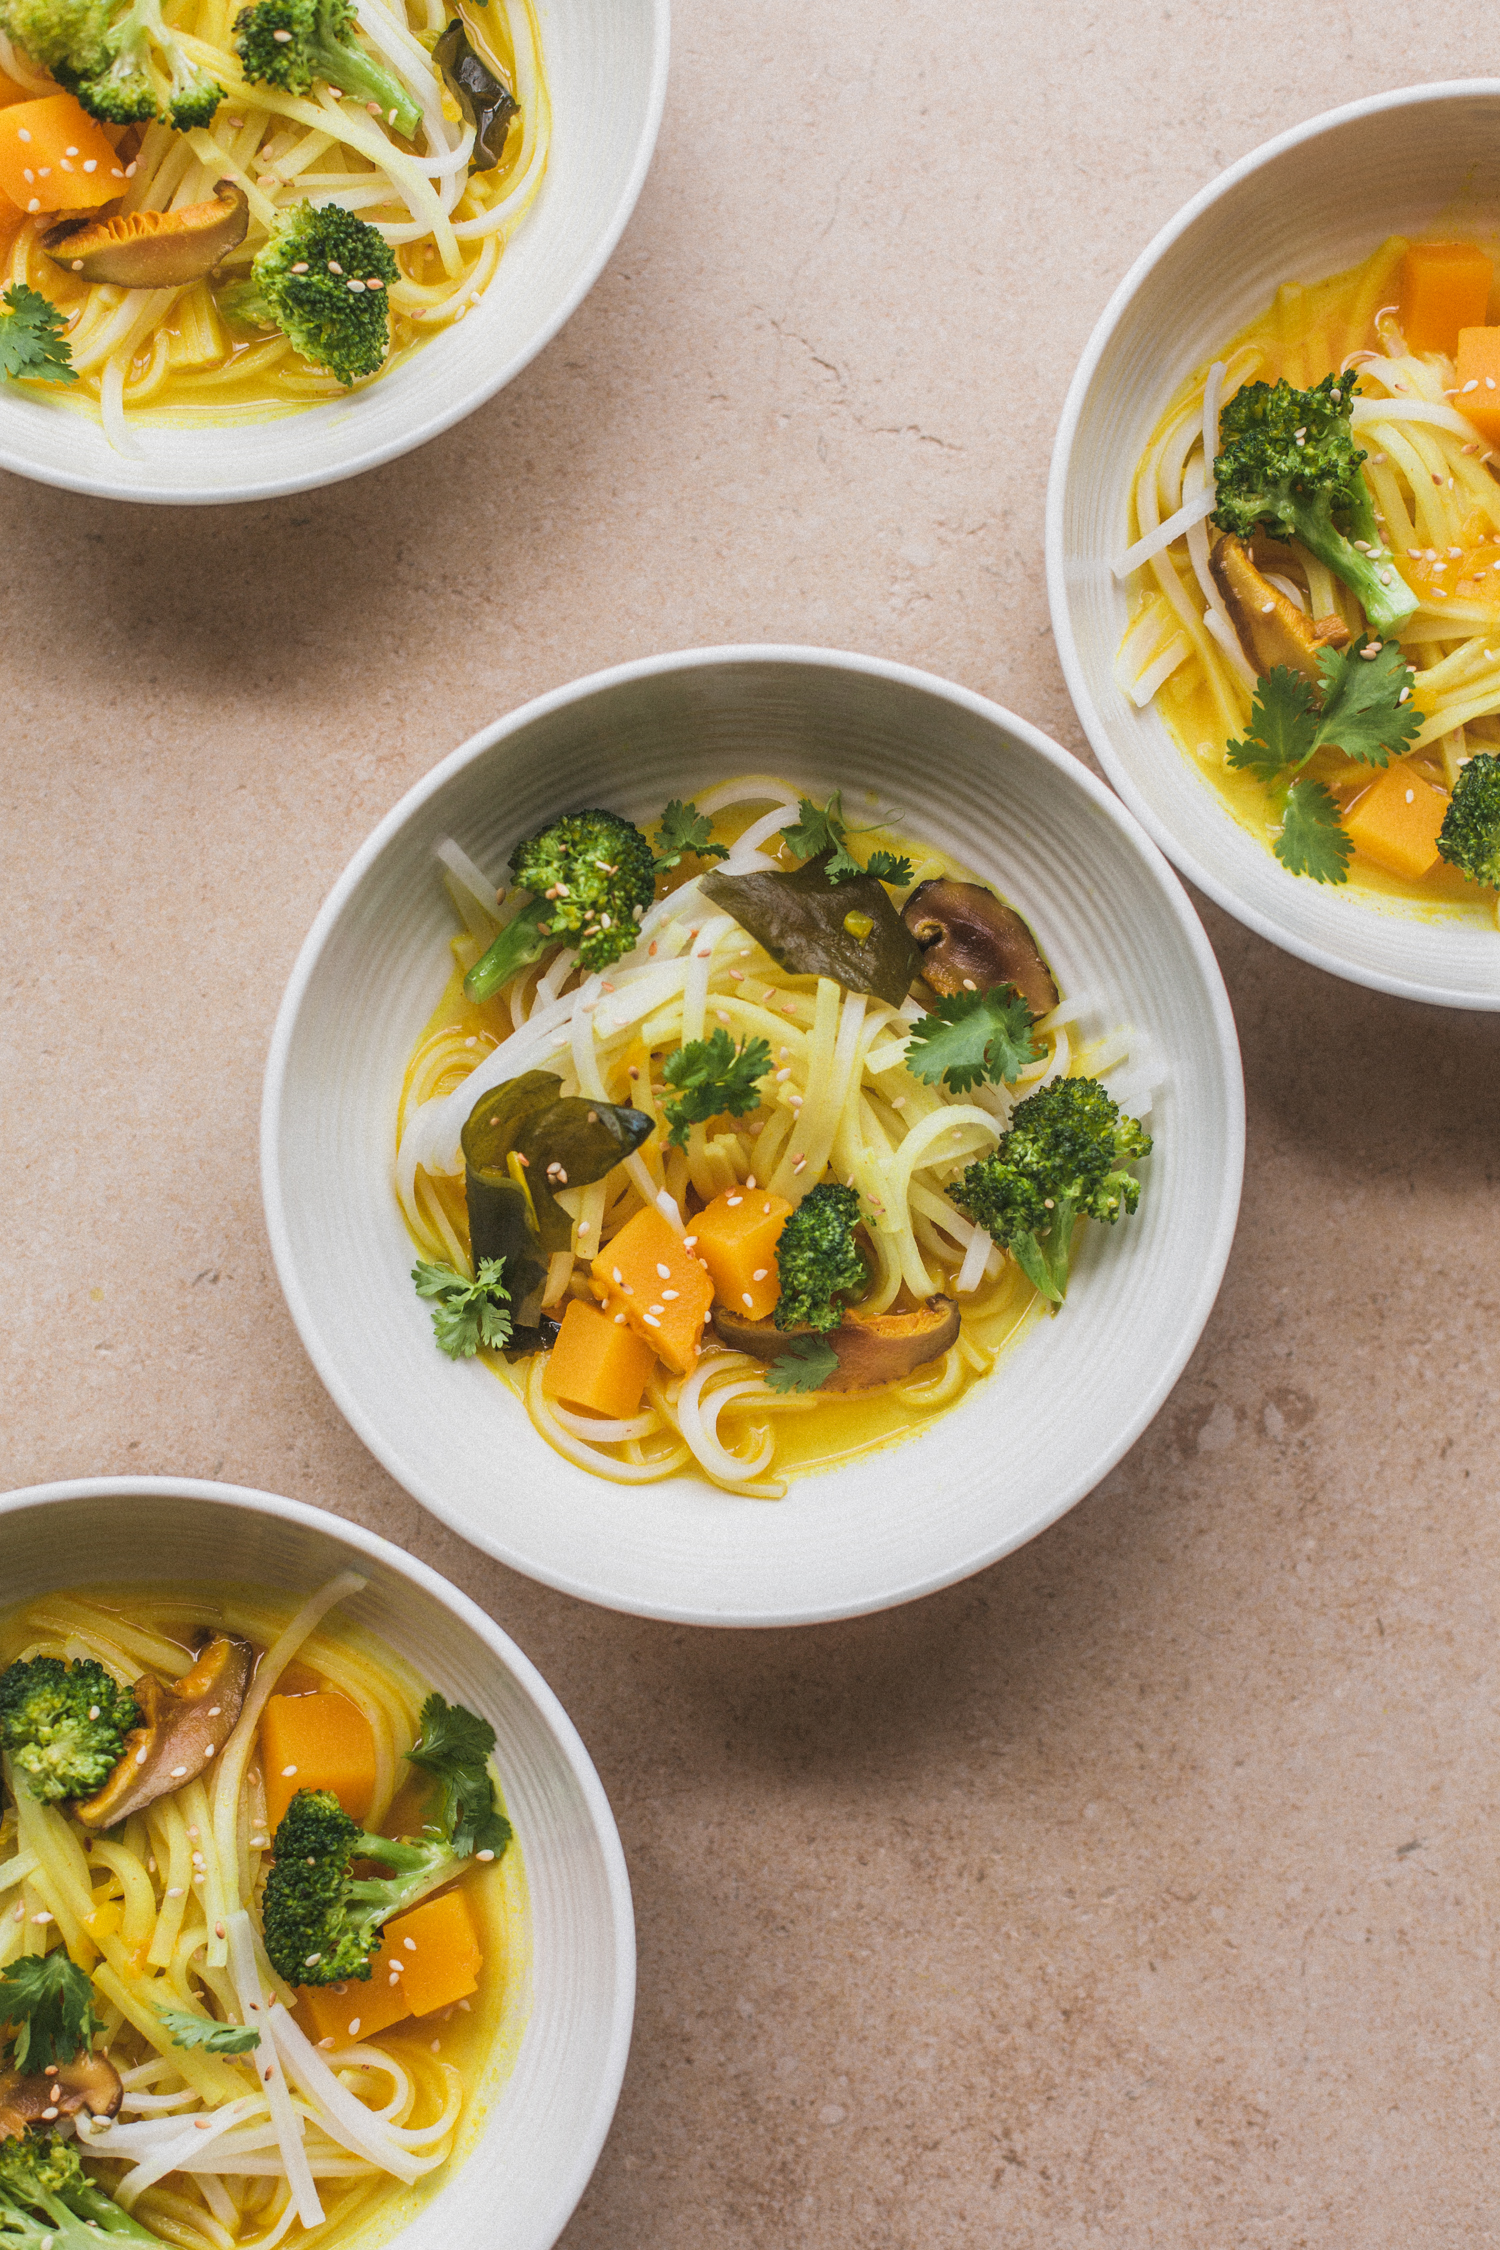
Golden Broth Rice Noodles + Favorite Natural Cold Remedies
View Recipe
Easy Homemade Cashew-Oat Yogurt
View Recipe
Chocolate Raspberry Overnight Oats
View Recipe
Miso Tahini and Chocolate Peanut Butter Cookies with Coconut Glaze
View Recipe
Vegan Sourdough Chocolate Chip Cookies
View Recipe
Popcorn Broccoli
View Recipe
Peanut Butter & Pumpkin Caramel Bars
View Recipe
The Simplest Chocolate-Banana Granola (Oil-Free!)
View Recipe
Fudgy Sweet Potato Brownies
View Recipe
Earl Grey Tea Sandwich Cookies, Vegan and Gluten-Free + Giveaway
View Recipe
Candied Chocolate Dipped Citron + Video
View Recipe
Spring Onion Socca
View Recipe
Favorite Plant-Based Holiday Recipes
View Recipe
Savory Rhubarb Balsamic Sauce
View Recipe
Radish Salad with Cashew Sour Cream Dressing
View Recipe
Potato, Dill, and Broccoli Cakes with Spicy Cashew Sauce
View Recipe
Vegan Peanut Butter and Jelly Muffins
View Recipe
Spicy Black Bean and Sweet Potato Soup
View Recipe
Fennel and Lentil Soup with Gremolata
View Recipe
Beet Shepherd’s Pie with Balsamic, Lentils, and Mushrooms
View RecipeJoin Our Kitchen Community
Get weekly recipe inspiration and cooking tips delivered to your inbox. Join thousands of home cooks who love plant-based cooking as much as we do.