Vegan Recipes Recipes
129
Favorite Plant-Based Holiday Recipes
by Anya
Read Recipe
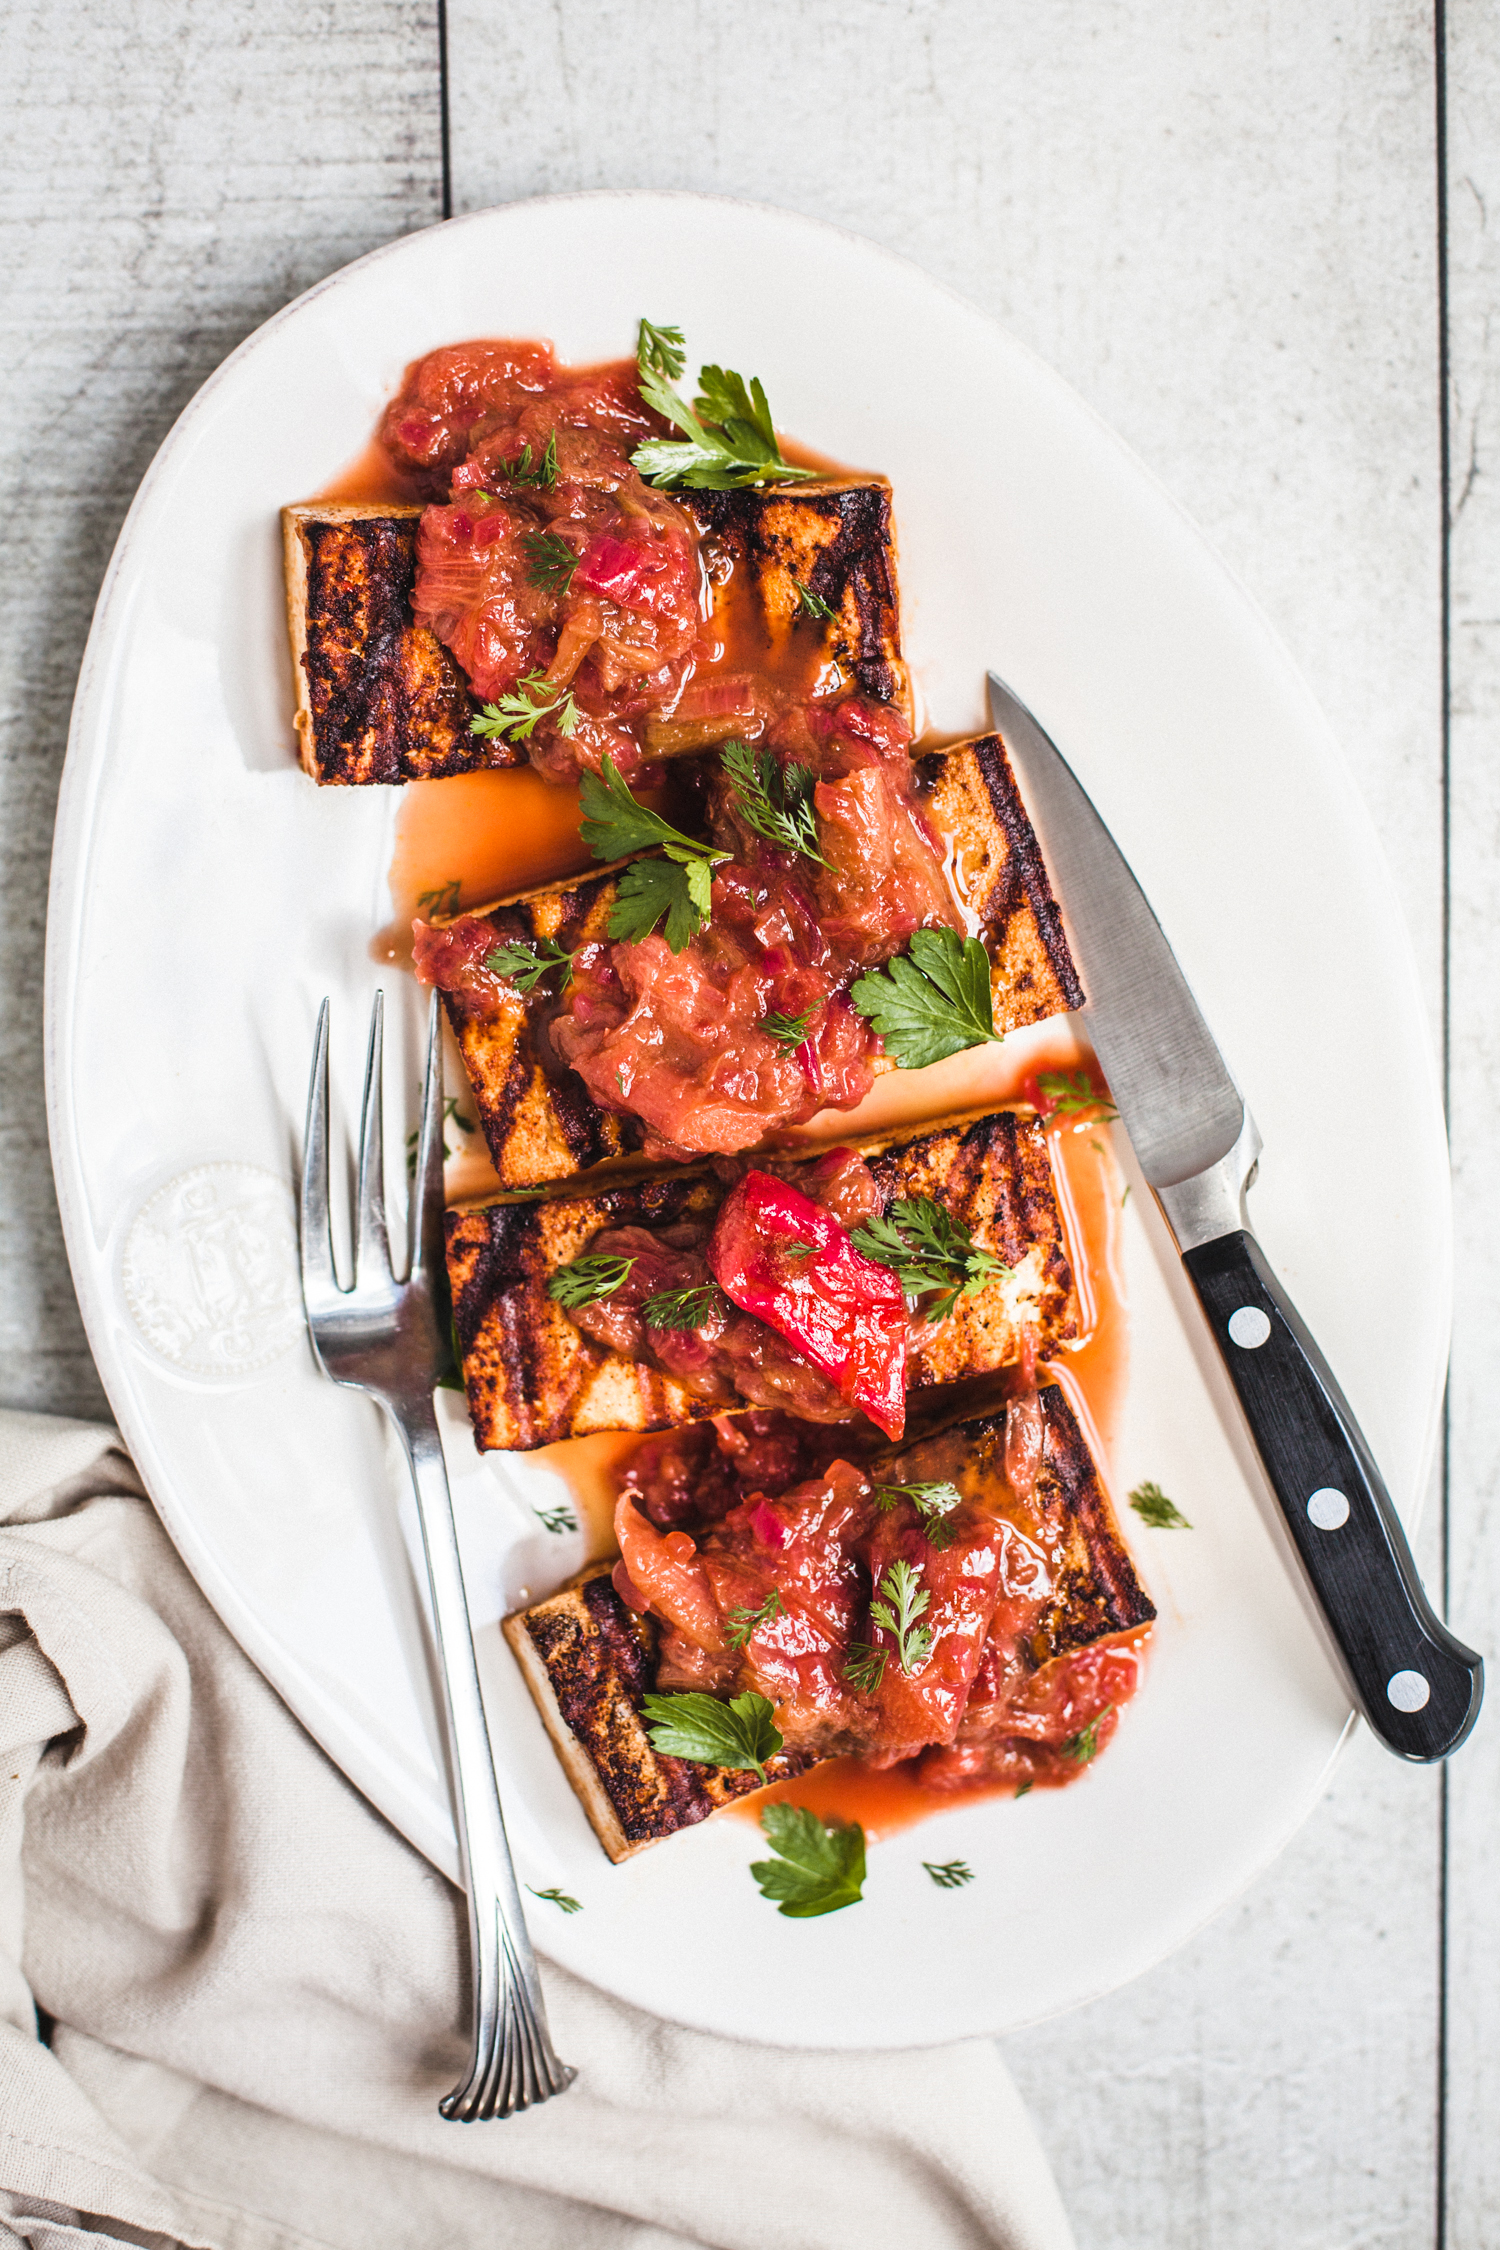
Savory Rhubarb Balsamic Sauce
by Anya
Read Recipe
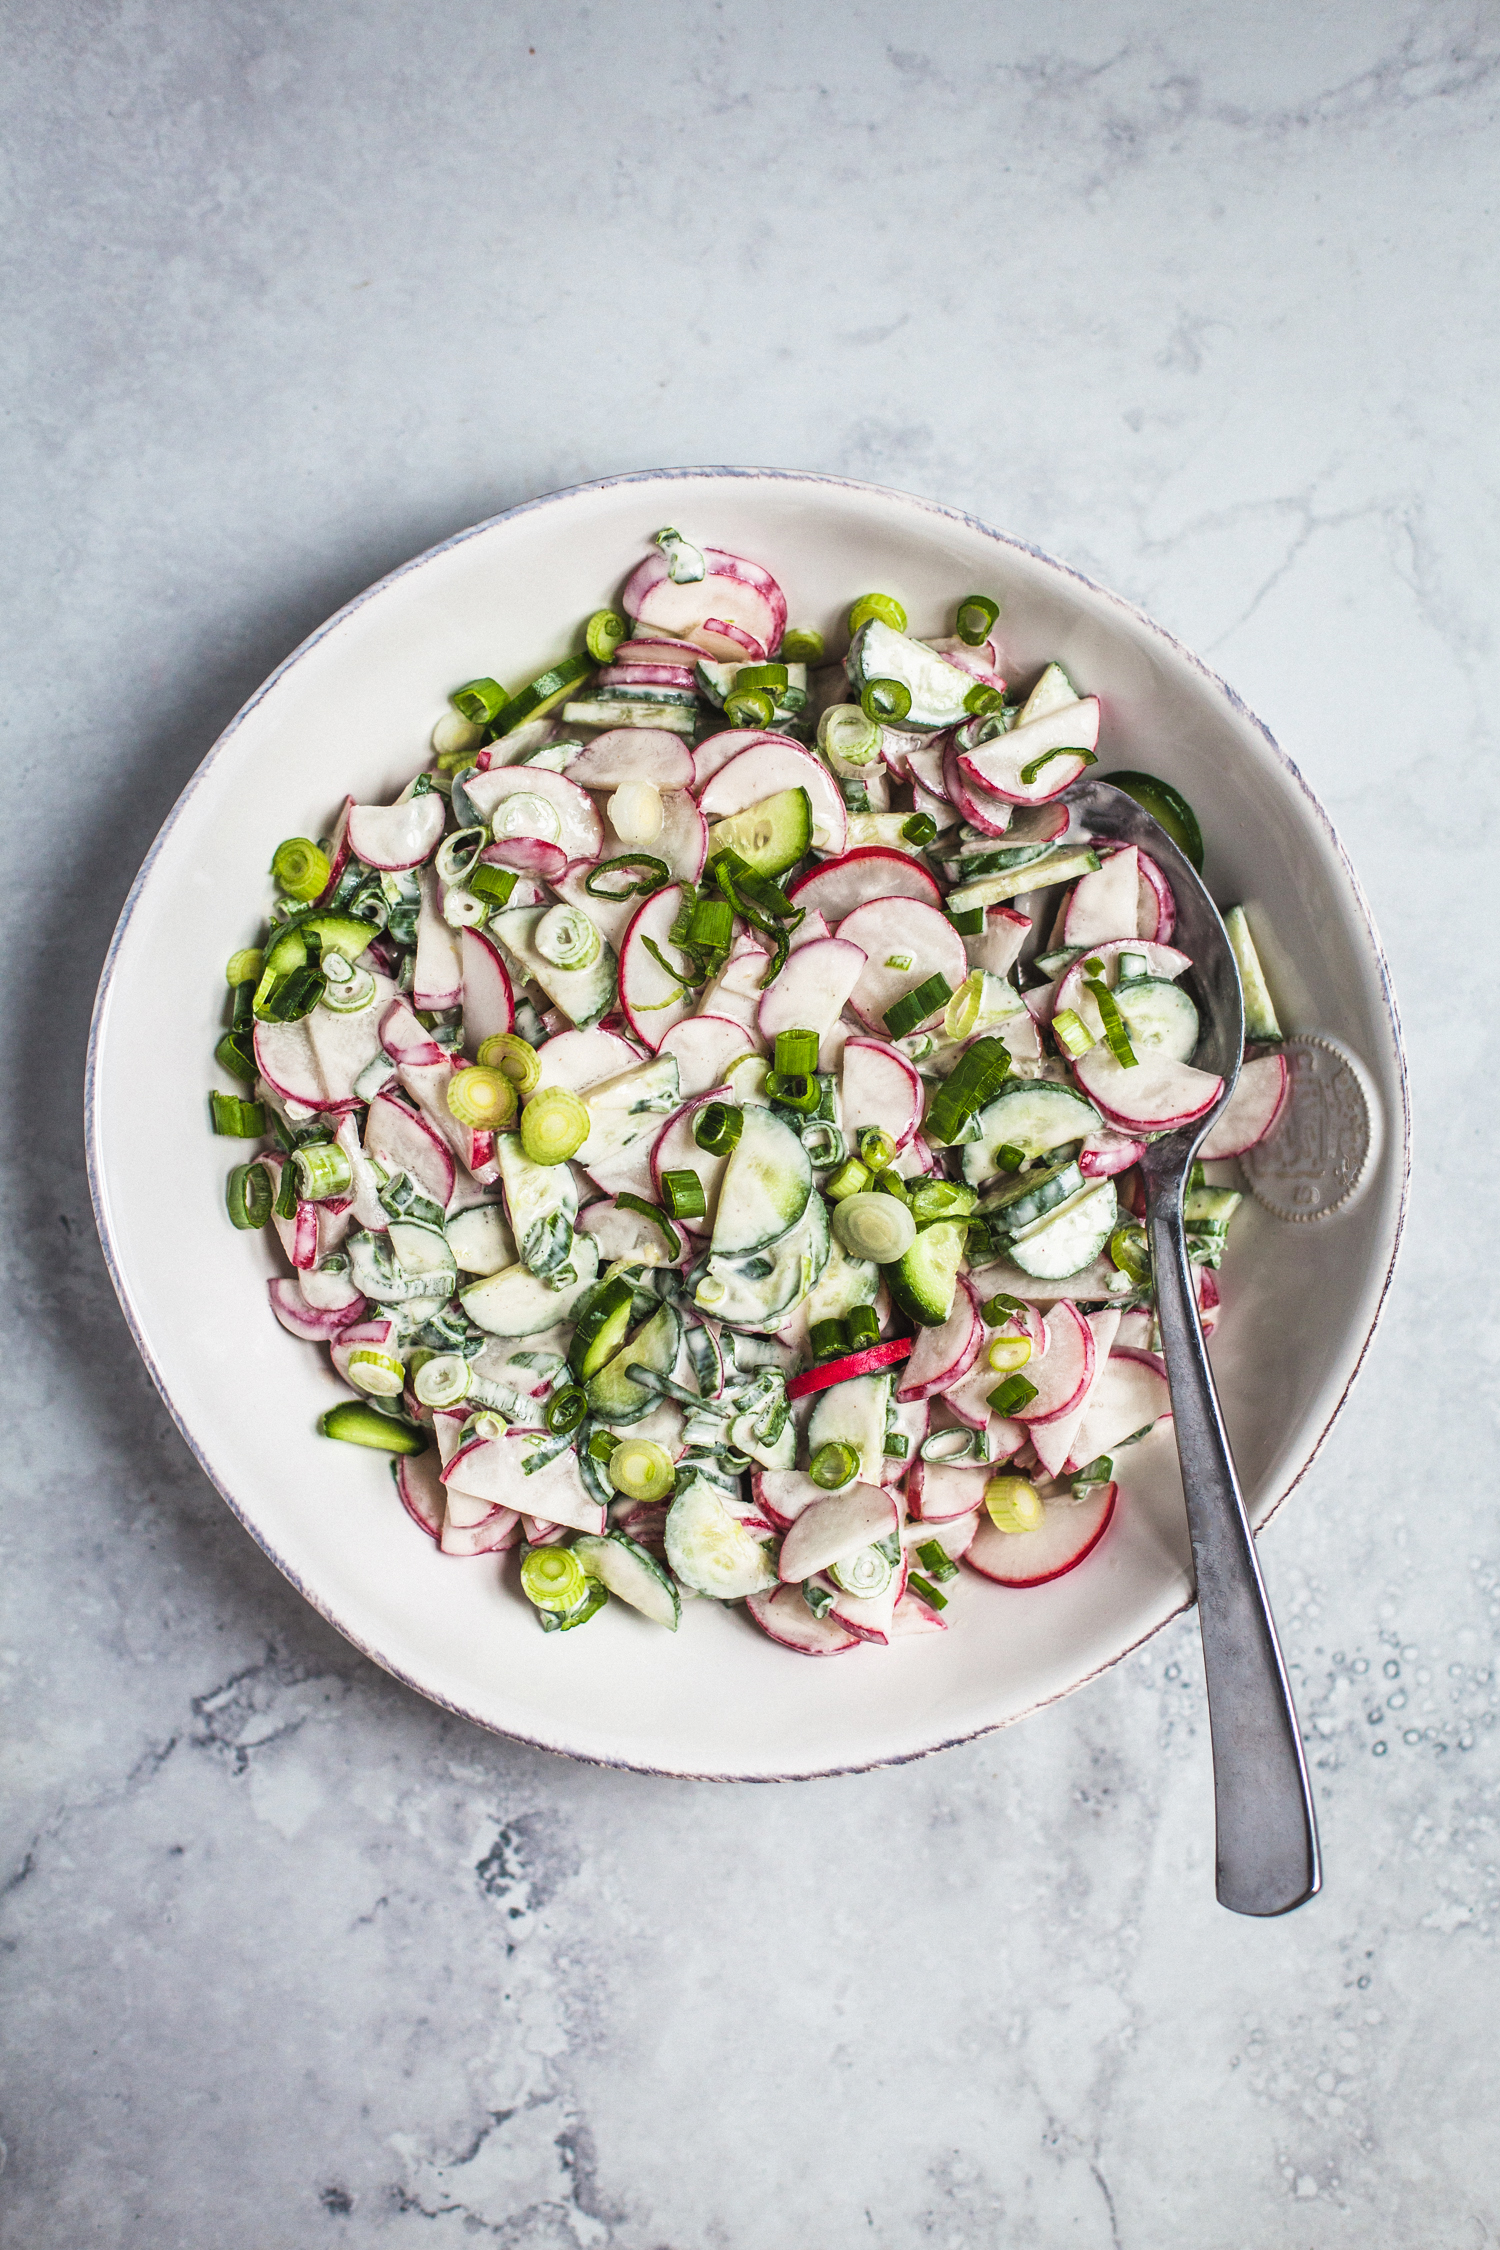
Radish Salad with Cashew Sour Cream Dressing
by Masha
Read Recipe
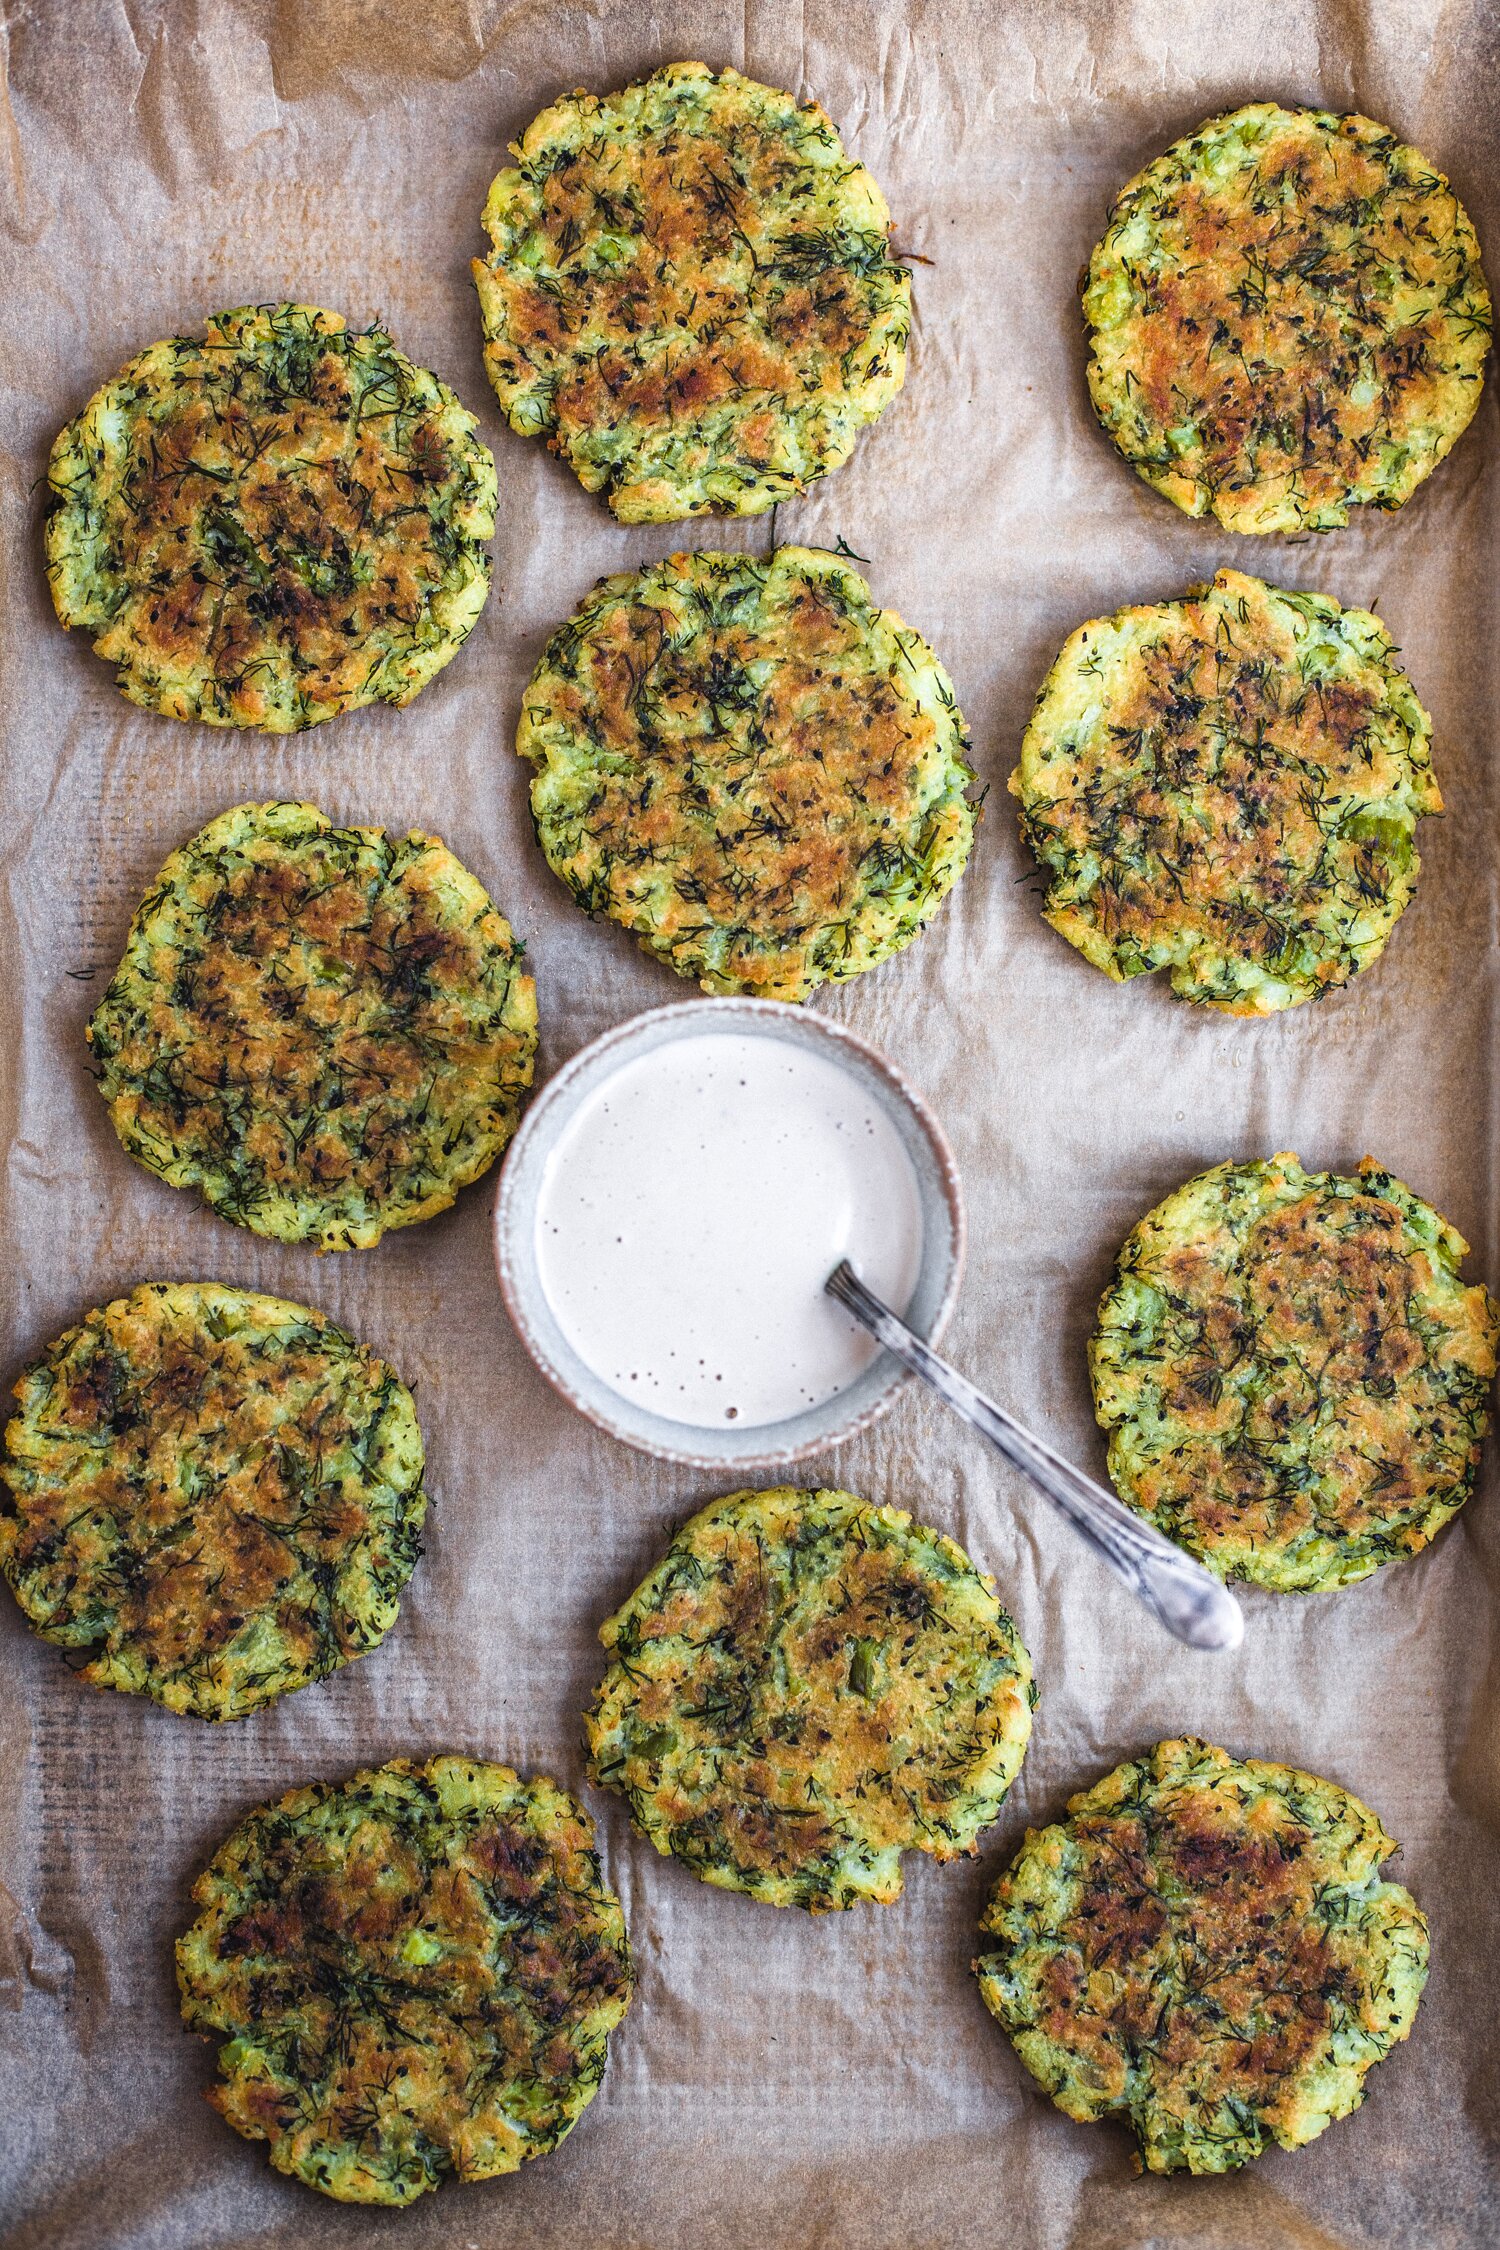
Potato, Dill, and Broccoli Cakes with Spicy Cashew Sauce
by Masha
Read Recipe
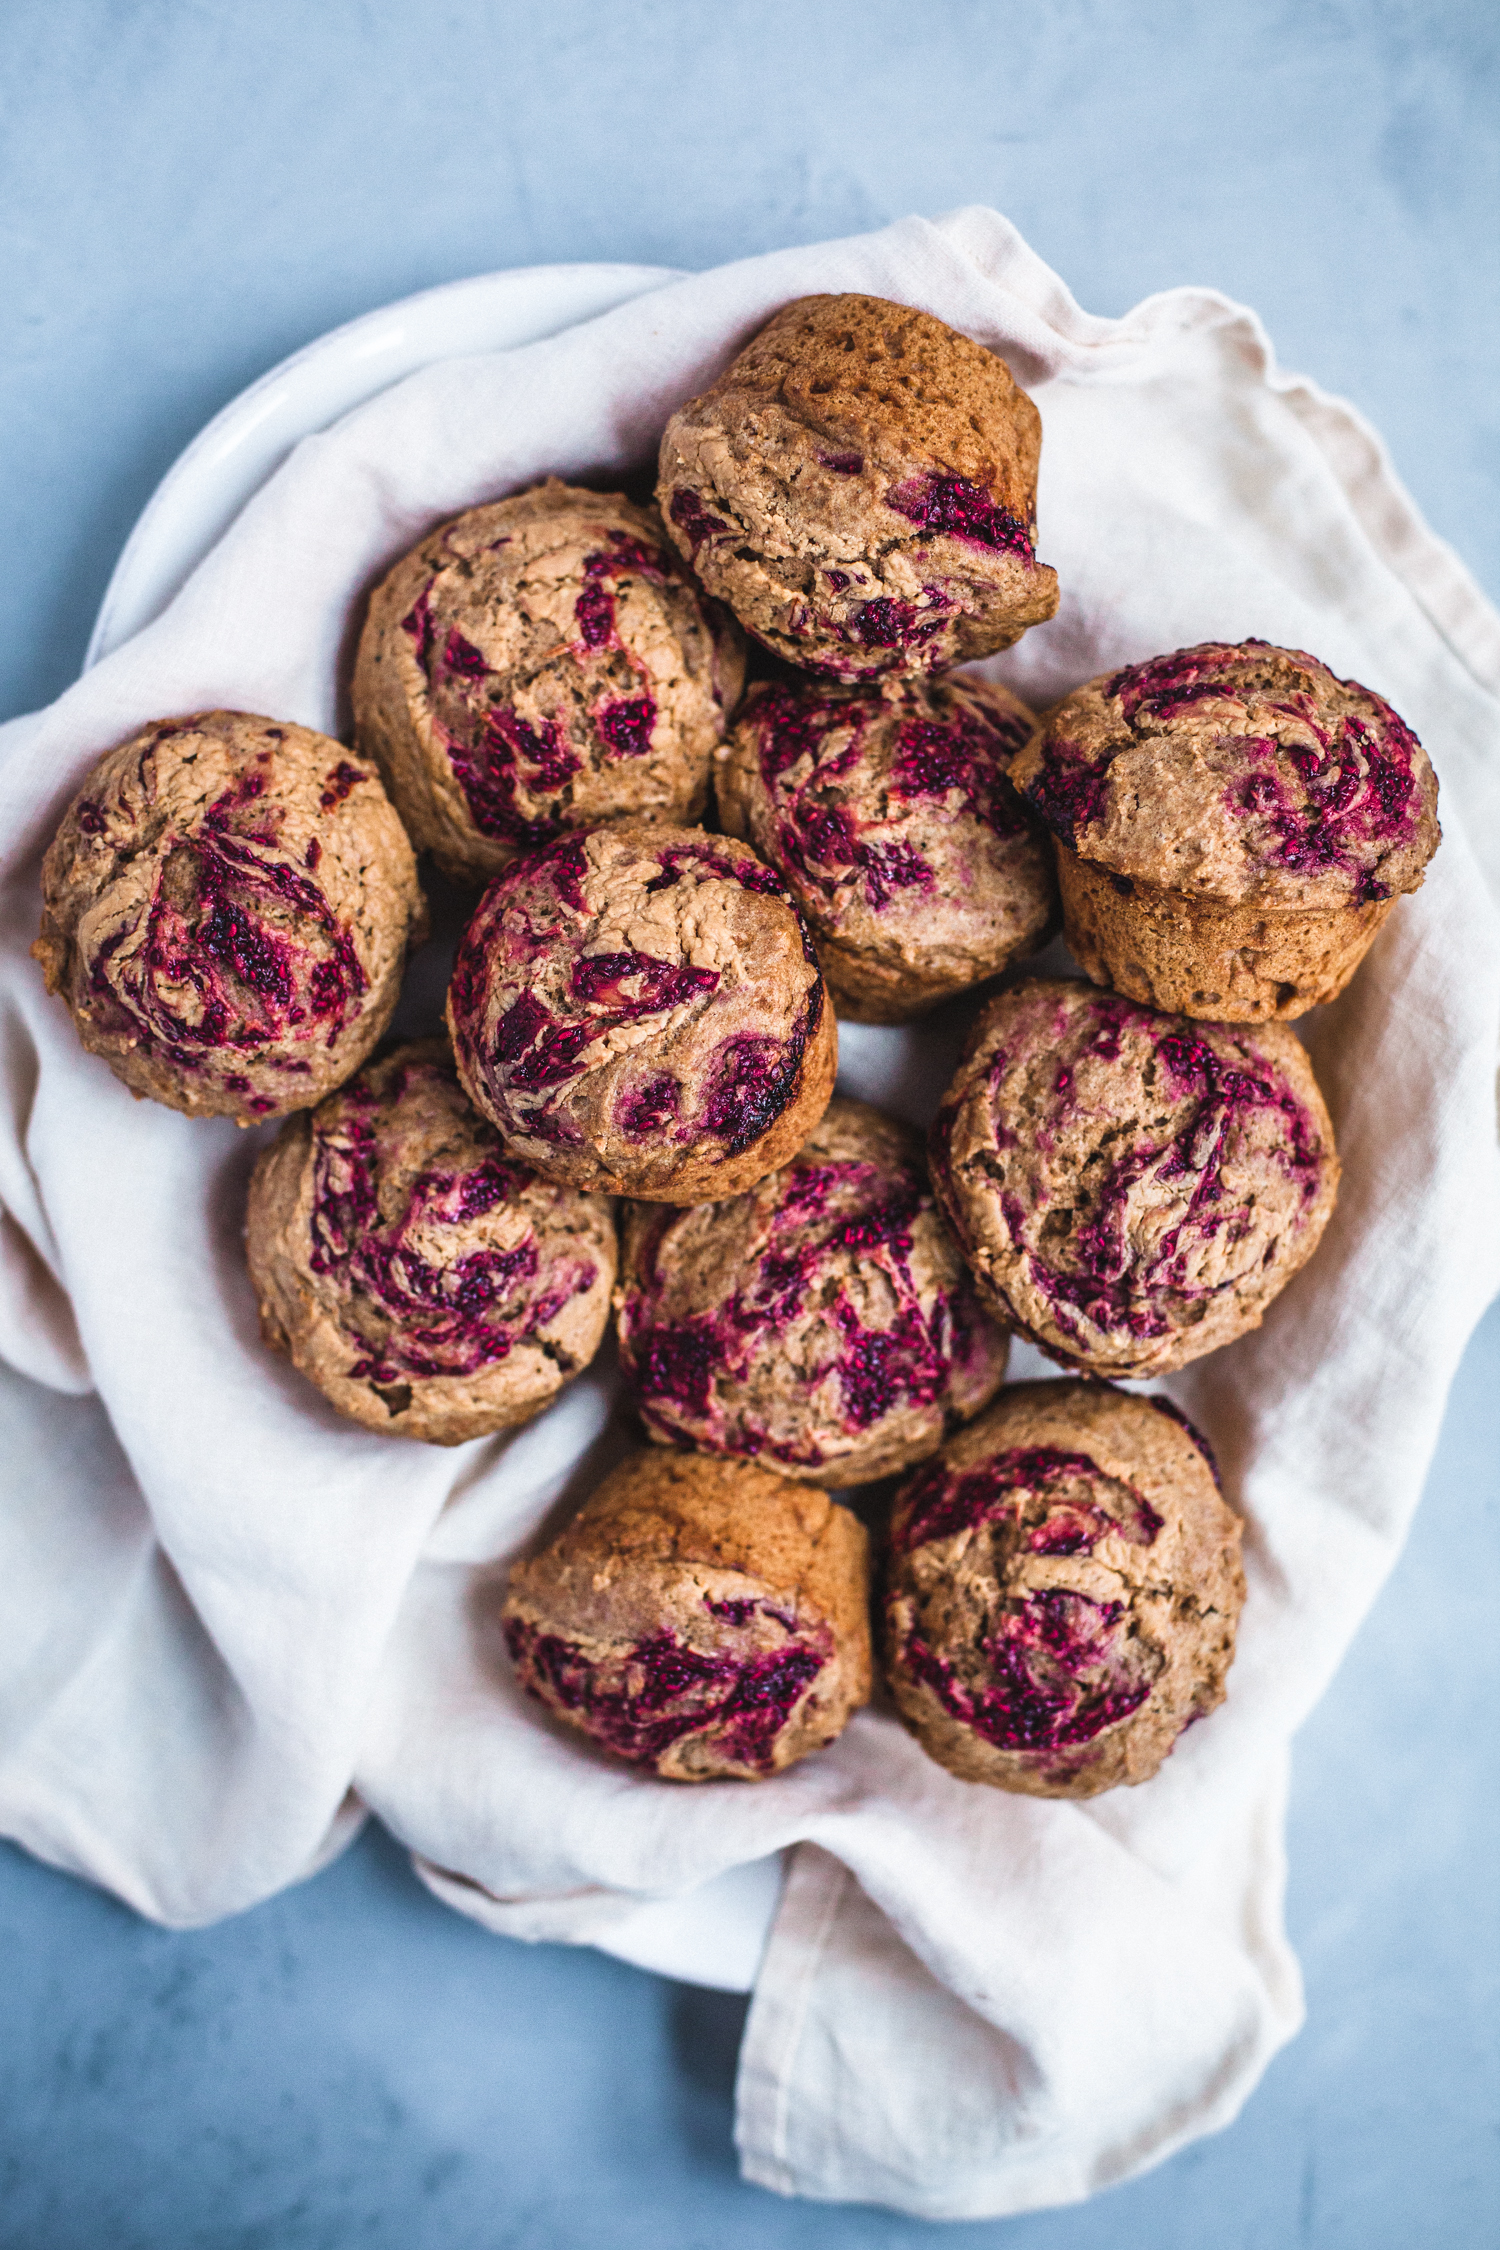
Vegan Peanut Butter and Jelly Muffins
by Masha
Read Recipe
Spicy Black Bean and Sweet Potato Soup
by Masha
Read Recipe
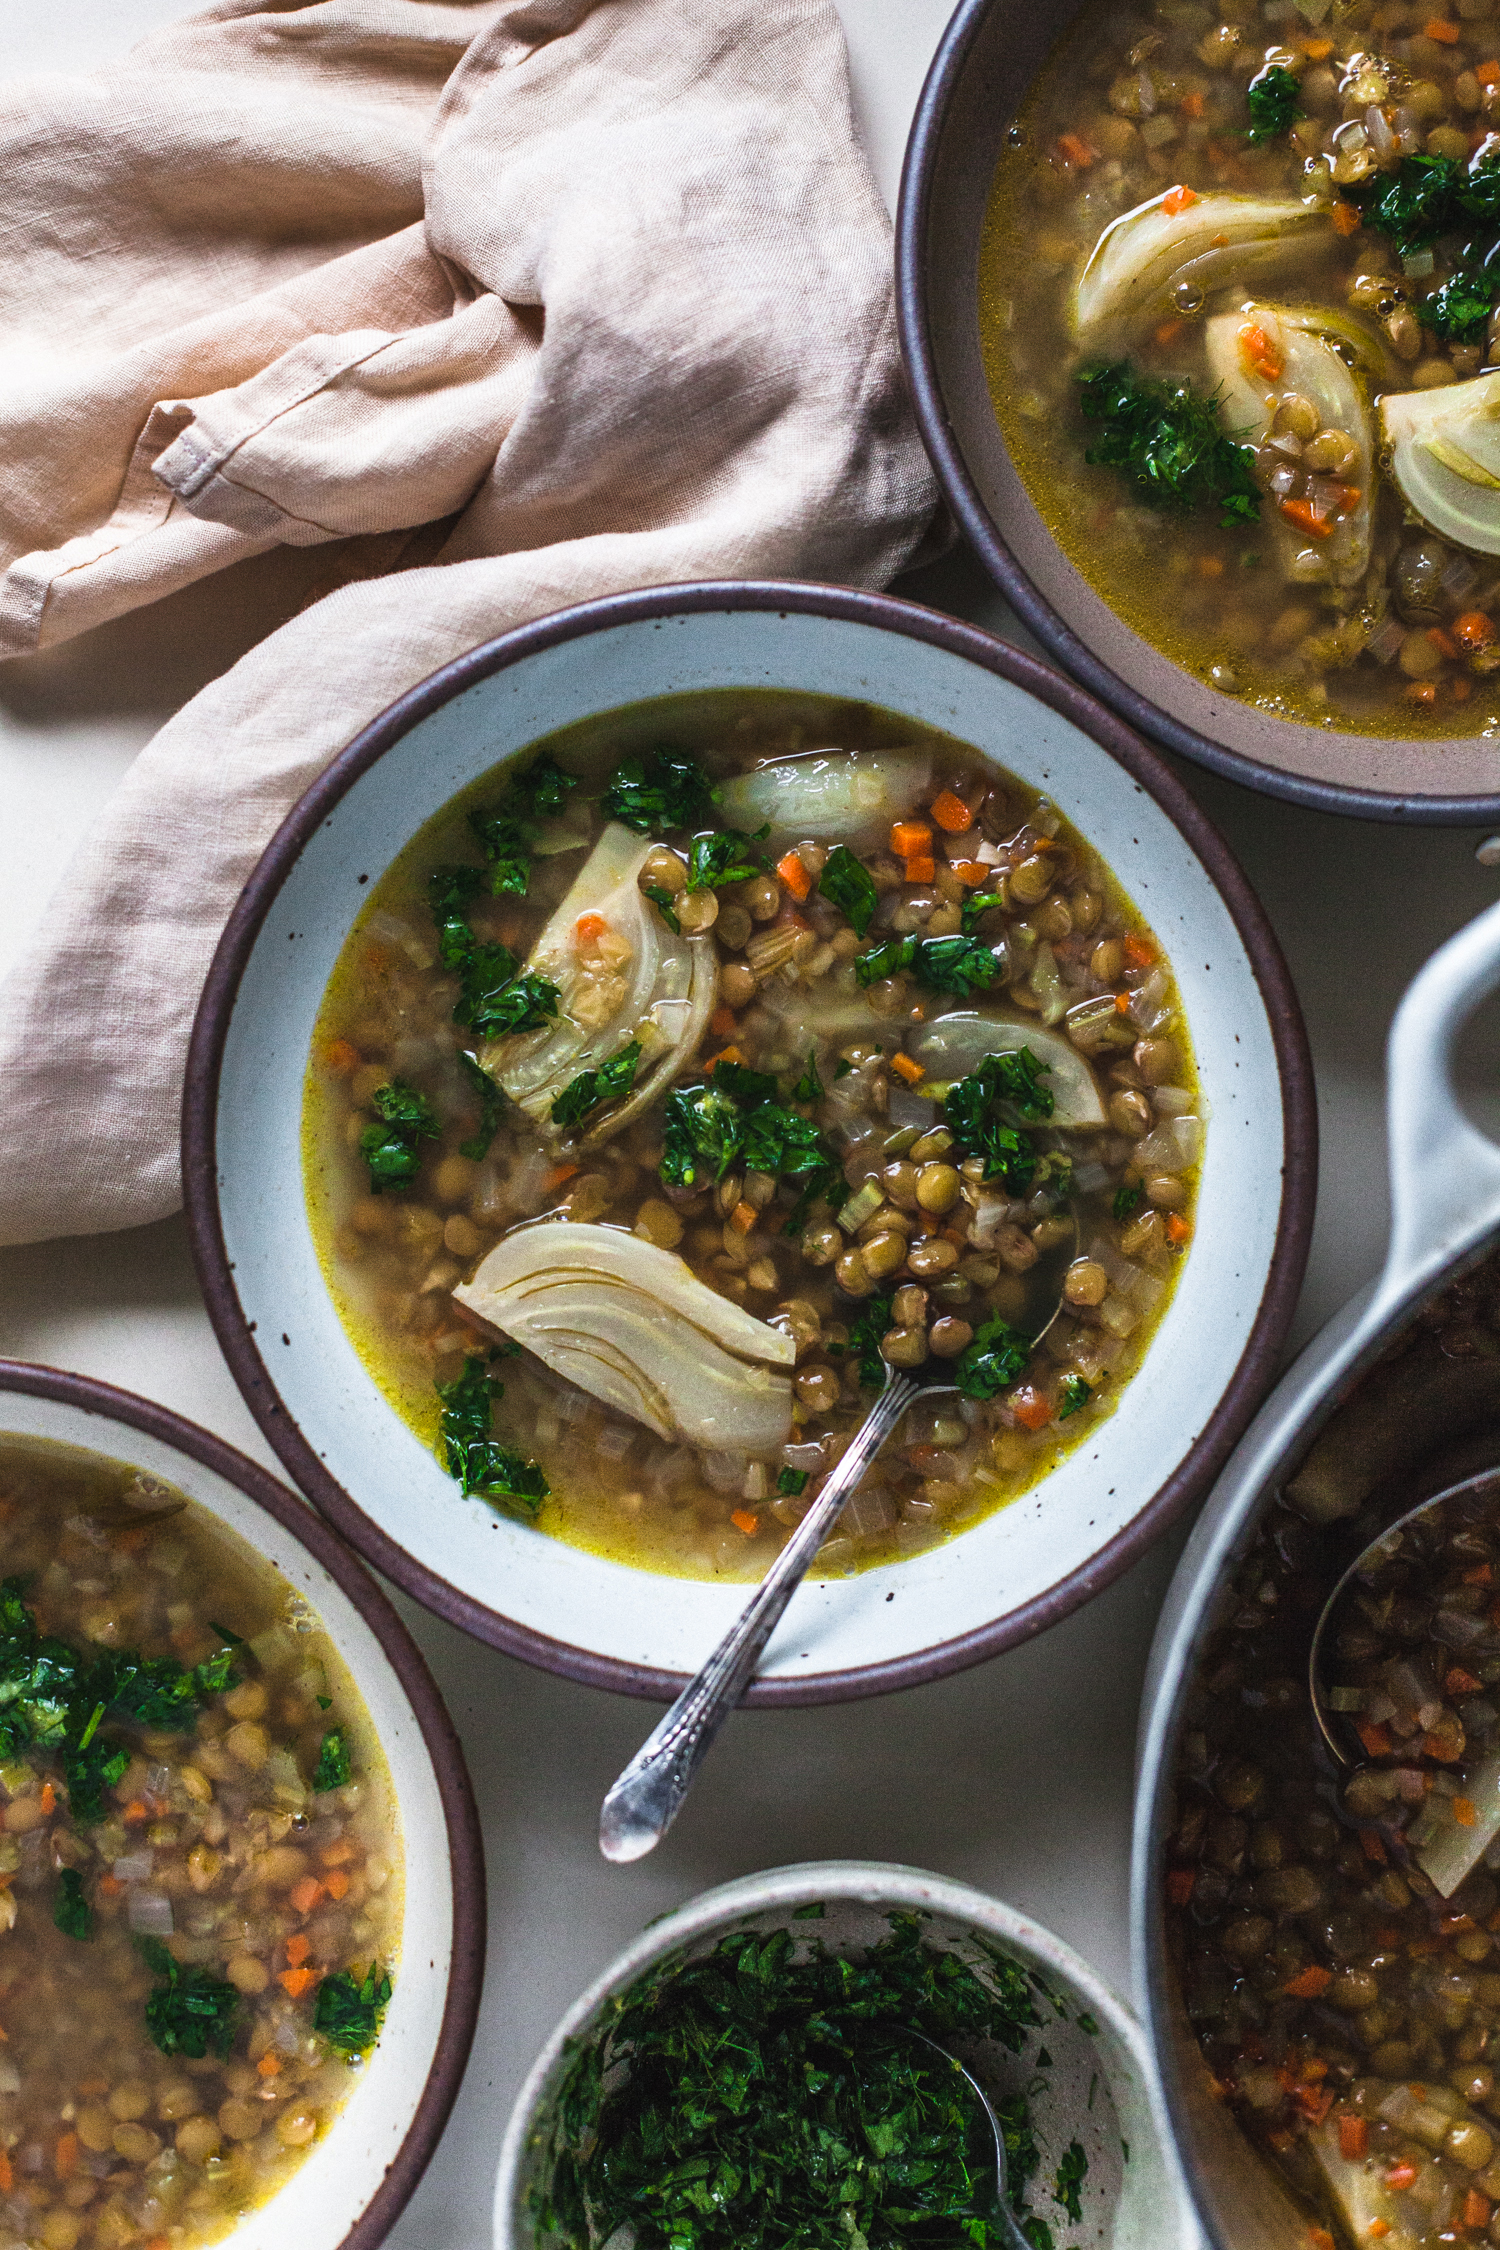
Fennel and Lentil Soup with Gremolata
by Masha
Read Recipe
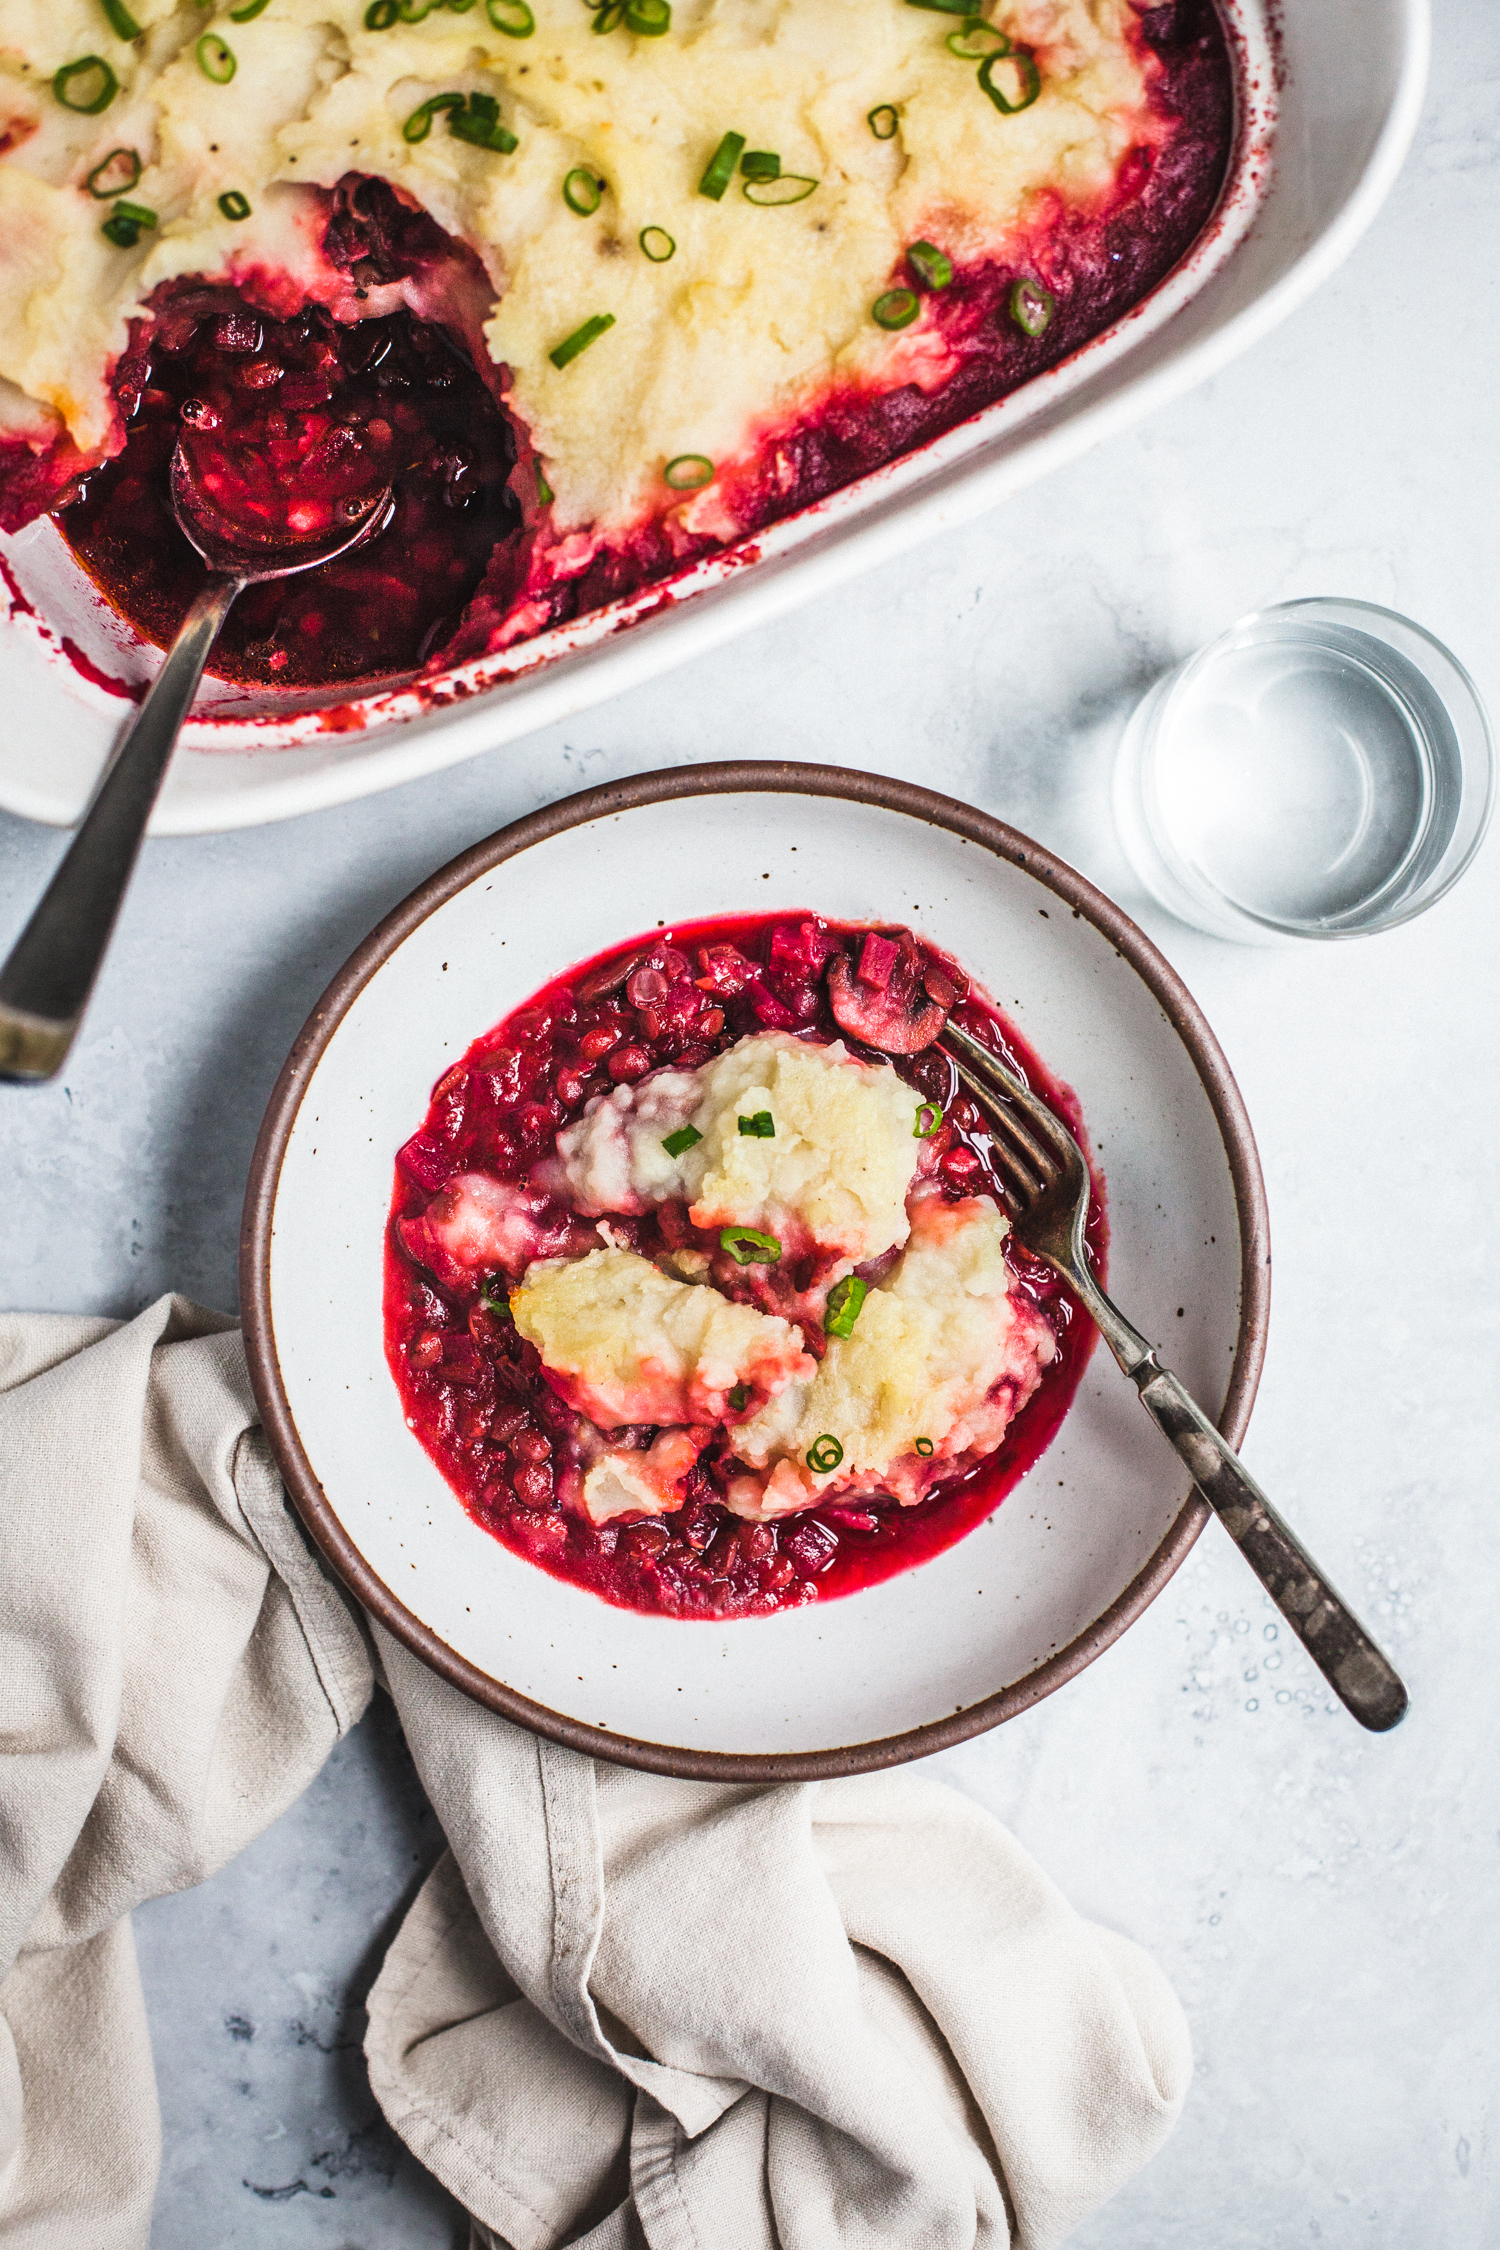
Beet Shepherd’s Pie with Balsamic, Lentils, and Mushrooms
by Masha
Read Recipe
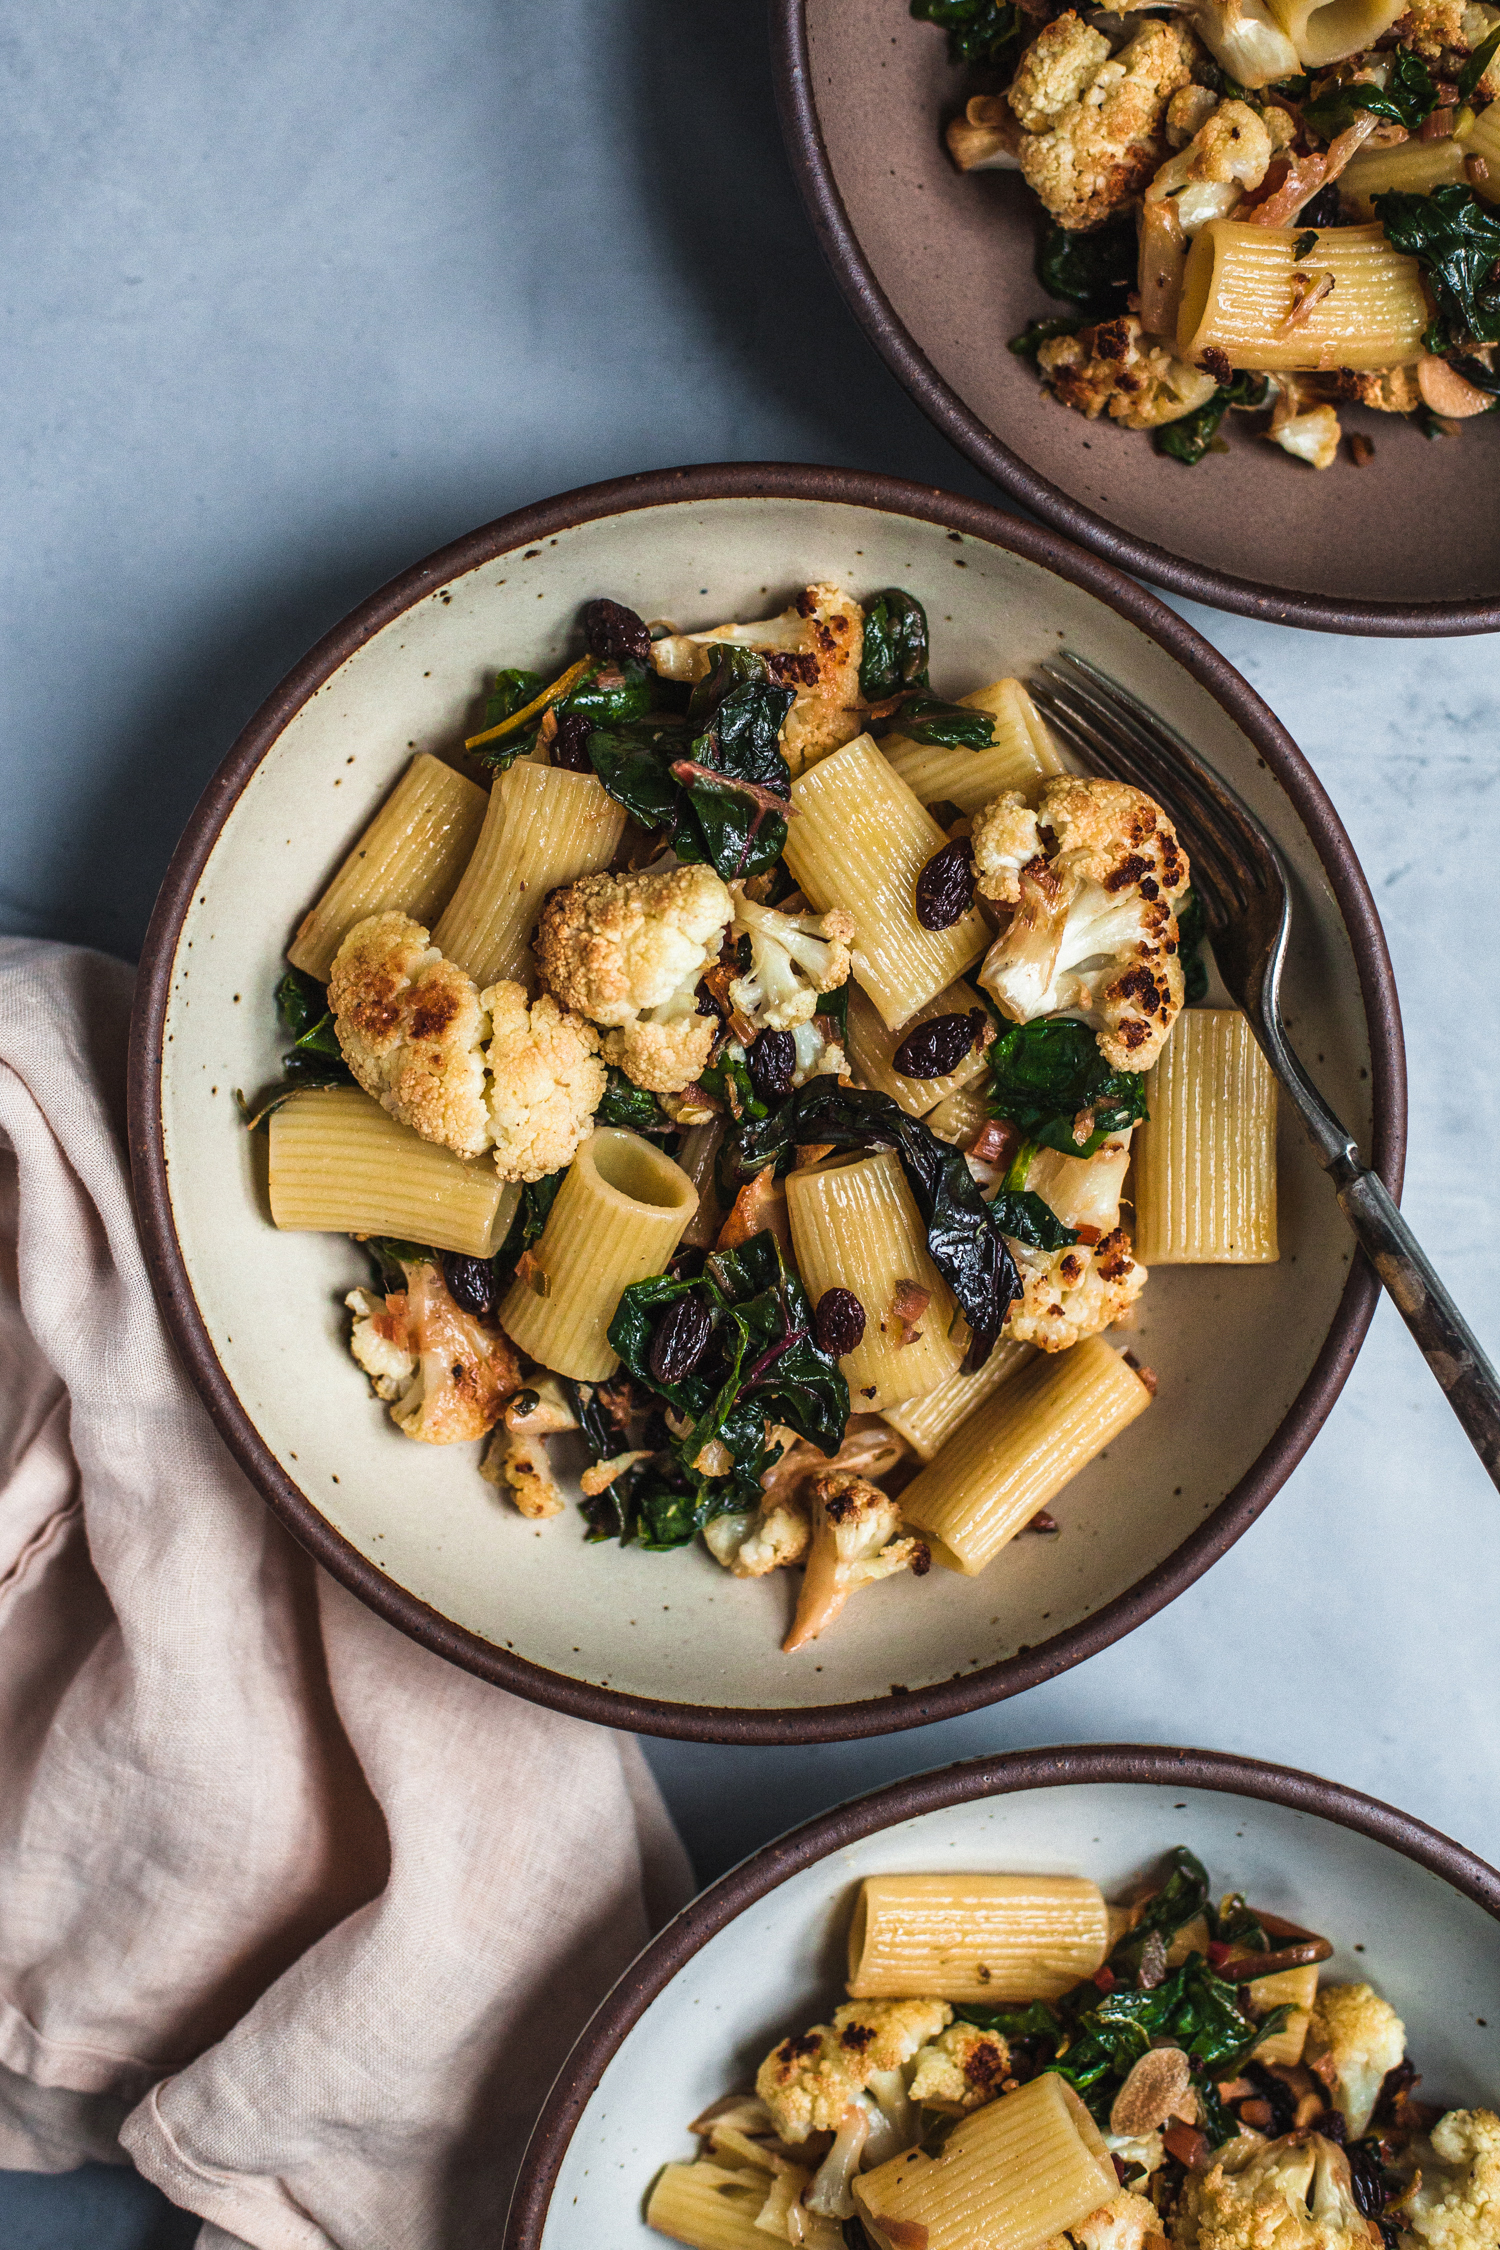
Roasted Cauliflower Pasta with Raisins, Capers, and Chard
by Masha
Read Recipe
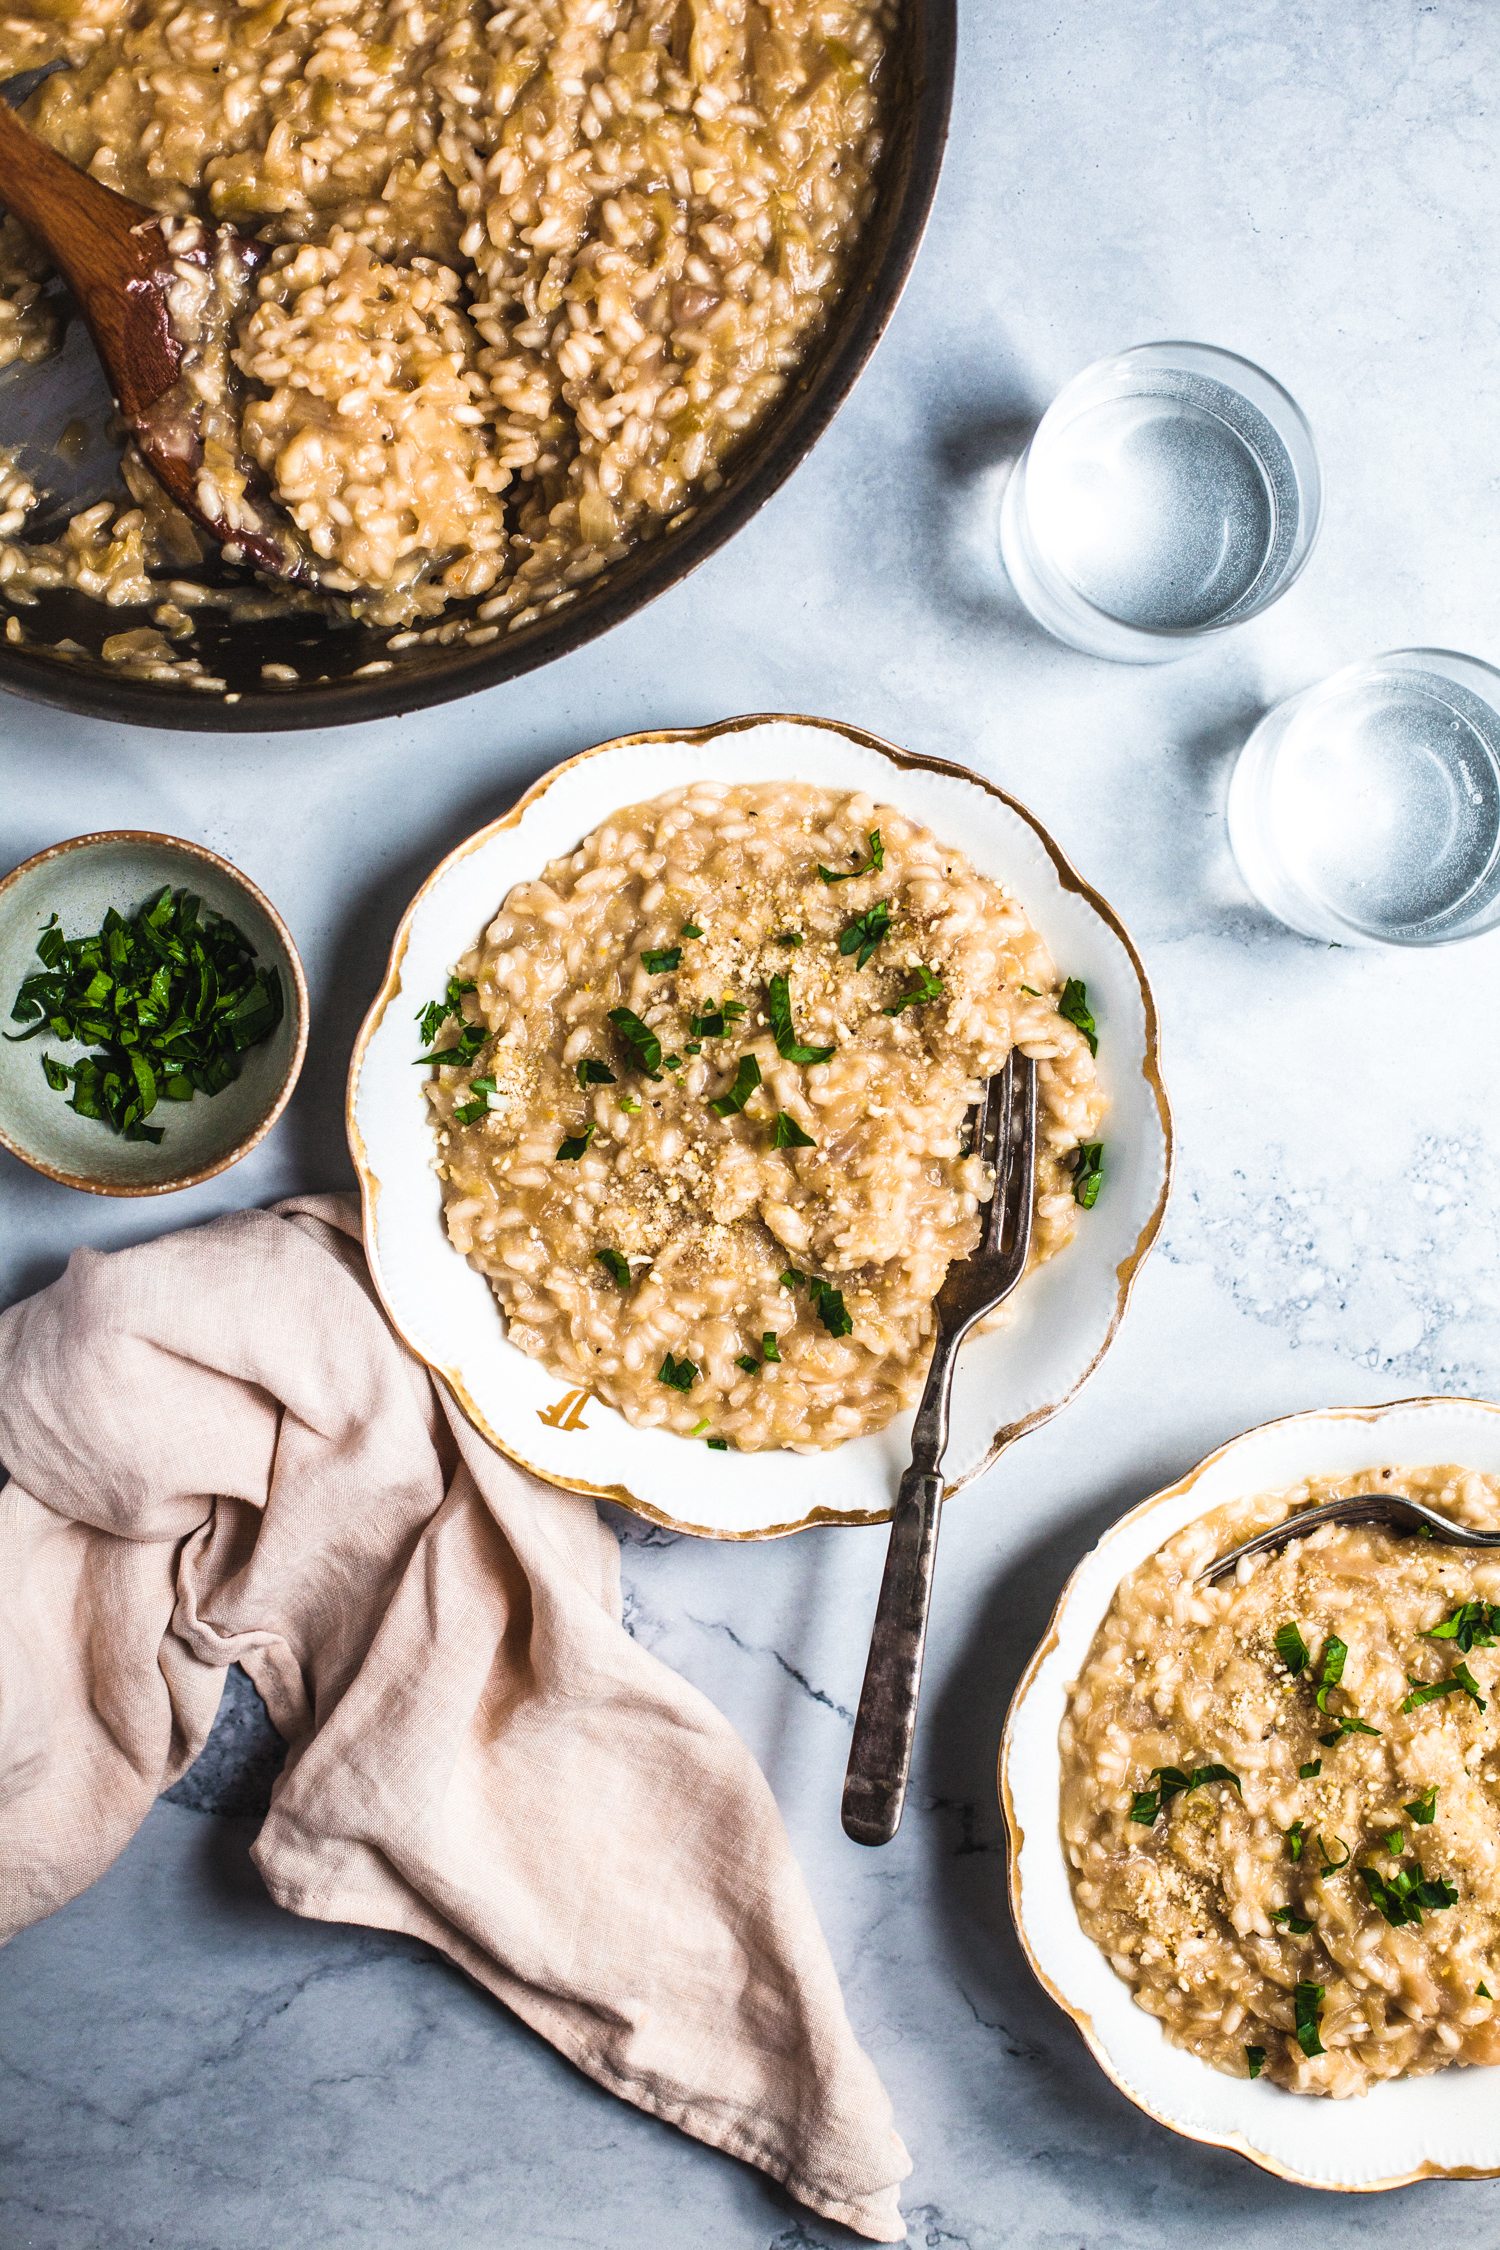
Cabbage and Lemon Risotto
by Masha
Read Recipe
Miso Tahini and Chocolate Peanut Butter Cookies with Coconut Glaze
by Masha
Read Recipe
Baked Red Lentil & Vegetable Fritters with Maple Mustard Sauce
by Masha
Read Recipe
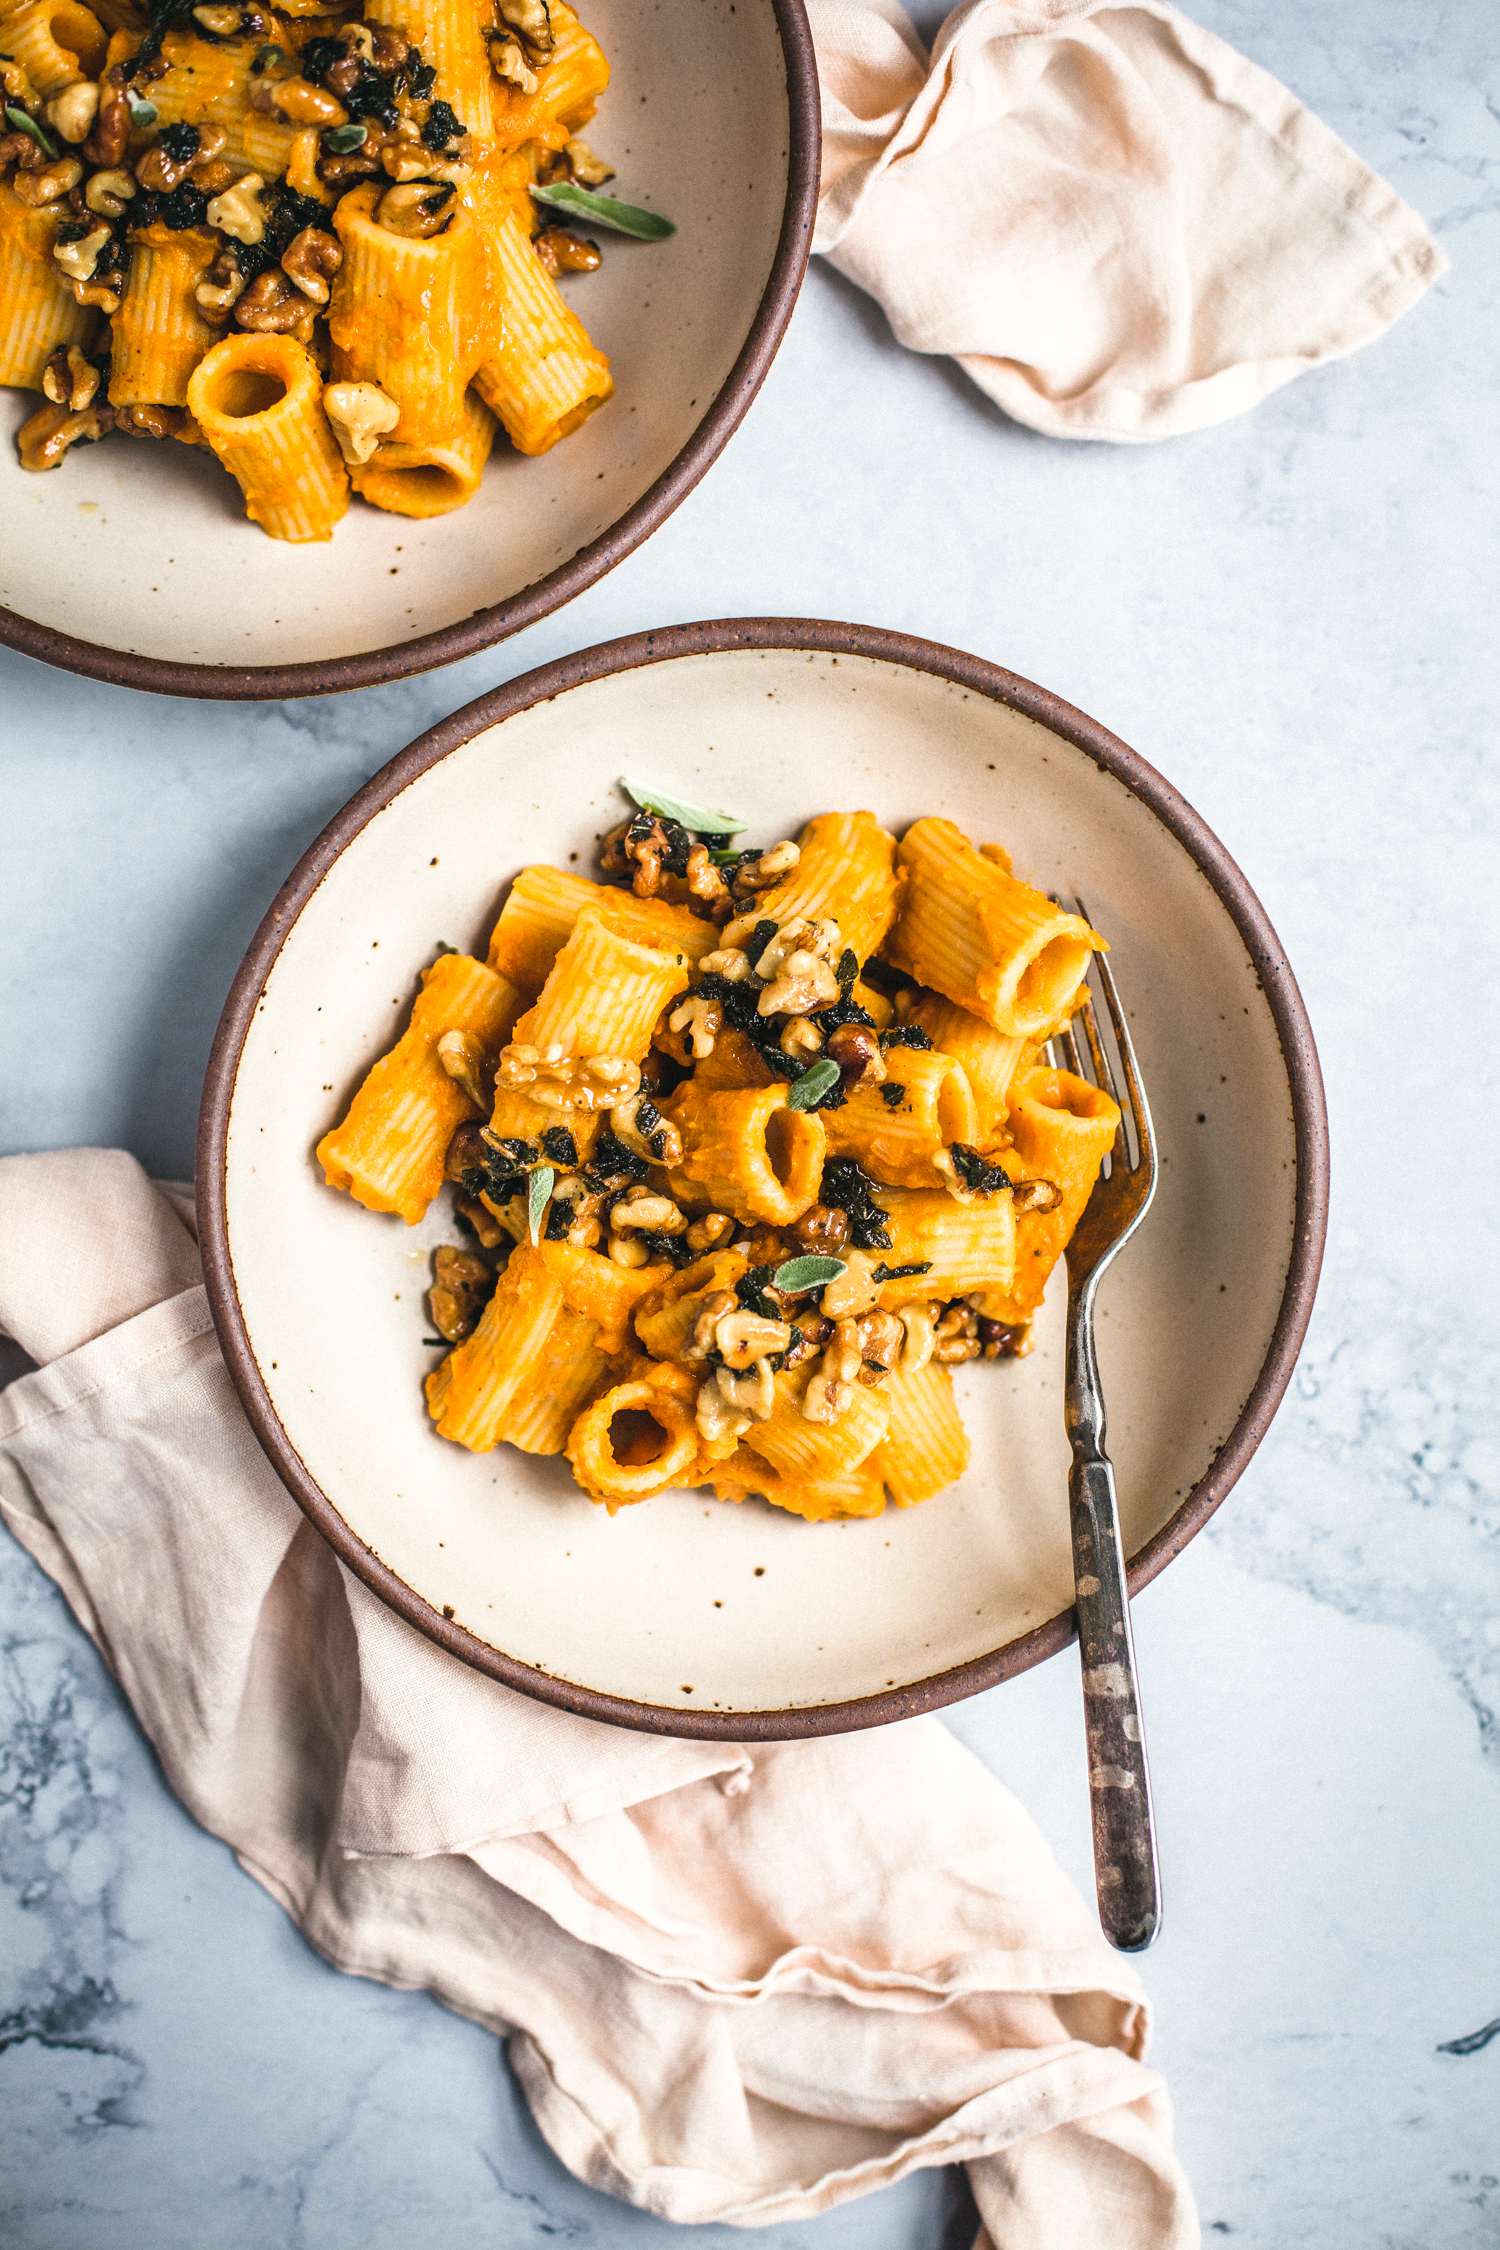
Creamy Pumpkin Pasta with Sage Walnuts
by Anya
Read Recipe
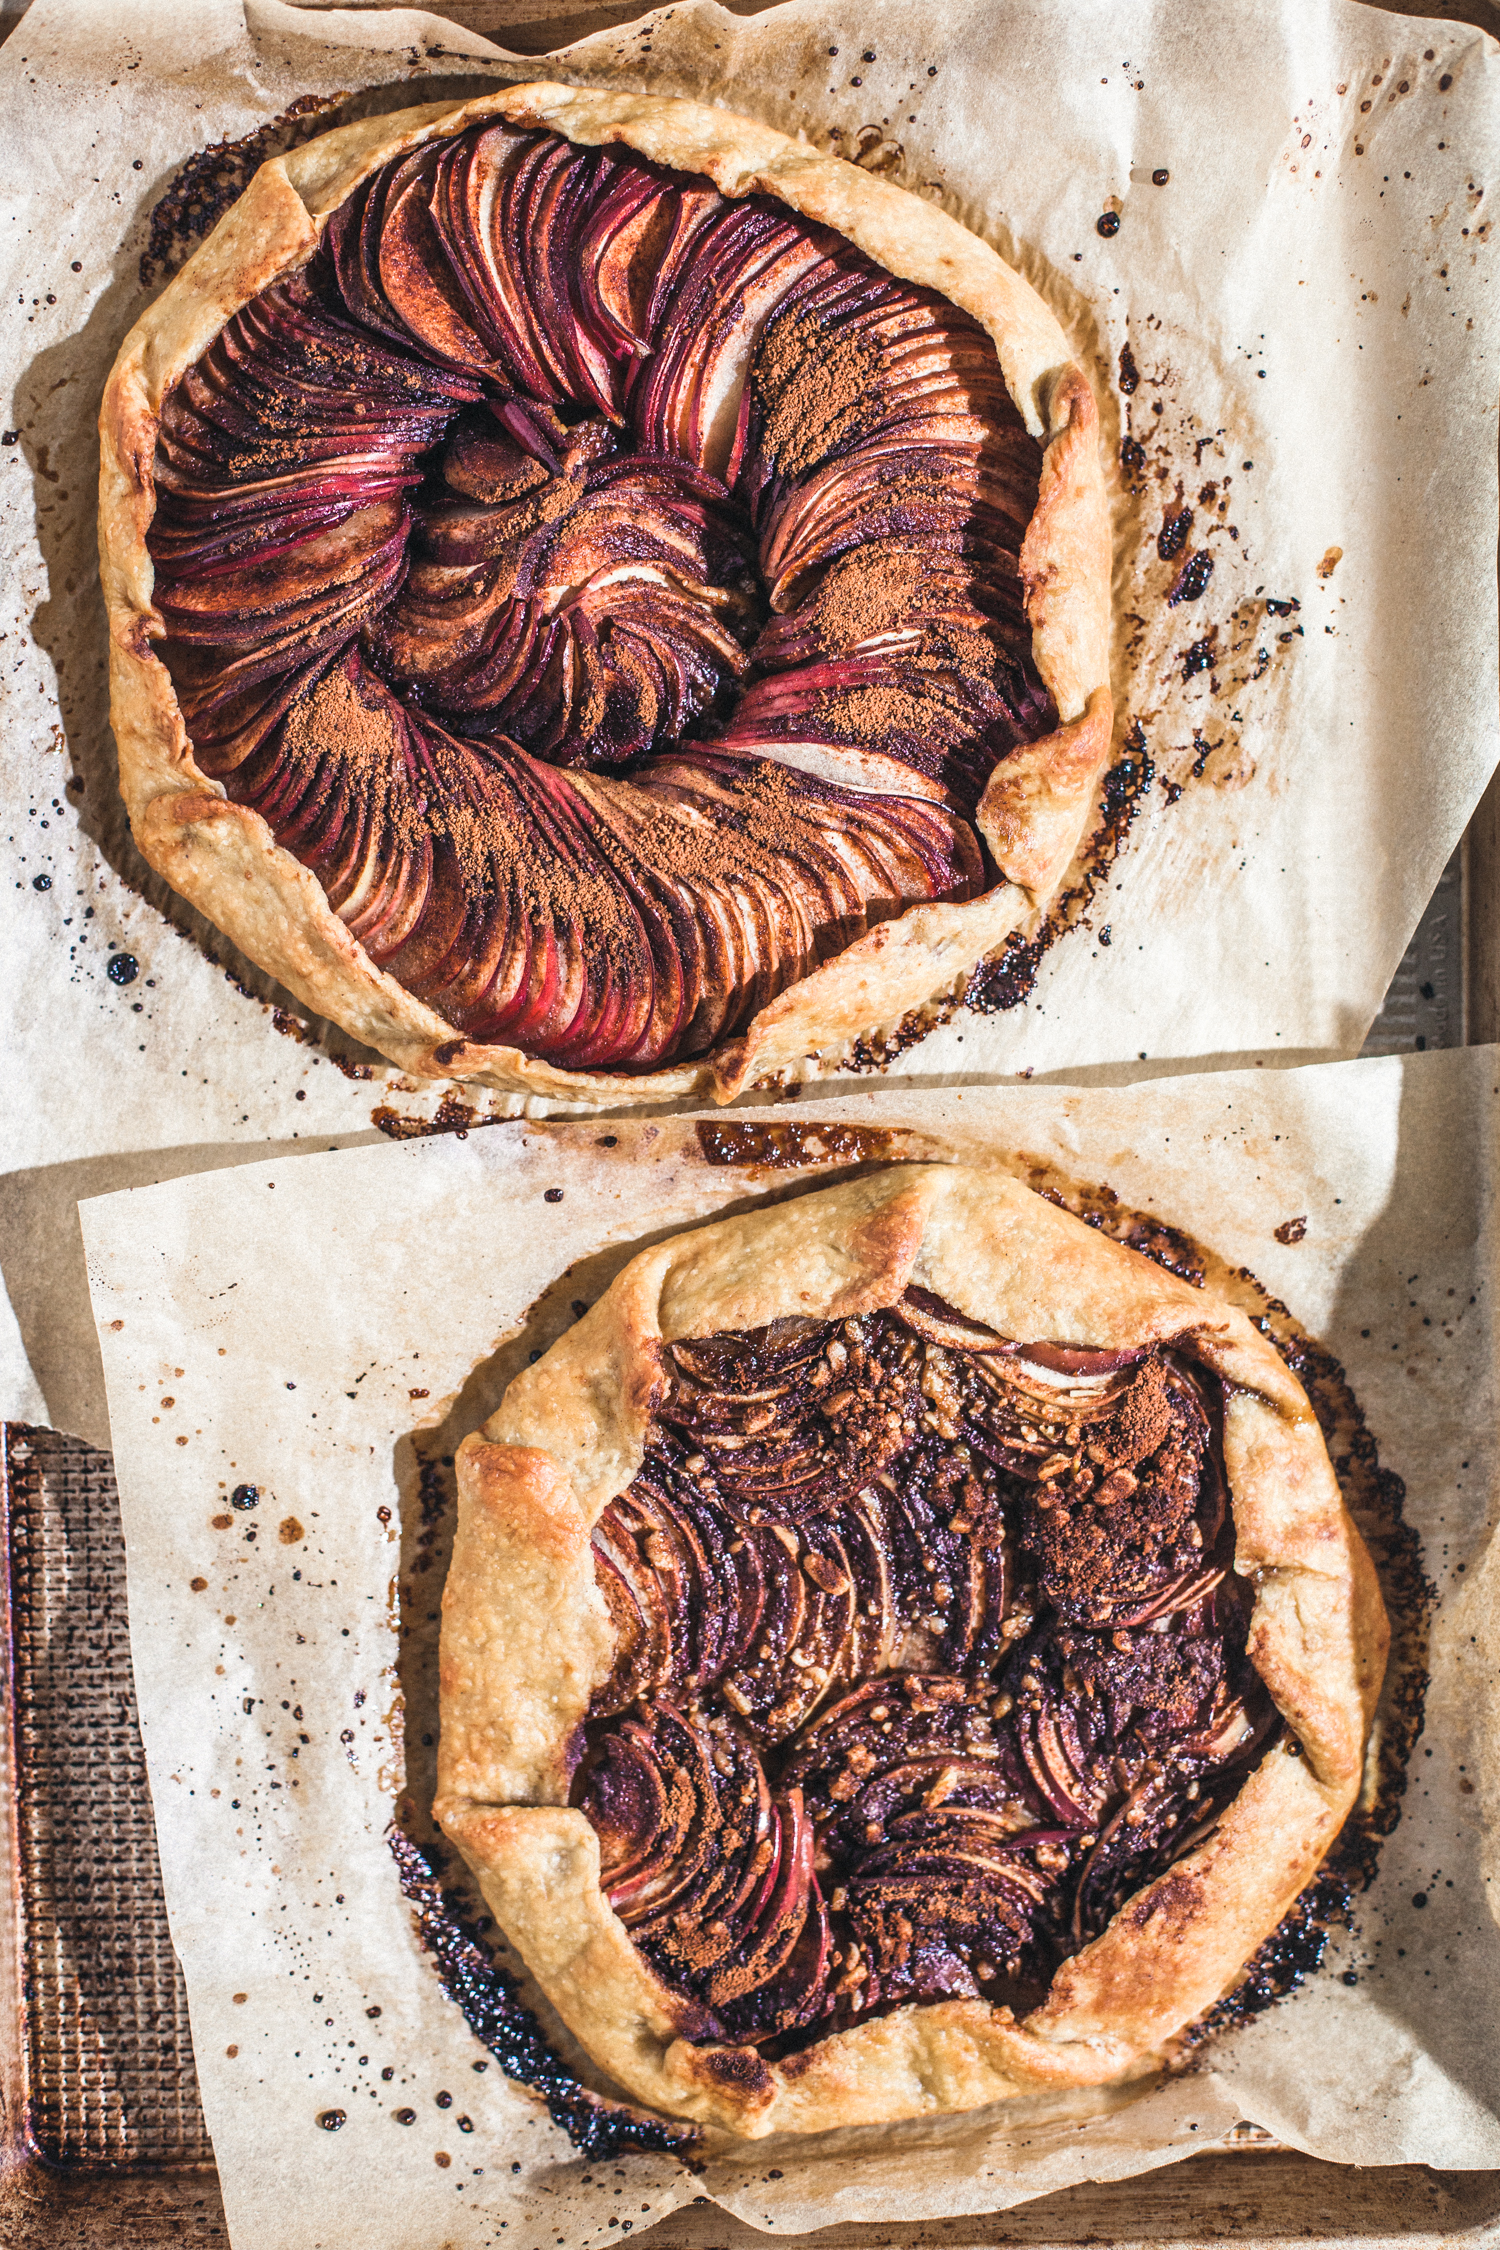
Apple Galette
by Masha
Read Recipe
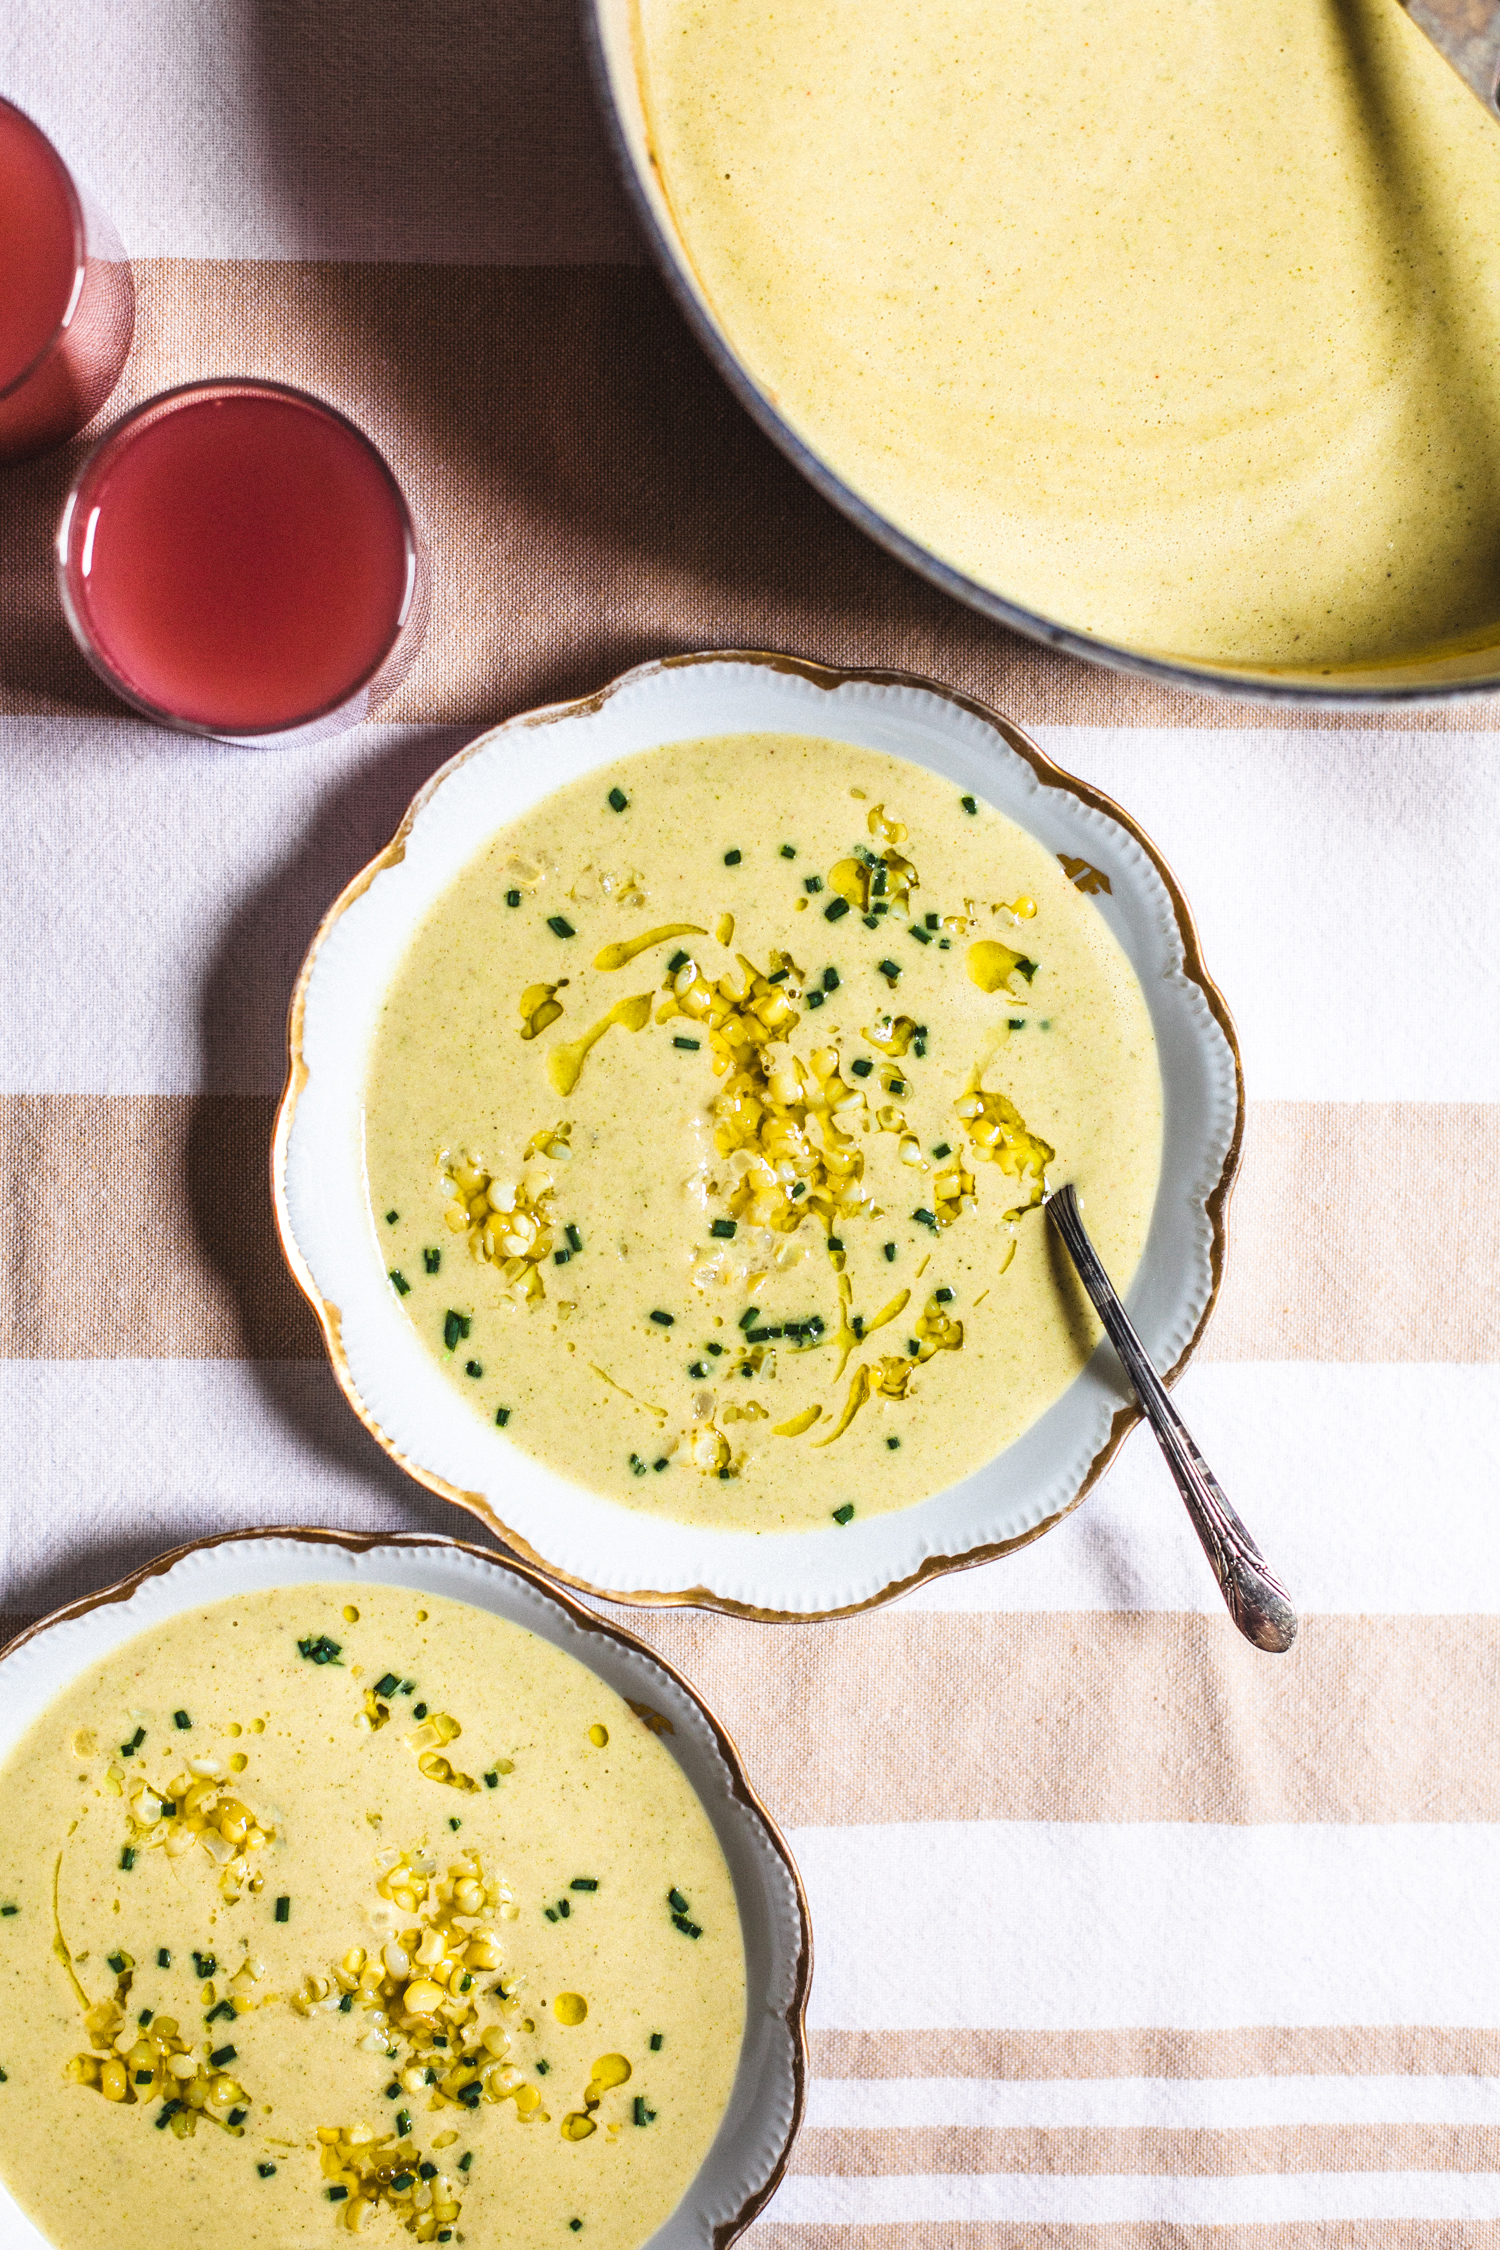
Creamy Corn and Broccoli Soup
by Anya
Read Recipe
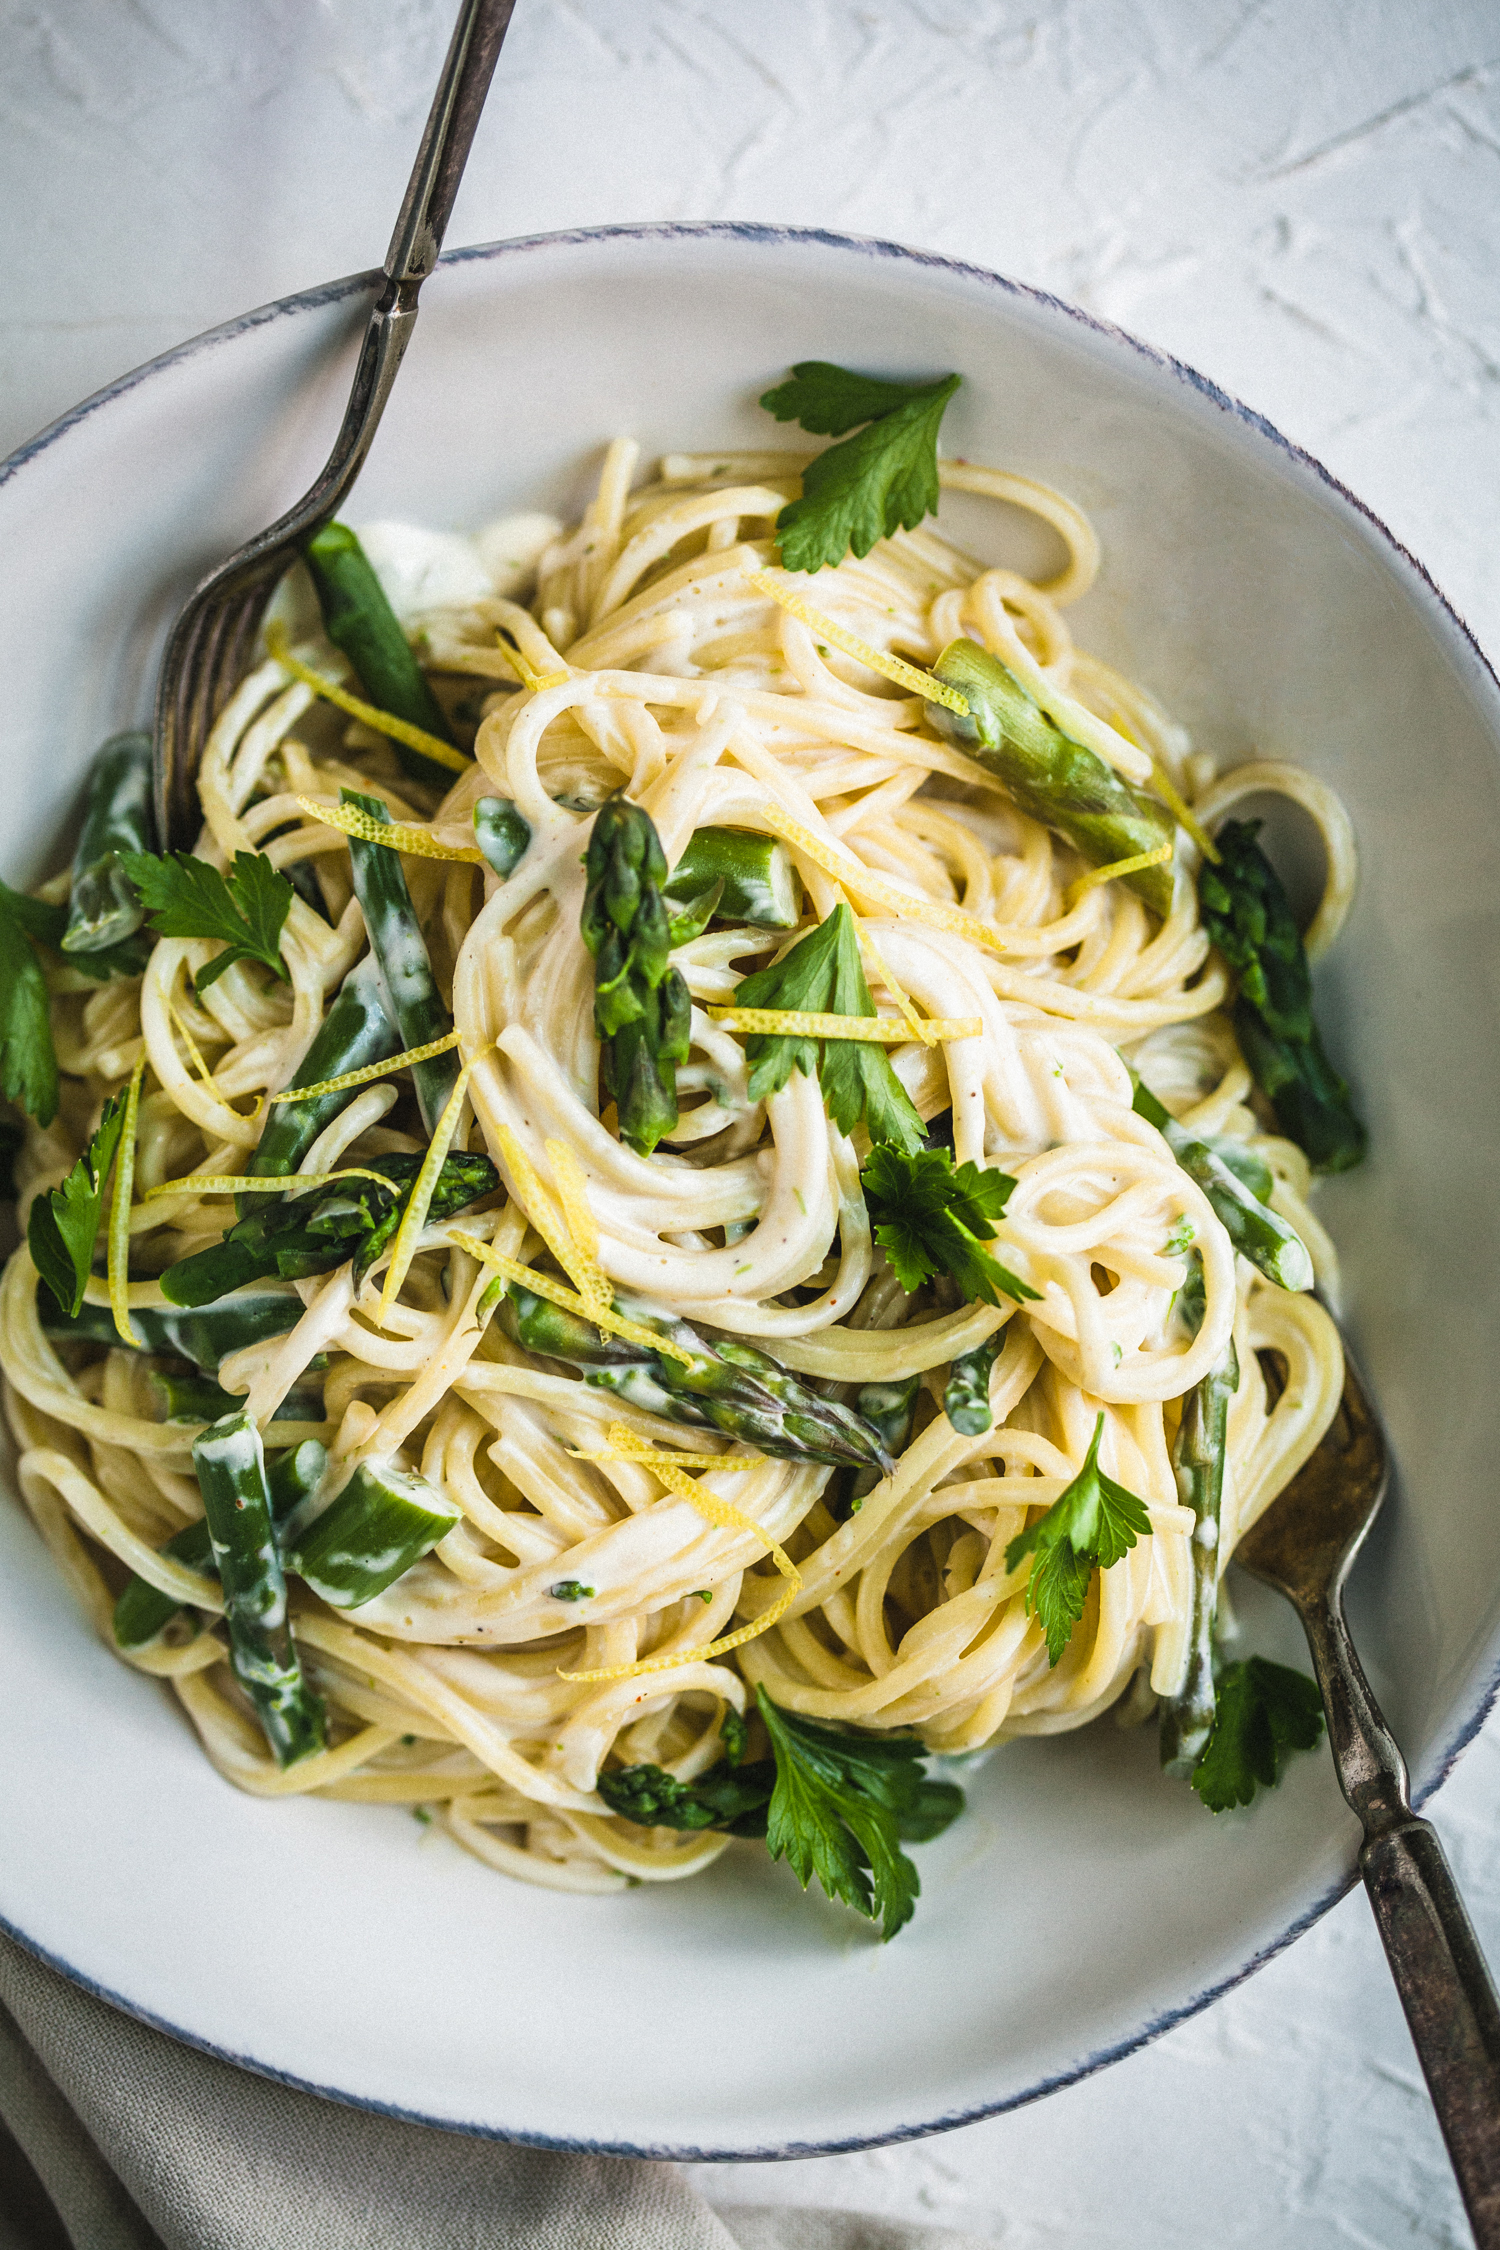
Creamy Vegan Lemon Pasta with Asparagus
by Masha
Read Recipe
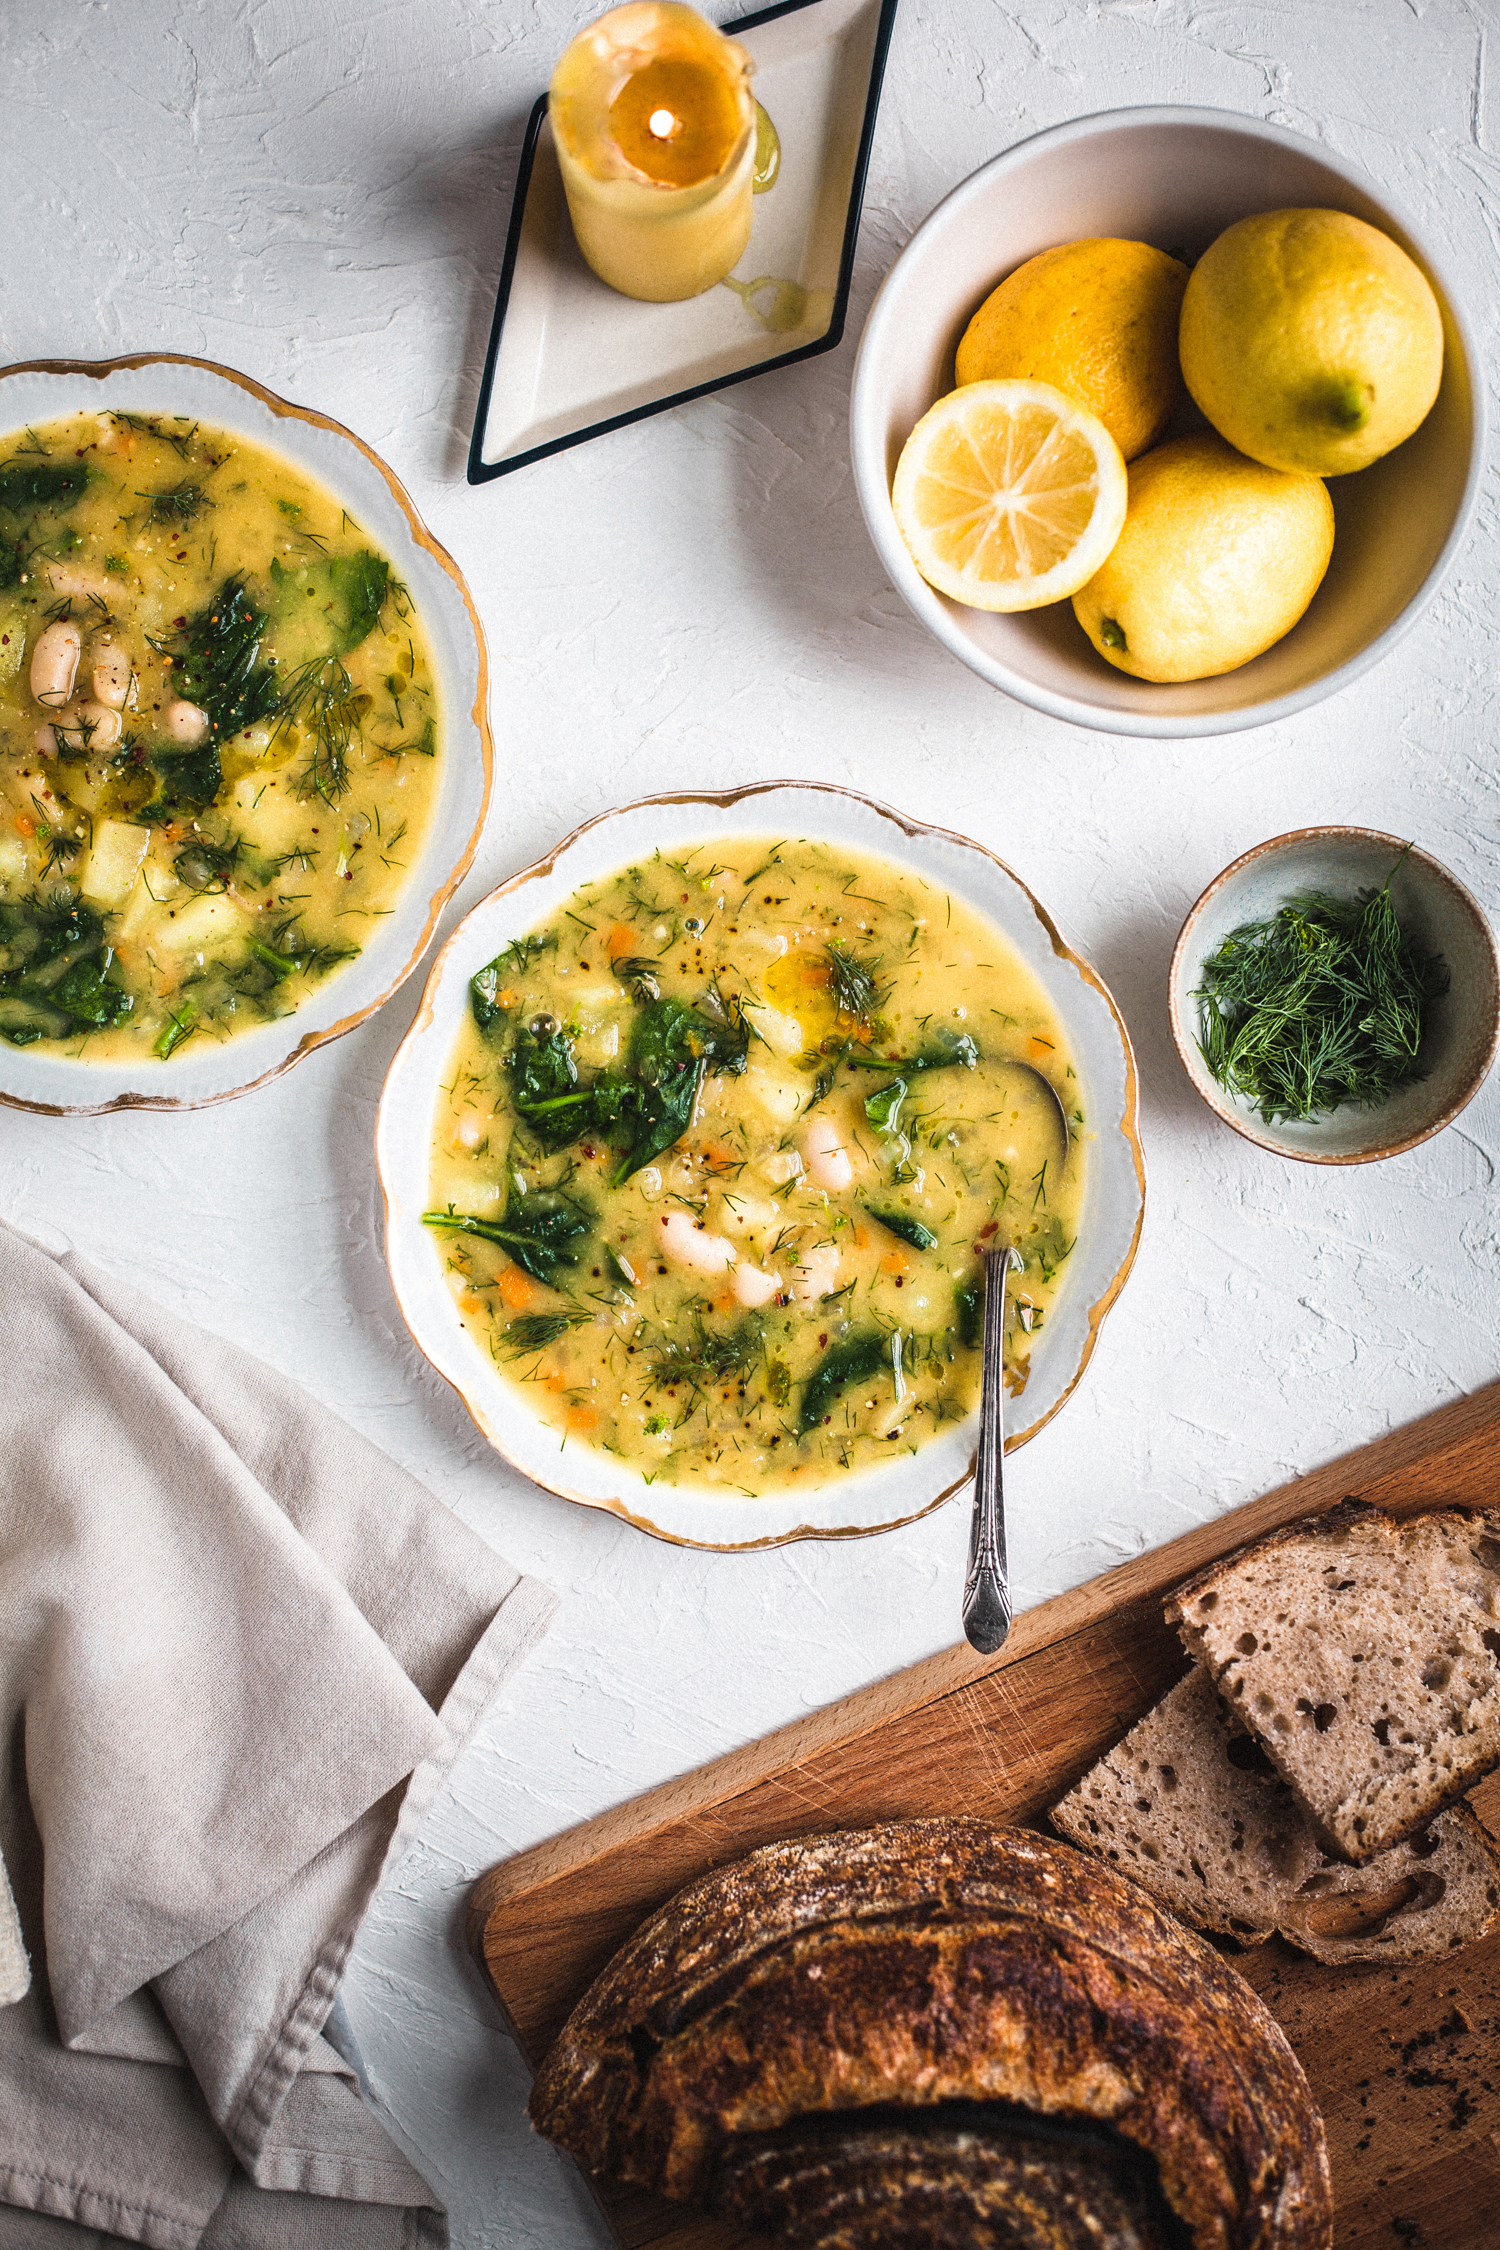
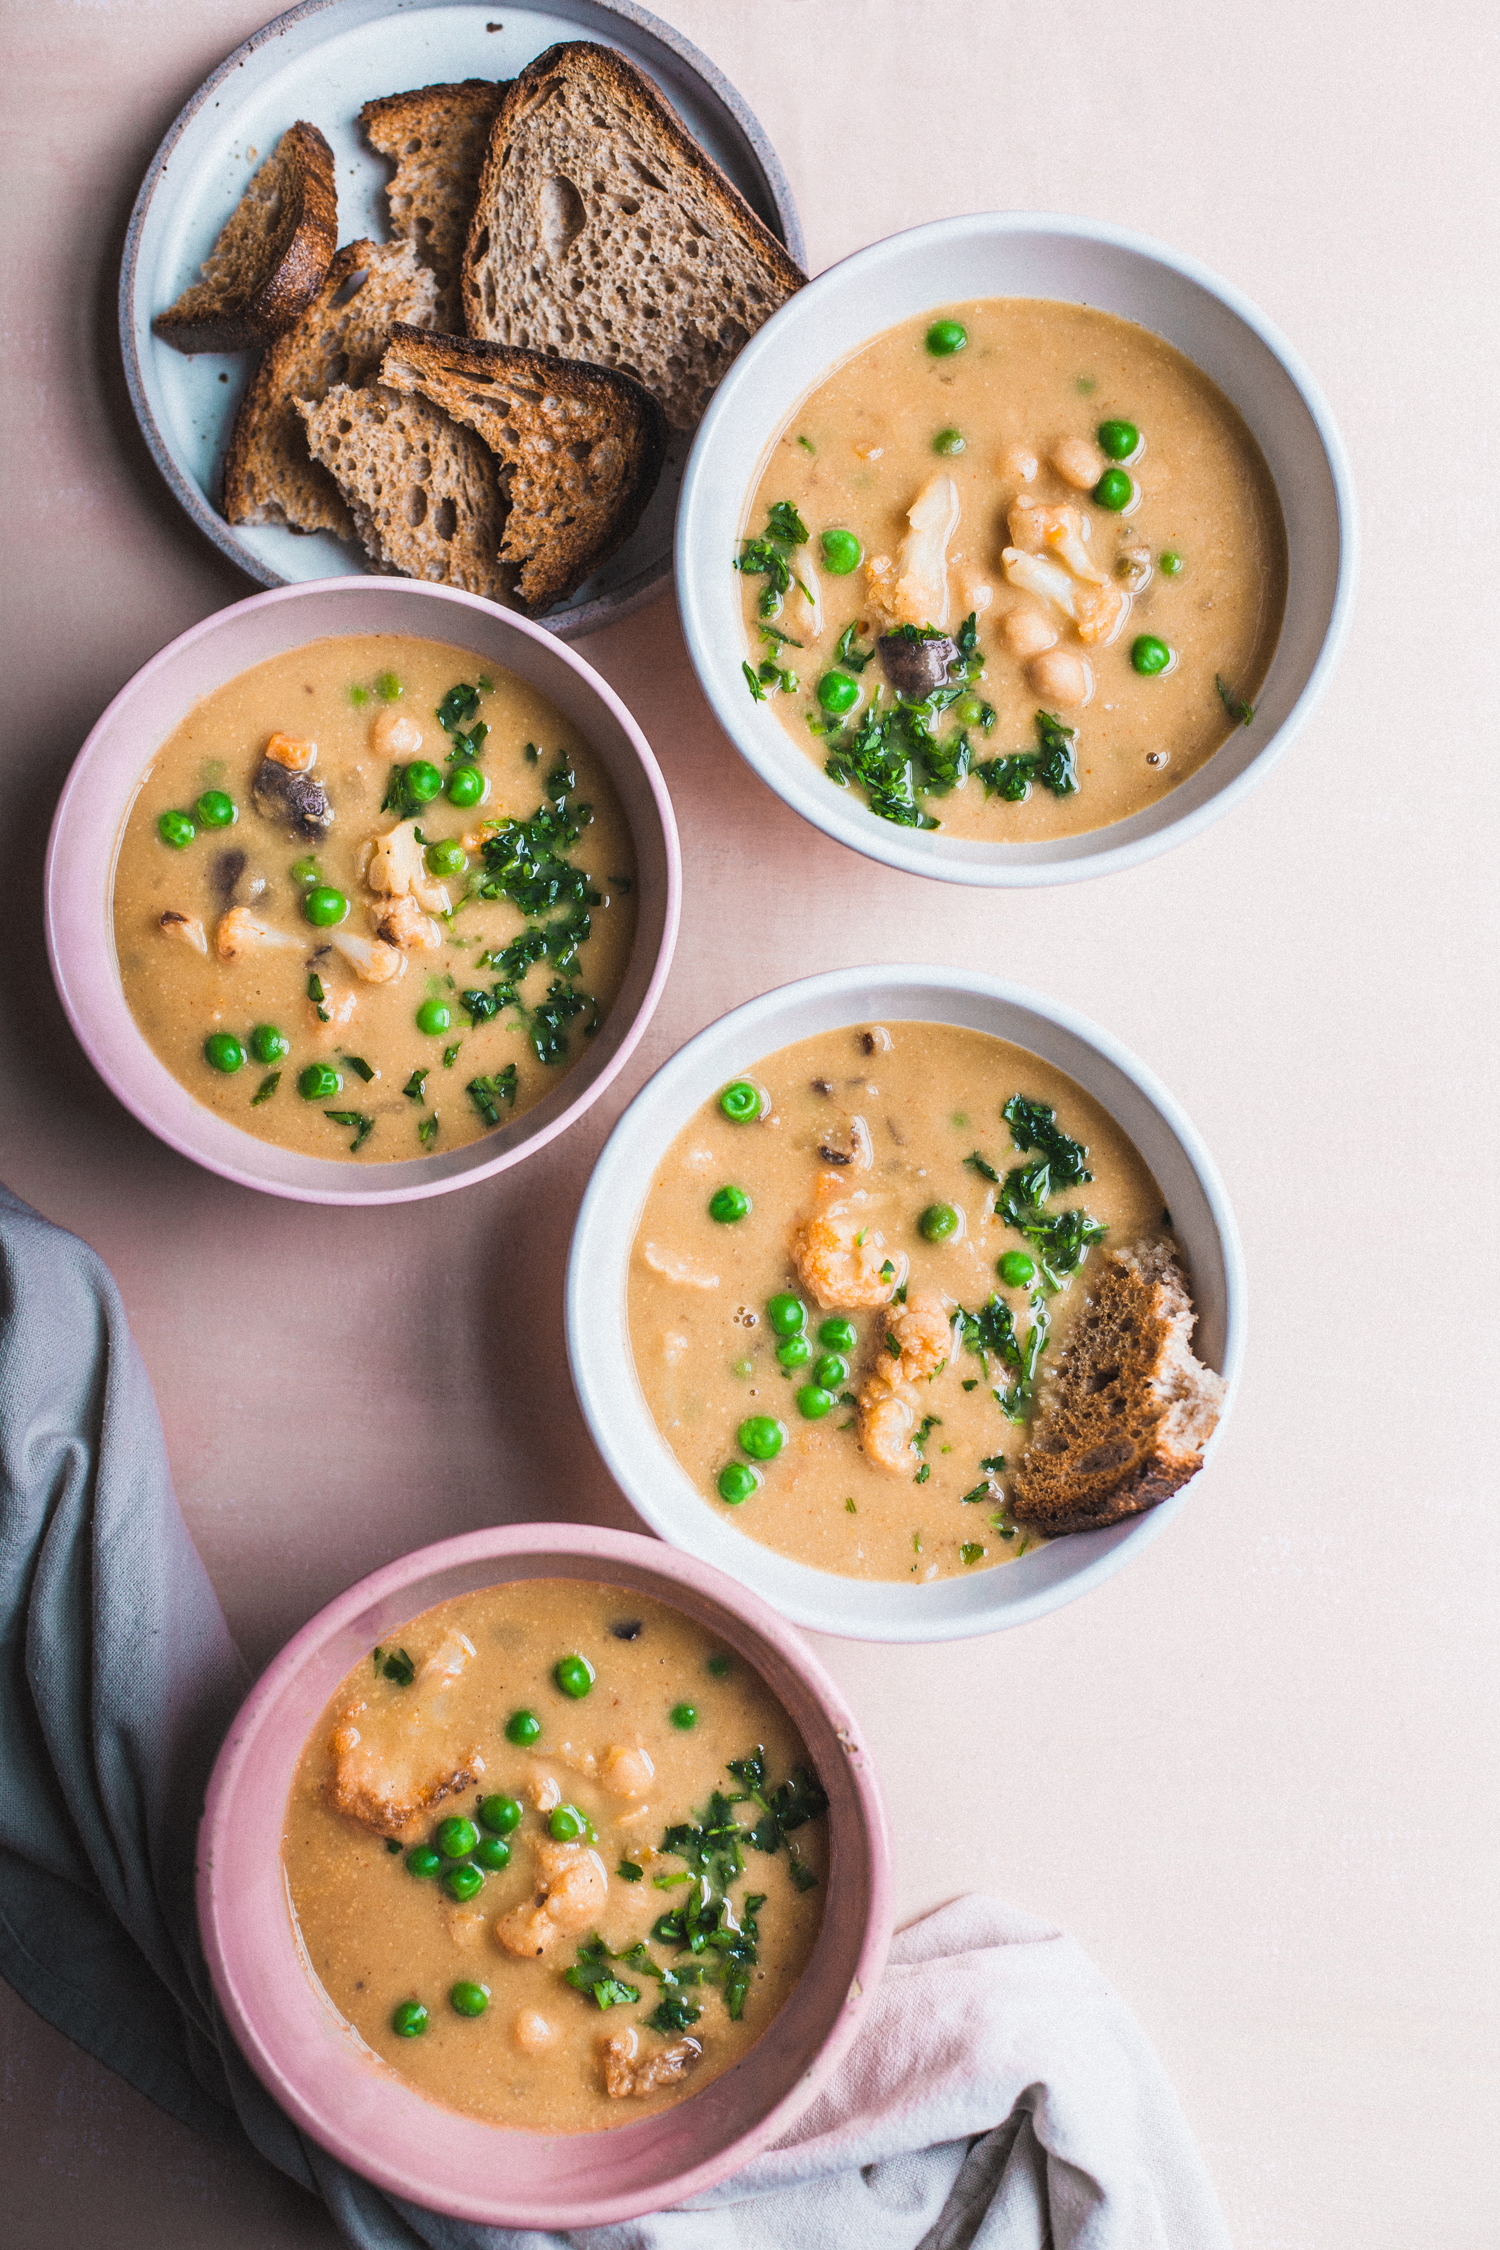
Lemon-Dill White Bean & Potato Soup
by Masha
Read Recipe
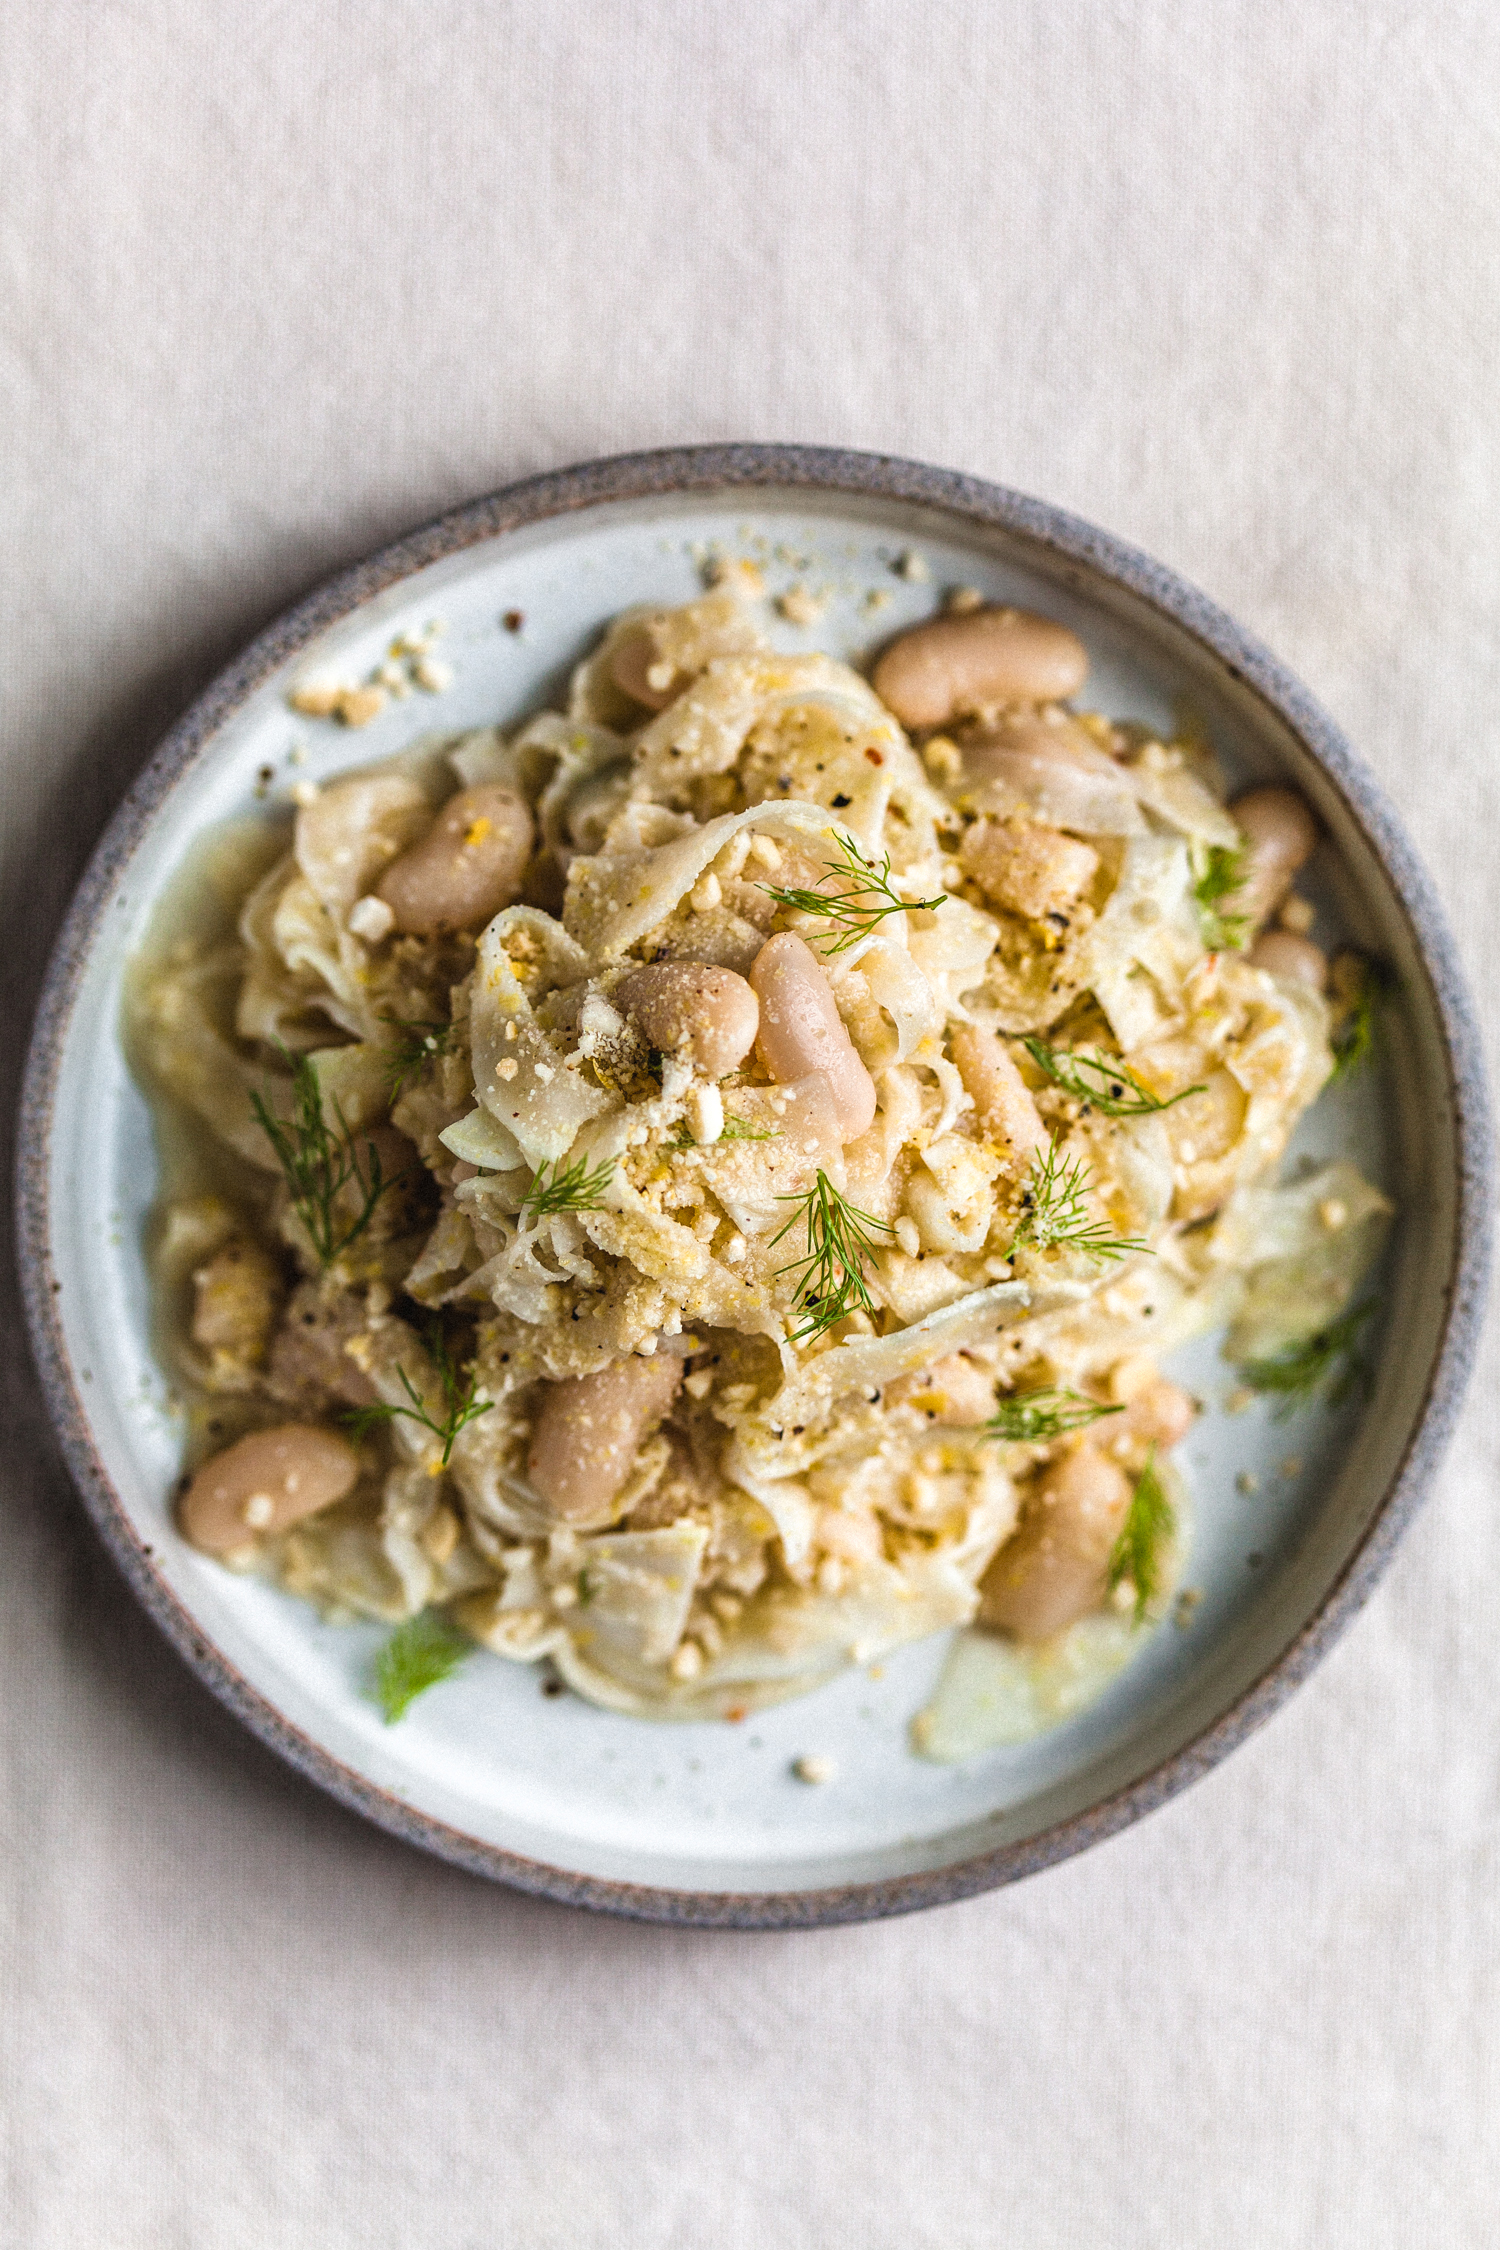
Versatile Fennel Salad
by Masha
Read Recipe
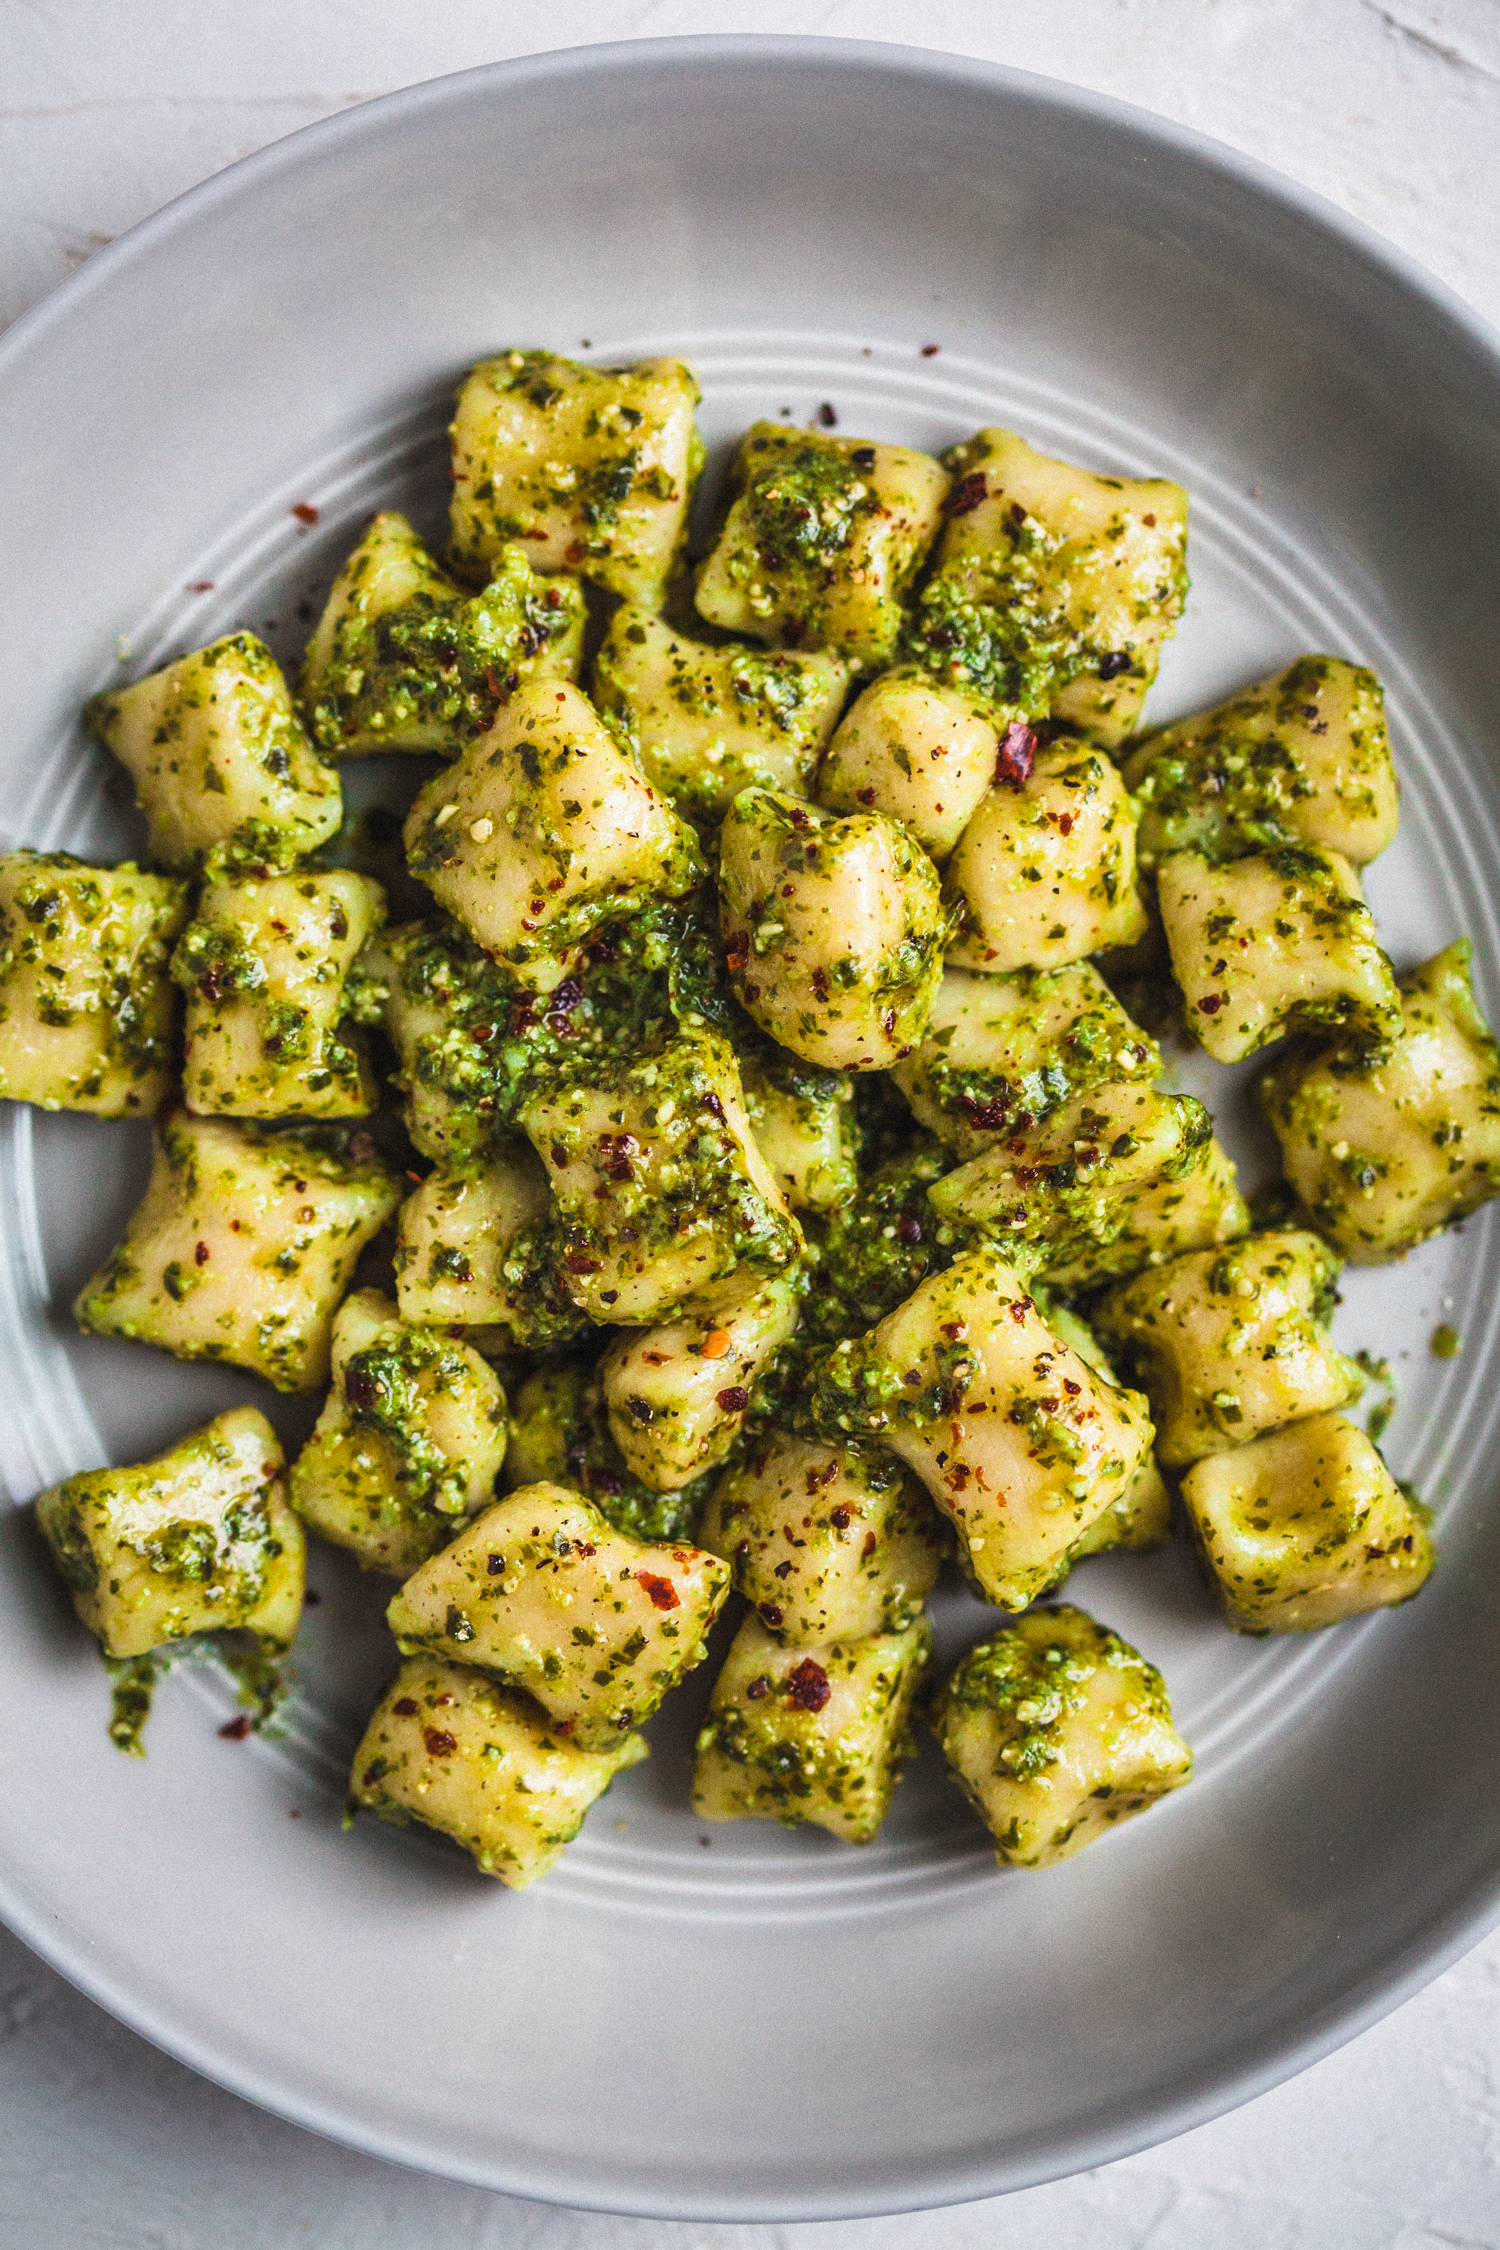
Simple Vegan Gnocchi
by Anya
Read Recipe
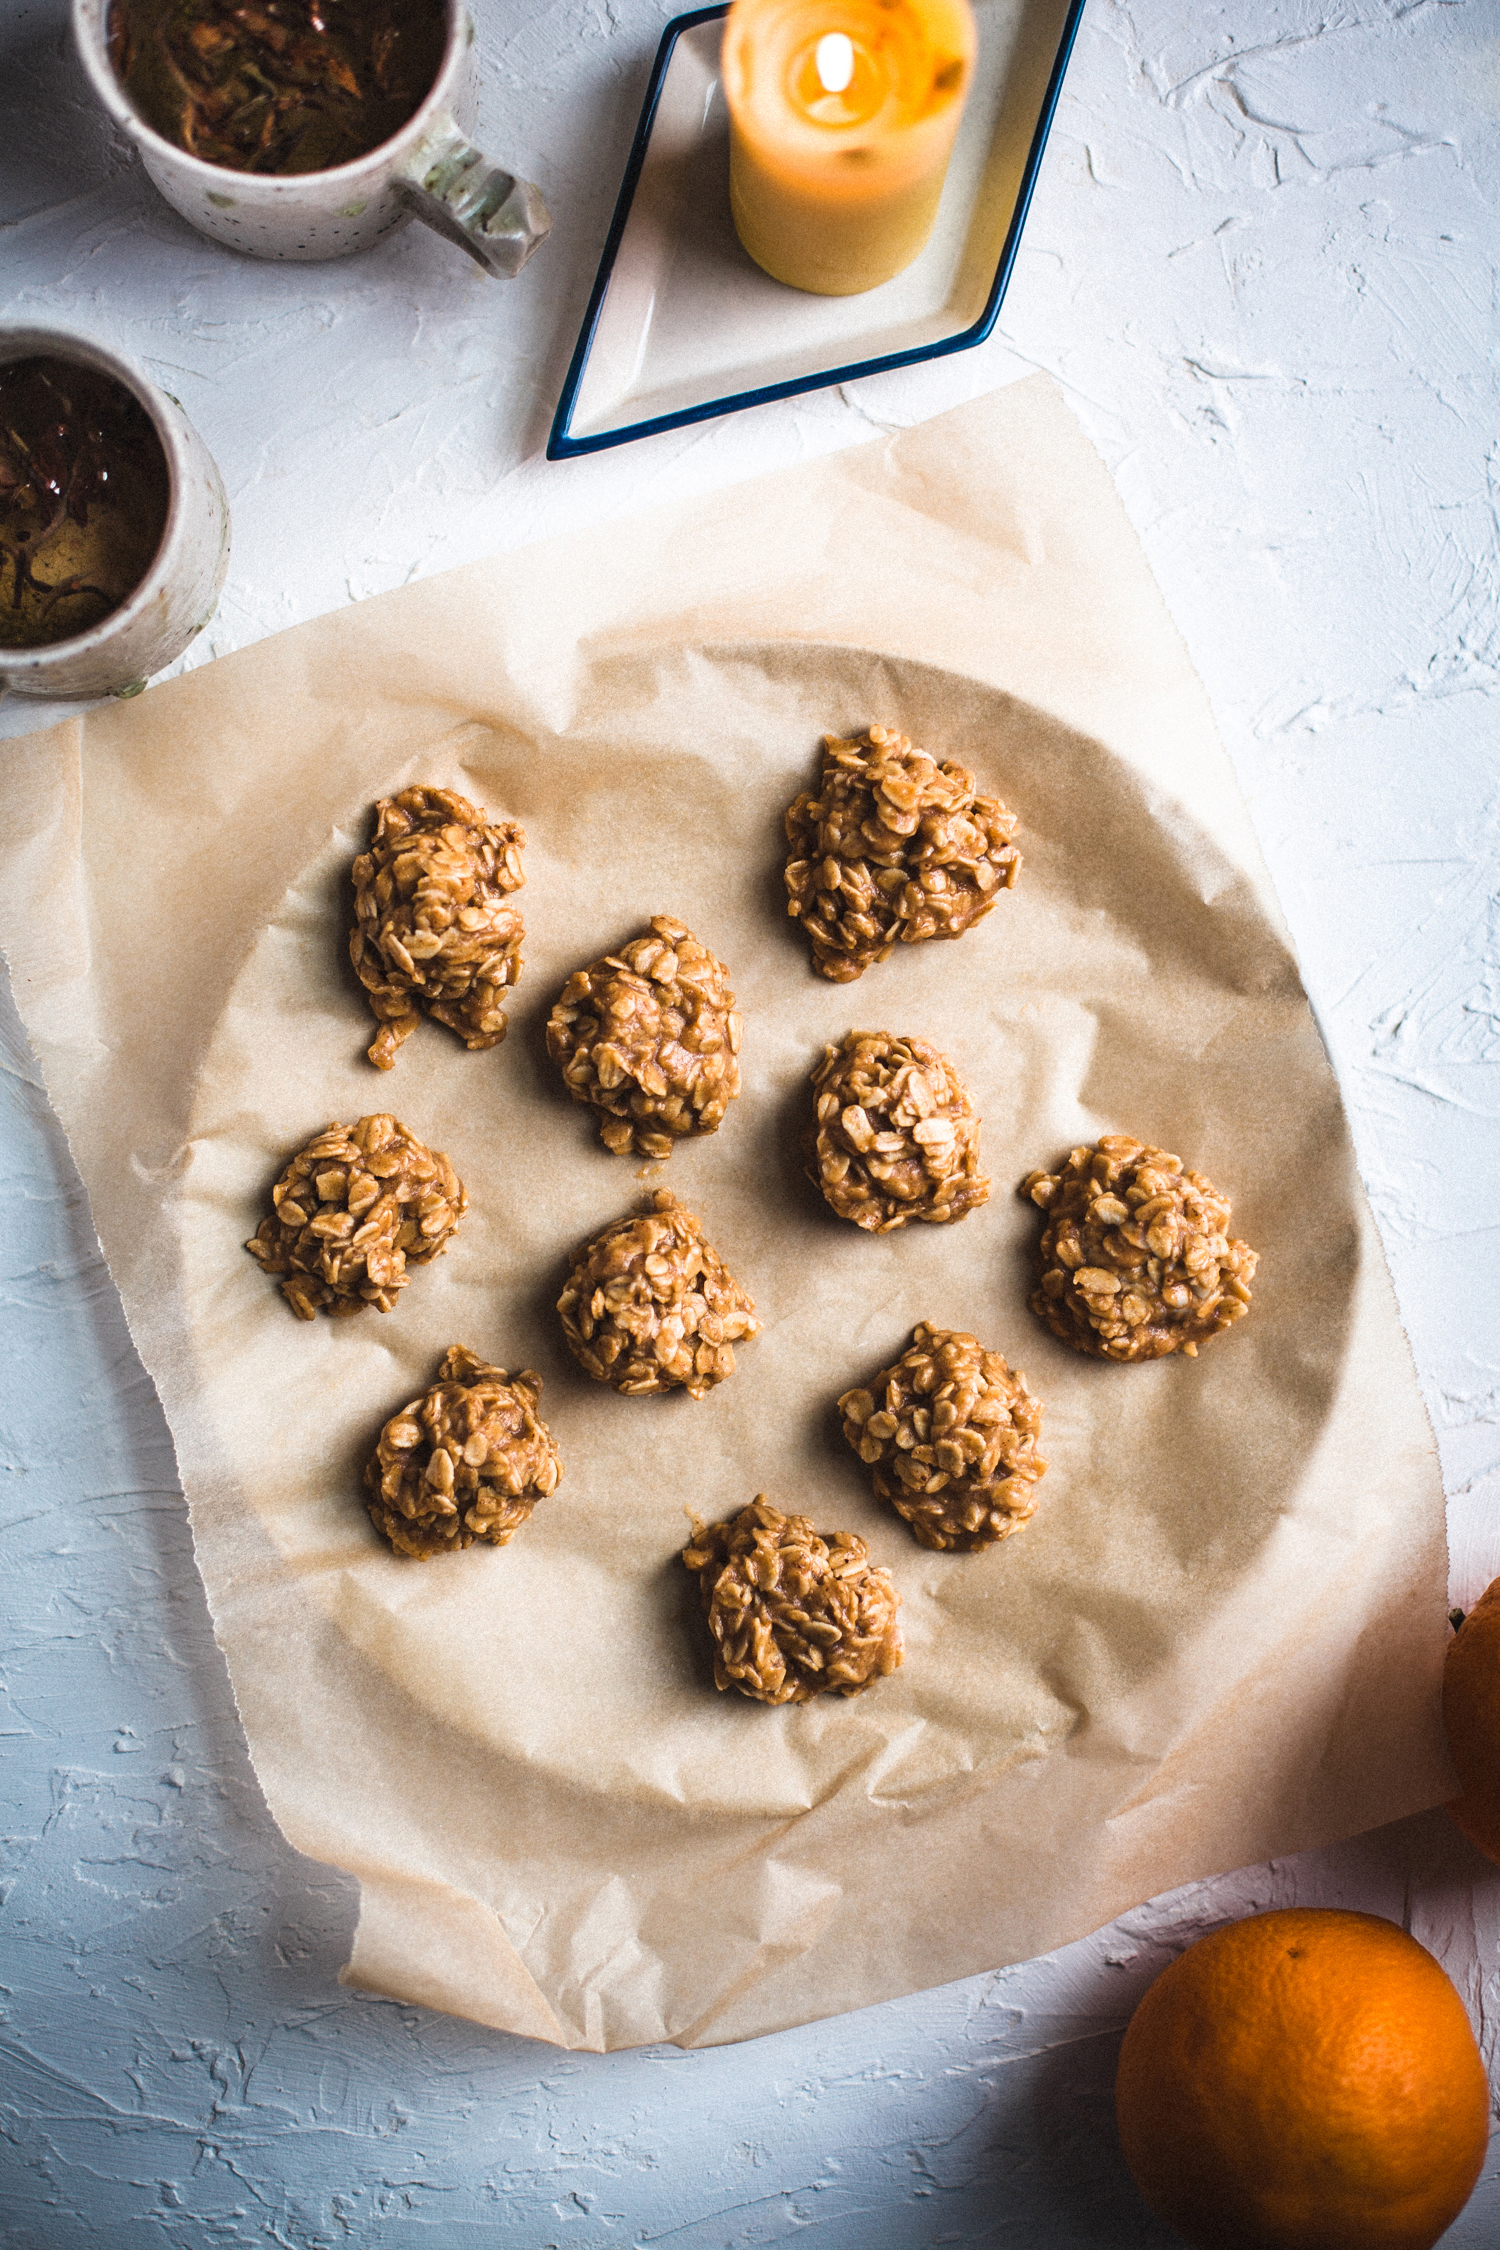
Sweet & Salty Nut Butter Oat Clusters
by Anya
Read Recipe
Vegan Sourdough Chocolate Chip Cookies
by Masha
Read Recipe
Mushroom Bourguignon
by Masha
Read Recipe
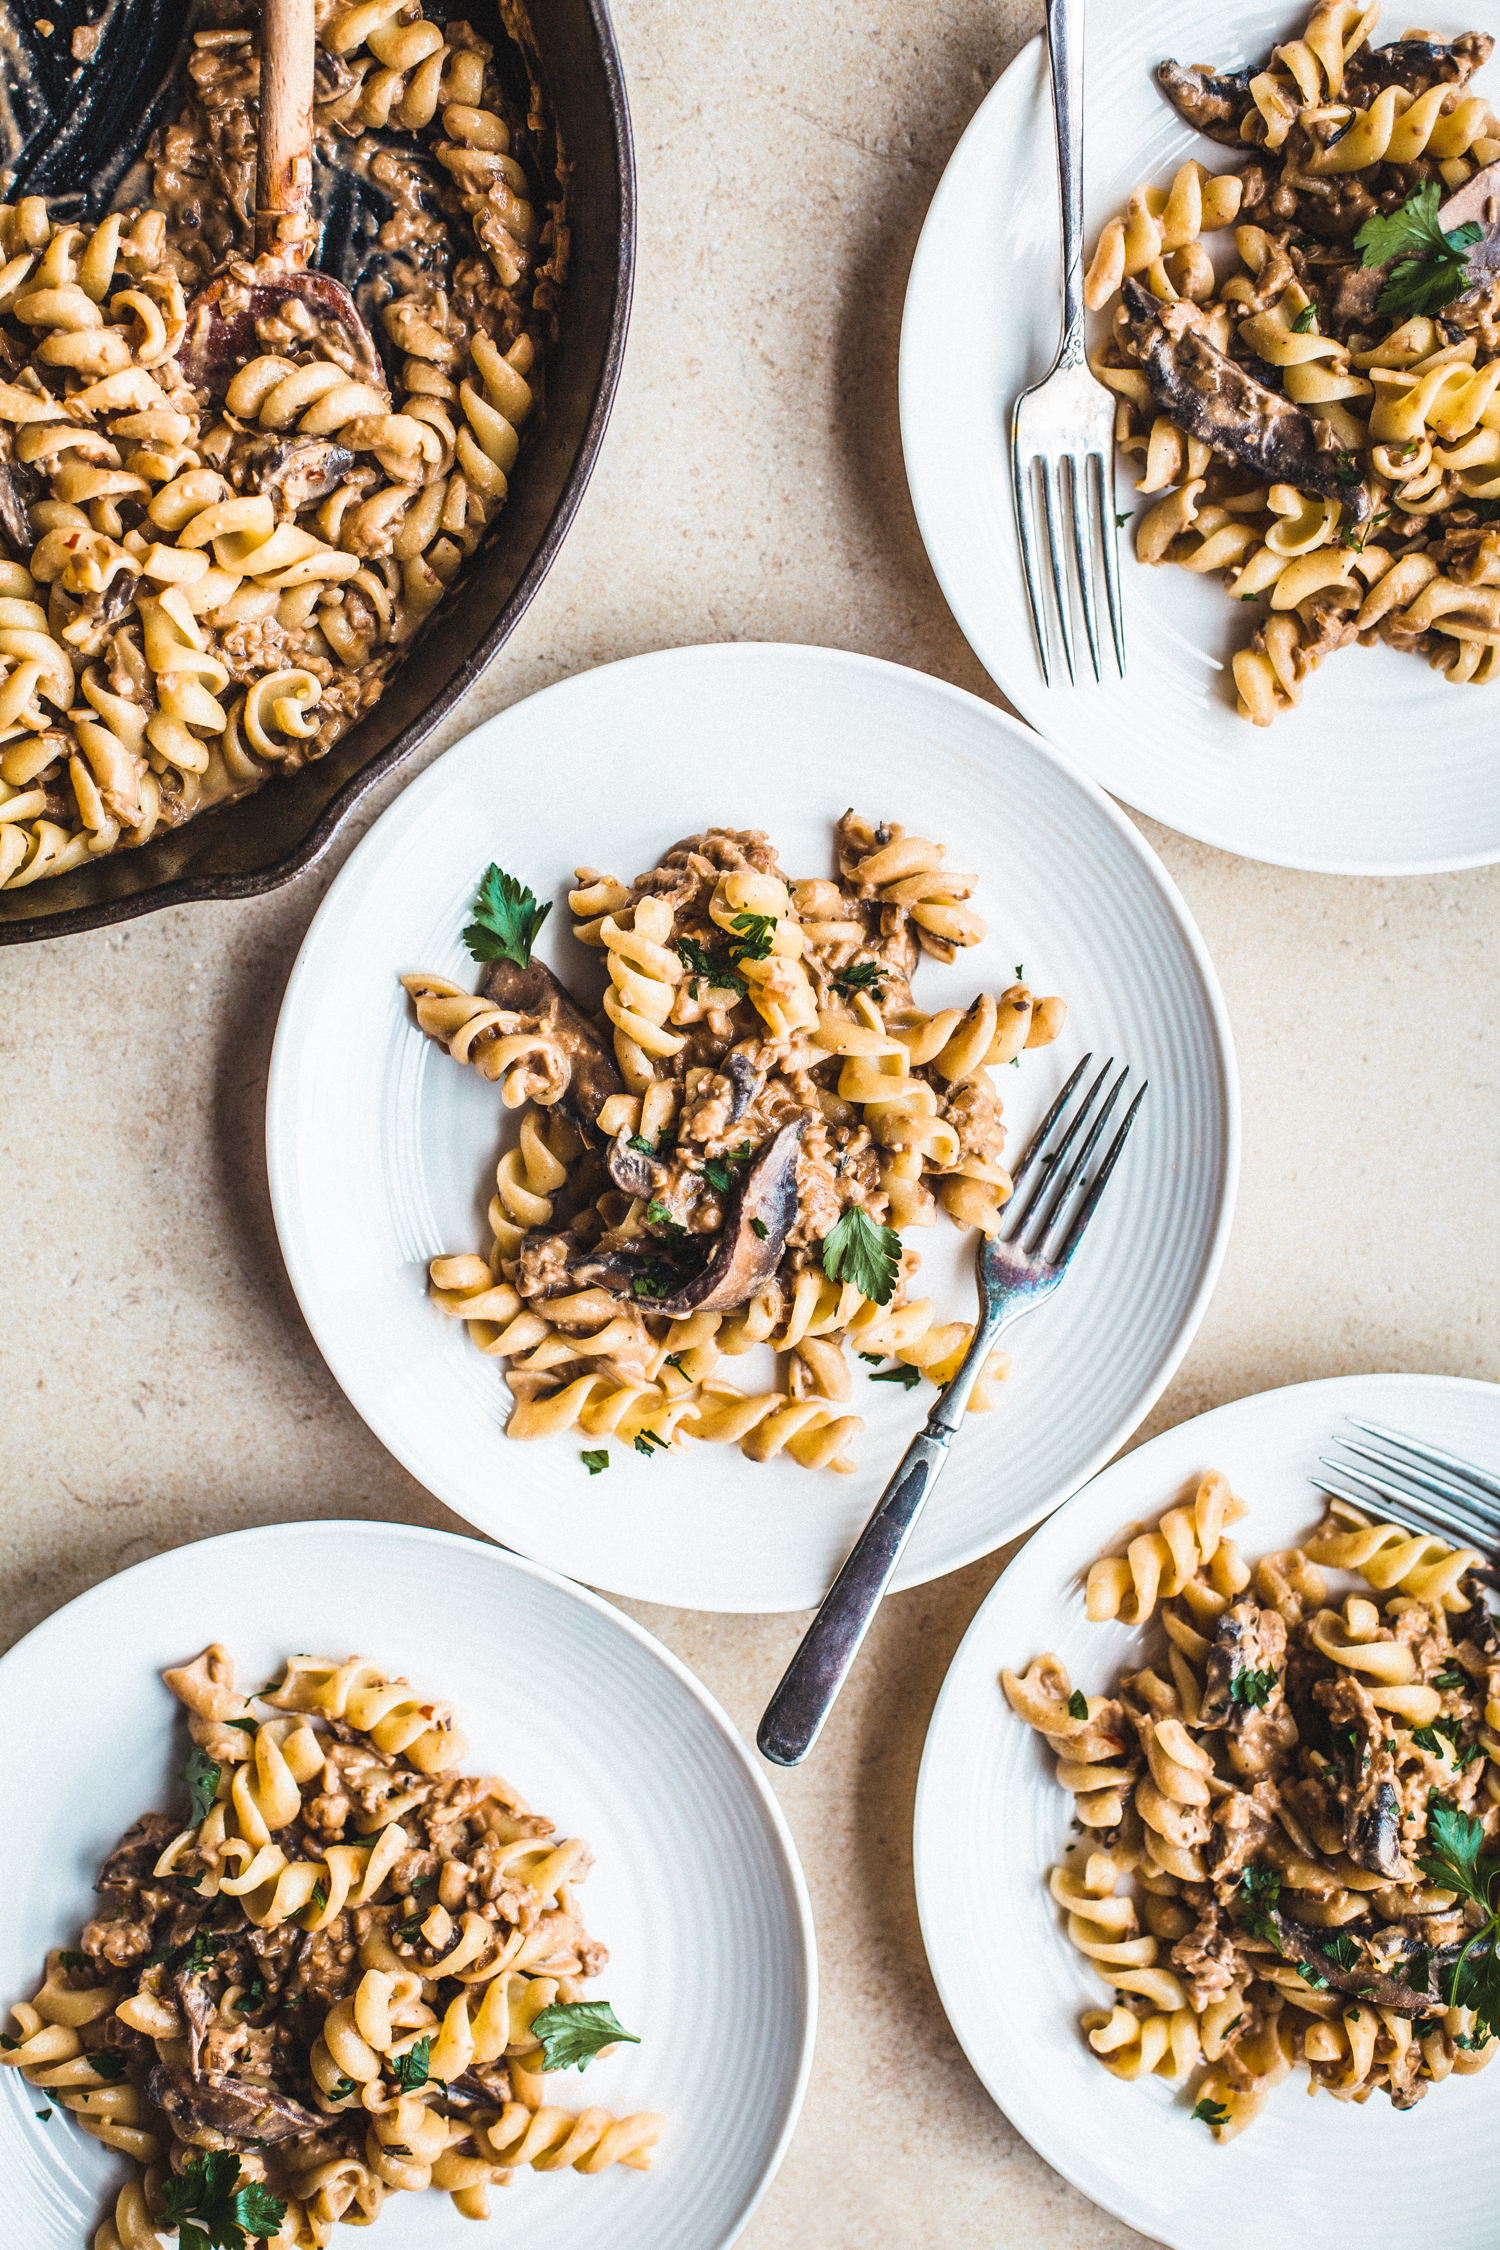
Mushroom Tempeh Stroganoff
by Masha
Read Recipe
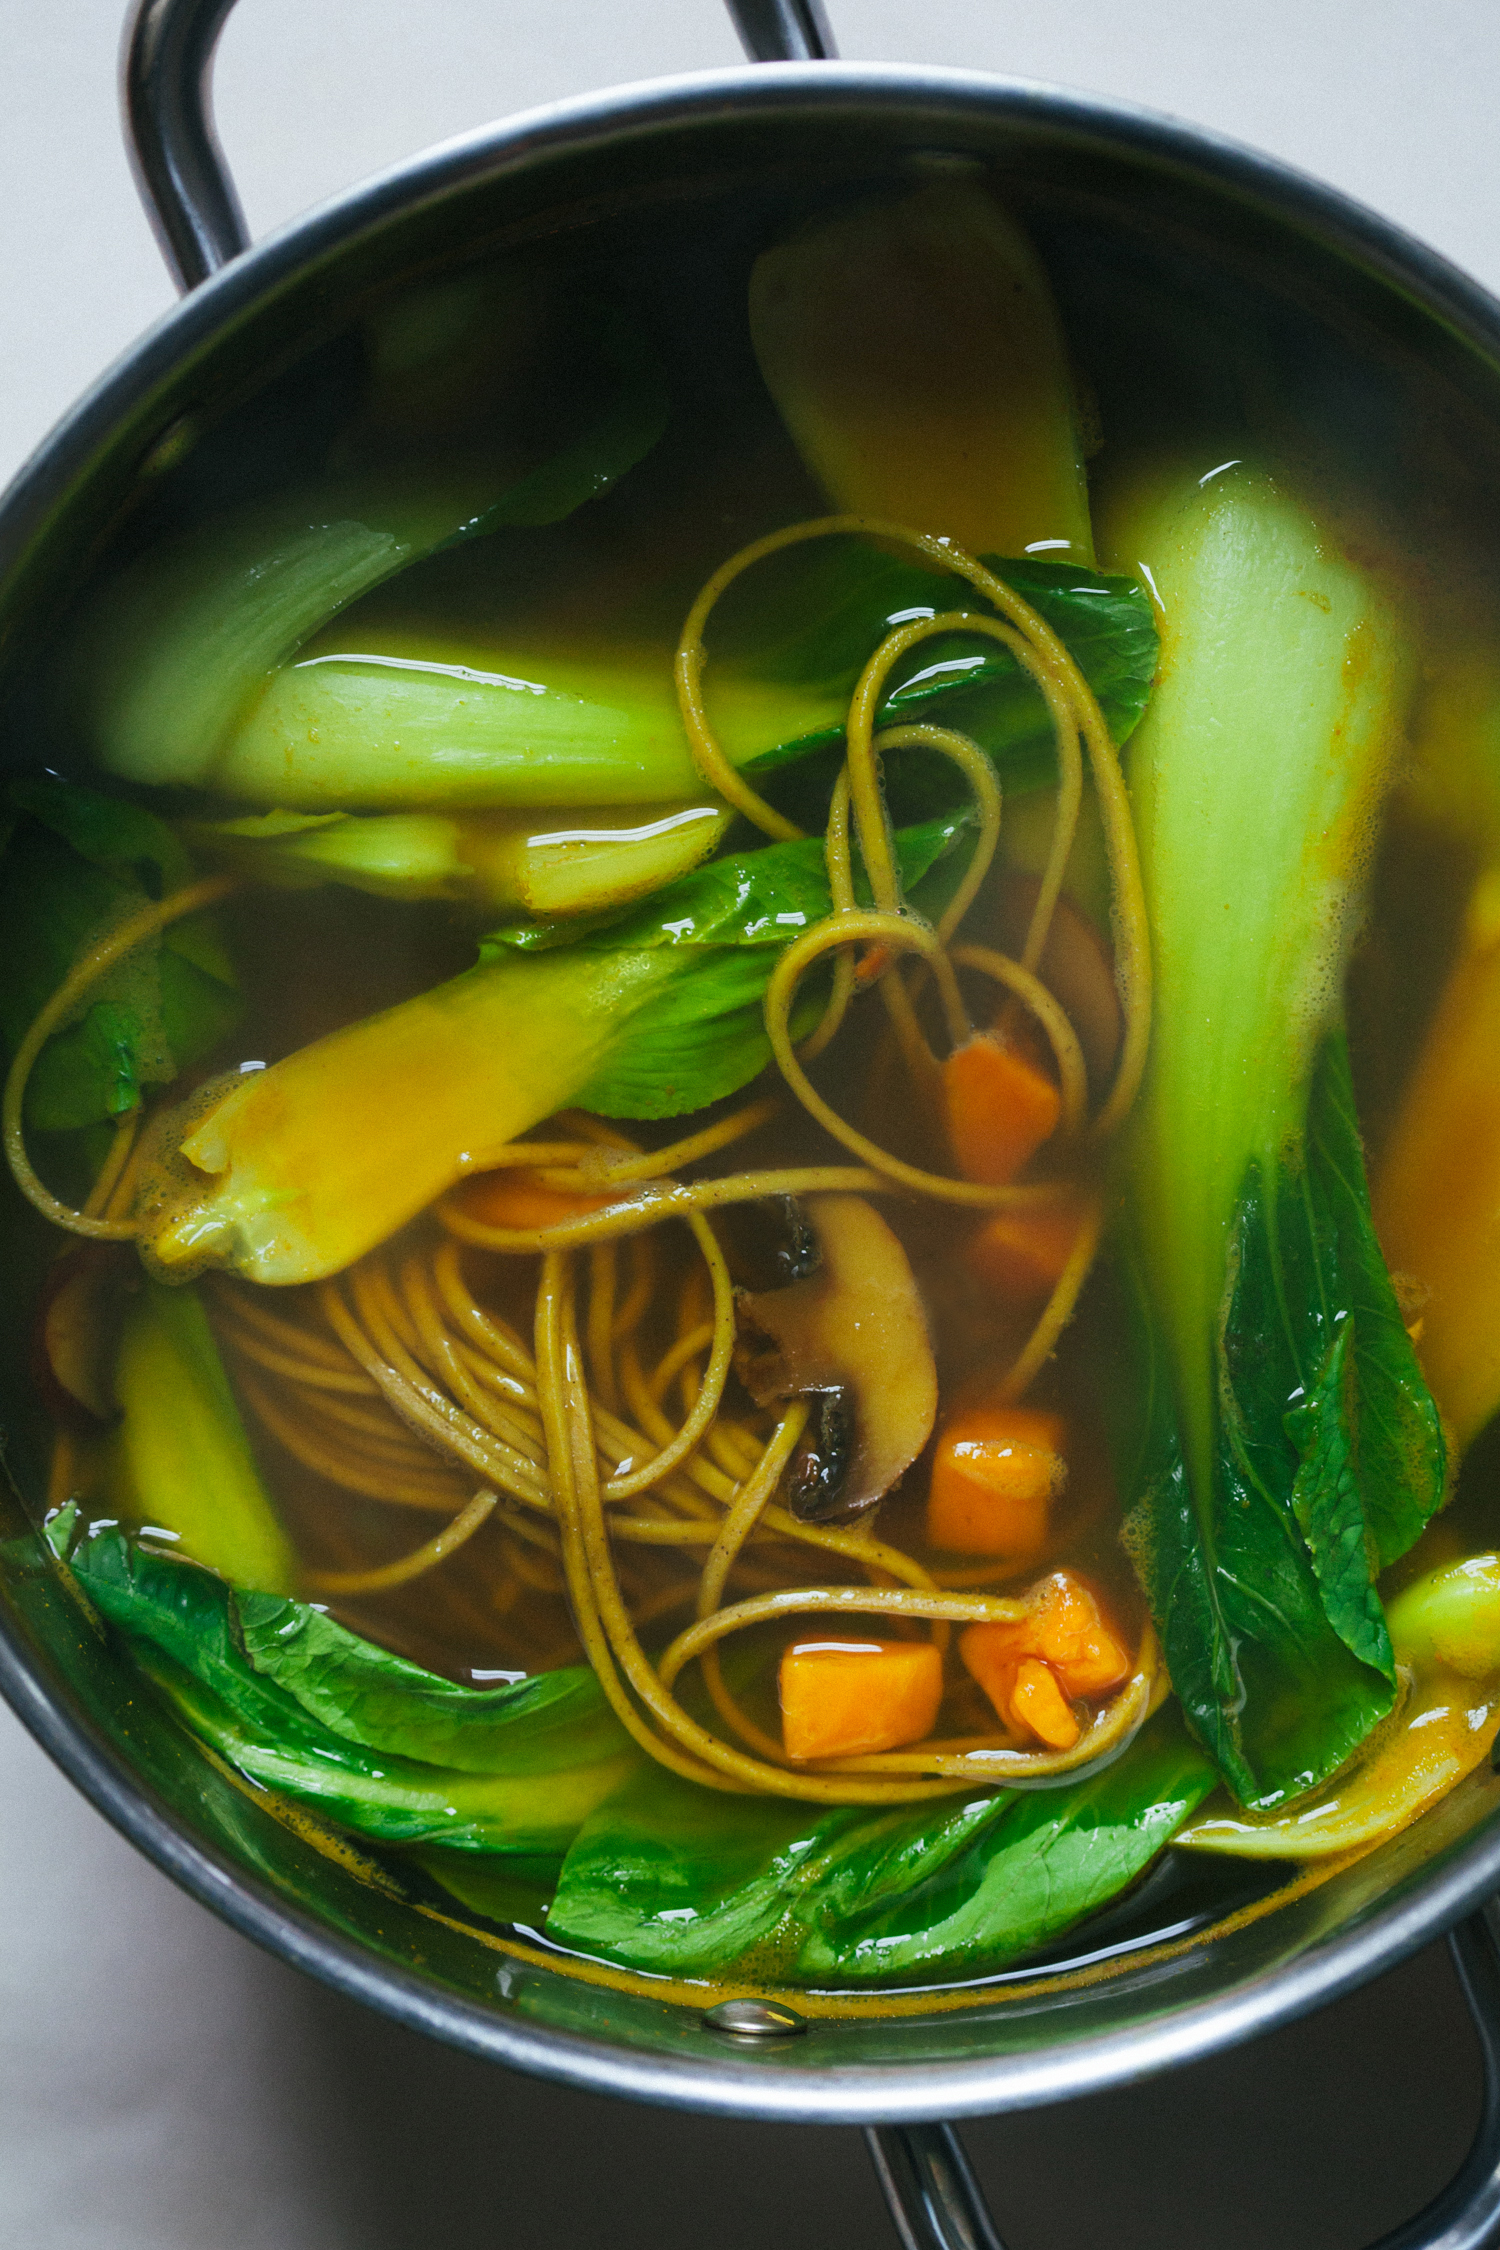
Coconut Noodle Soup
by Masha
Read Recipe
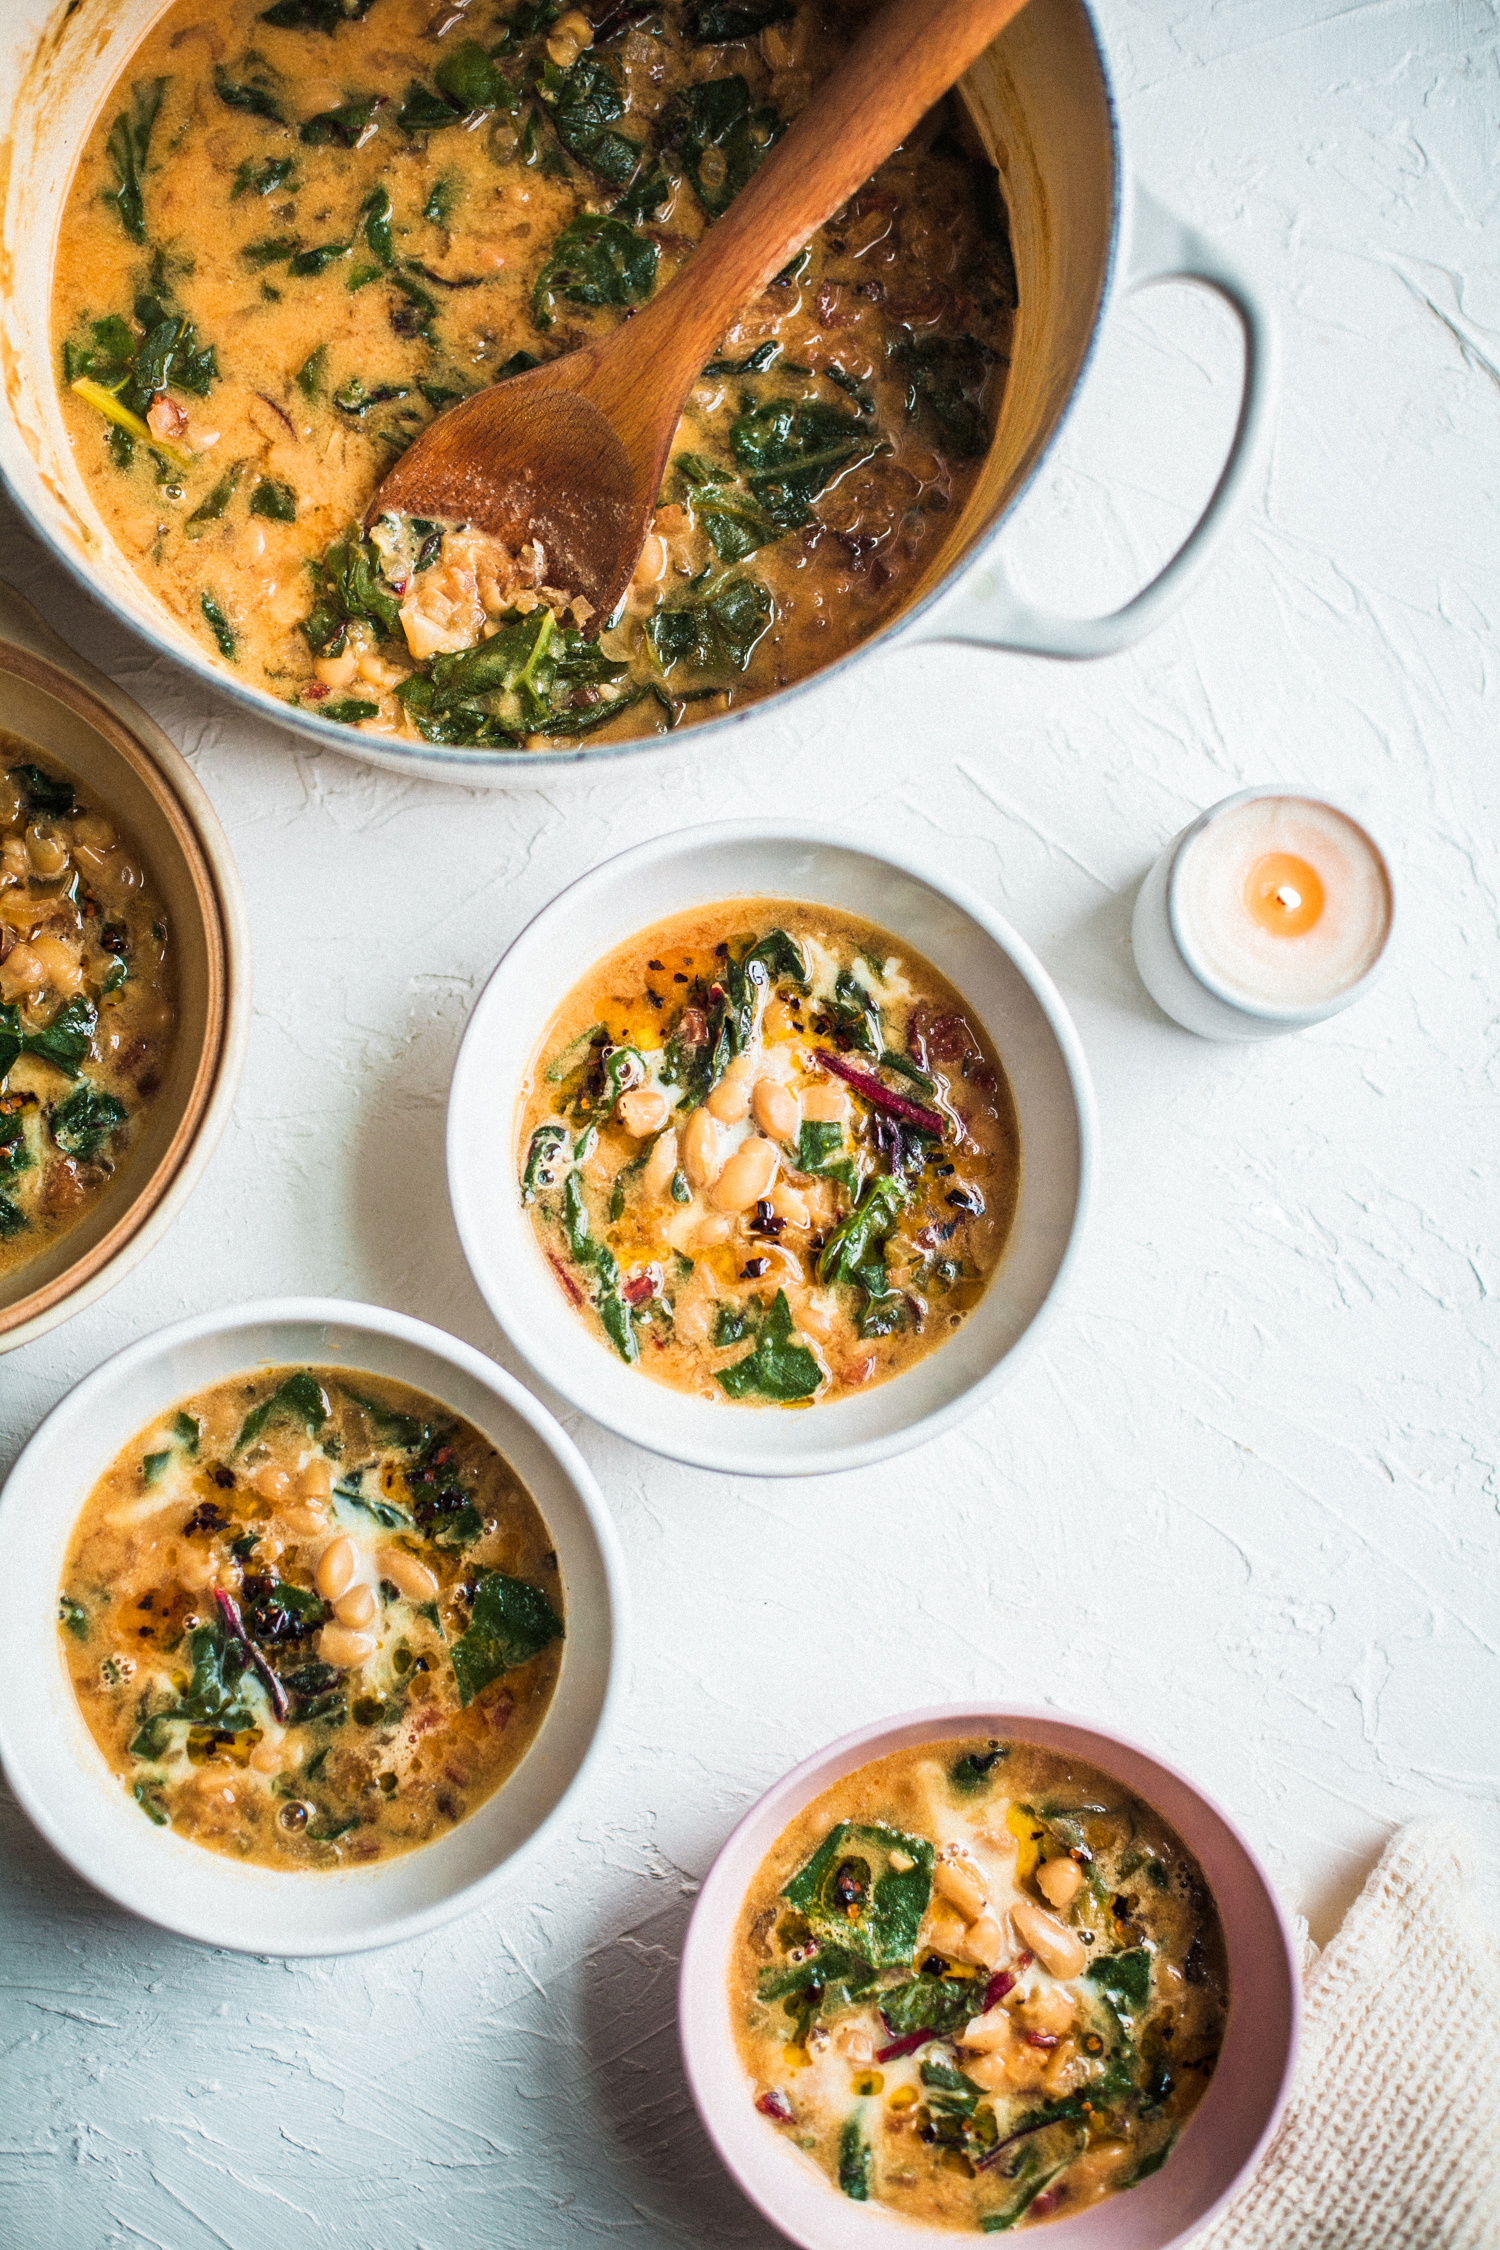
One Pot Vegan Creamed Beans and Greens with Chili Oil
by Masha
Read Recipe
Vegan Miso Kale Scalloped Potatoes
by Anya
Read Recipe
Vegan Cauliflower and Leek Pie with Onion Crust
by Anya
Read Recipe
Peanut Butter & Pumpkin Caramel Bars
by Anya
Read Recipe
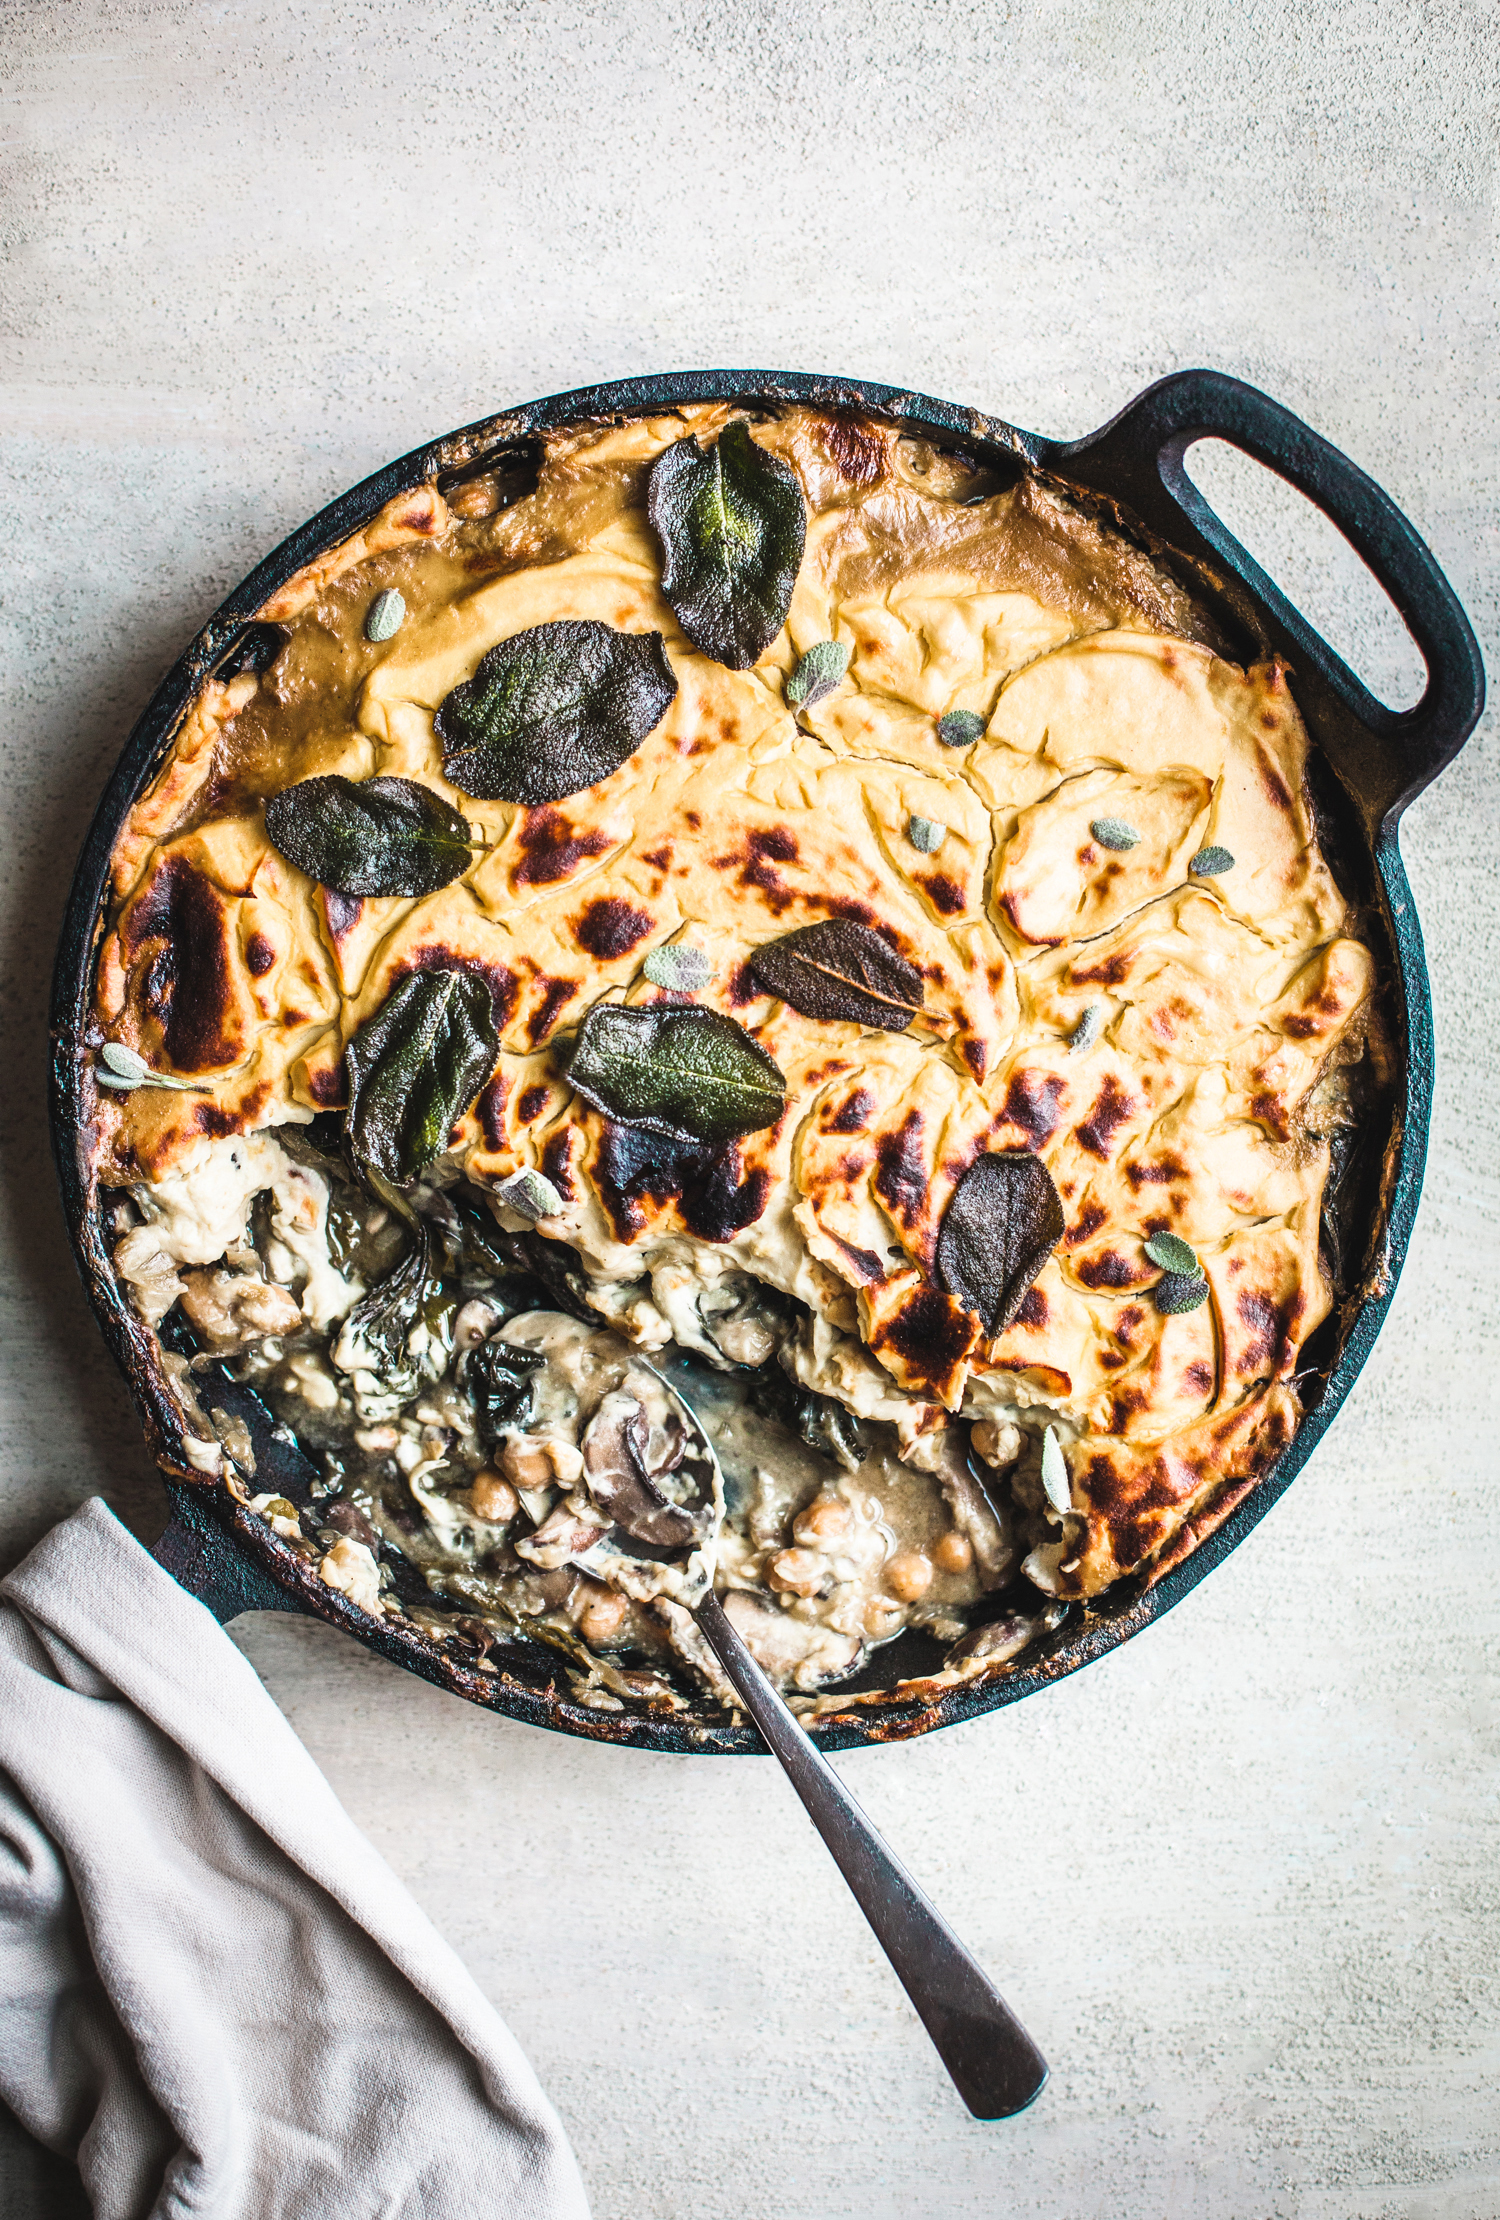
Mushroom and Onion Cauliflower Bake from Whole Food Cooking Every Day
by Anya
Read Recipe
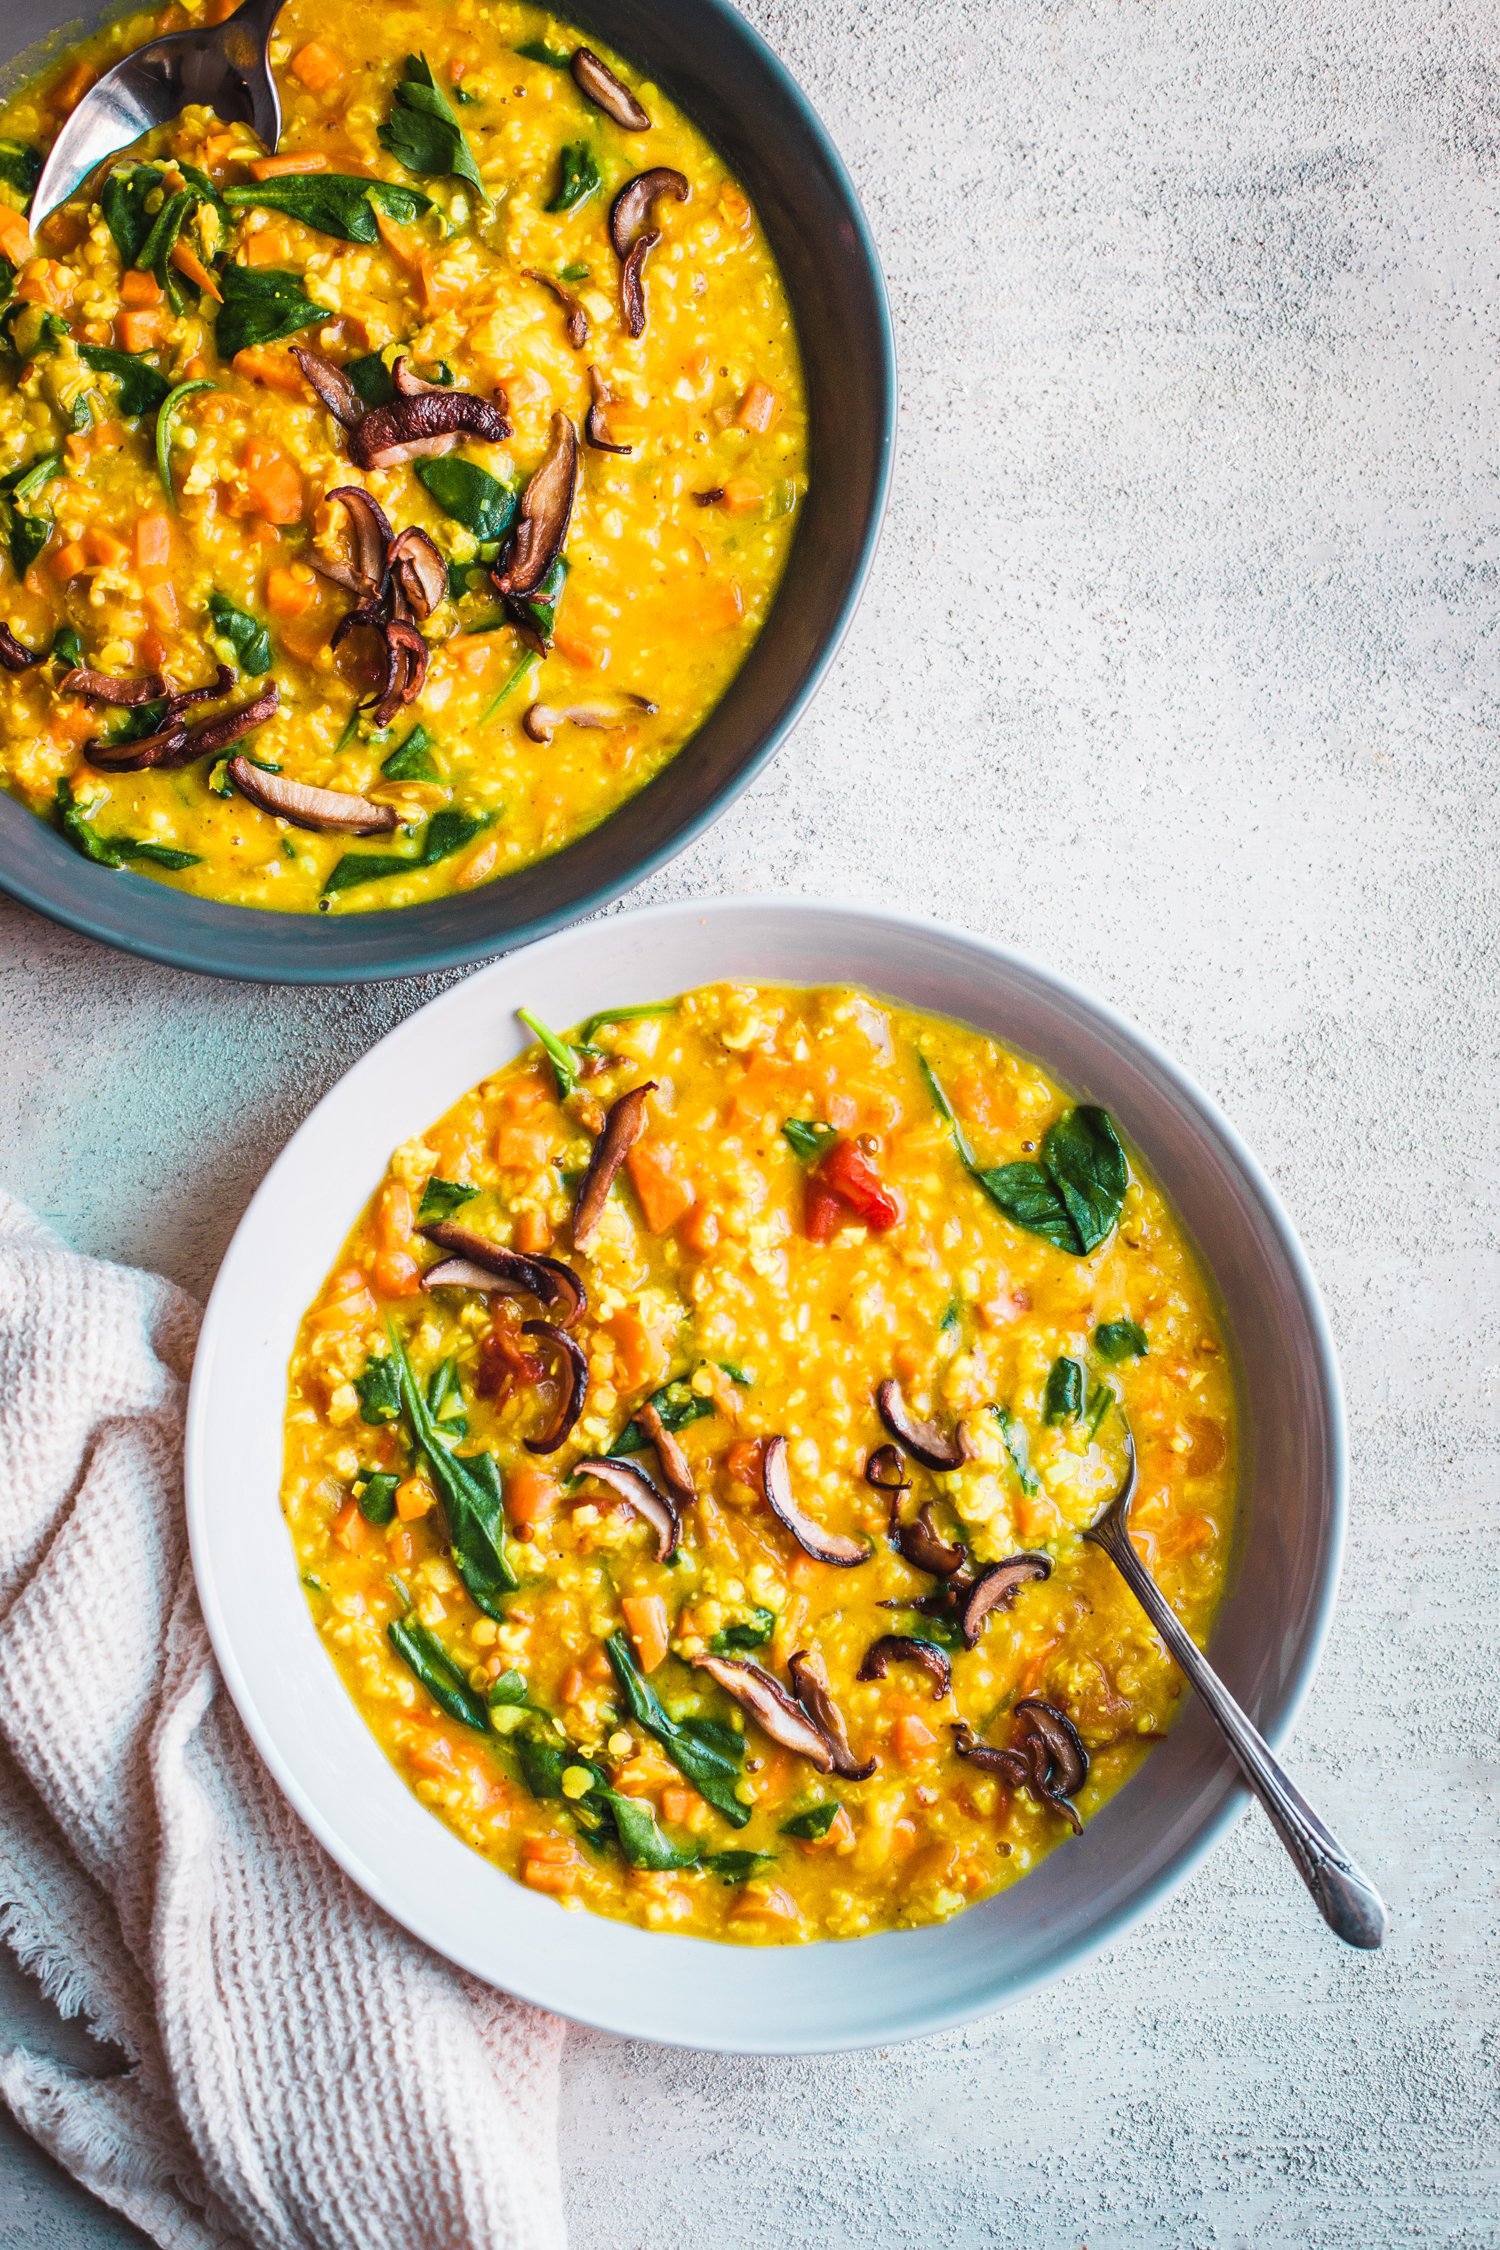
Cozy Pantry Stew
by Masha
Read Recipe
Favorite Tomato Recipes
by Masha
Read Recipe
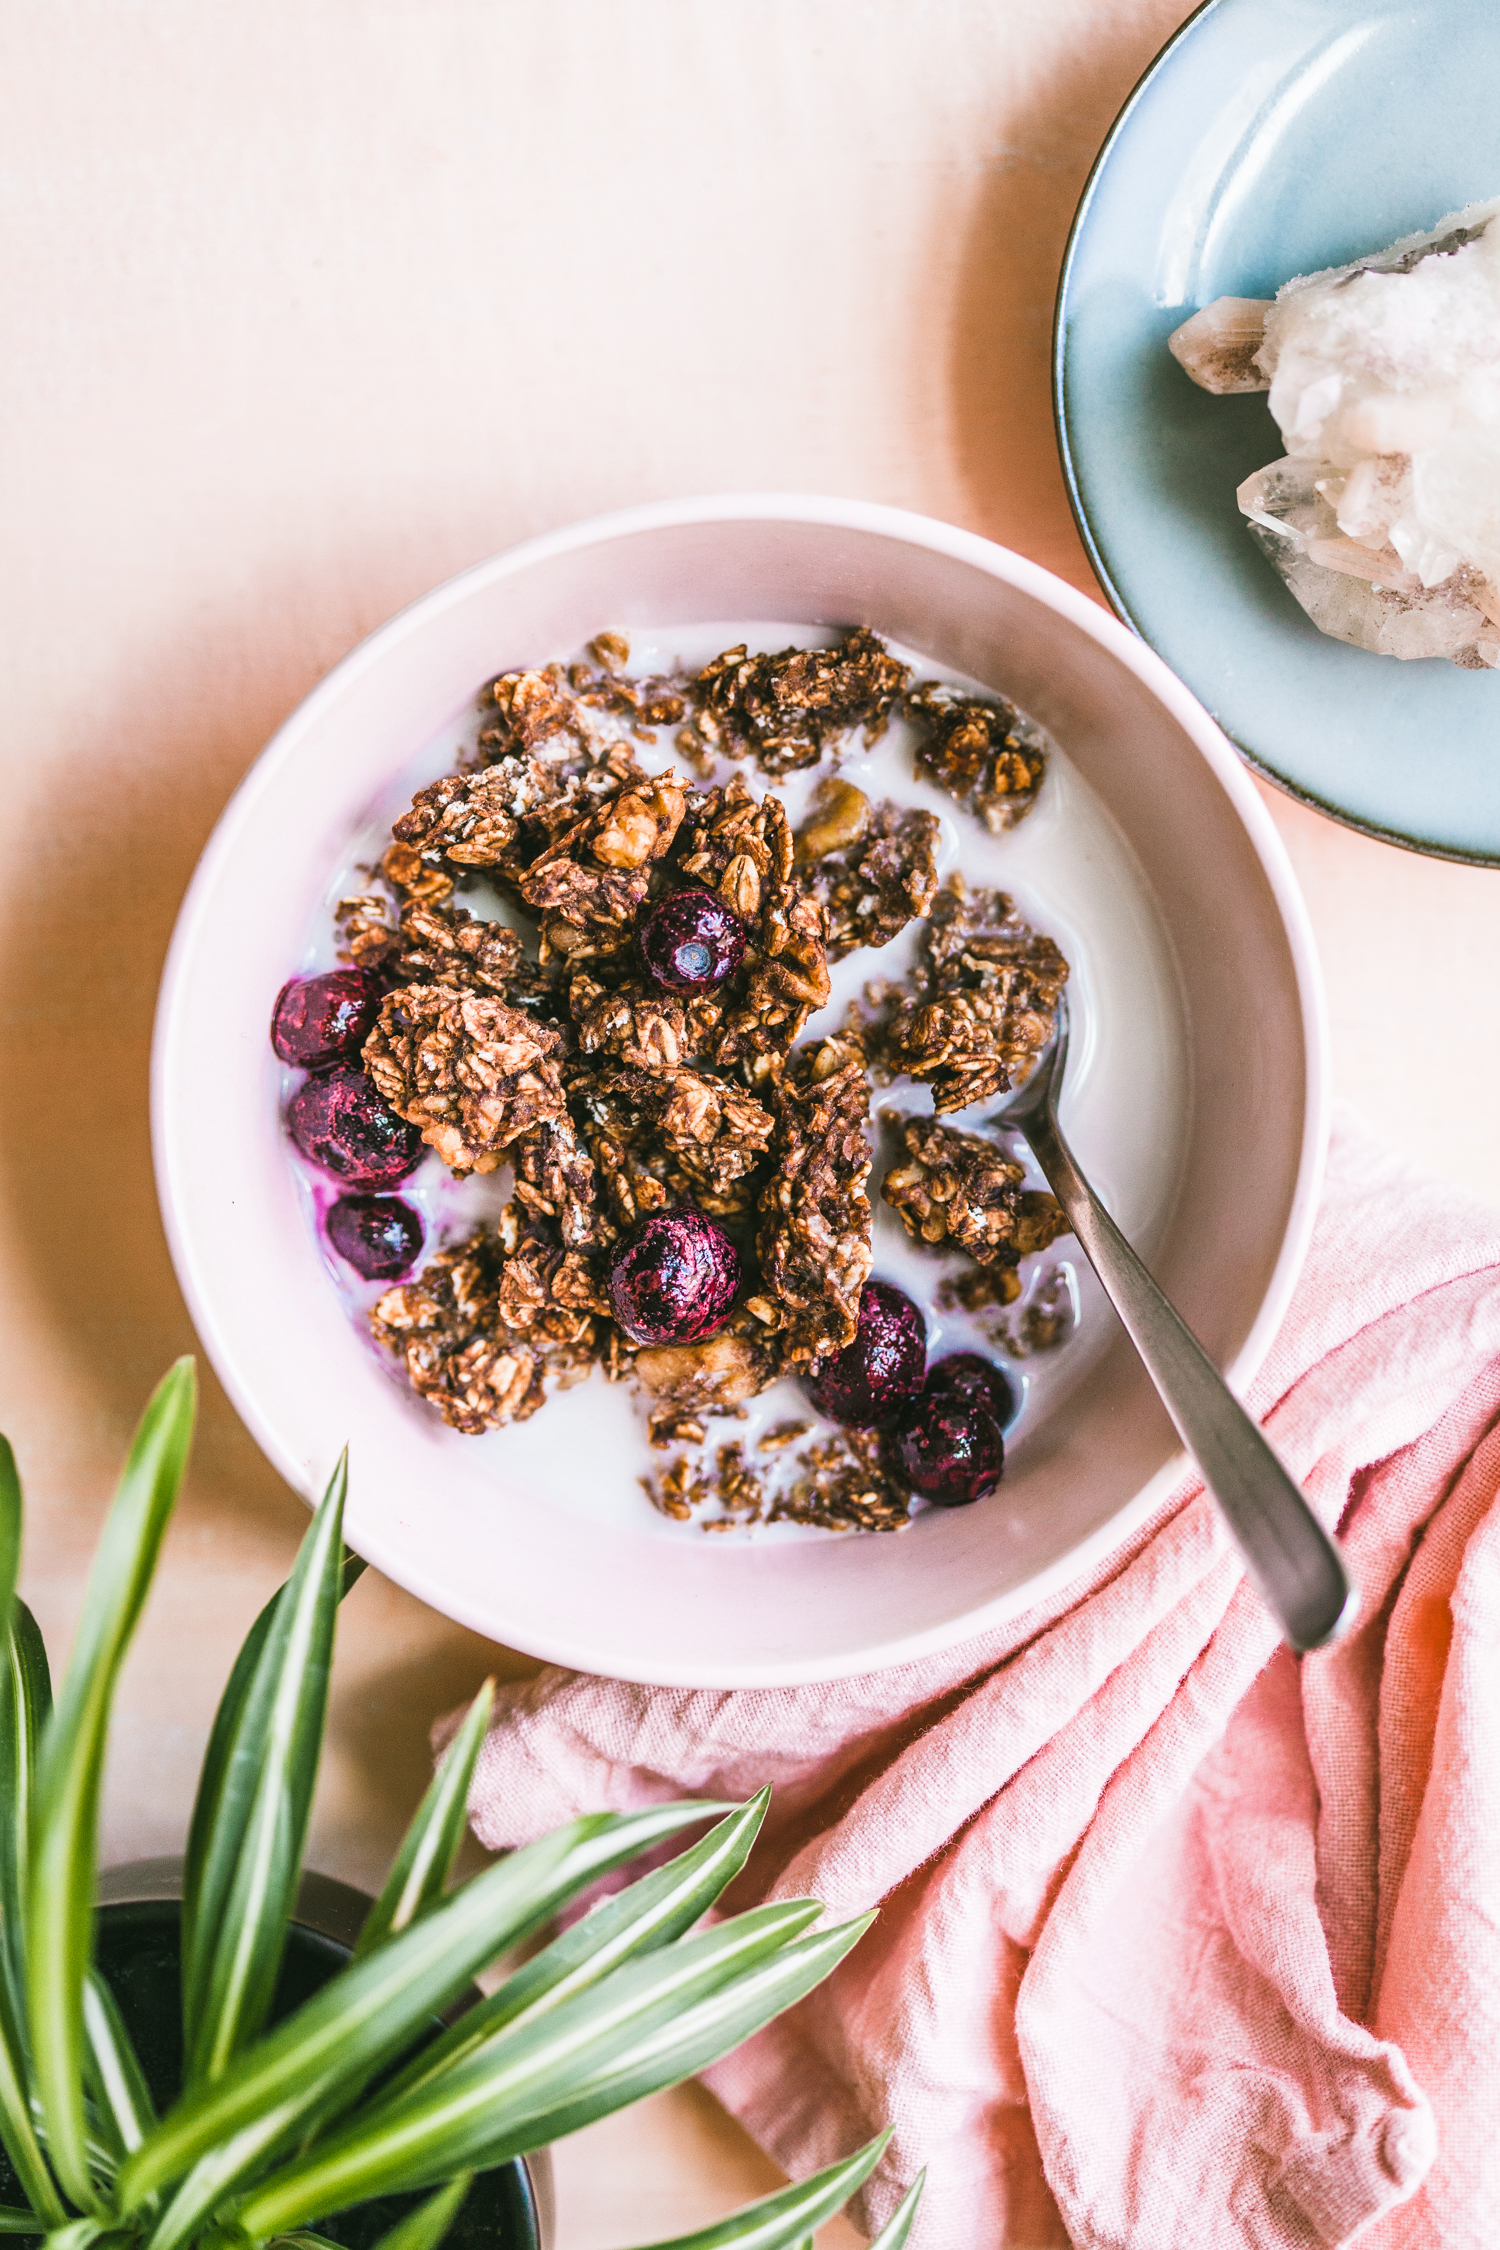
The Simplest Chocolate-Banana Granola (Oil-Free!)
by Masha
Read Recipe
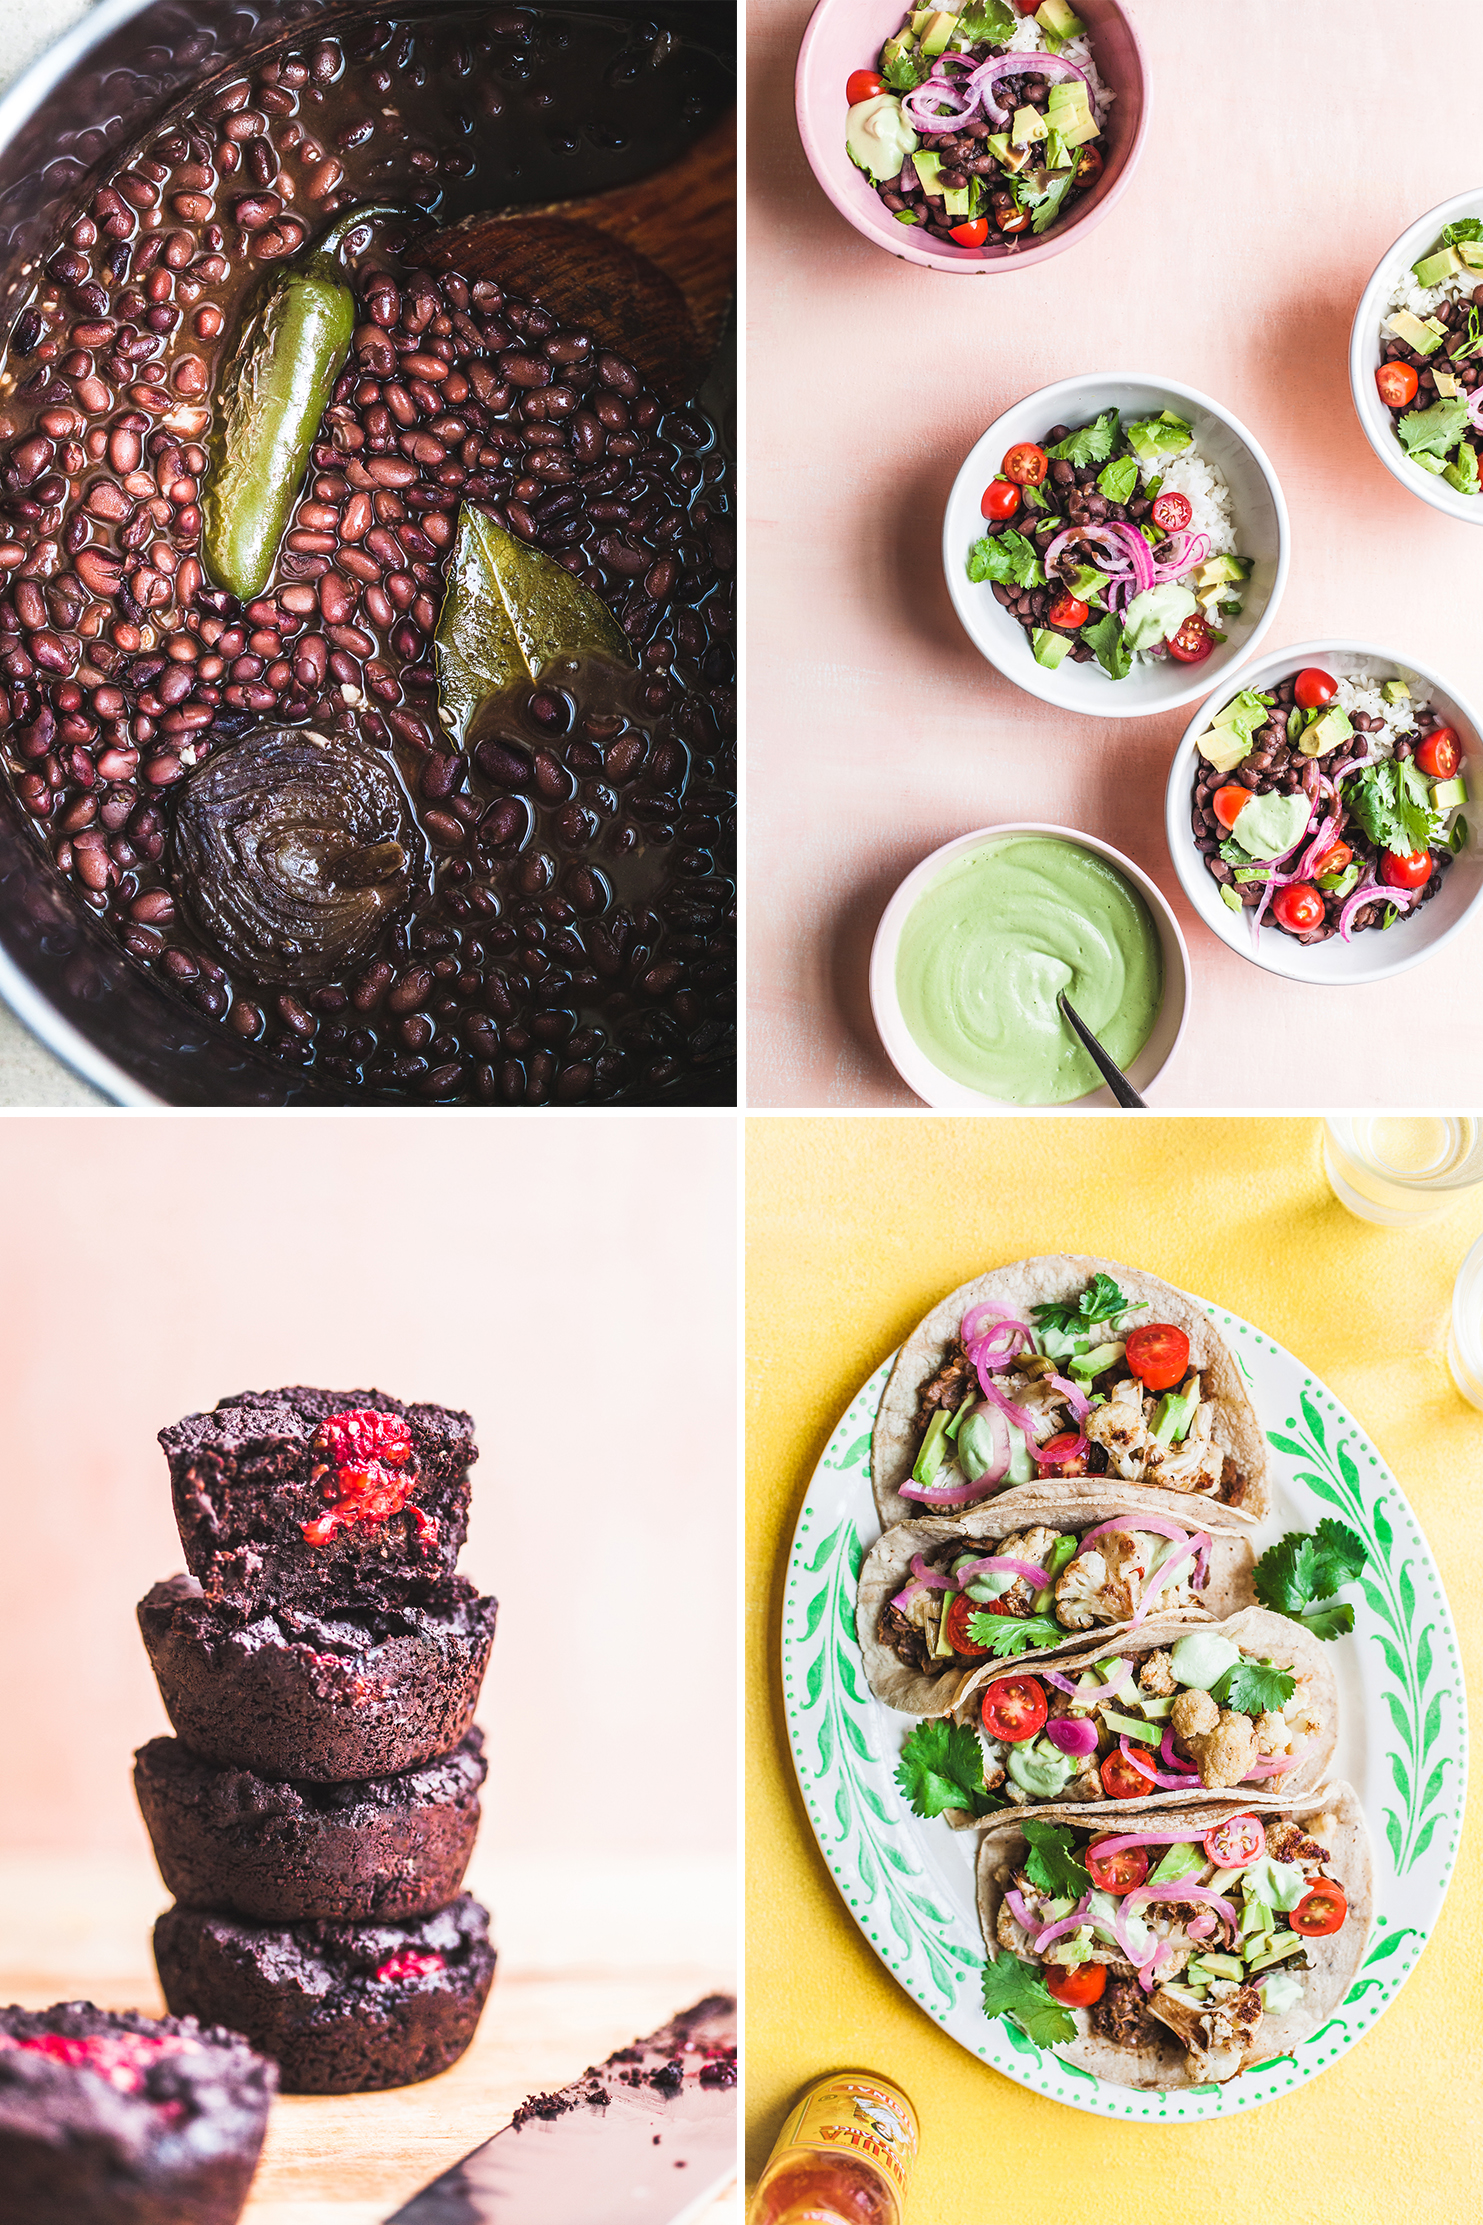
Meal Plan Mini: Creamy Black Bean Bowls, Cauliflower Tacos, Raspberry Brownies
by Masha
Read Recipe
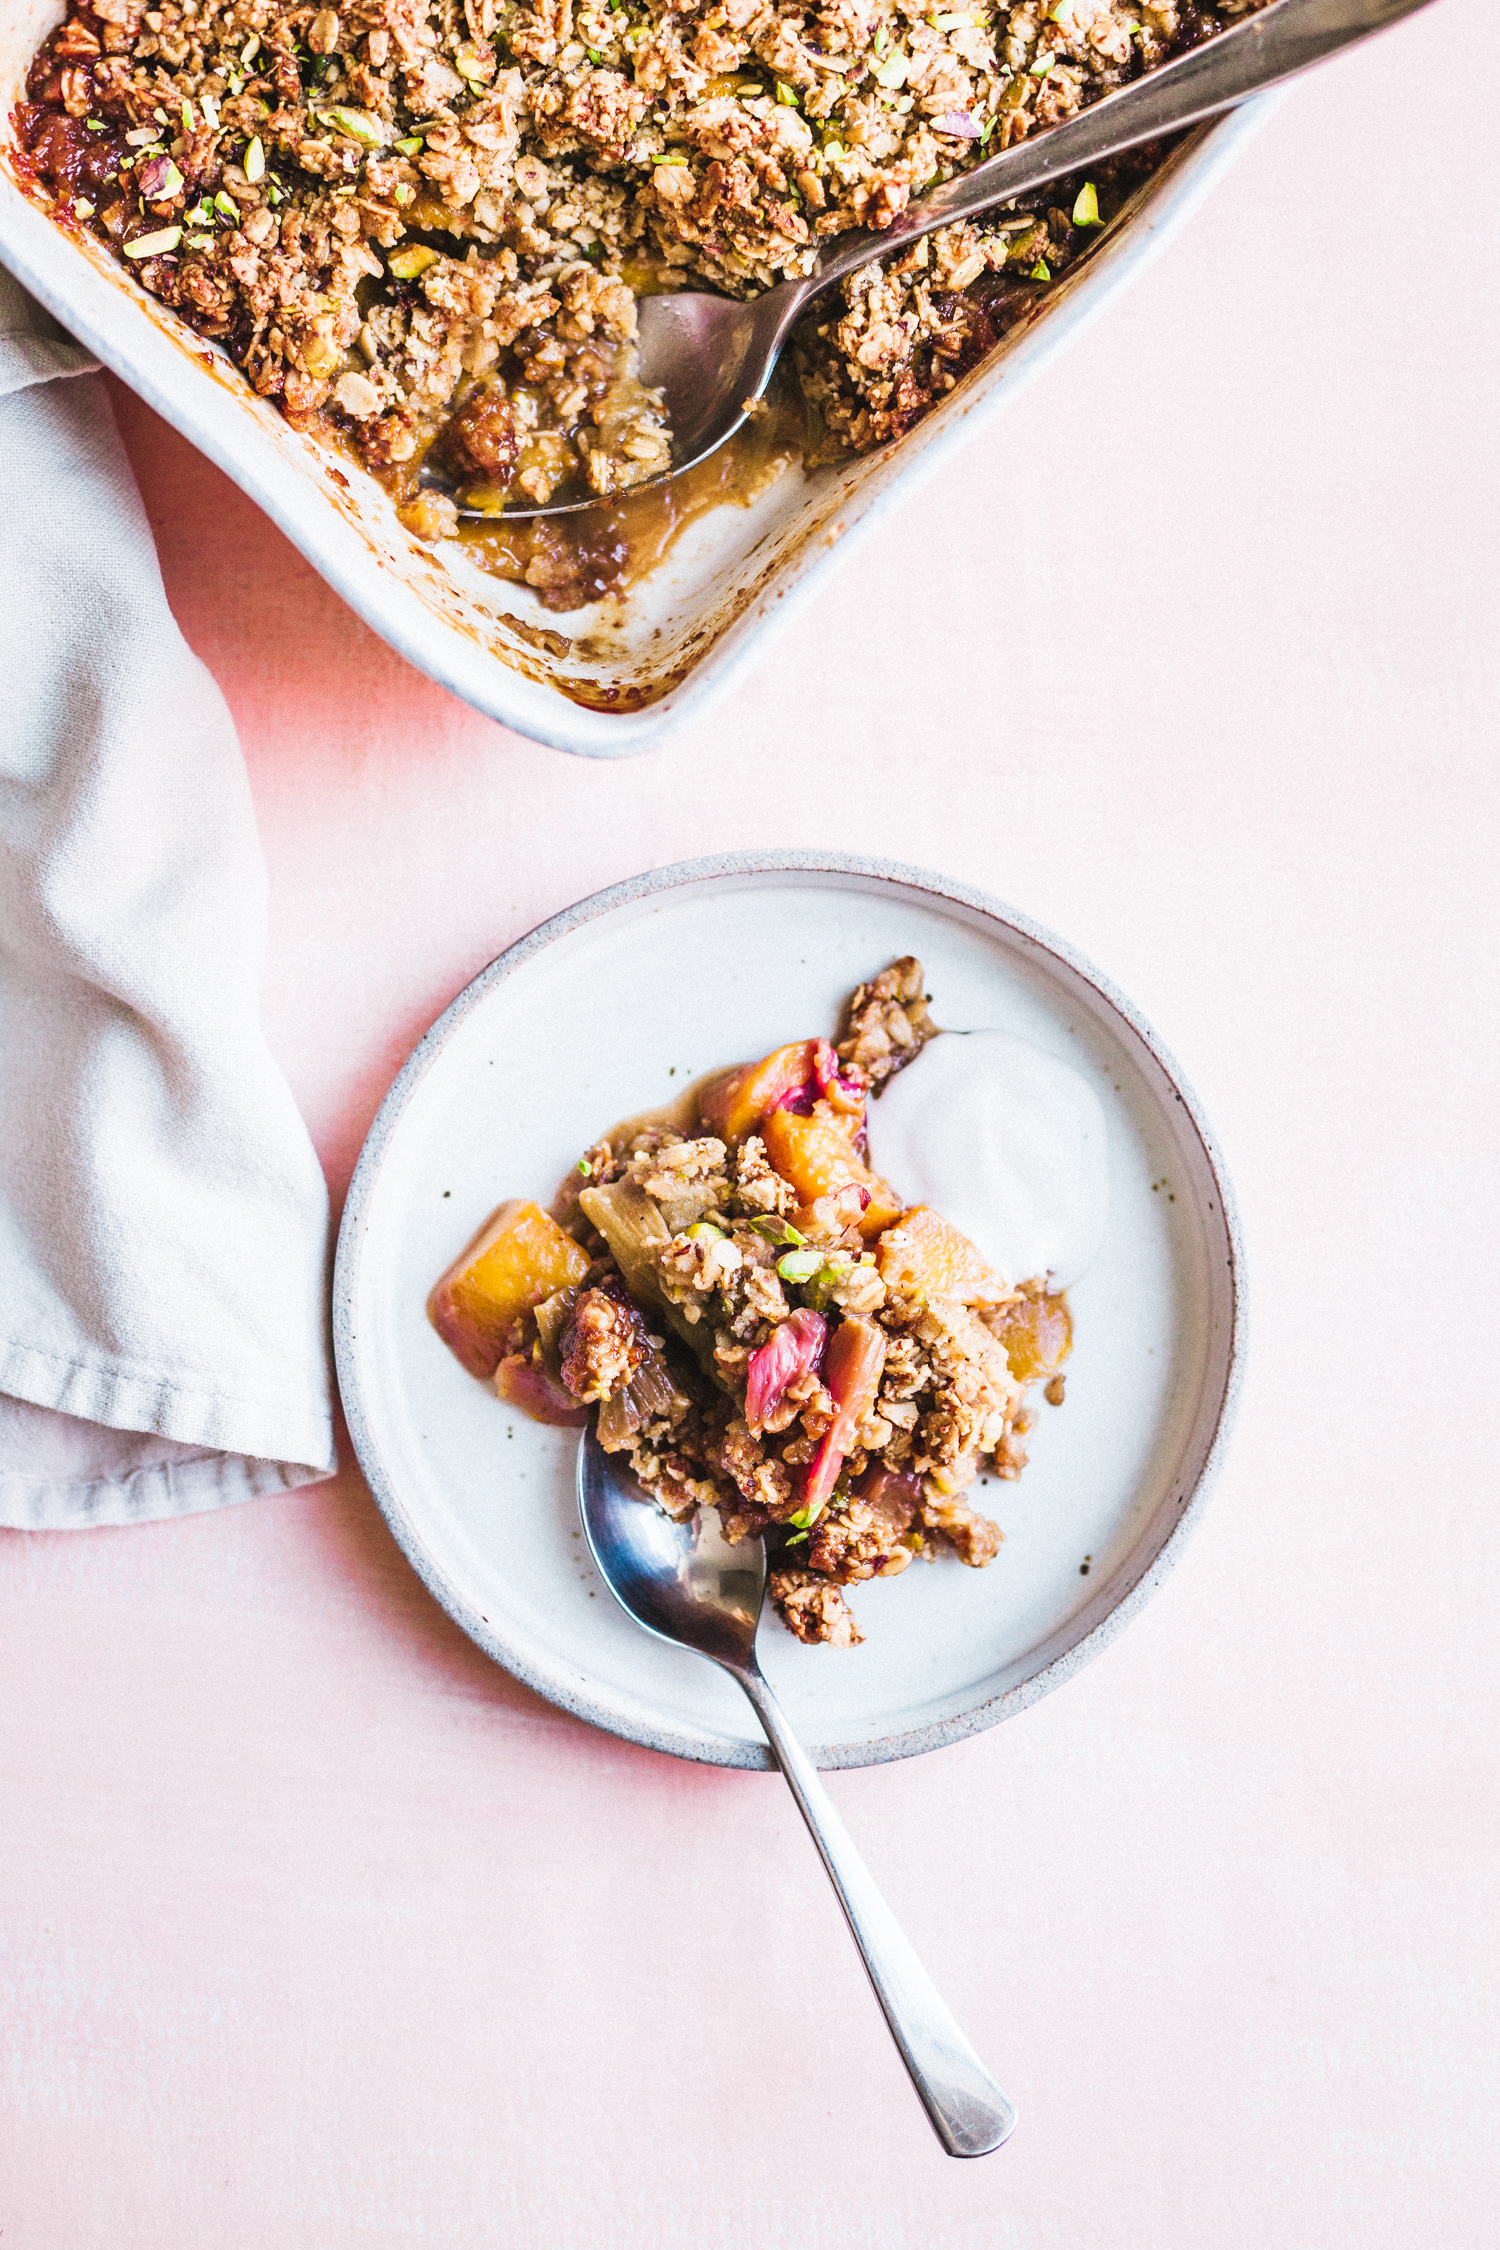
Easy Rhubarb Mango Crisp
by Masha
Read Recipe
Potato and Fennel Hash Skillet
by Anya
Read Recipe
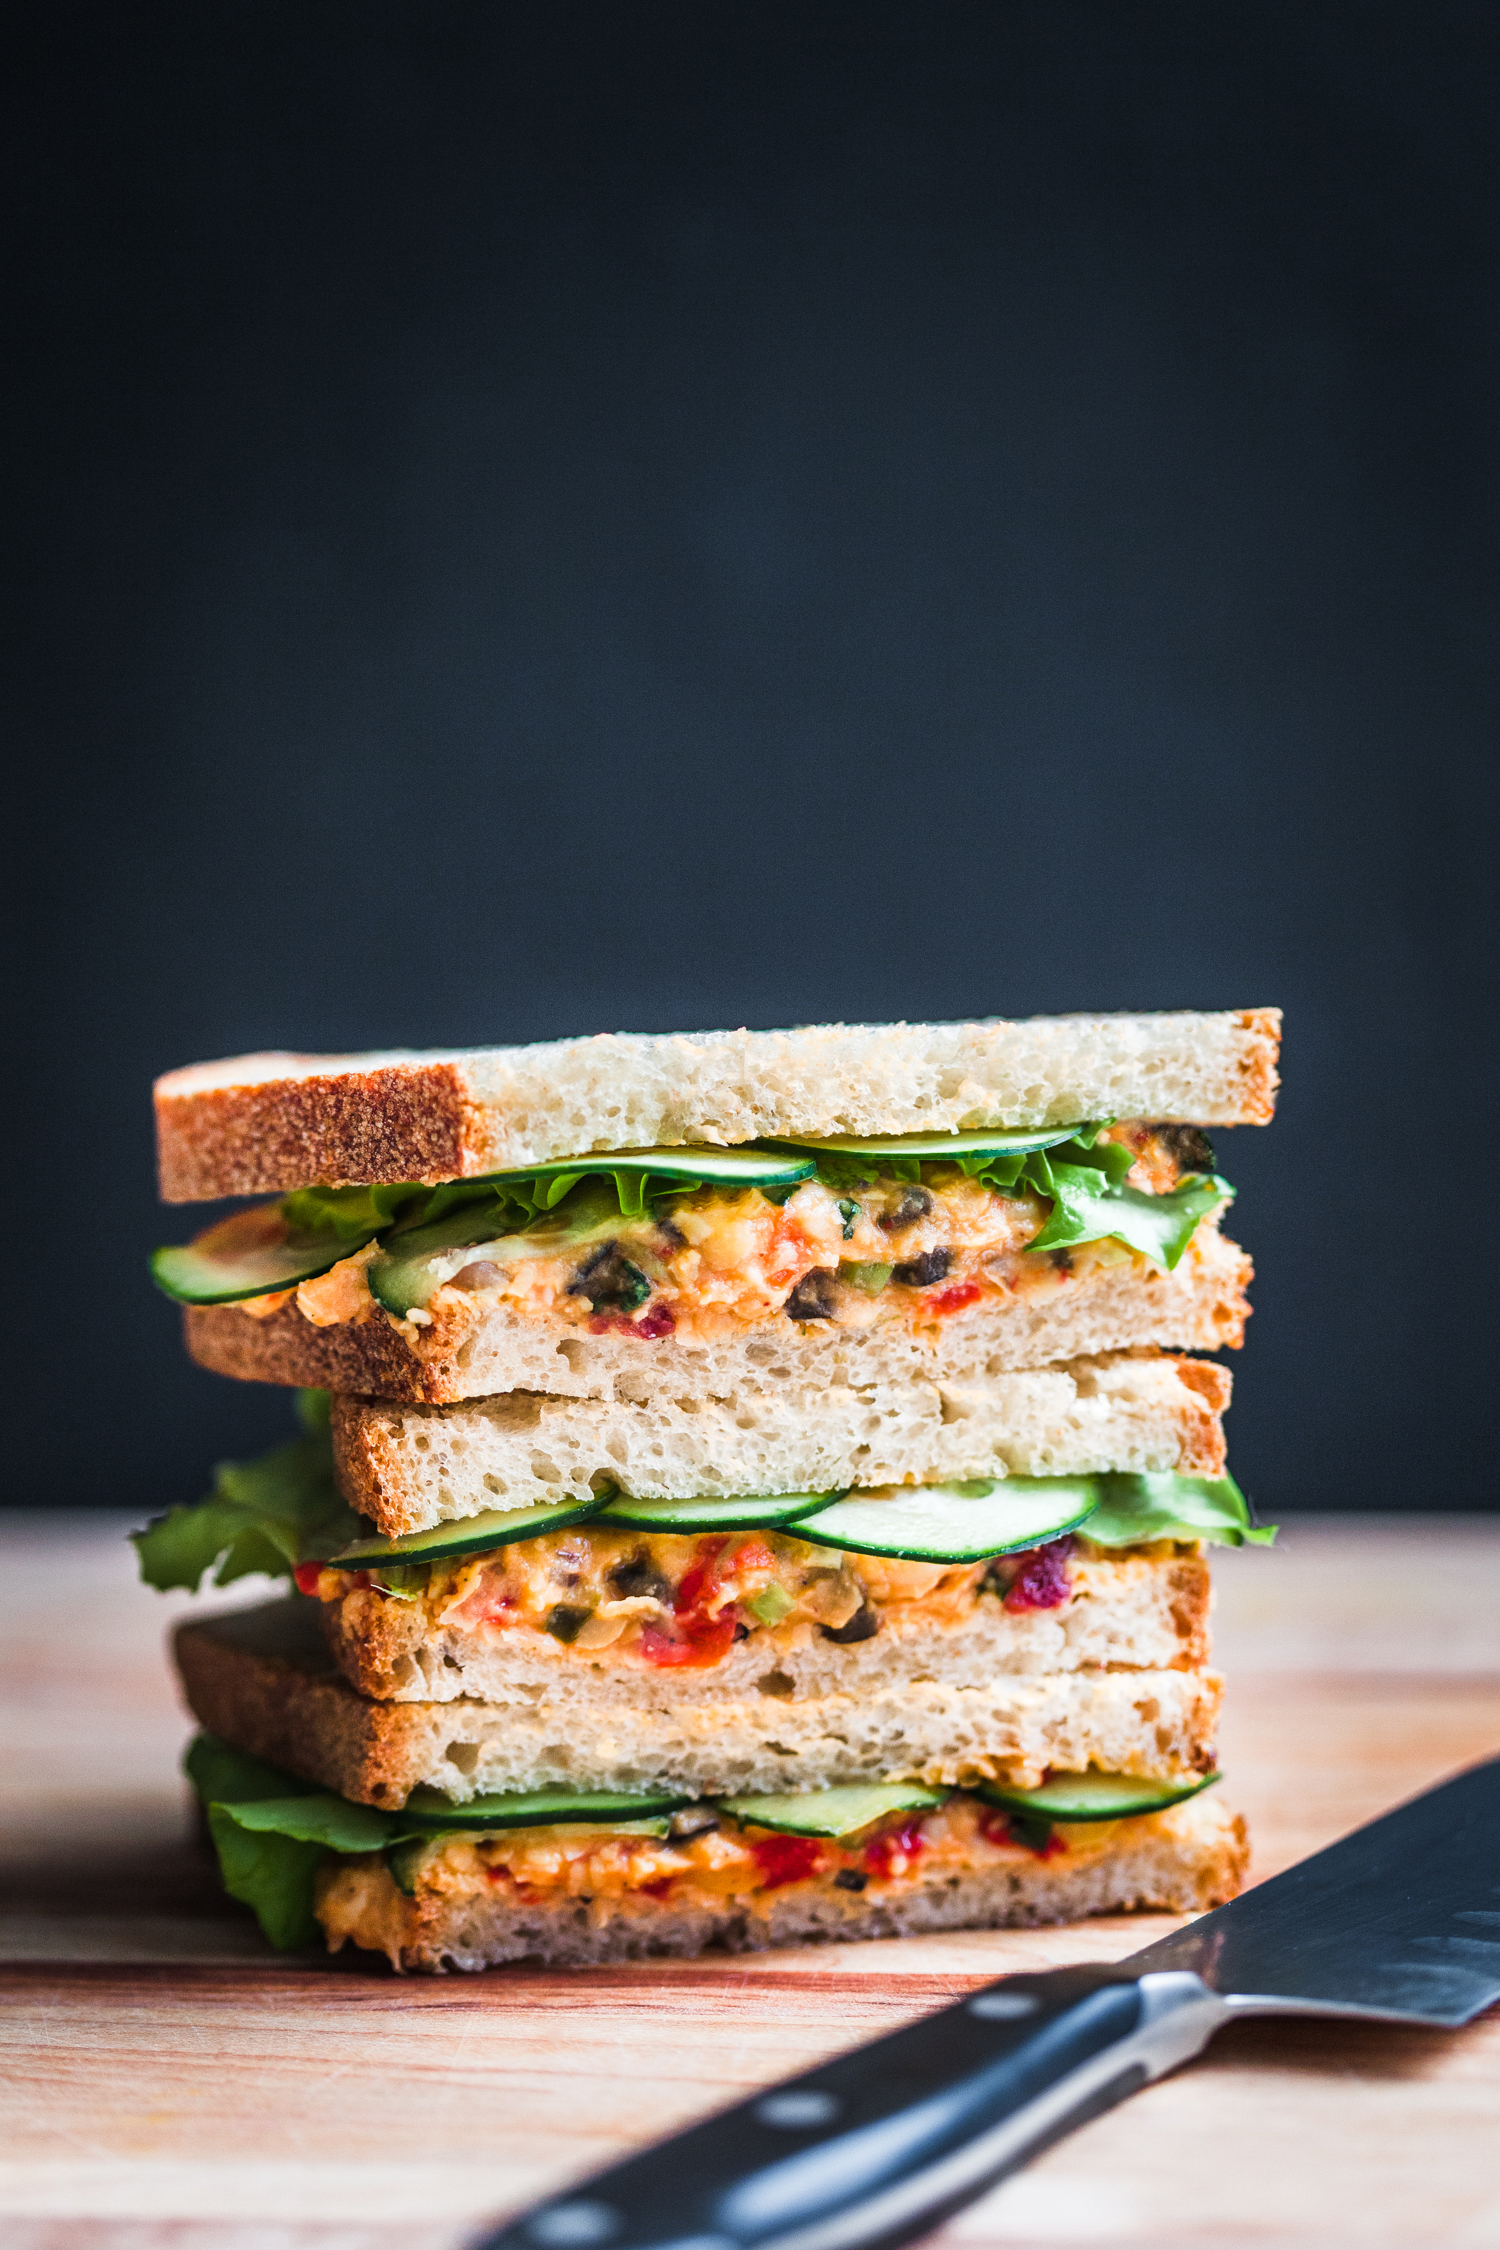
Buffalo Chickpea Salad Sandwich
by Anya
Read Recipe
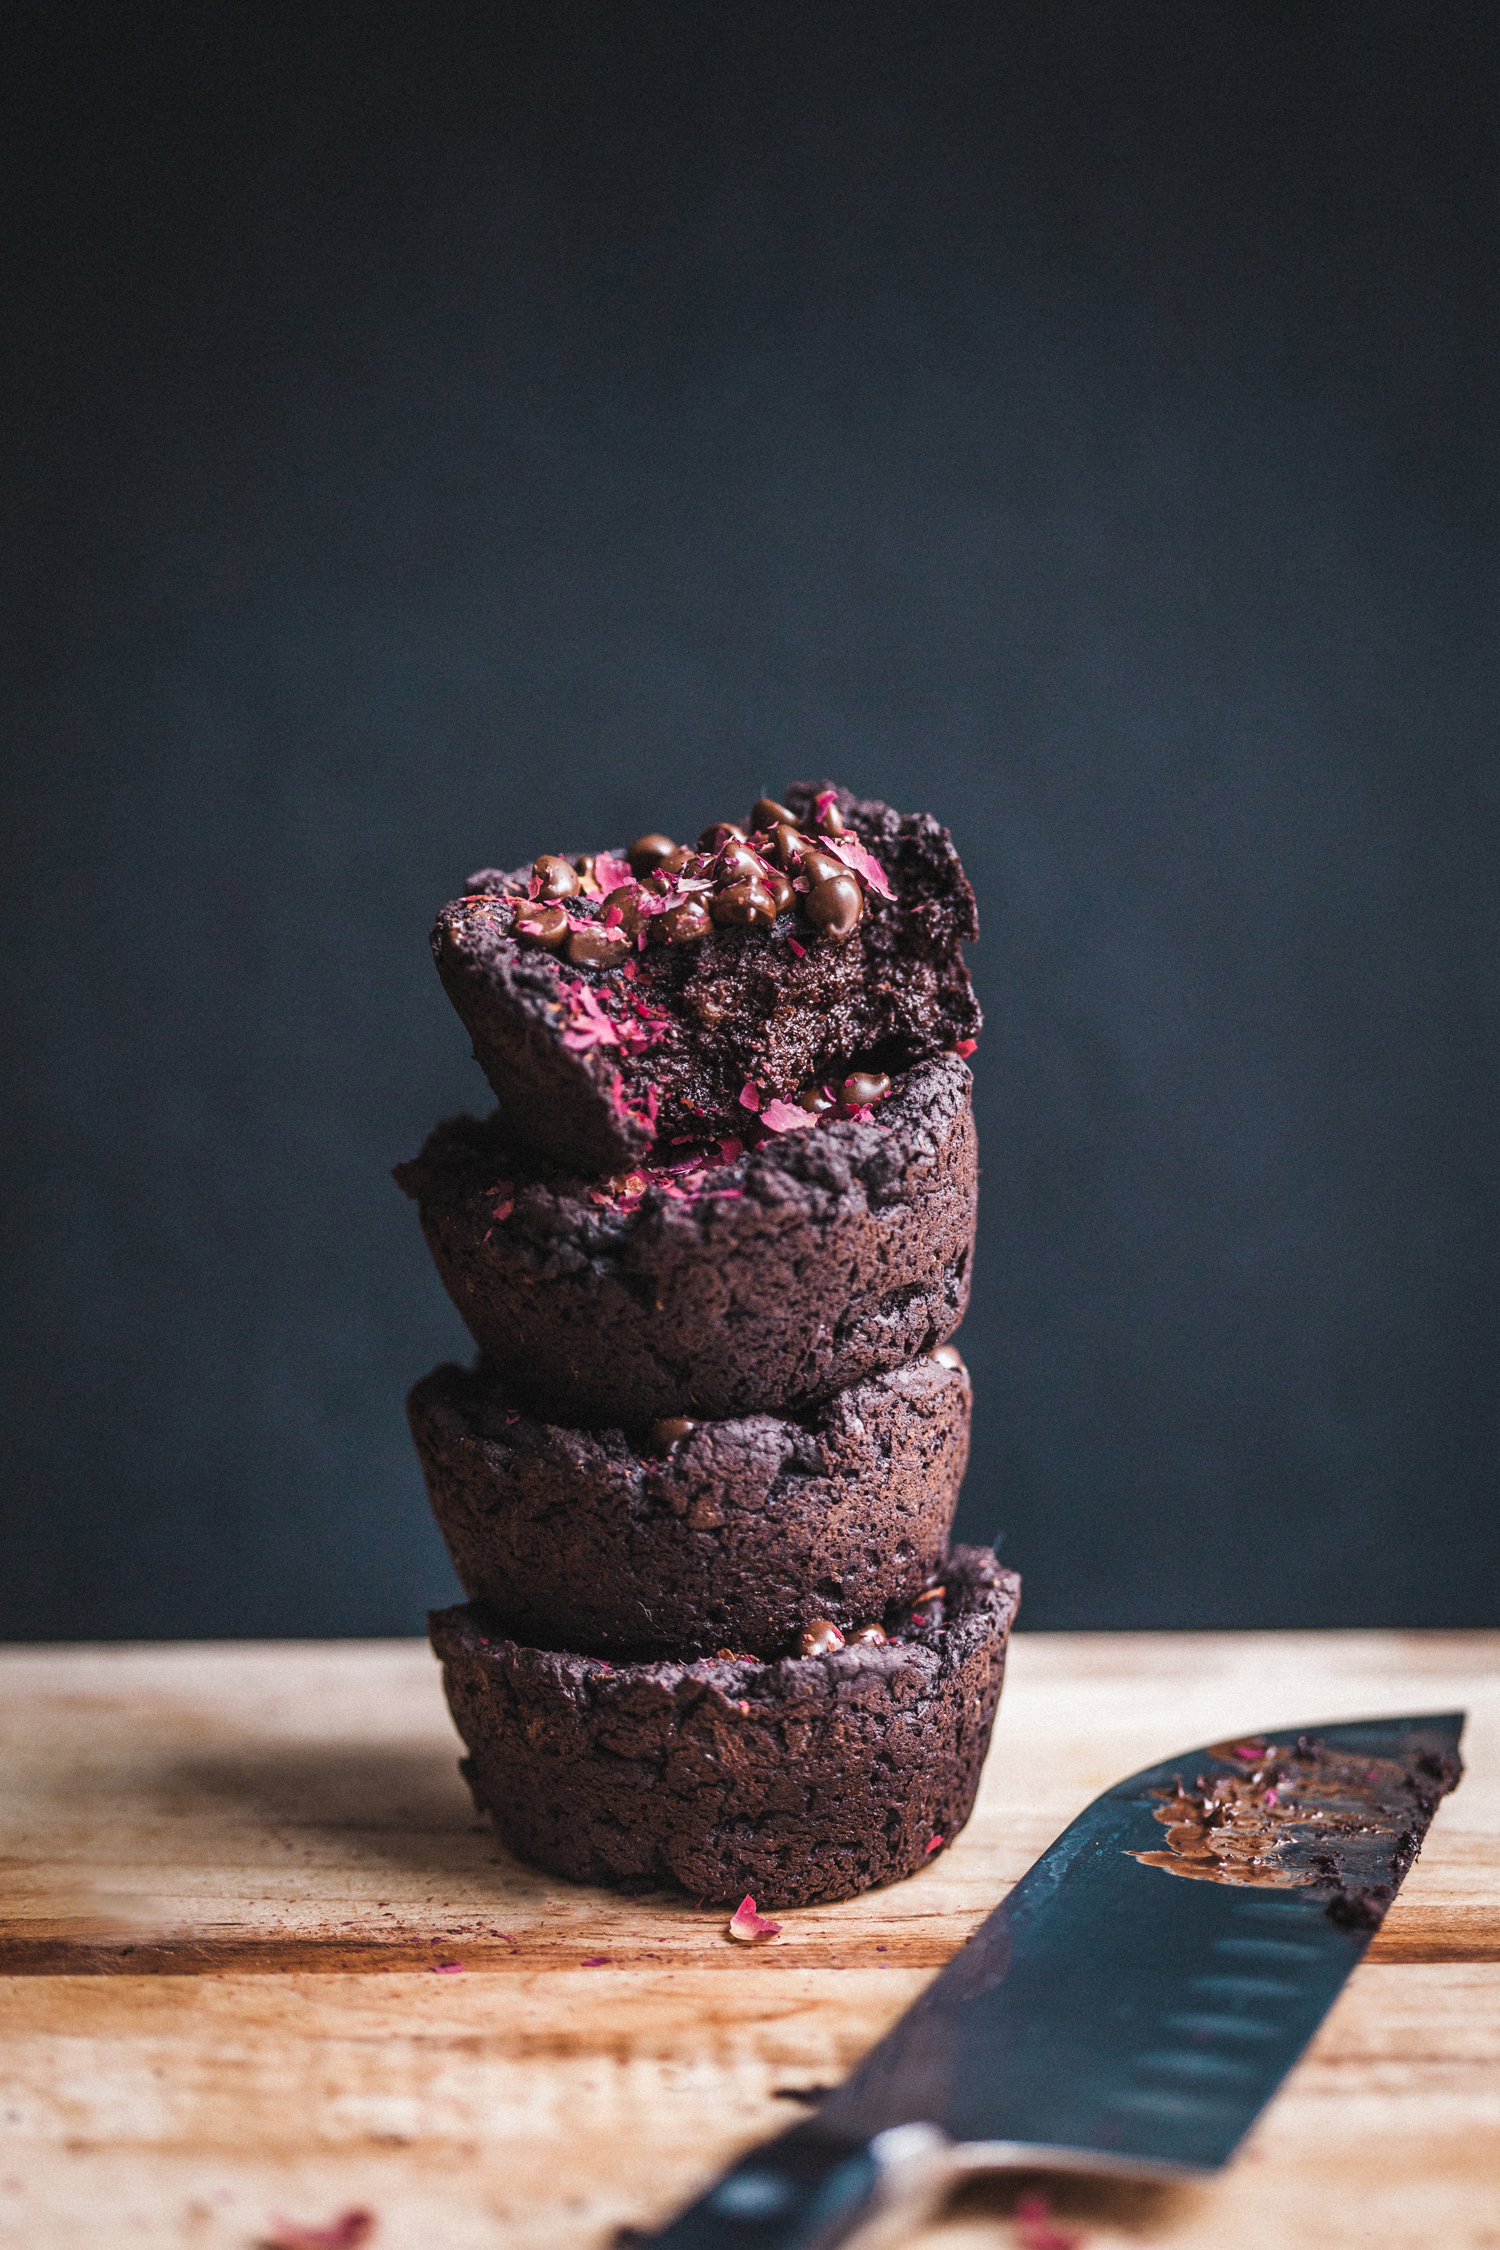
Fudgy Sweet Potato Brownies
by Masha
Read Recipe
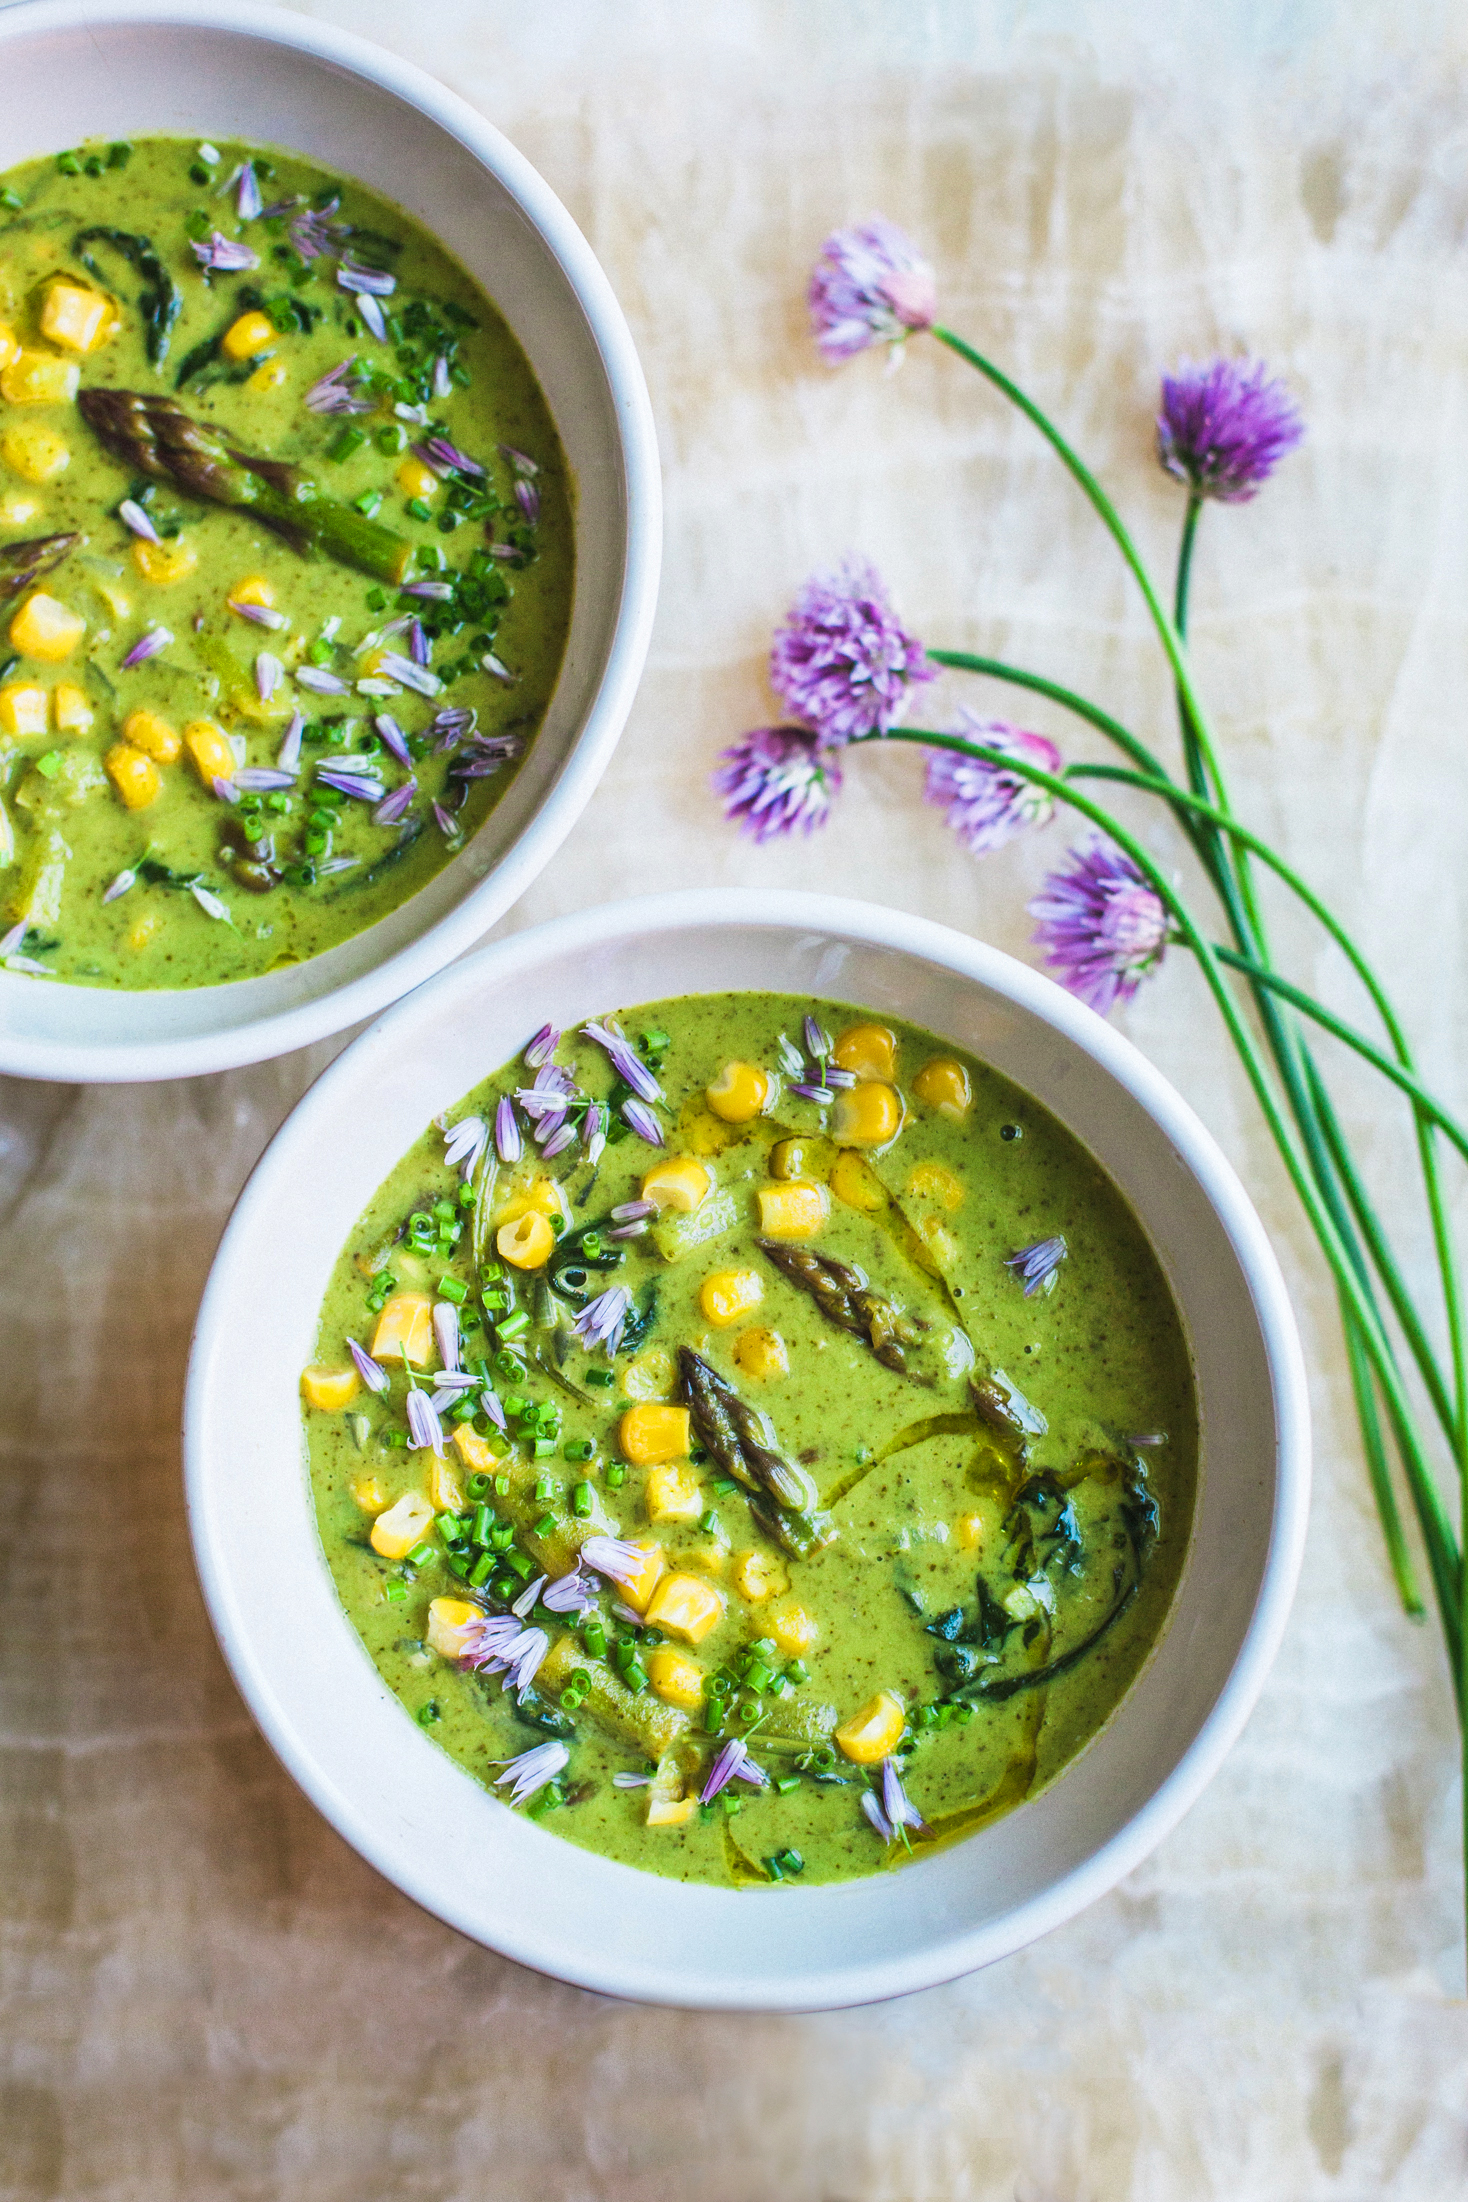
Asparagus Corn Chowder
by Anya
Read Recipe
Zucchini, Tempeh and Mushroom Bolognese
by Anya
Read Recipe
Roasted Cauliflower and Mushroom Chowder
by Anya
Read Recipe
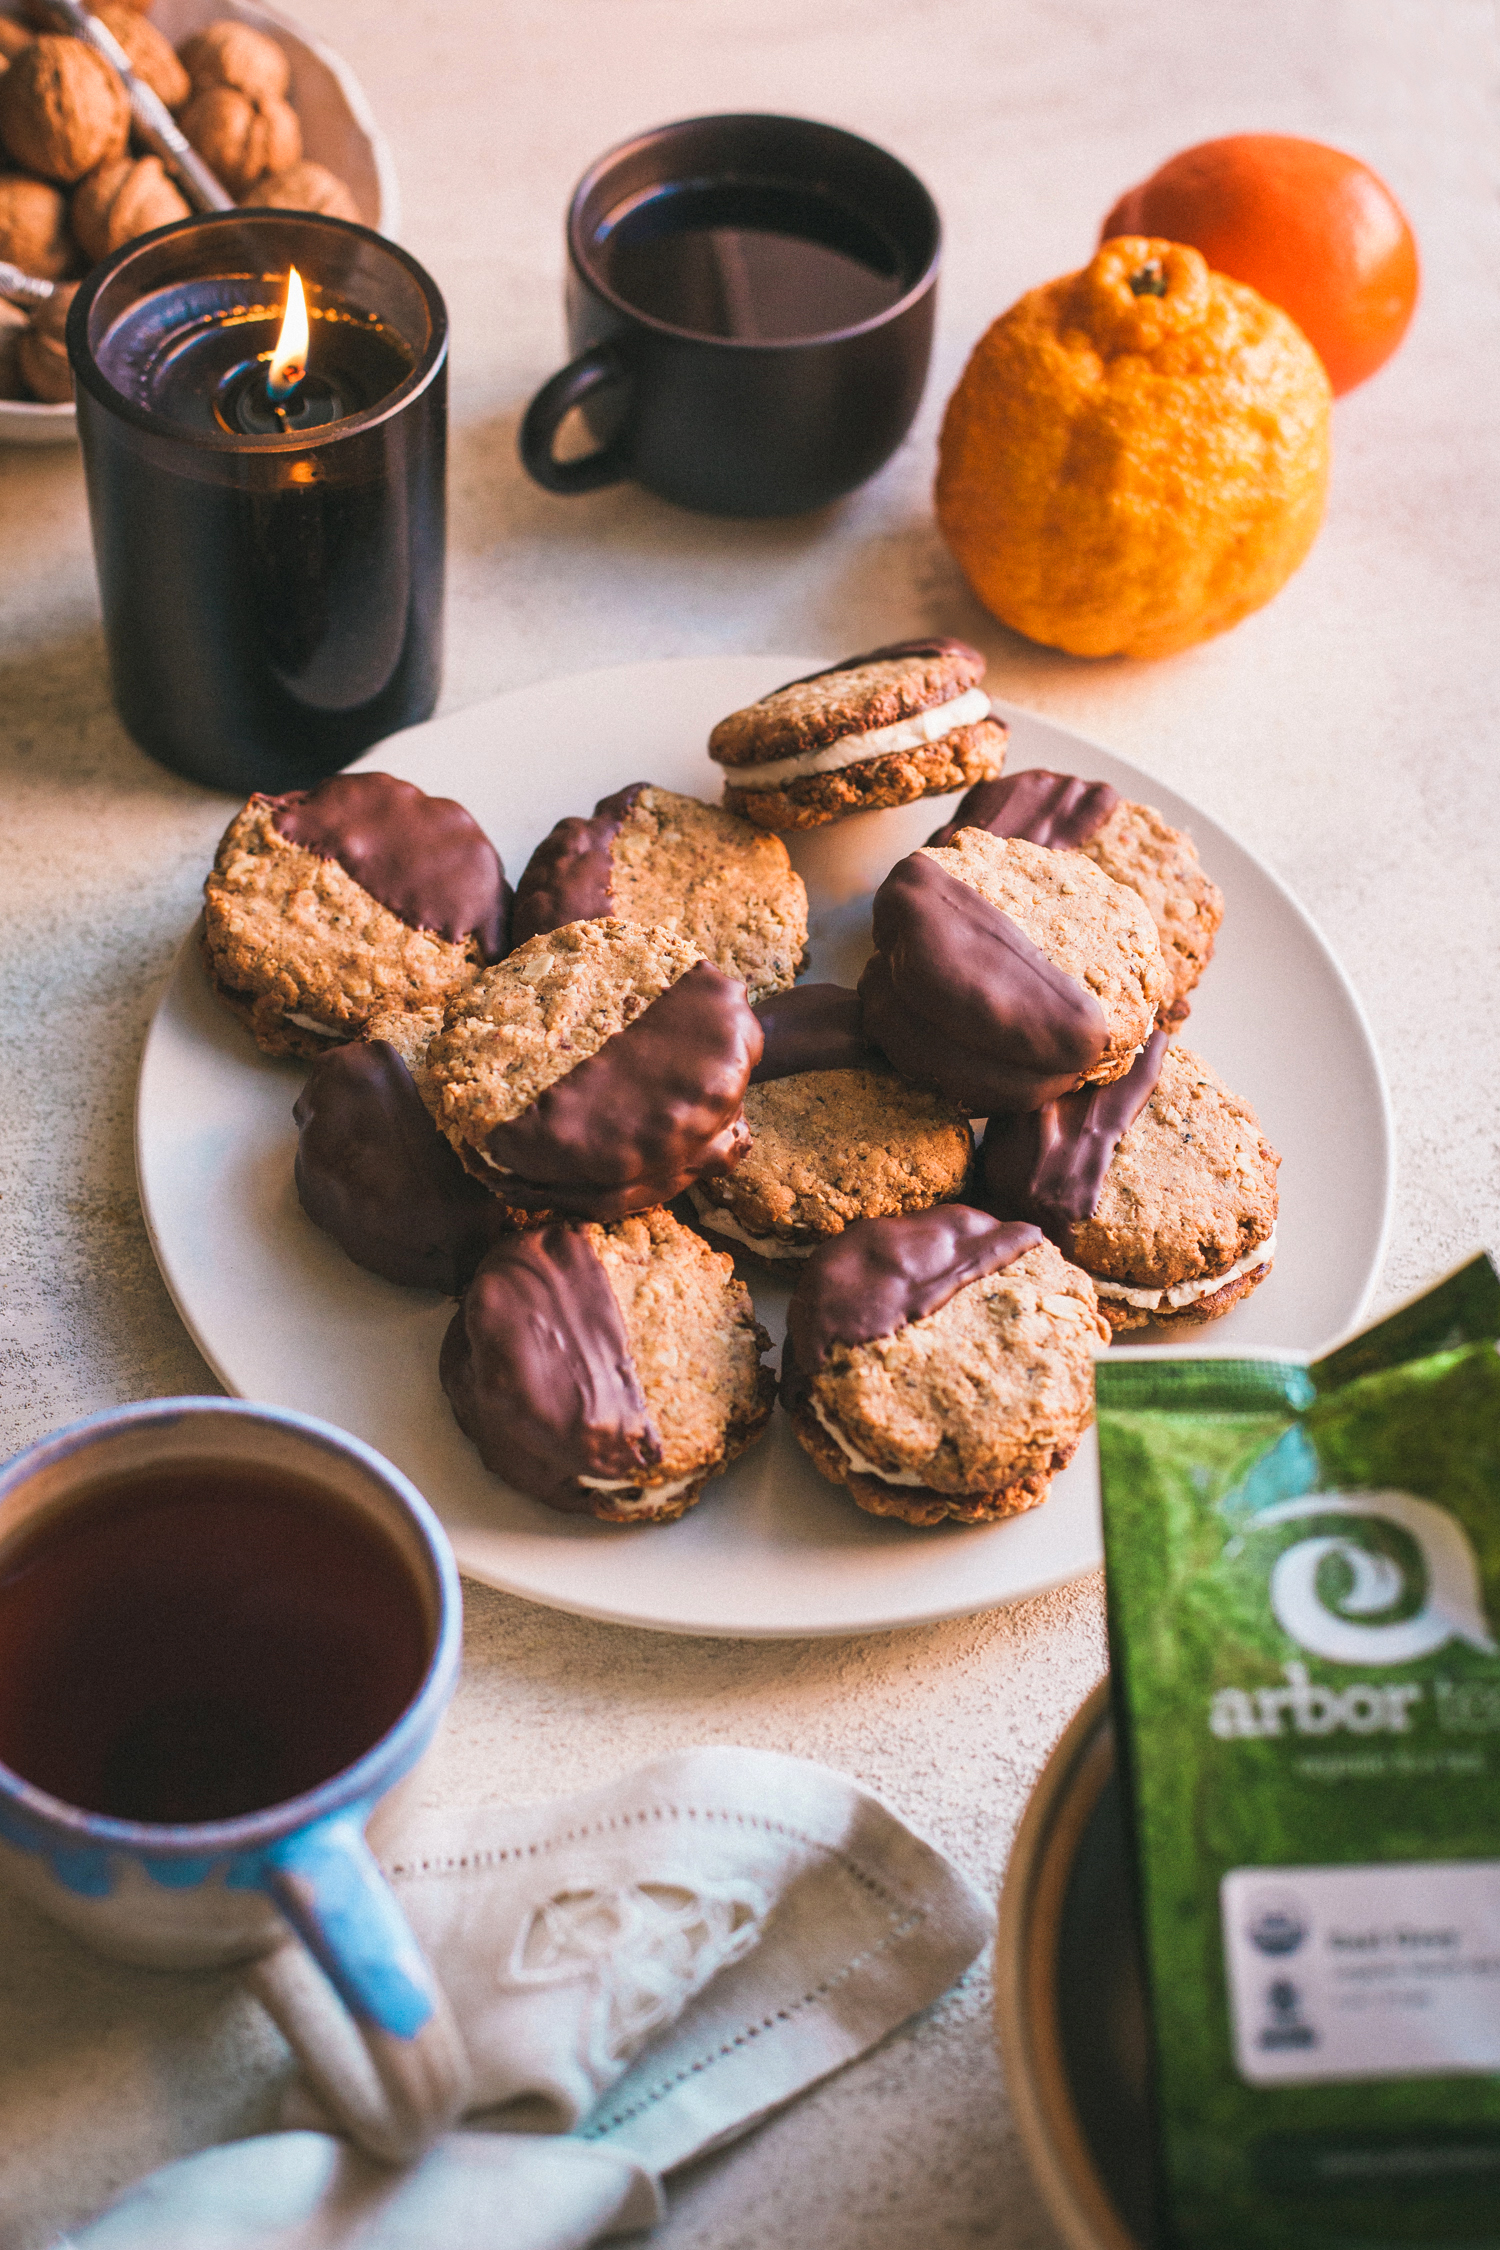
Earl Grey Tea Sandwich Cookies, Vegan and Gluten-Free + Giveaway
by Anya
Read Recipe
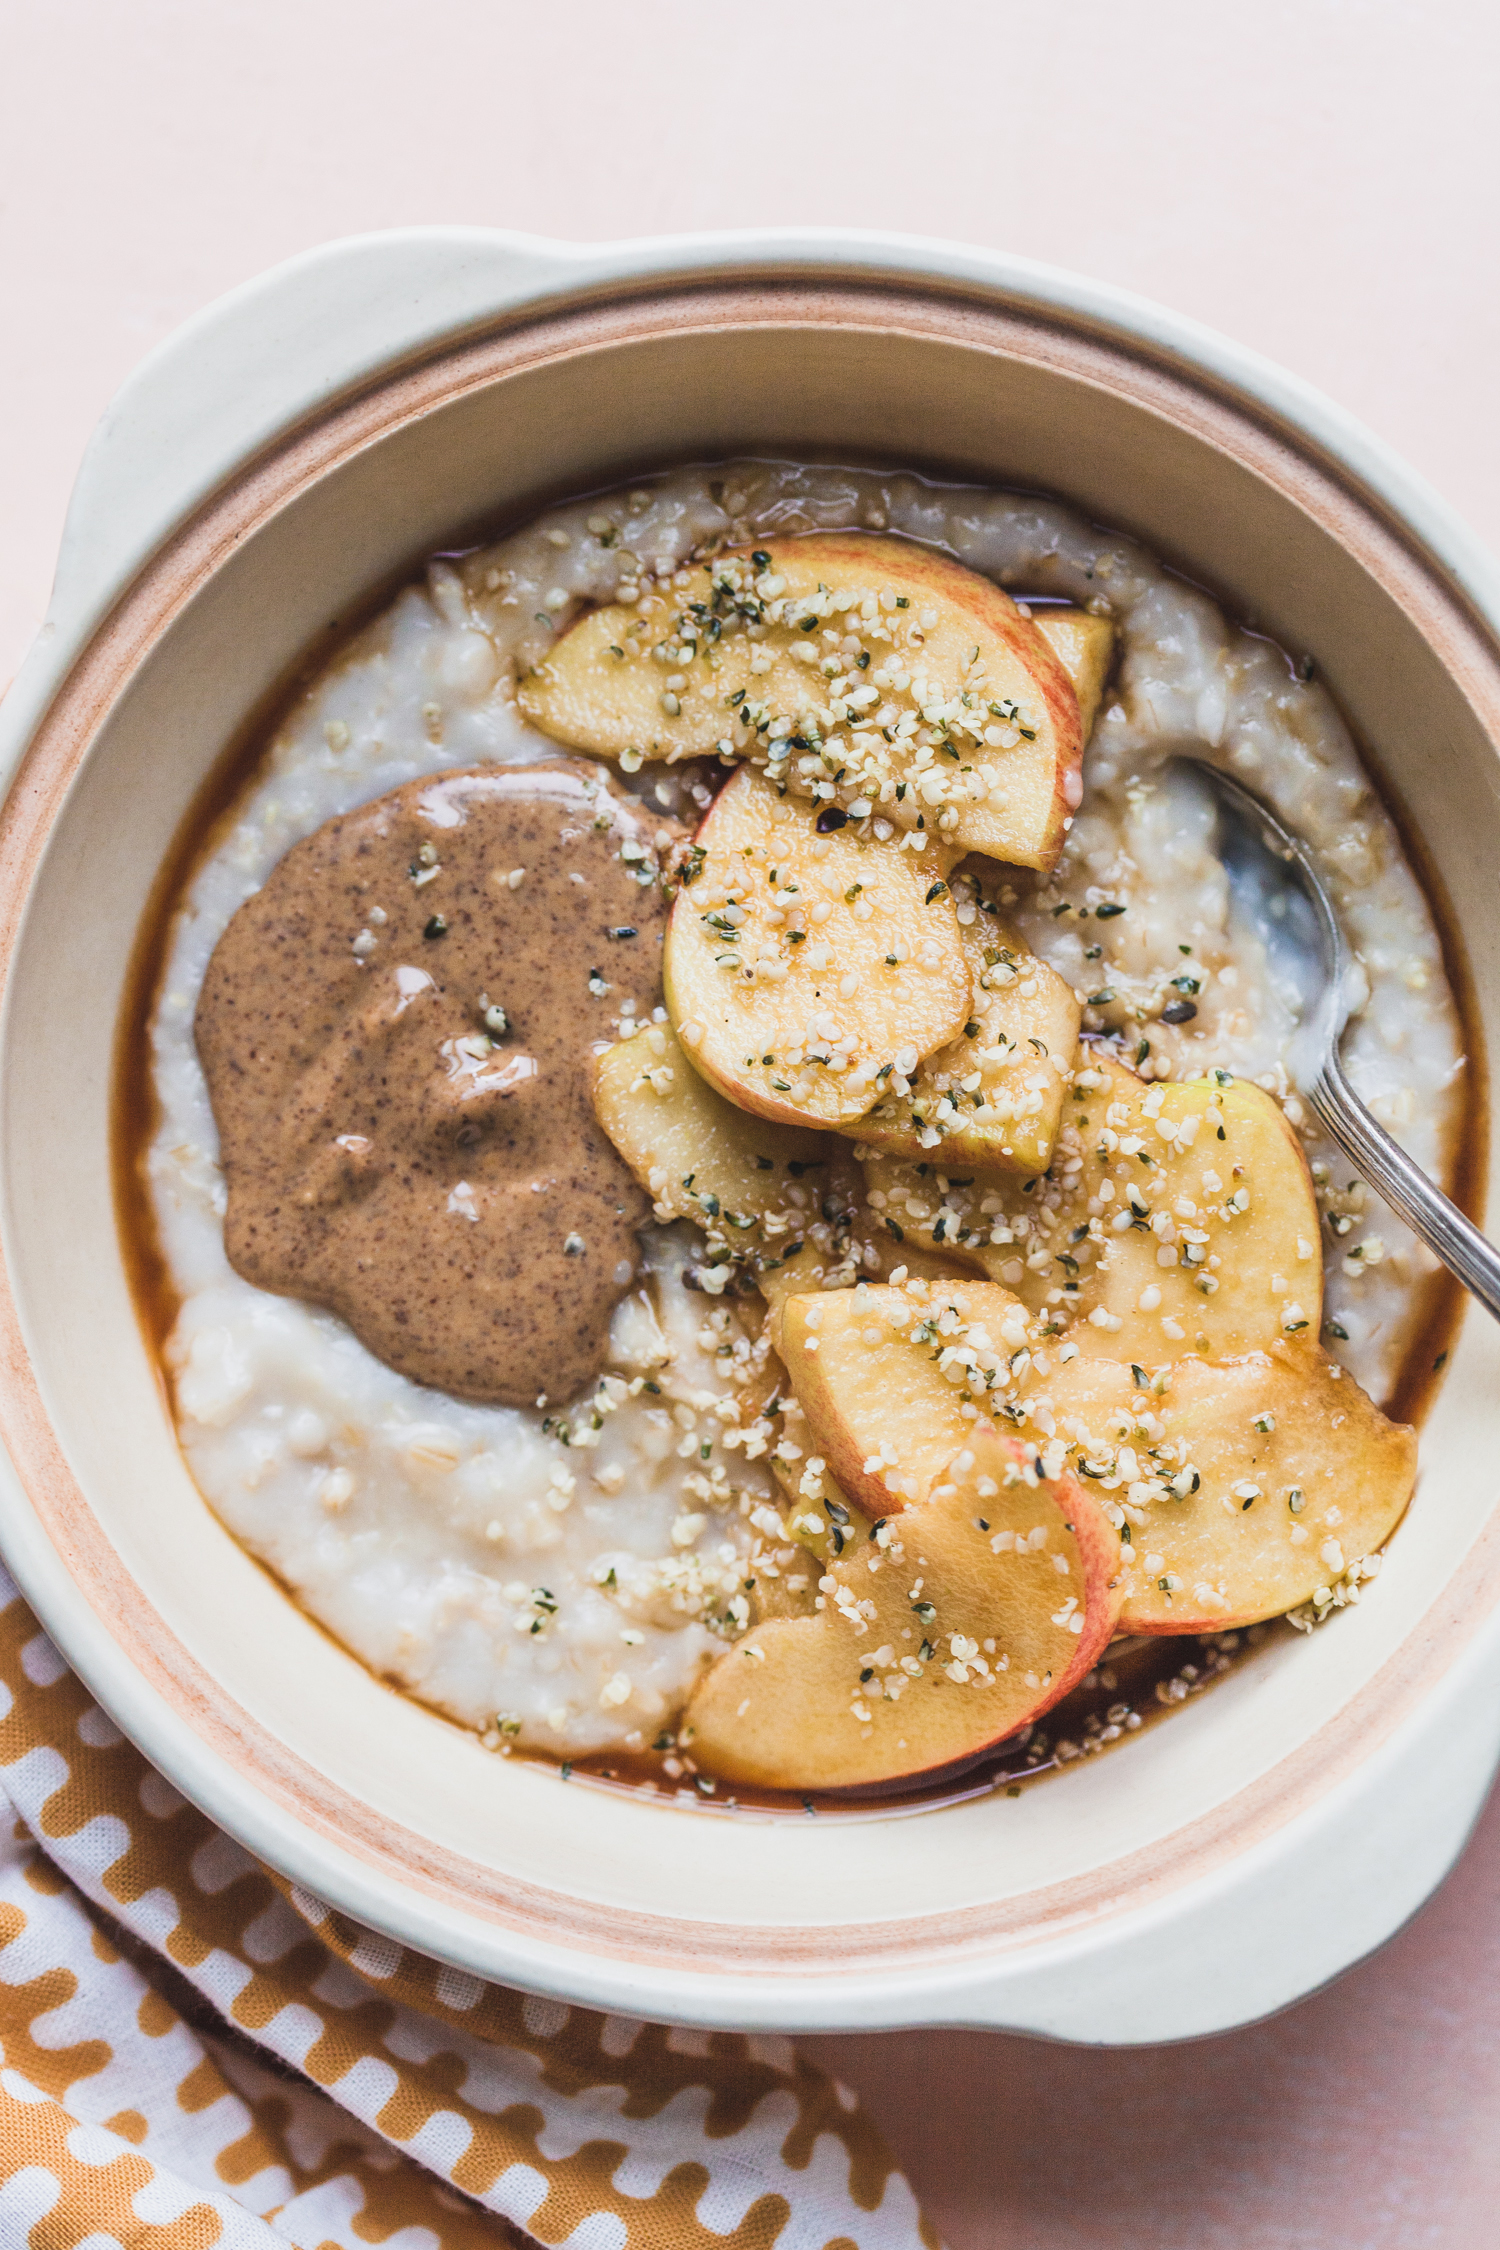
Shortcut Apple Steel Cut Oats + A Day of Eating Video
by Masha
Read Recipe
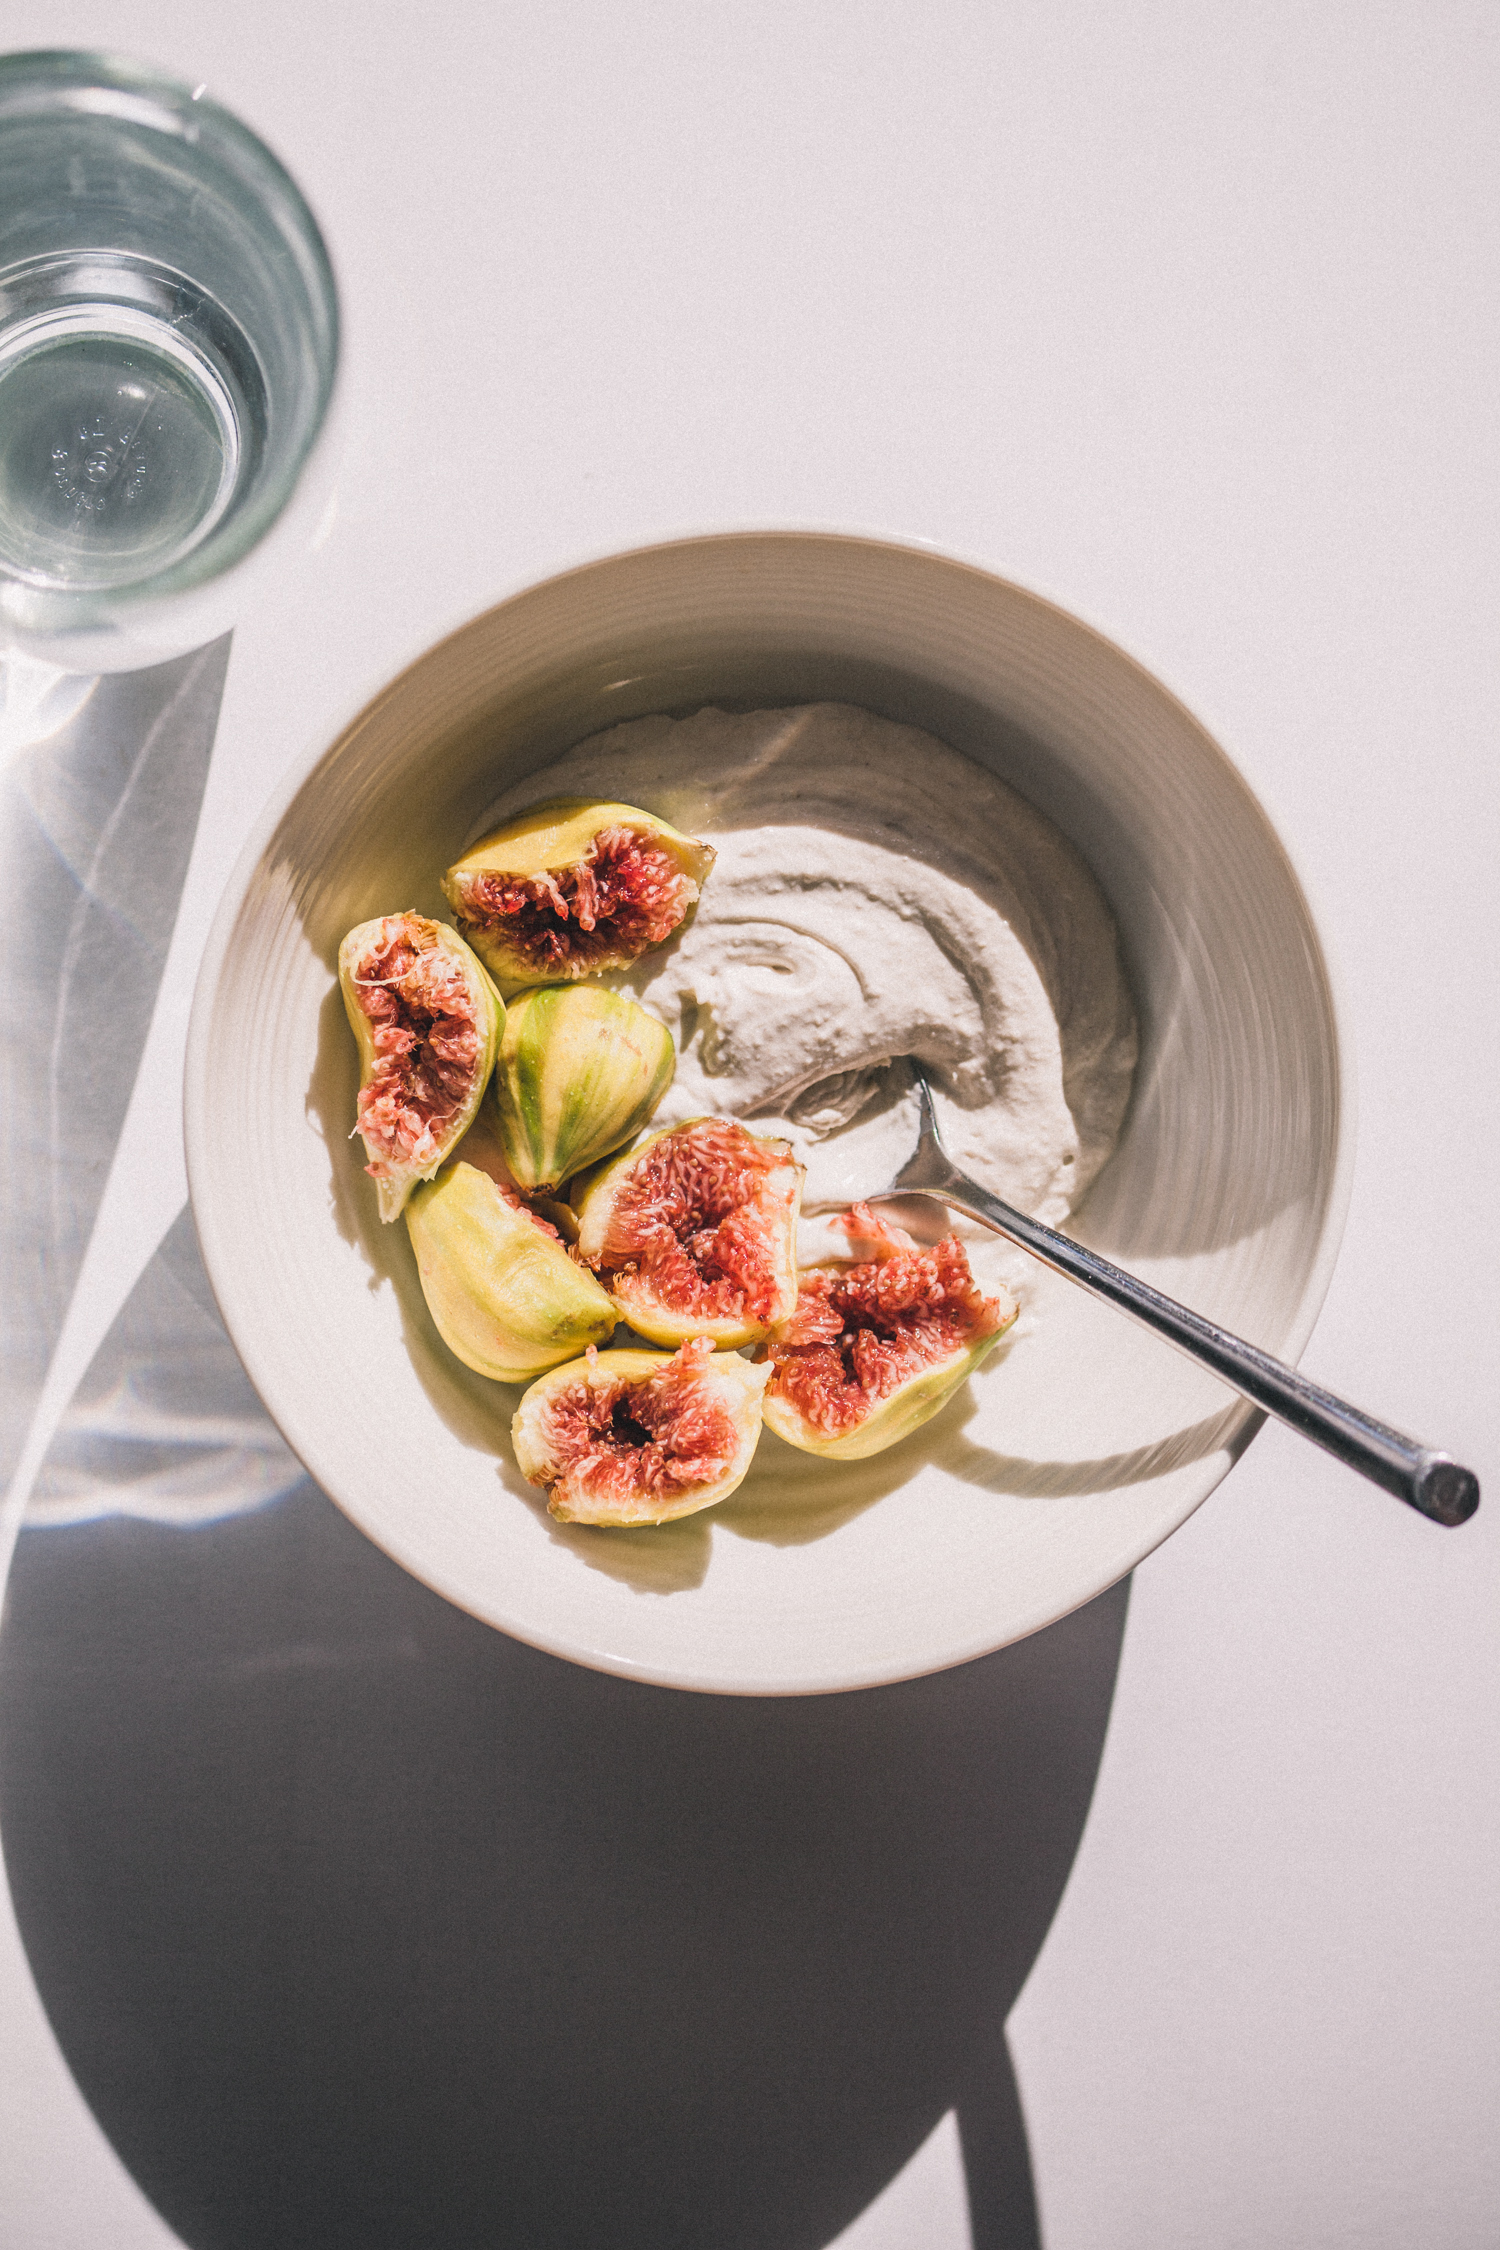
Easy Homemade Cashew-Oat Yogurt
by Anya
Read Recipe
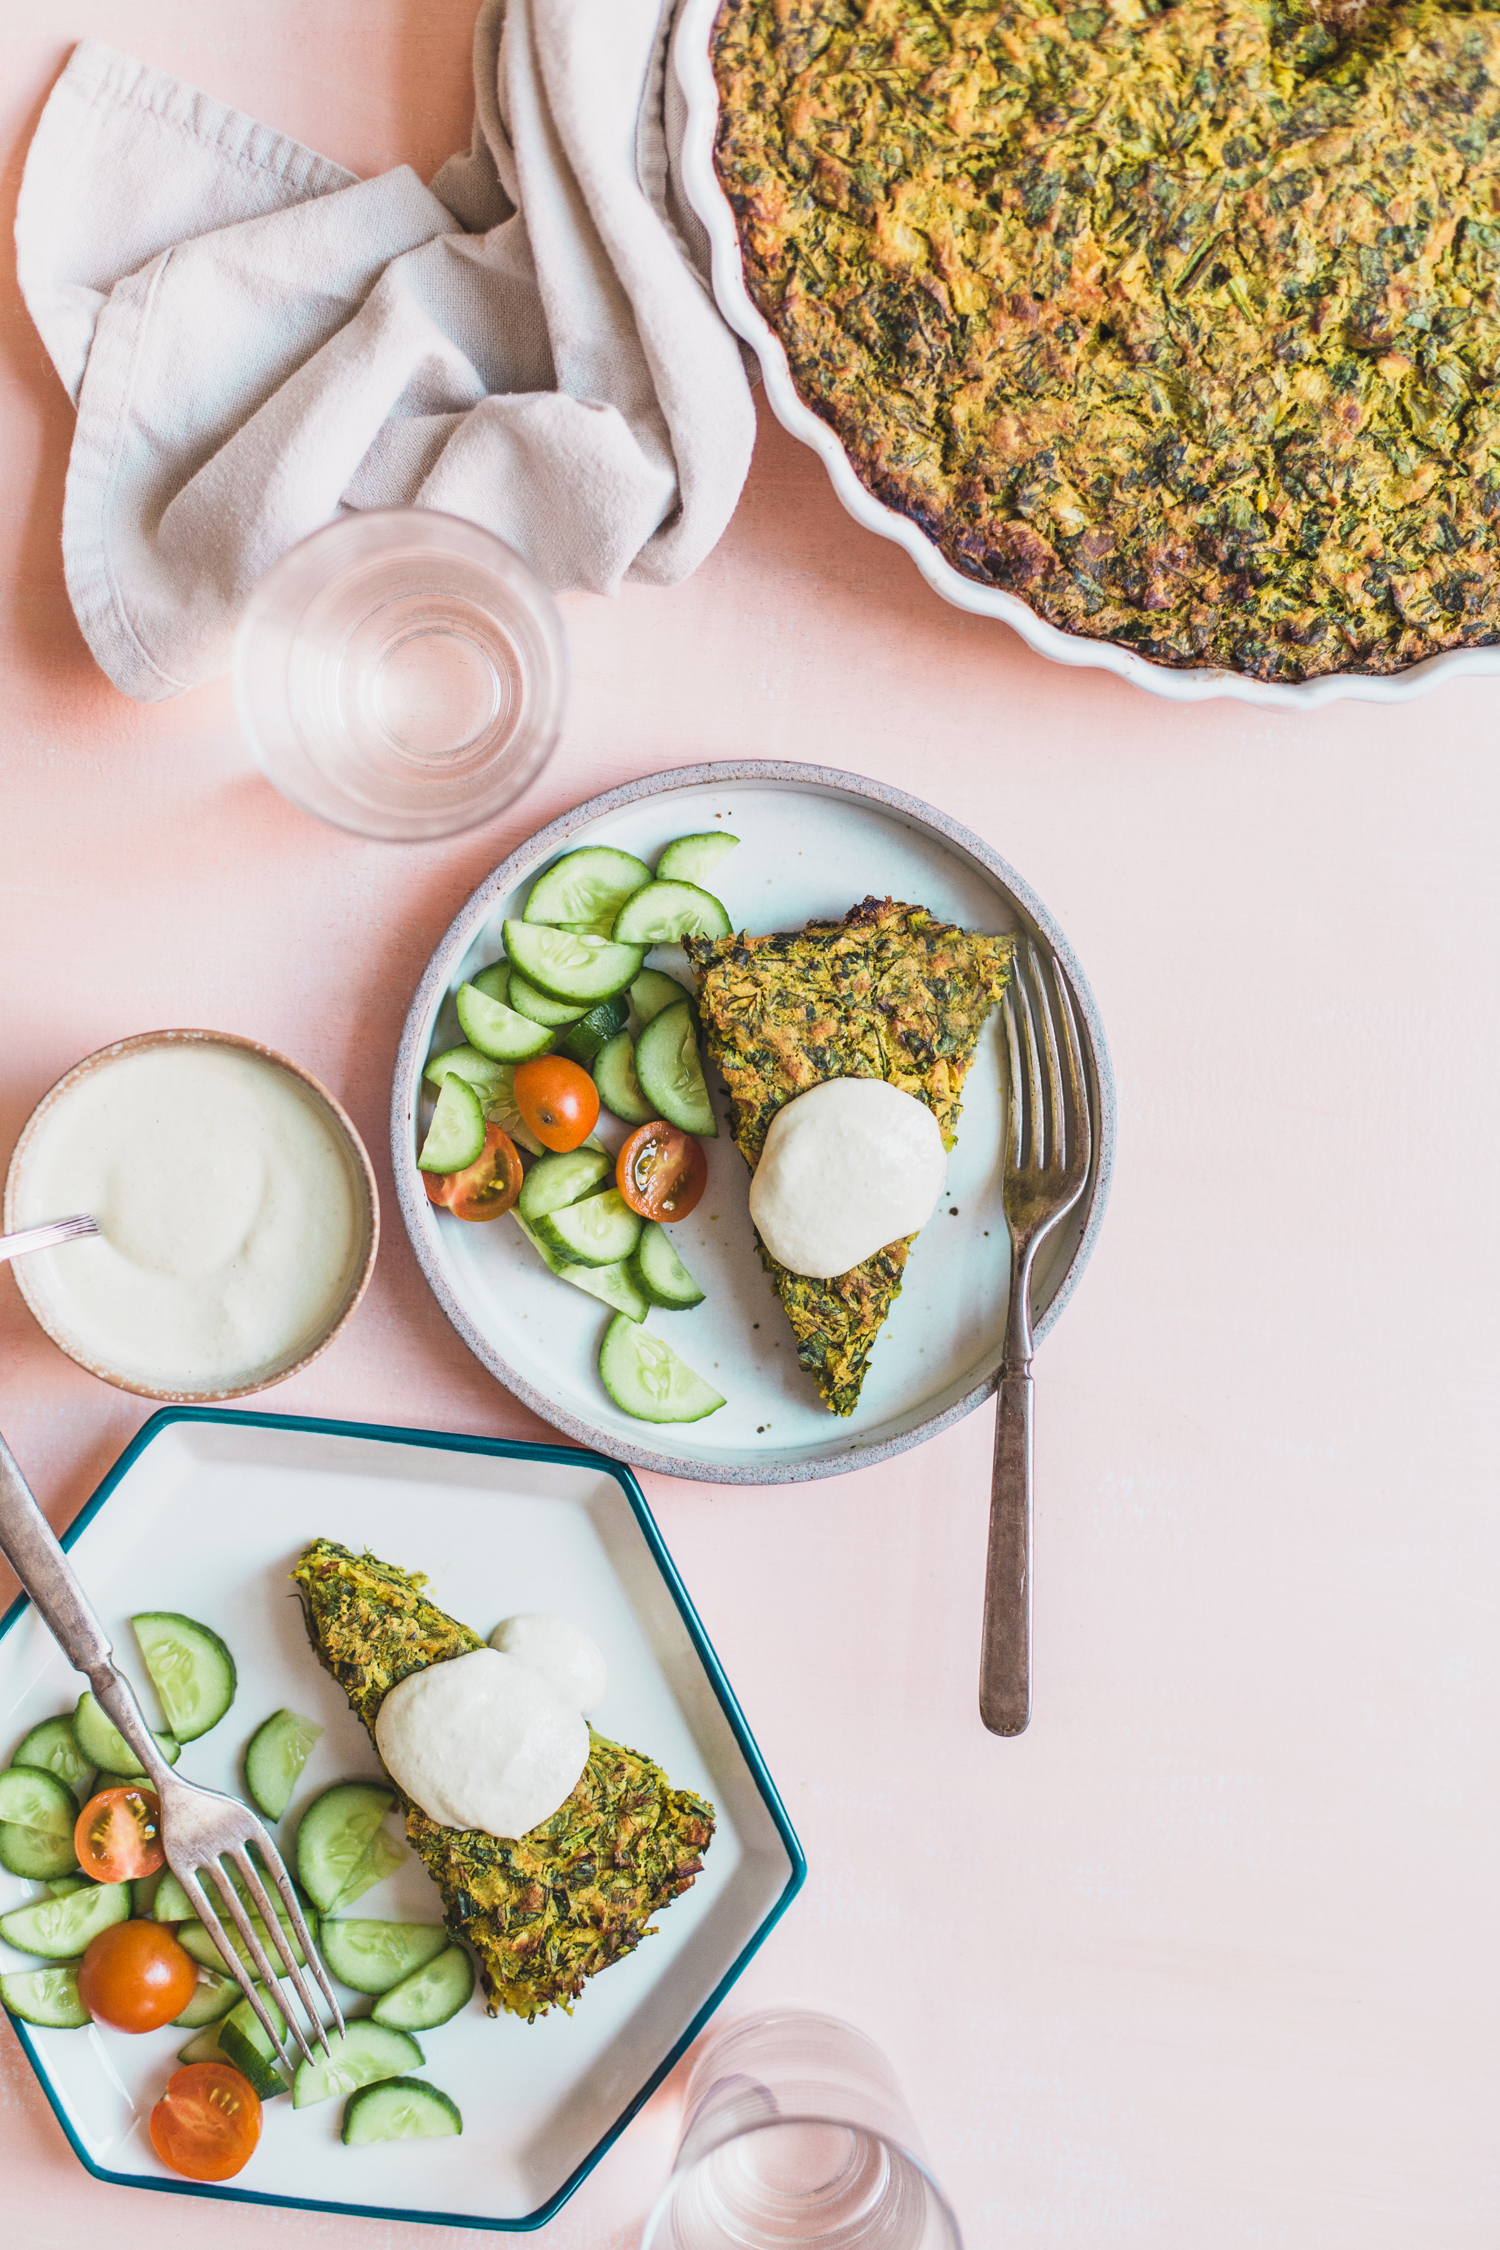
Vegan Herb Frittata (Kuku Sabzi)
by Masha
Read Recipe
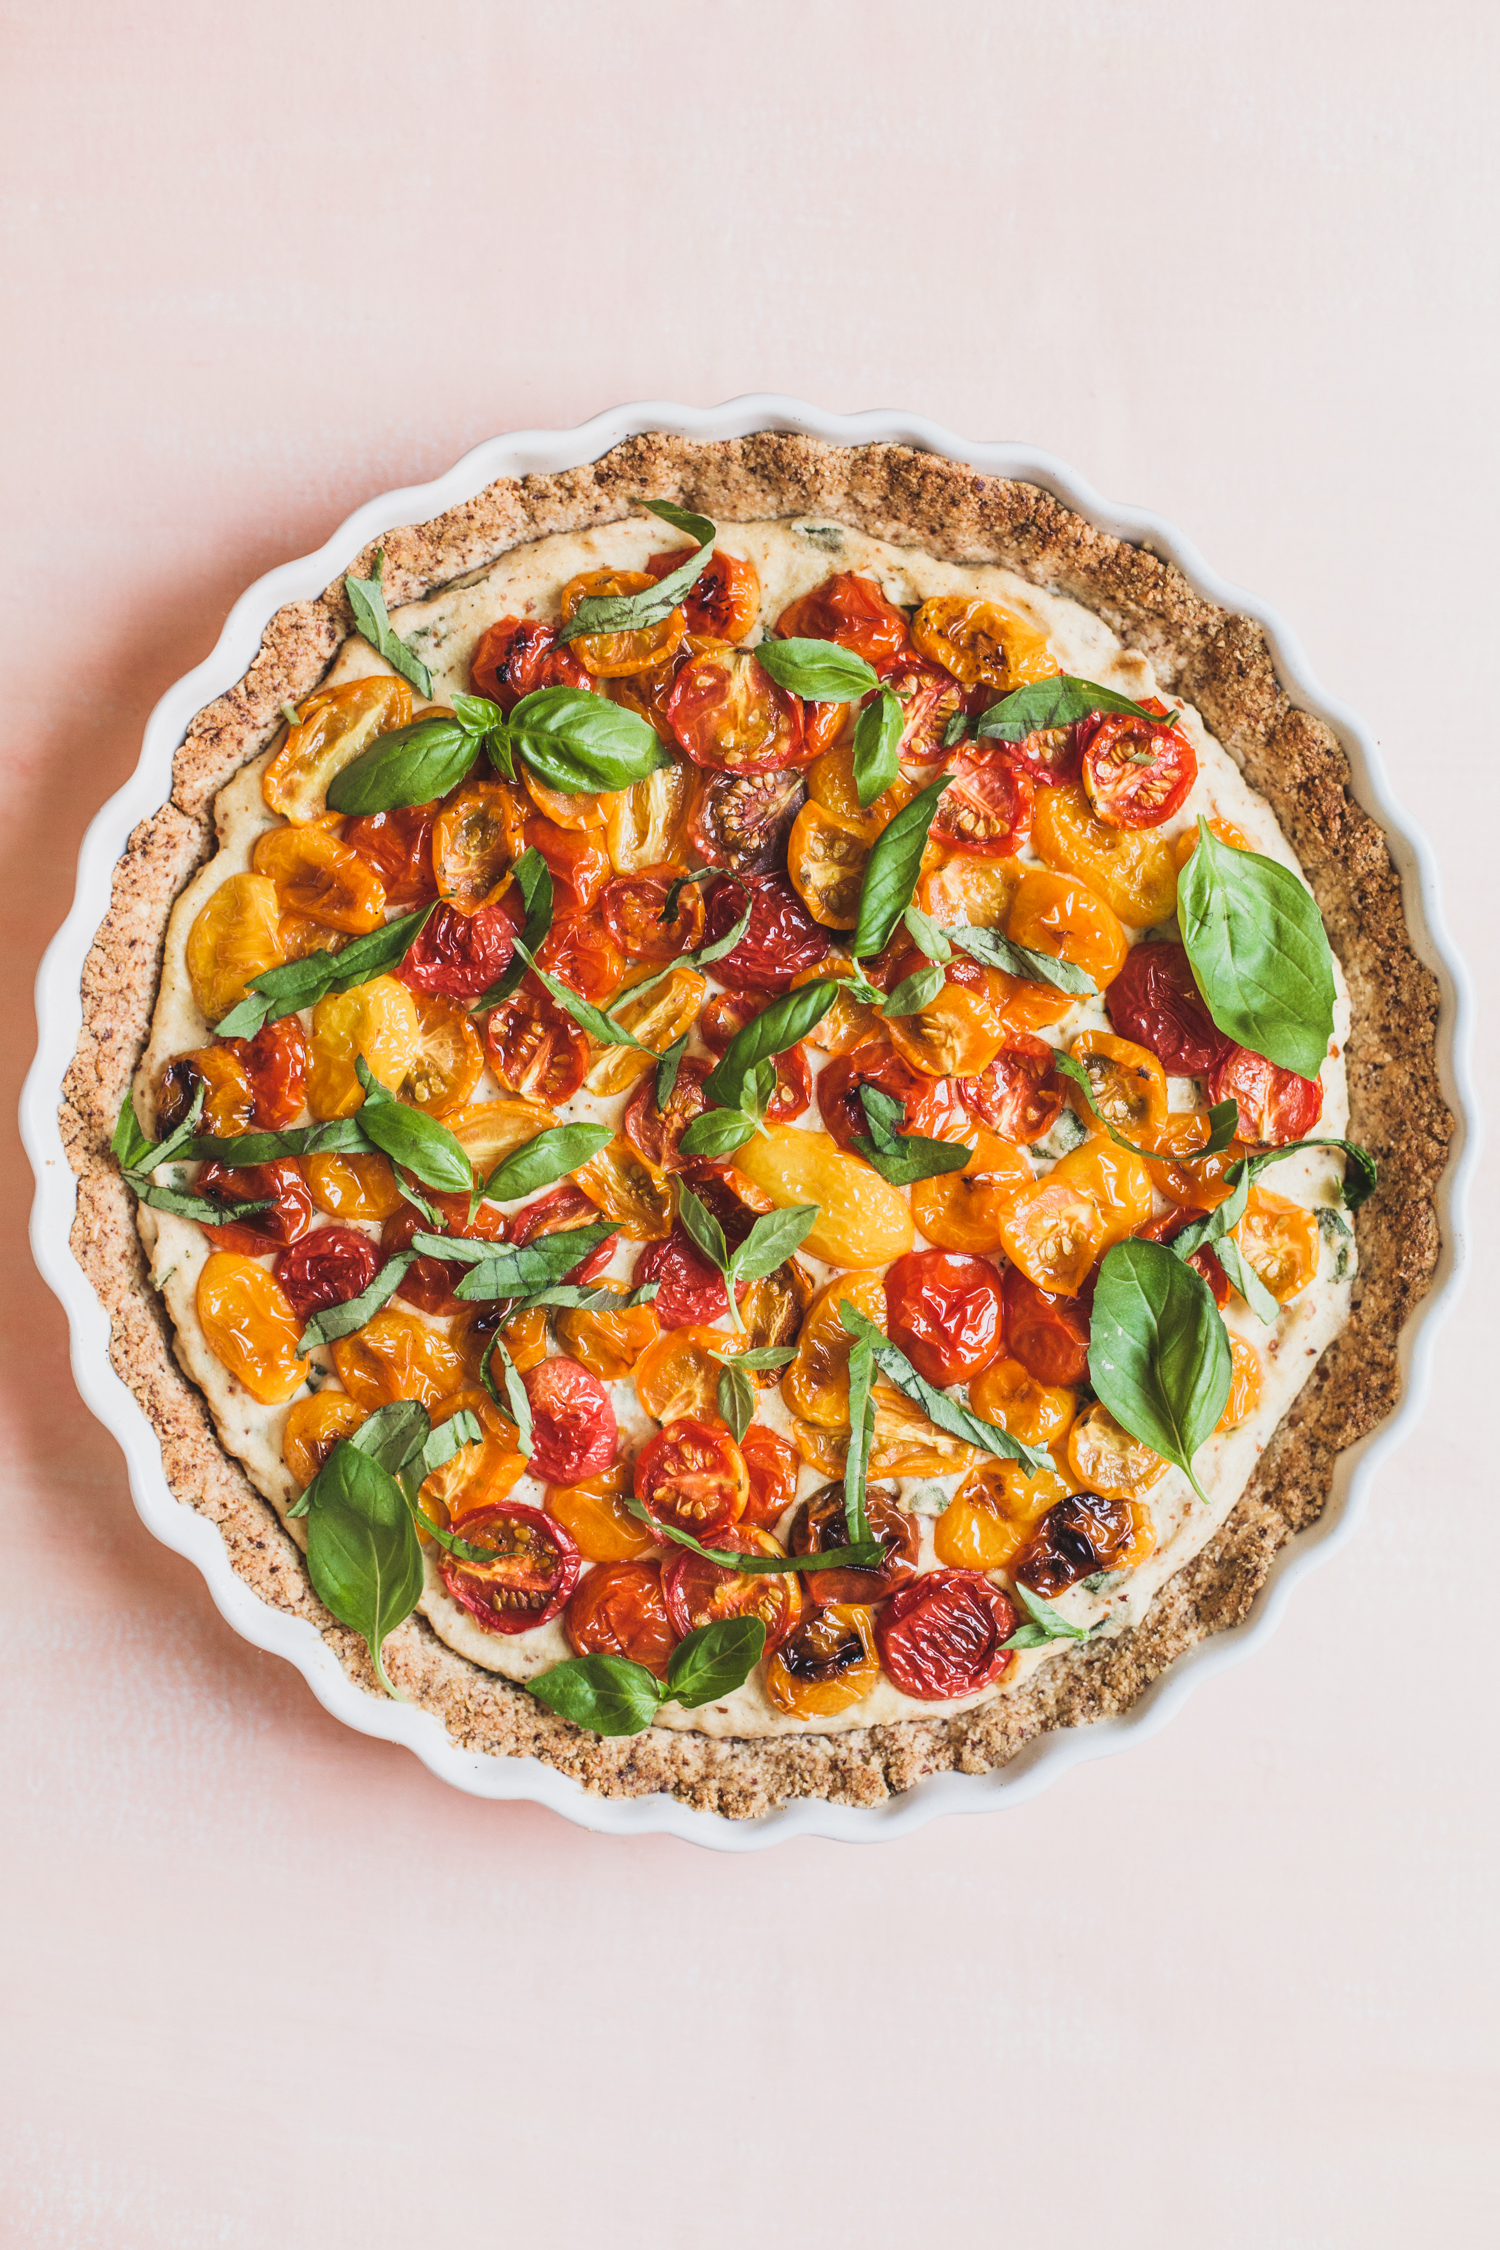
Grain-Free Tomato Tart with Cauliflower Ricotta
by Anya
Read Recipe
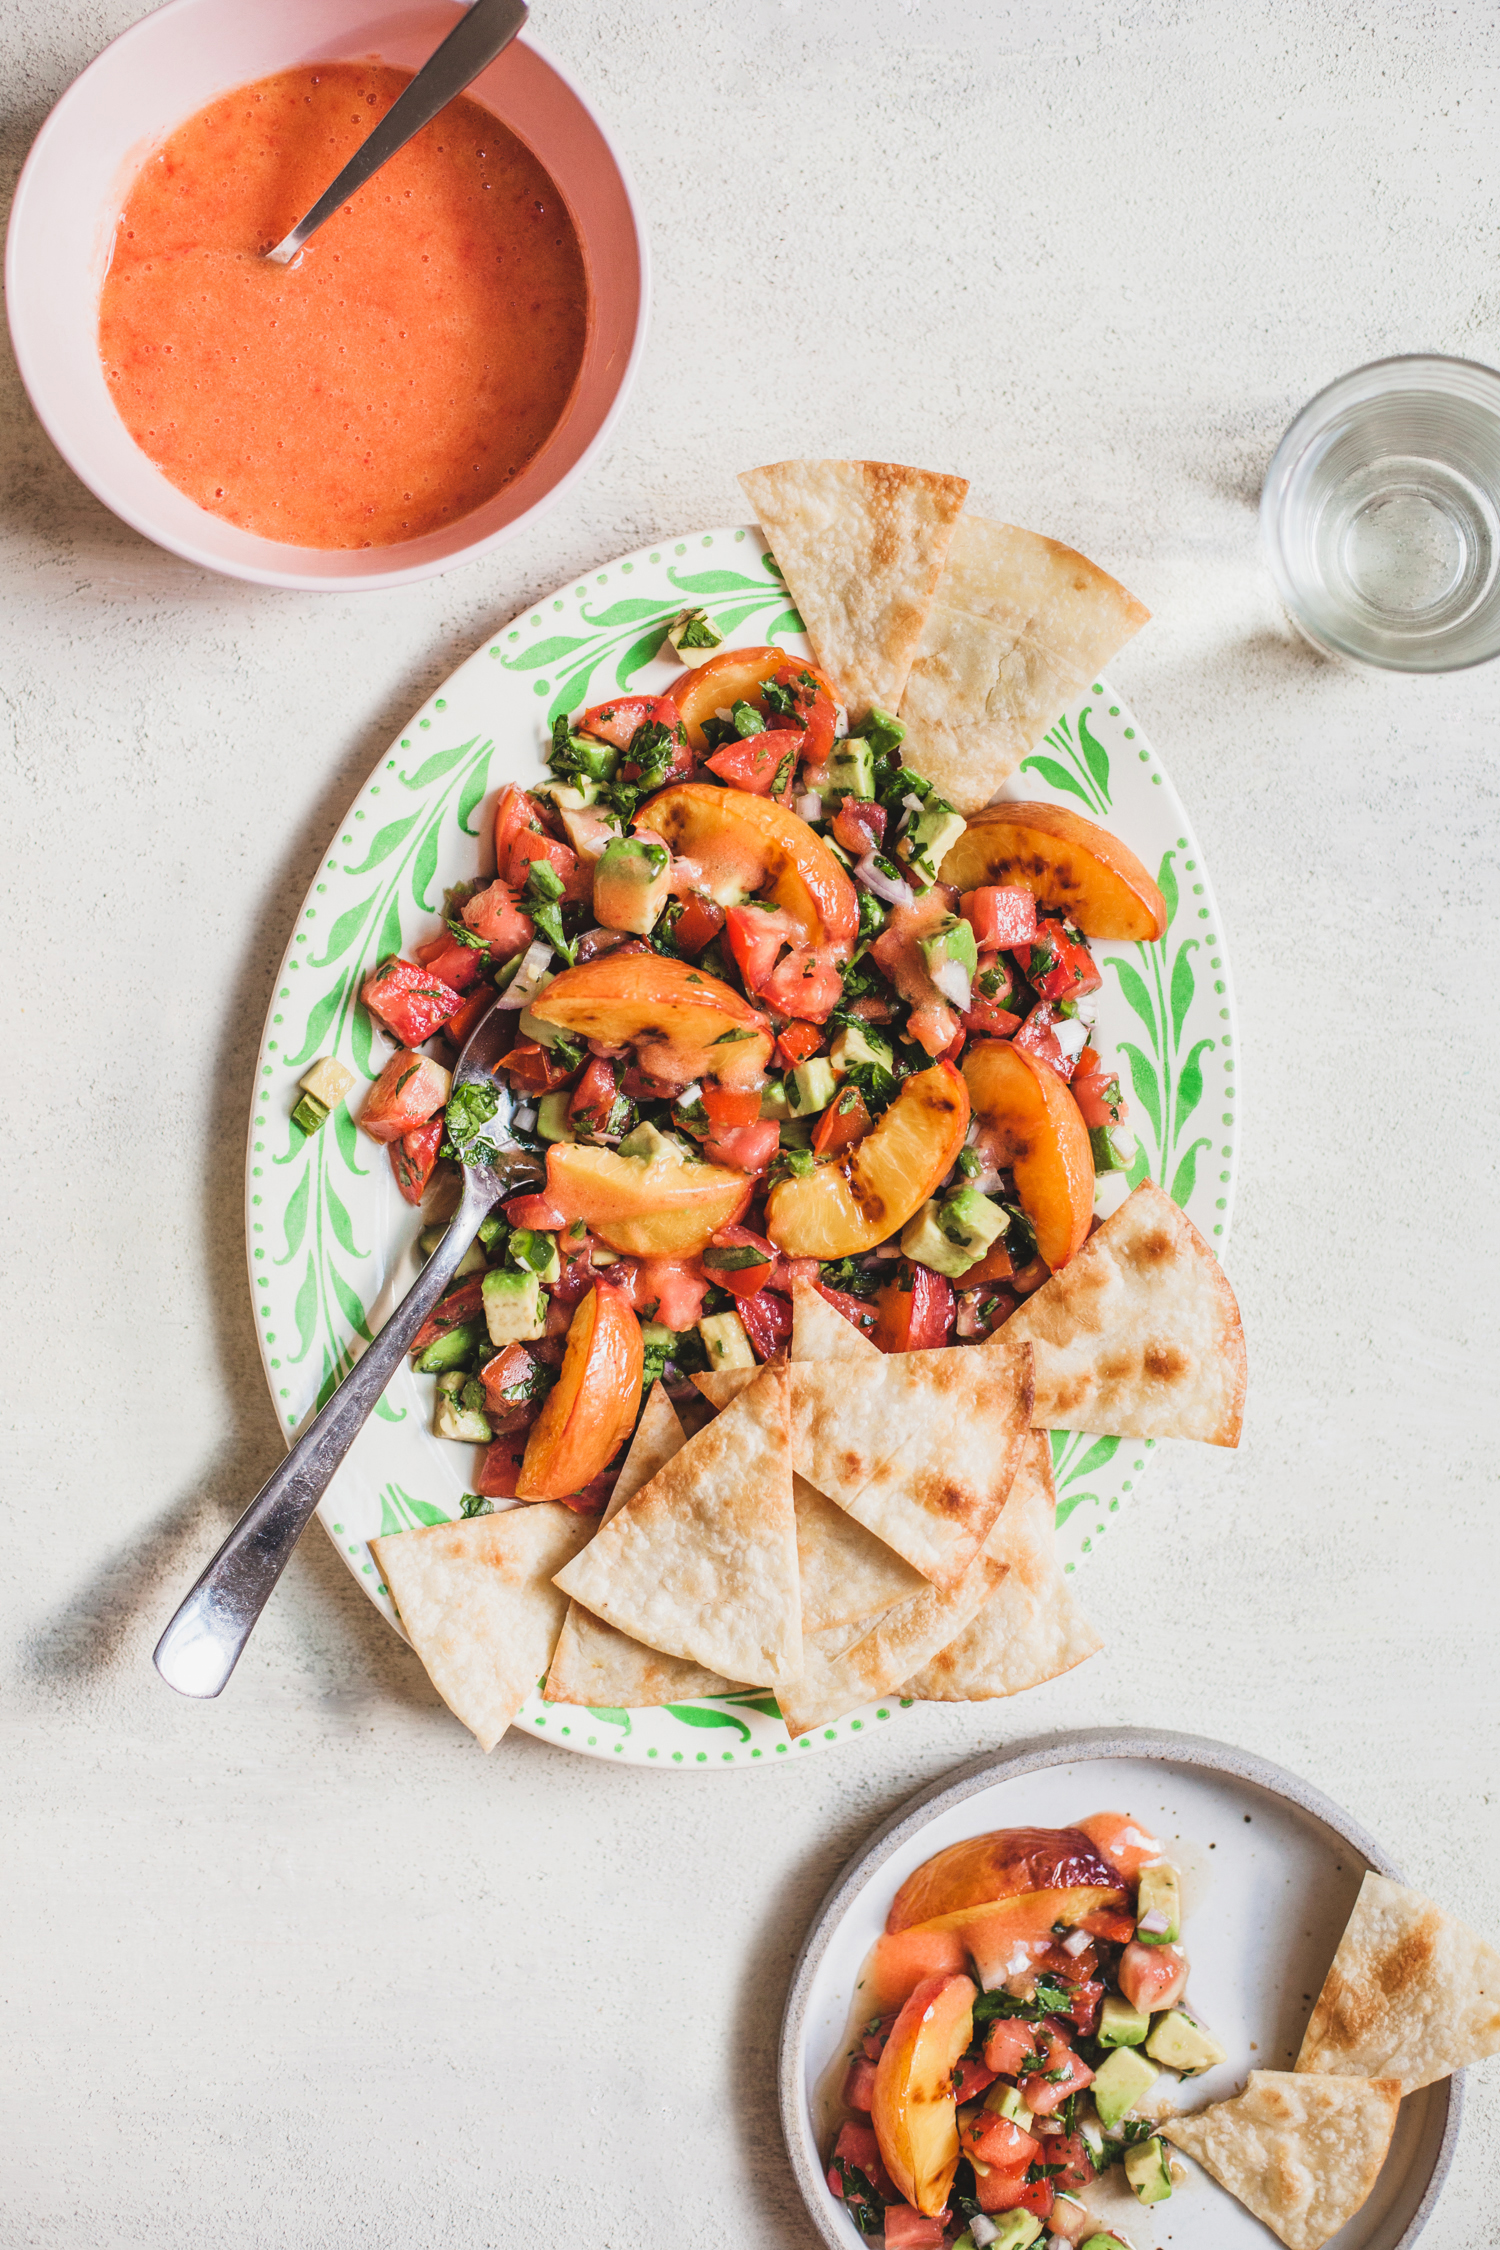
Salsa-Style Nectarine Panzanella from Cook Share Eat Vegan
by Anya
Read Recipe
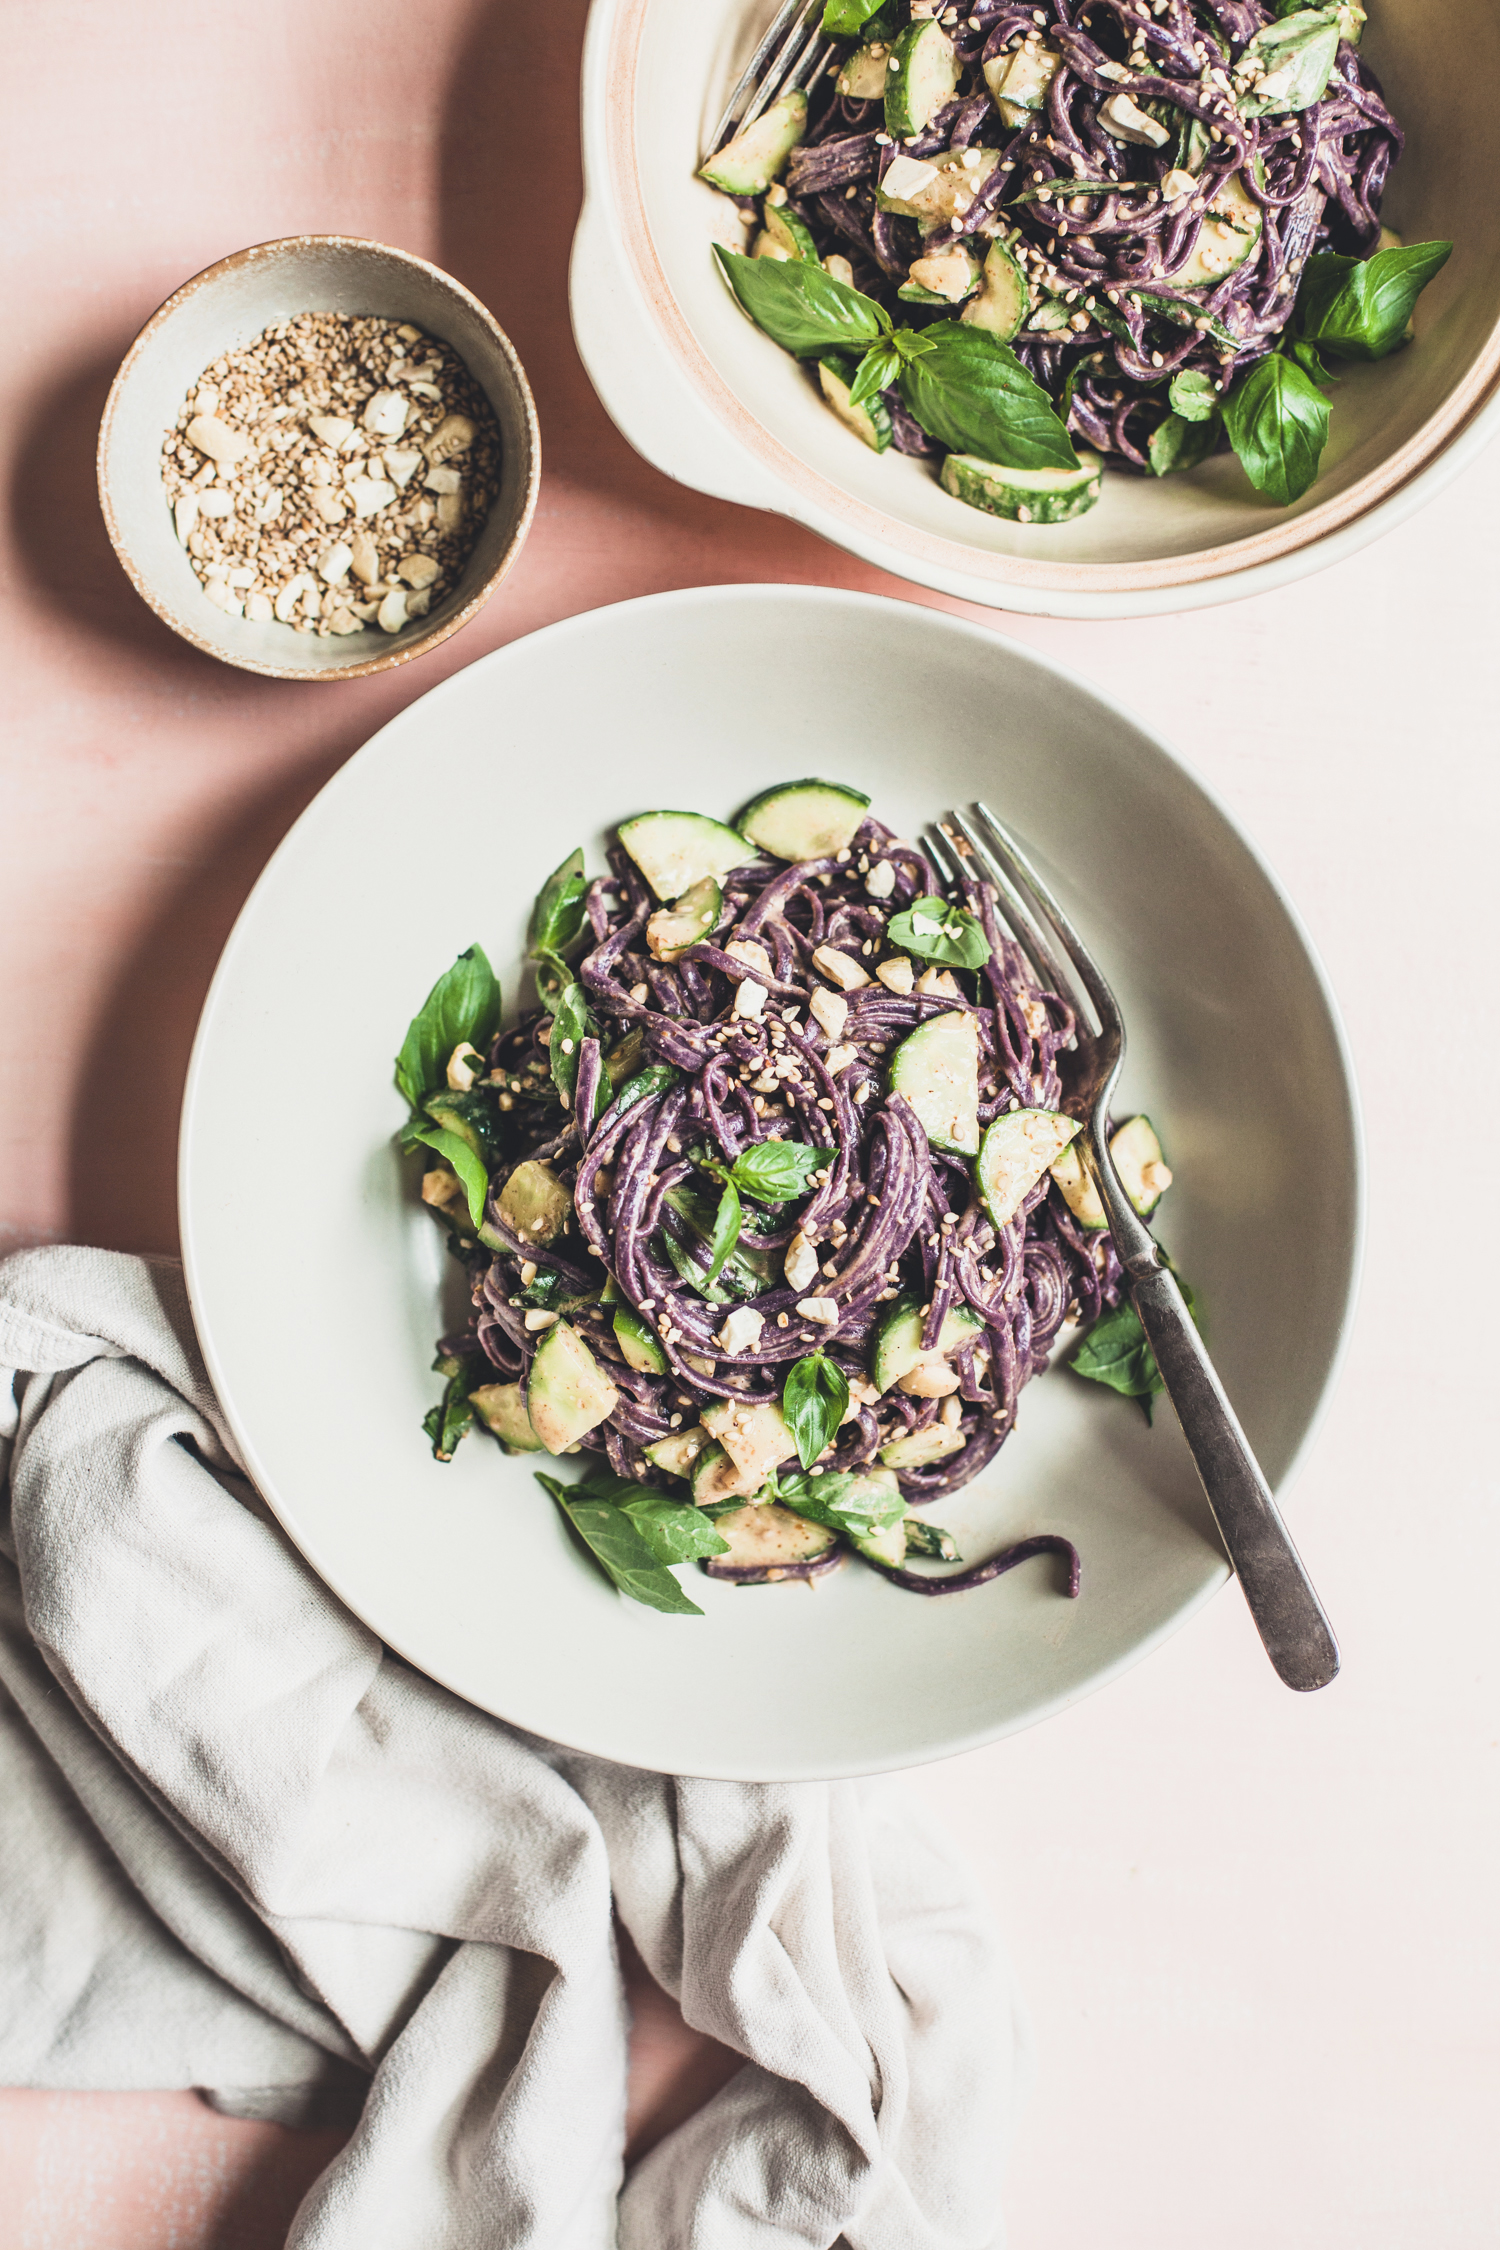
Cold Almond Butter Noodles, Our Weeknight Go To
by Masha
Read Recipe
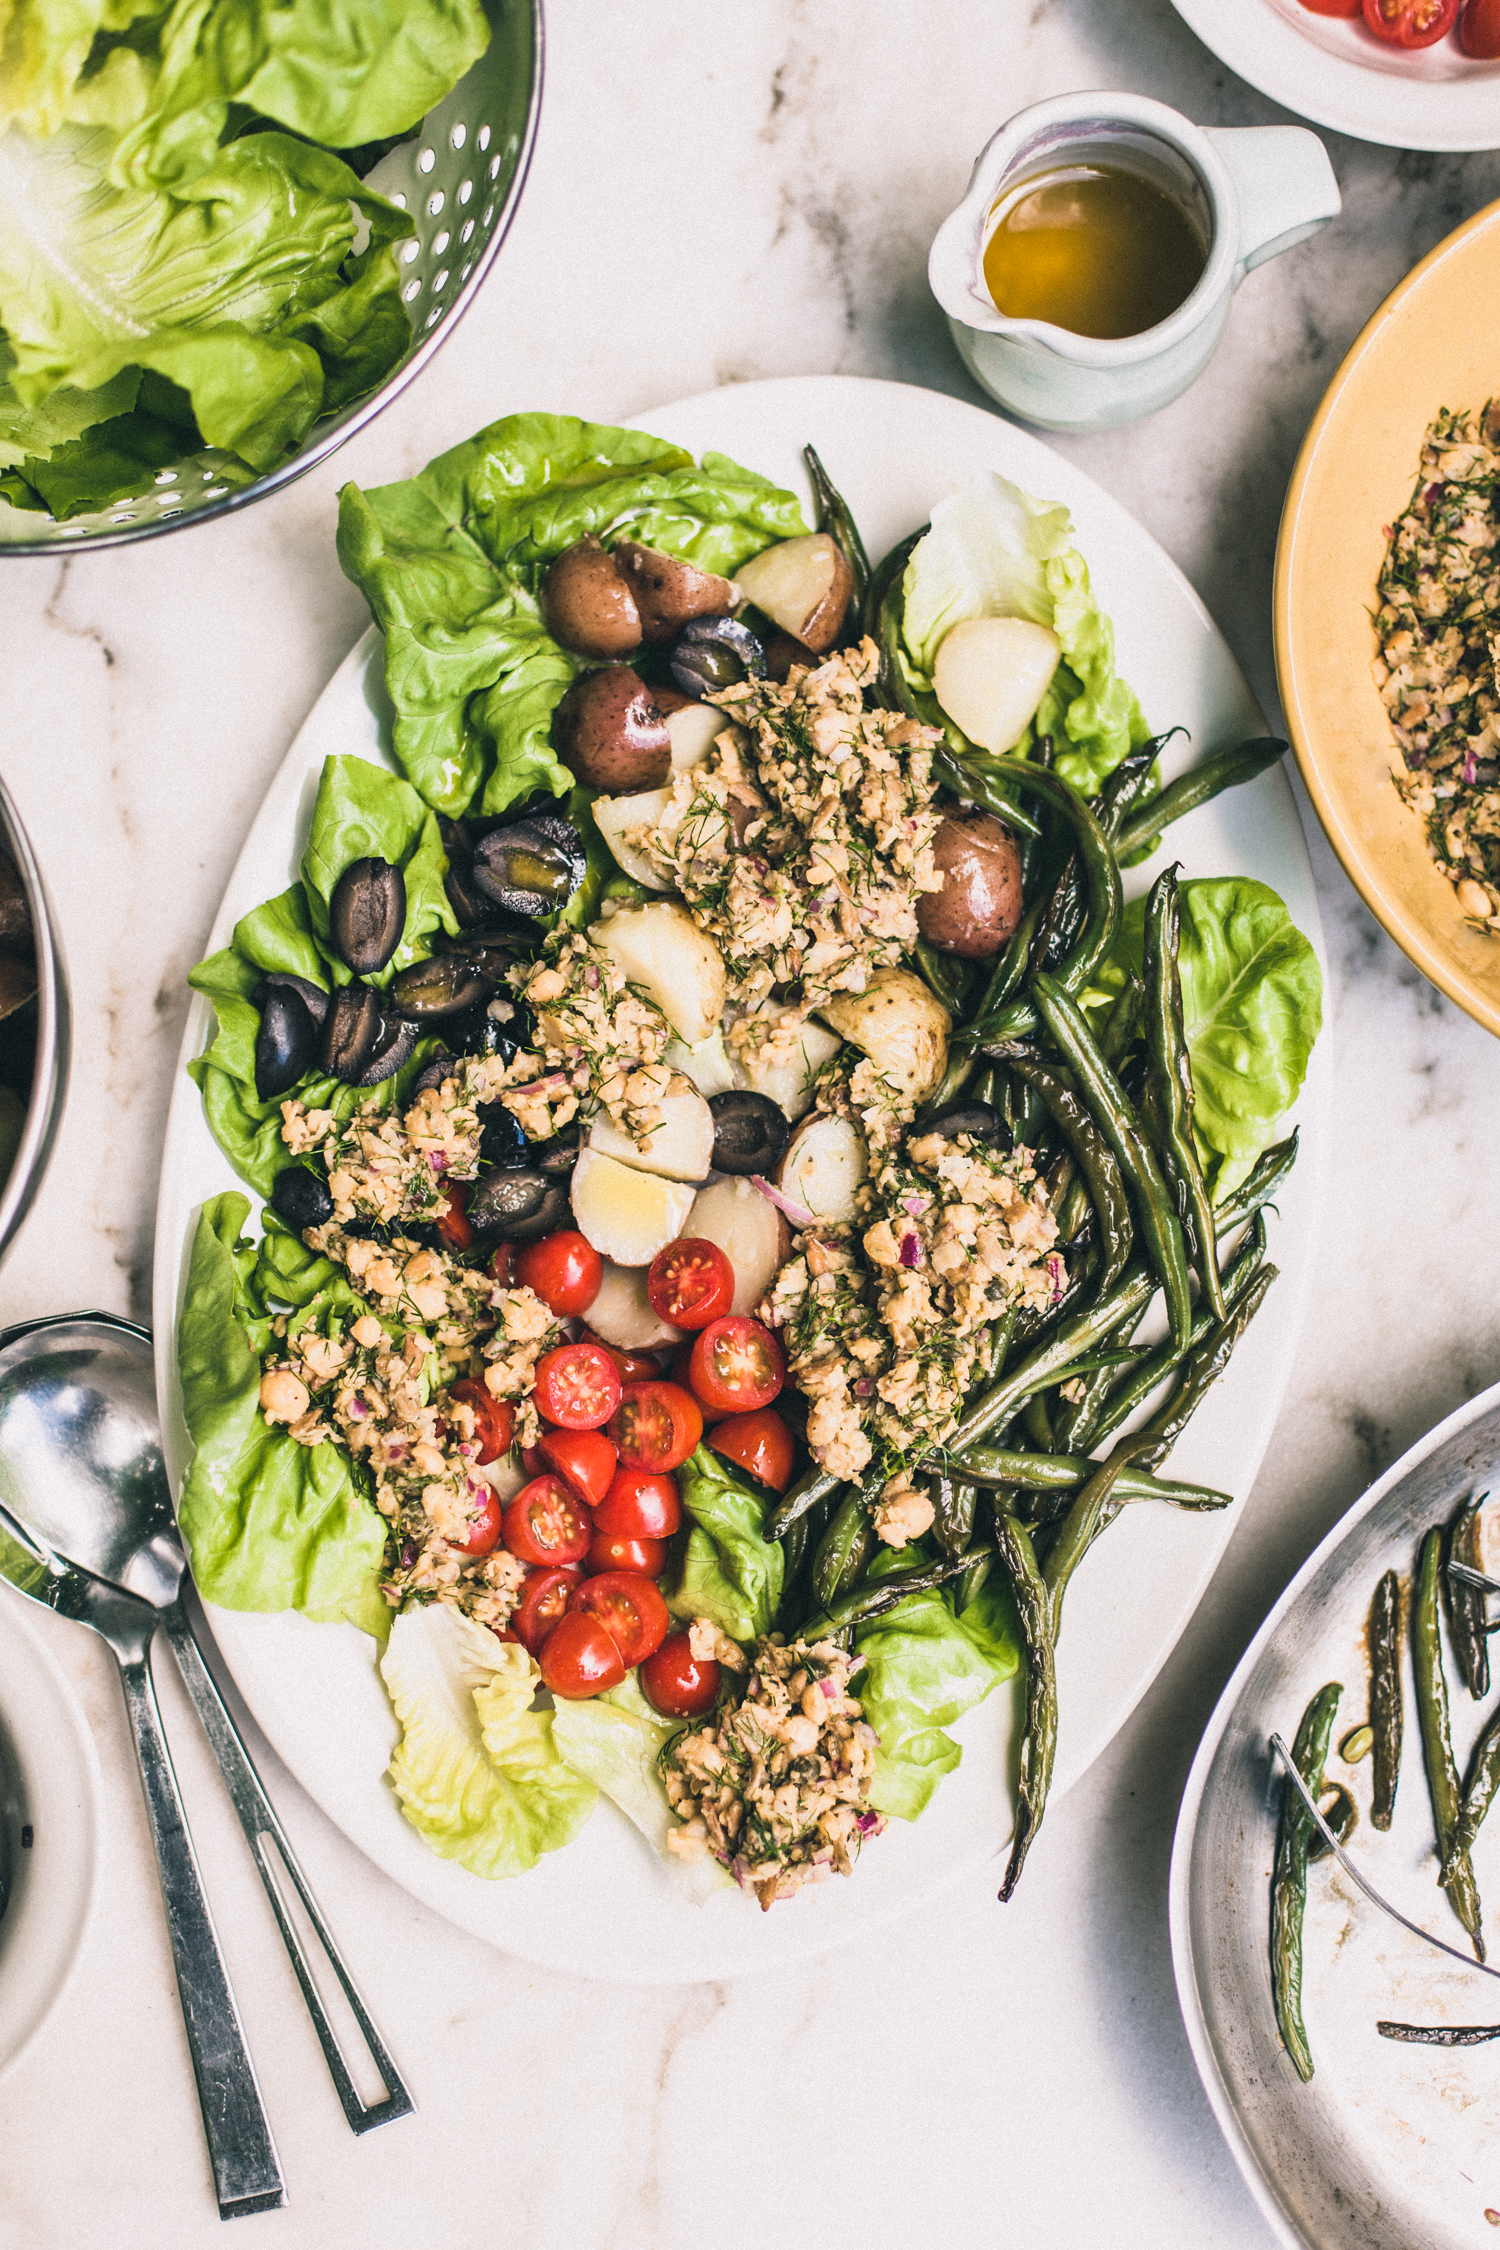
Vegan Chickpea Nicoise Salad
by Anya
Read Recipe
Gluten-Free Lemon Blueberry Donuts with a Coconut Glaze
by Anya
Read Recipe
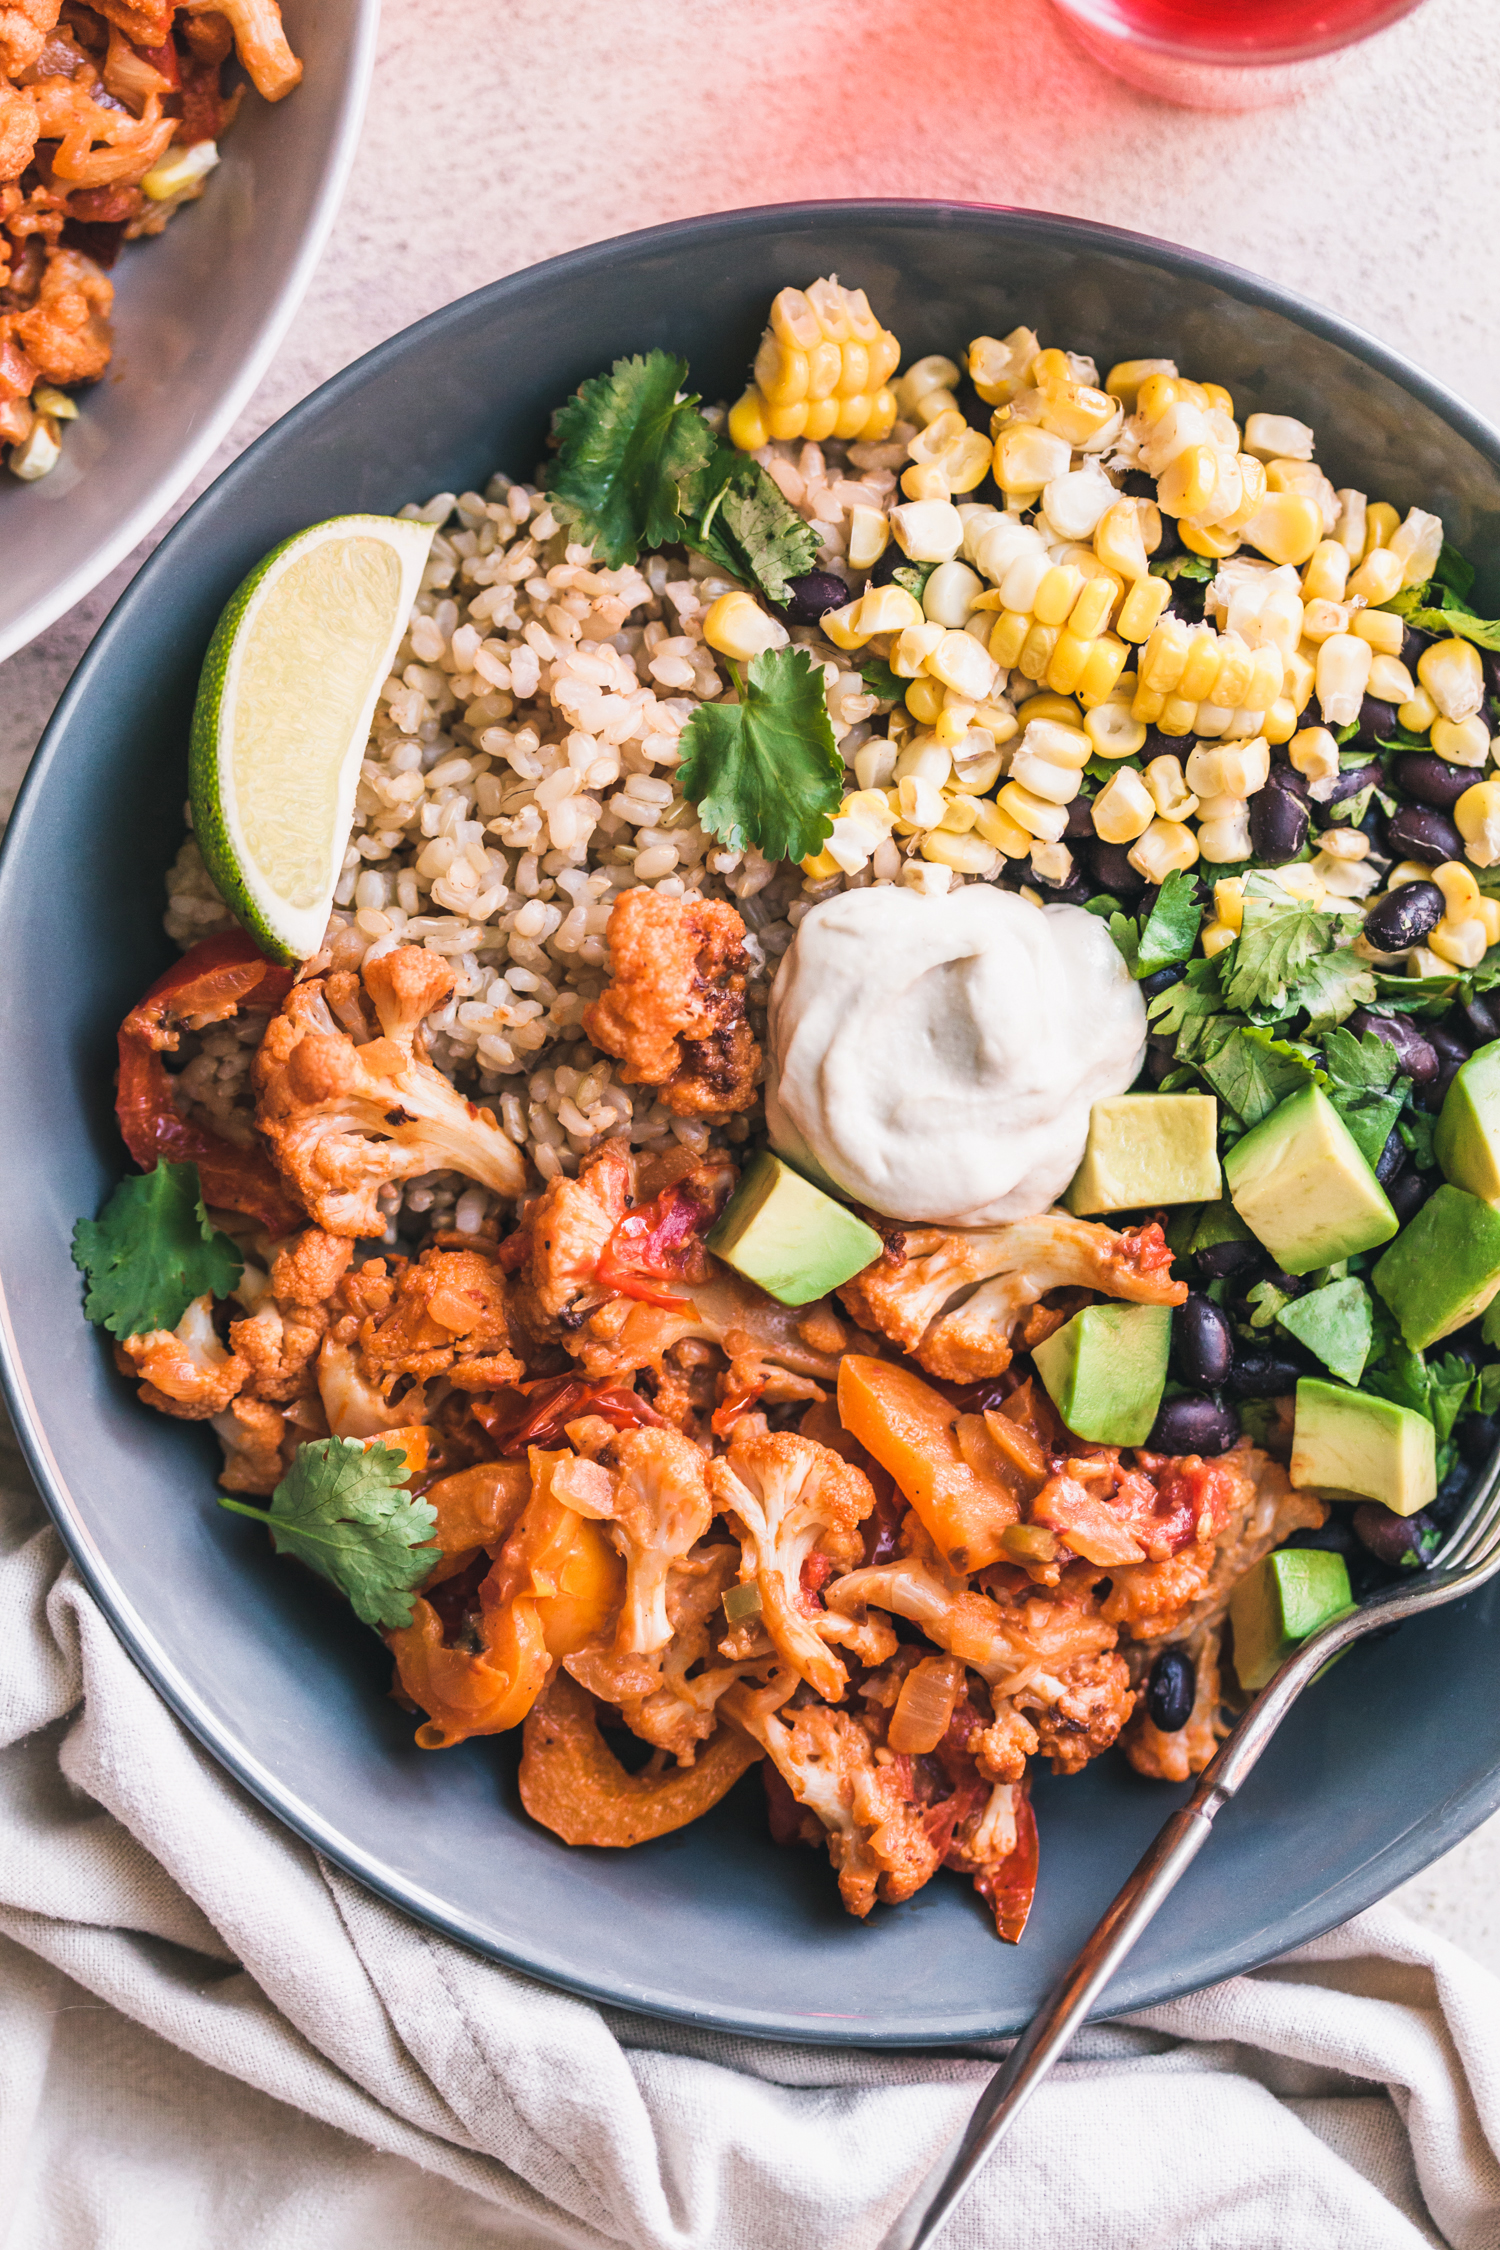
Chipotle Cauliflower Burrito Bowls
by Masha
Read Recipe
Yellow Split Pea Chowder from Power Plates
by Anya
Read Recipe
The Simplest Lentil Soup from Abruzzo
by Anya
Read Recipe
Tofu Saag Paneer, Spring Style
by Anya
Read Recipe
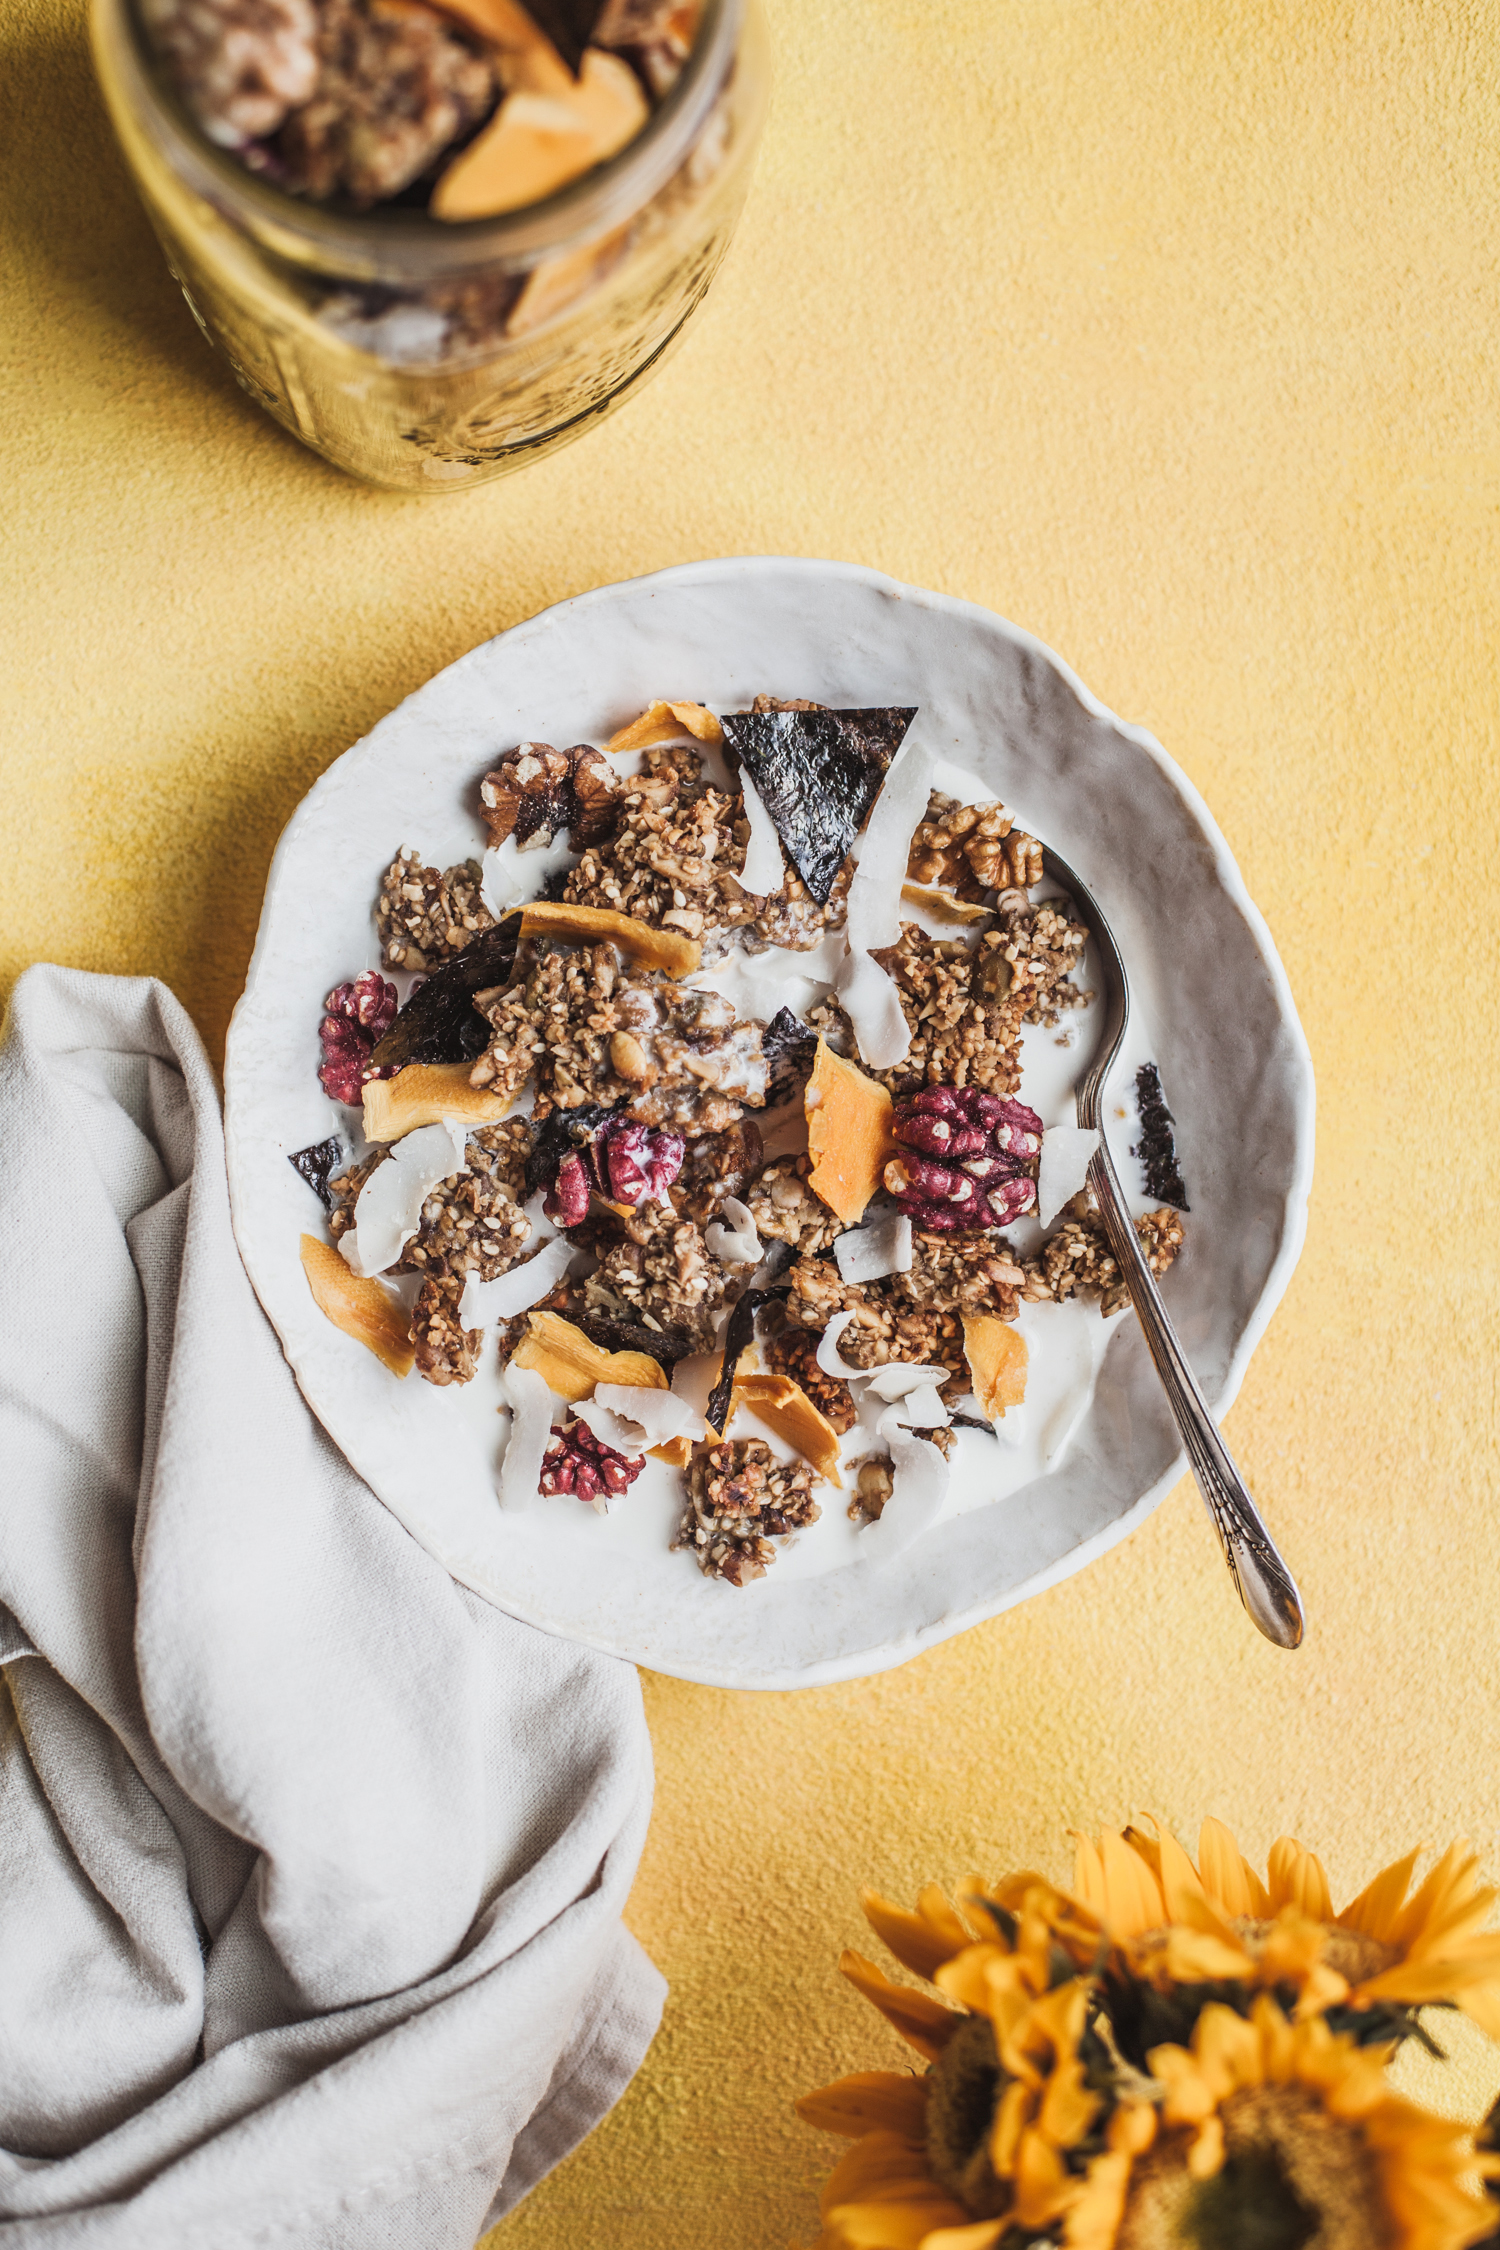
Grain-Free Sweet & Savory Activated Walnut Granola
by Anya
Read Recipe
Favorite Spring Cleaning Recipes
by Anya
Read Recipe
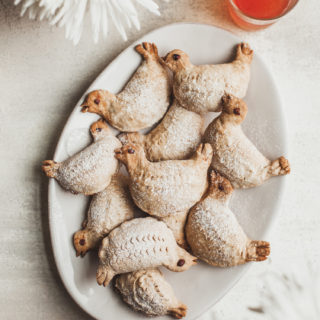
Rhubarb Celli Ripieni – Old School Jam Cookies from Abruzzo
by Anya
Read Recipe
Super Decadent Vegan Chocolate Walnut Spread
by Anya
Read Recipe
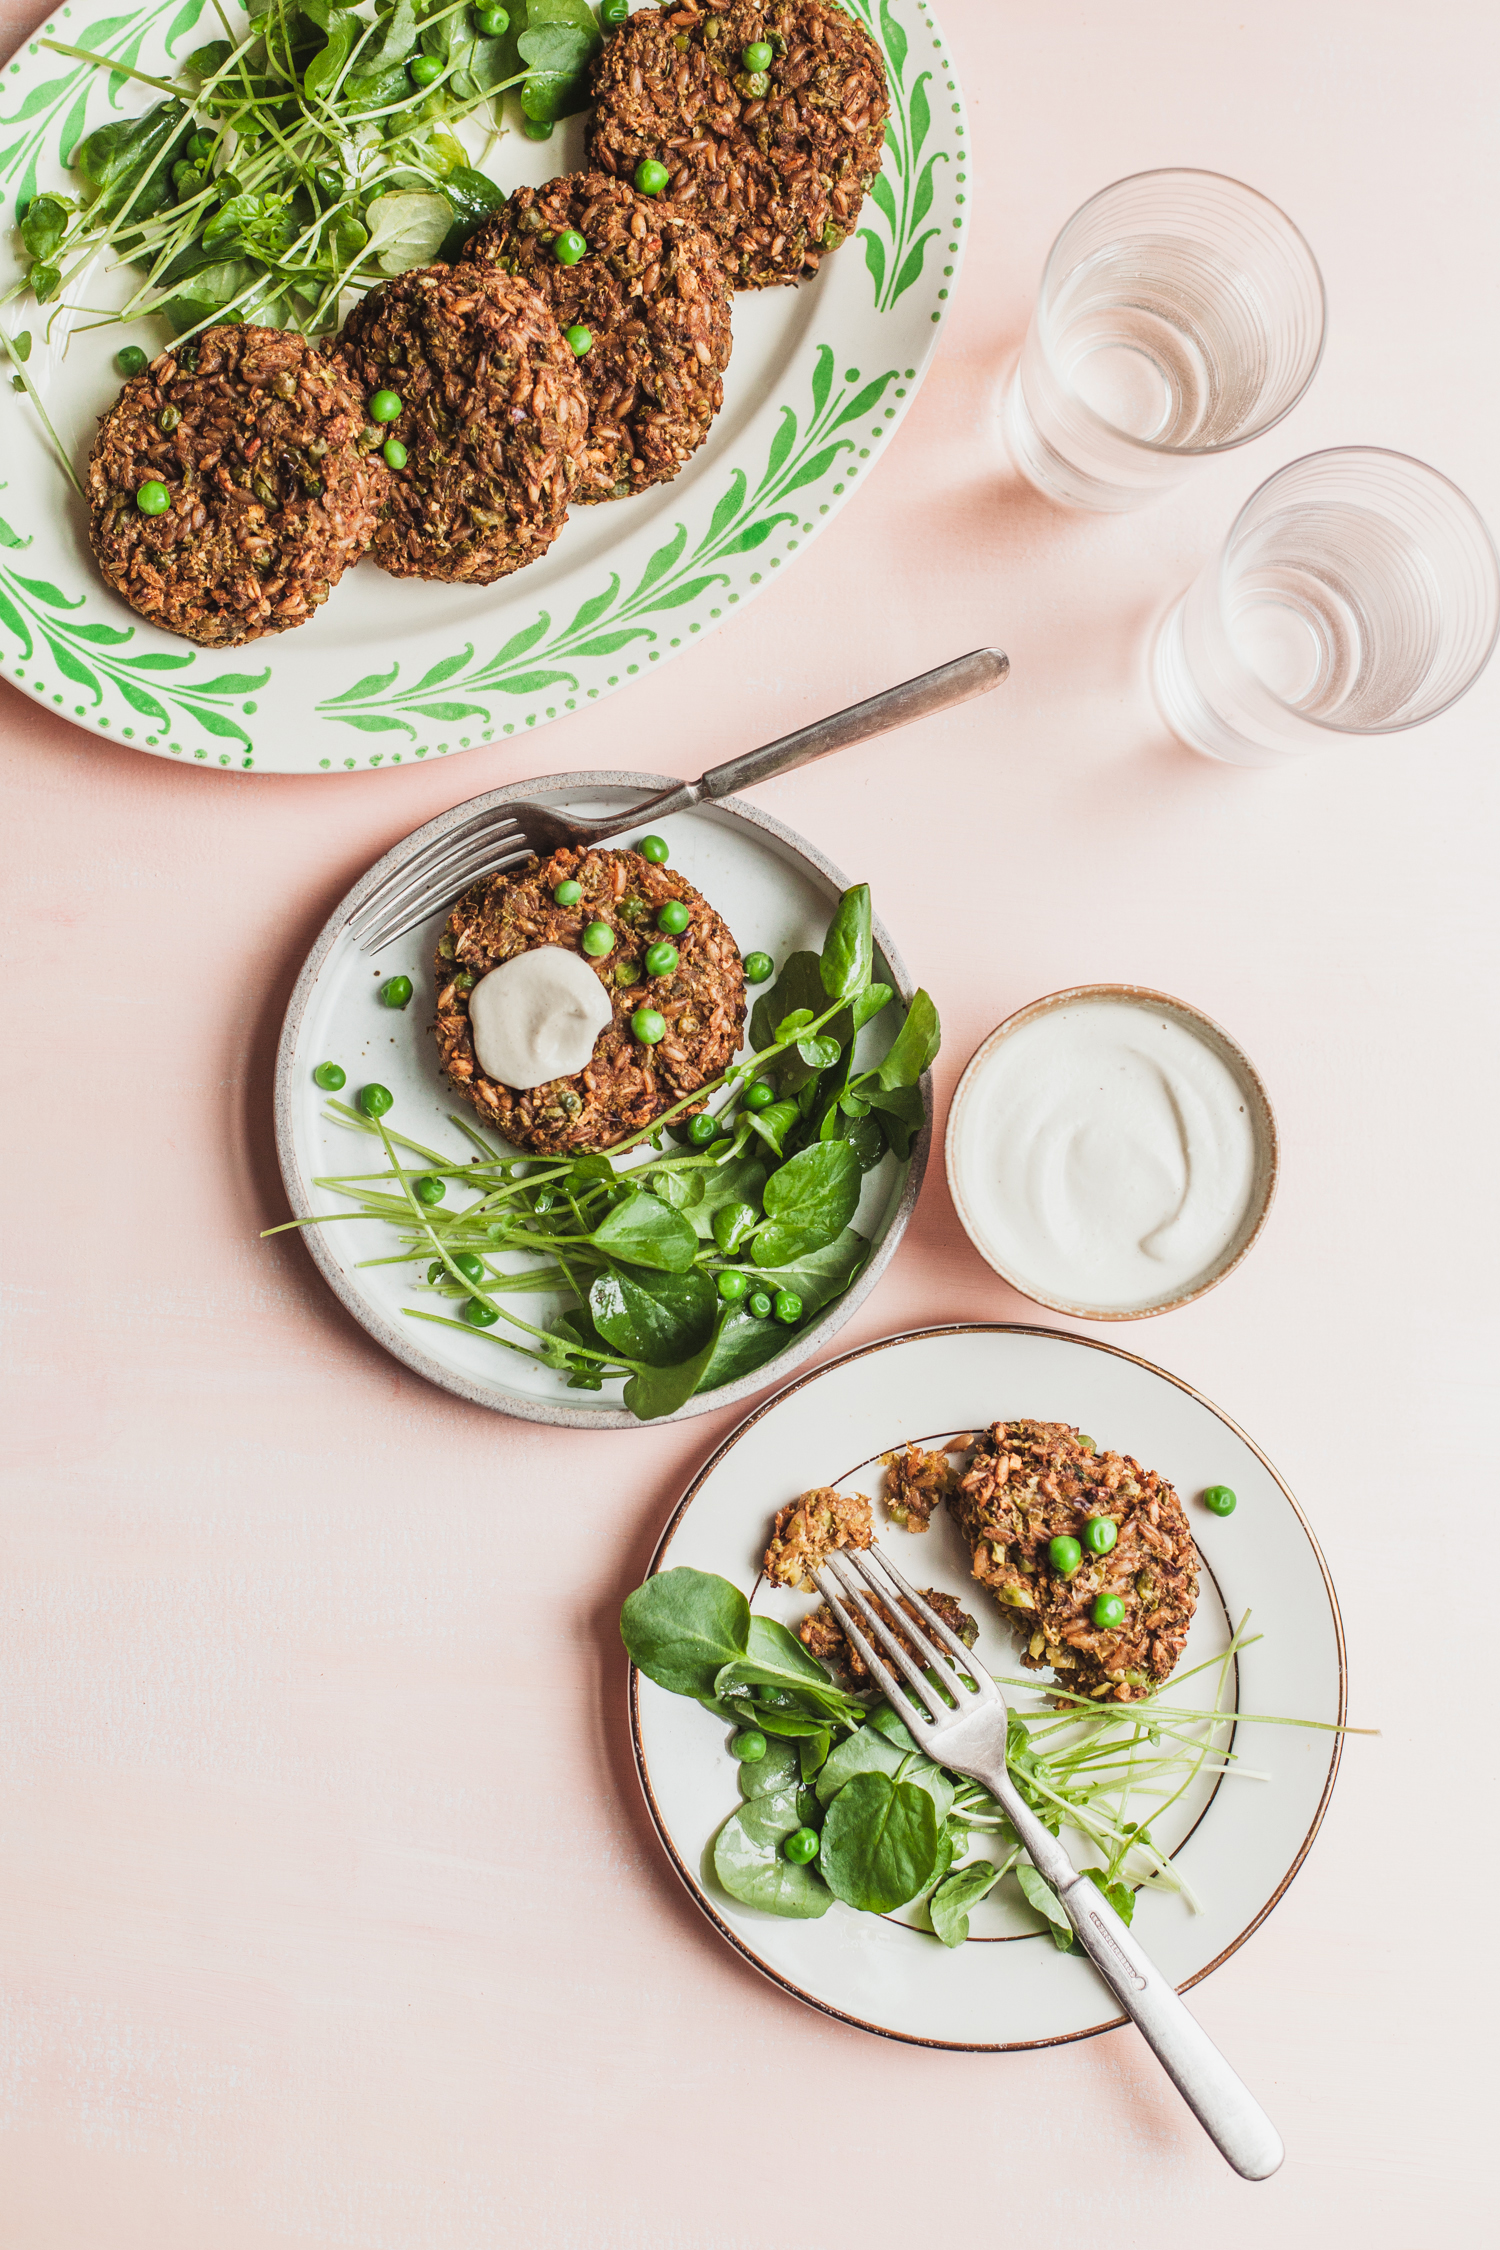
Vegan Farro and Pea Cakes
by Anya
Read Recipe
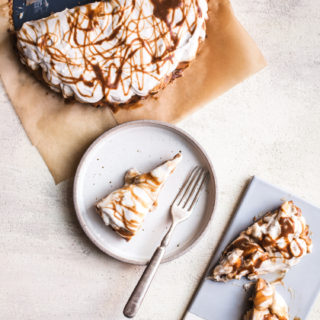
Salted Caramel Banana Cream Tart from Alternative Baker
by Anya
Read Recipe
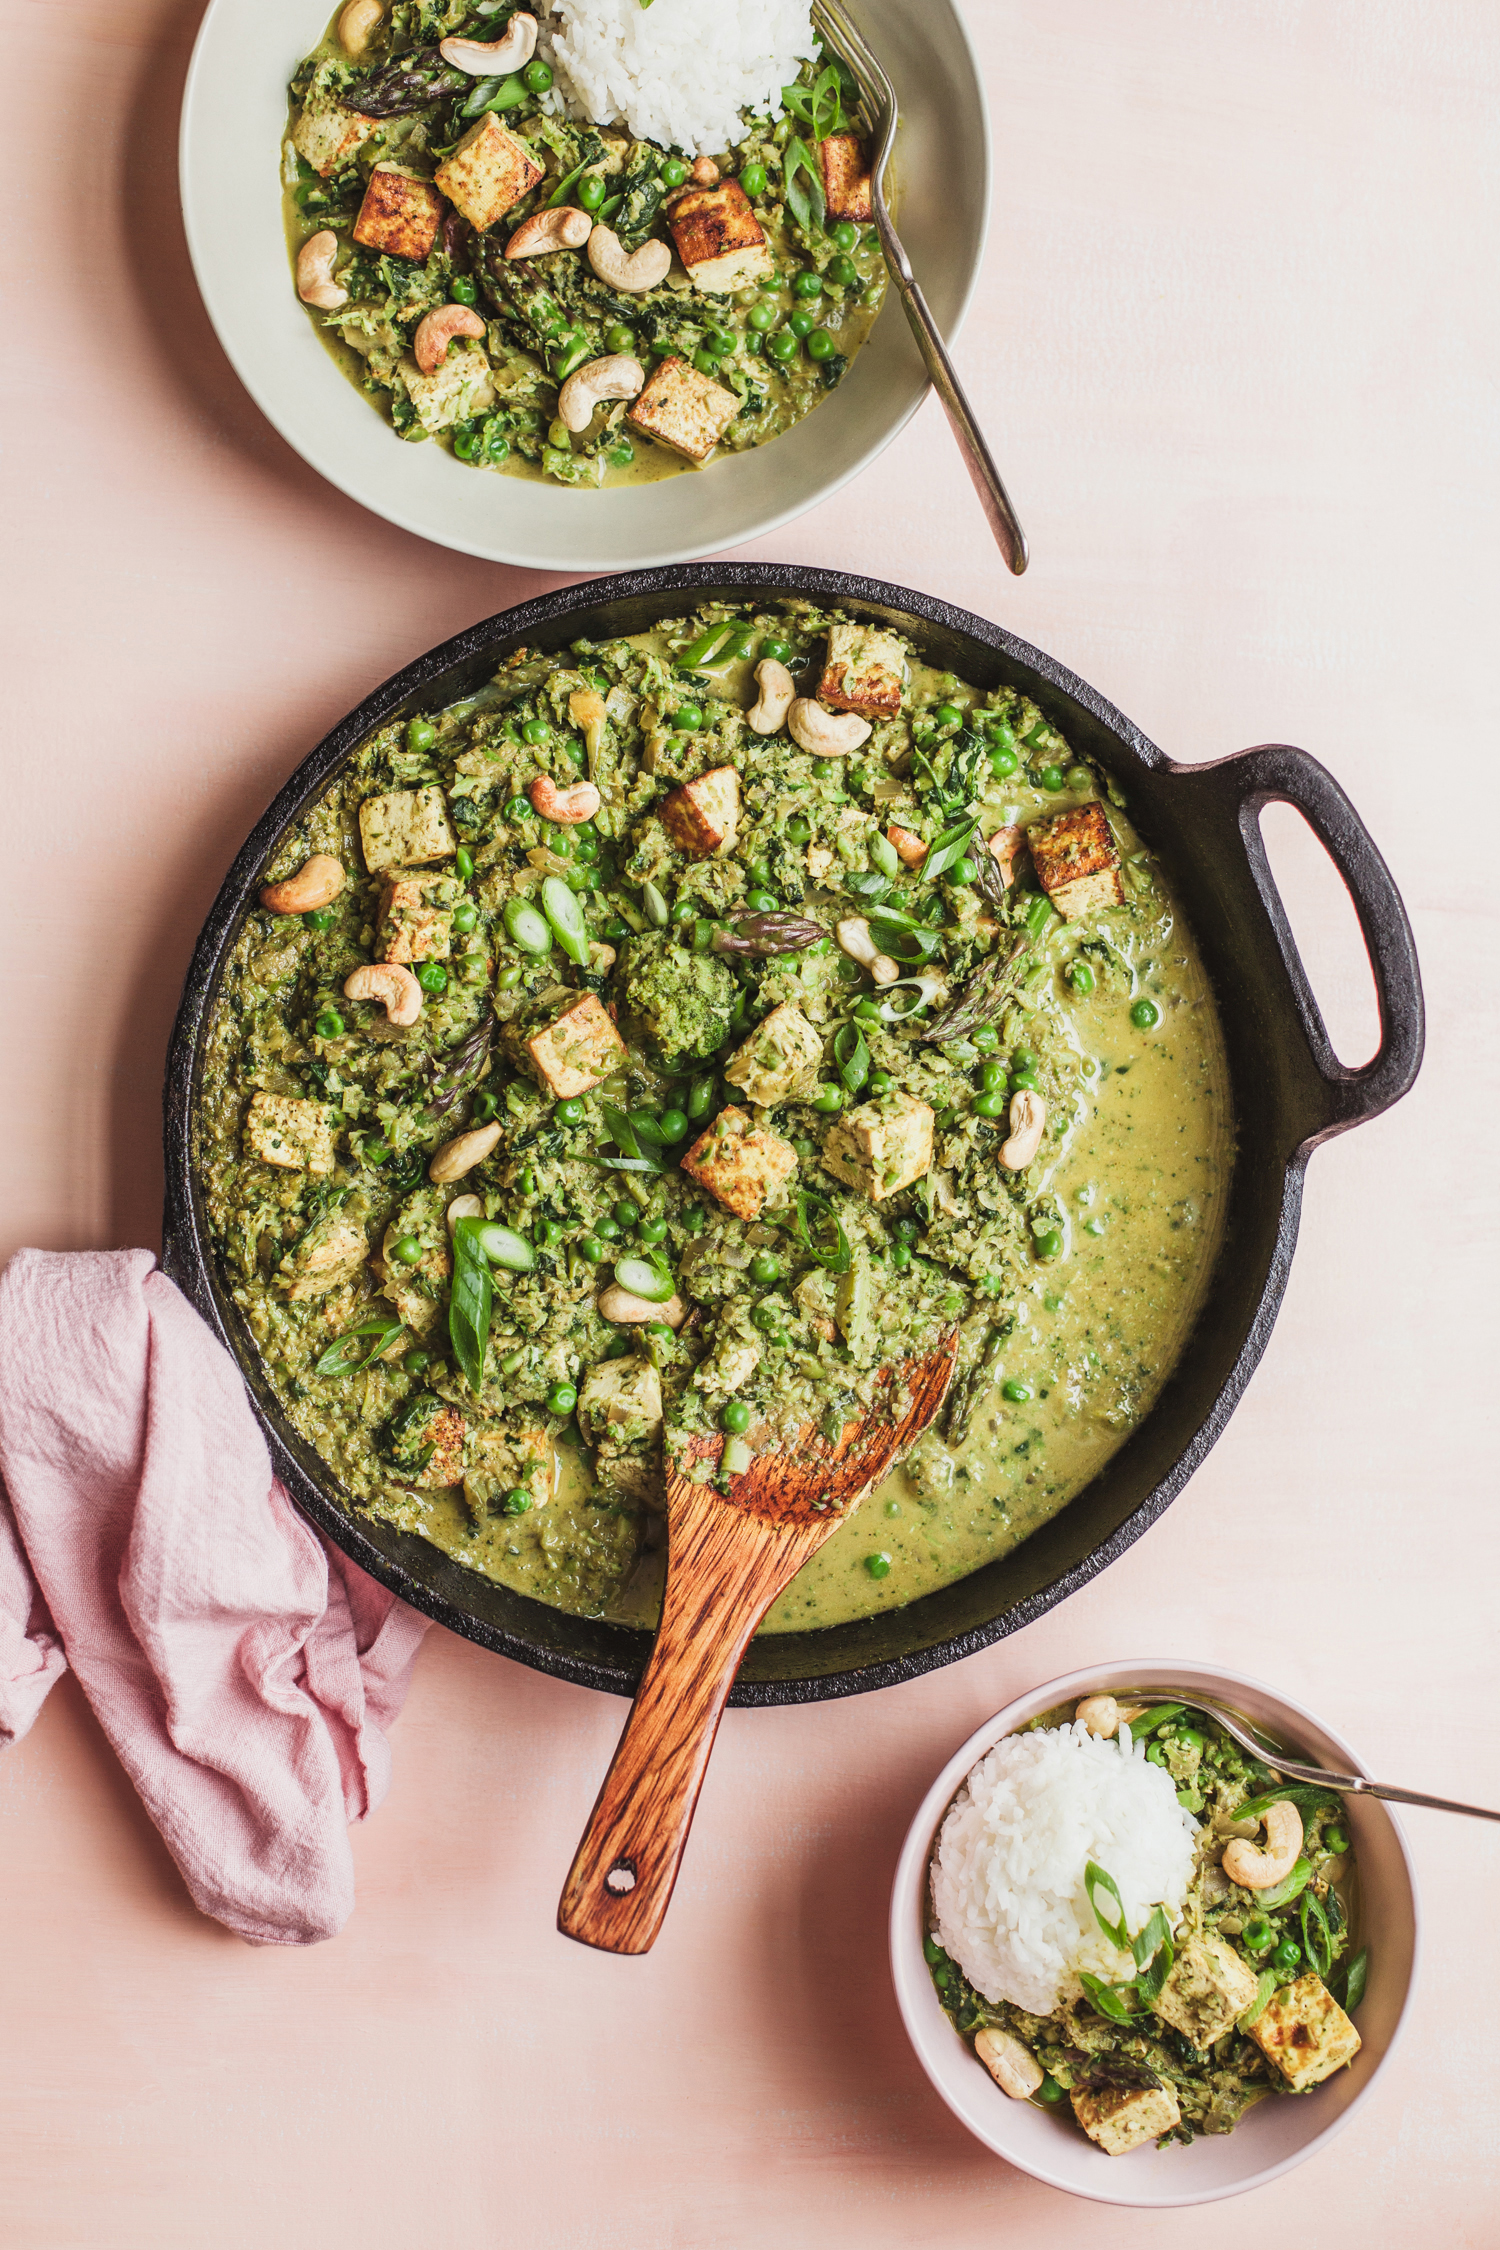
Our Favorite Weeknight Curry
by Anya
Read Recipe
Quick Sweet Potato Chocolate Pudding w/ Adaptogenic Mushrooms
by Anya
Read Recipe
Chunky Monkey Cookies, Vegan and Gluten-Free
by Anya
Read Recipe
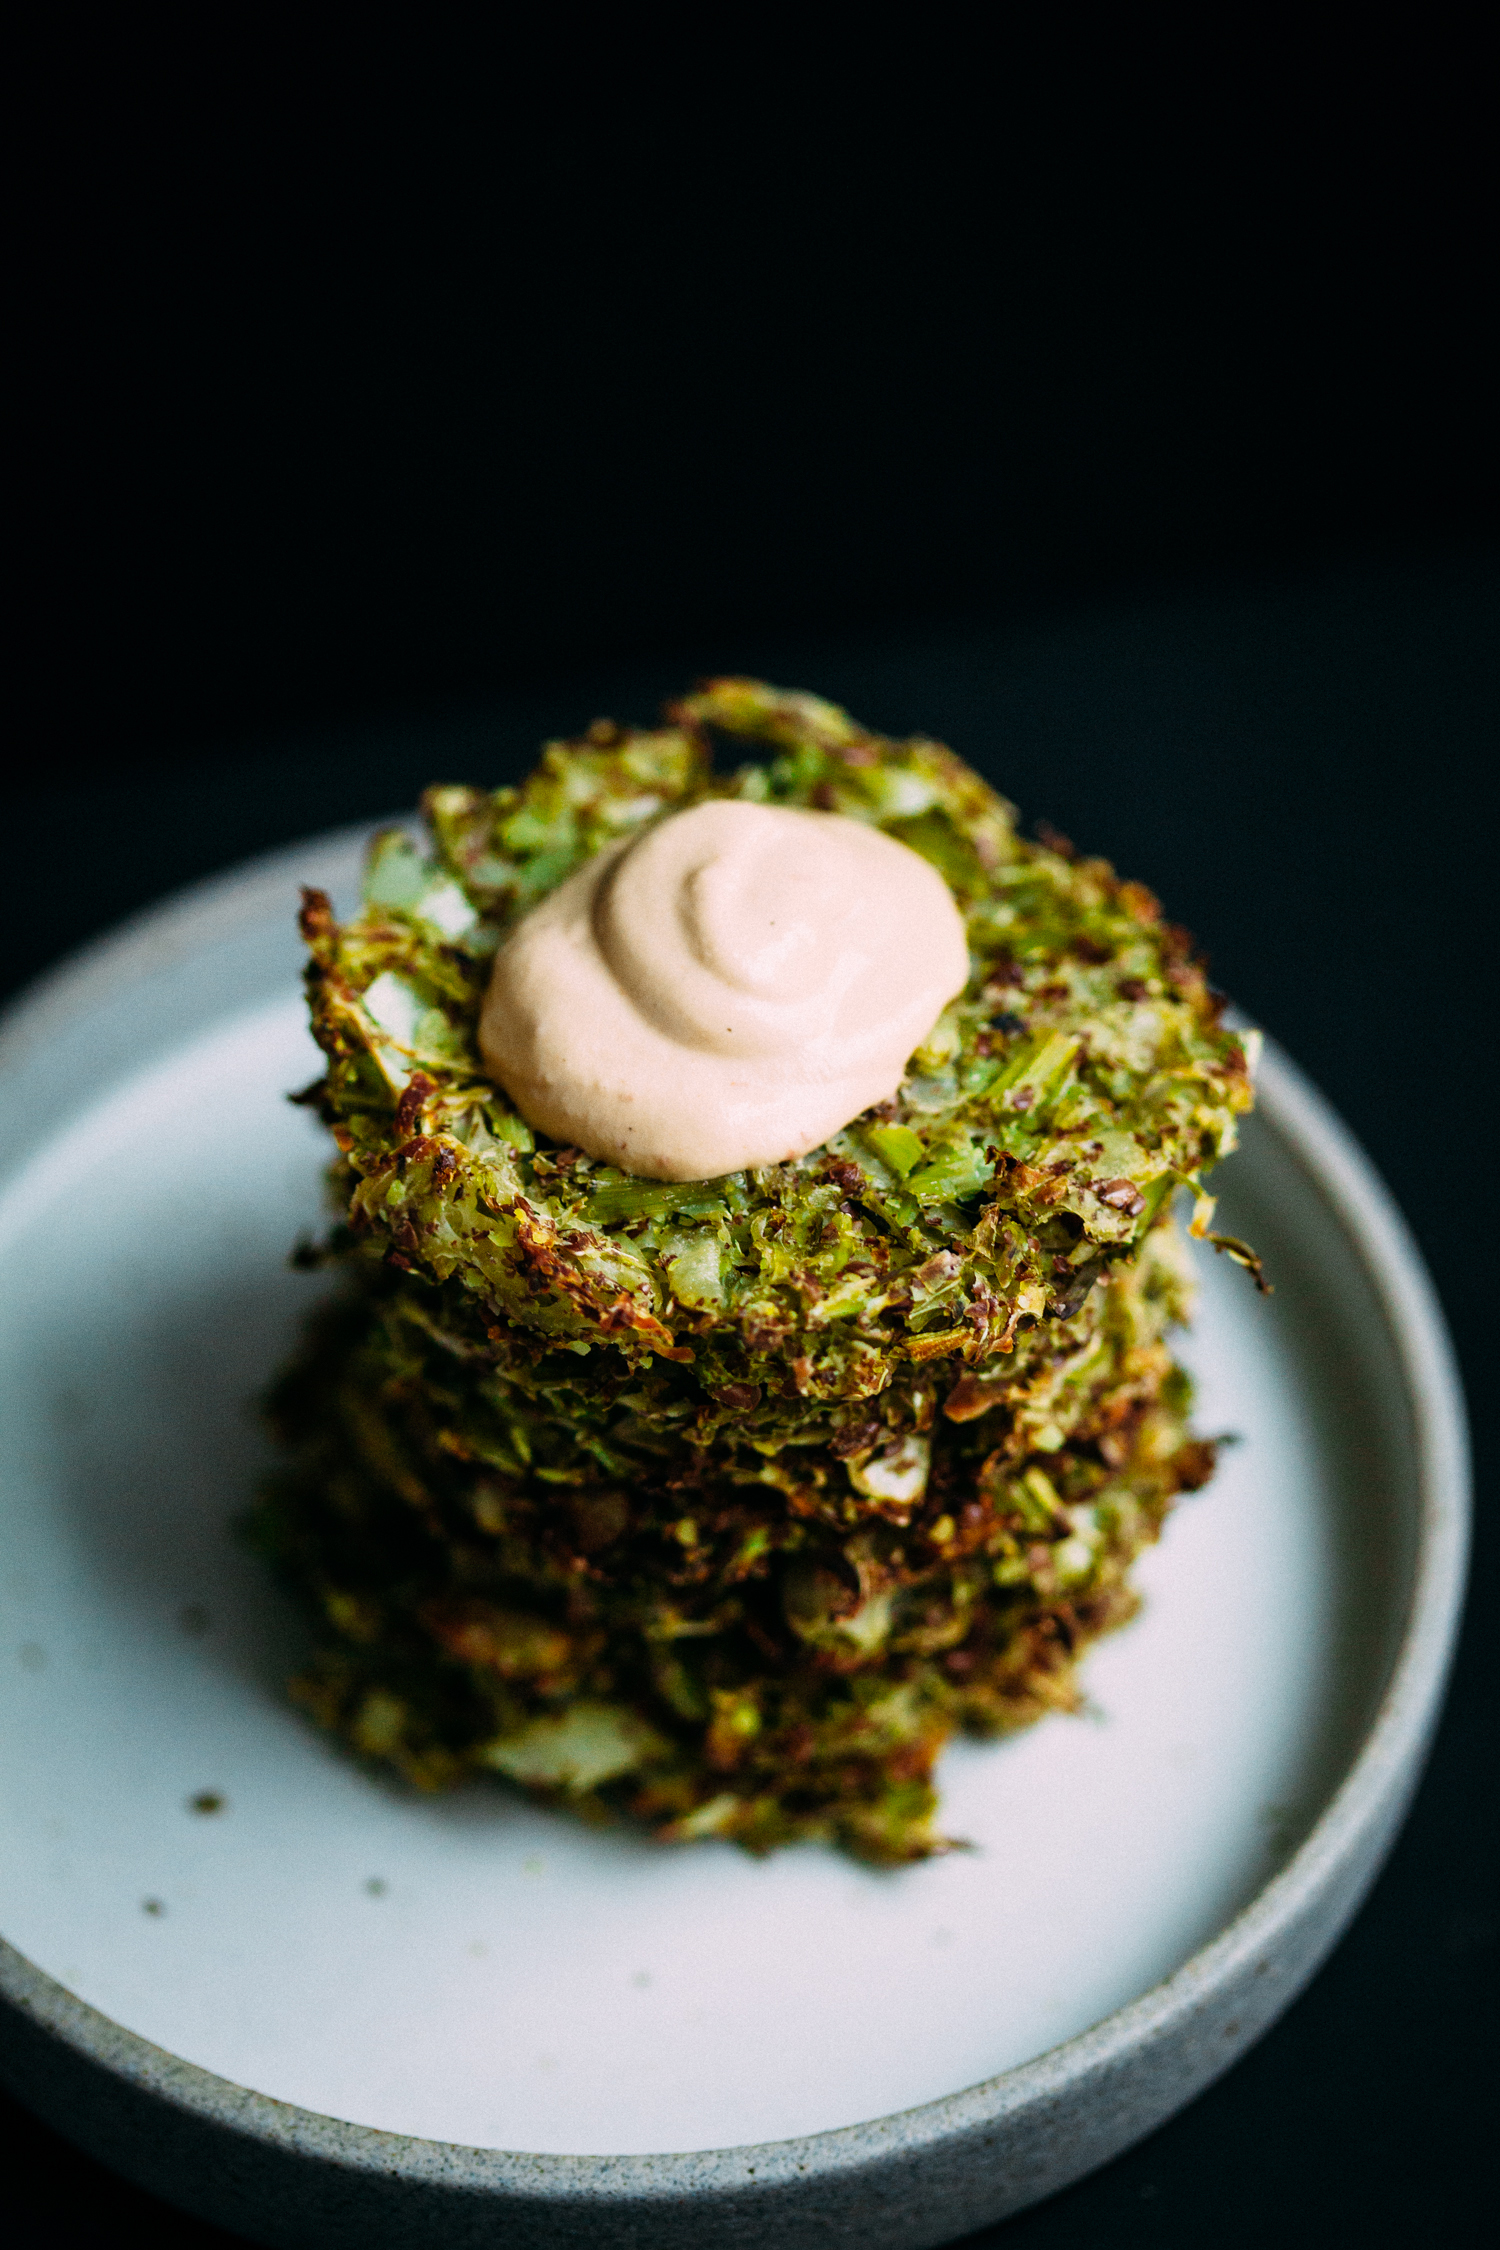
Less Waste: Oven-Baked Broccoli Stem Latkes
by Anya
Read Recipe
Strawberry Coconut Candies
by Anya
Read Recipe
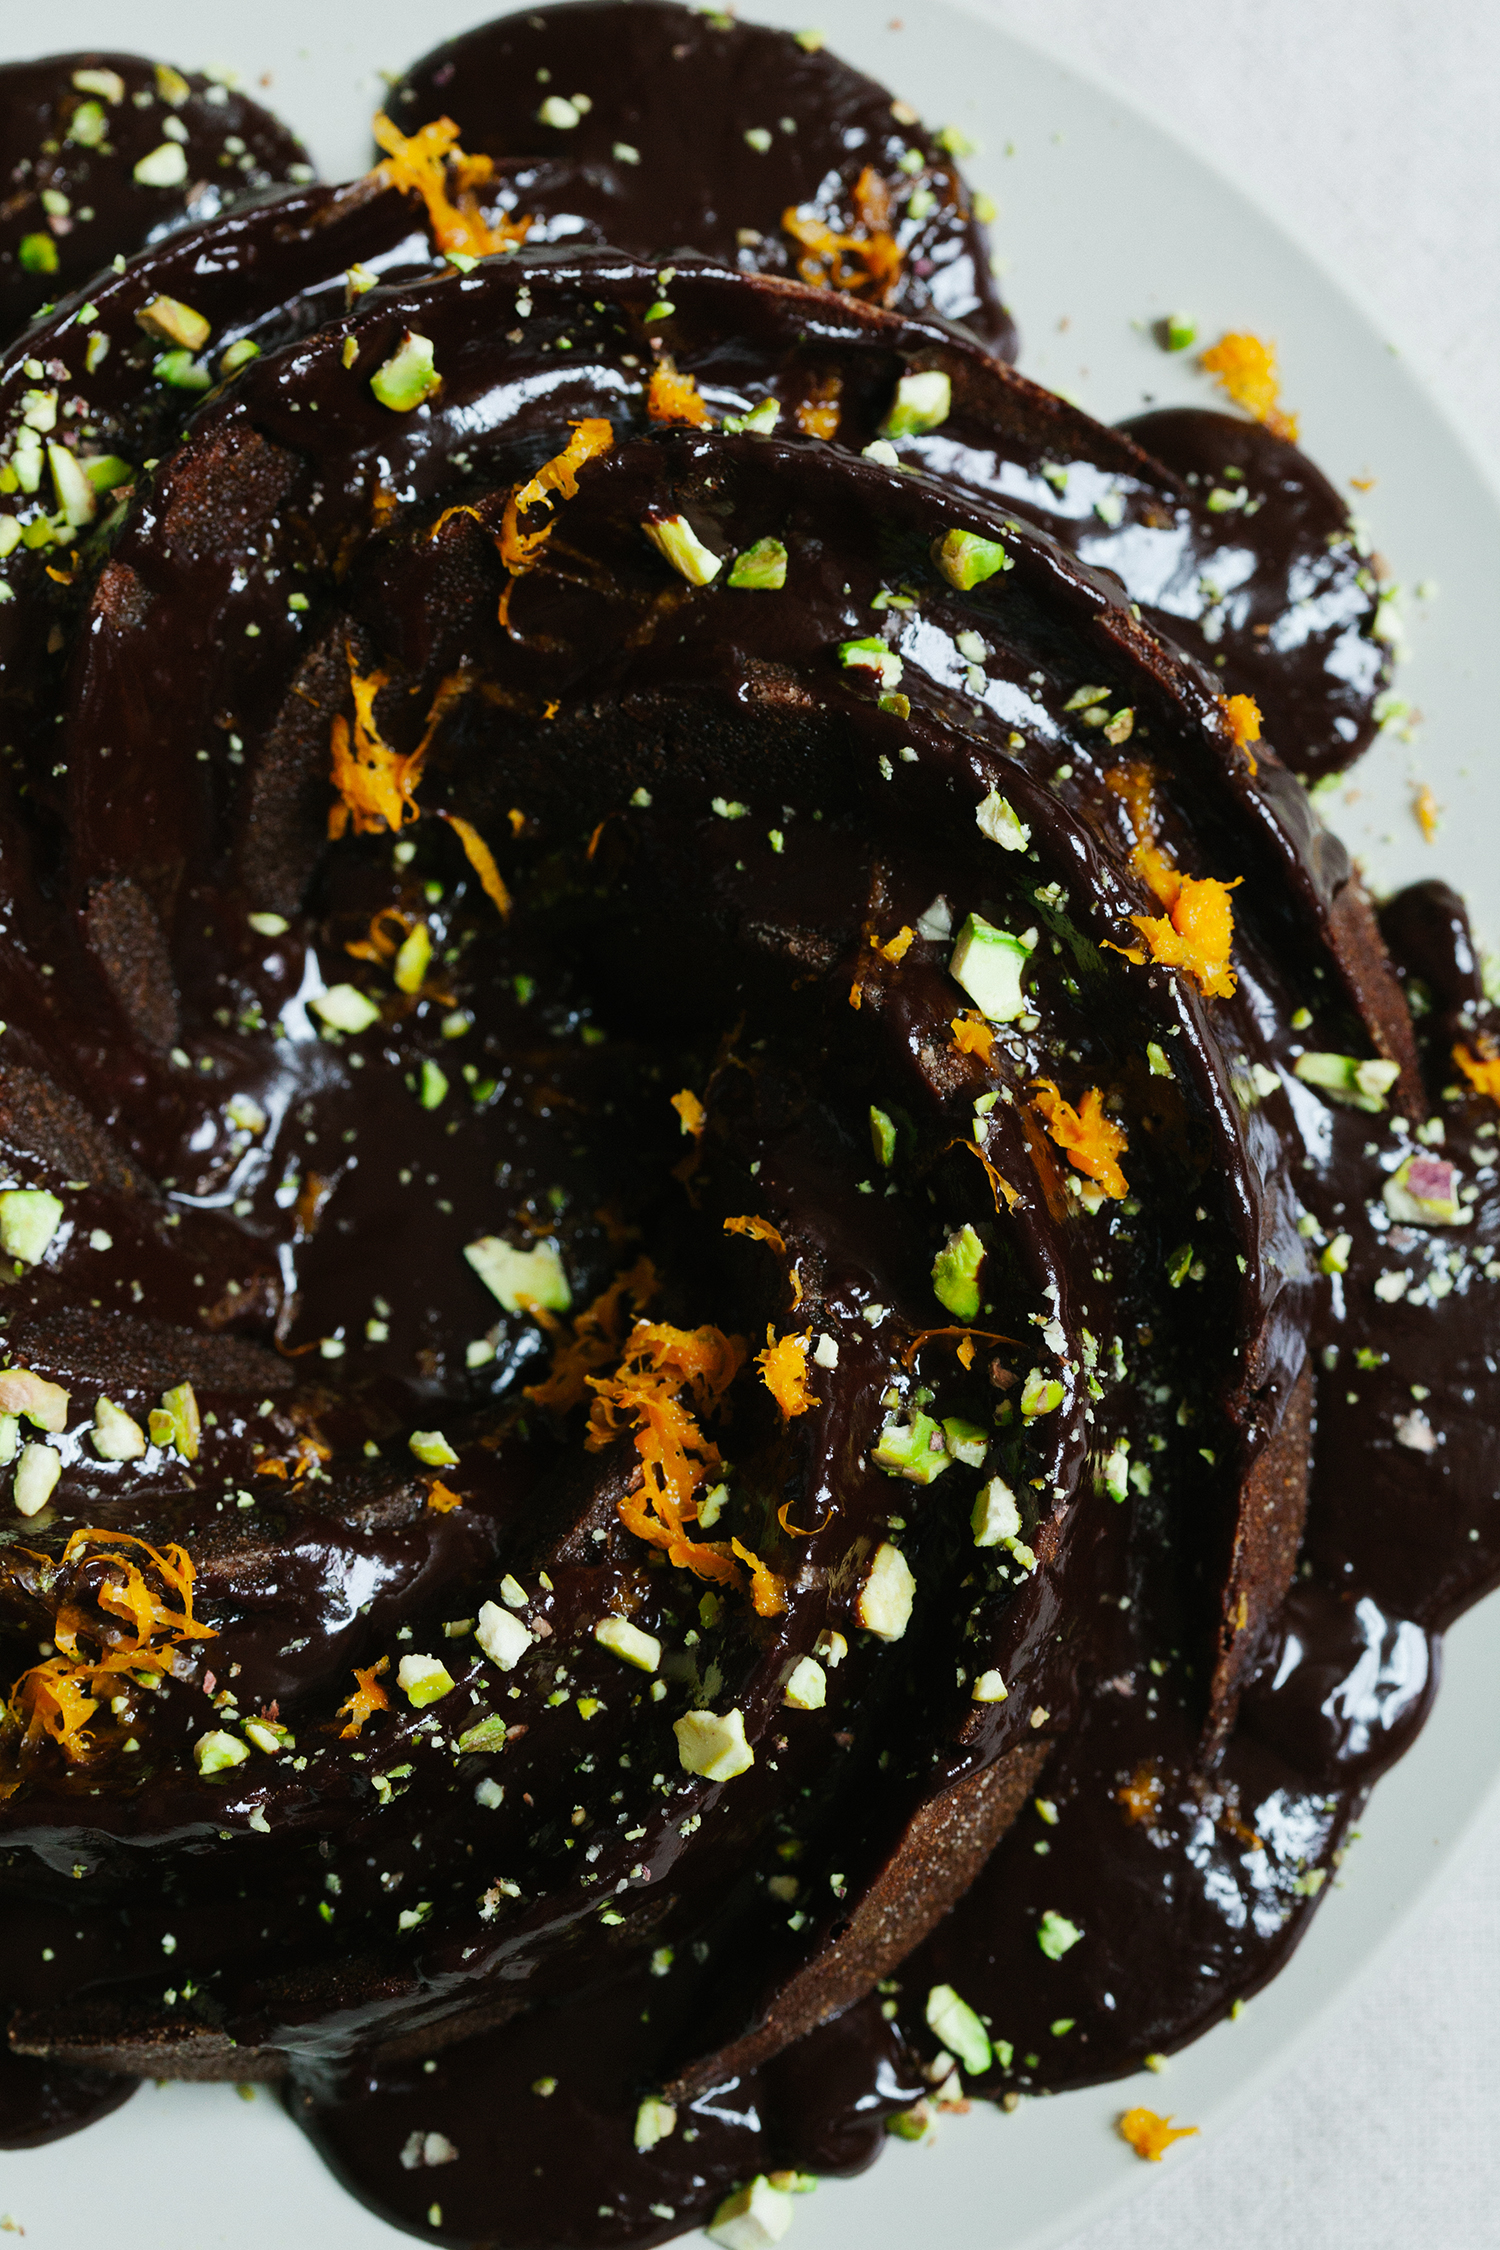
Chocolate Orange Bundt Cake from Simply Vibrant
by Anya
Read Recipe
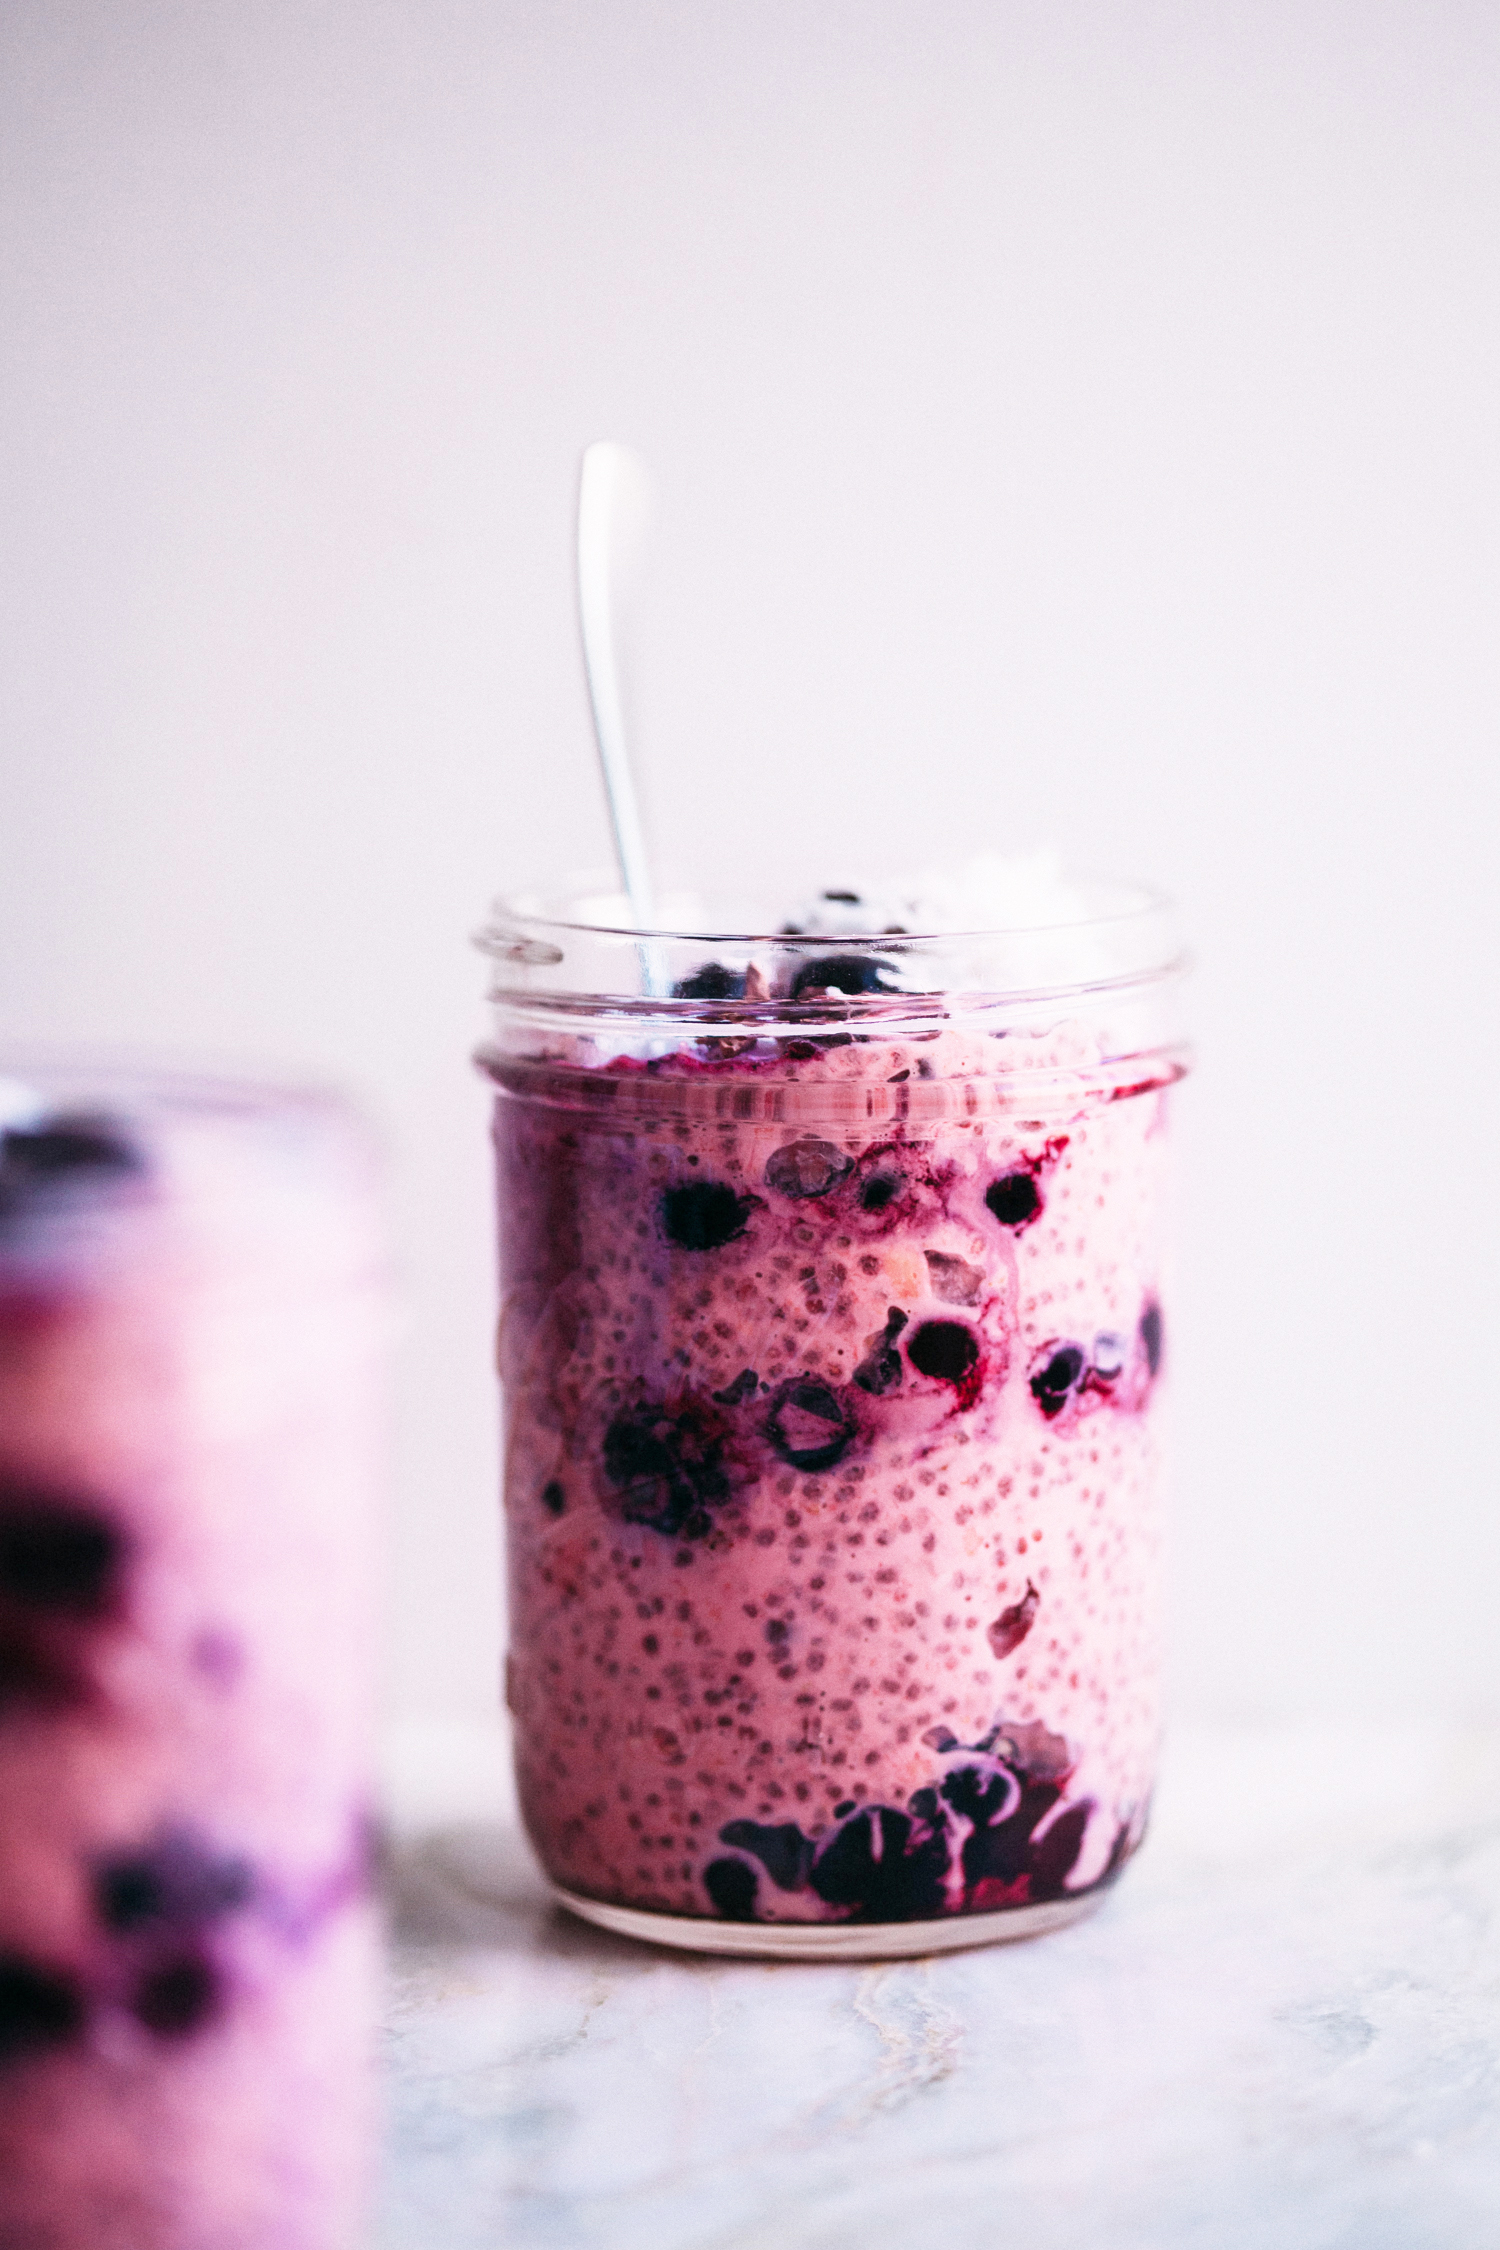
Coconut Beet Overnight Oats
by Anya
Read Recipe
Miso ‘Butter’ Ramen
by Anya
Read Recipe
Chocolate Matcha Tart with a Sesame Crust
by Anya
Read Recipe
Favorite New Year Reset Recipes
by Anya
Read Recipe
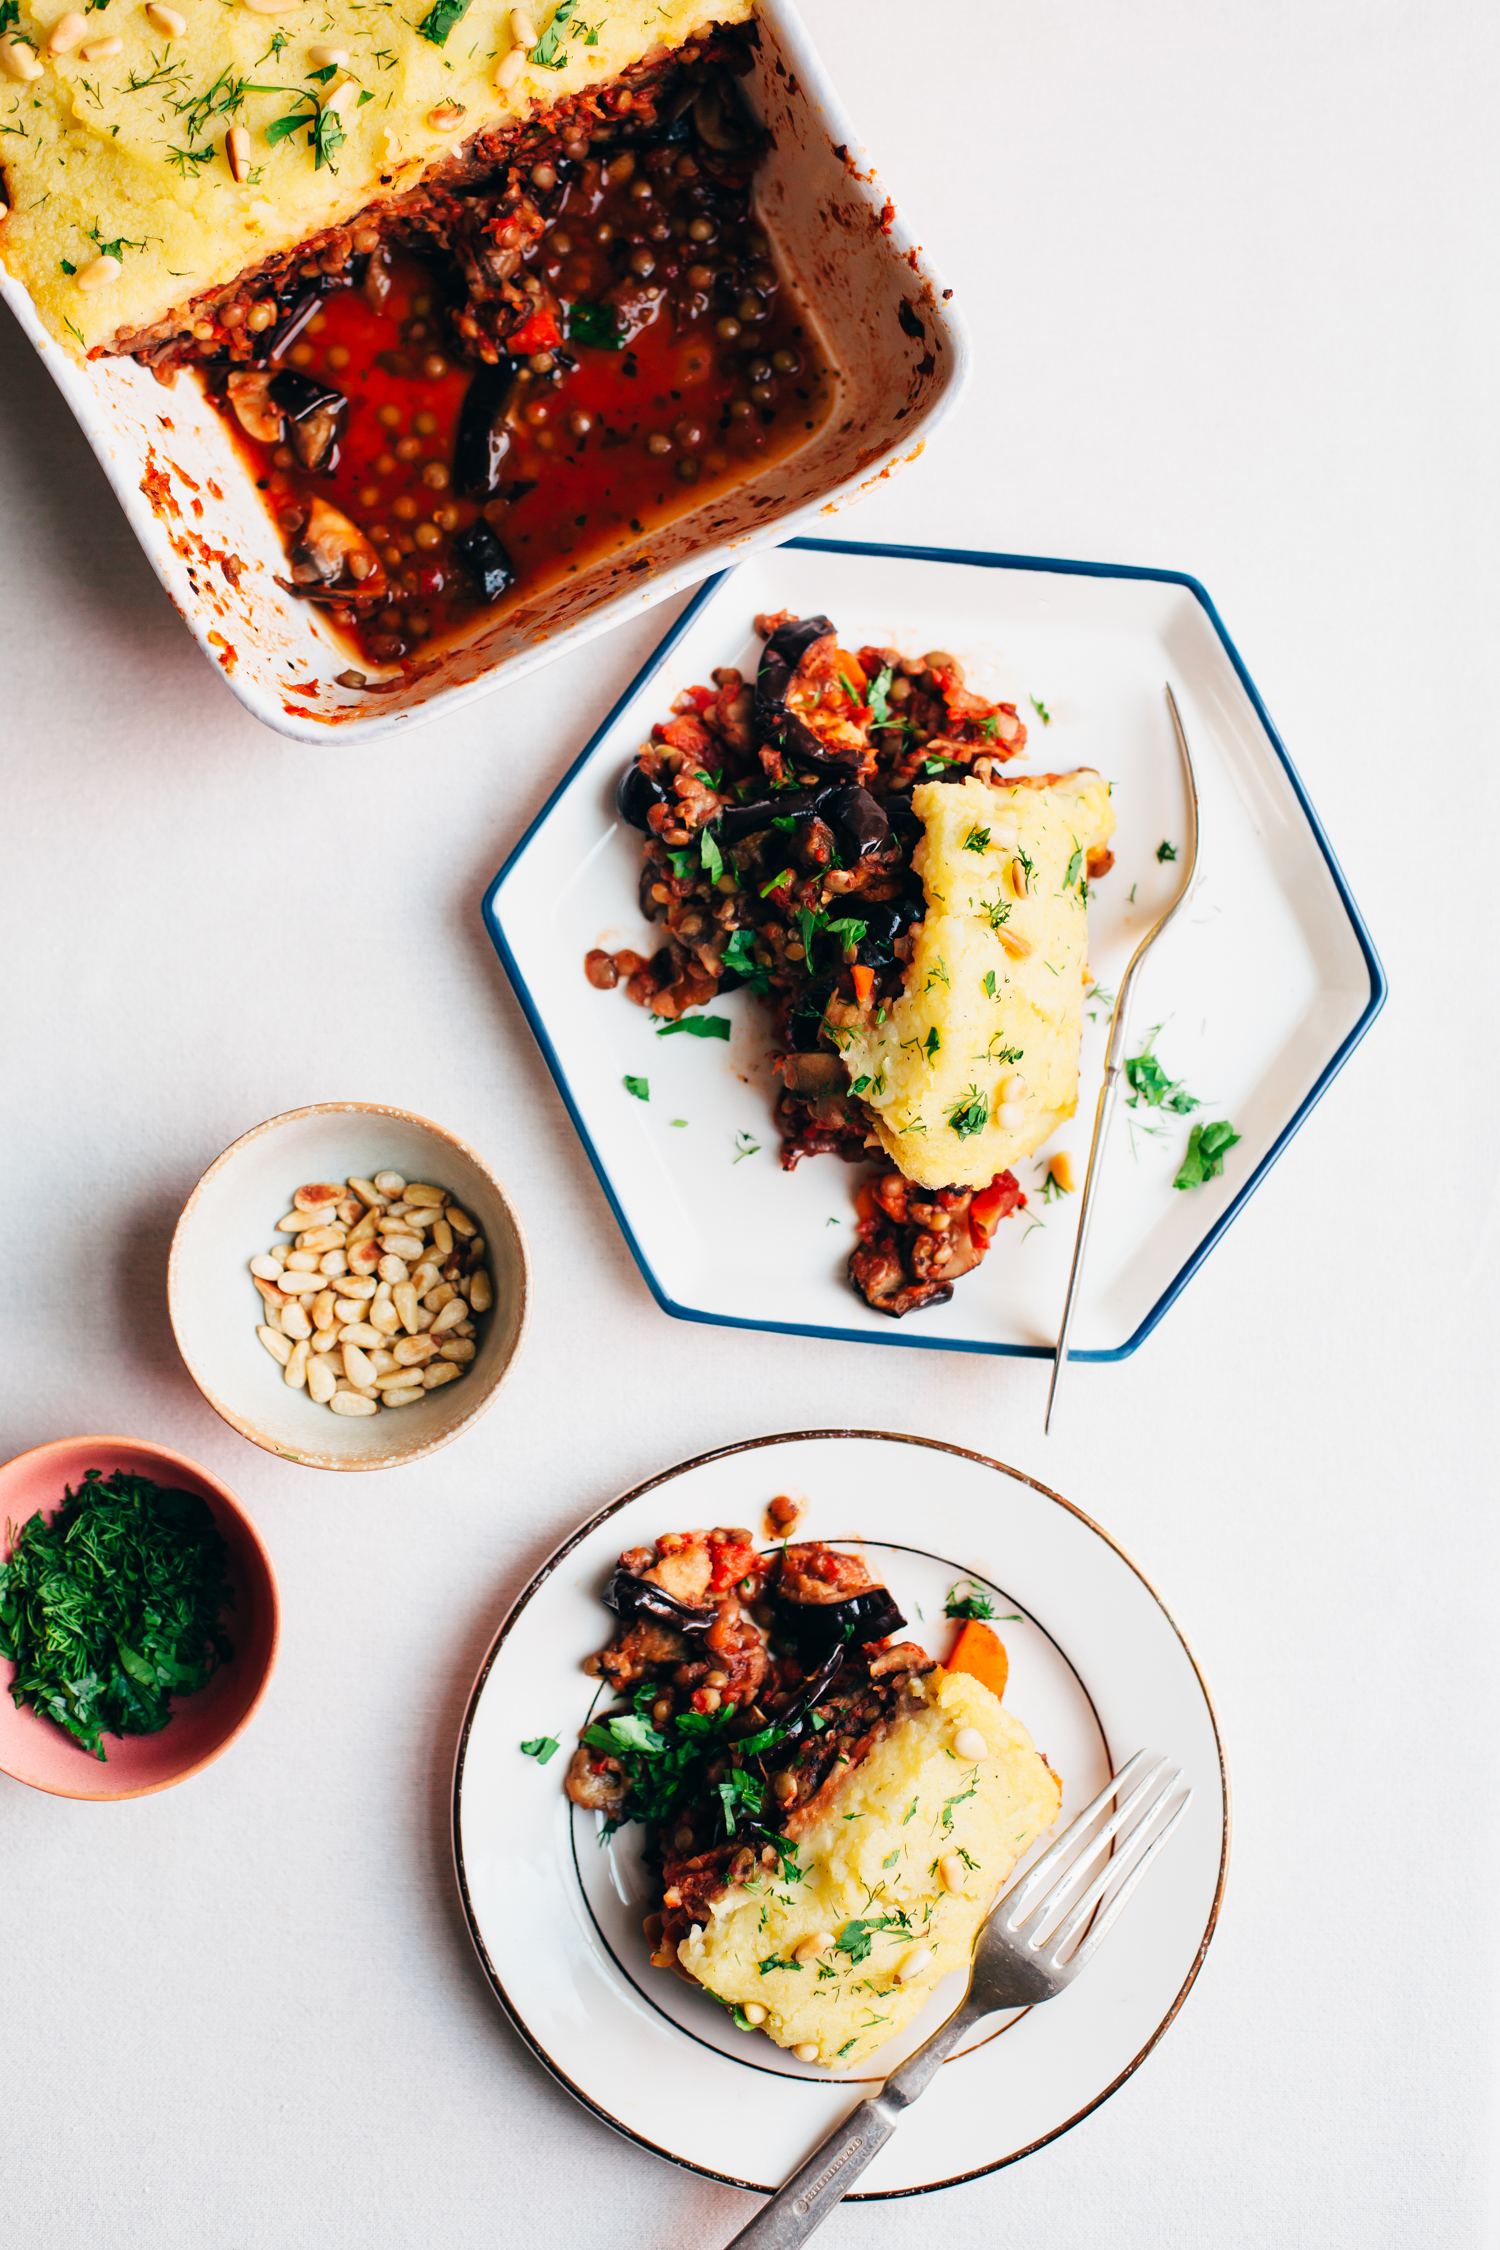
Vegan Lentil Moussaka
by Anya
Read Recipe
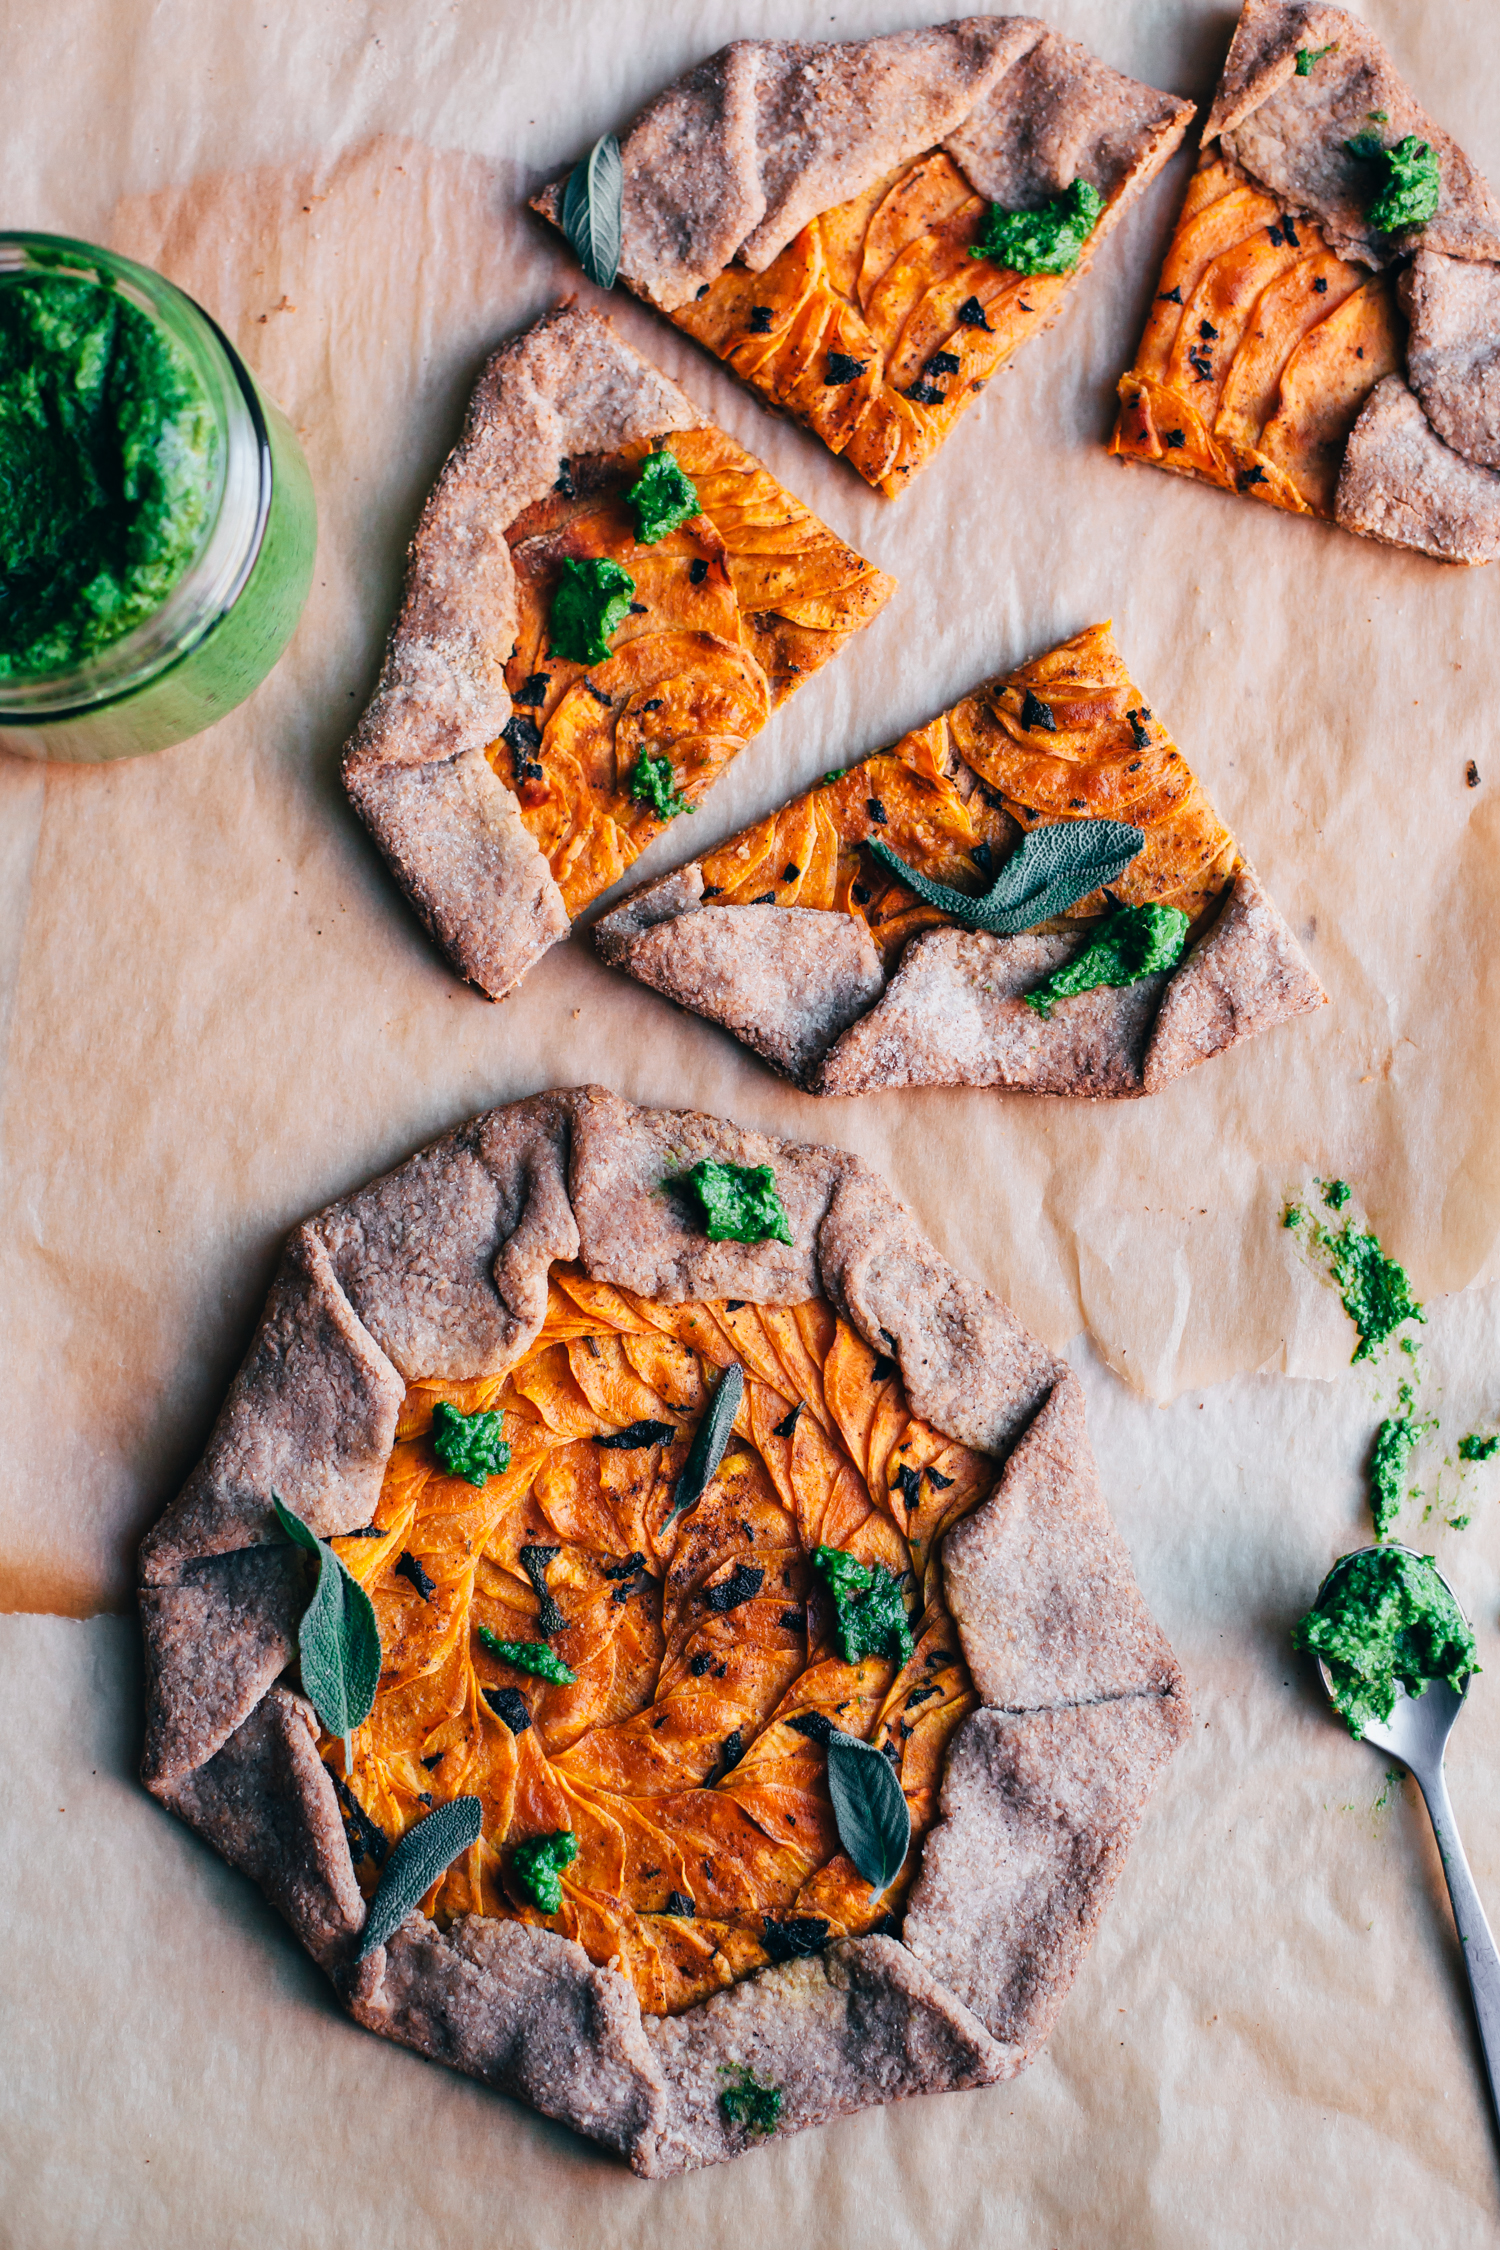
Sweet Potato Galette with Magic Green Sauce
by Anya
Read Recipe
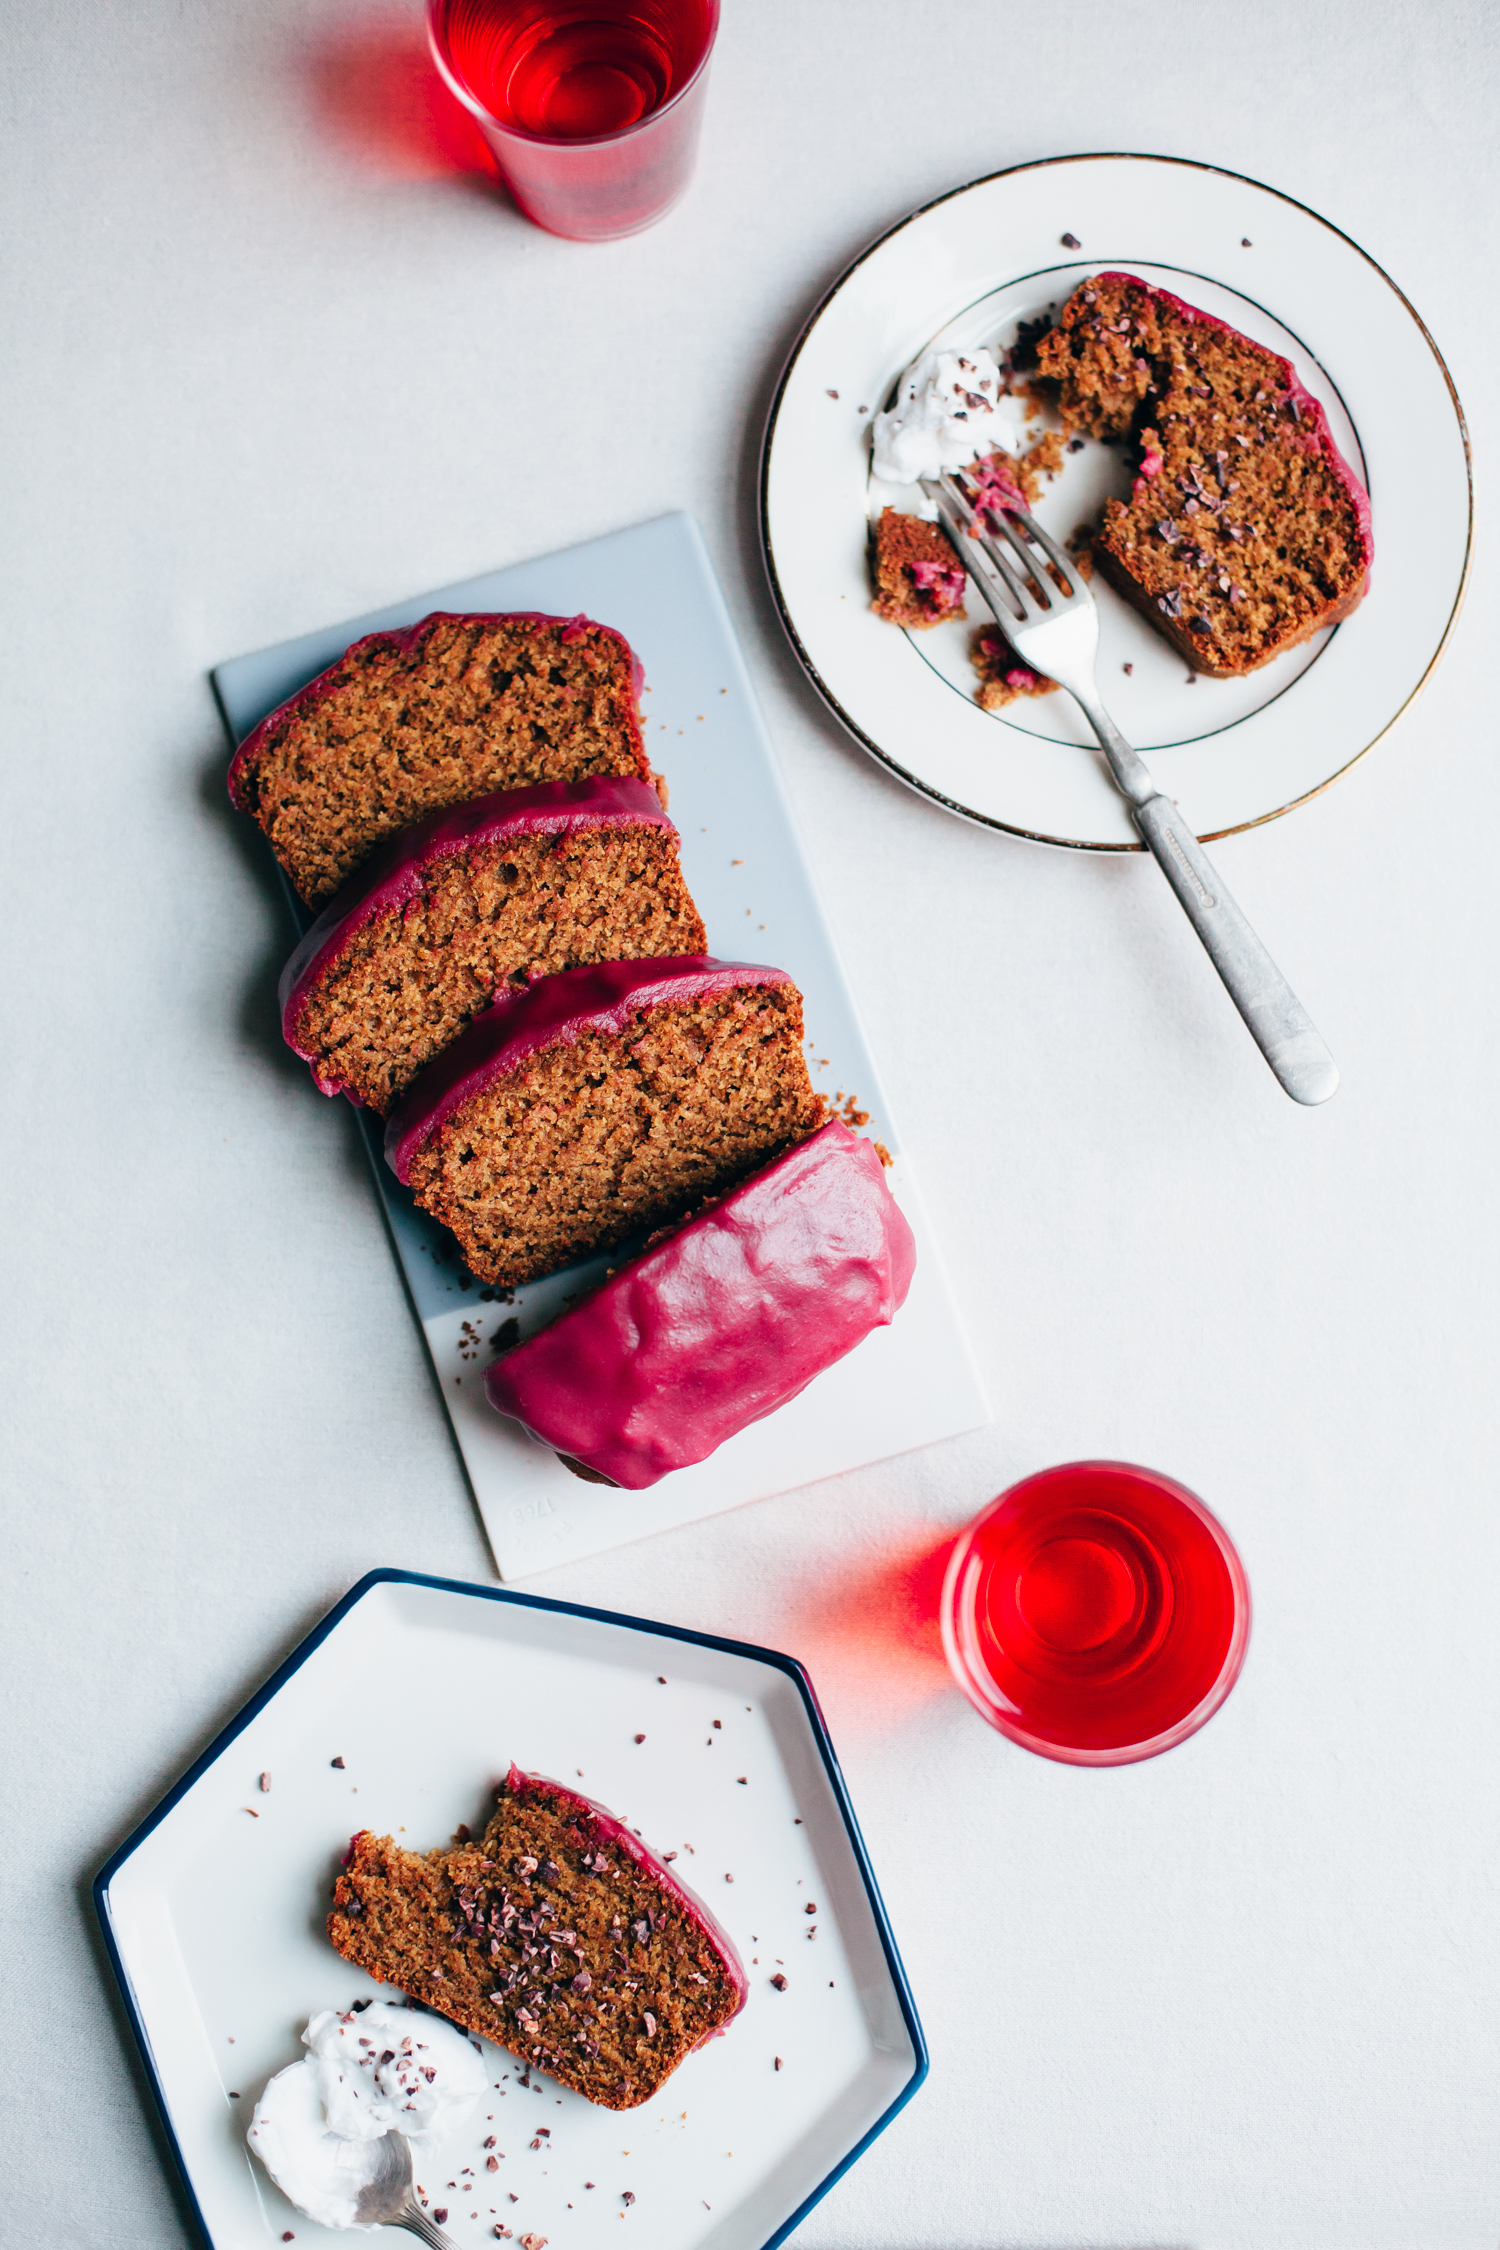
Olive Oil Loaf with Hibiscus Beet Icing
by Anya
Read Recipe
Chocolate Chip Cookie Dough Bites
by Anya
Read Recipe
No-Recipe Cozy Vegan Latte
by Masha
Read Recipe
Cauliflower ‘Pesto’ Pasta
by Anya
Read Recipe
Roasted Eggplant Wedges with Herbed Pistachio Millet
by Anya
Read Recipe
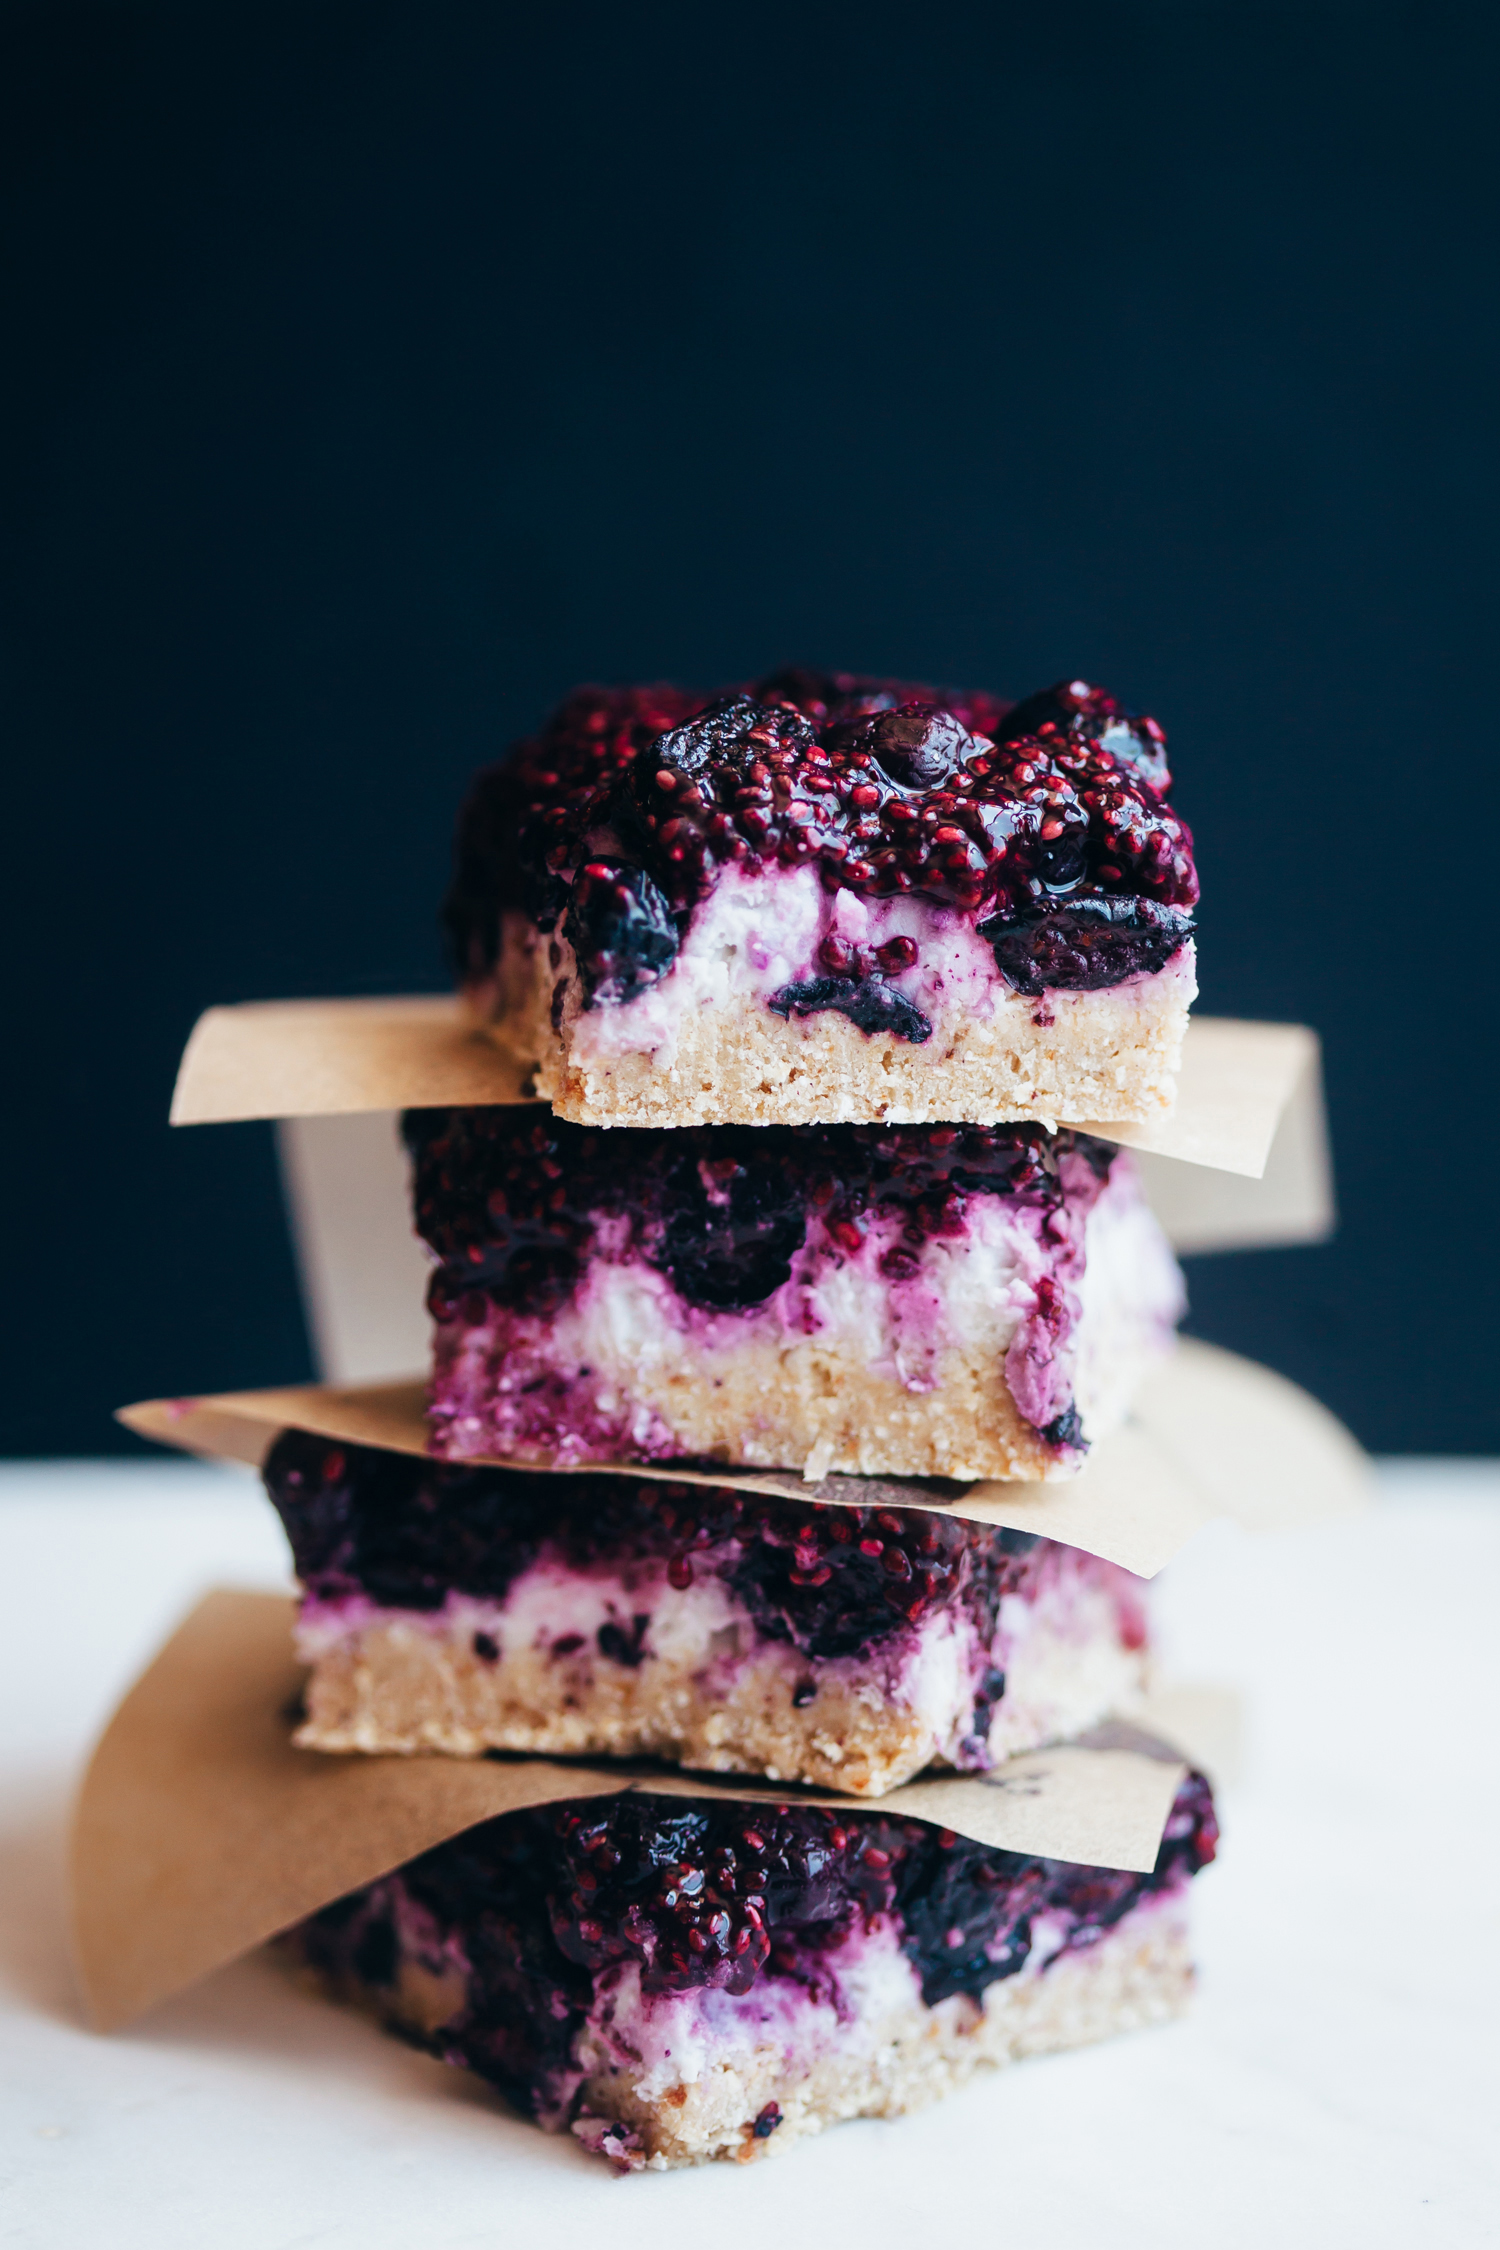
No Bake Blueberry Coconut Bars
by Anya
Read Recipe
Chocolate Brownie and Cherry Ice Cream Sandwiches
by Anya
Read Recipe
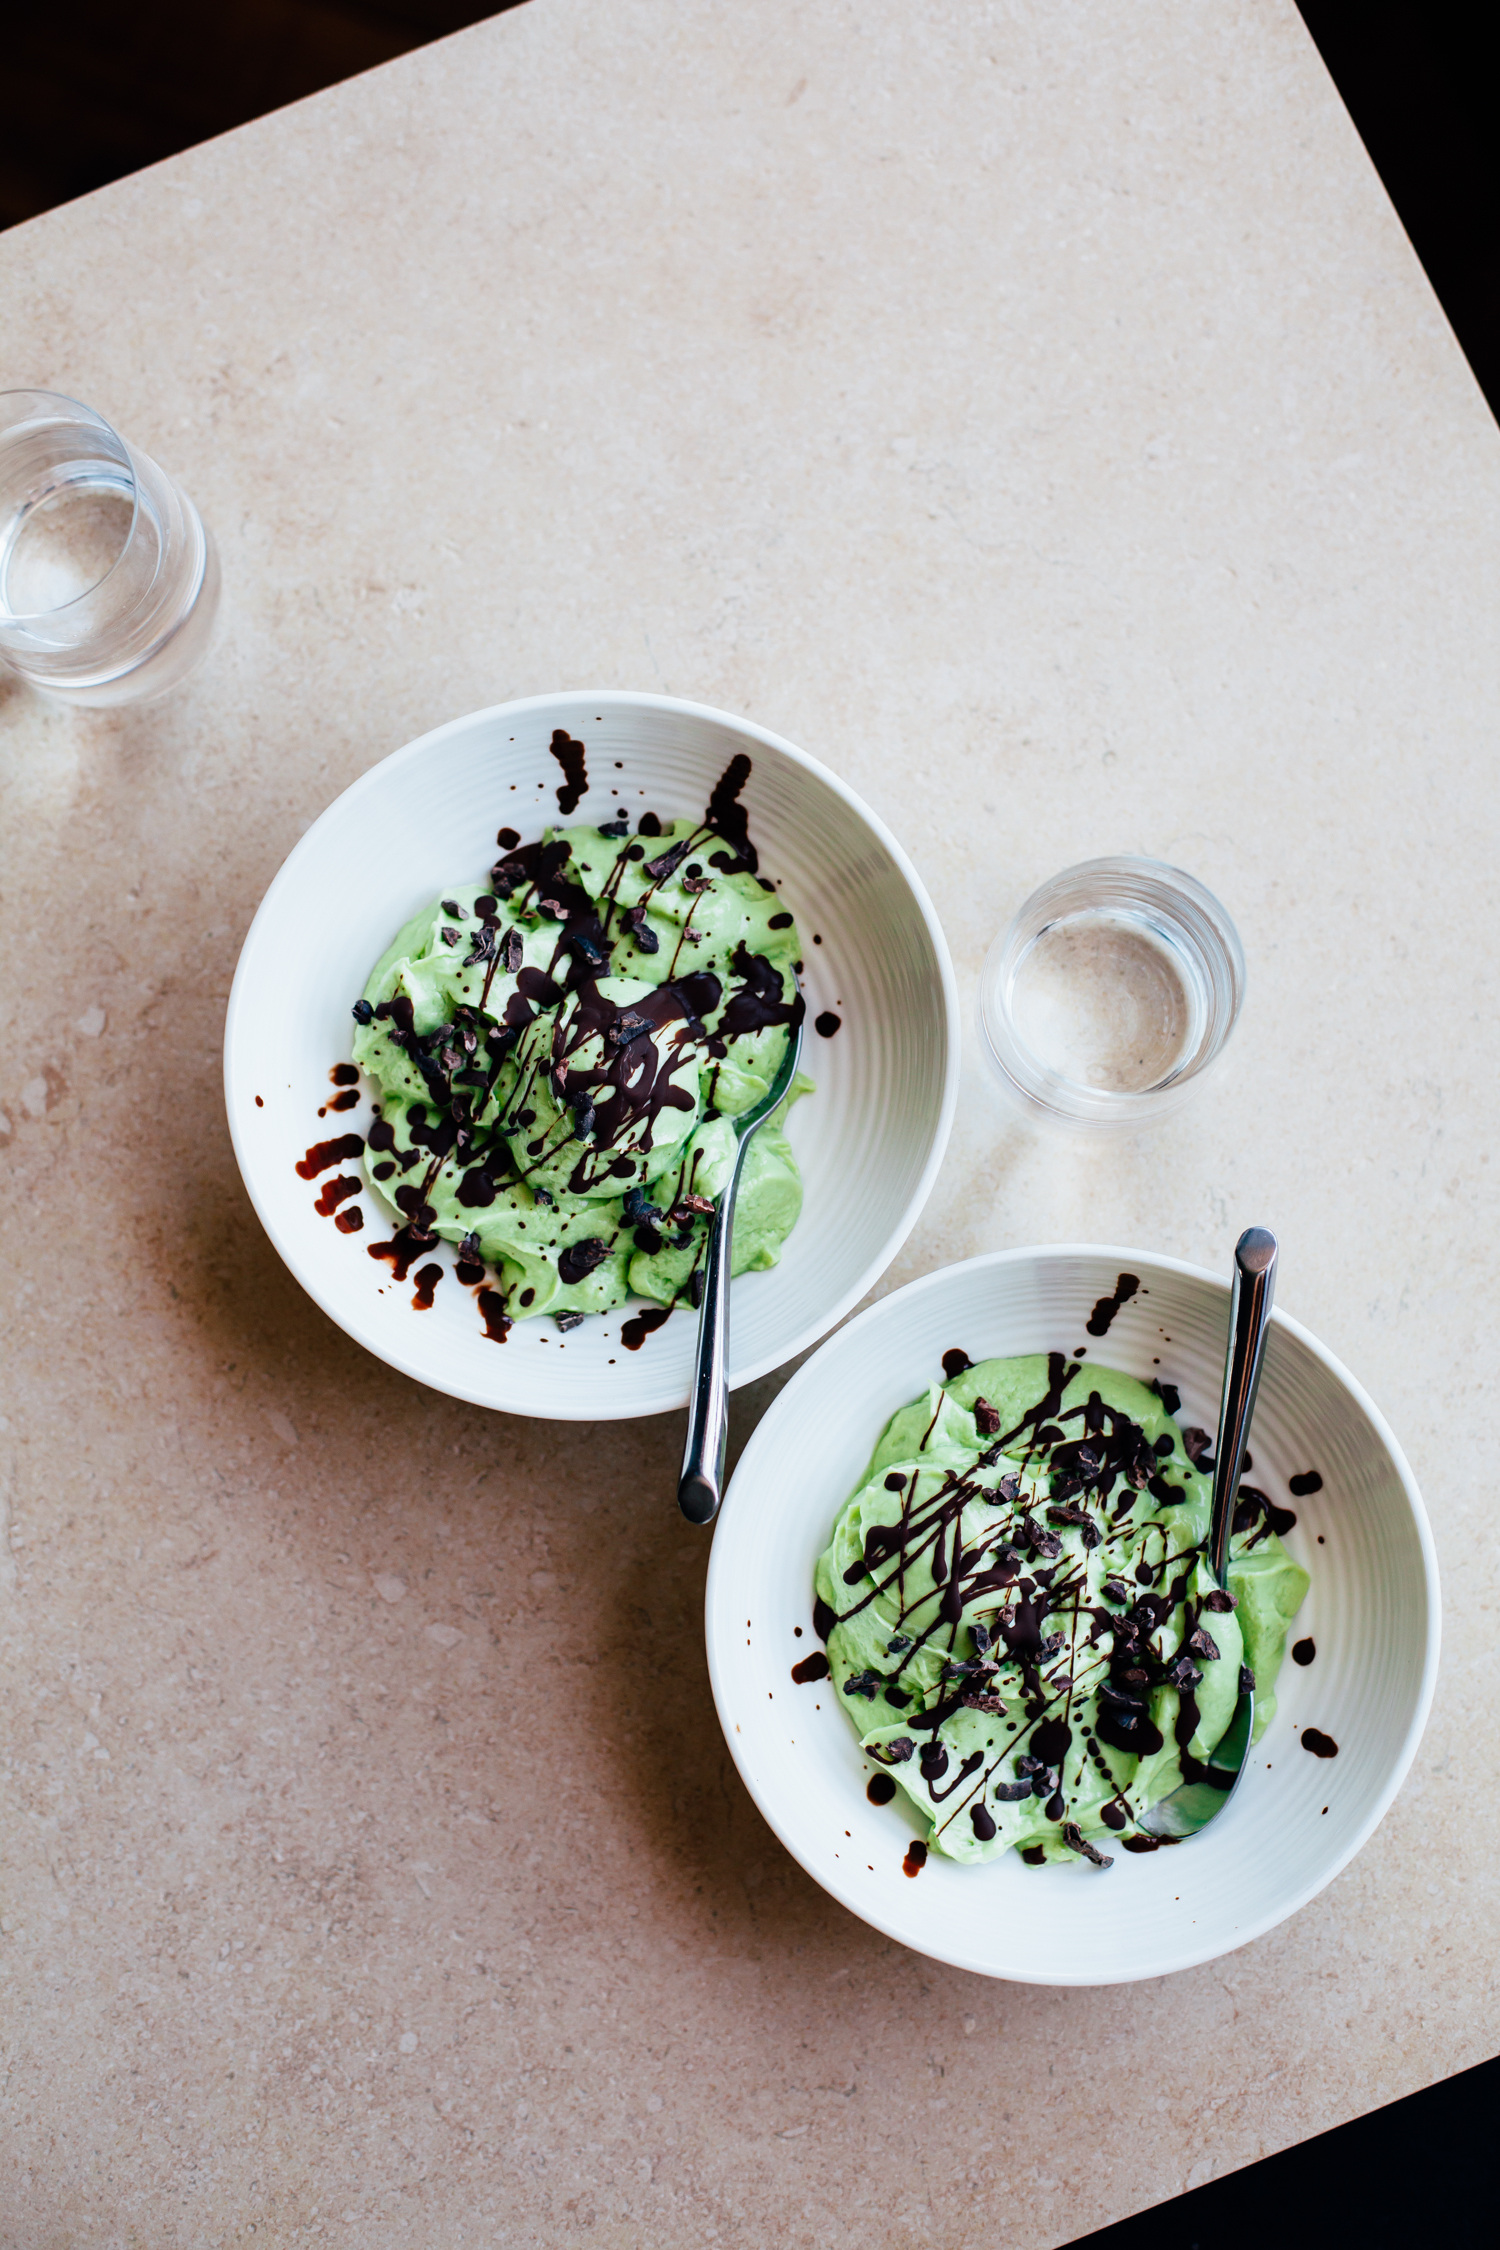
Avocado Soft Serve
by Anya
Read Recipe
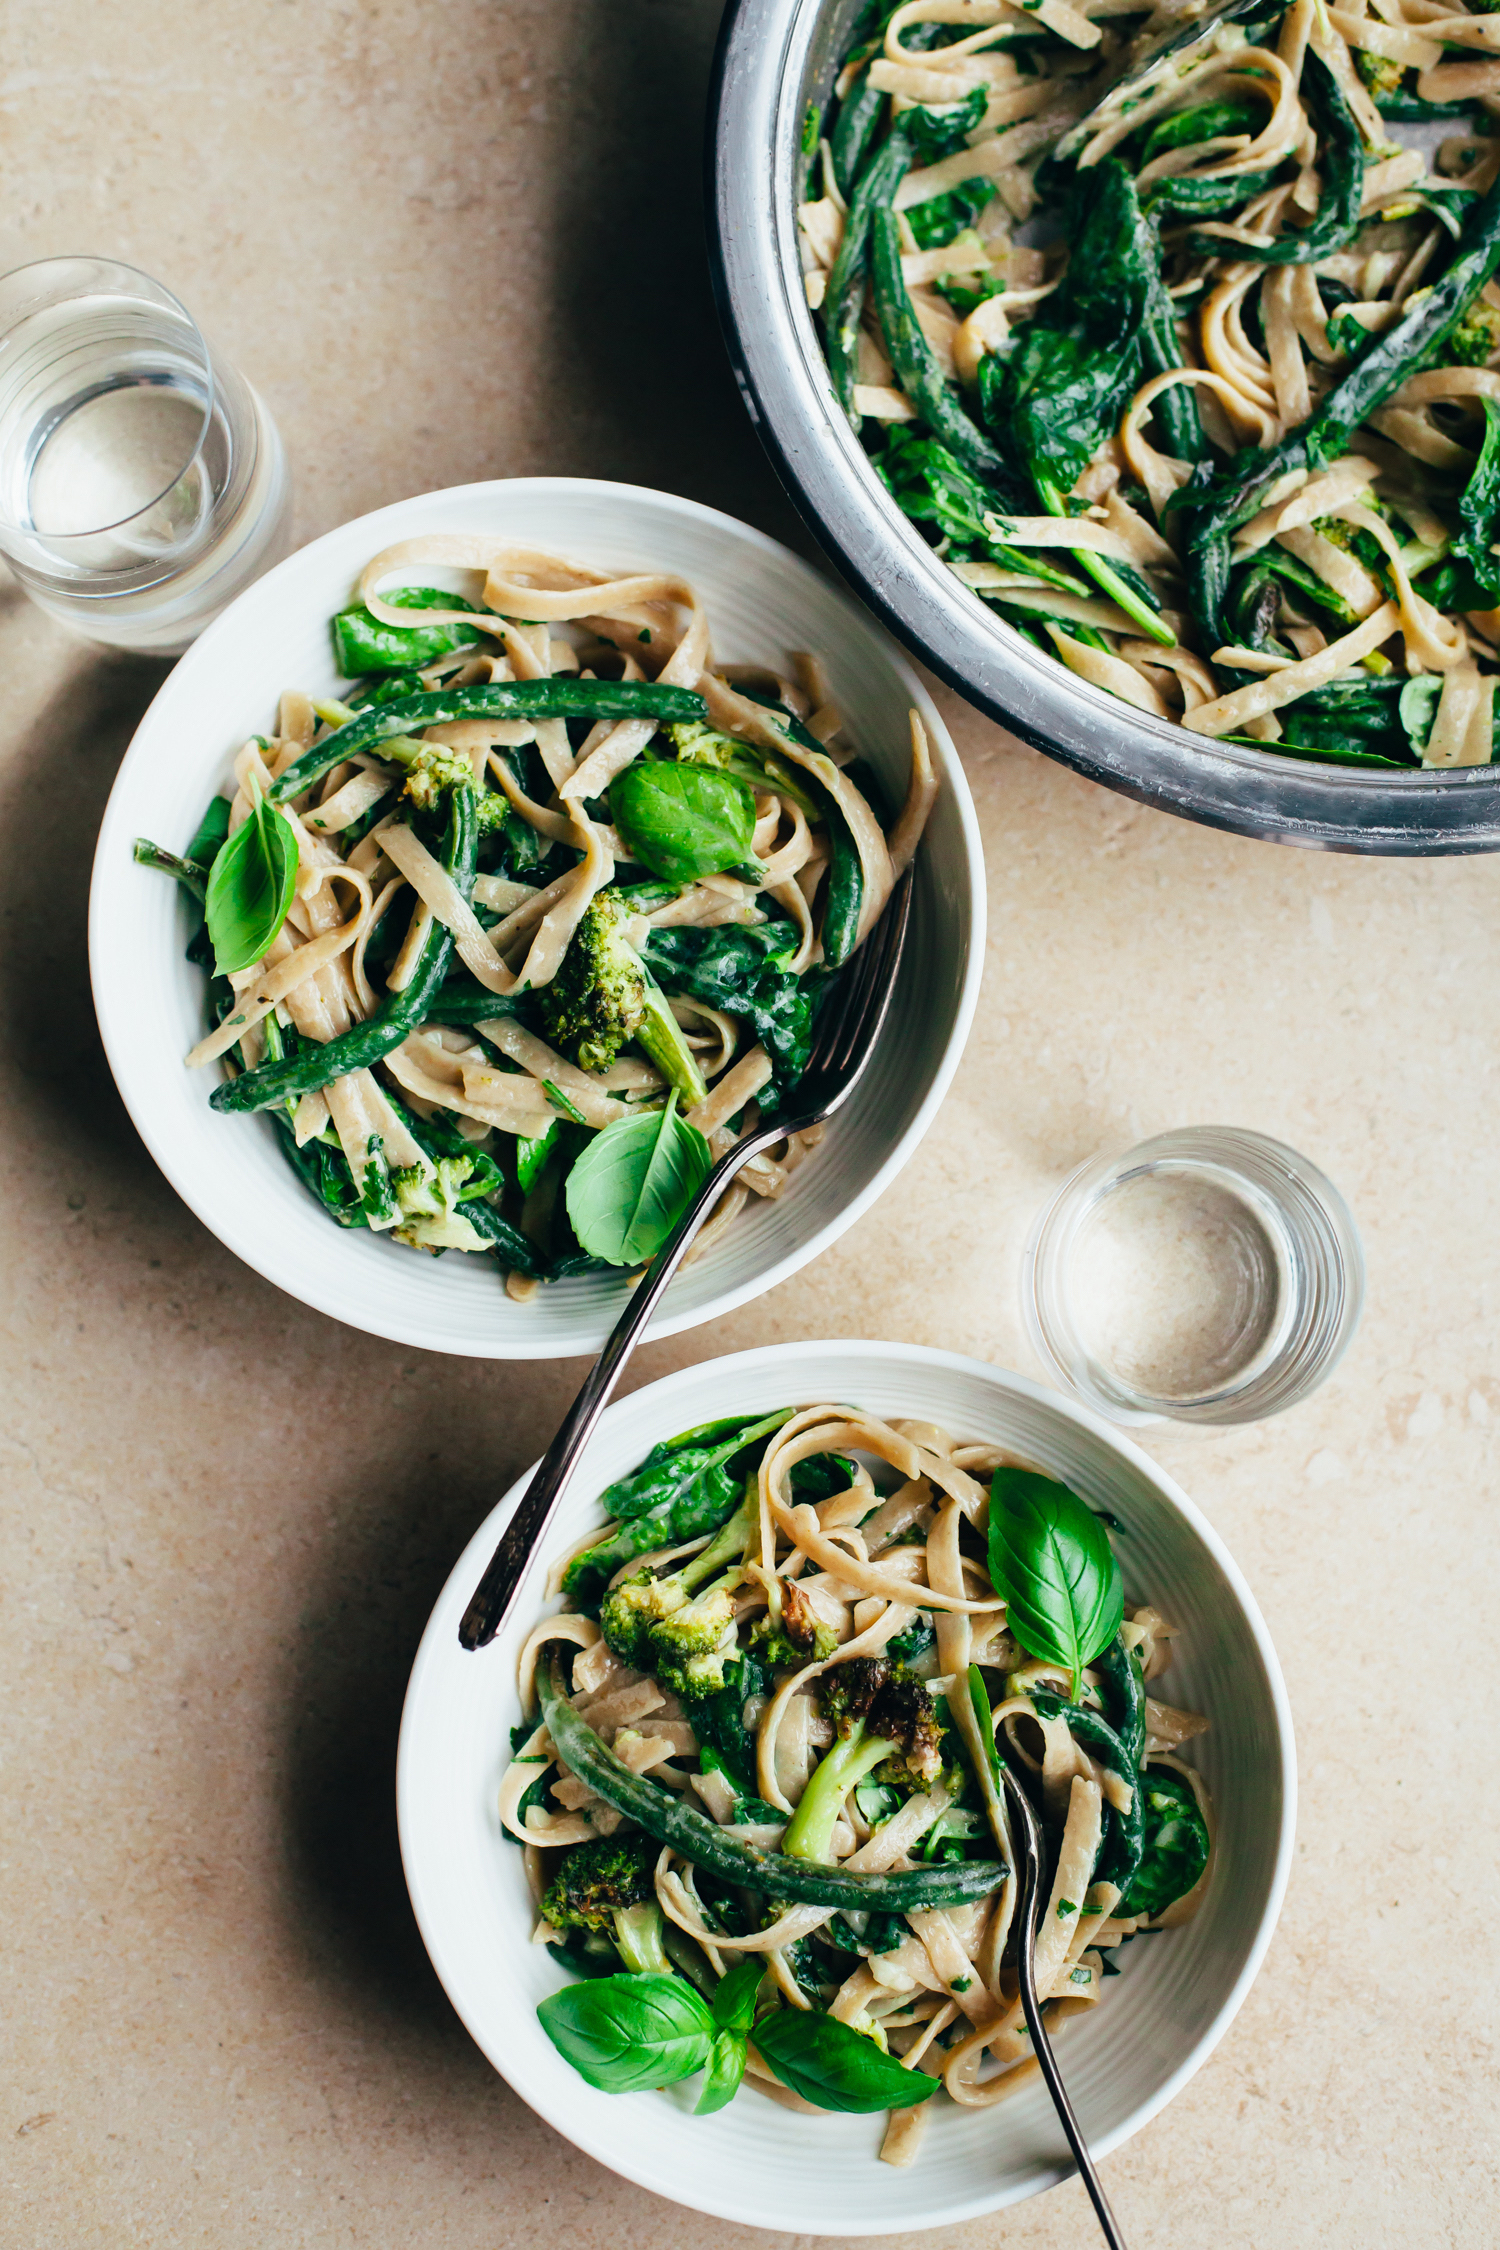
Creamy, Garlicky Fettuccine with Roasted Green Vegetables
by Anya
Read Recipe
Pumpkinseed Caramel ‘Twix’ Bars
by Anya
Read Recipe
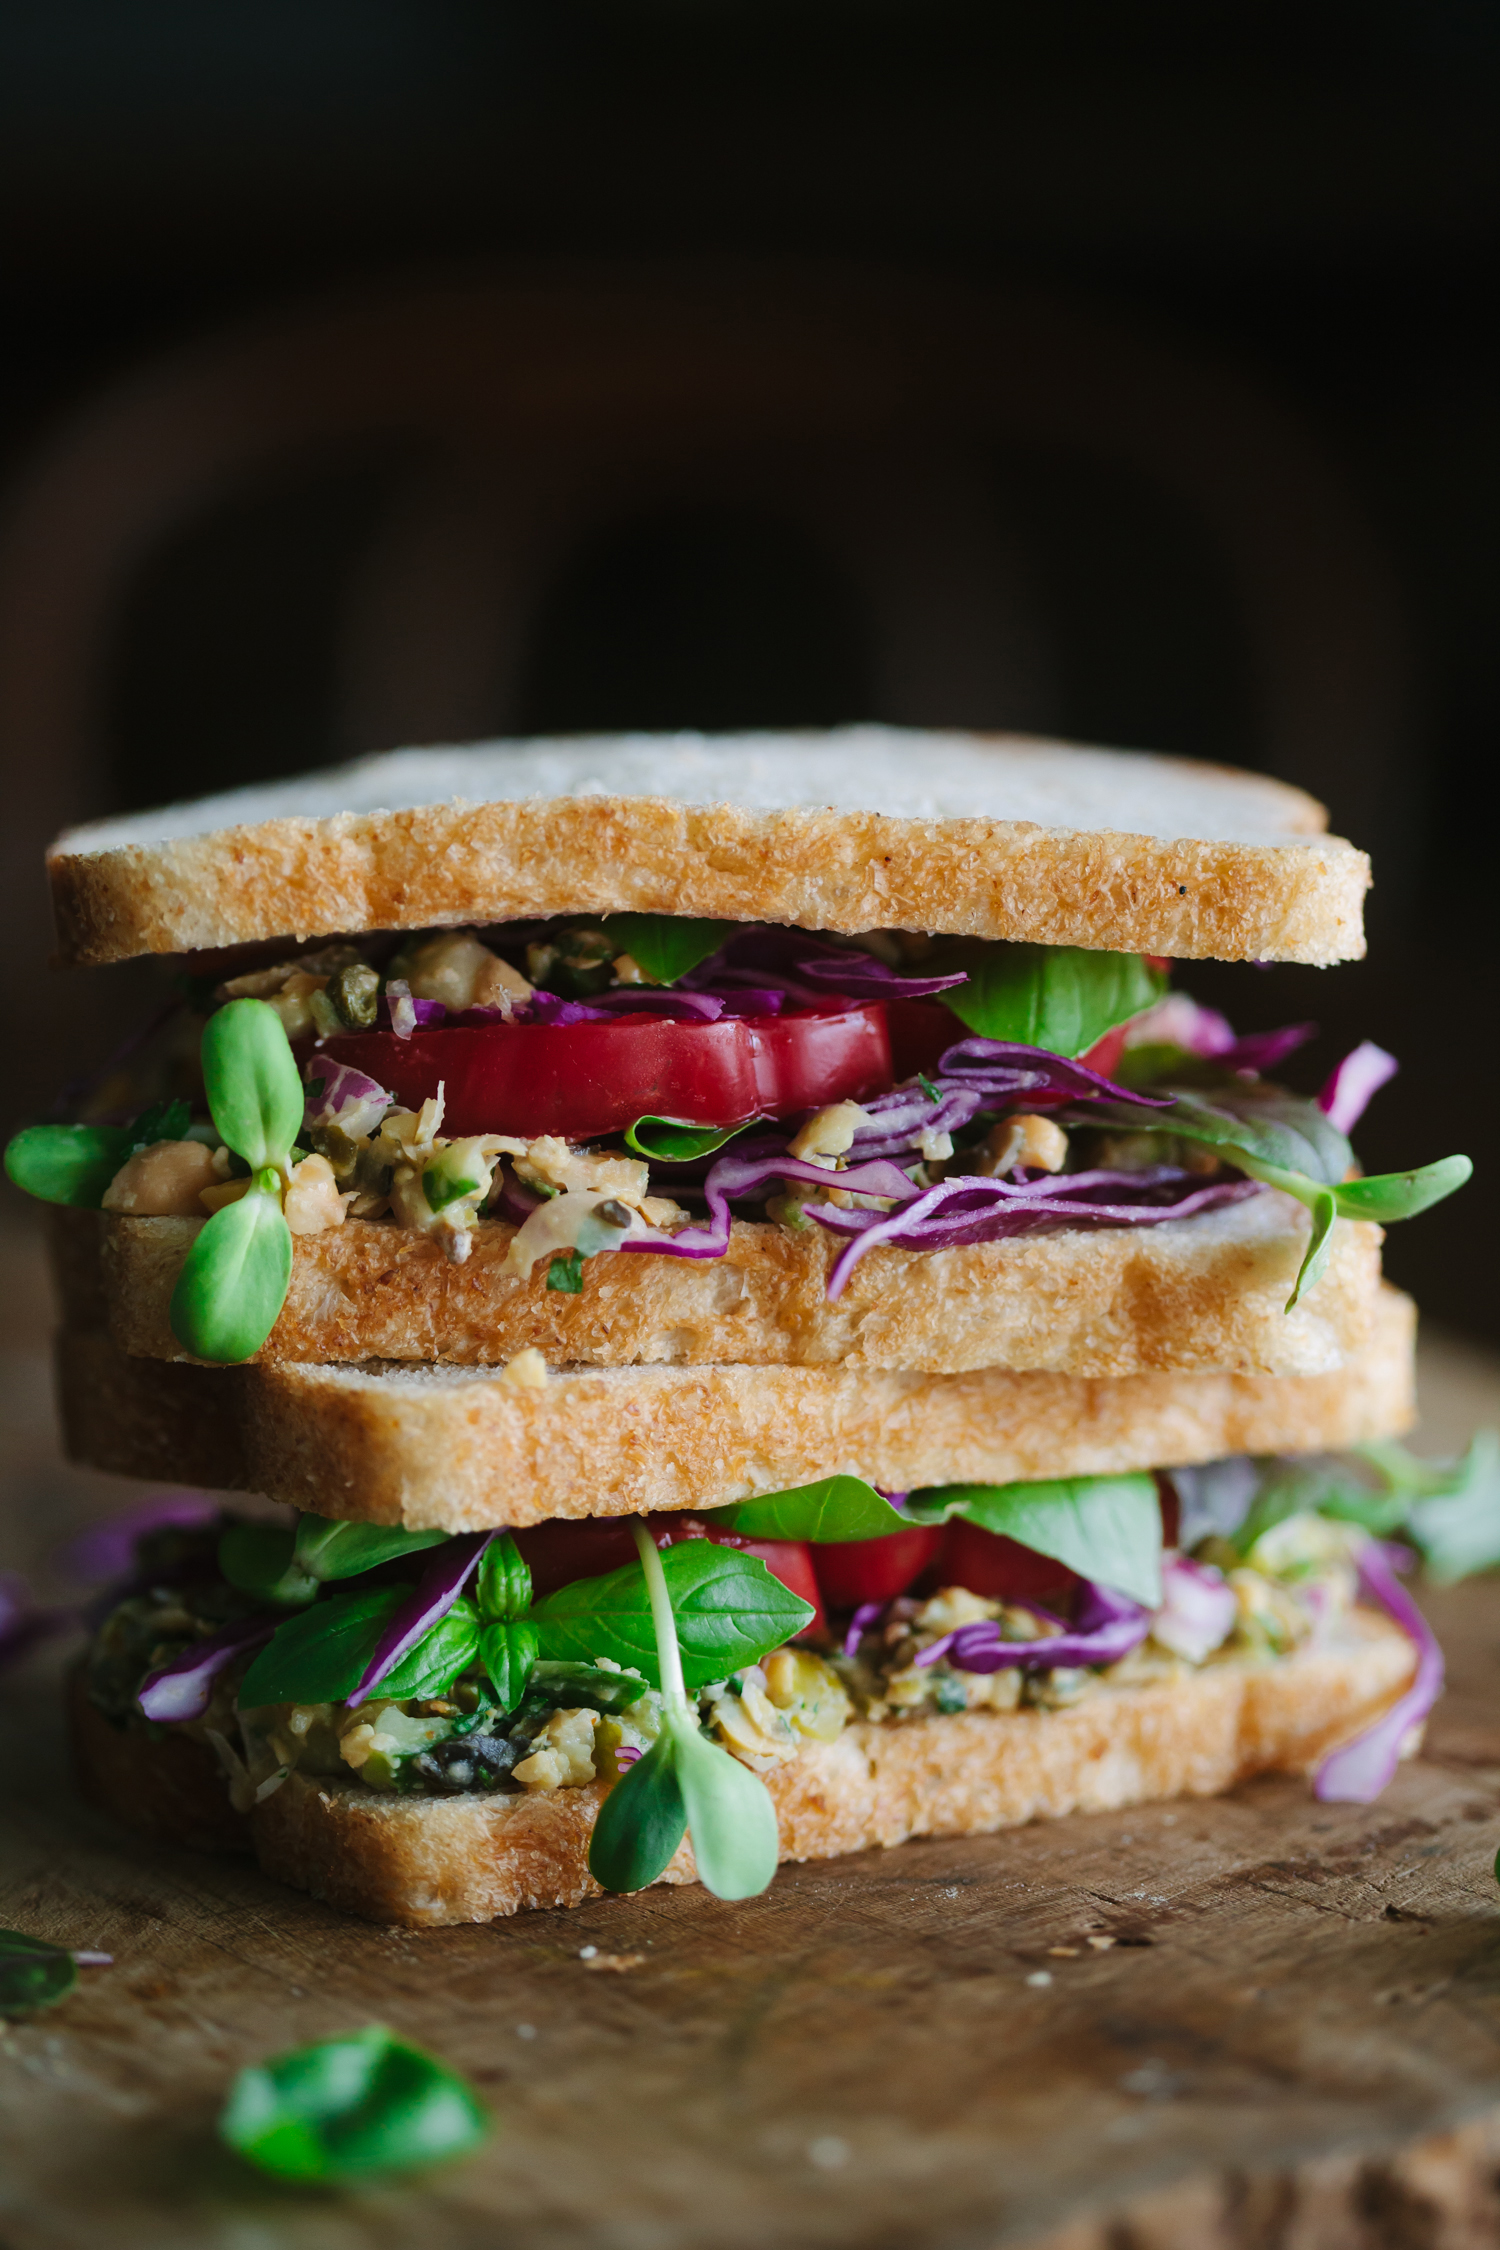
Summery White Bean ‘Tuna’ Sandwich
by Anya
Read Recipe
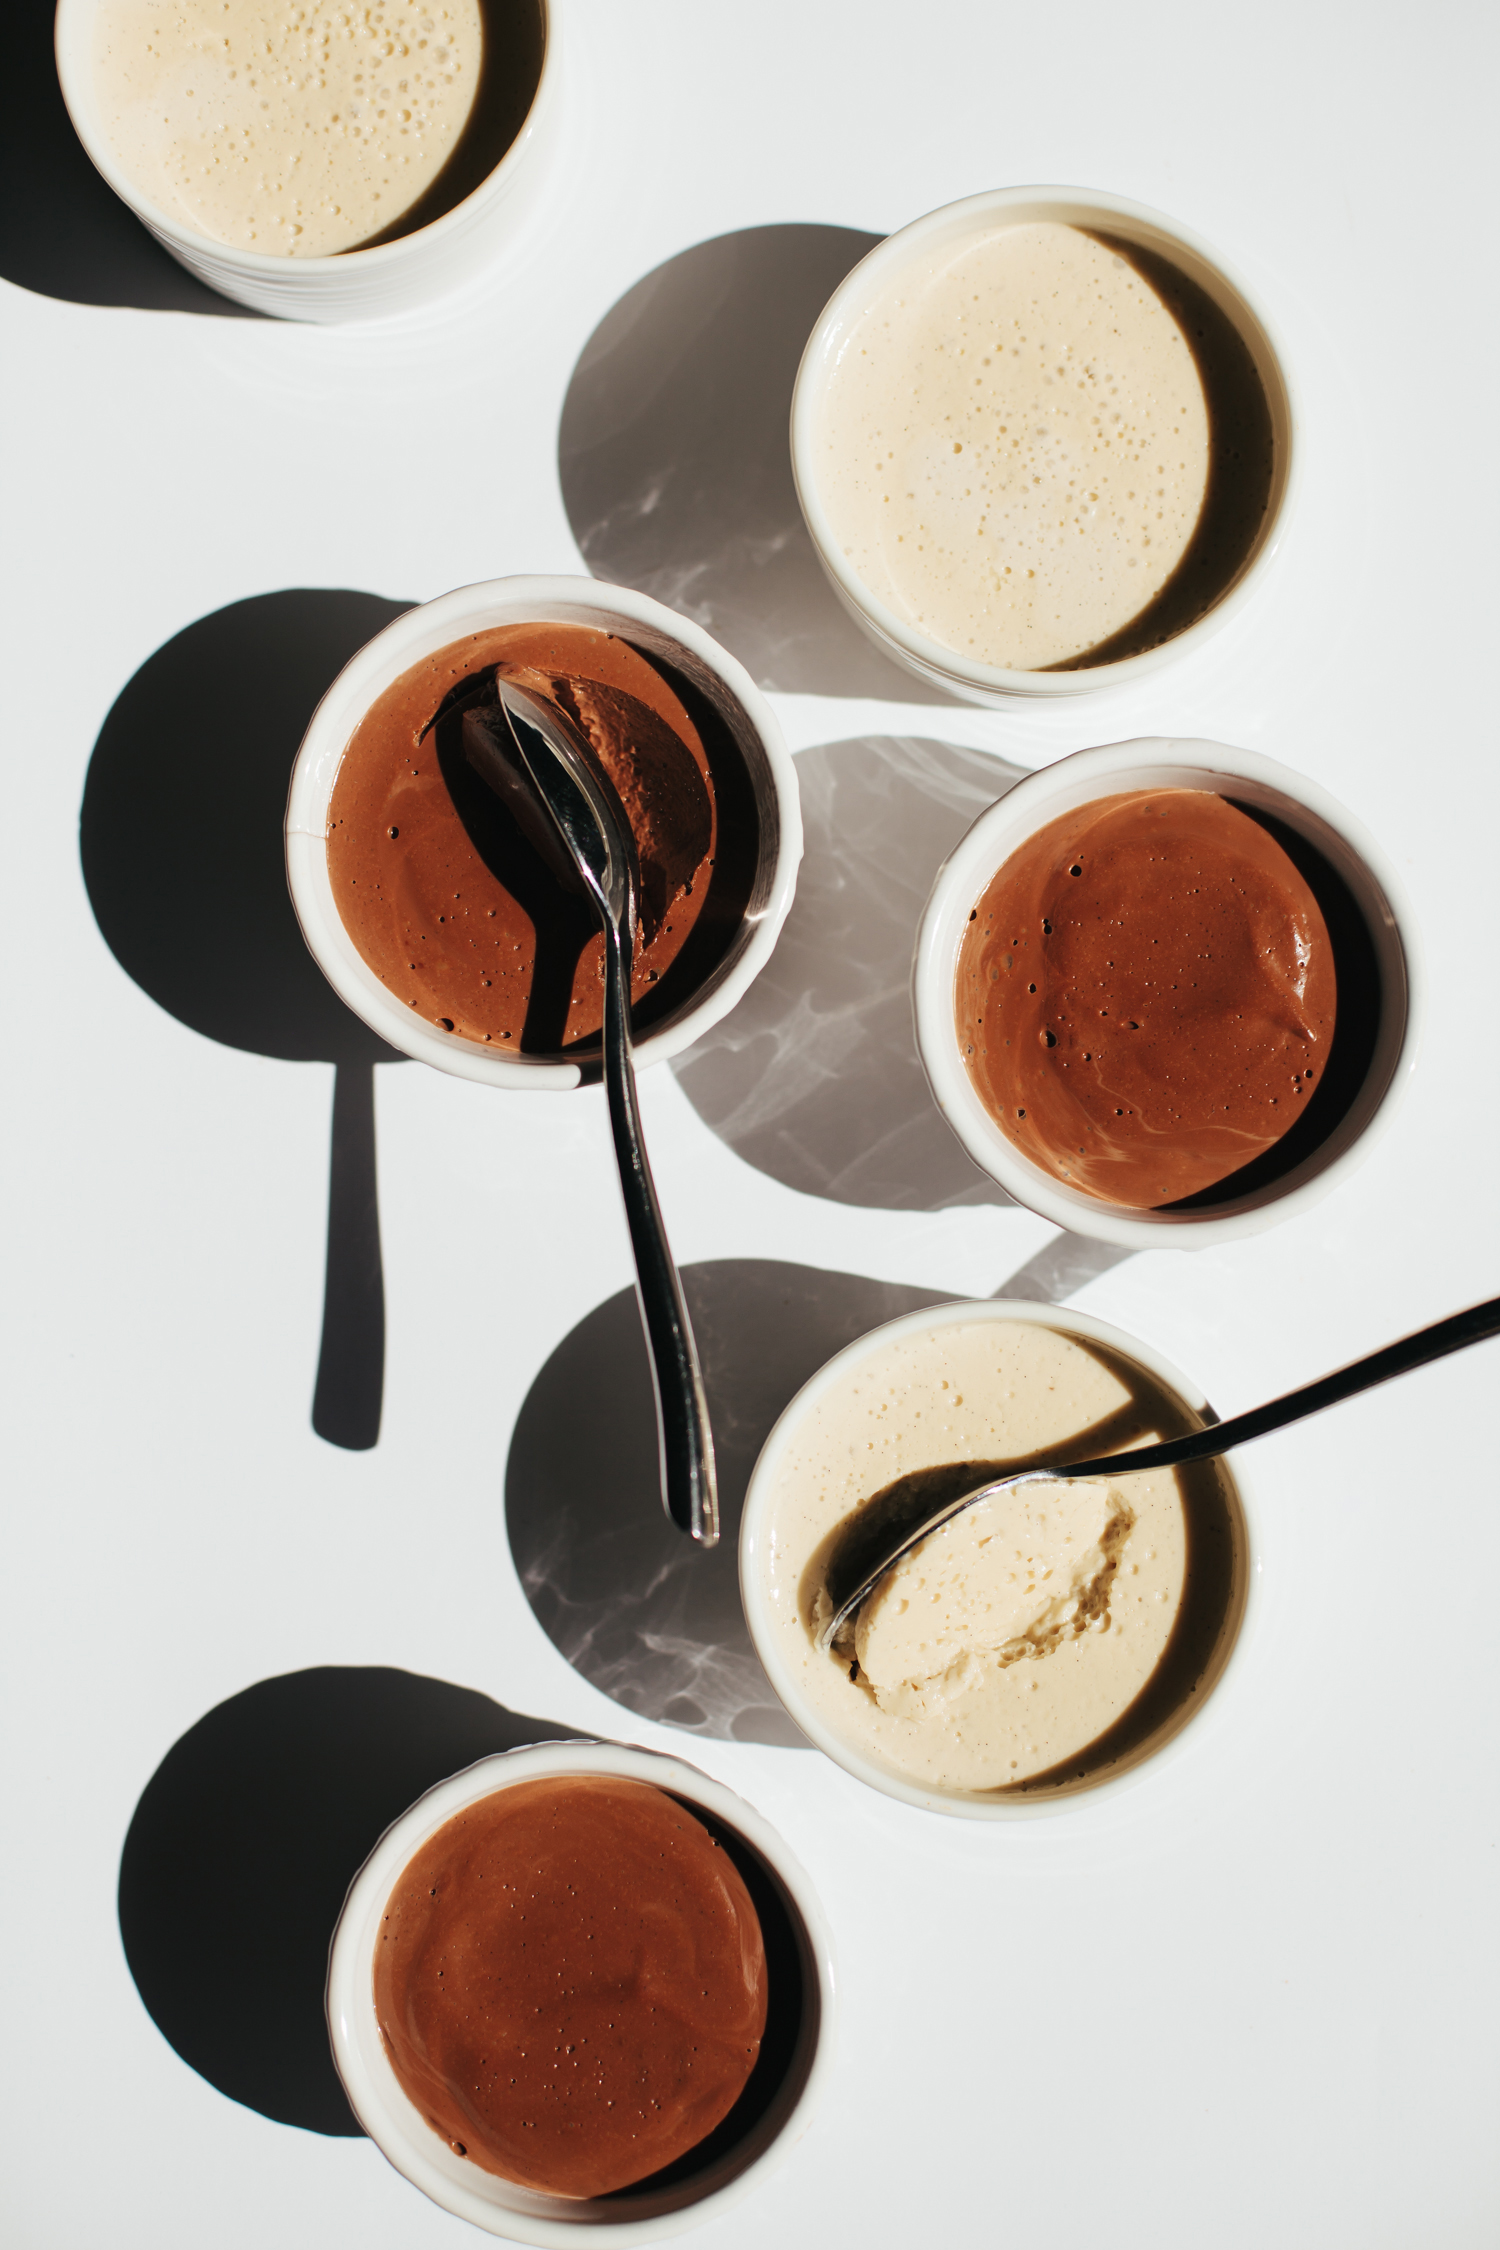
Black and White Chocolate Pudding
by Anya
Read Recipe
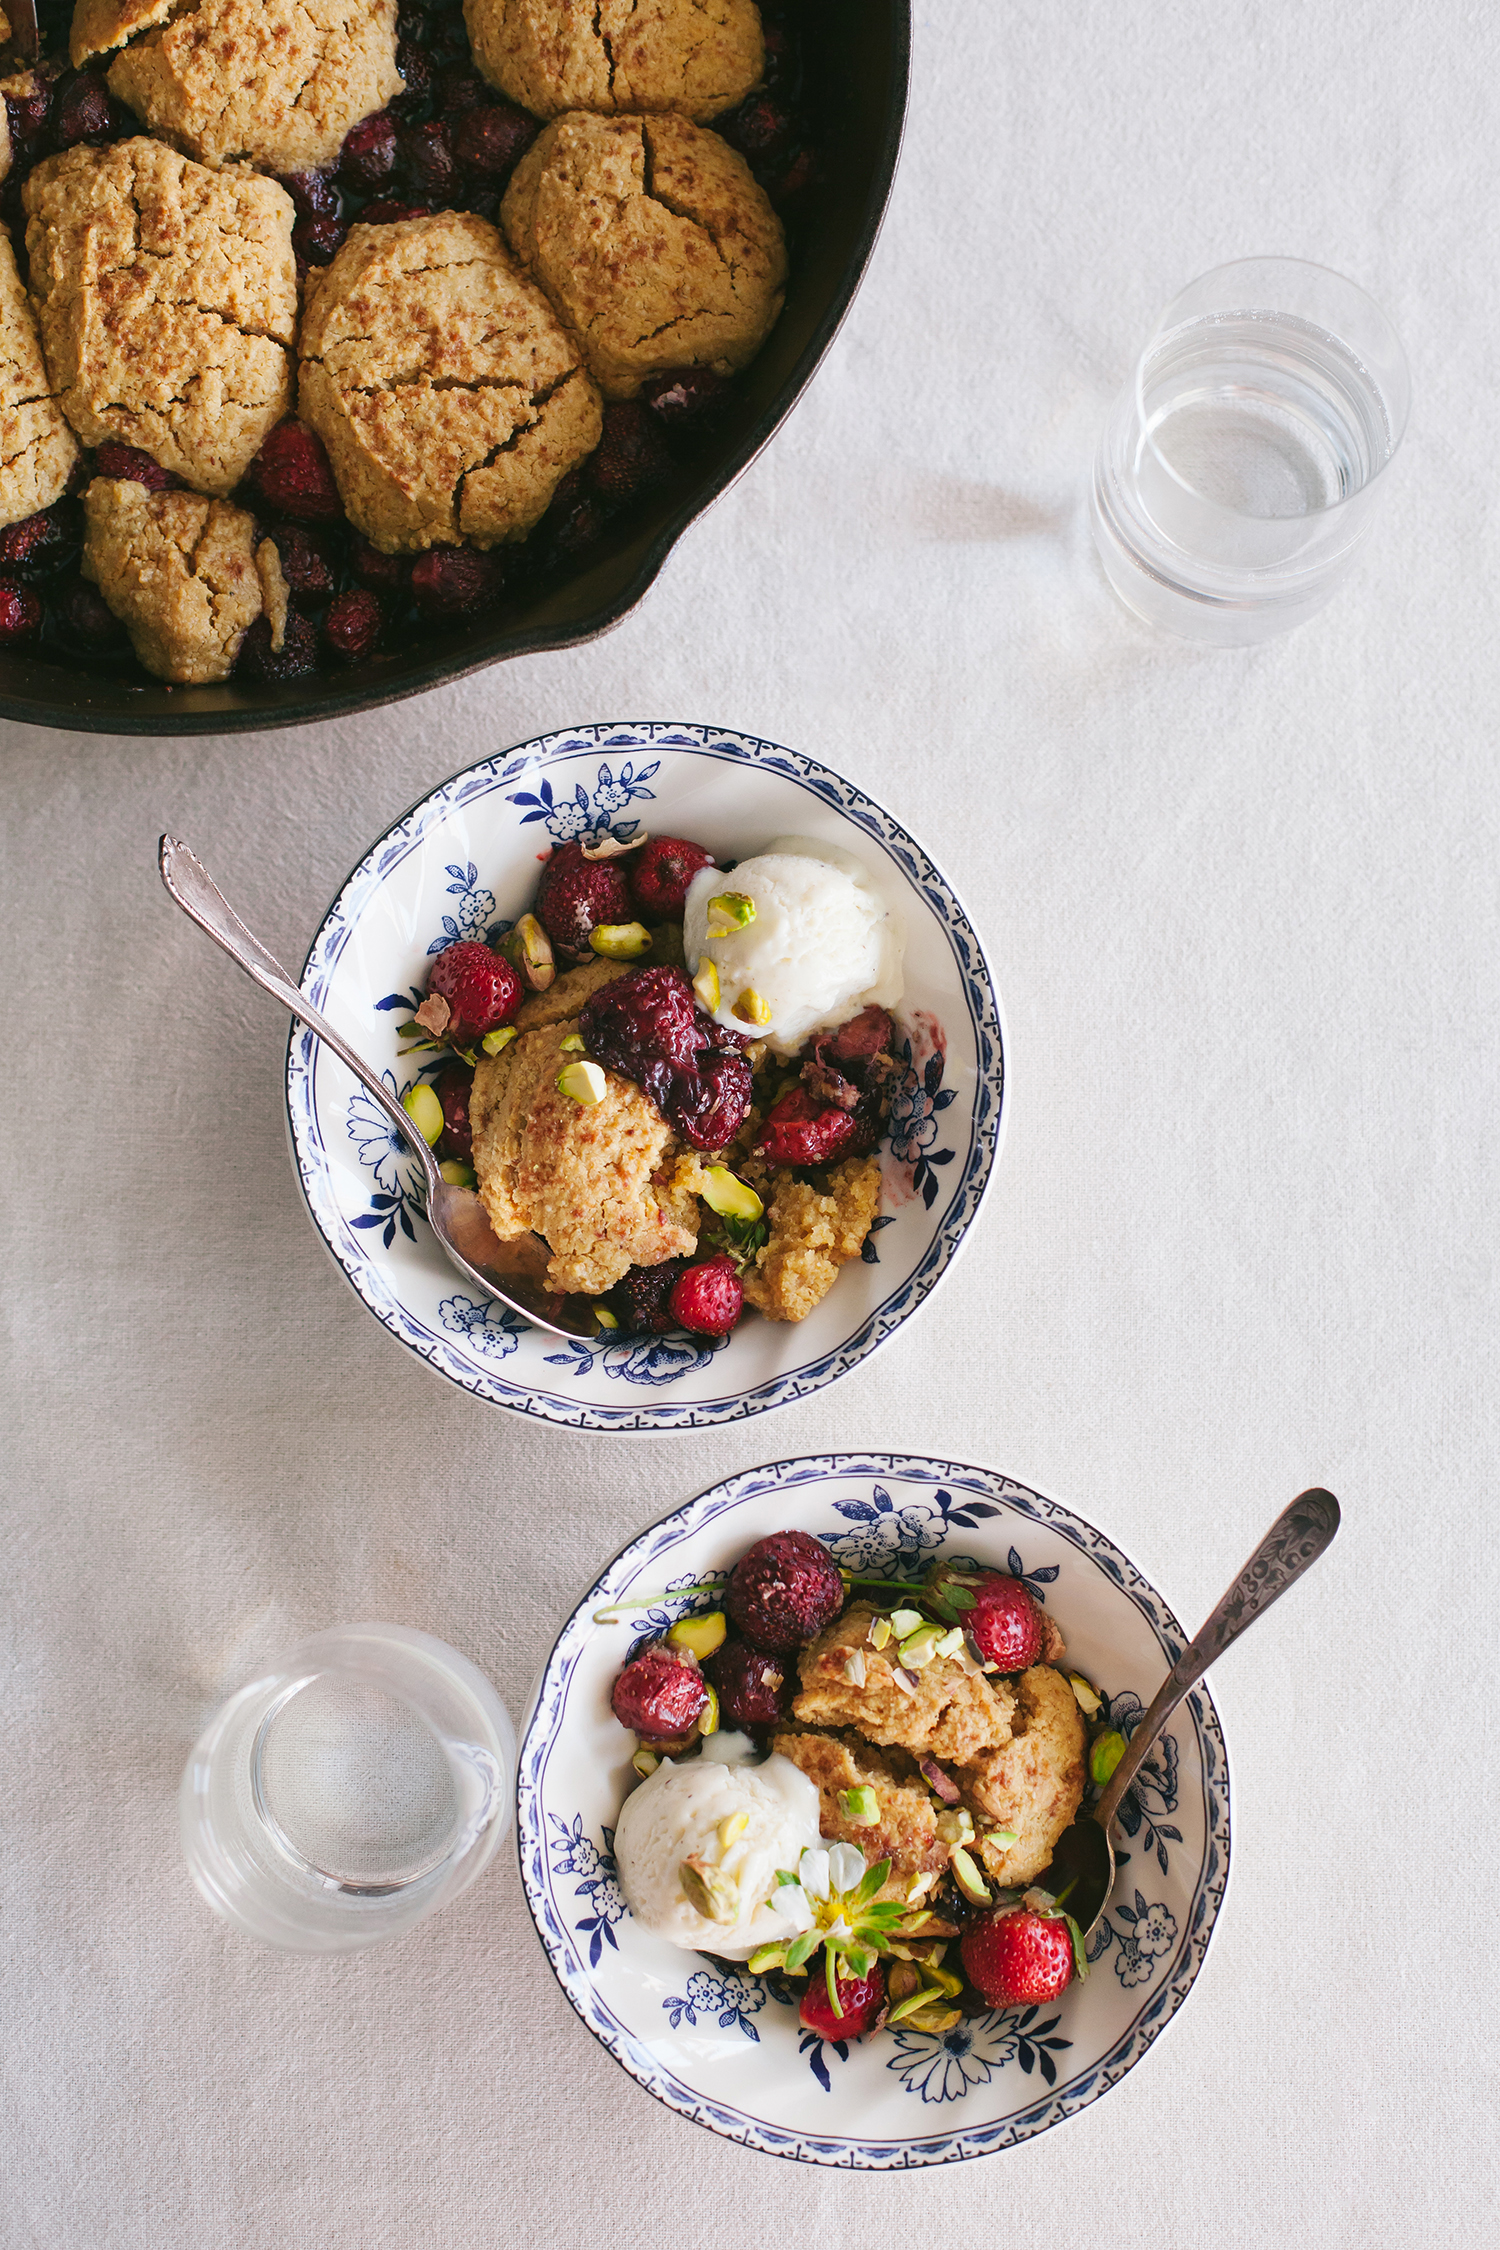
Gluten-Free Strawberry Cobbler
by Anya
Read Recipe
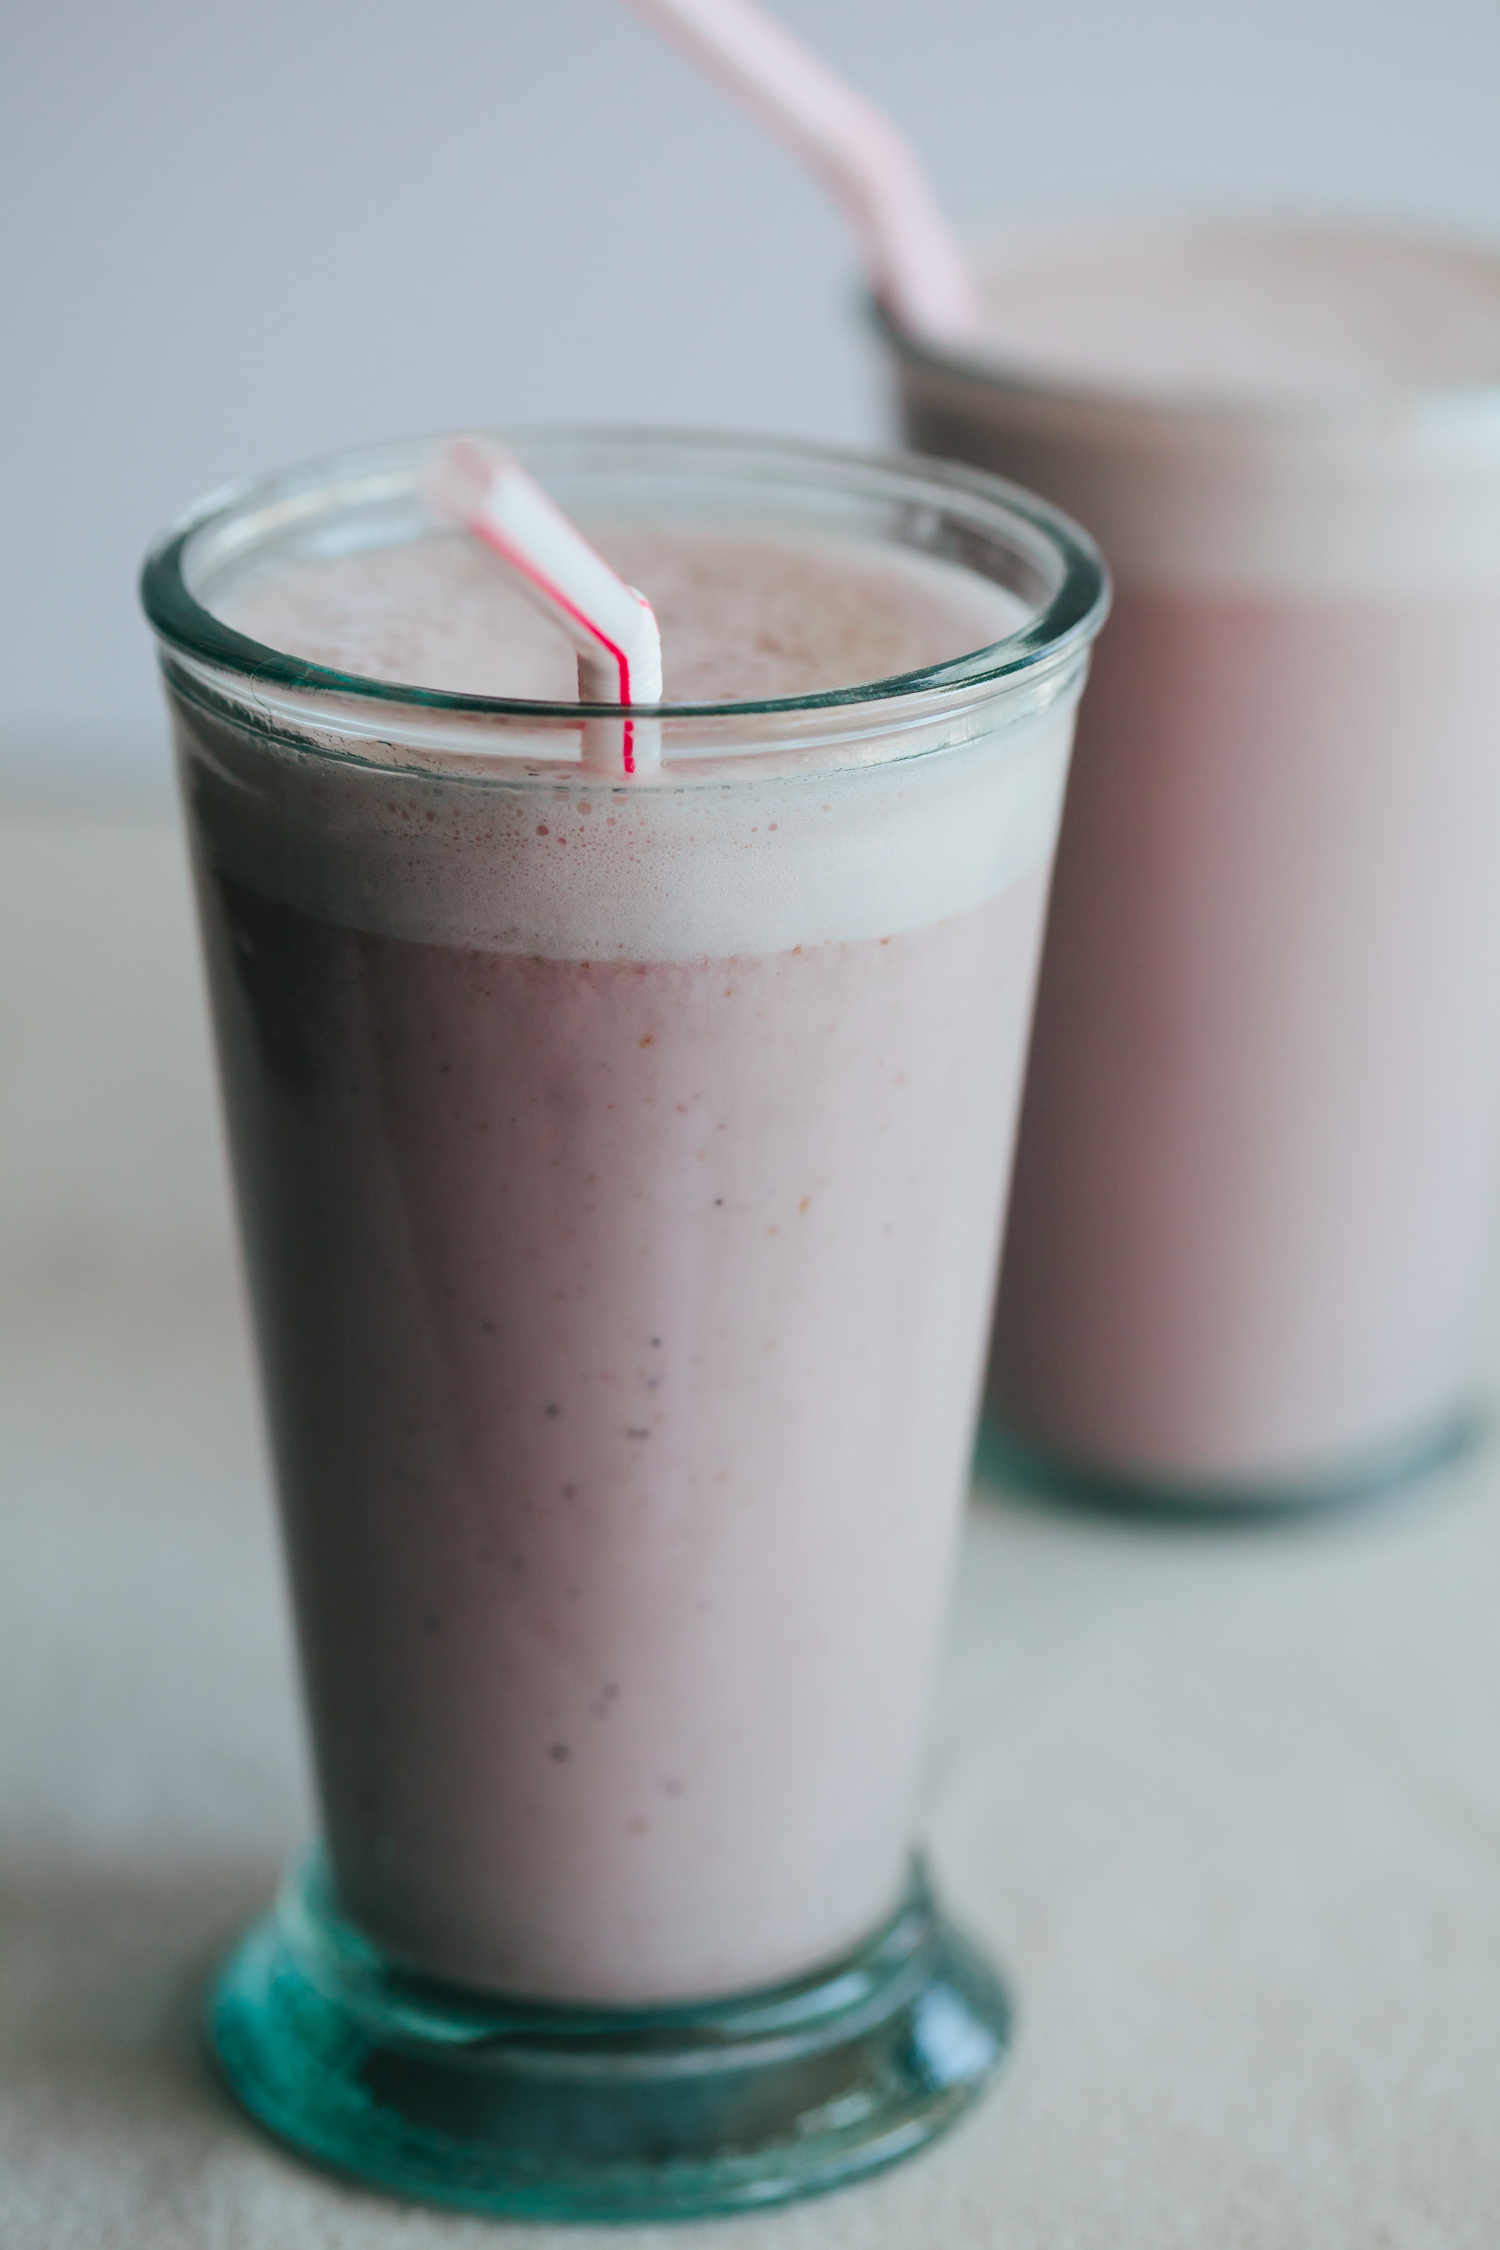
Strawberry Cardamom Milk
by Anya
Read Recipe
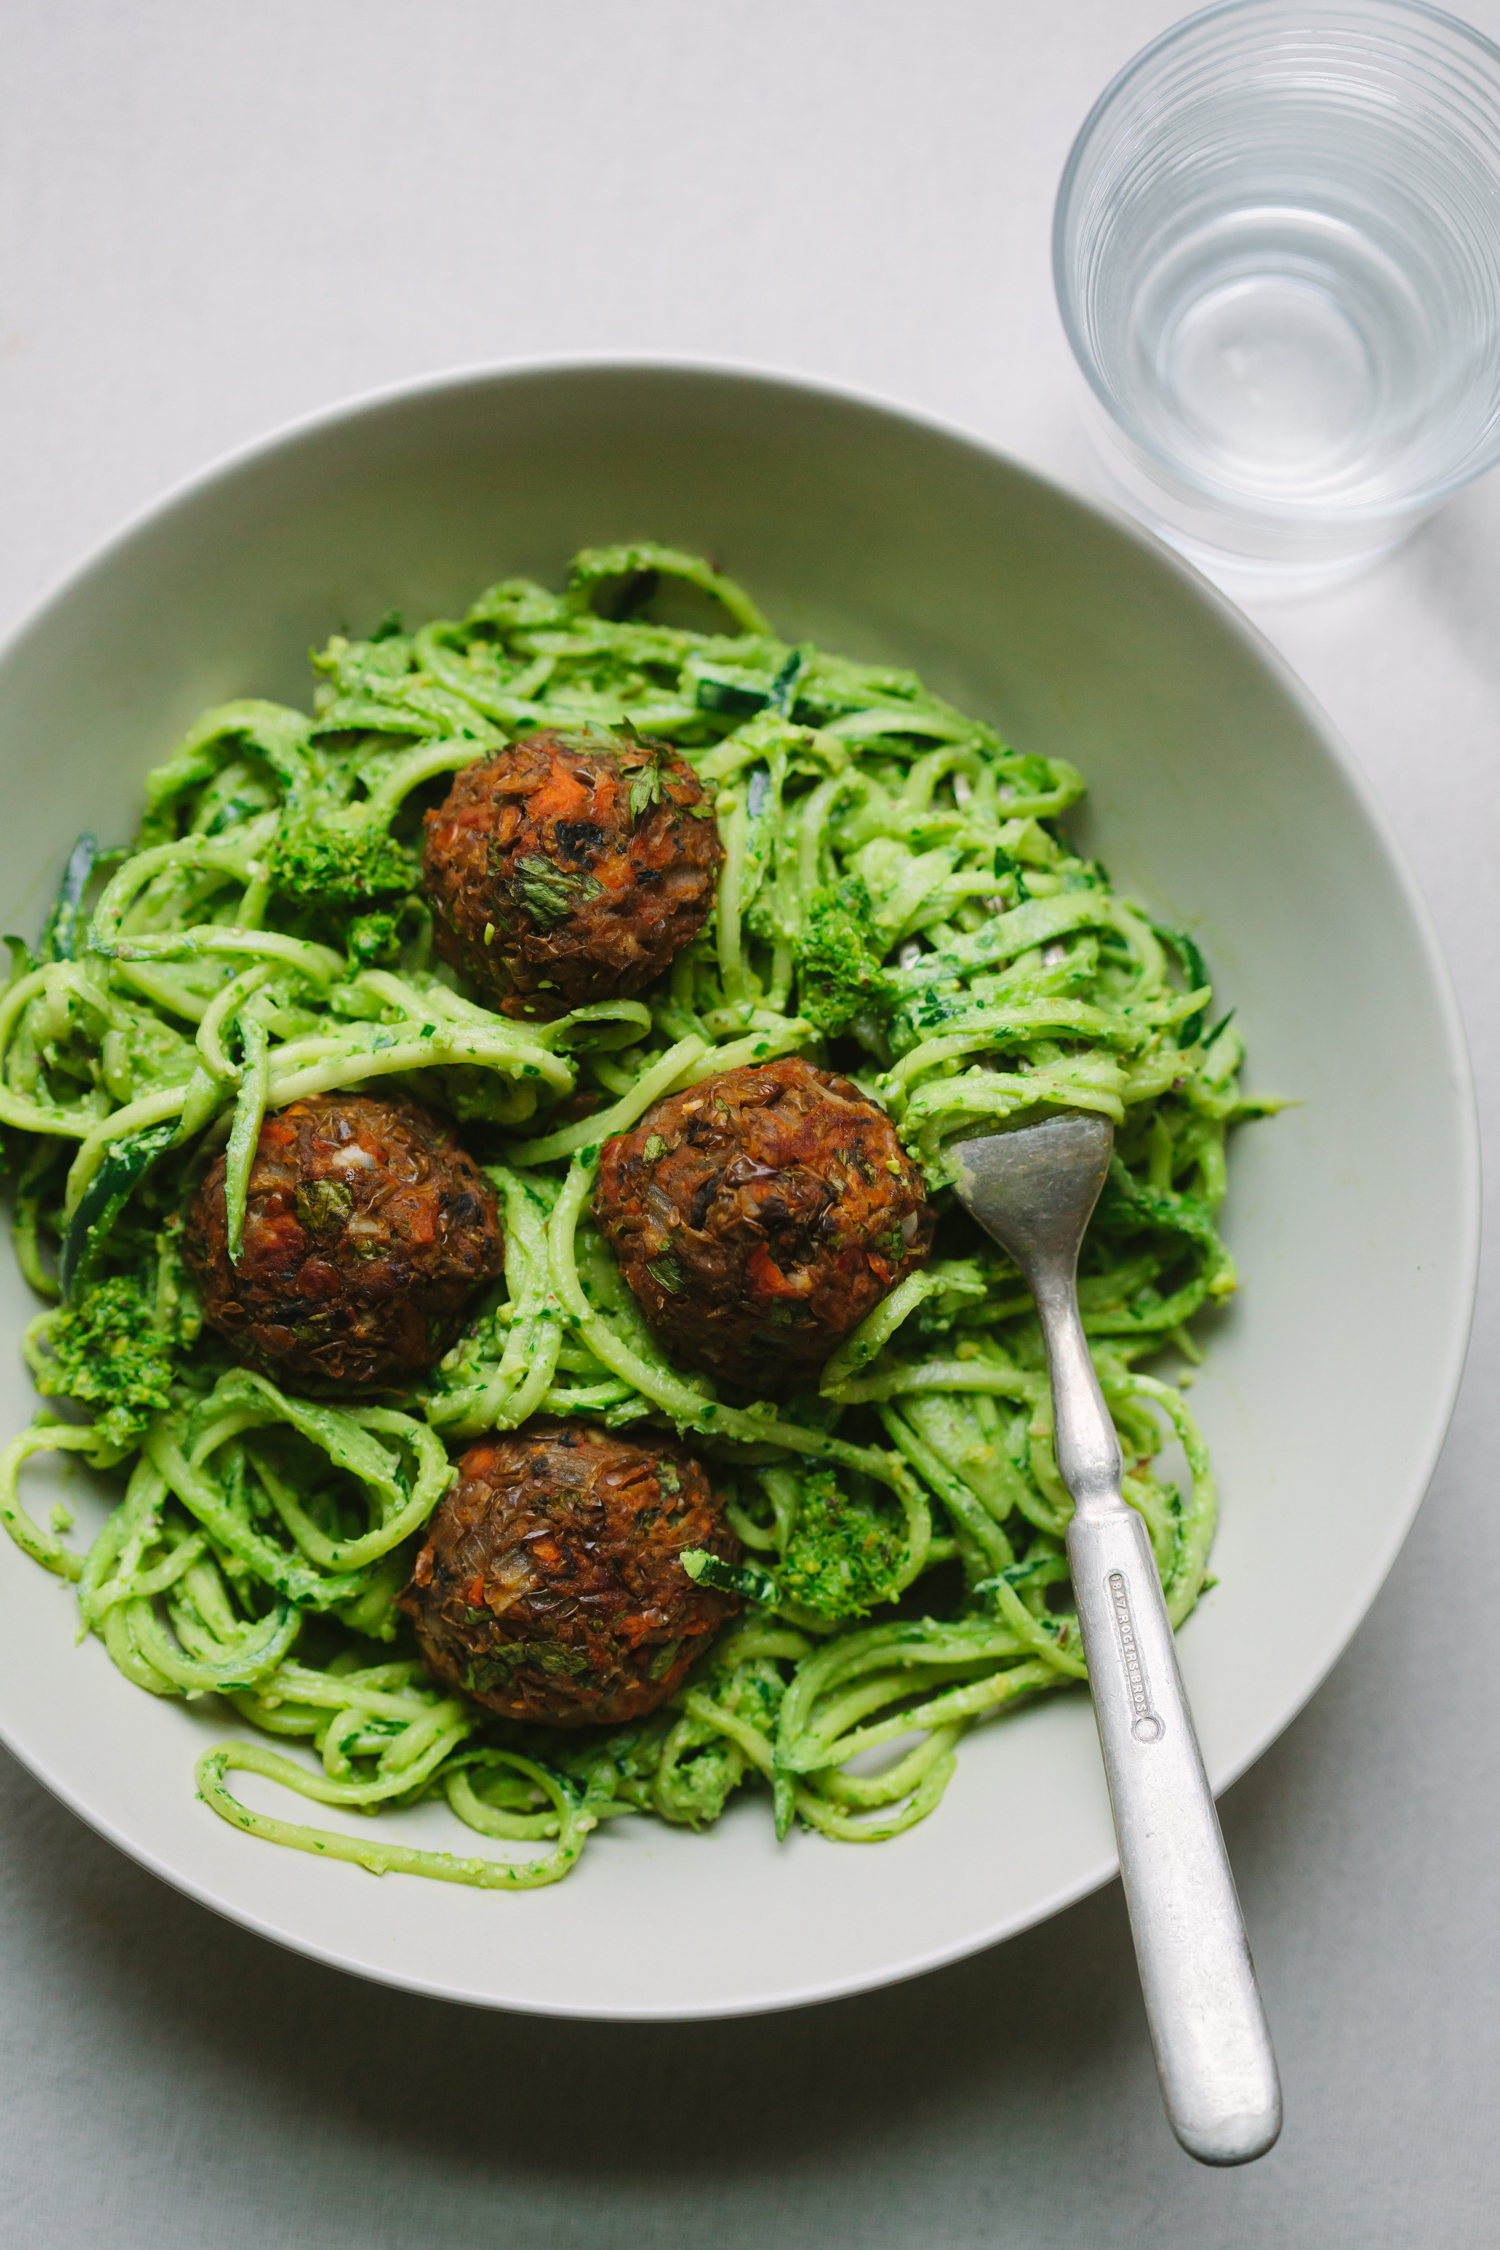
Italian-Style Lentil and Mushroom (Not)Meatballs from Pantry to Plate
by Anya
Read Recipe
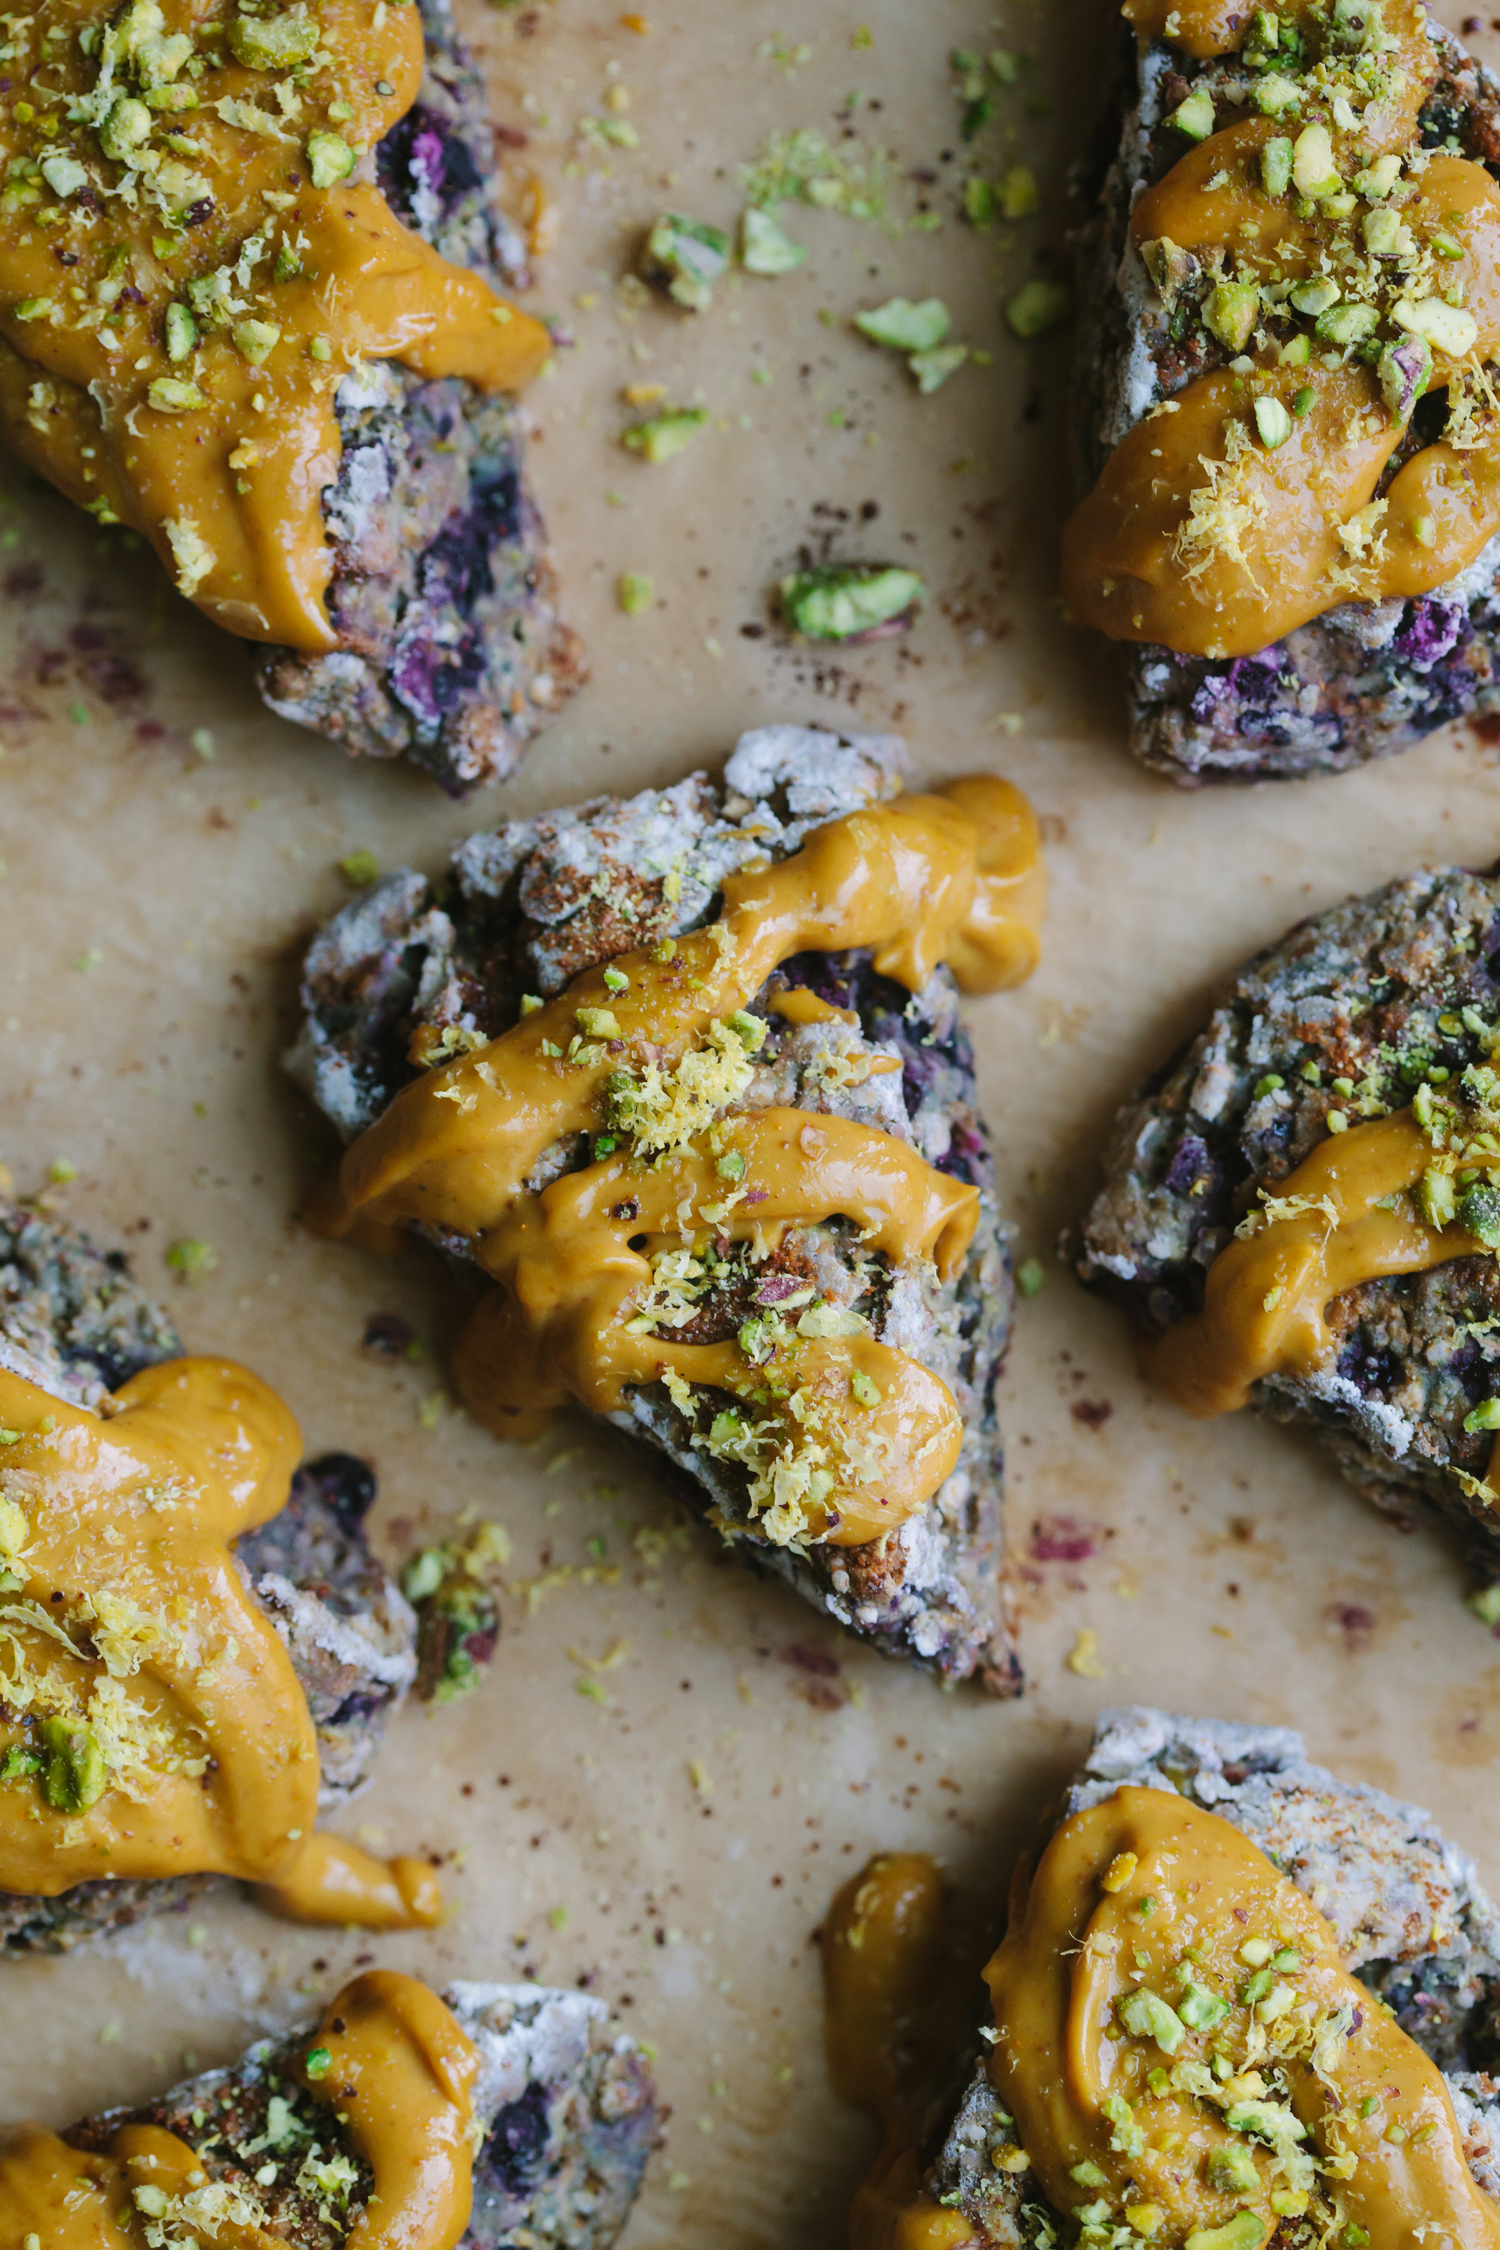
Gluten-Free Blueberry Lemon Scones
by Anya
Read Recipe
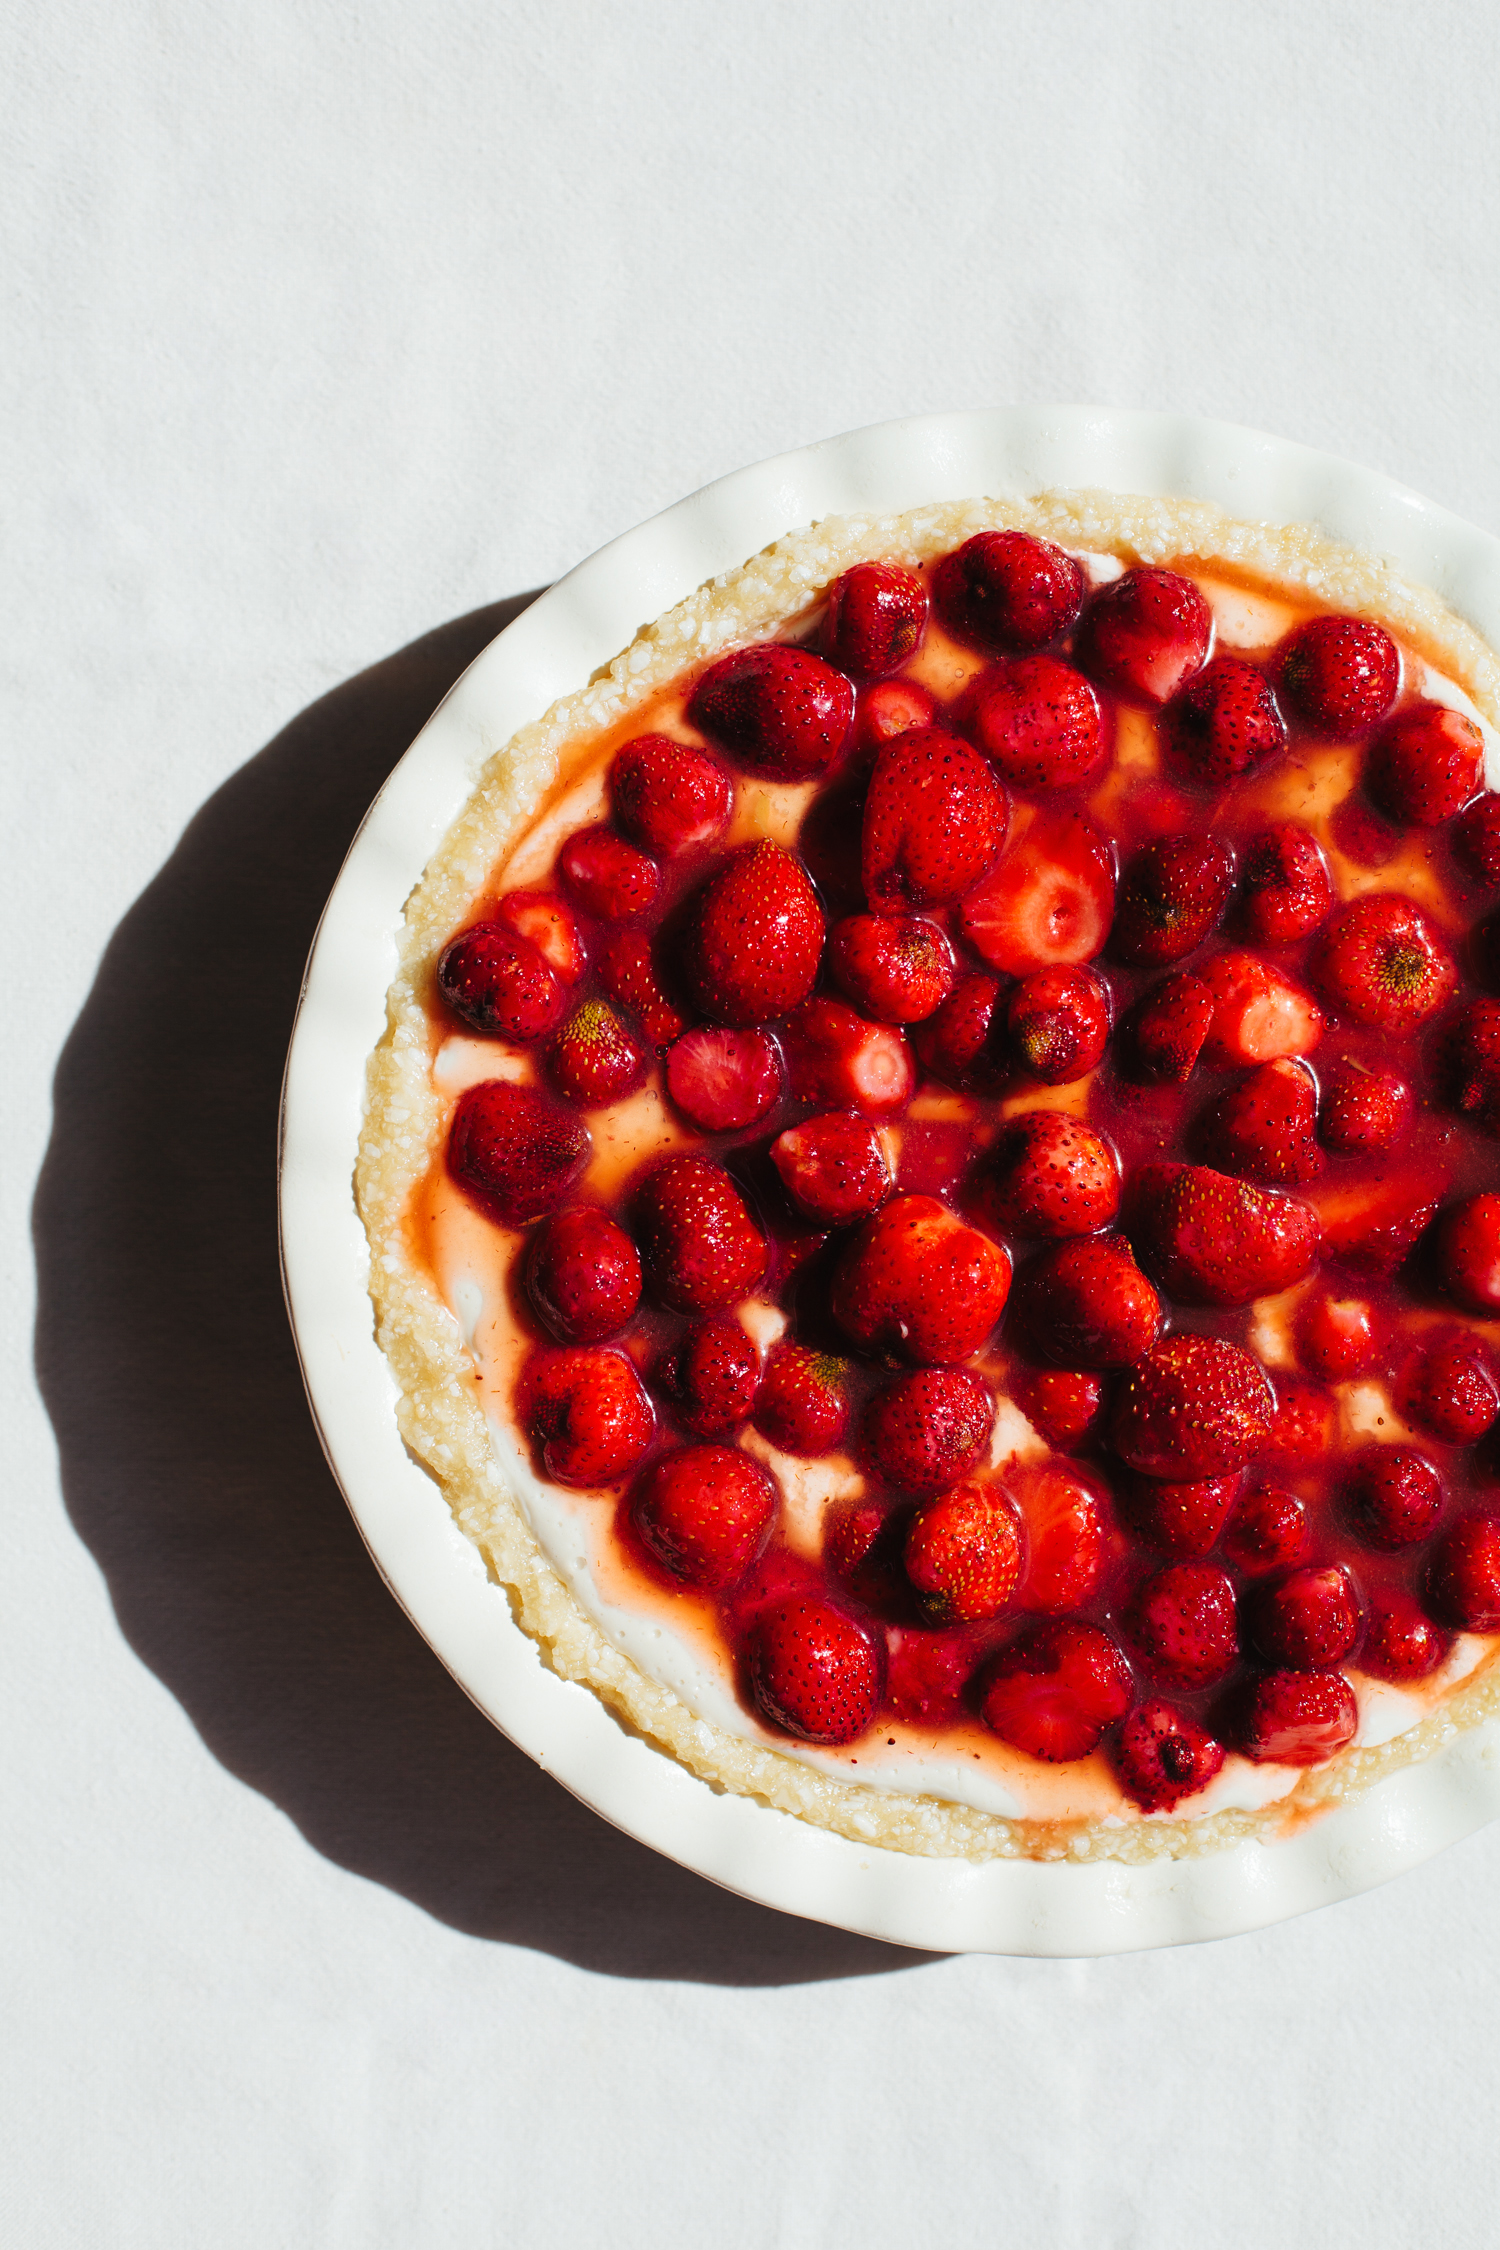
Strawberry Coconut Cream Pie
by Anya
Read Recipe
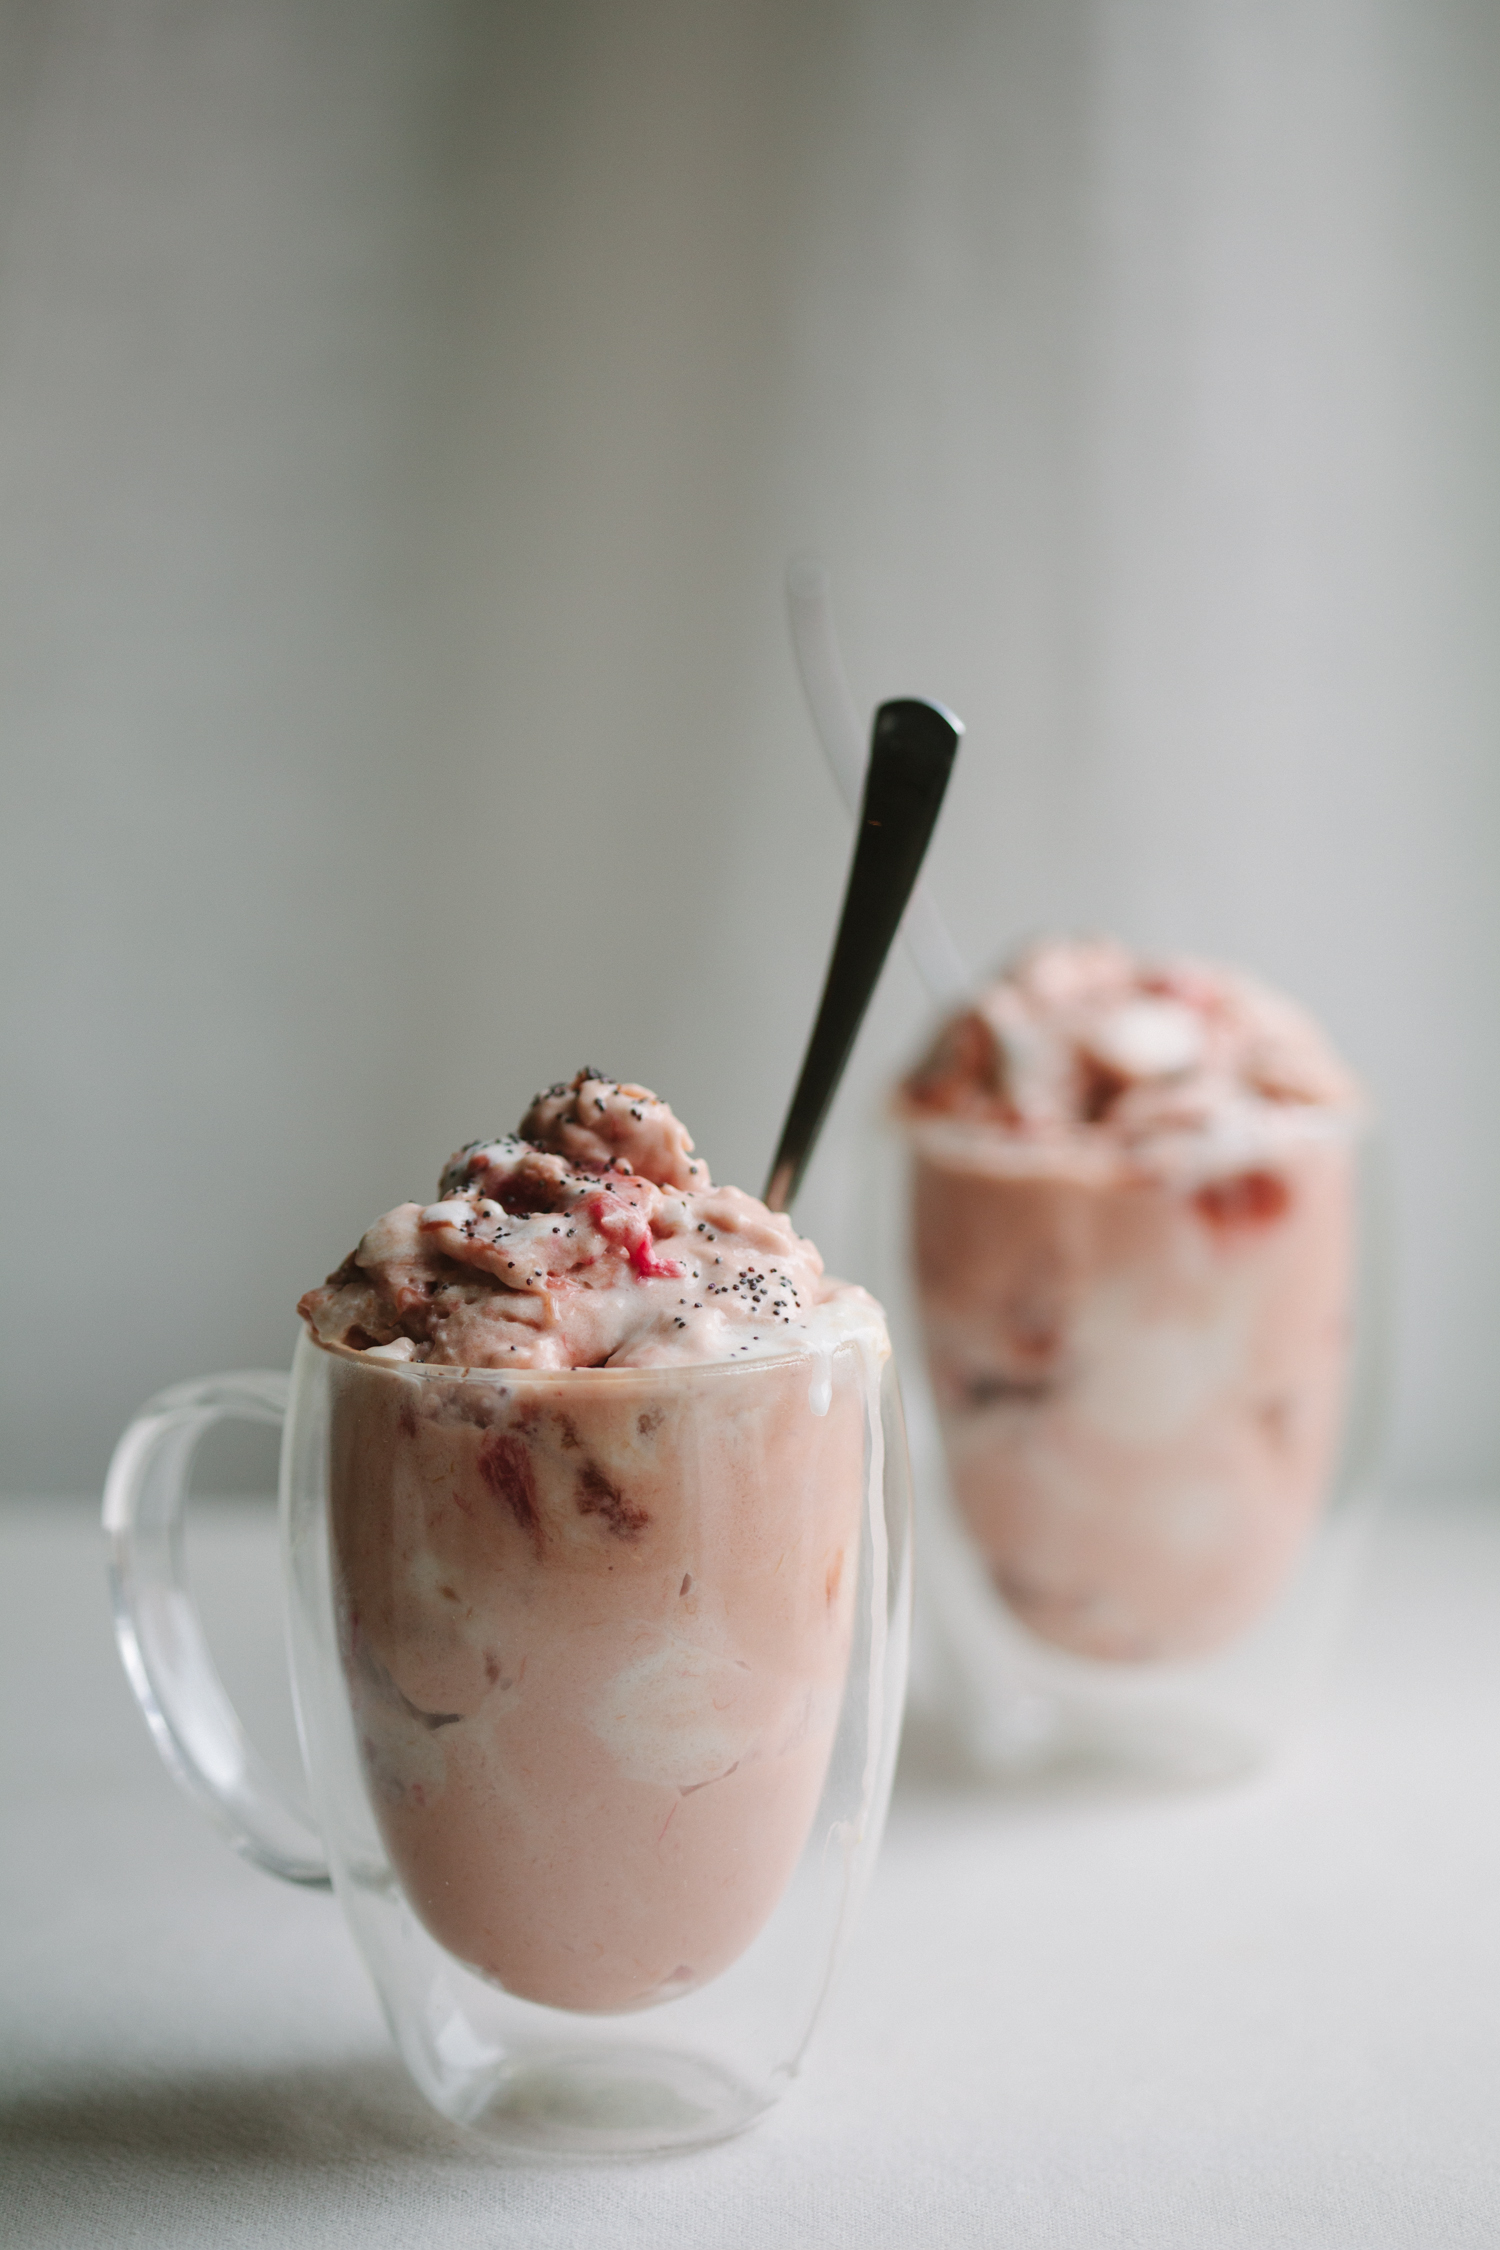
Quick Rhubarb Soft Serve
by Anya
Read Recipe
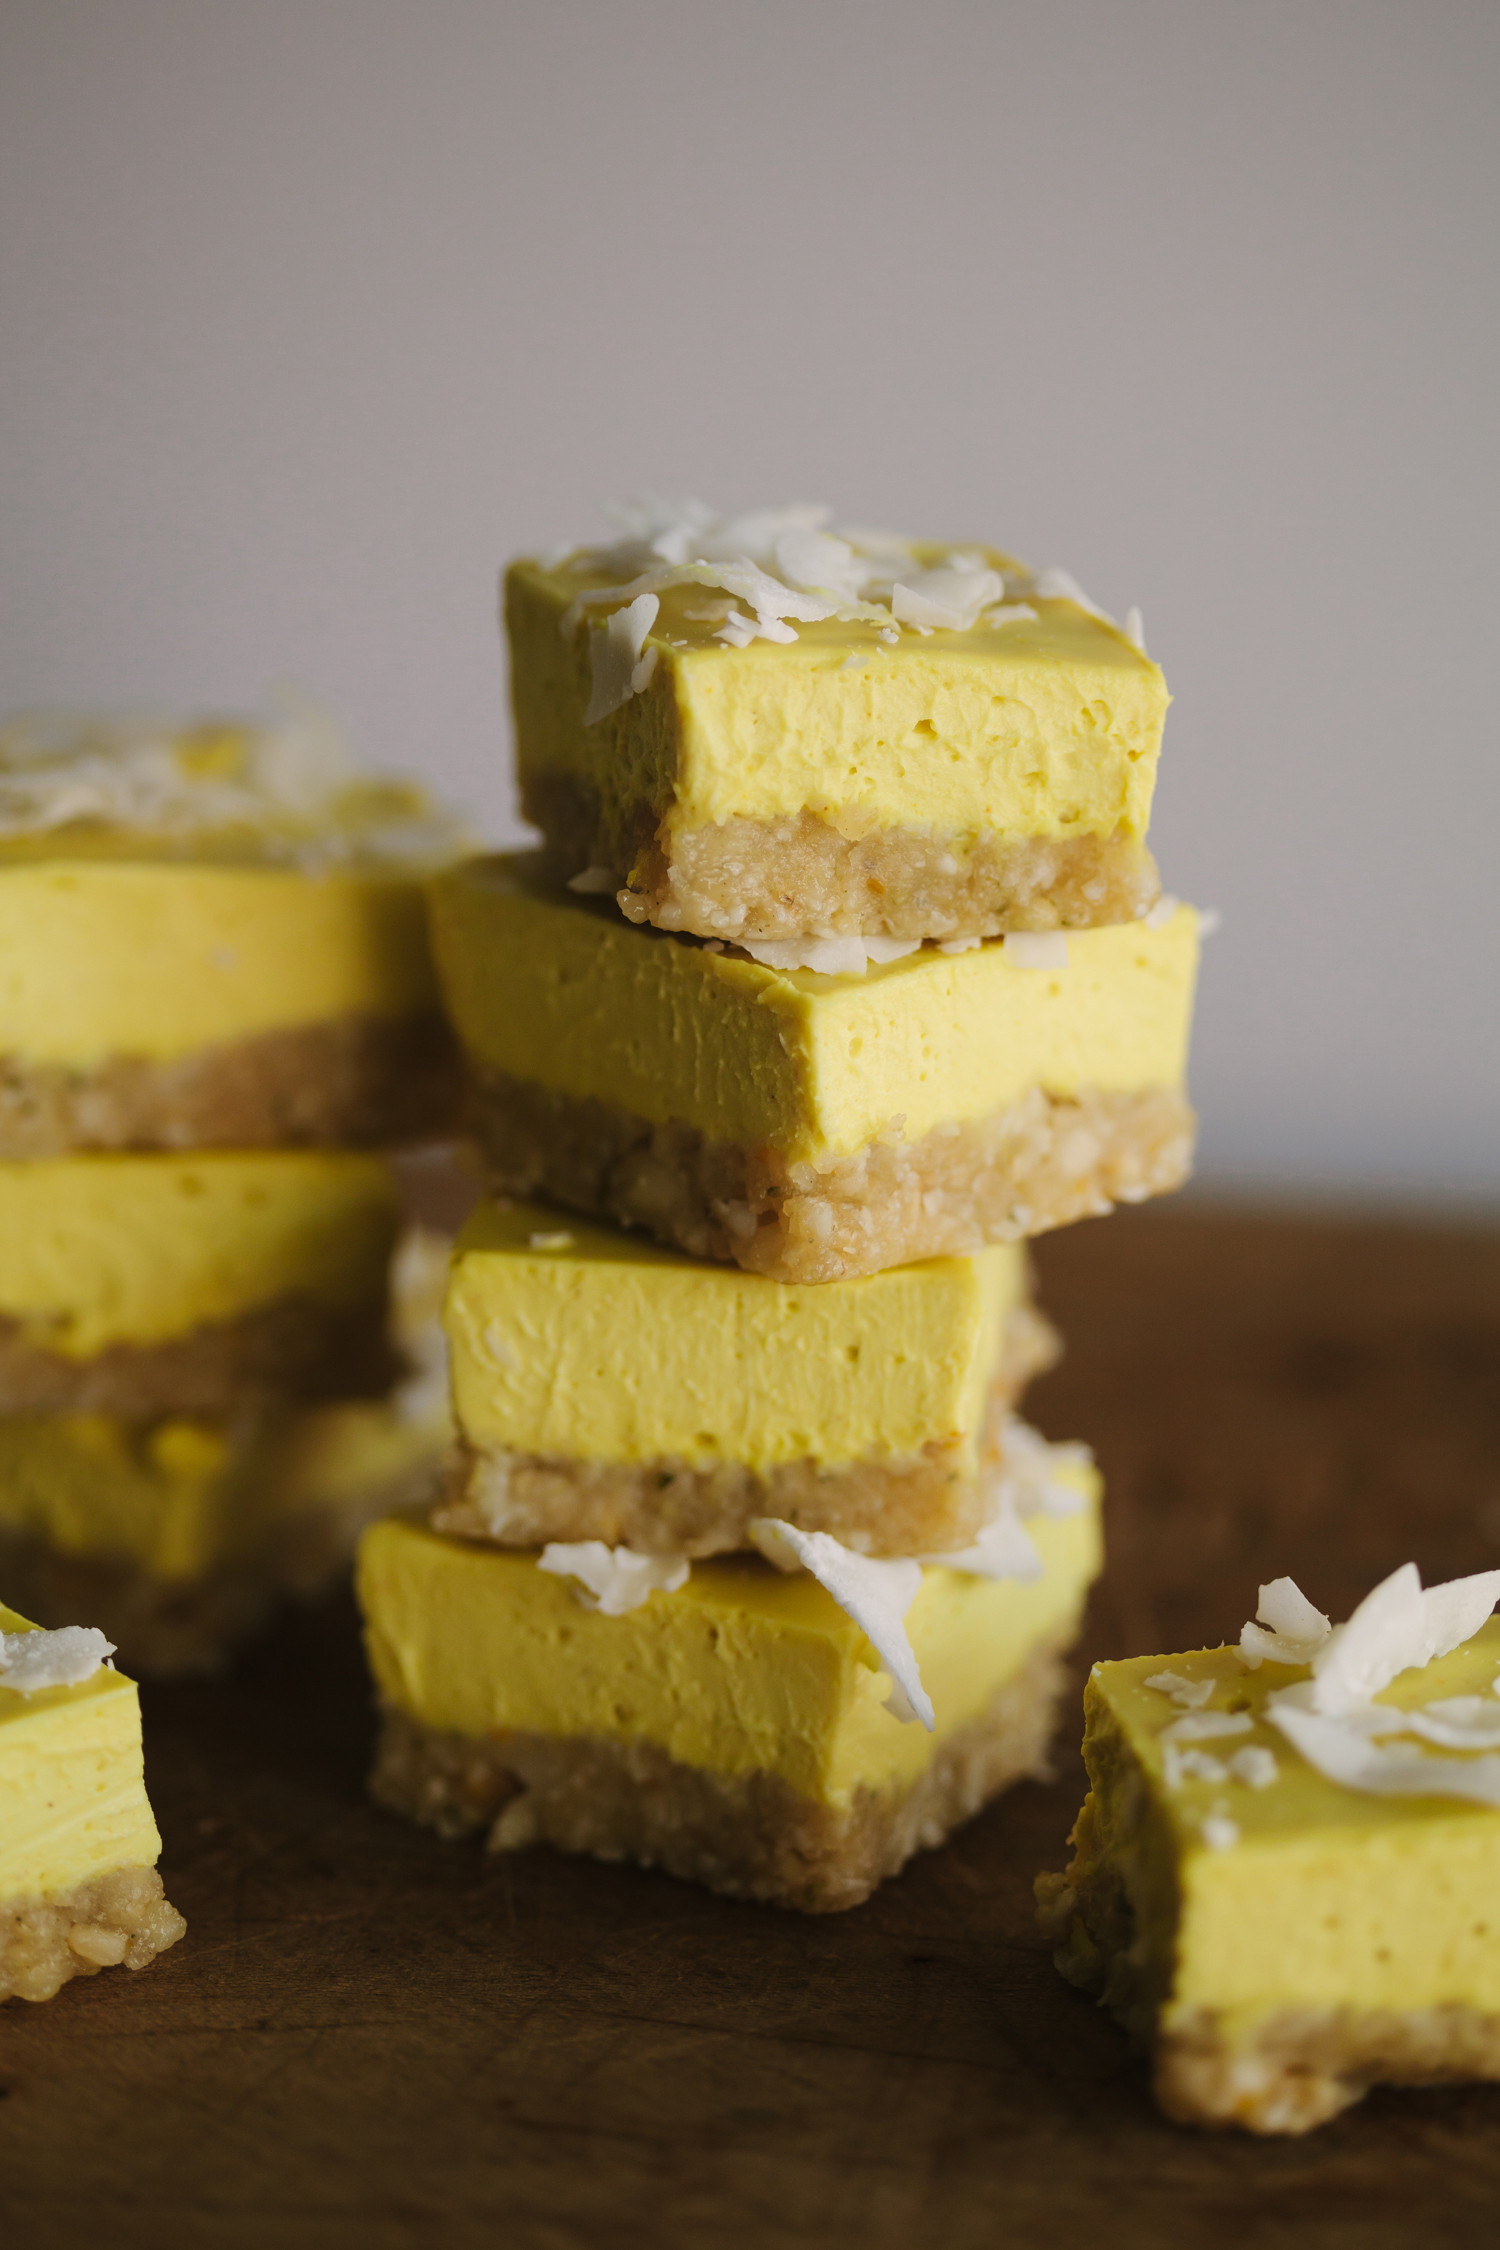
No Bake Coconut Lemon Bars
by Anya
Read Recipe
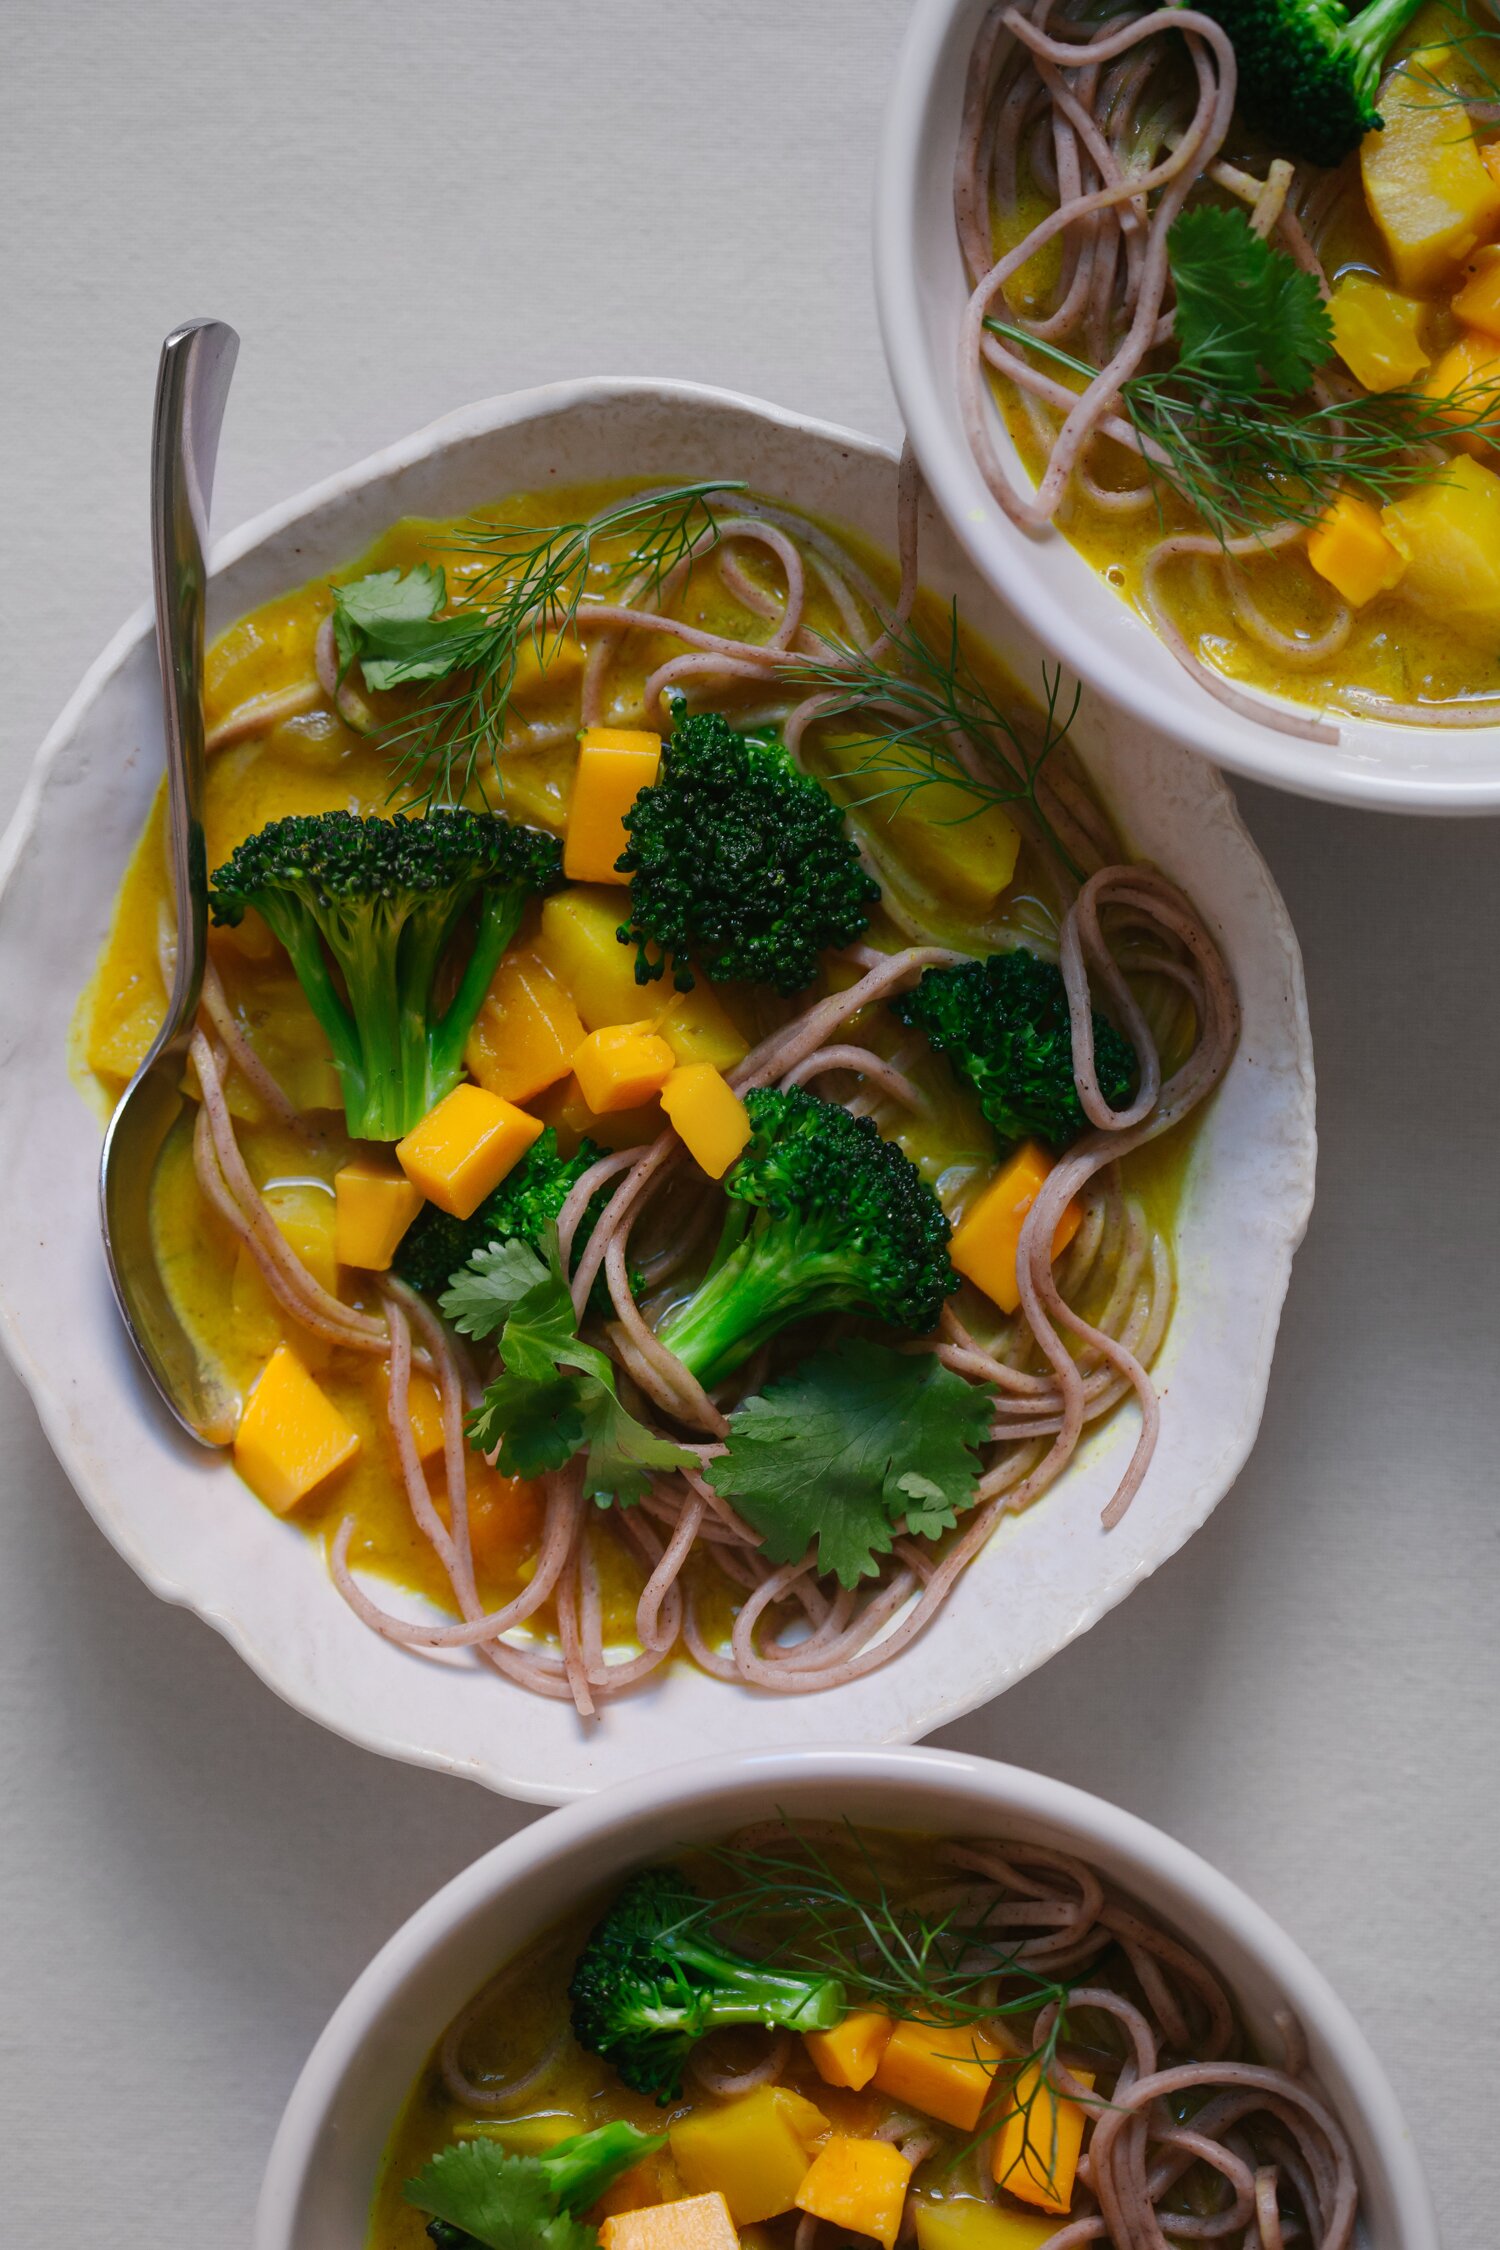
Mango Curry with Fennel and Parsnip
by Anya
Read Recipe
Quick Blender Pancakes, Three Ways
by Anya
Read Recipe
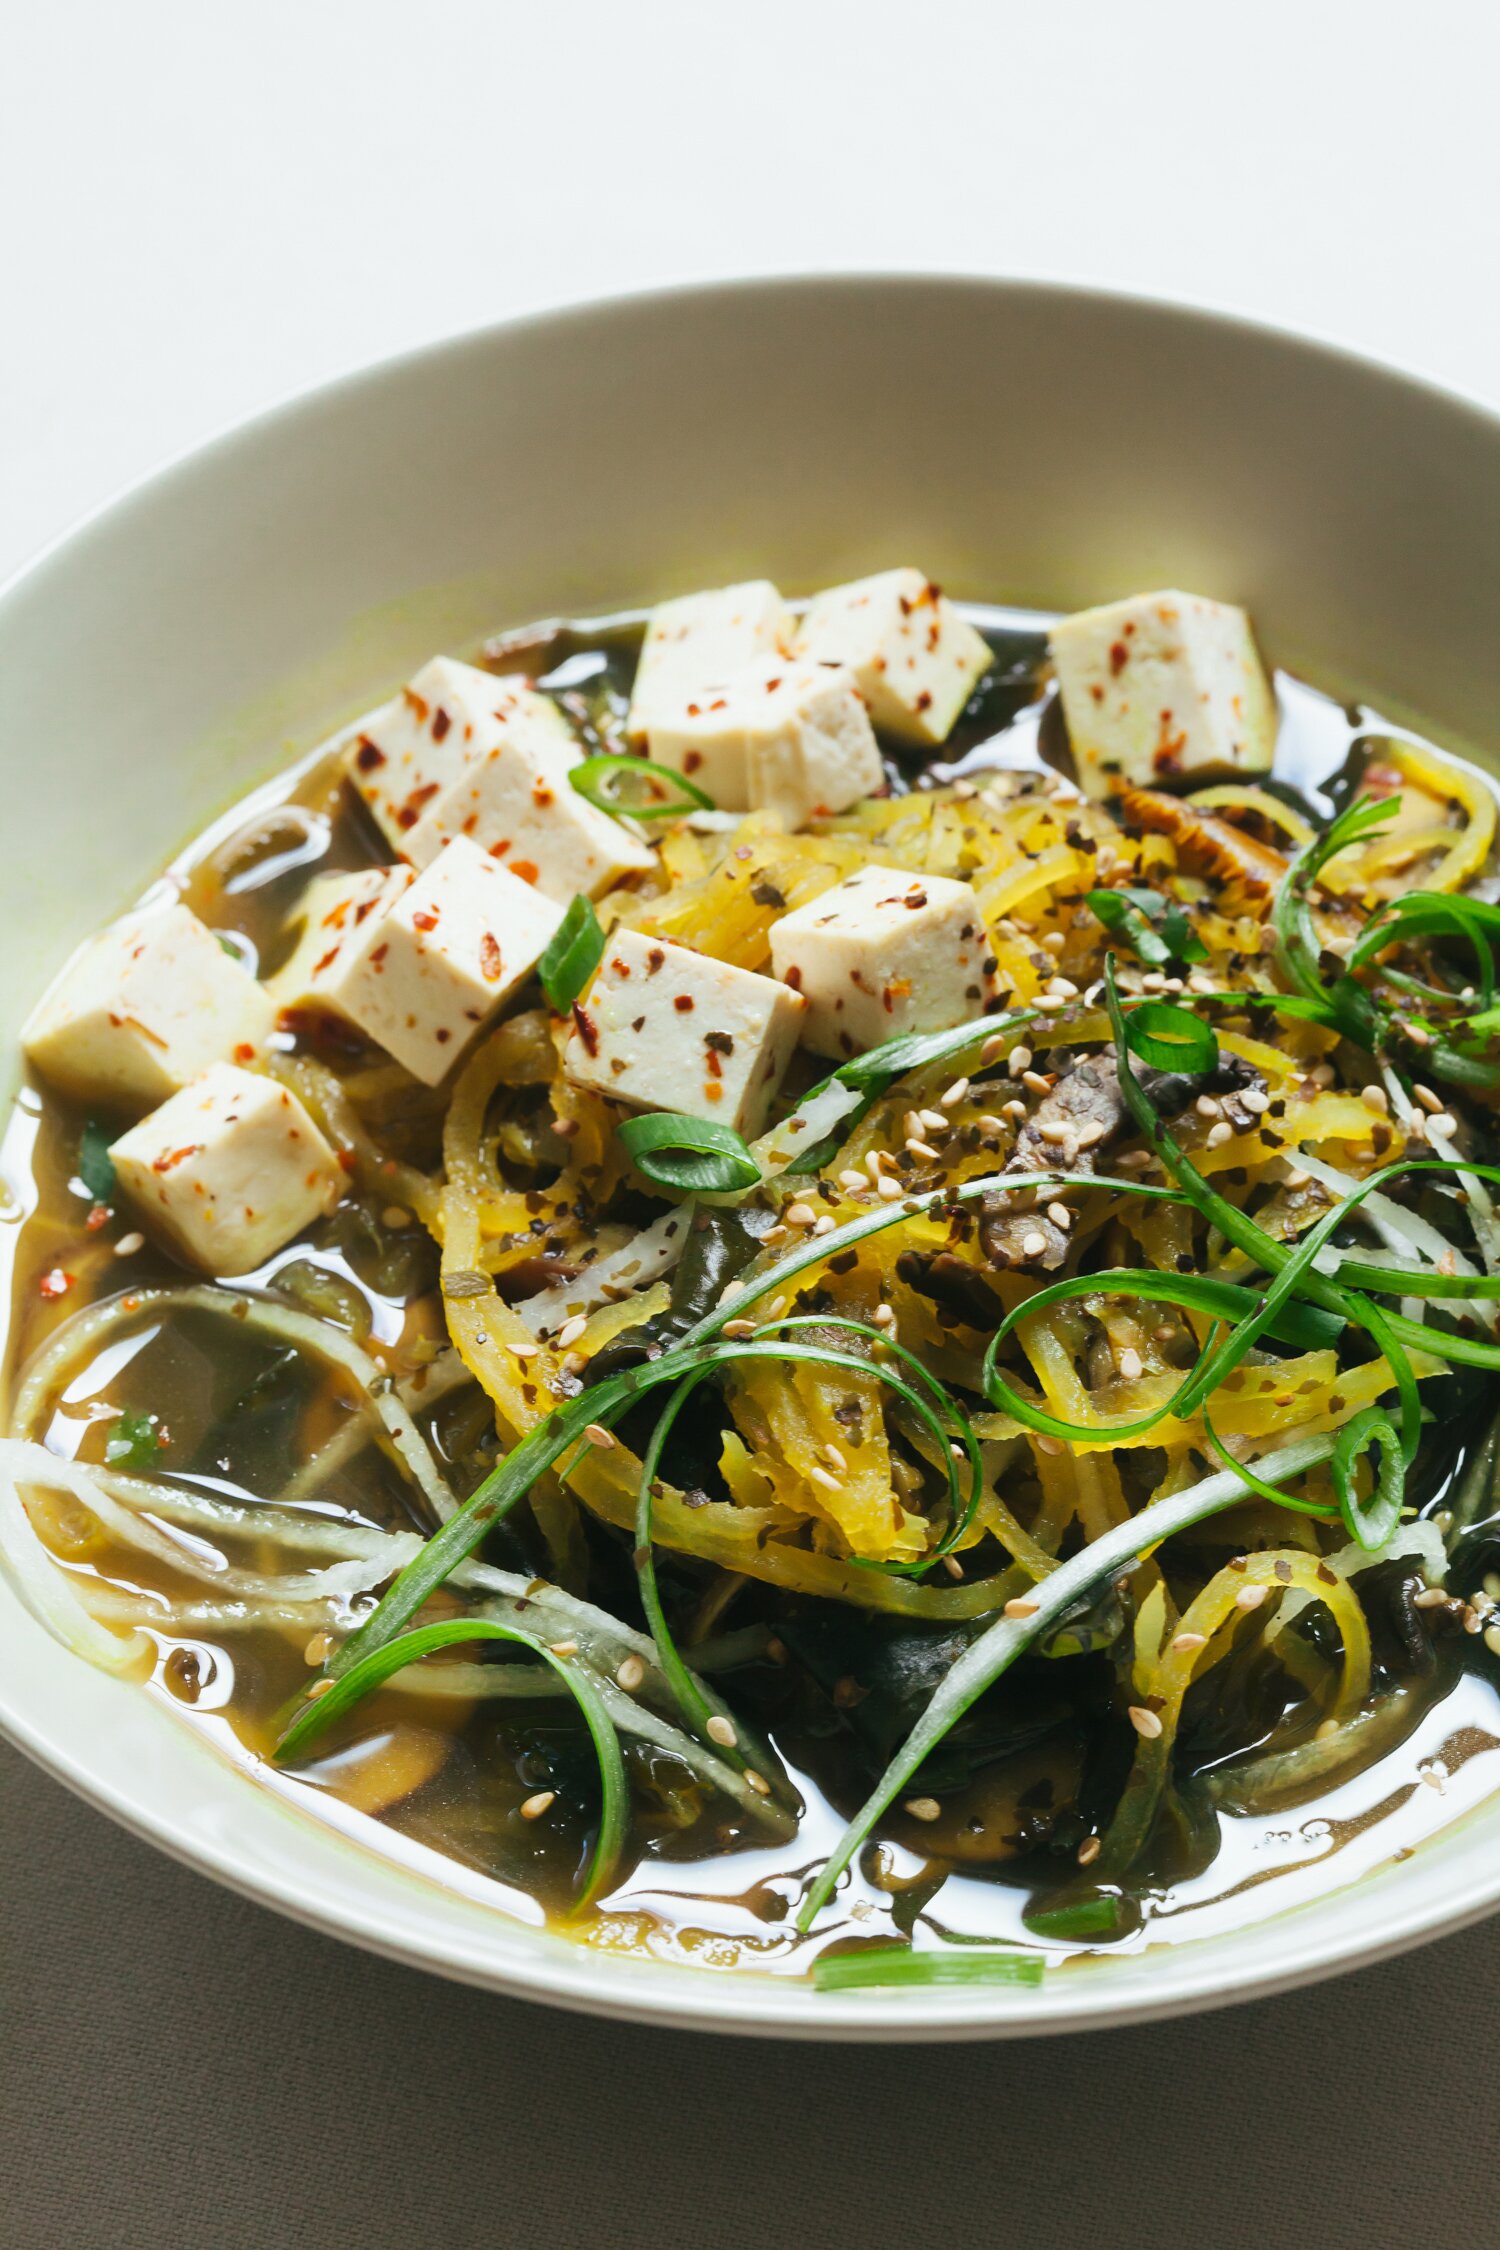
Vegan Daikon Noodle Ramen
by Anya
Read Recipe
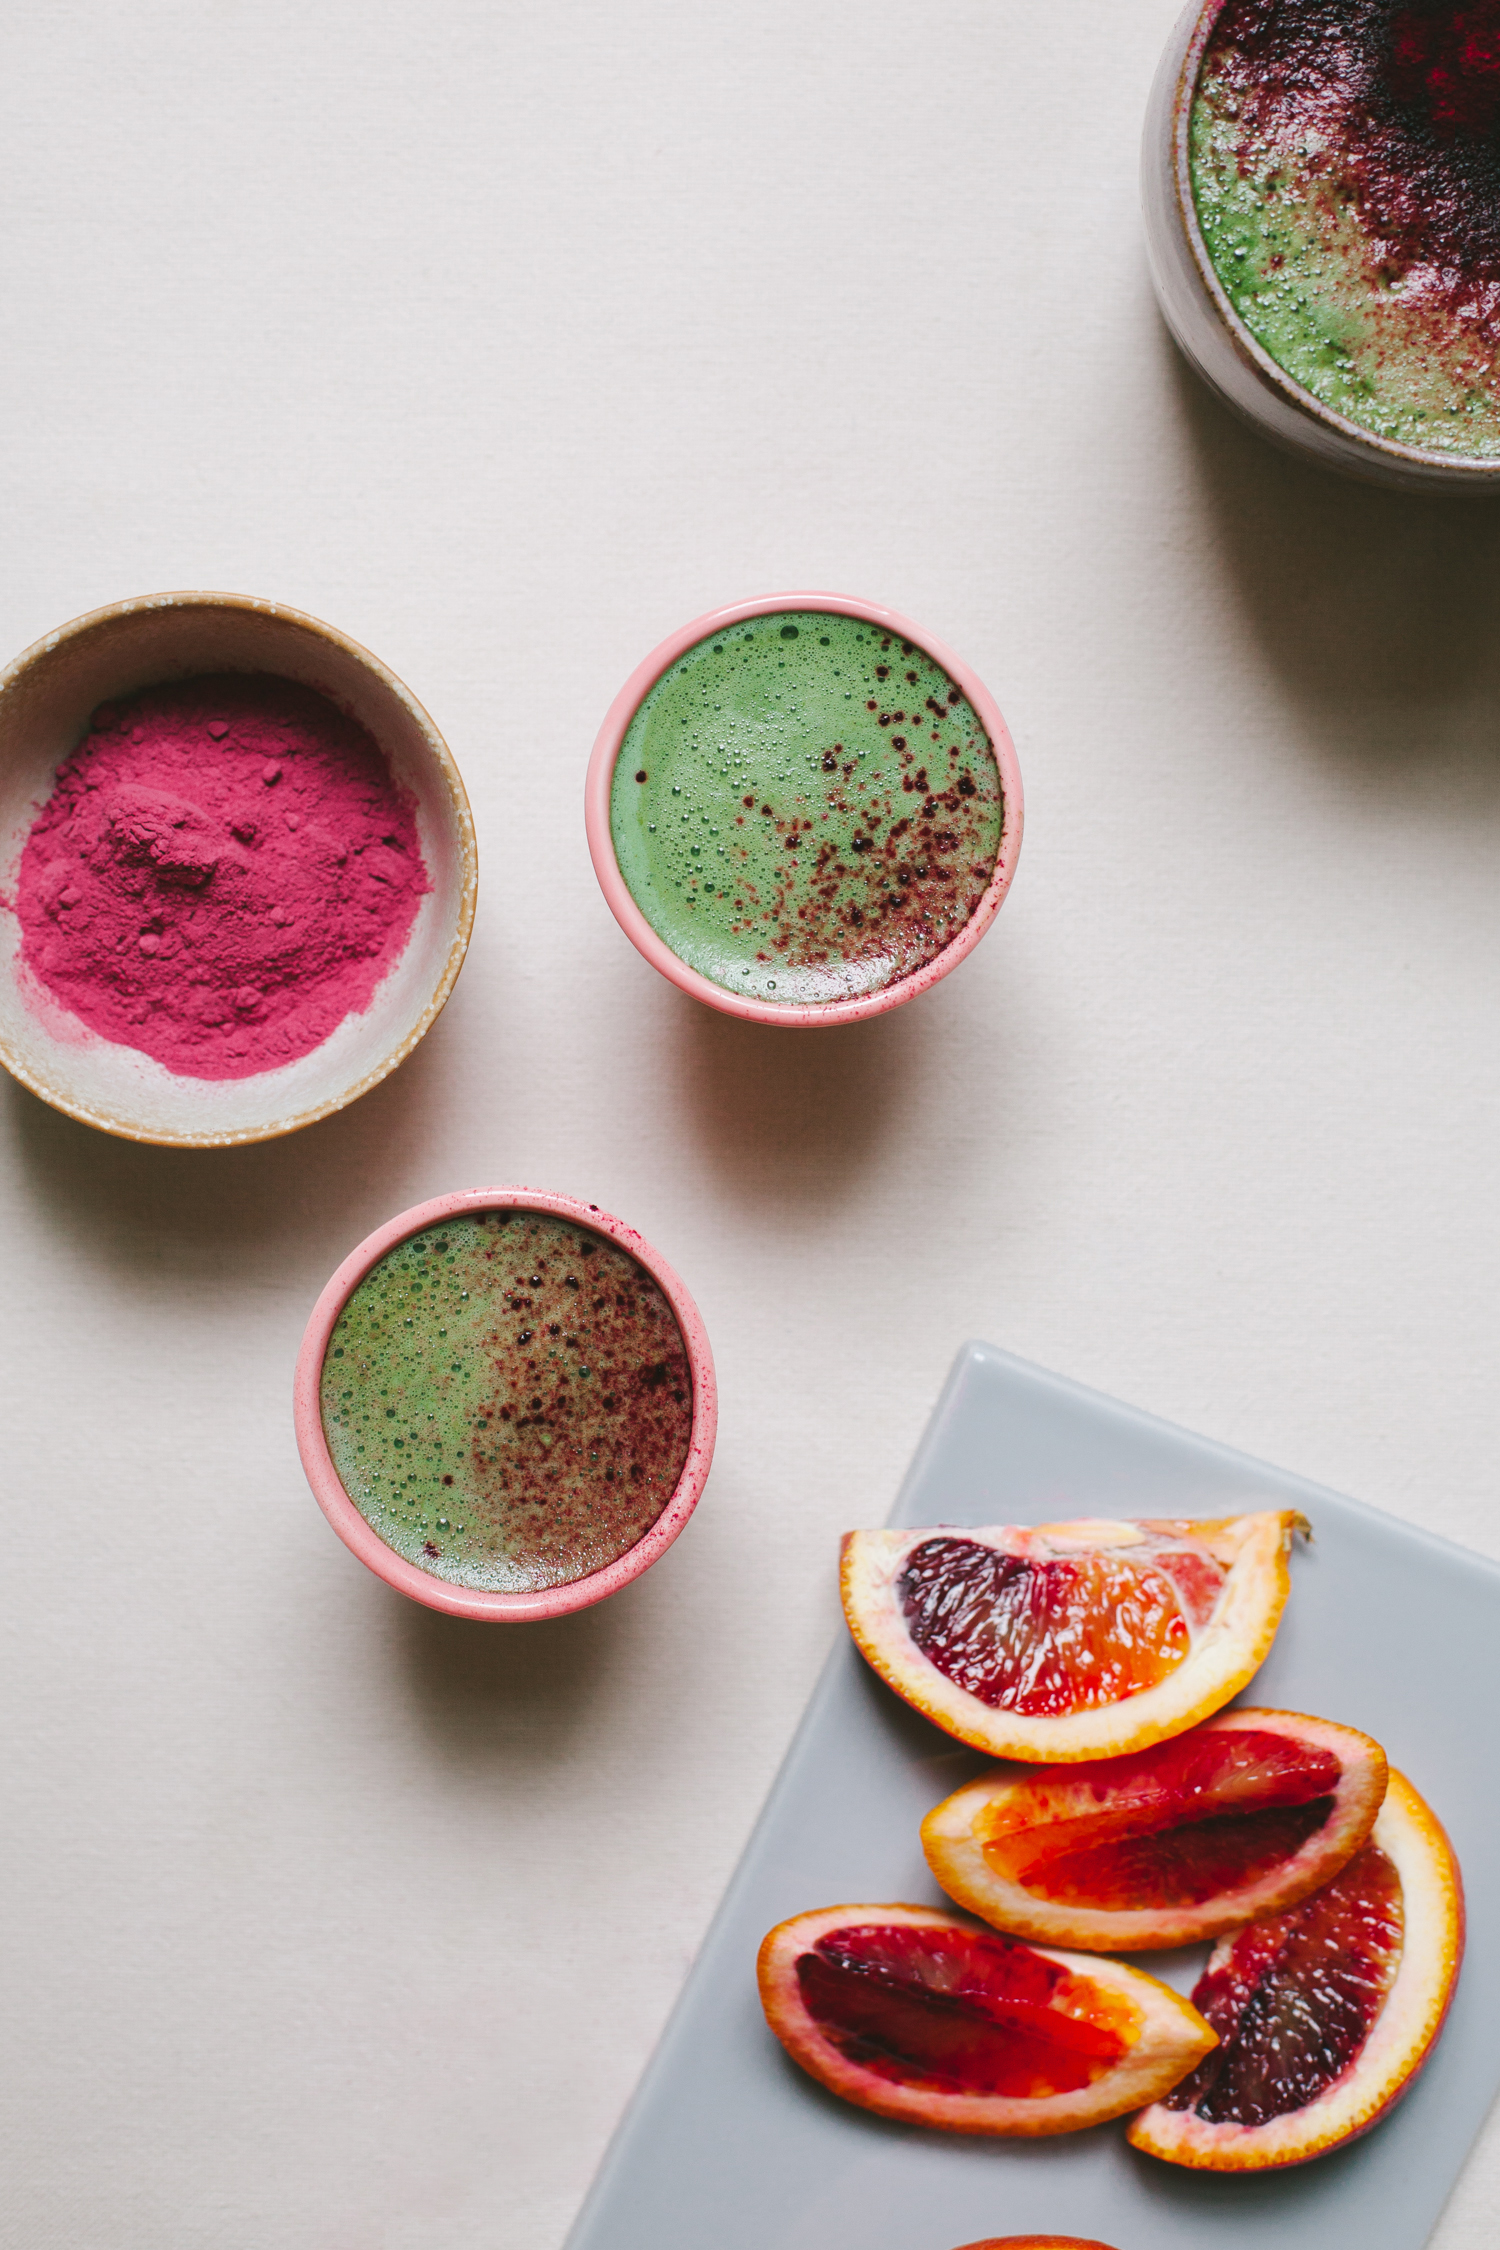
Spirulina Latte
by Anya
Read Recipe
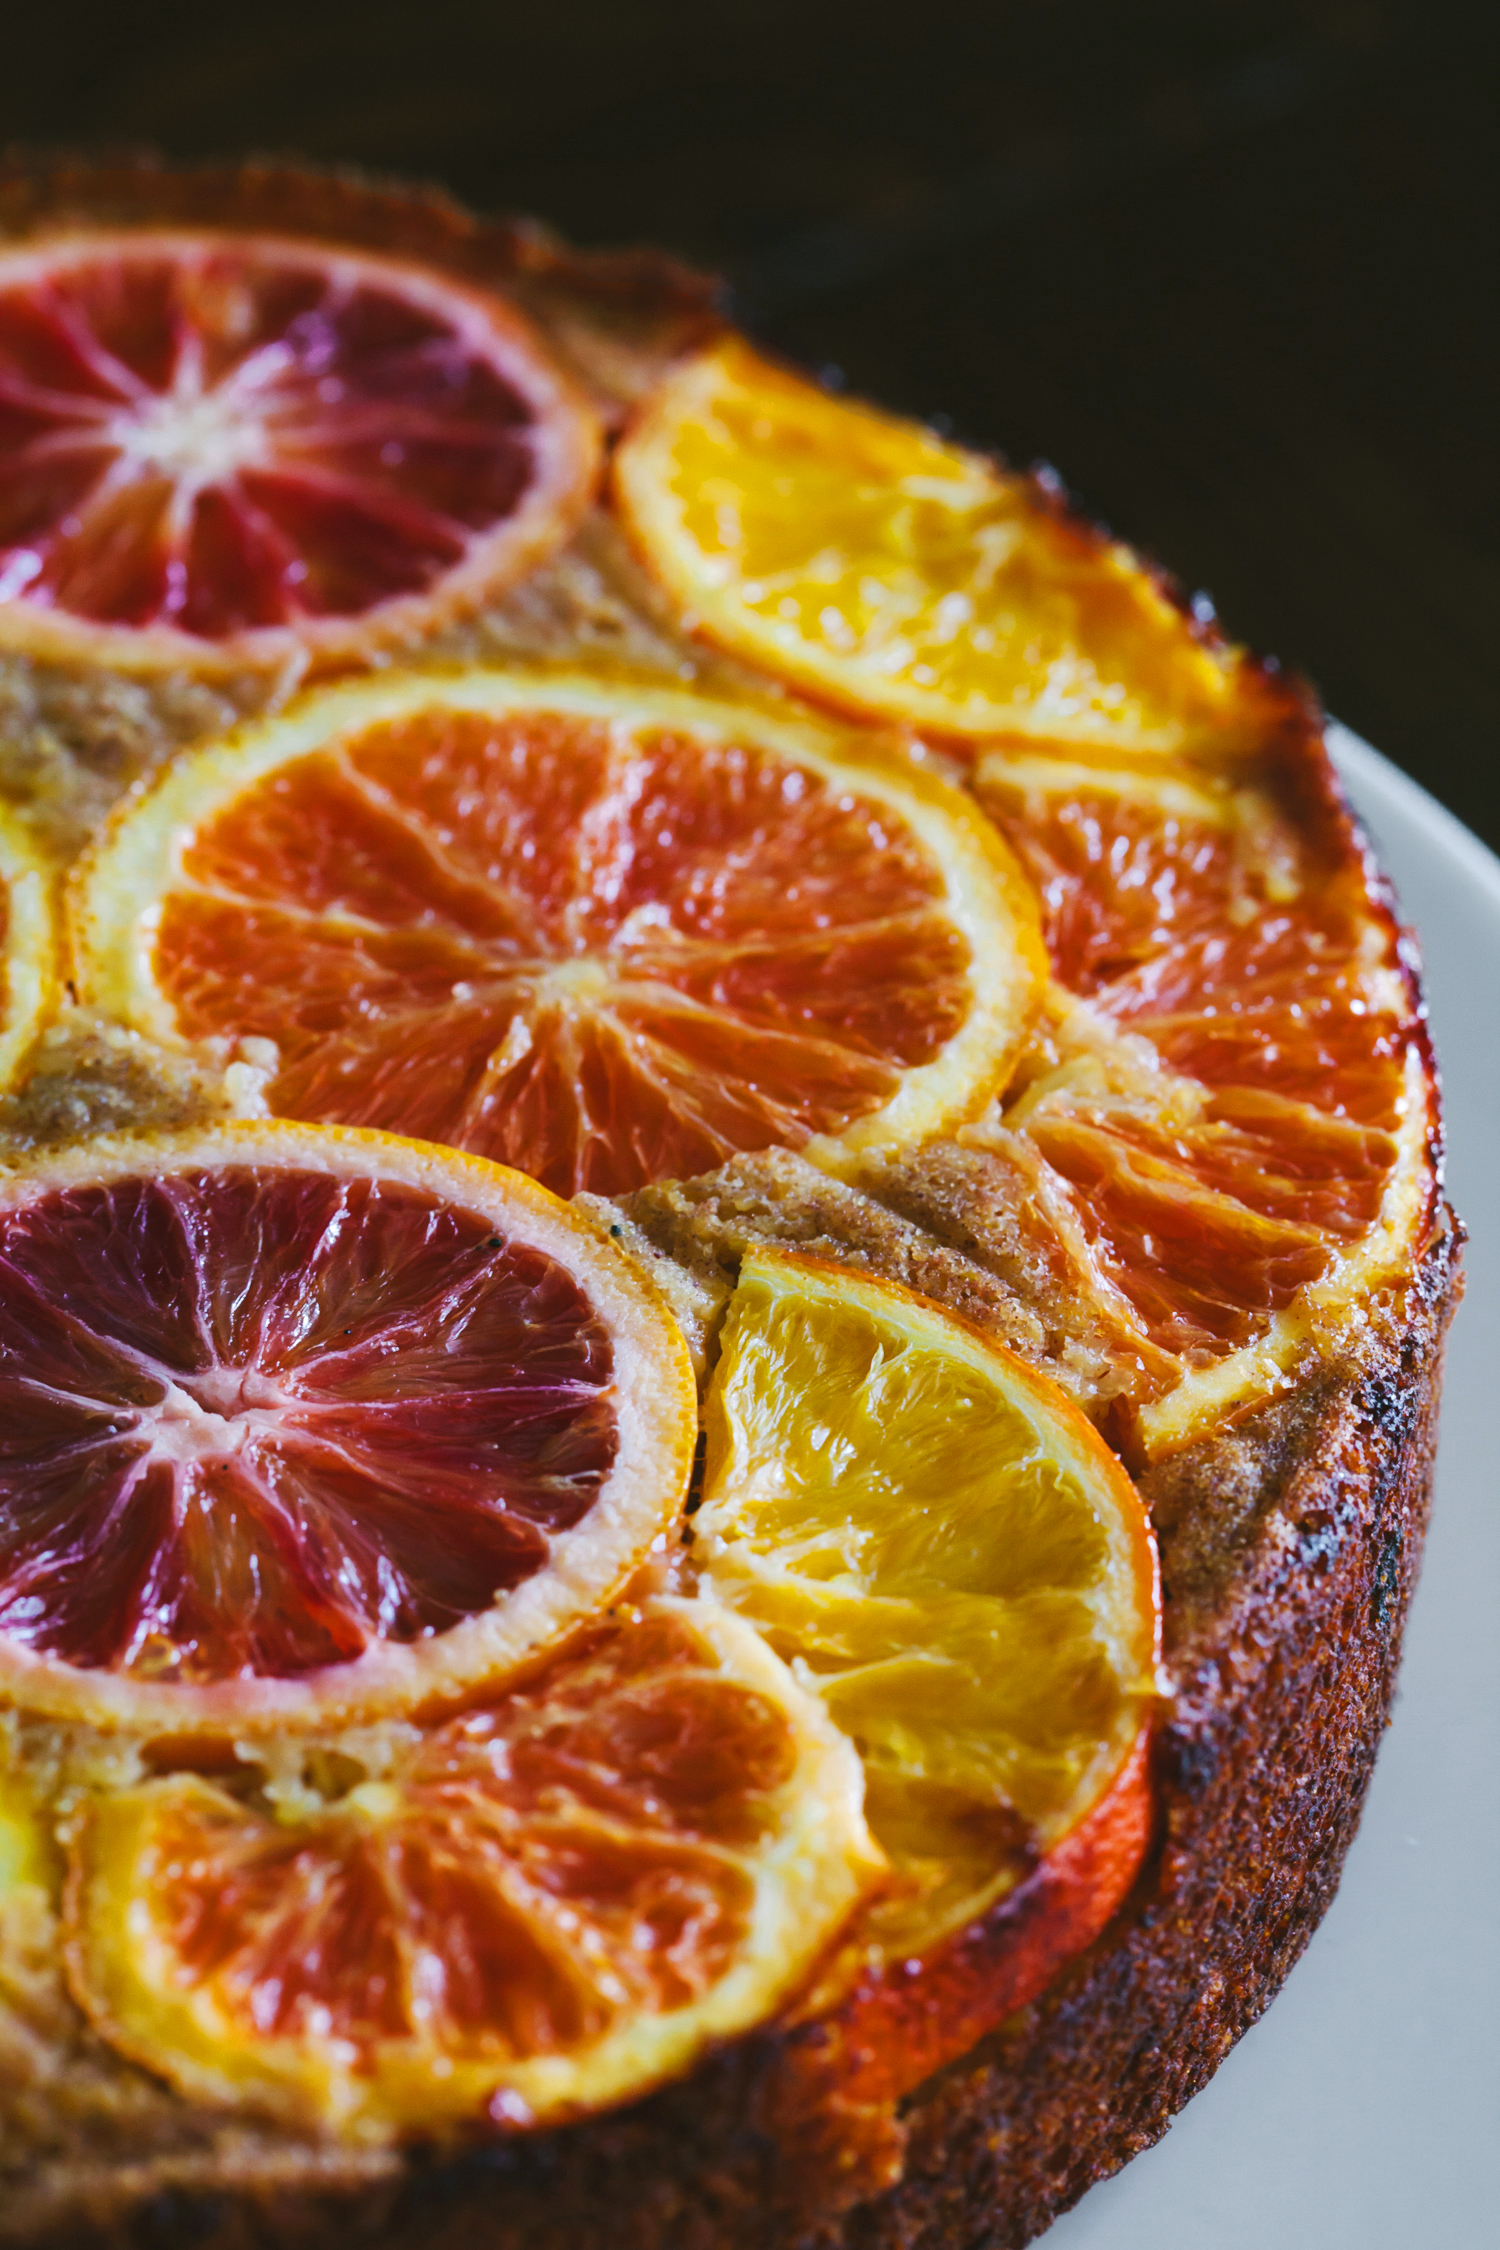
Upside Down Citrus Polenta Cake
by Anya
Read Recipe
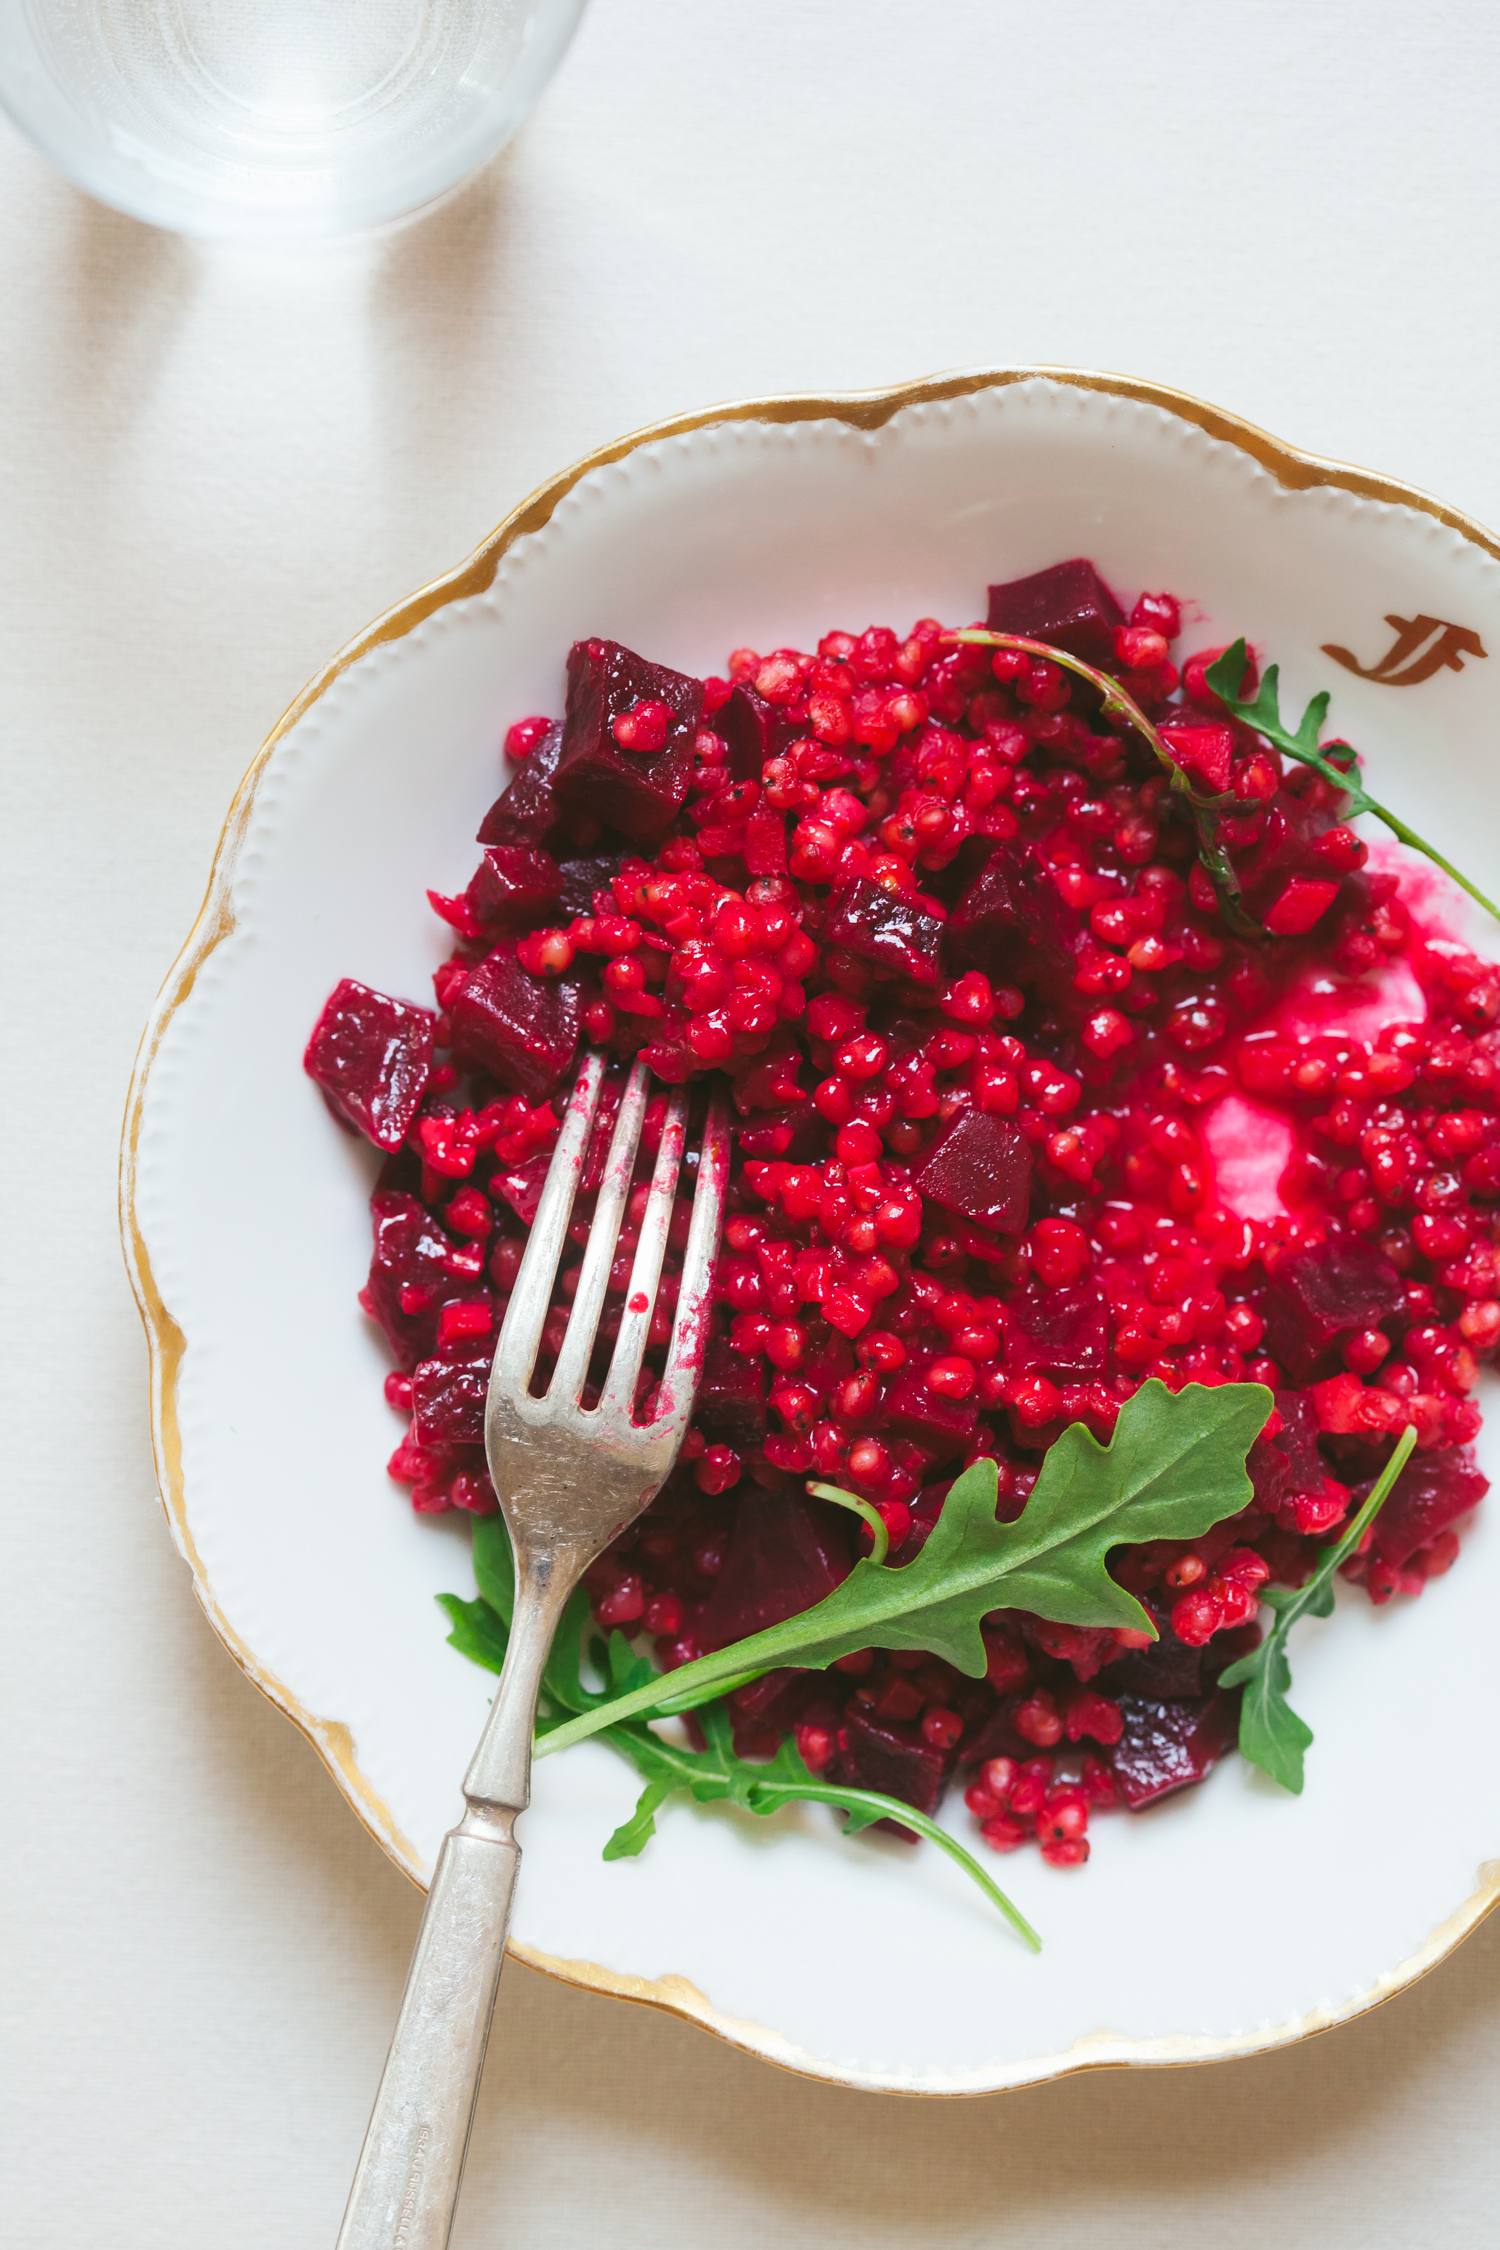
Sorghum Beet Risotto
by Anya
Read Recipe
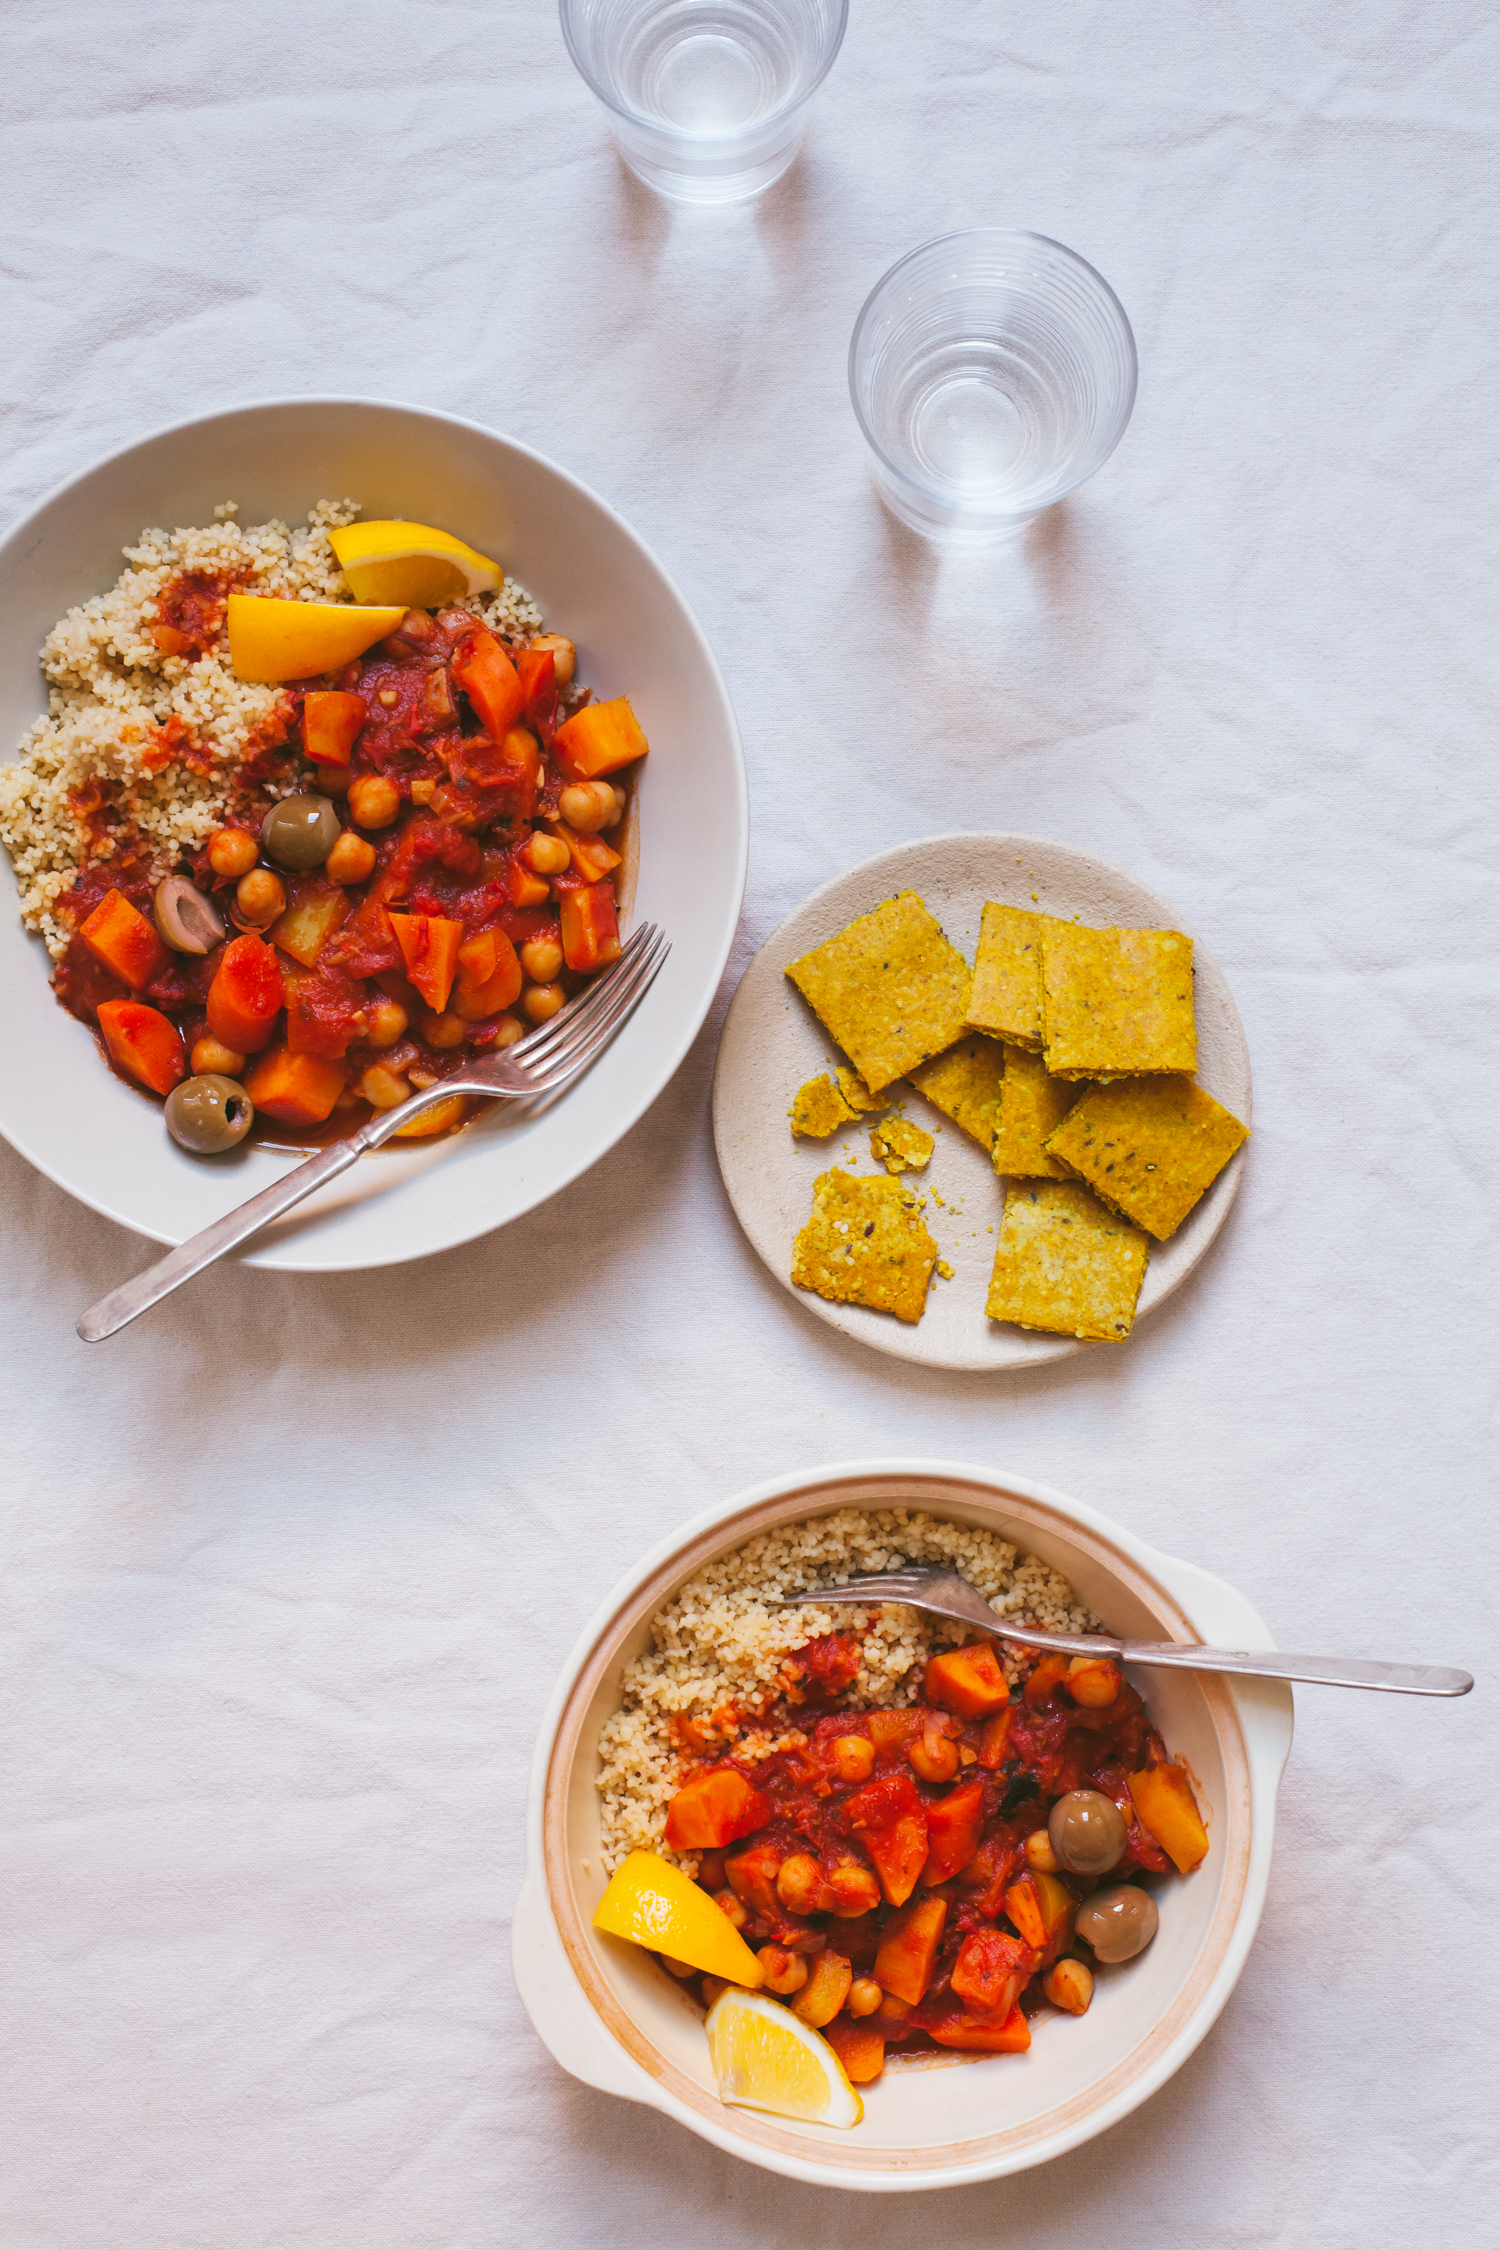
Moroccan Stew and Sunshine Crackers from The First Mess + a Giveaway
by Anya
Read Recipe
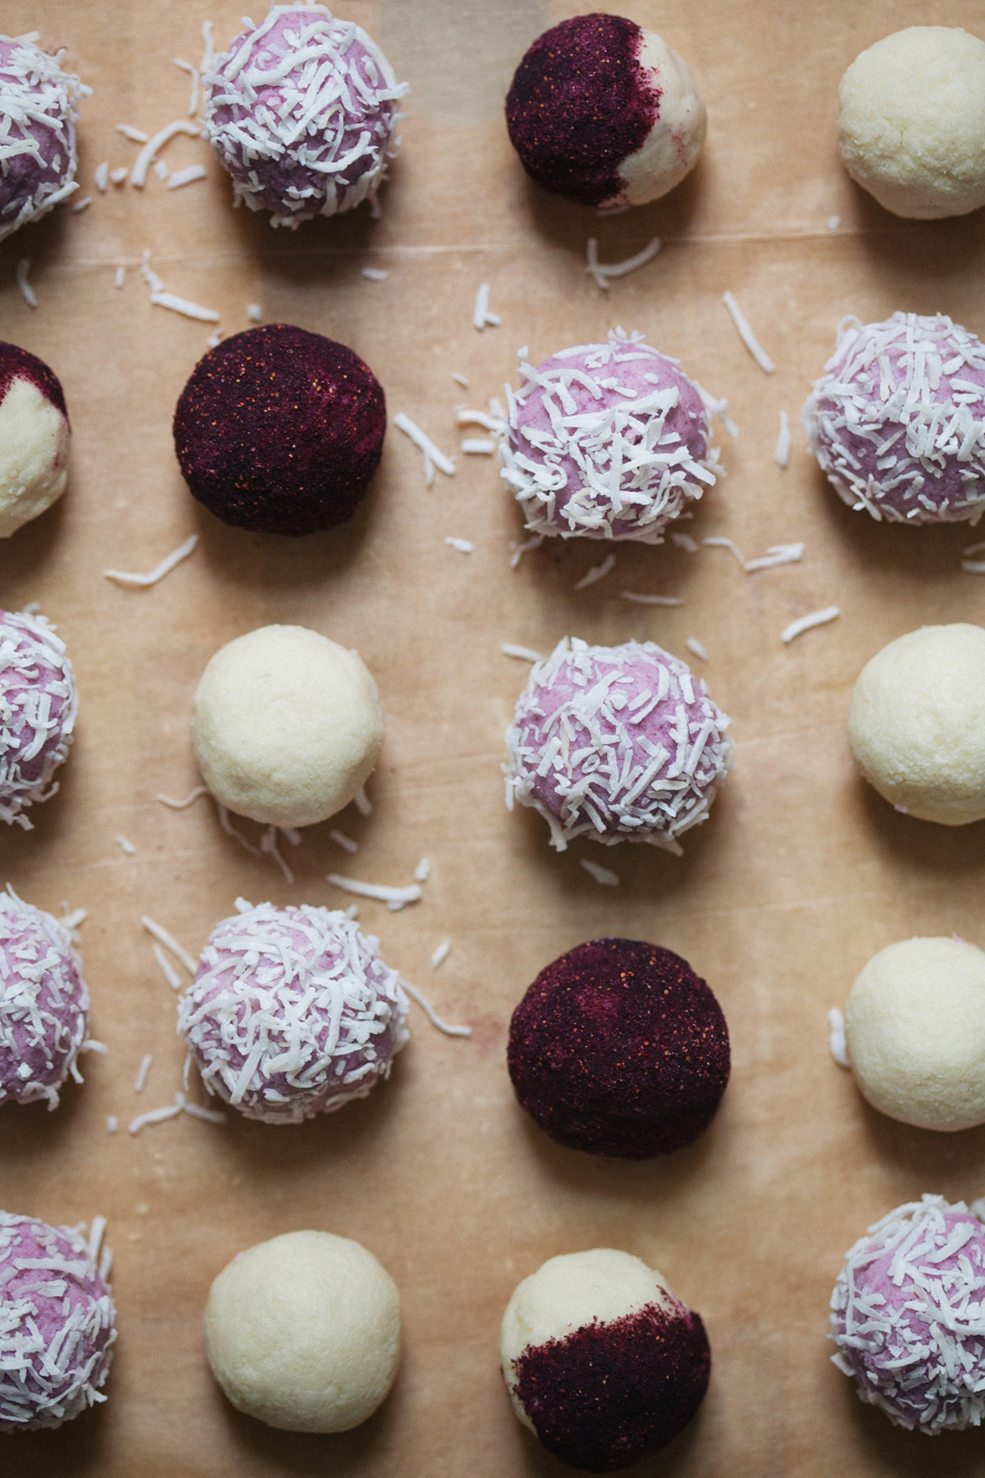
Blueberry Cheesecake Truffles
by Anya
Read Recipe
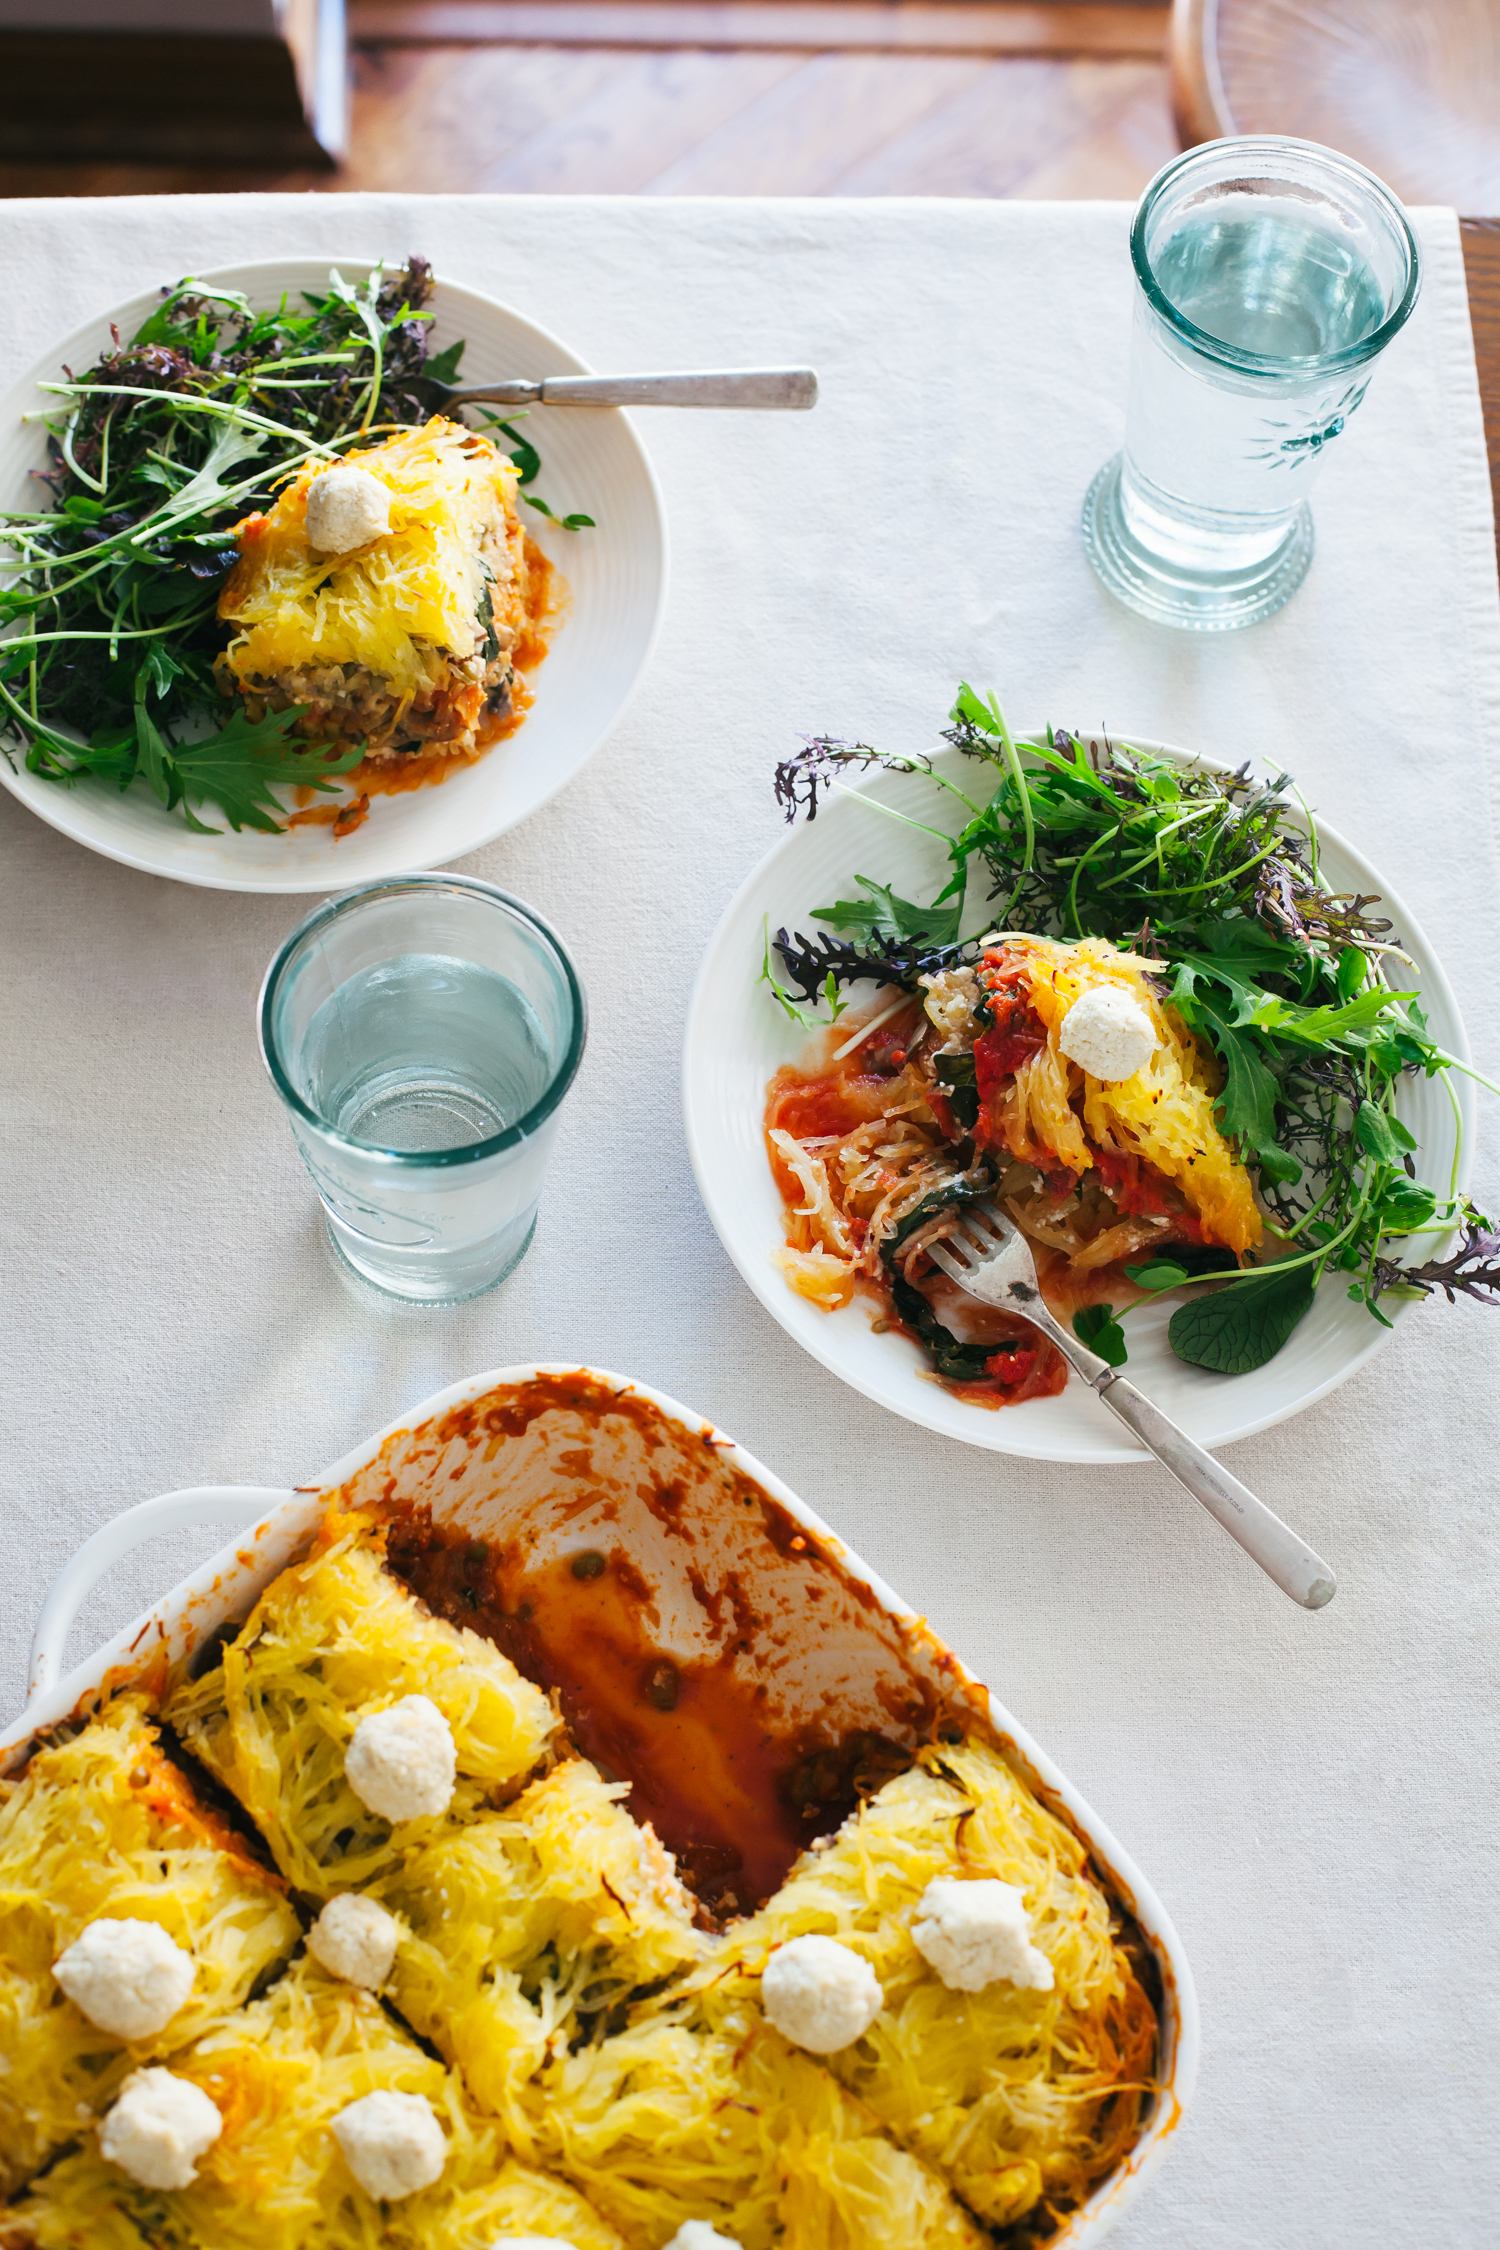
Spaghetti Squash Mung Bean Lasagna
by Anya
Read Recipe
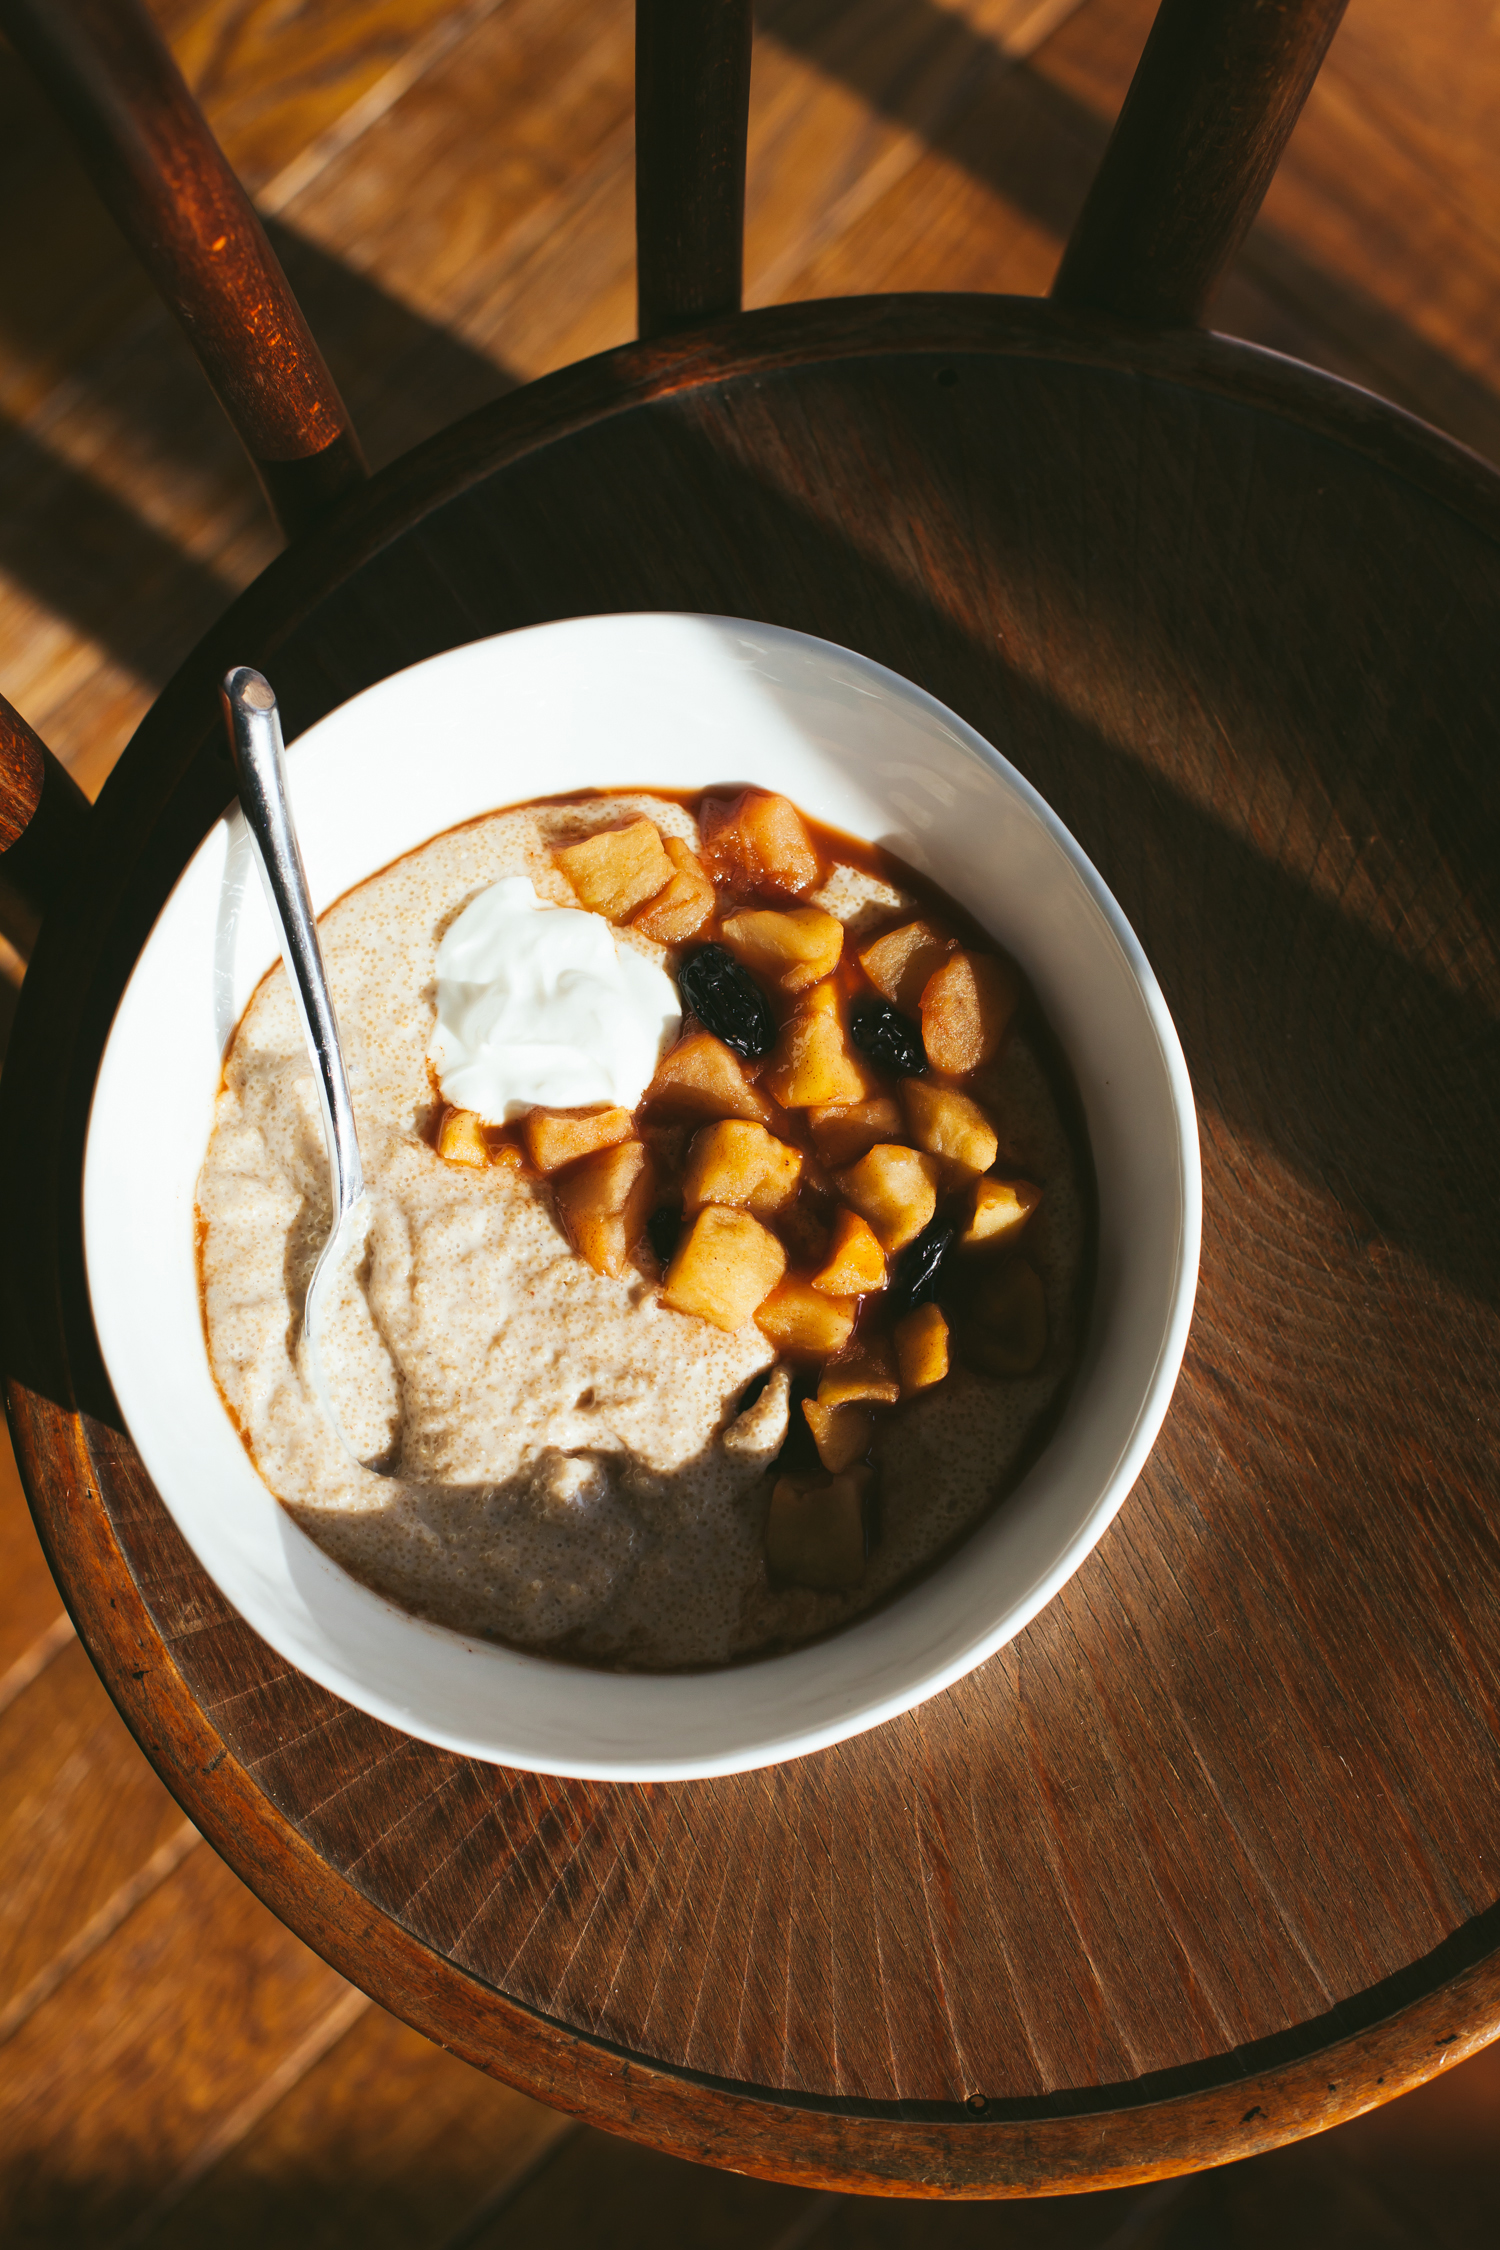
Spiced Amaranth Porridge with Ginger Stewed Apples and Raisins
by Anya
Read Recipe
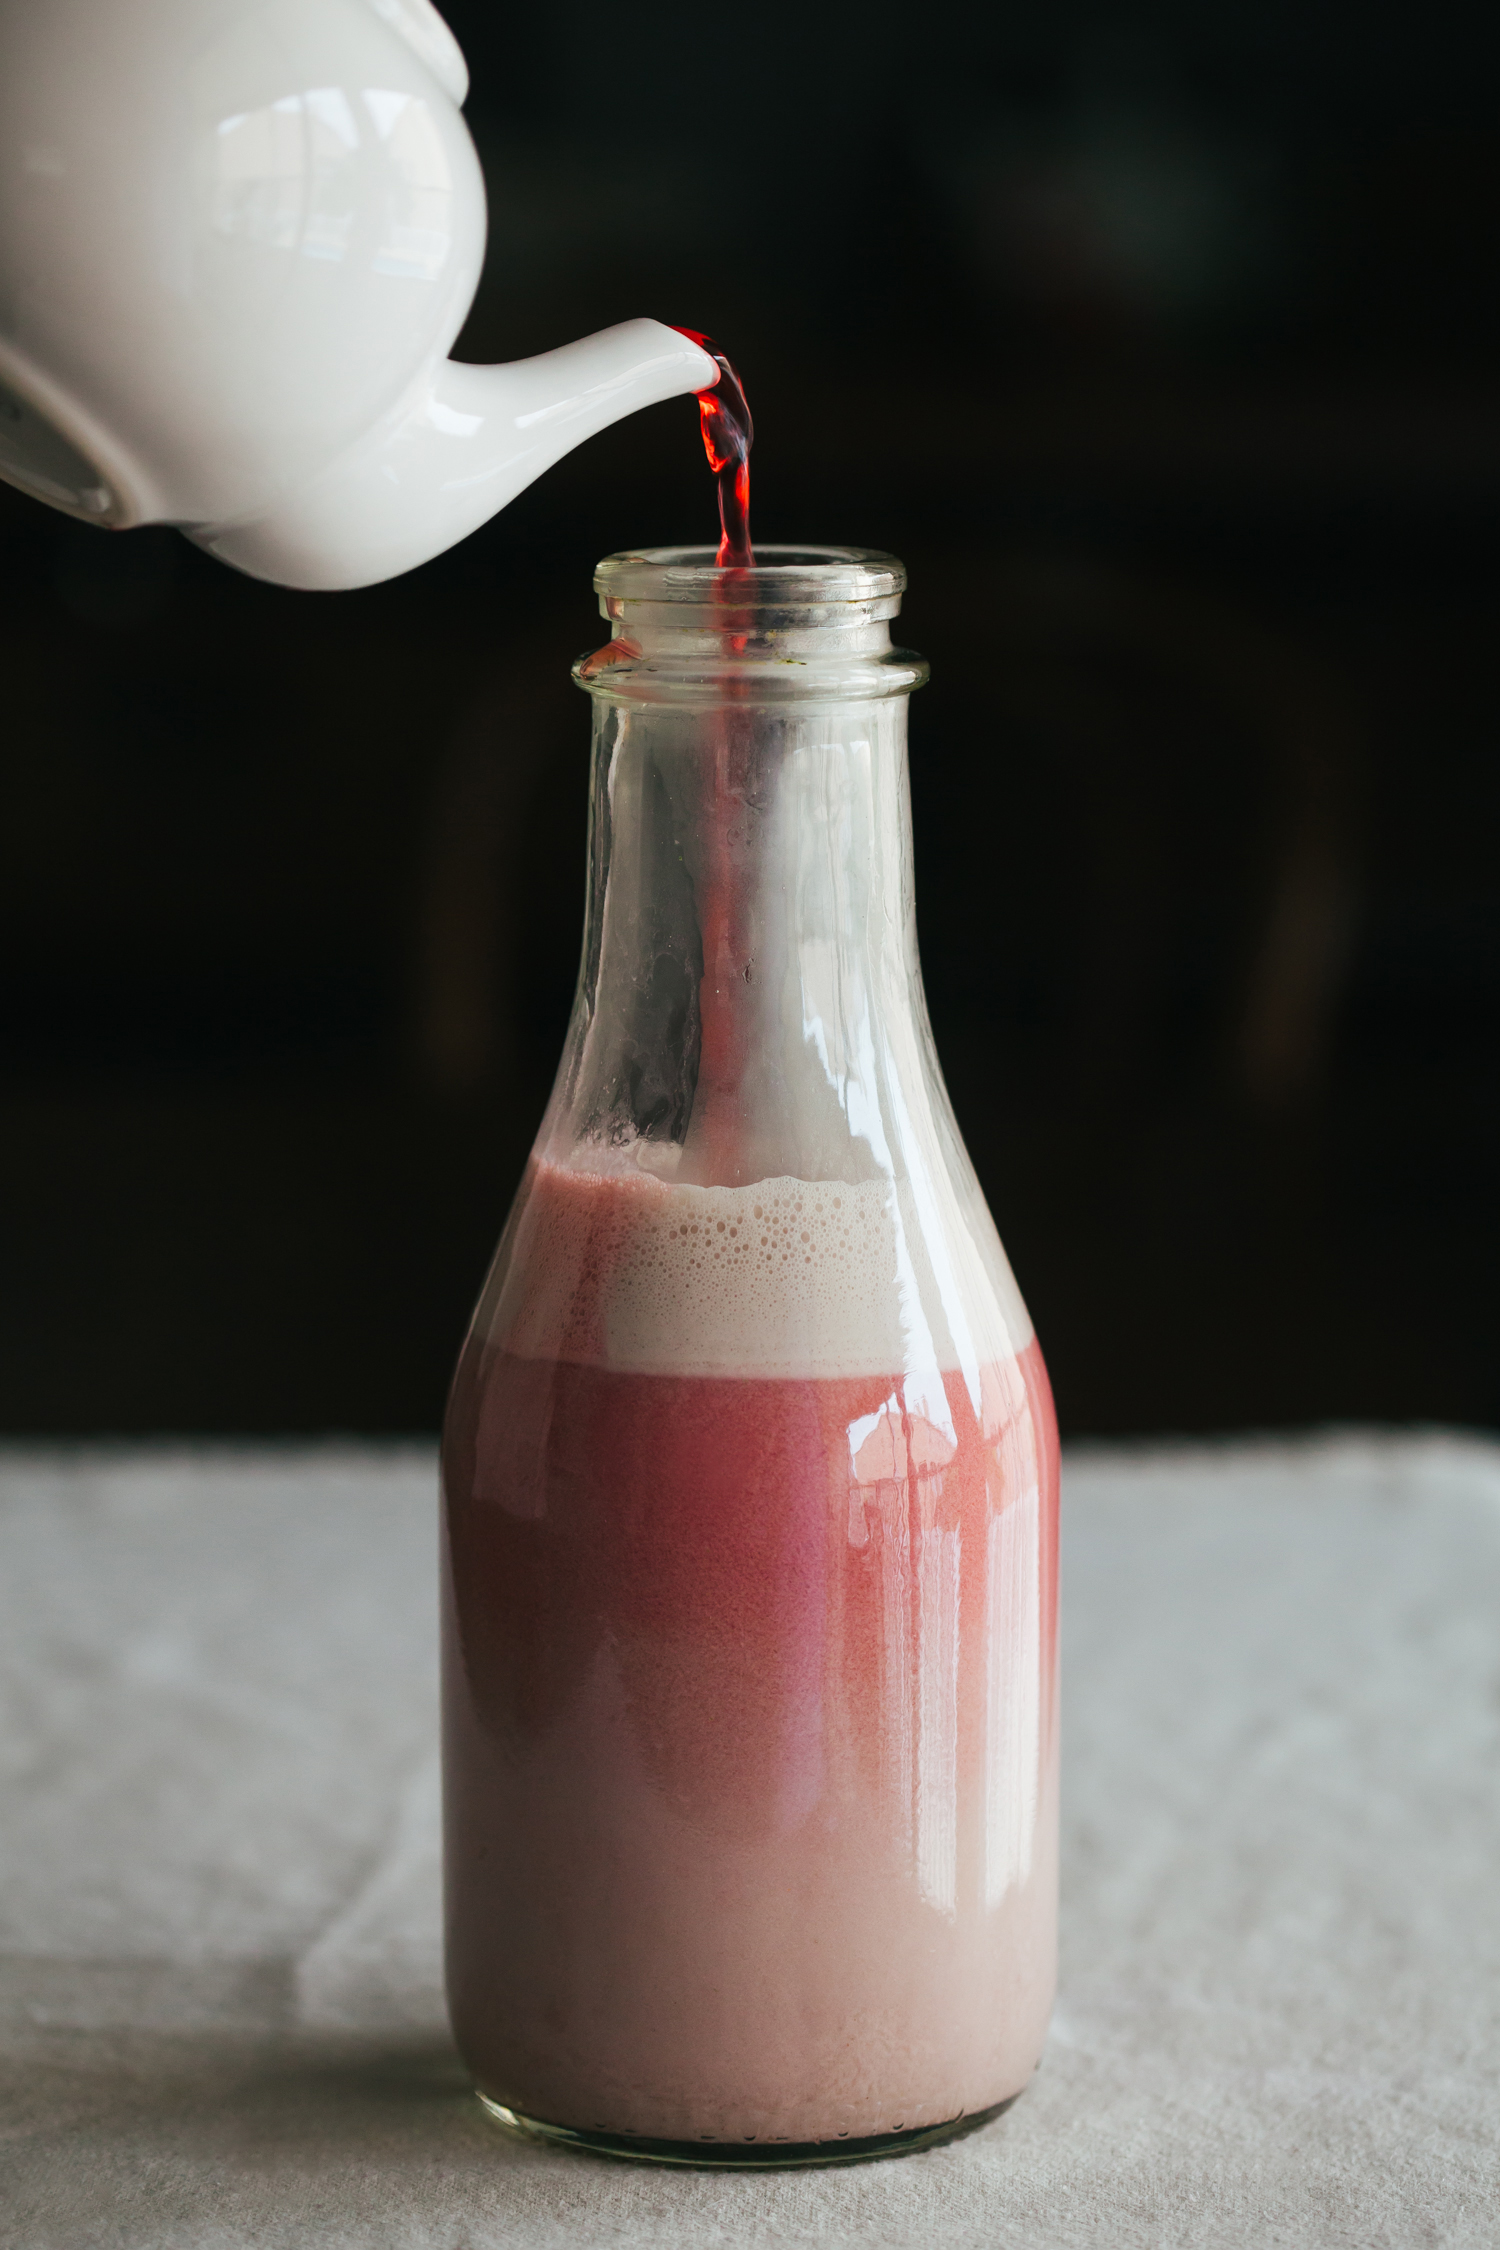
Hibiscus Ginger Latte
by Anya
Read Recipe
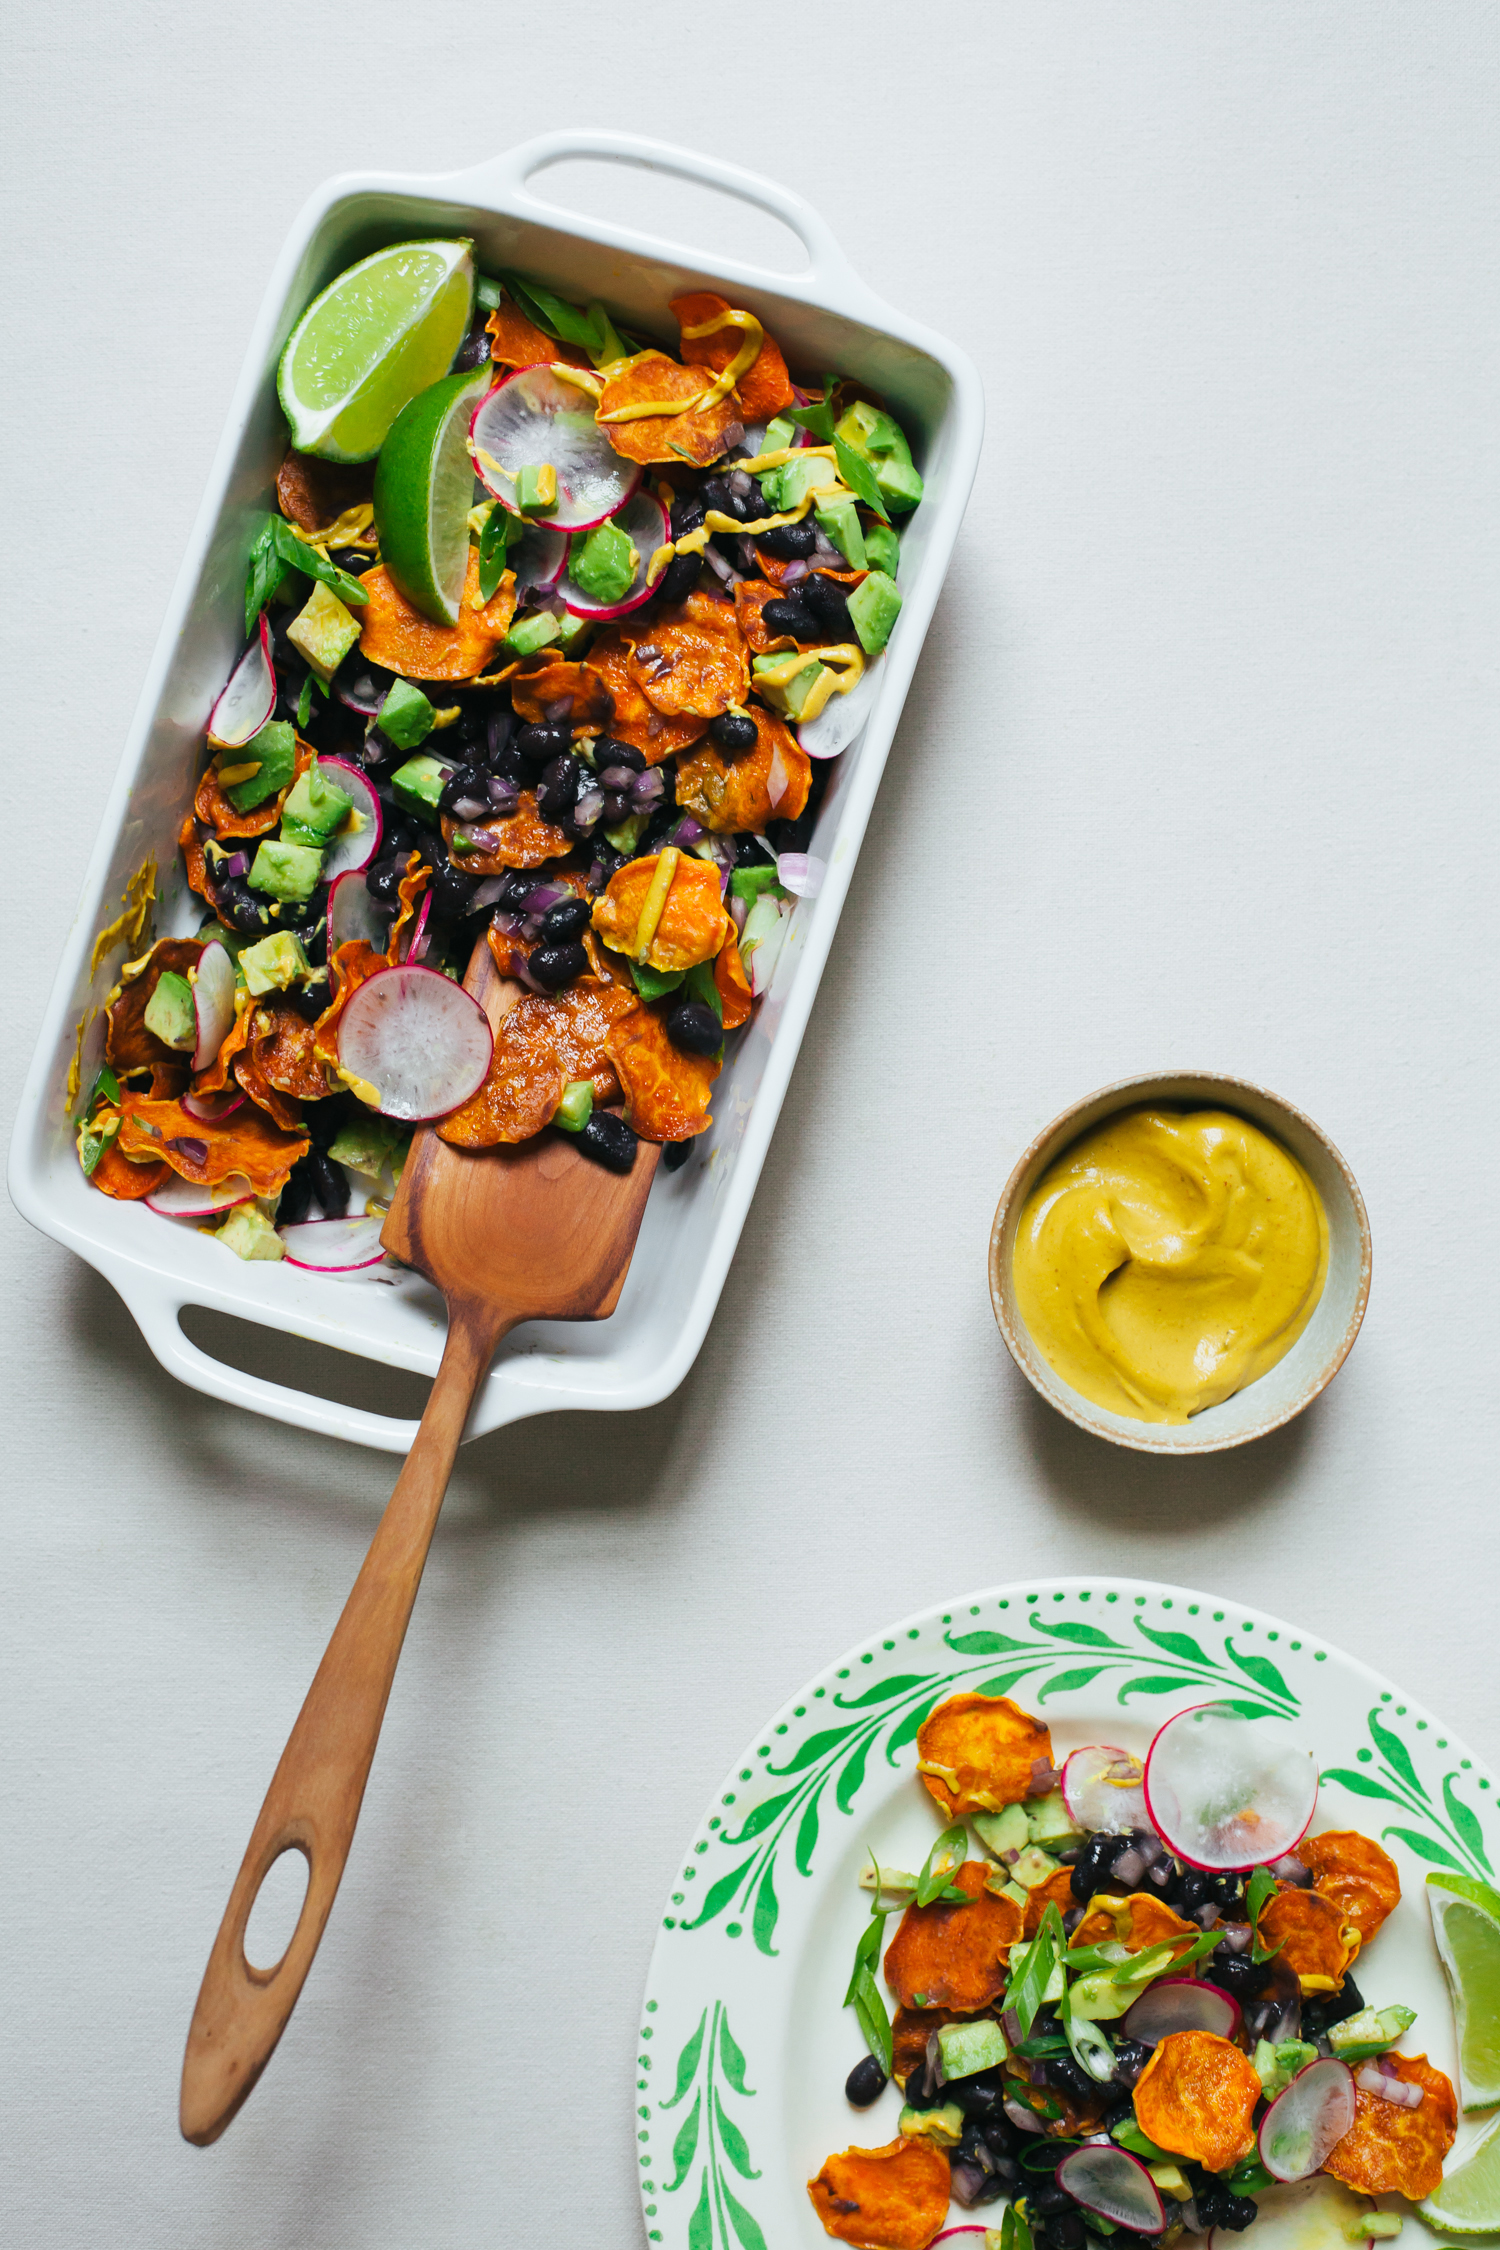
Sweet Potato Nachos with Cheesy Chipotle Sauce and All the Fixings
by Anya
Read Recipe
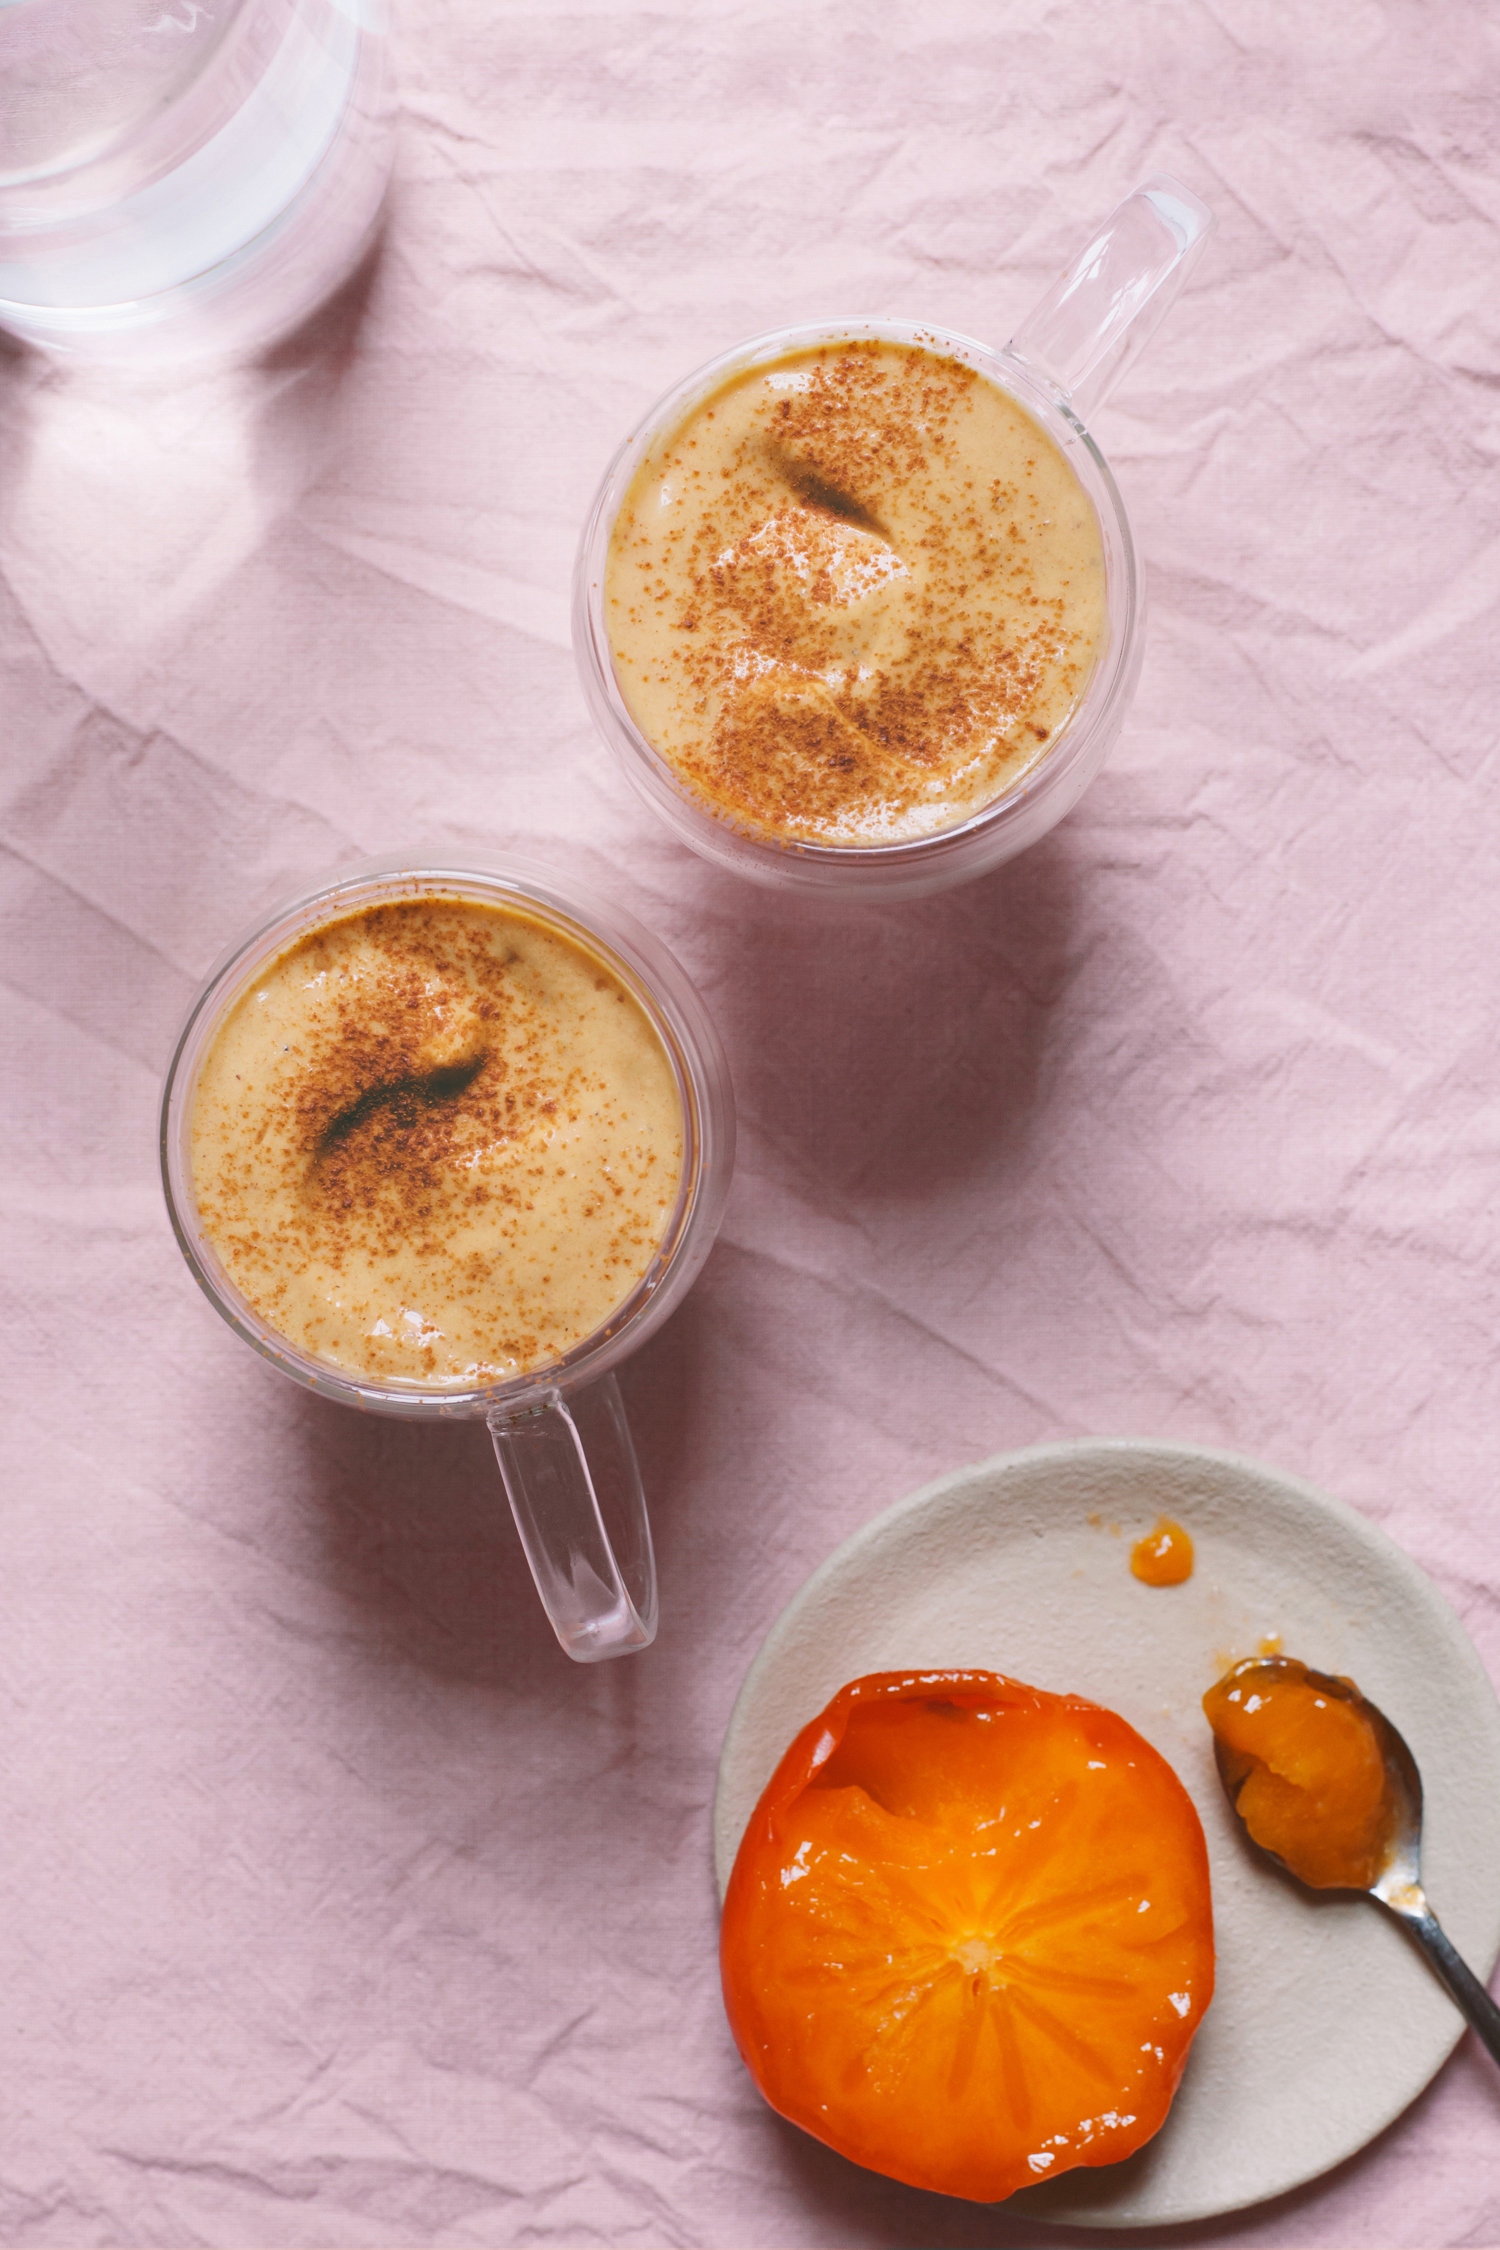
Quick Persimmon ‘Eggnog’
by Anya
Read Recipe
Miso Caramel Popcorn
by Anya
Read Recipe
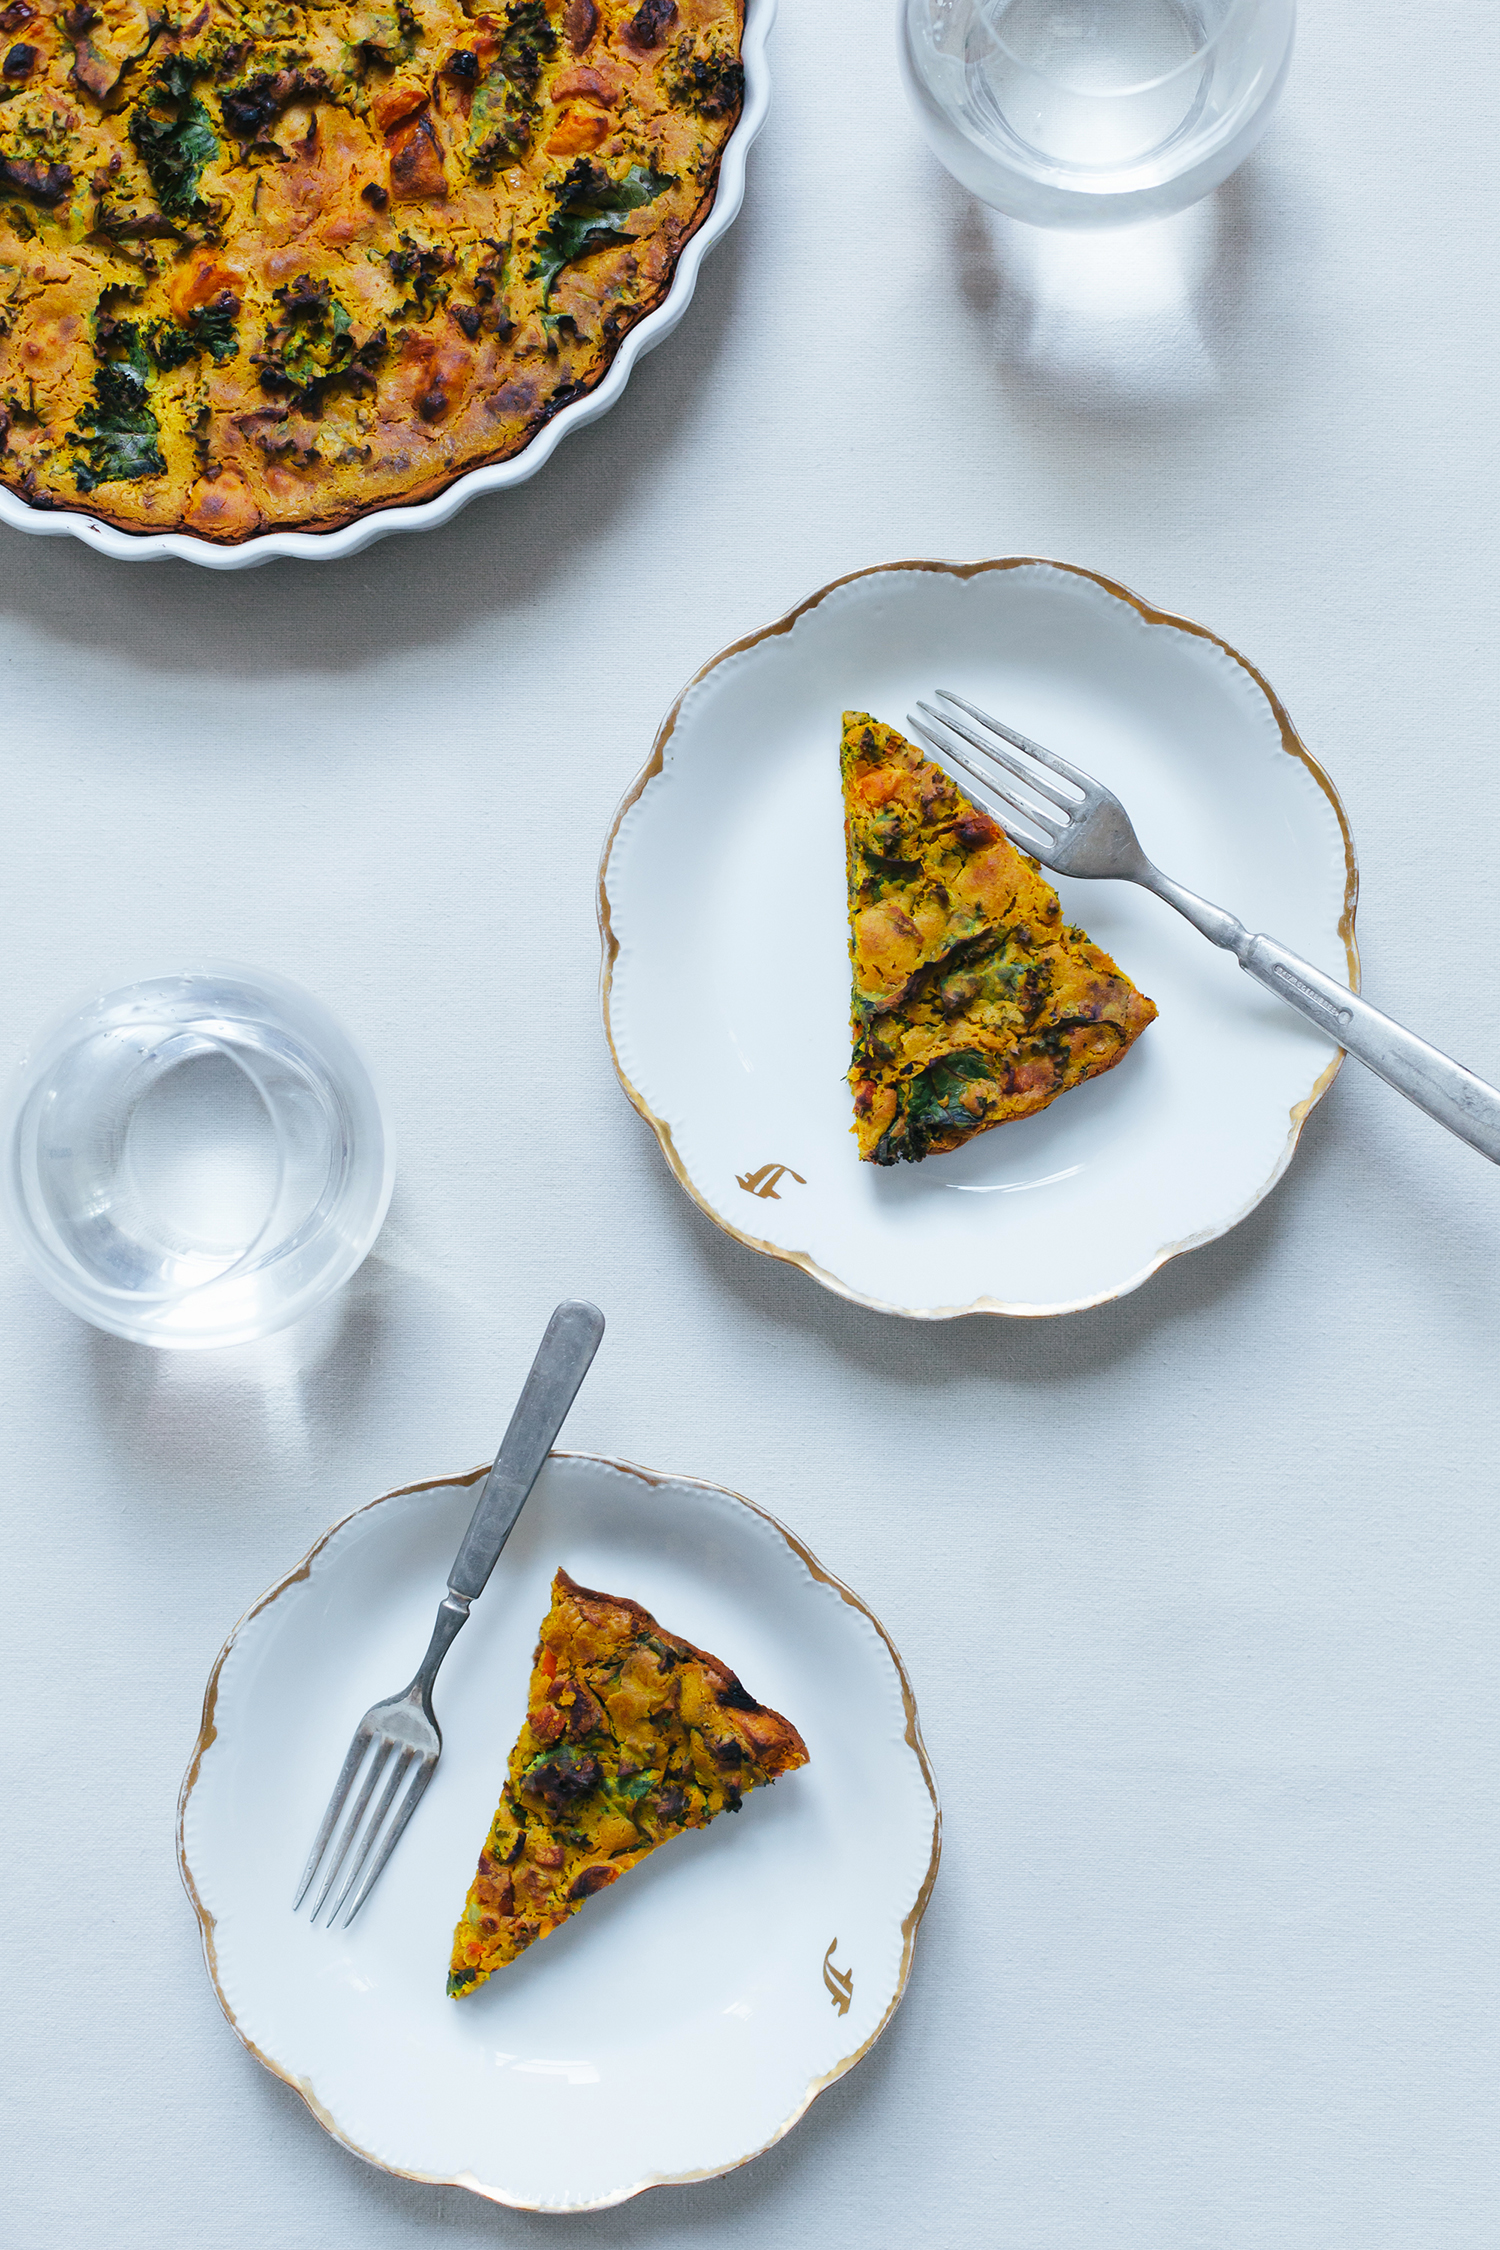
Root Vegetabe Chickpea Flour Quiche
by Anya
Read Recipe
Winter Root and Fennel Soup with Greens and Caramelized Cauliflower
by Anya
Read Recipe
Chocolate Beet Layer Cake with Pink Frosting and Chocolate Ganache
by Anya
Read Recipe
Creamy Butternut Squash, Pear and Cranberry Soup with Crispy Kale
by Anya
Read Recipe
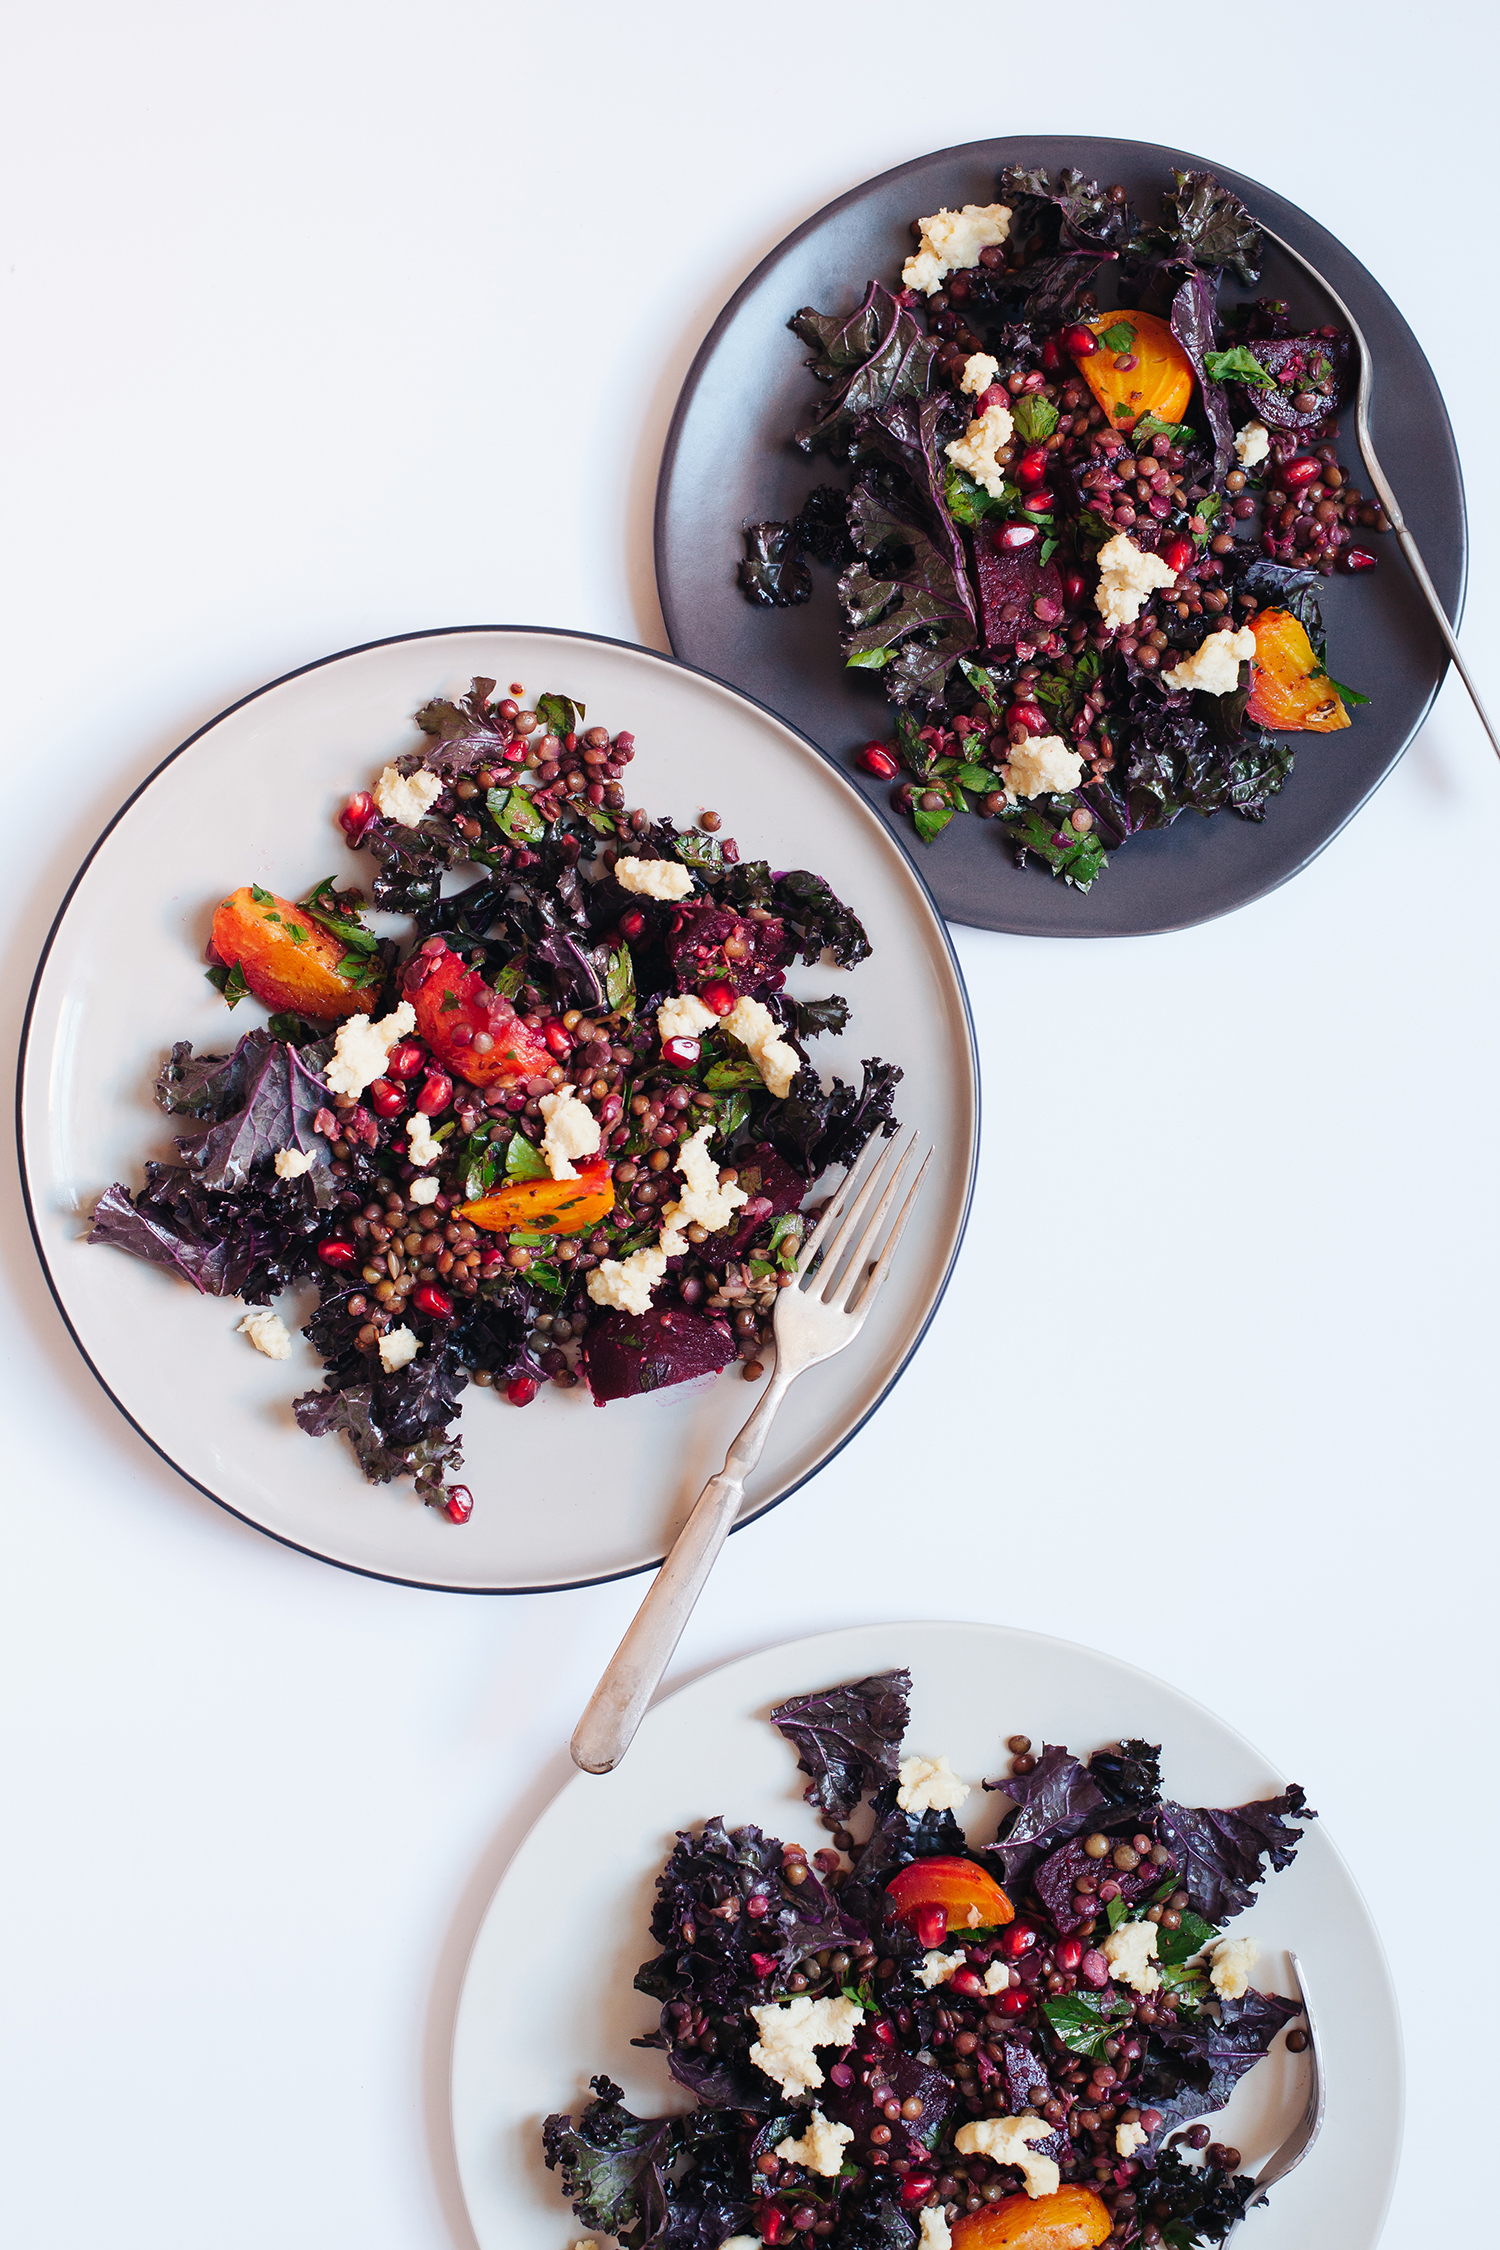
Kale Salad with Marinated Beets, Lentils and Almond Cheese
by Anya
Read Recipe
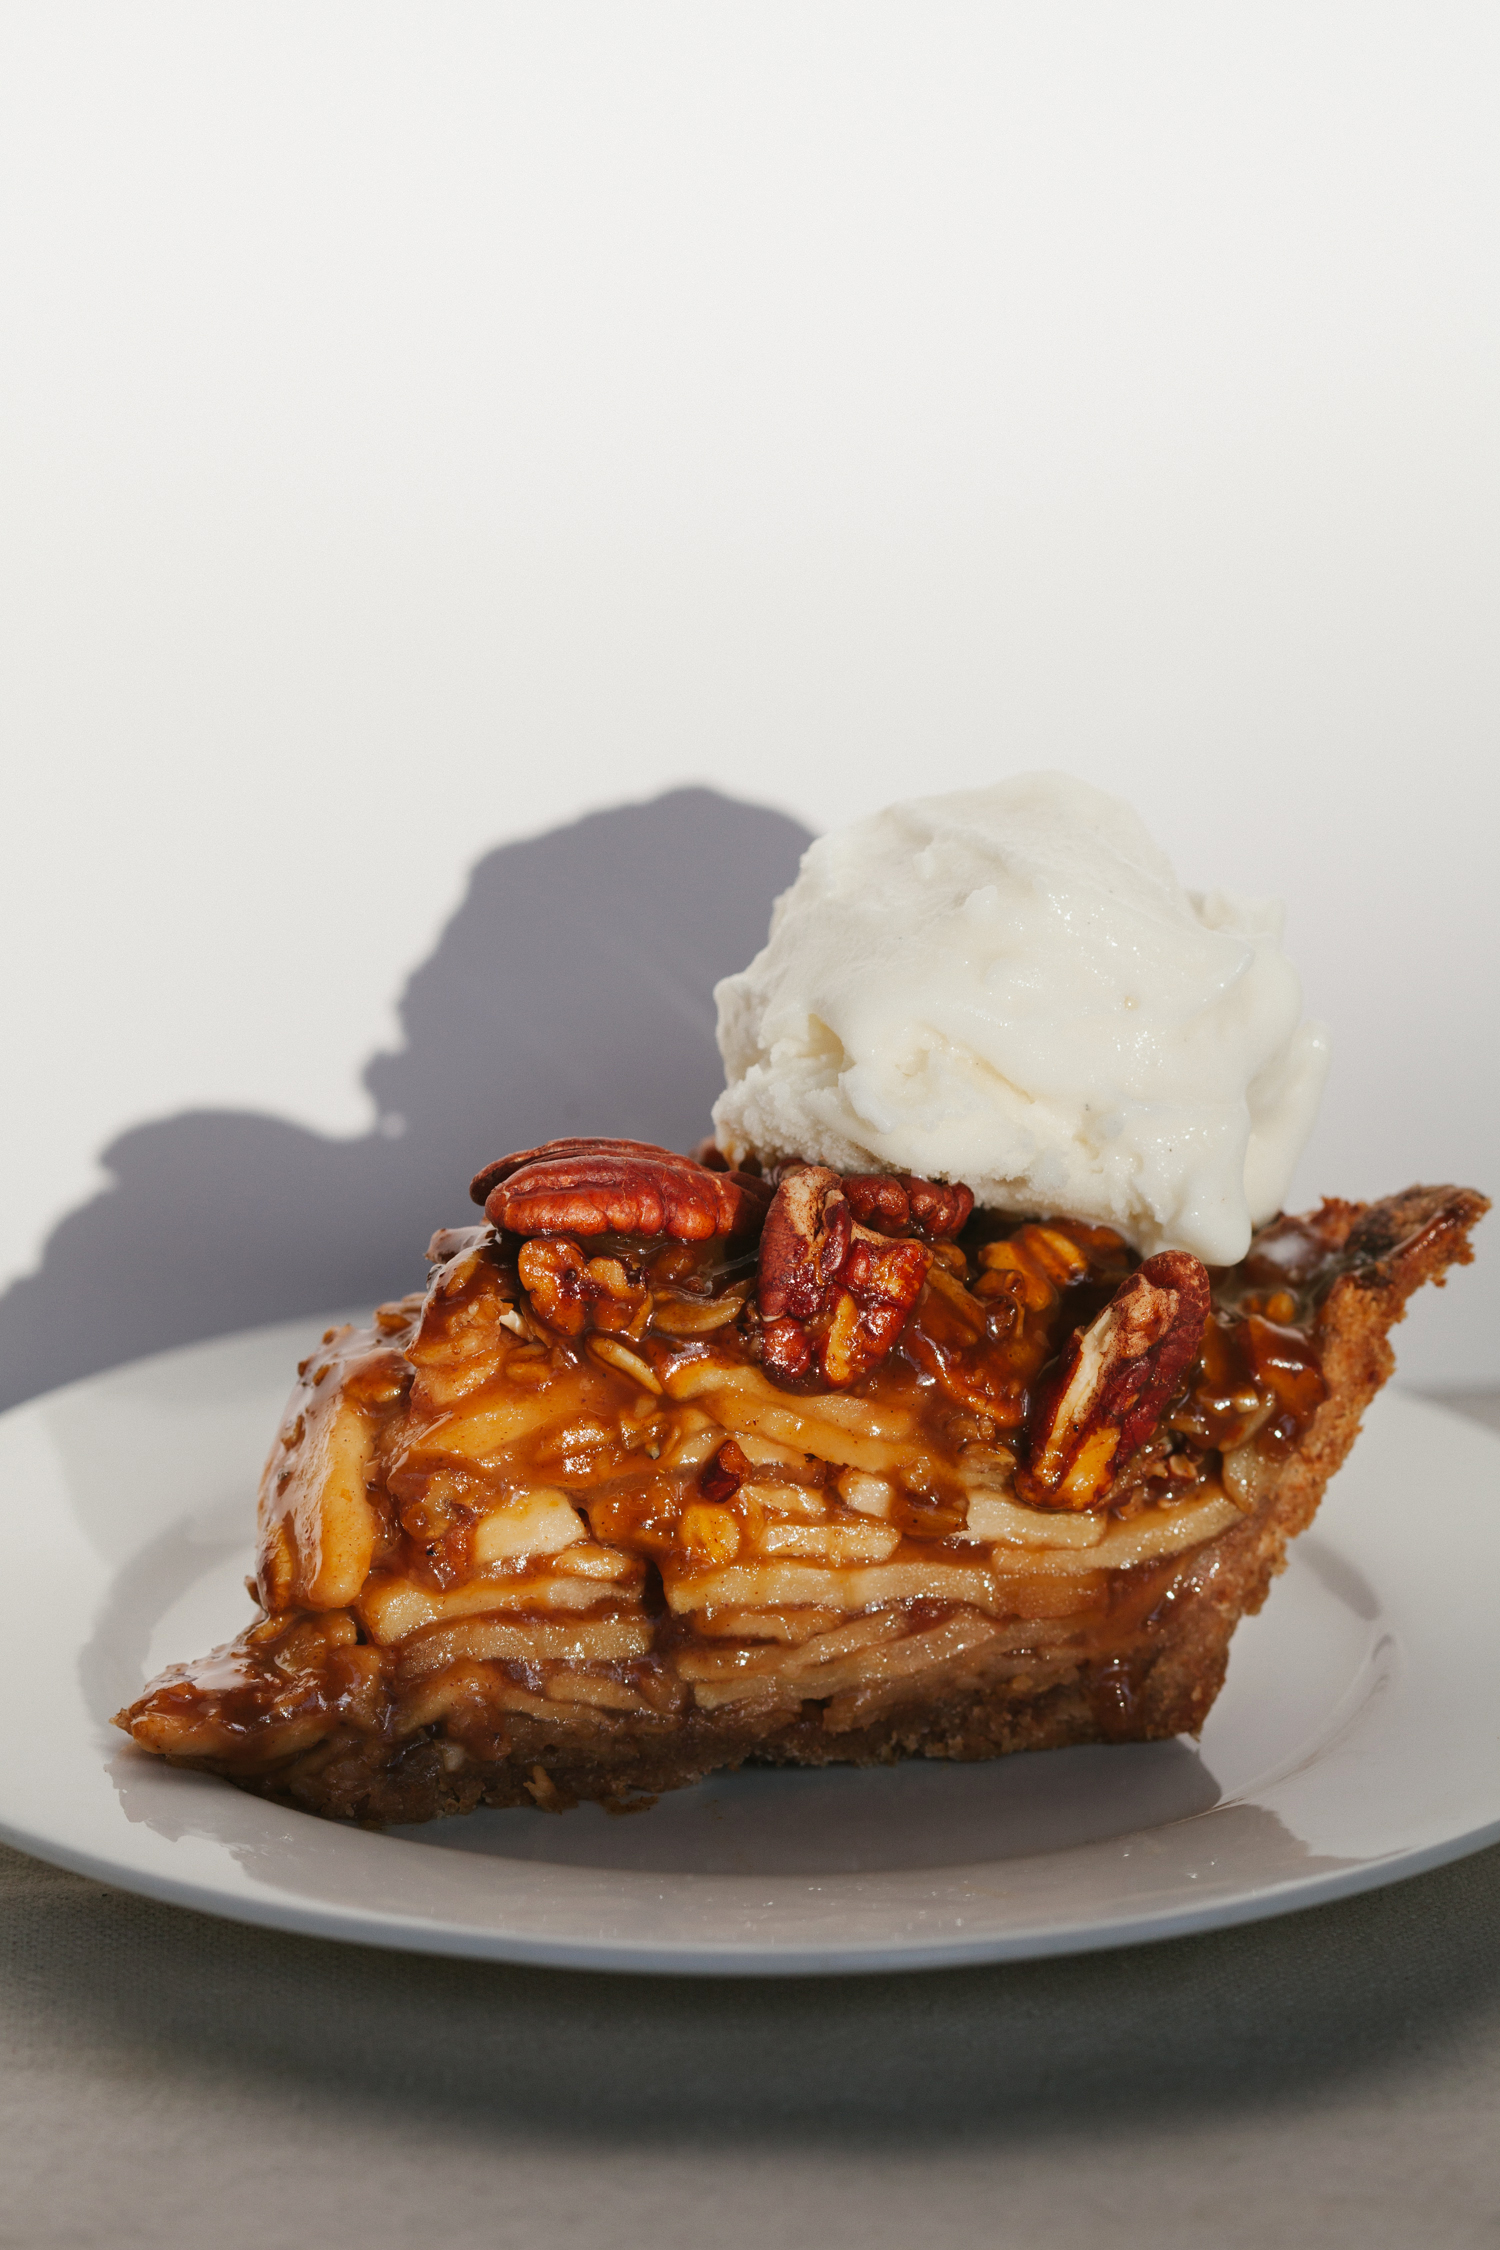
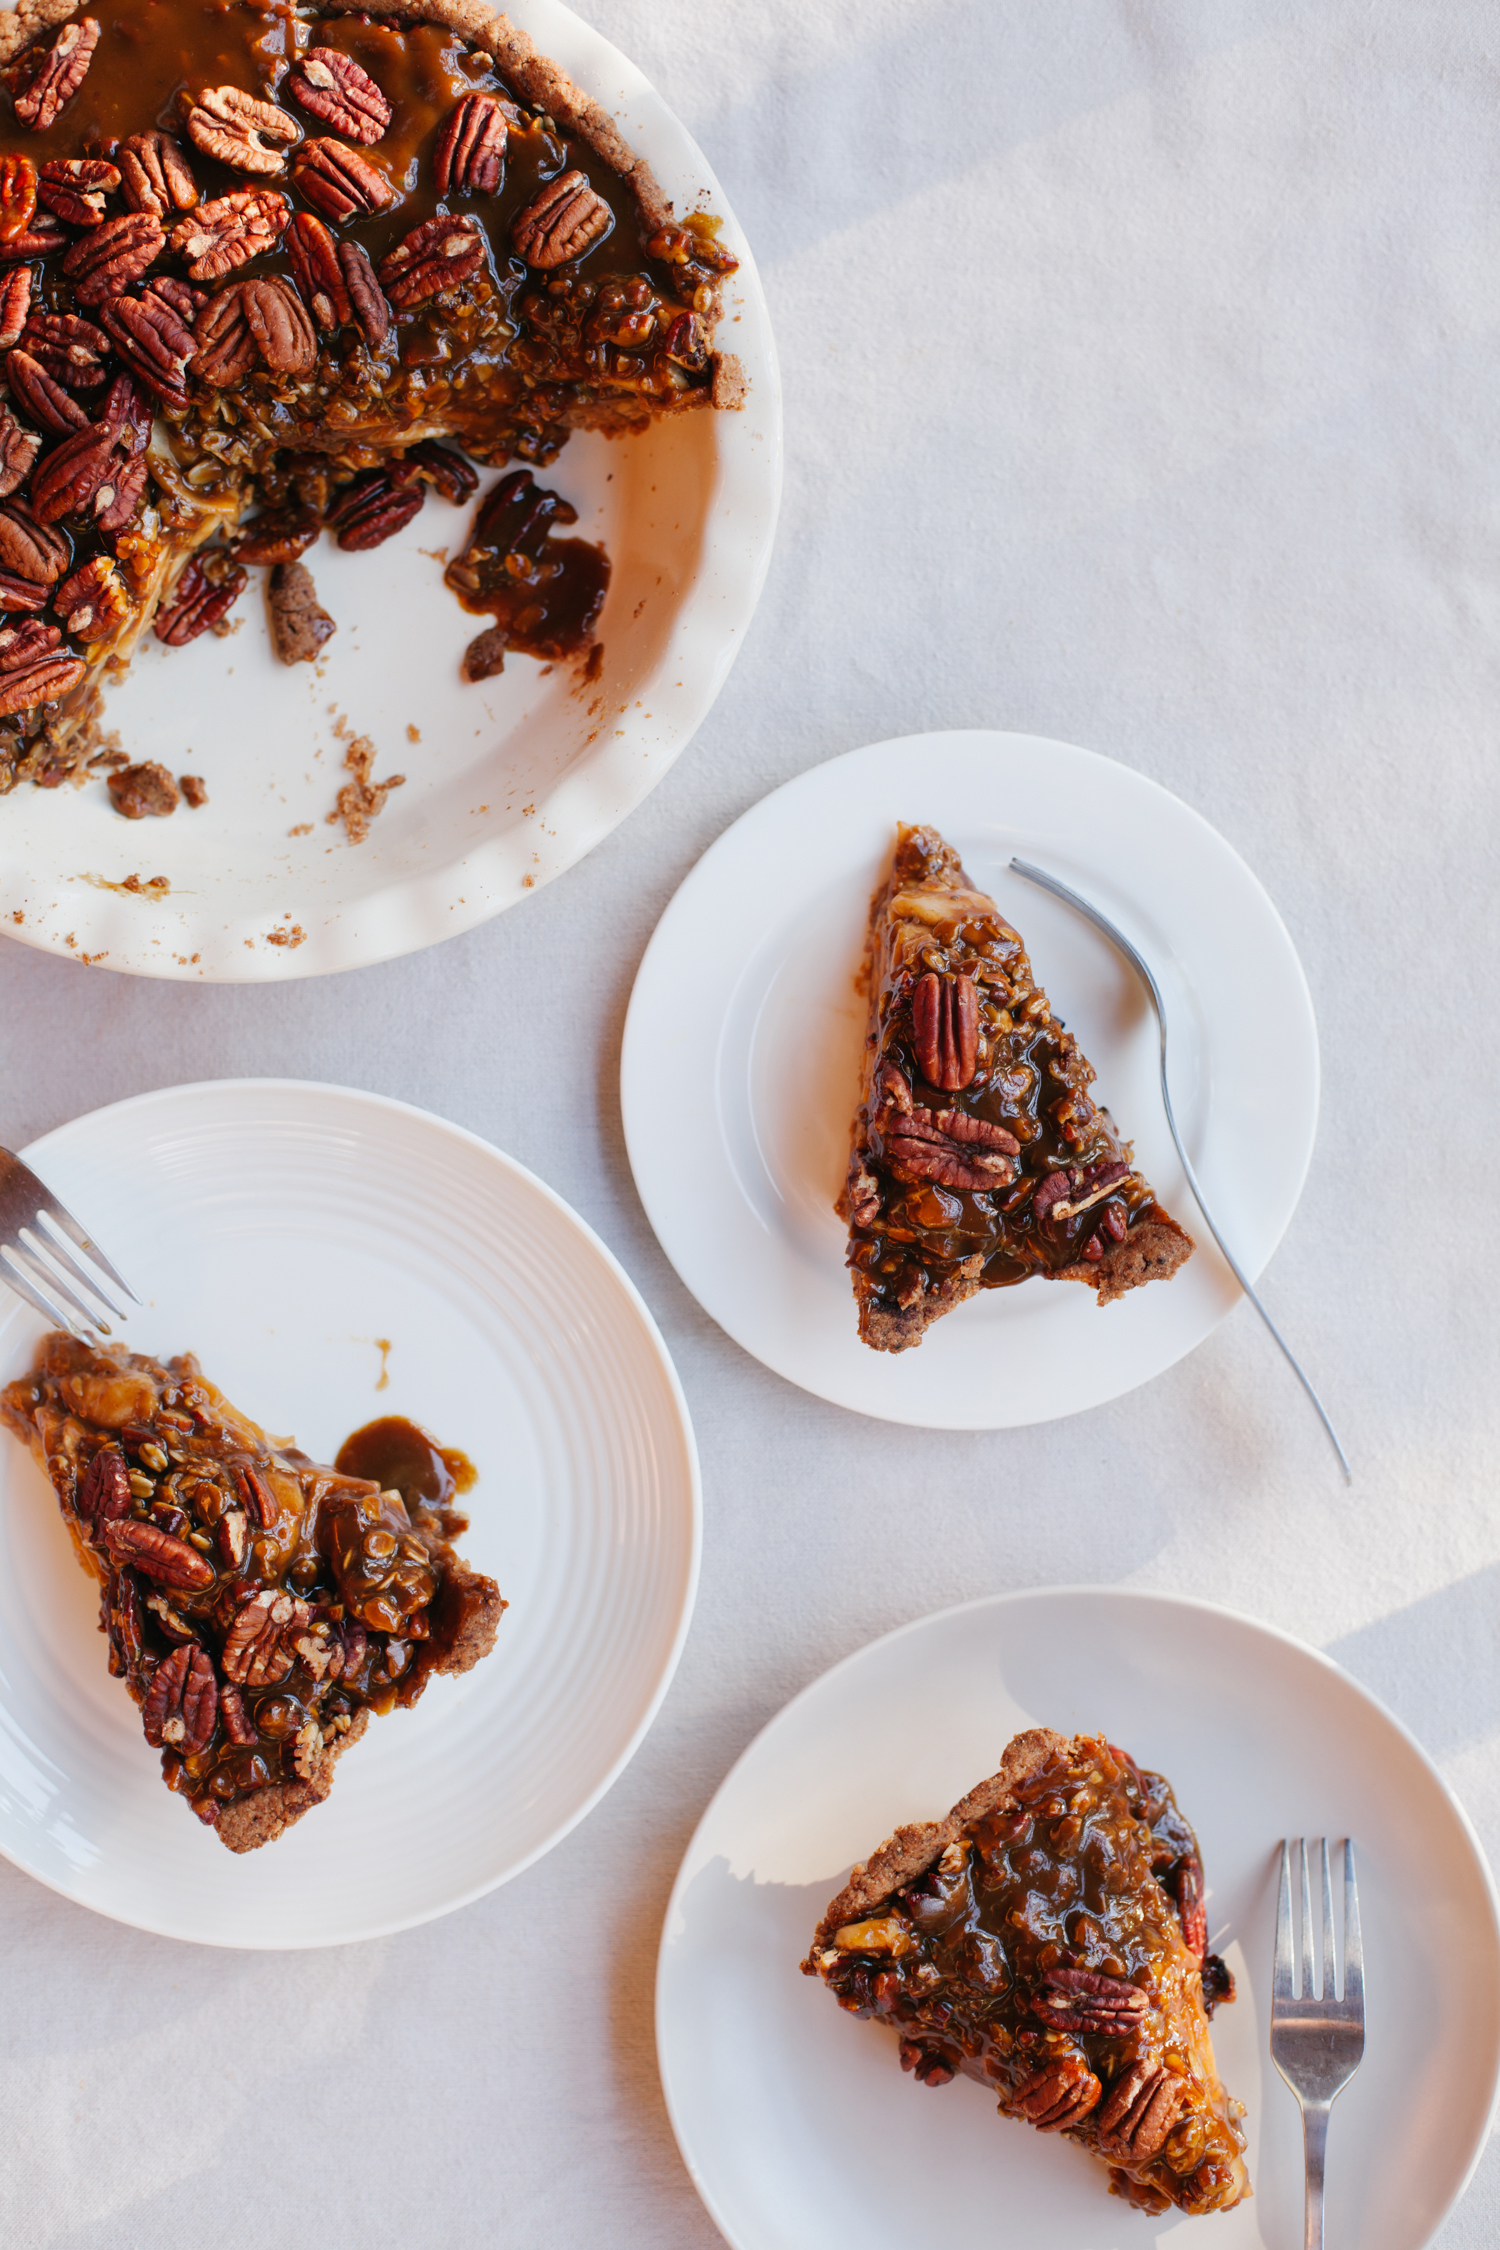
Apple Pecan Pie with Salted Pumpkin Caramel
by Anya
Read Recipe
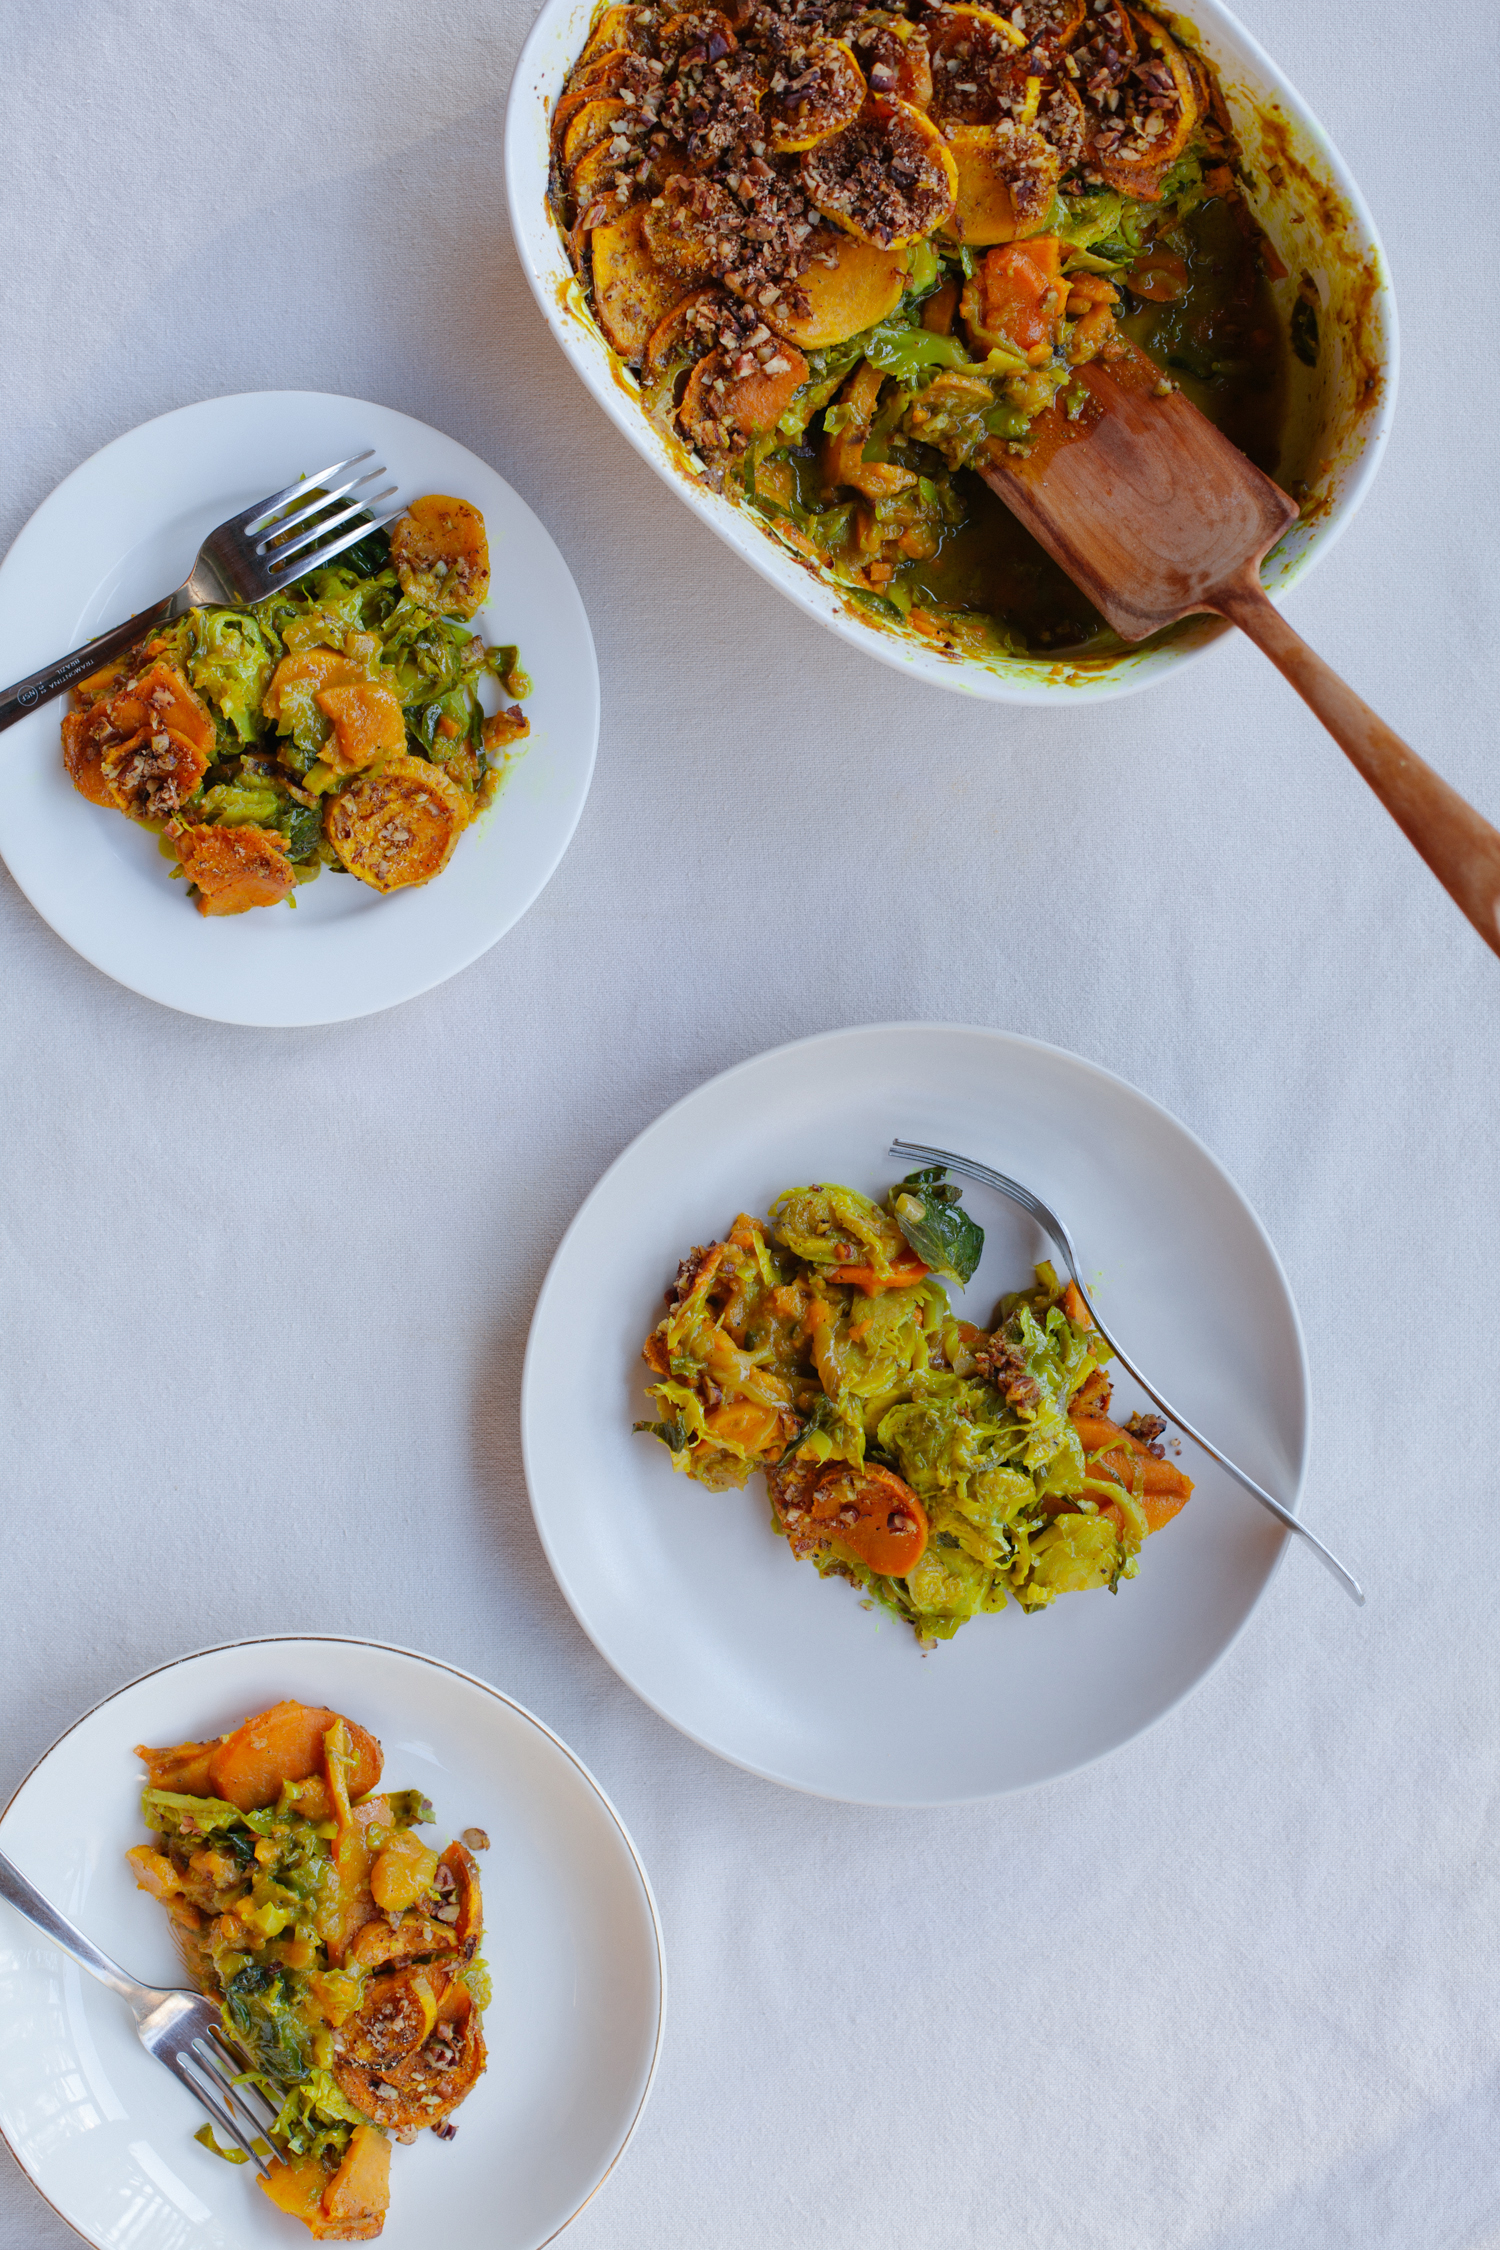
Sweet Potato and Brussels Sprout Gratin
by Anya
Read Recipe
Vegan Sweet Potato Caramel Nougat
by Anya
Read Recipe
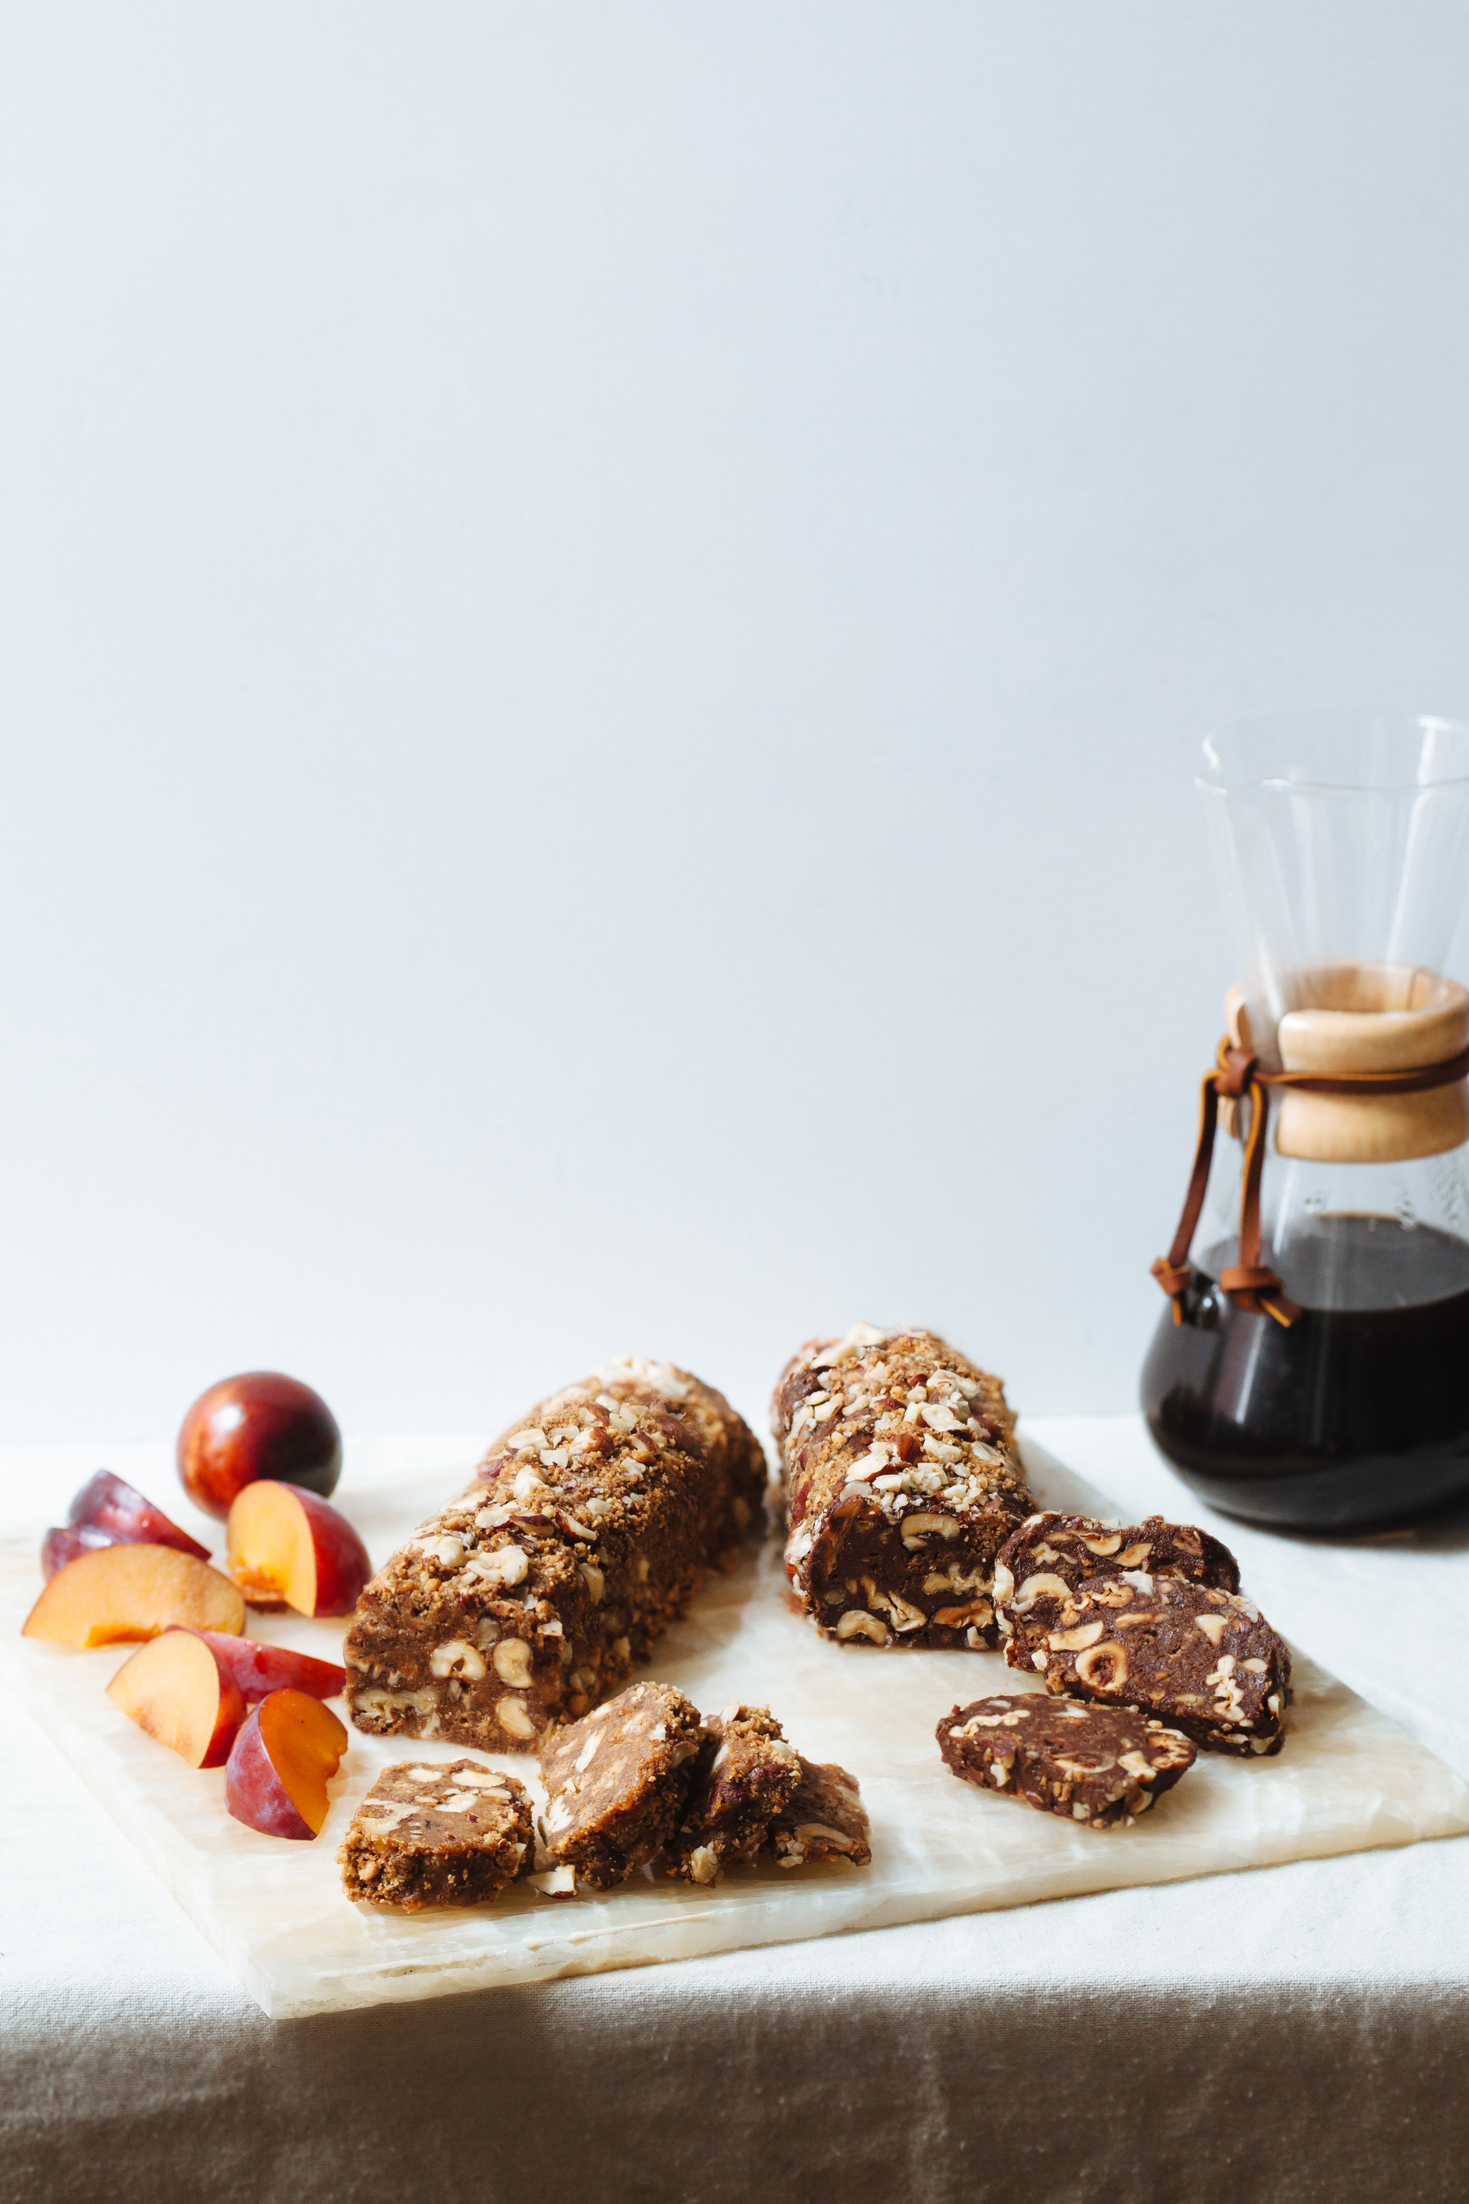
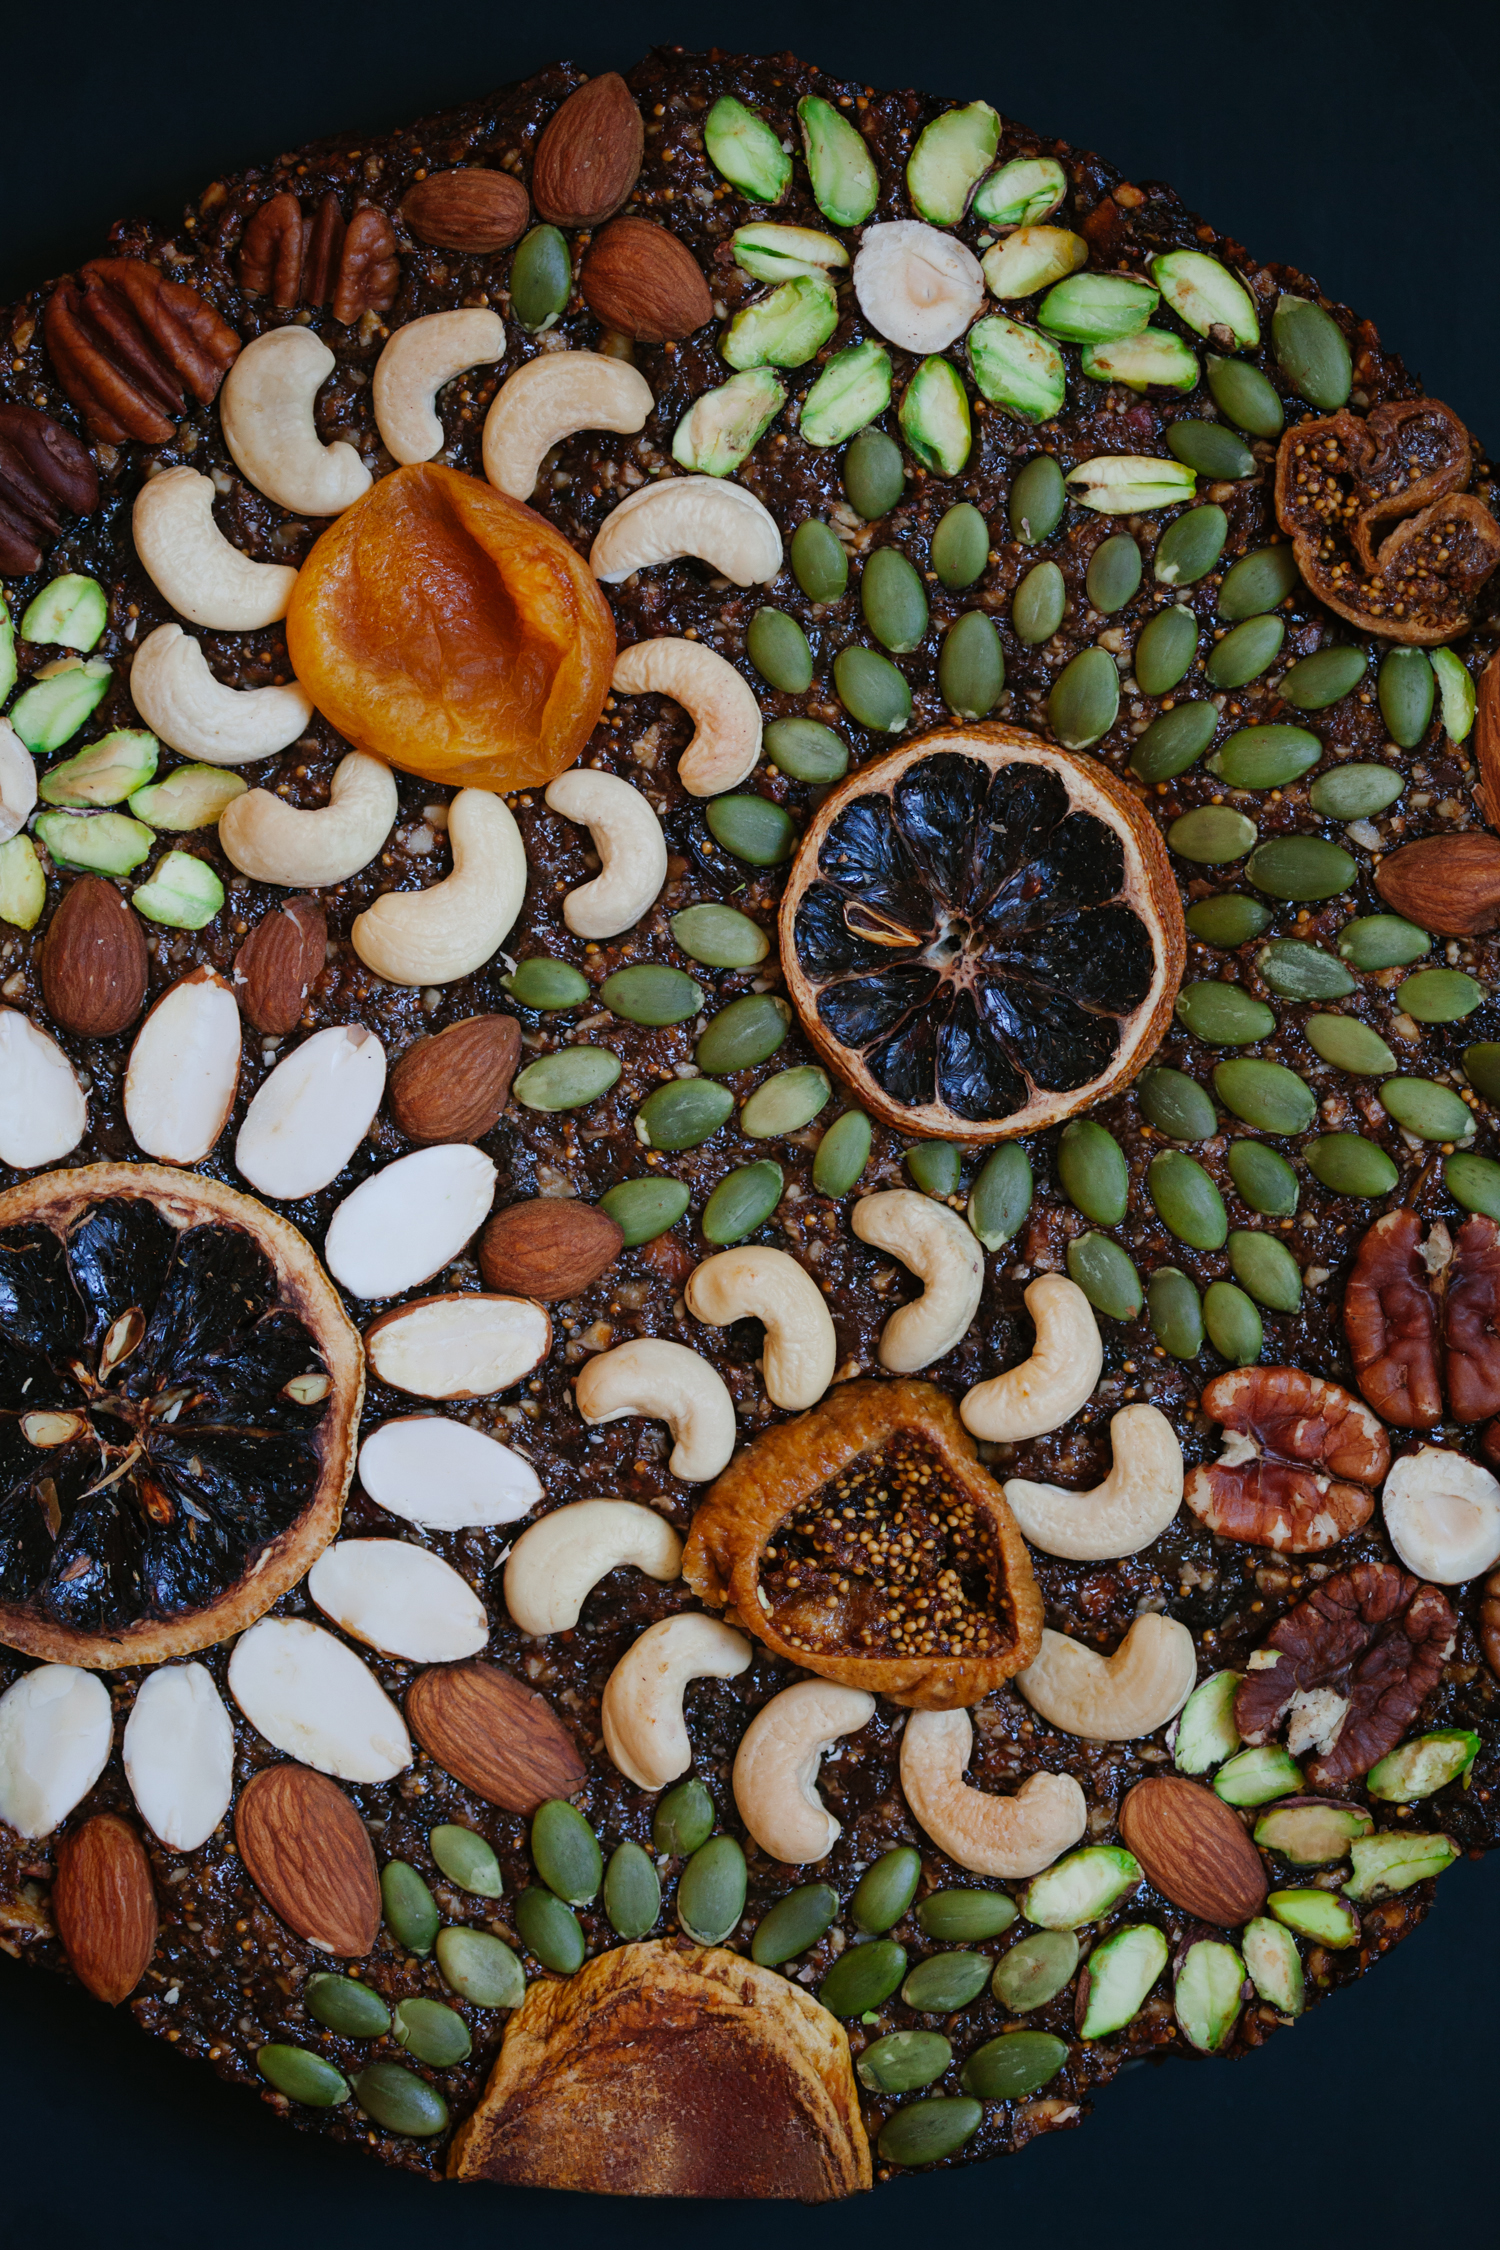
Concord Grape Fruit and Nut Cake
by Anya
Read Recipe
Berry Creamsicles with White Chocolate Drizzle – Ice Cream Sunday
by Anya
Read Recipe
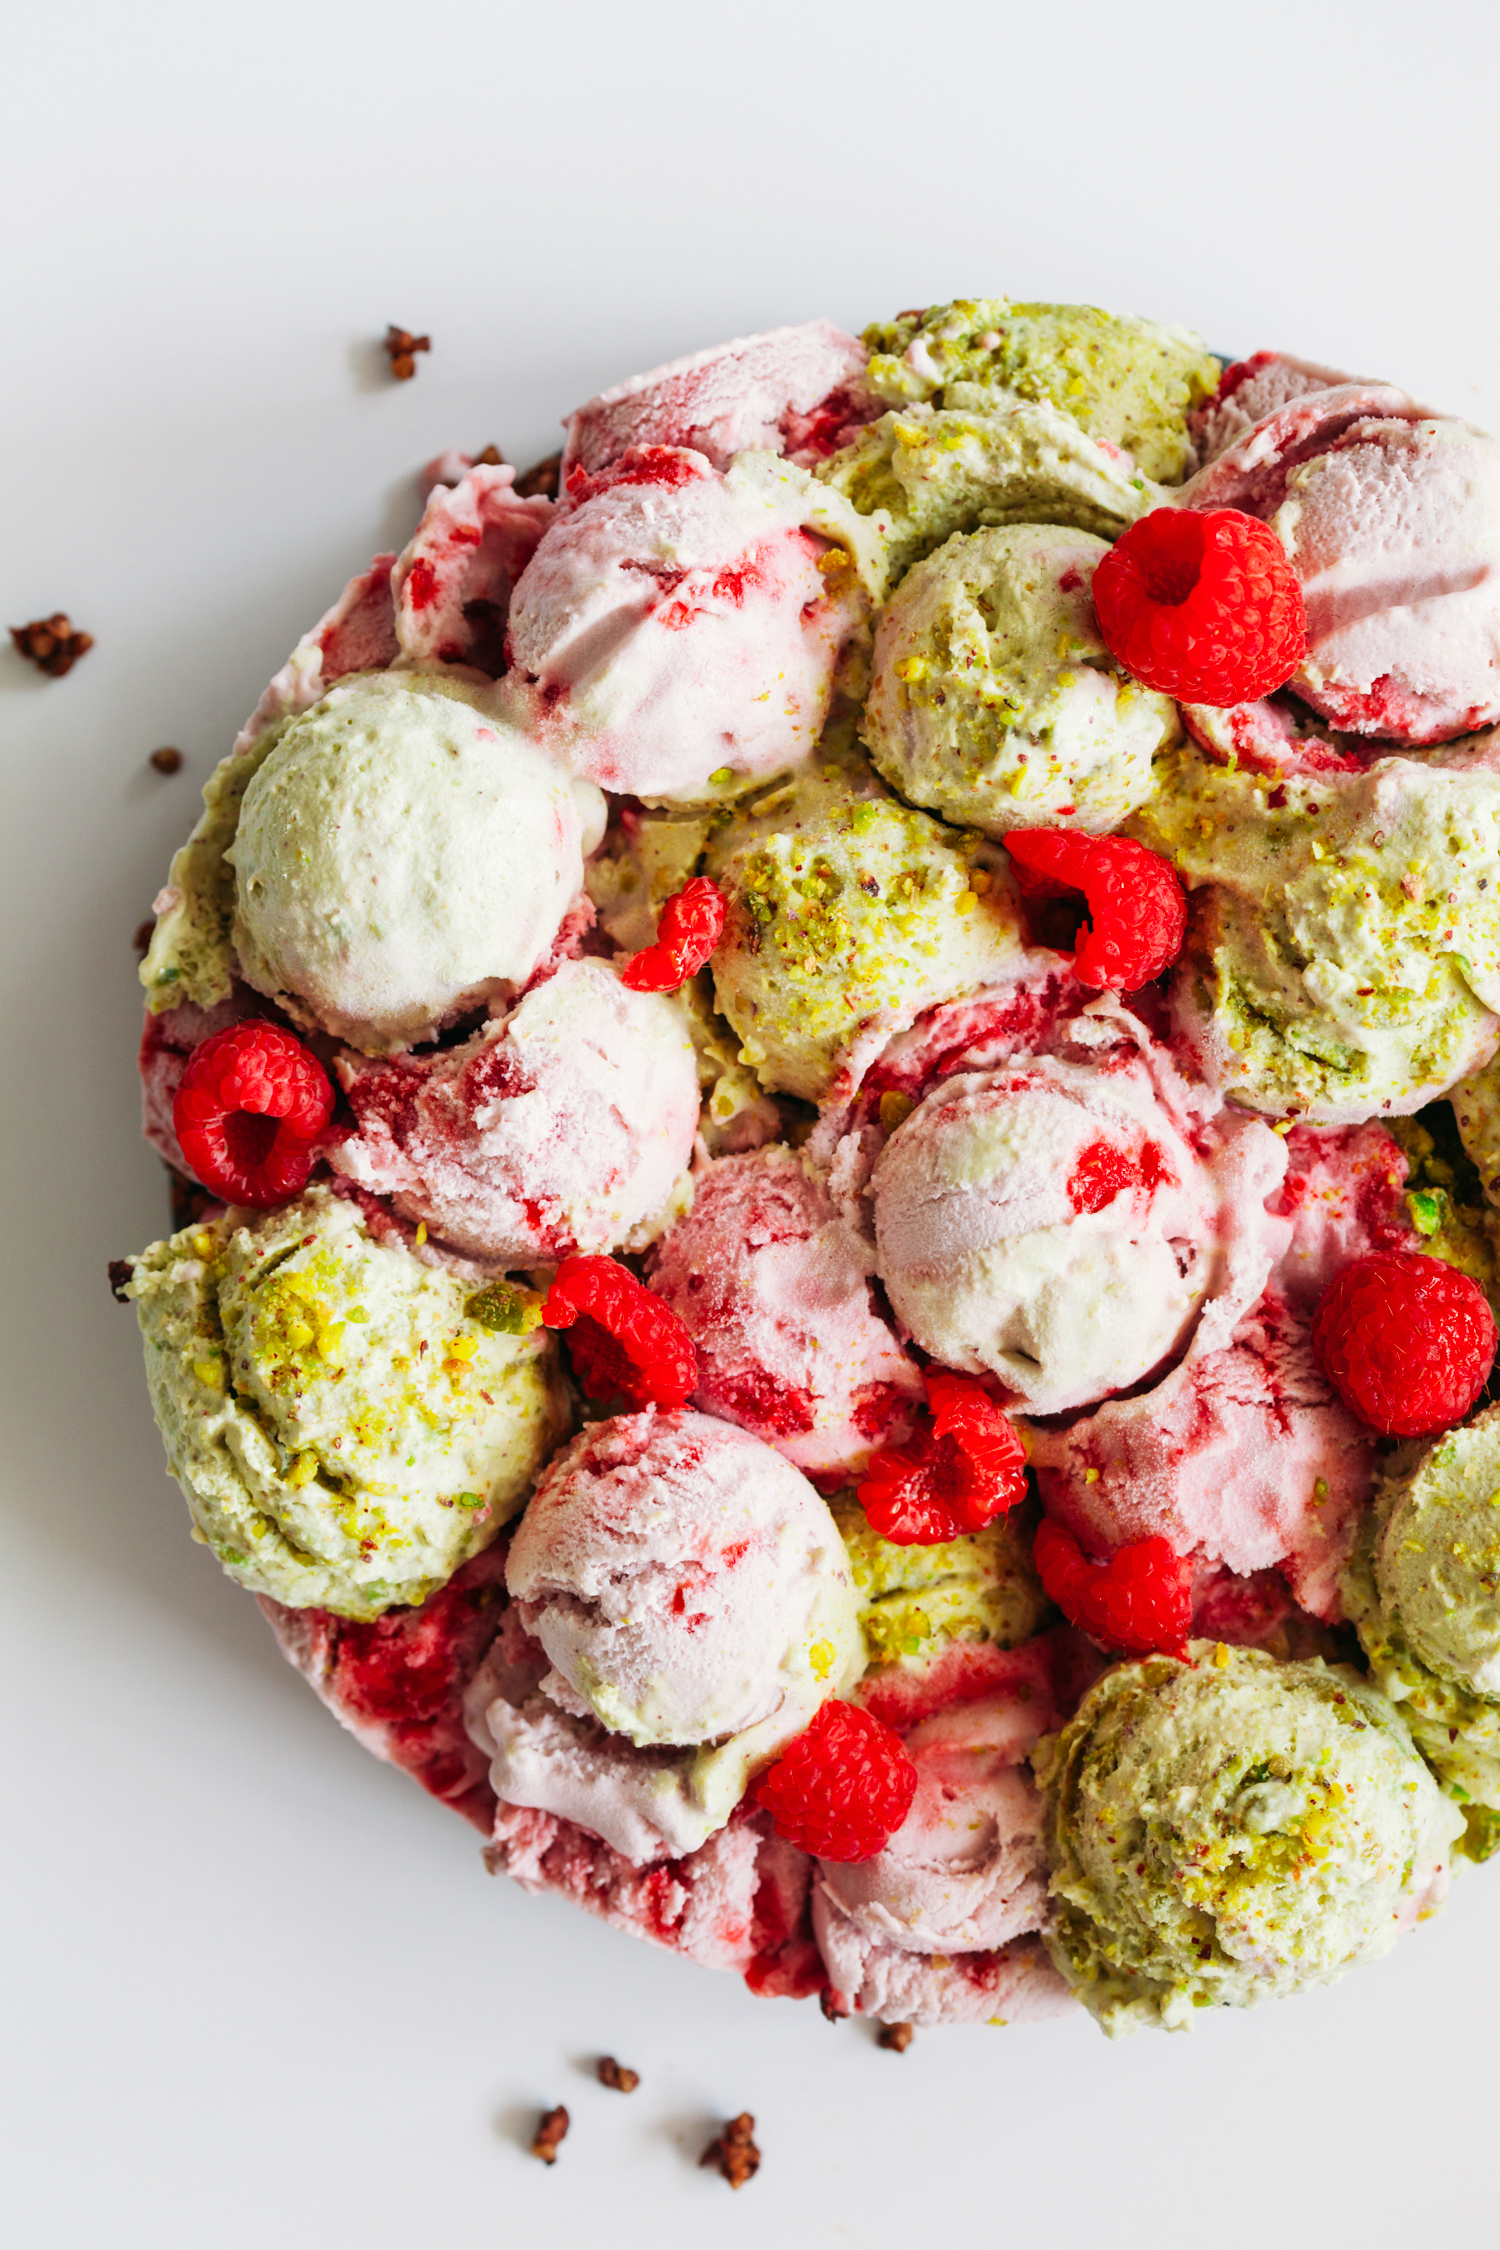
Pistachio and Raspberry Fields Ice Cream Cake – Ice Cream Sunday
by Anya
Read Recipe
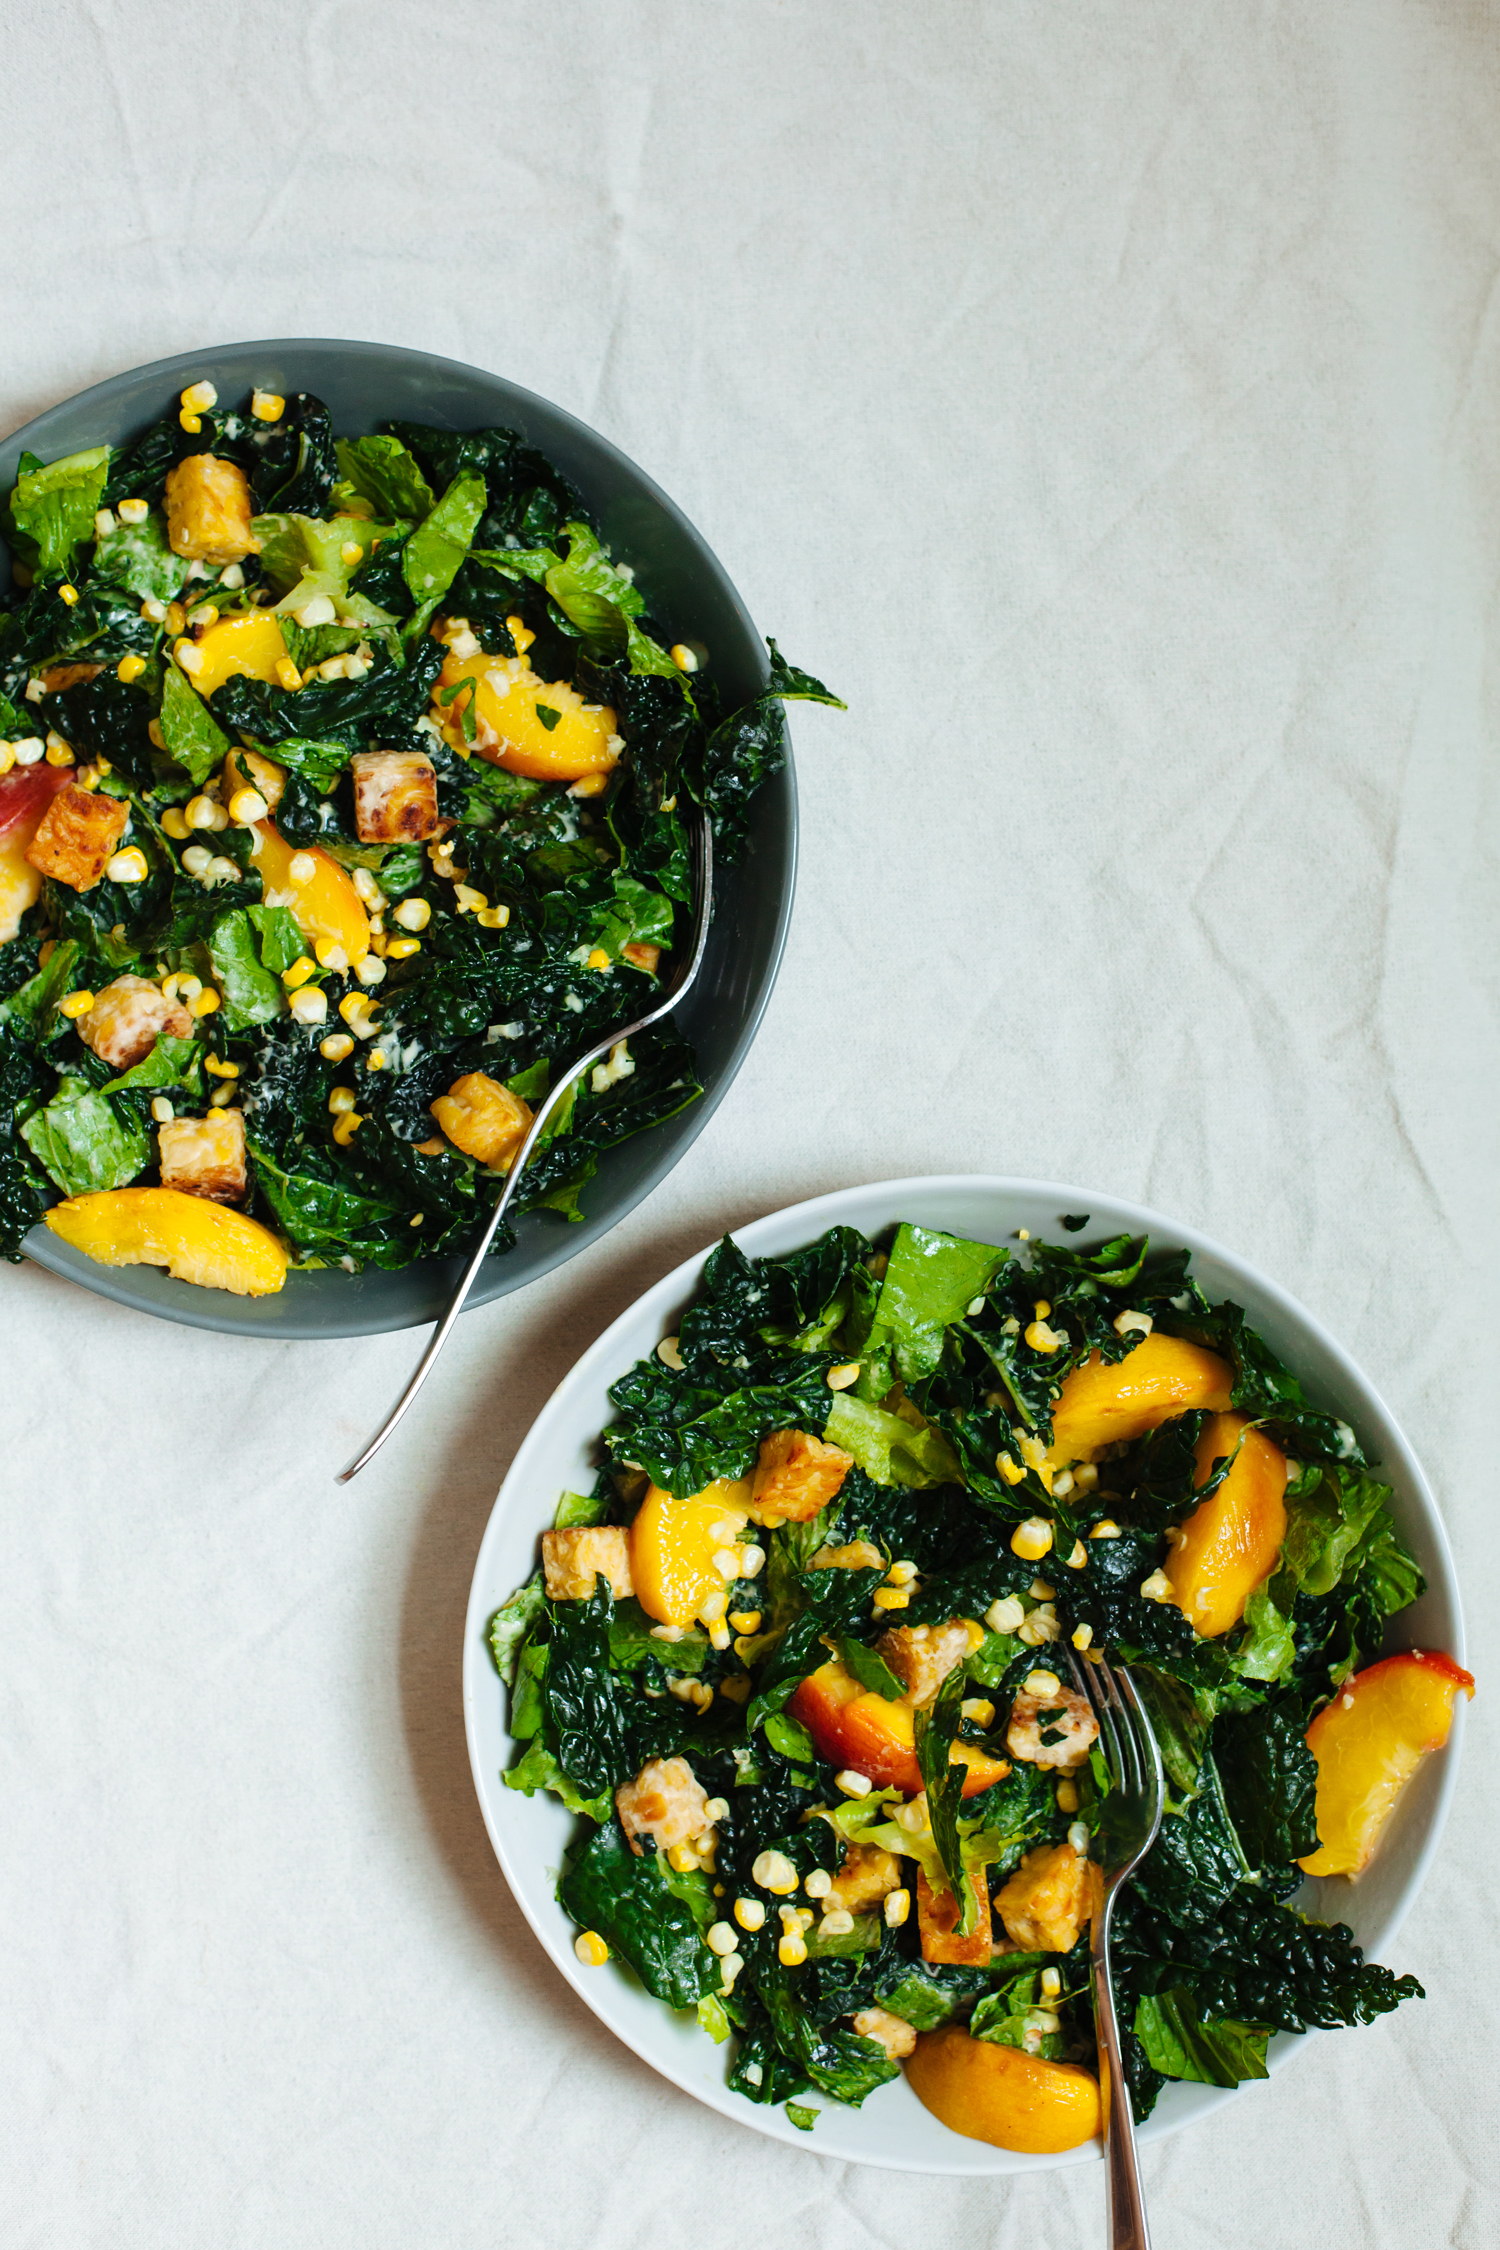
Vegan Caesar Salad with Tempeh Croutons, Roasted Peaches and Corn
by Anya
Read Recipe
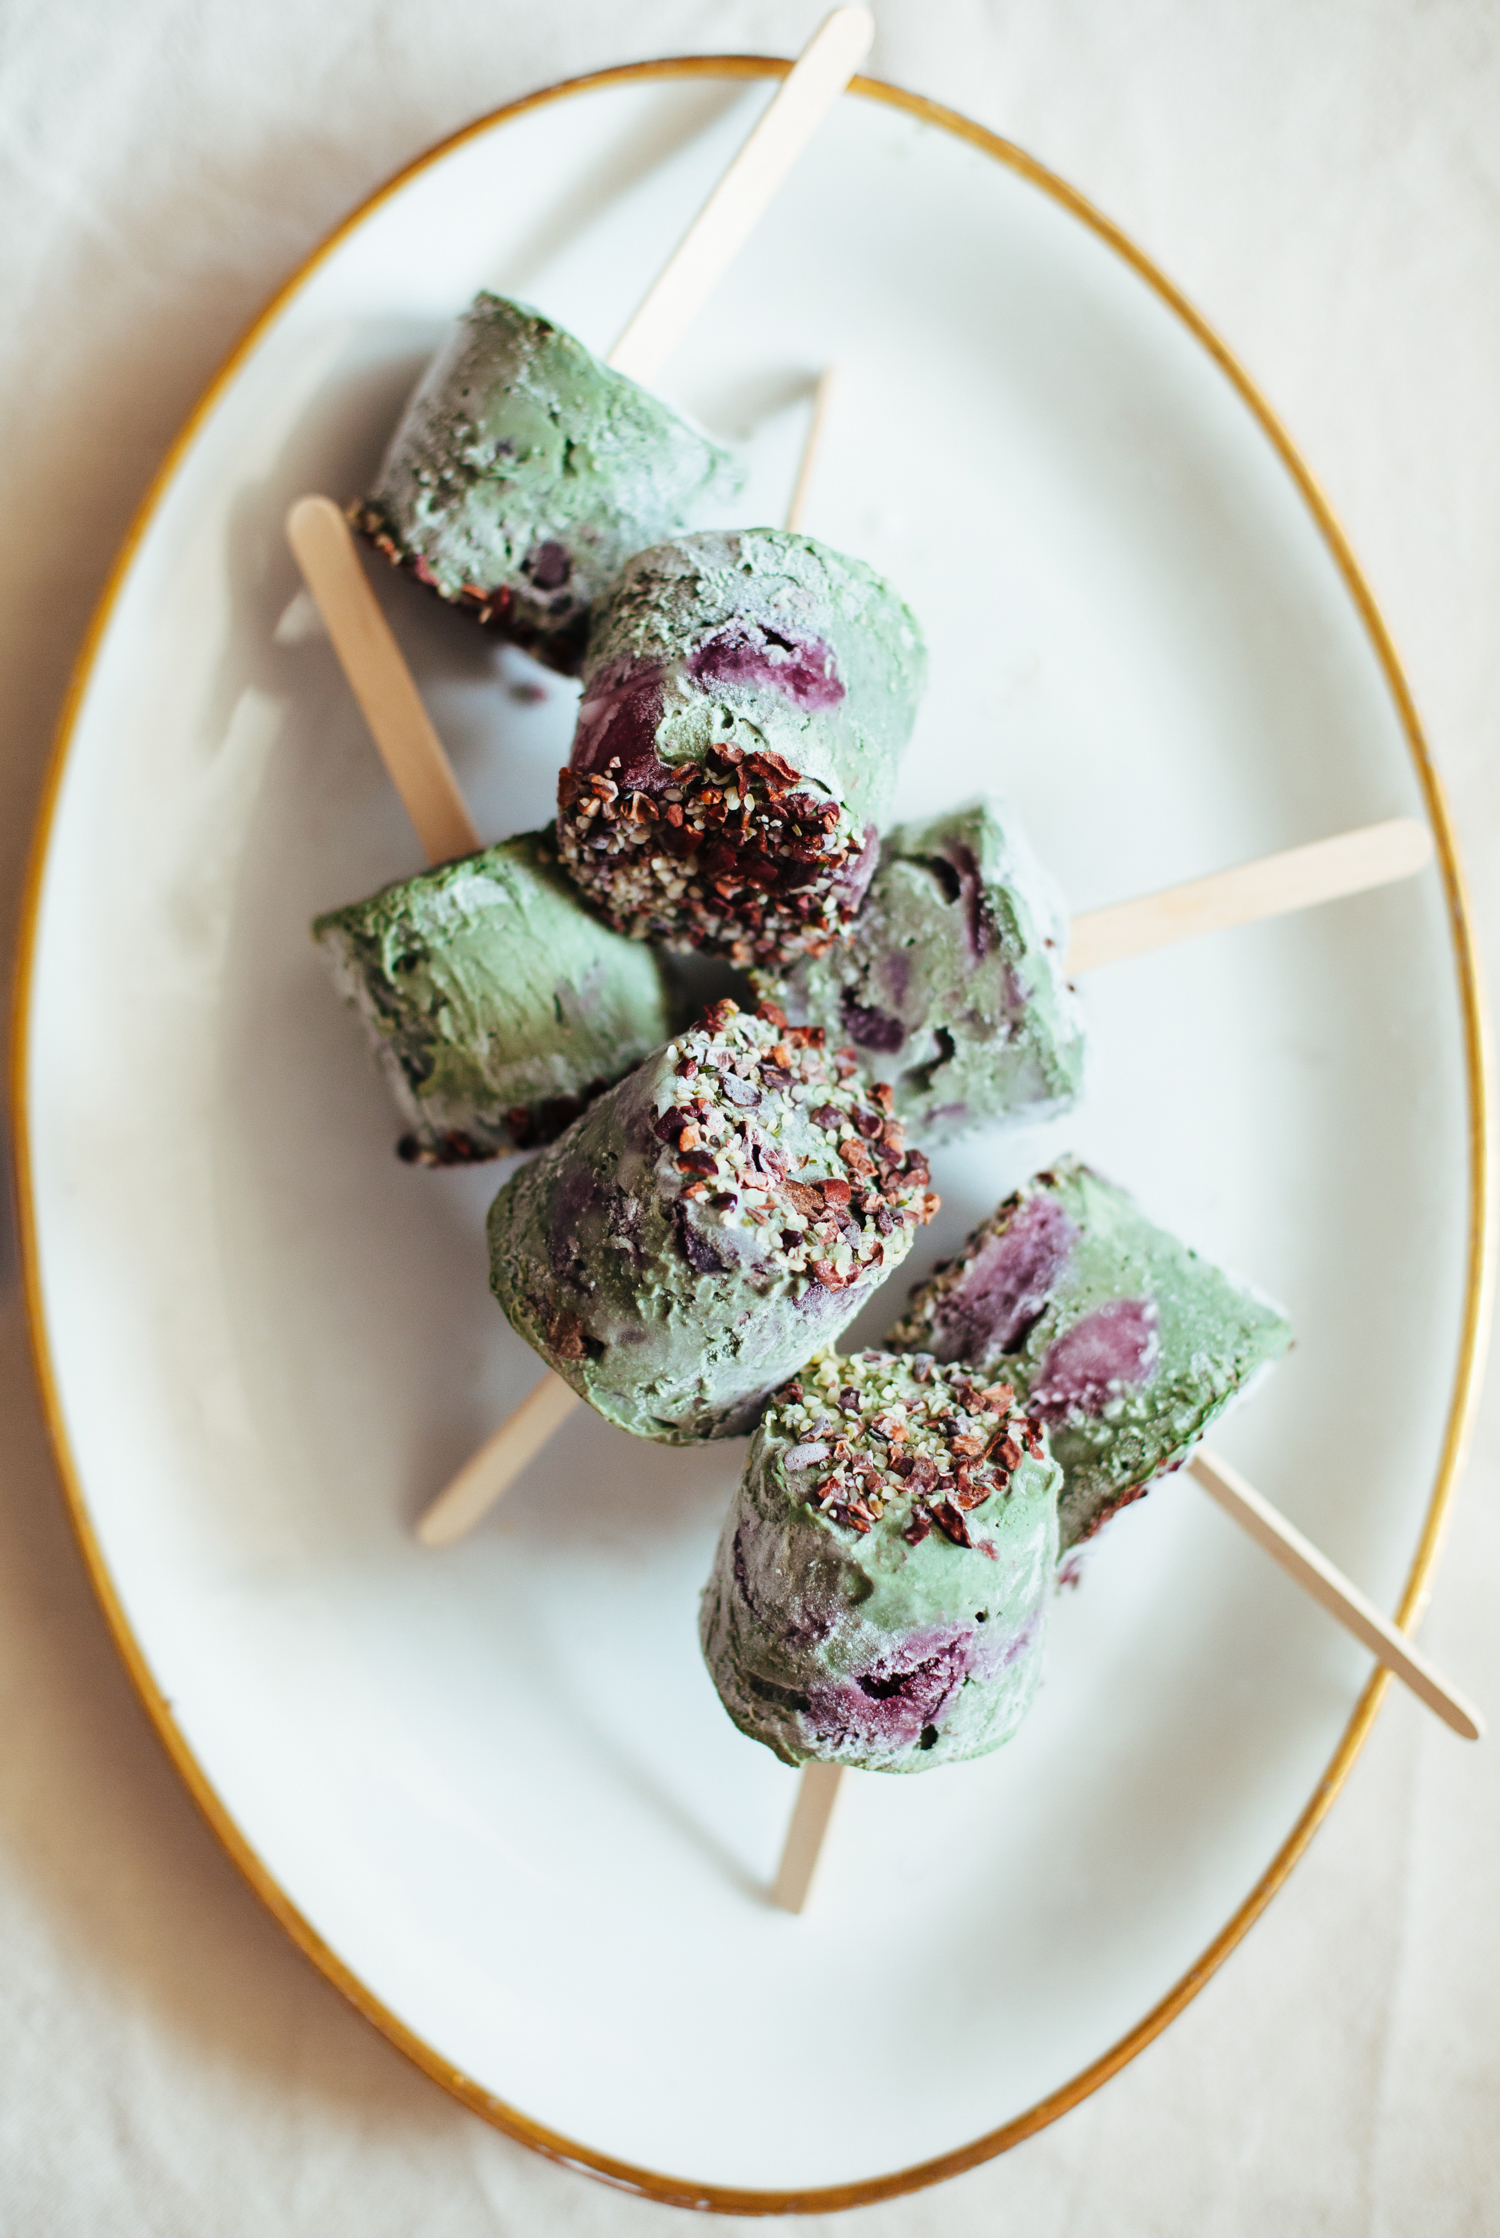
Superfood ‘Cherry Garcia’ Pops with a Chocolate Core – Ice Cream Sunday
by Anya
Read Recipe
Tahini Ice Cream Bars with Miso Caramel and Chocolate – Ice Cream Sunday
by Anya
Read Recipe
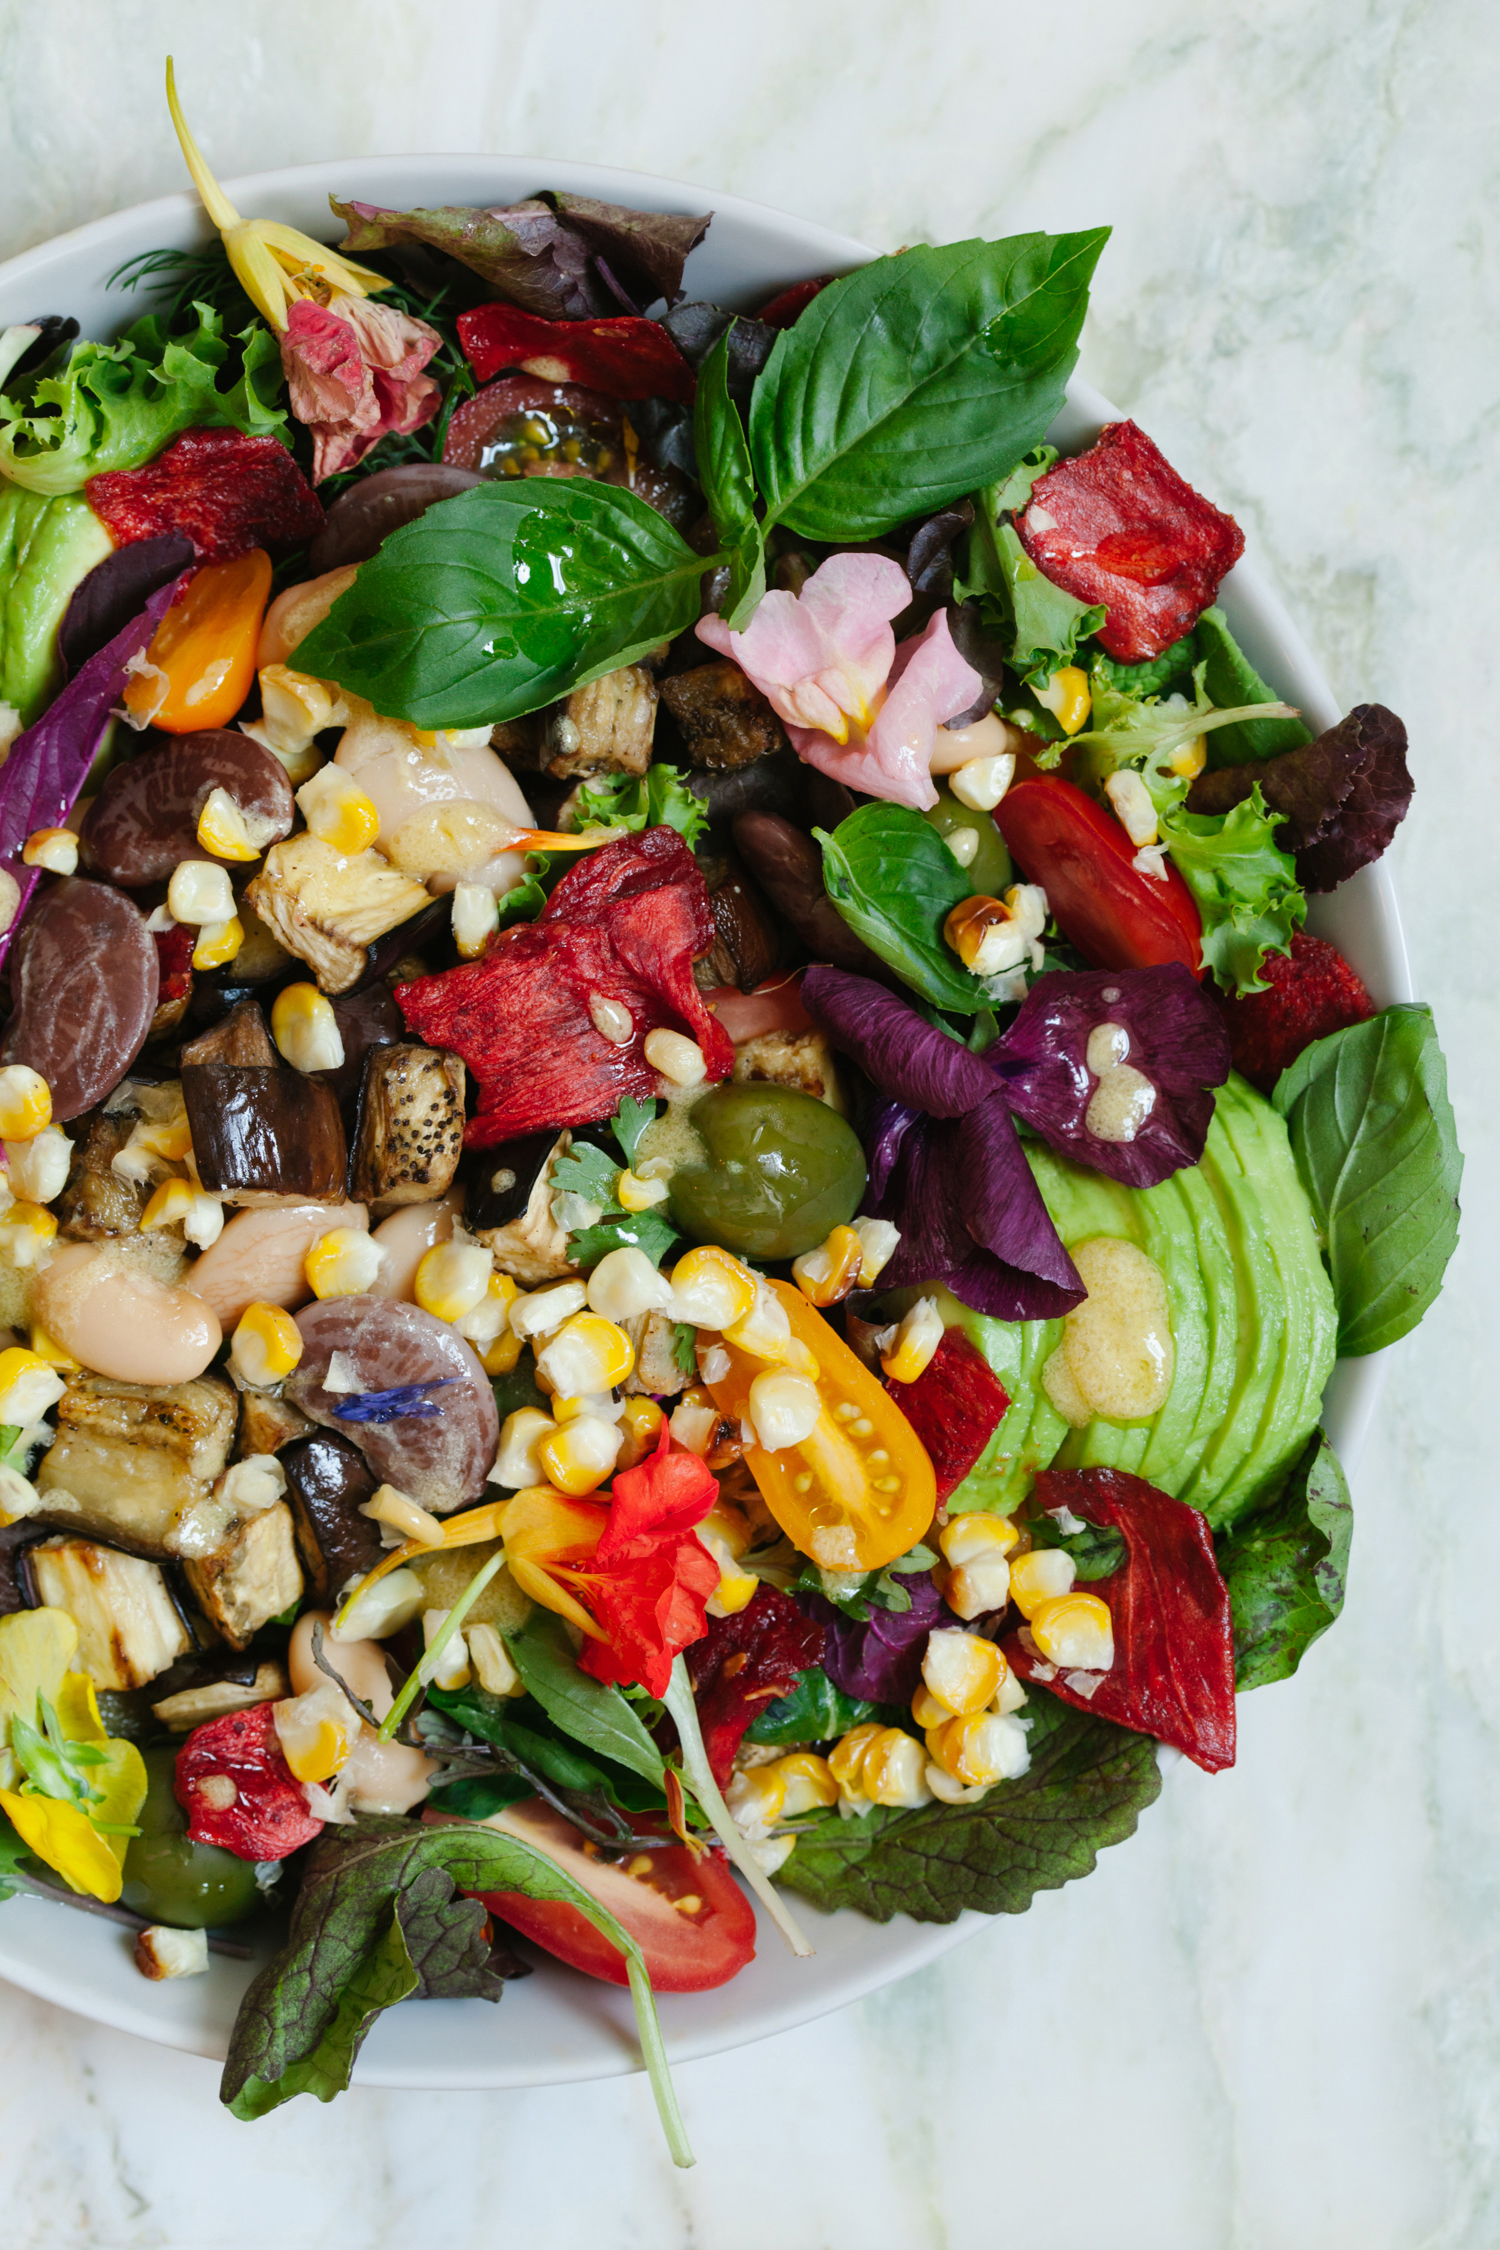
Vegan Cobb Salad with Watermelon Bacon
by Anya
Read Recipe
Cosmic Sweet Potato Chocolate Truffles
by Anya
Read Recipe
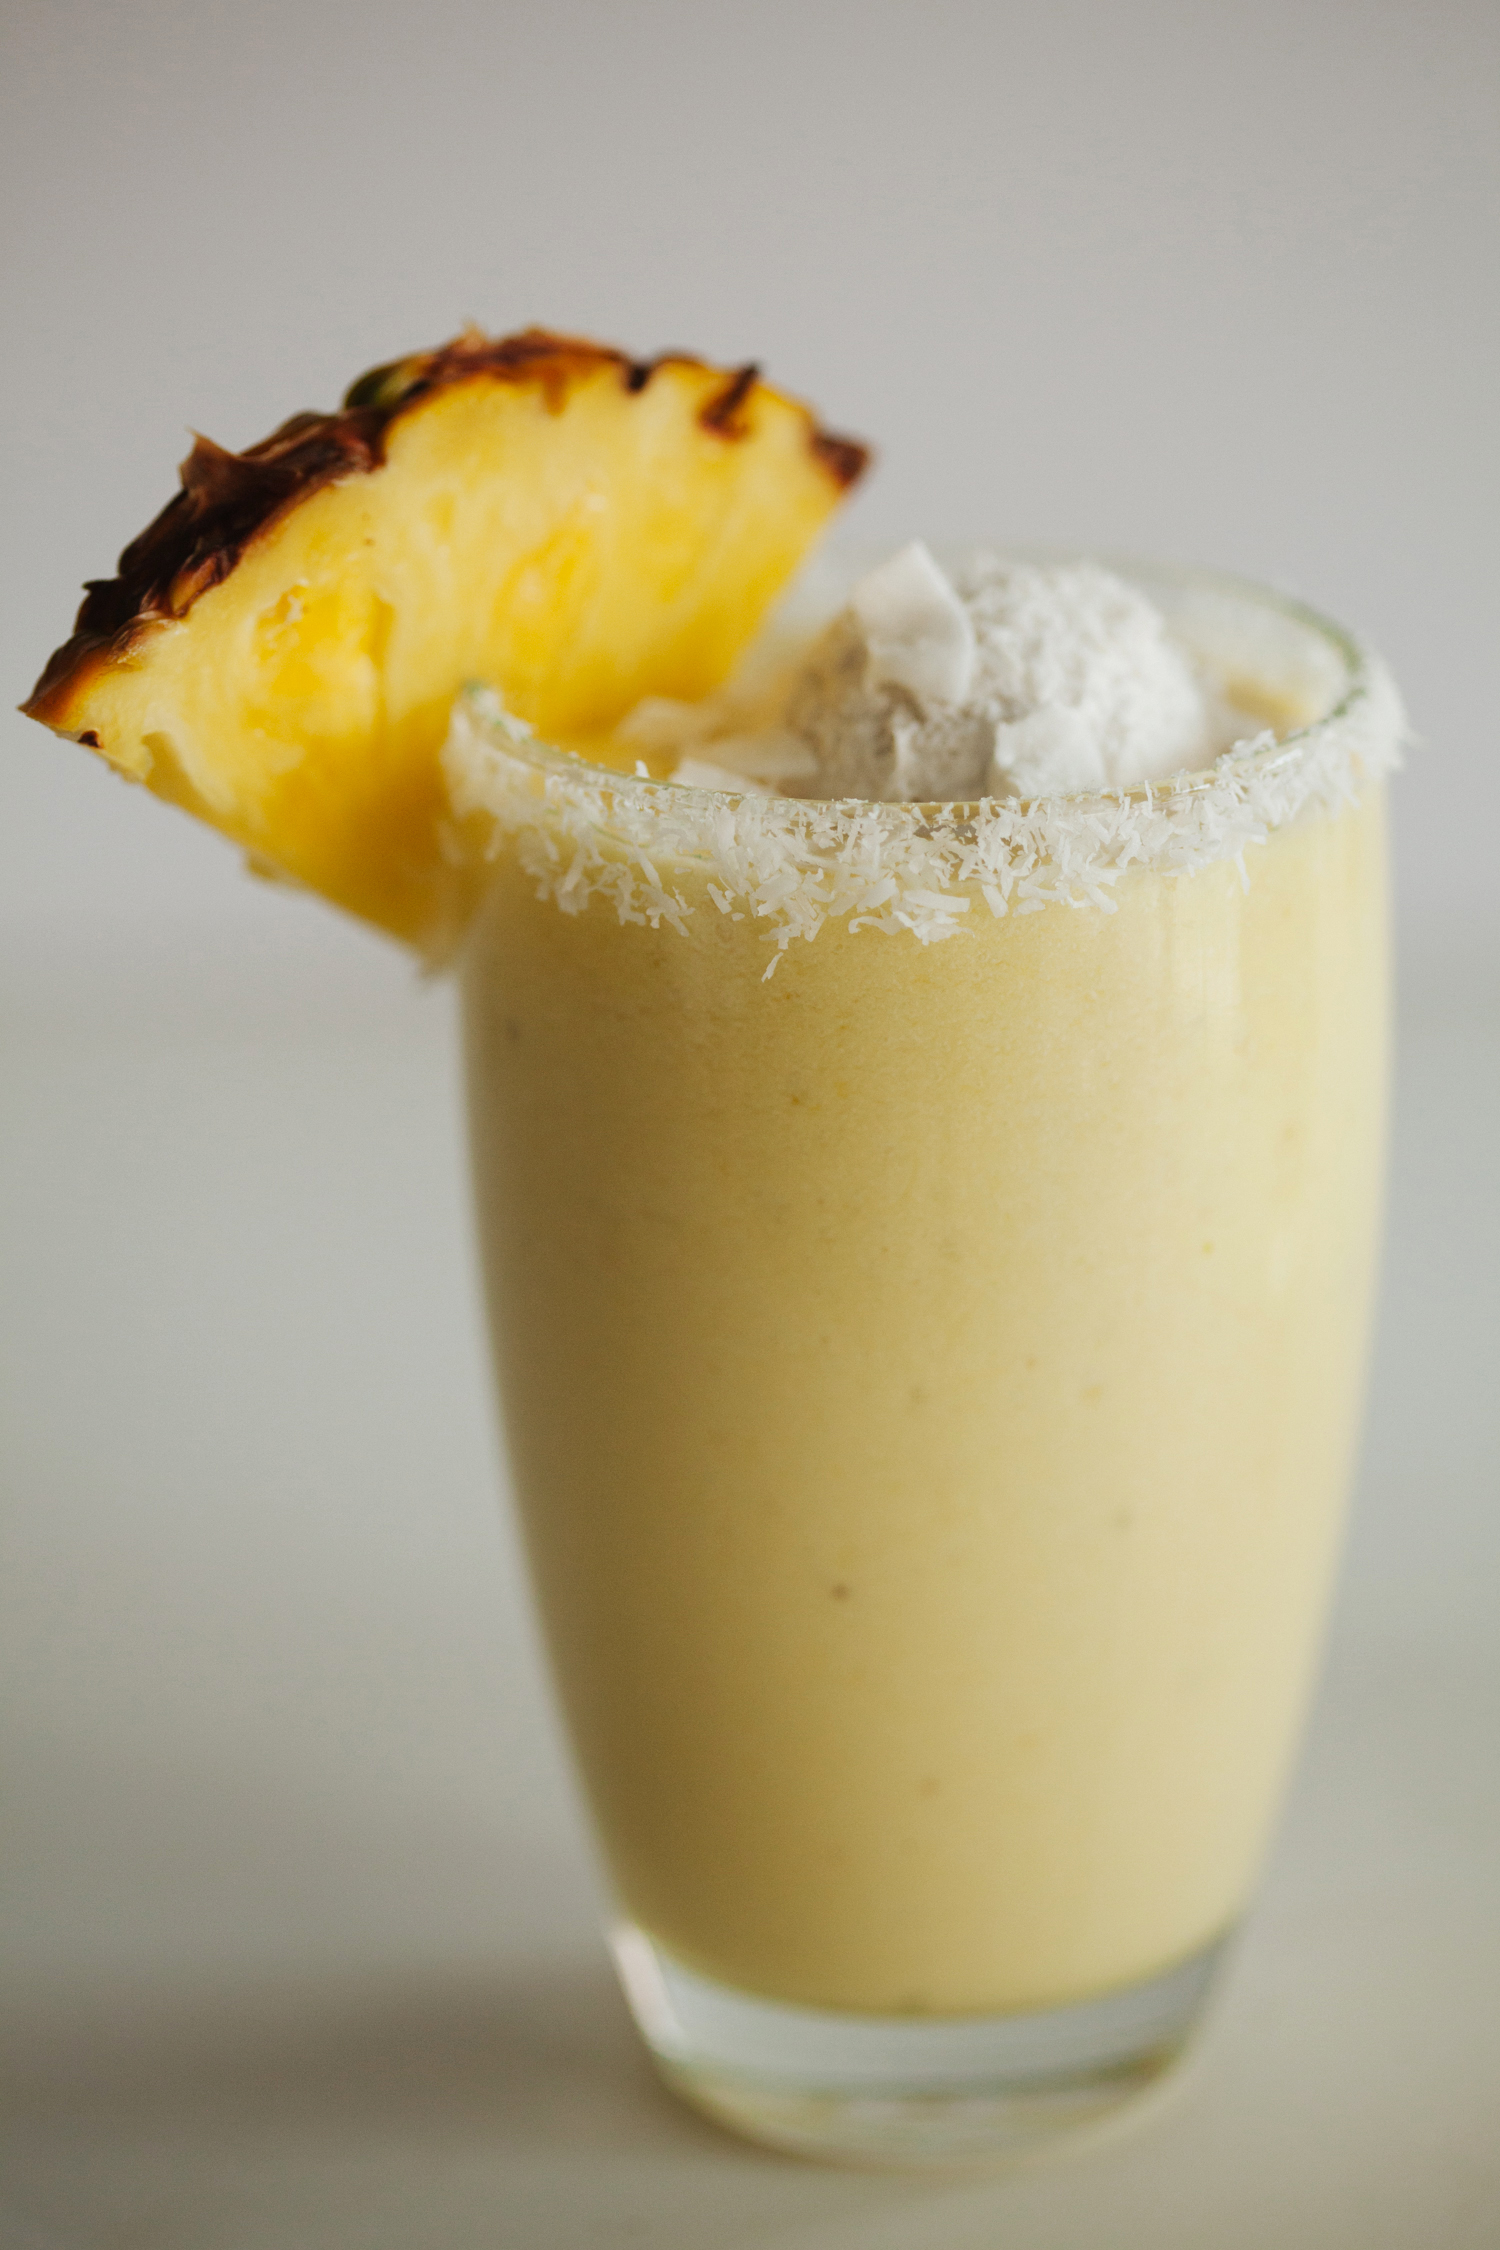
Piña Colada Milkshake – Ice Cream Sunday
by Anya
Read Recipe
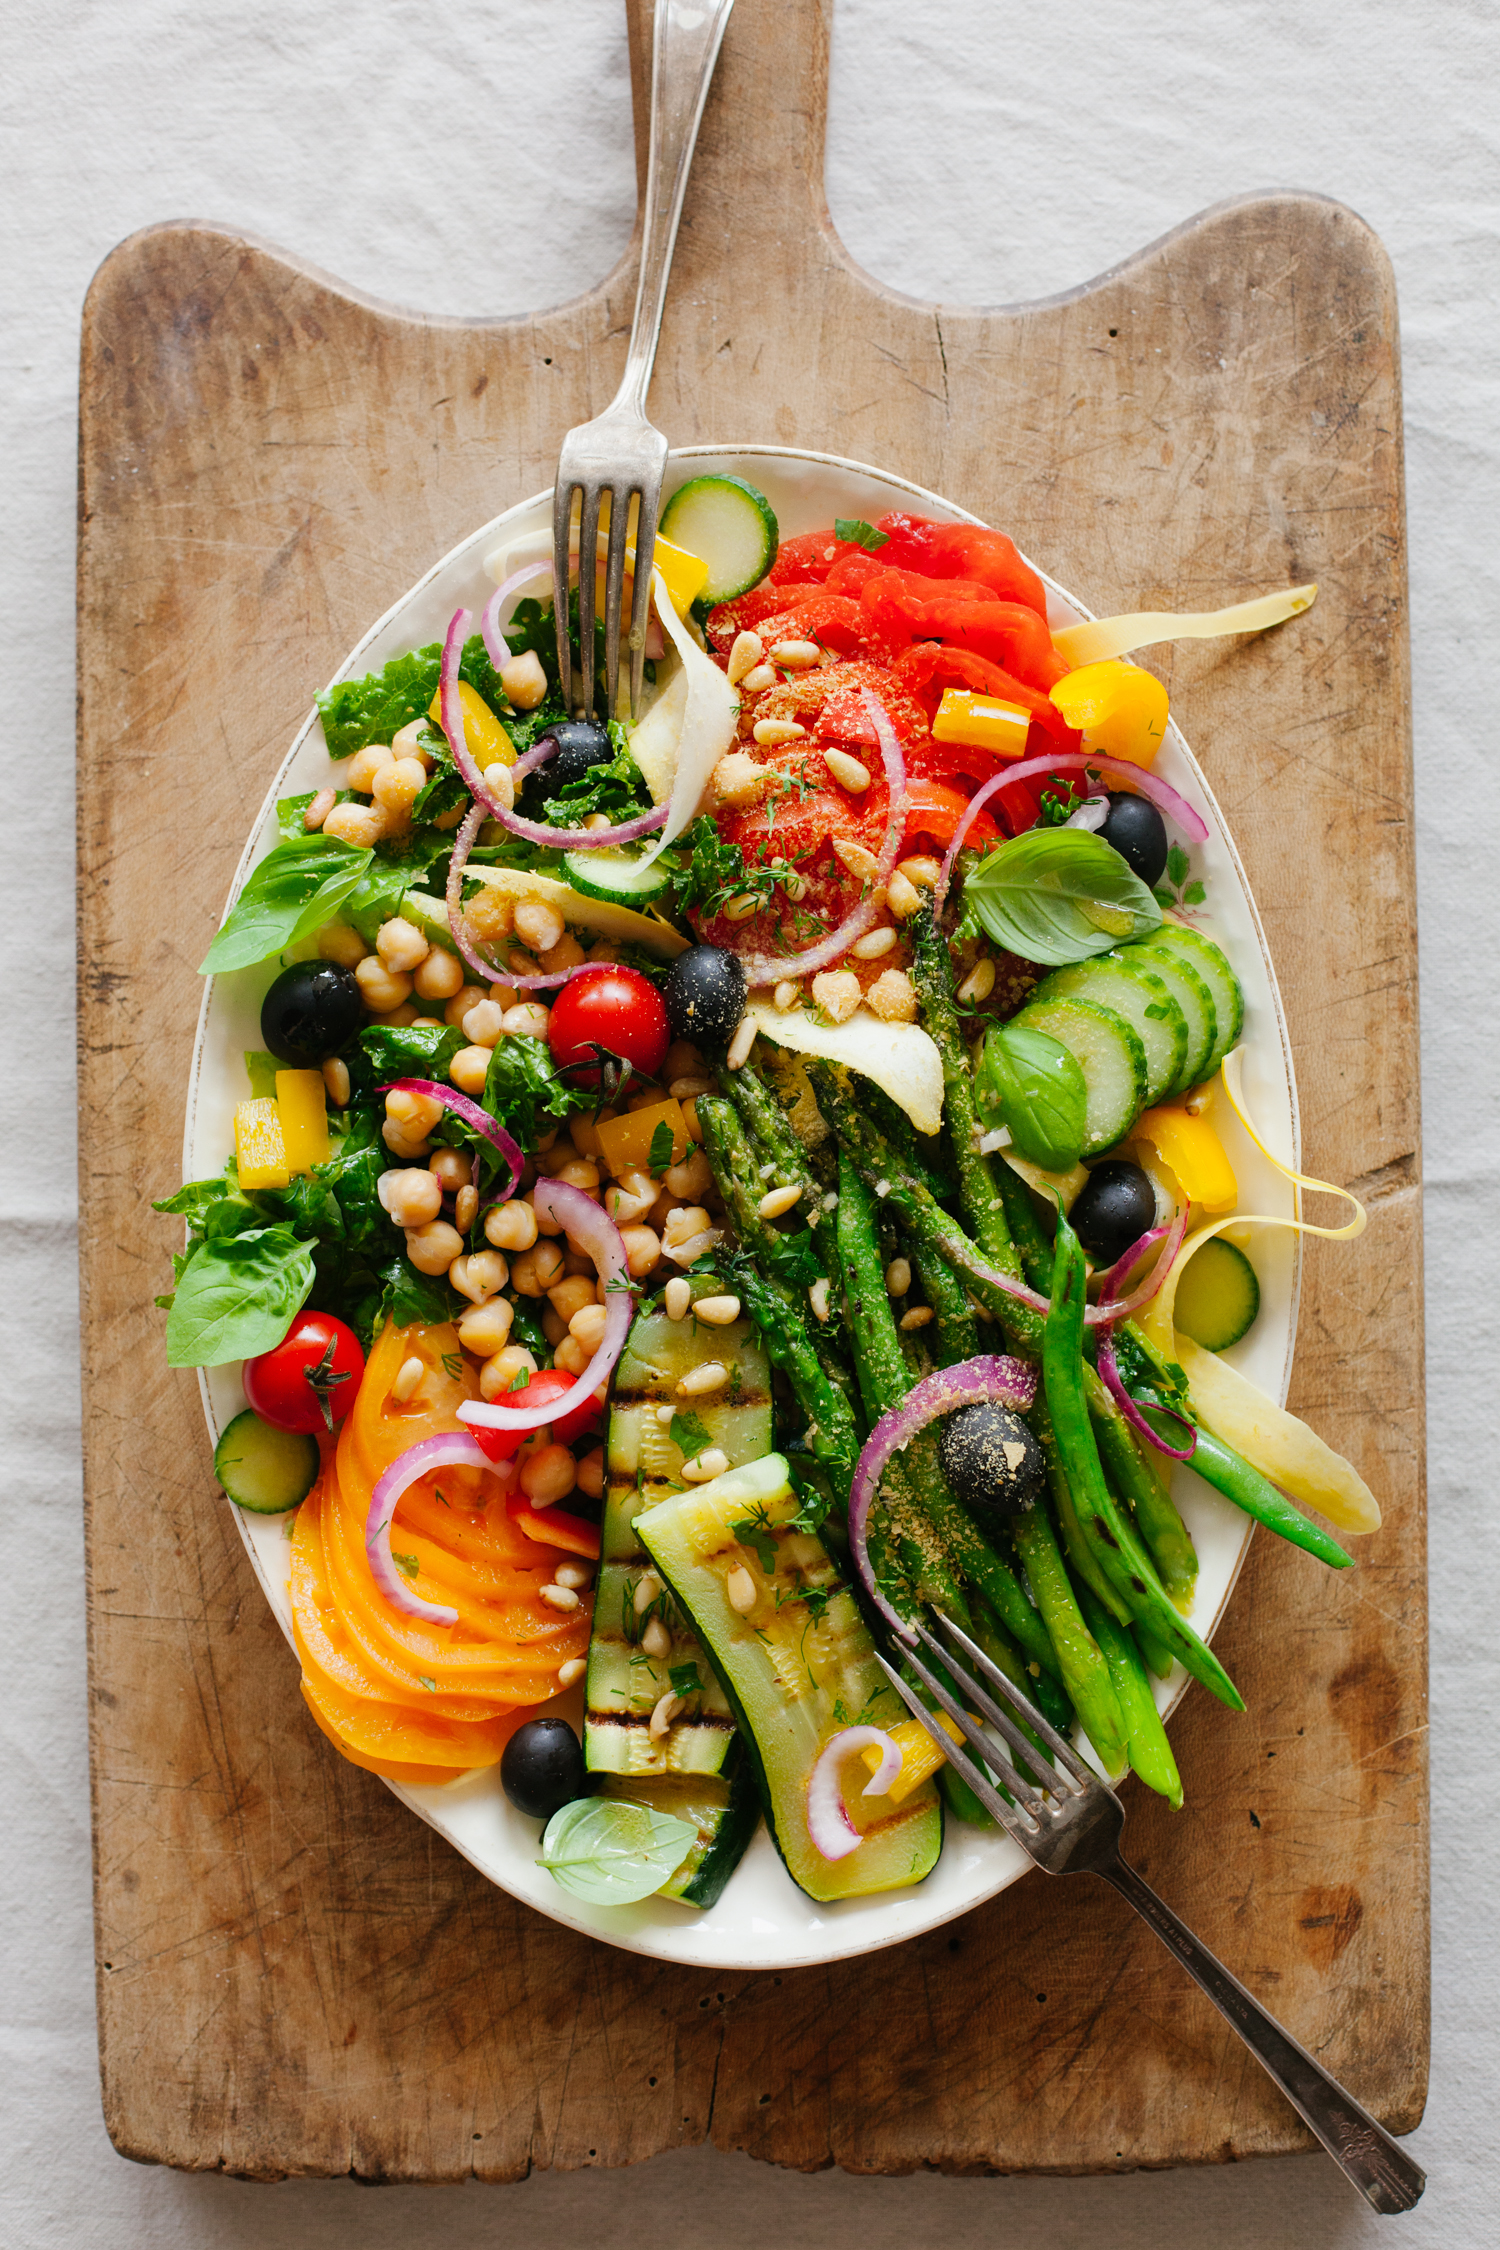
Summer Greek Salad
by Anya
Read Recipe
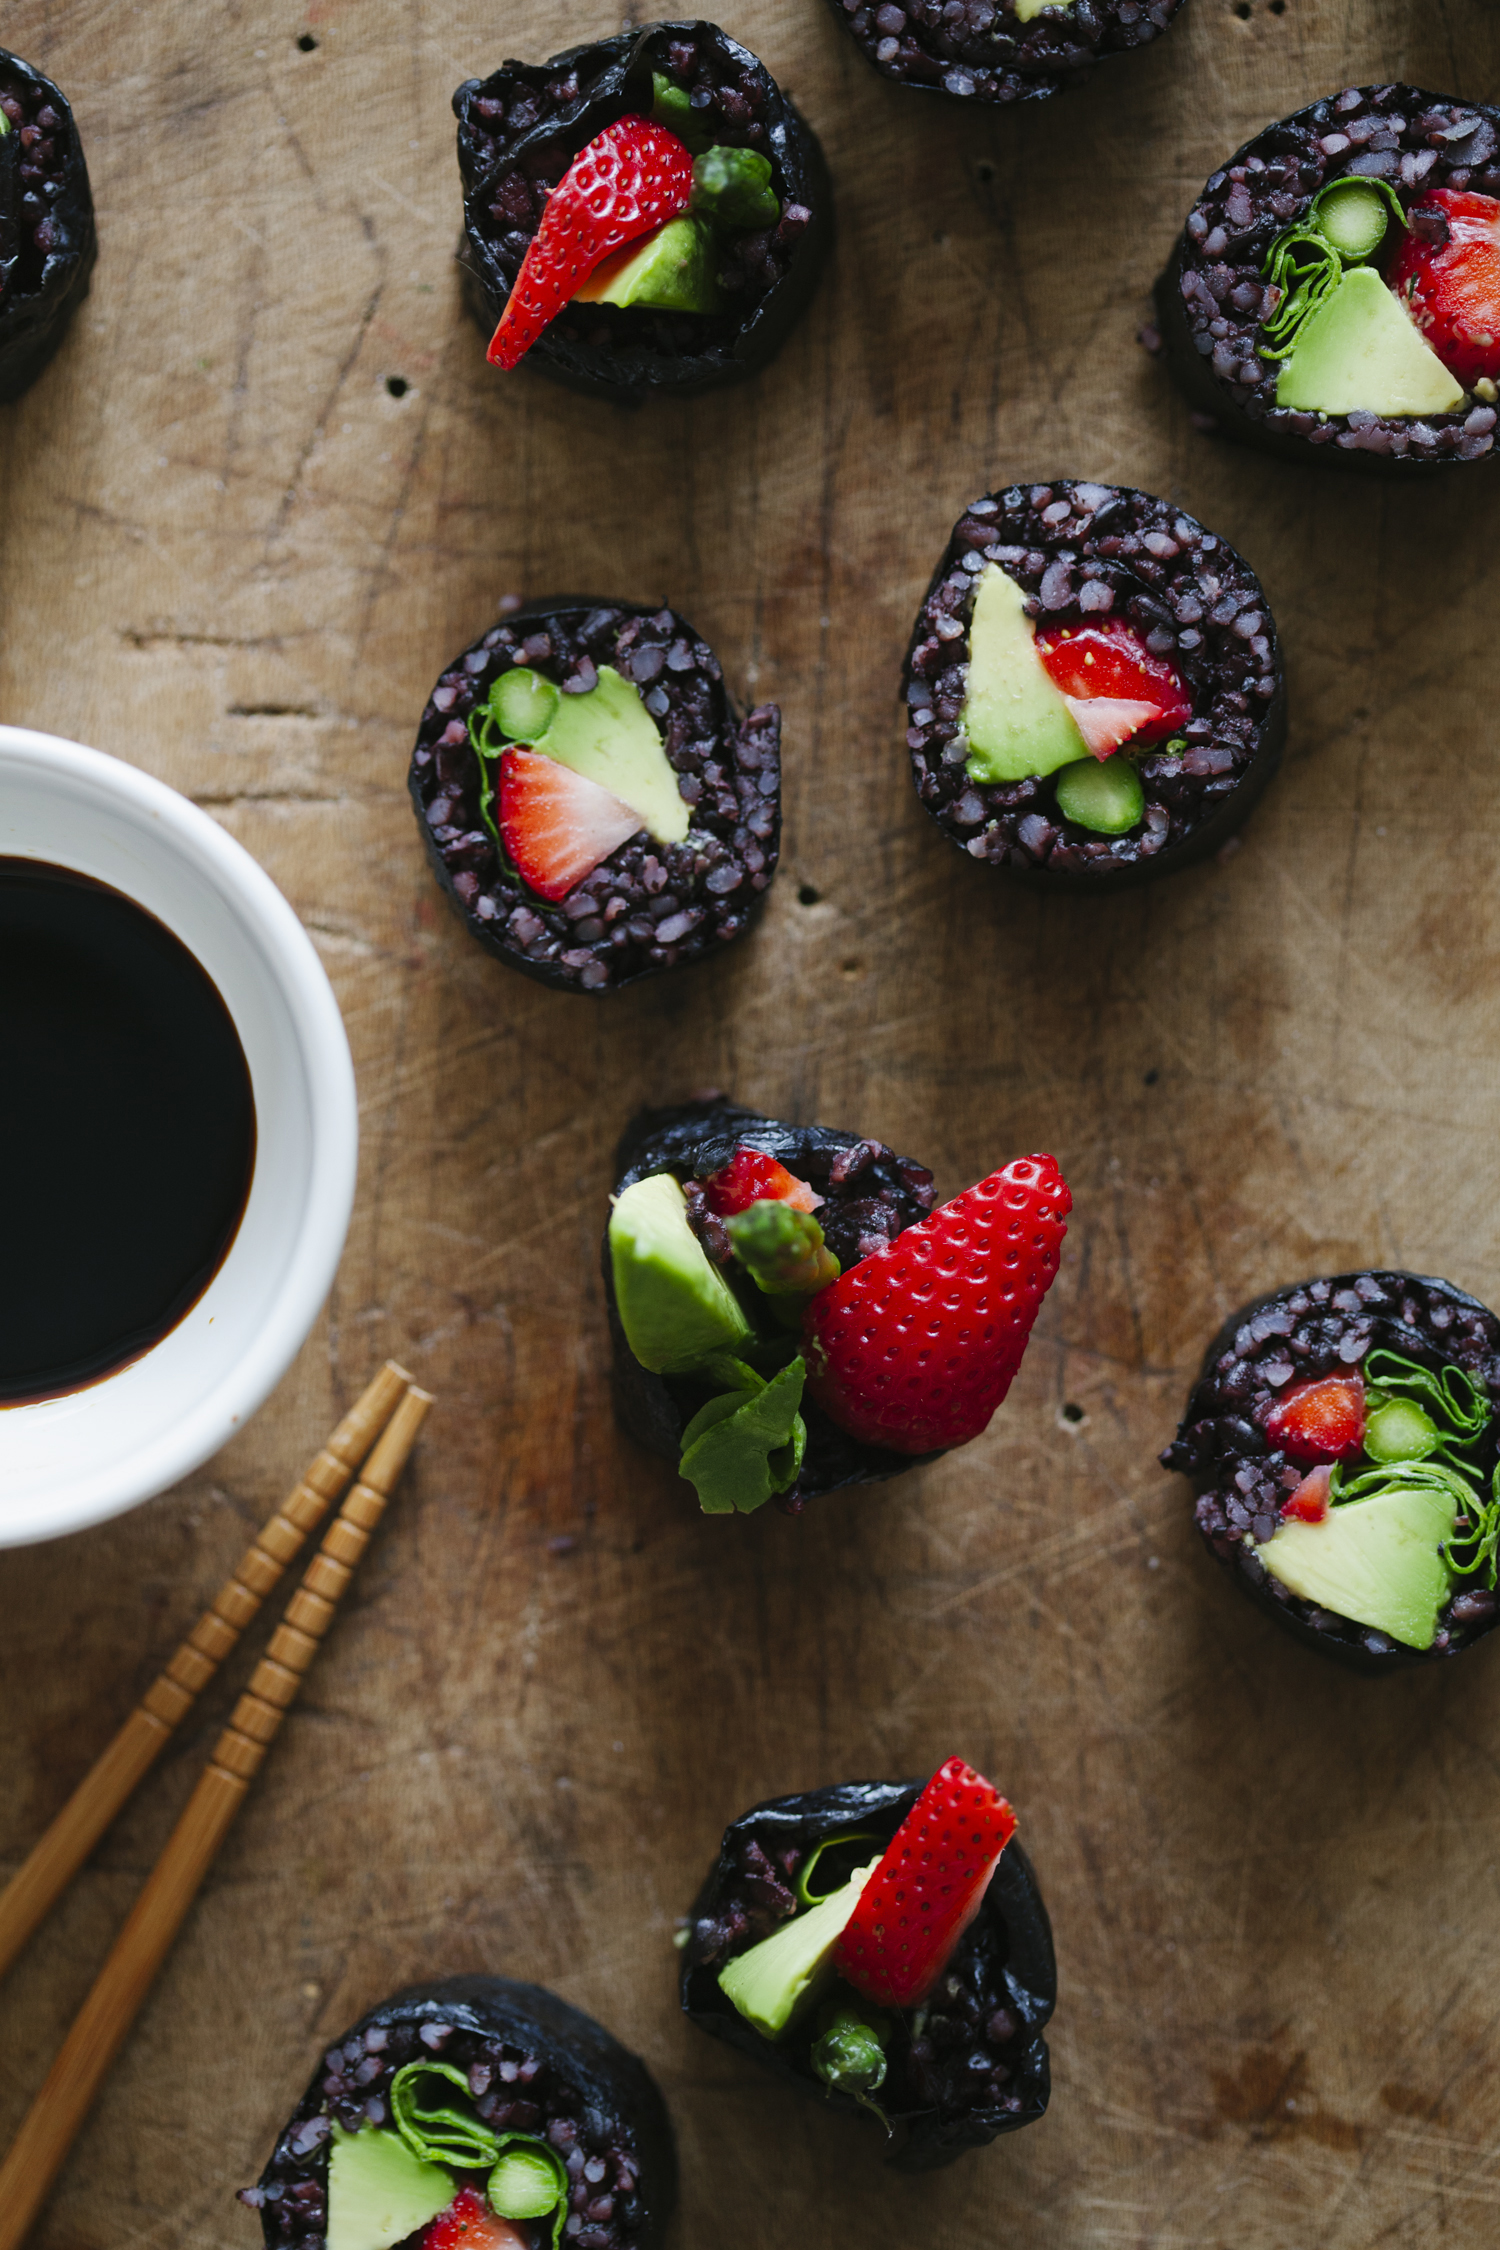
Strawberry and Asparagus Black Rice Sushi
by Anya
Read Recipe
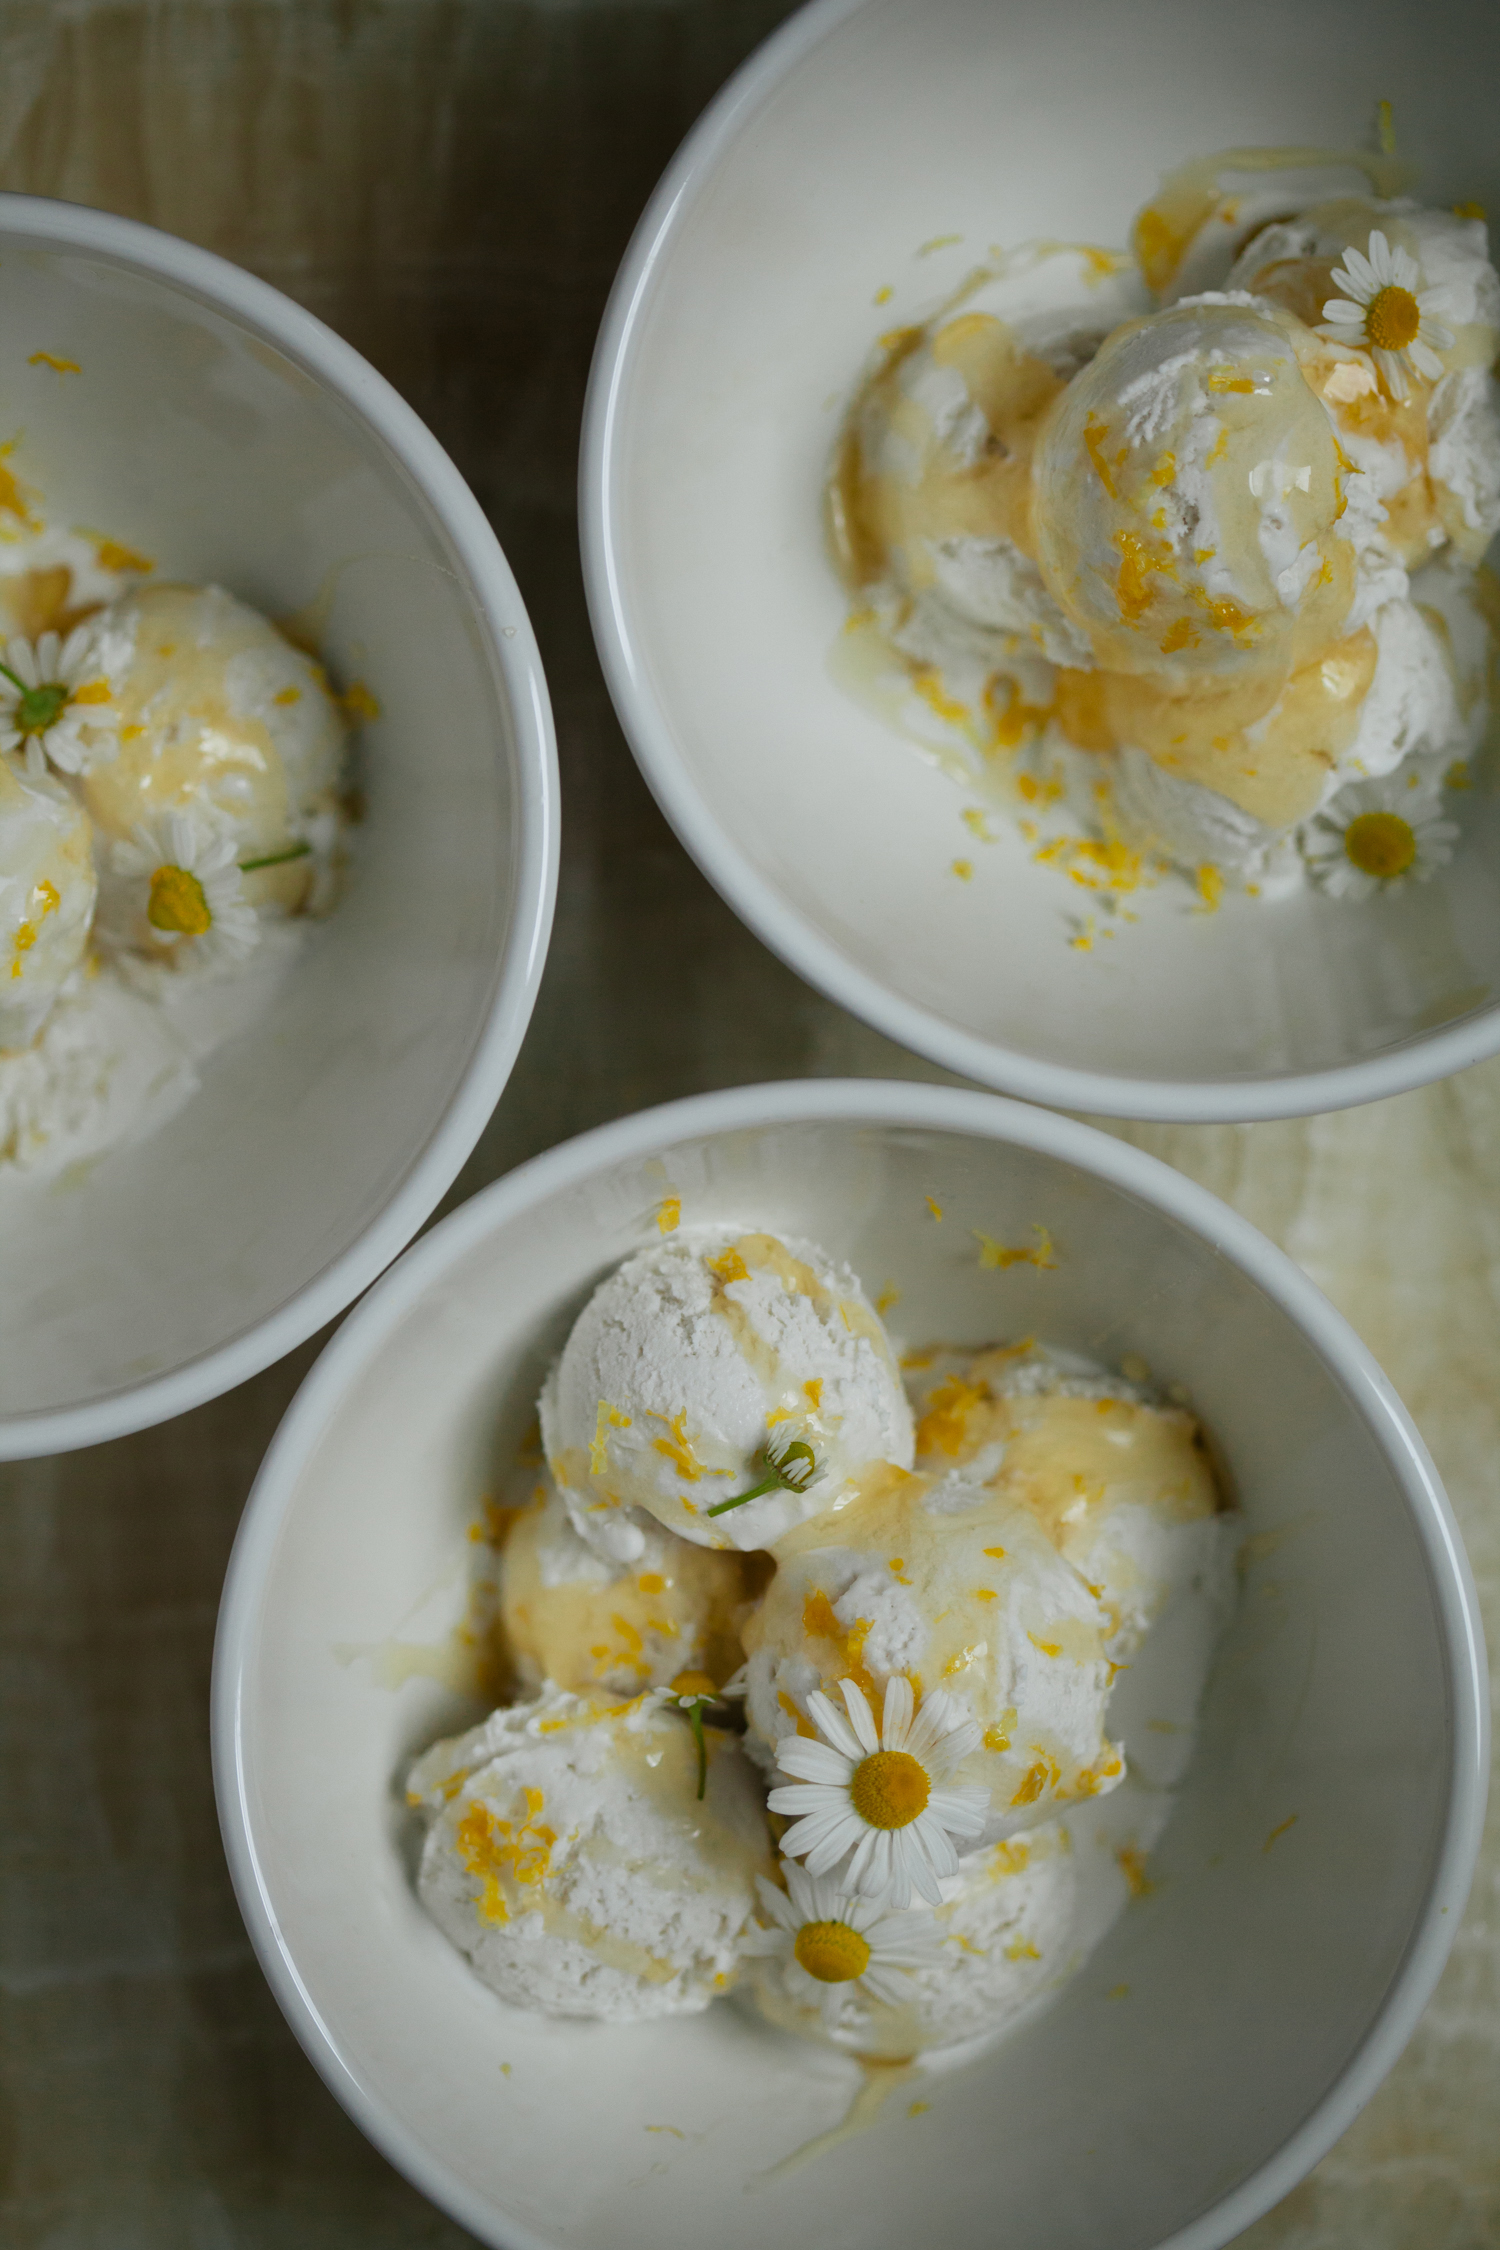
Chamomile Honey-Lemon Ice Cream — Ice Cream Sunday
by Anya
Read Recipe
Lavender Ice Cream with Chocolate Tahini Bits — Ice Cream Sunday
by Anya
Read Recipe
Taco Collard Green Rolls
by Anya
Read Recipe
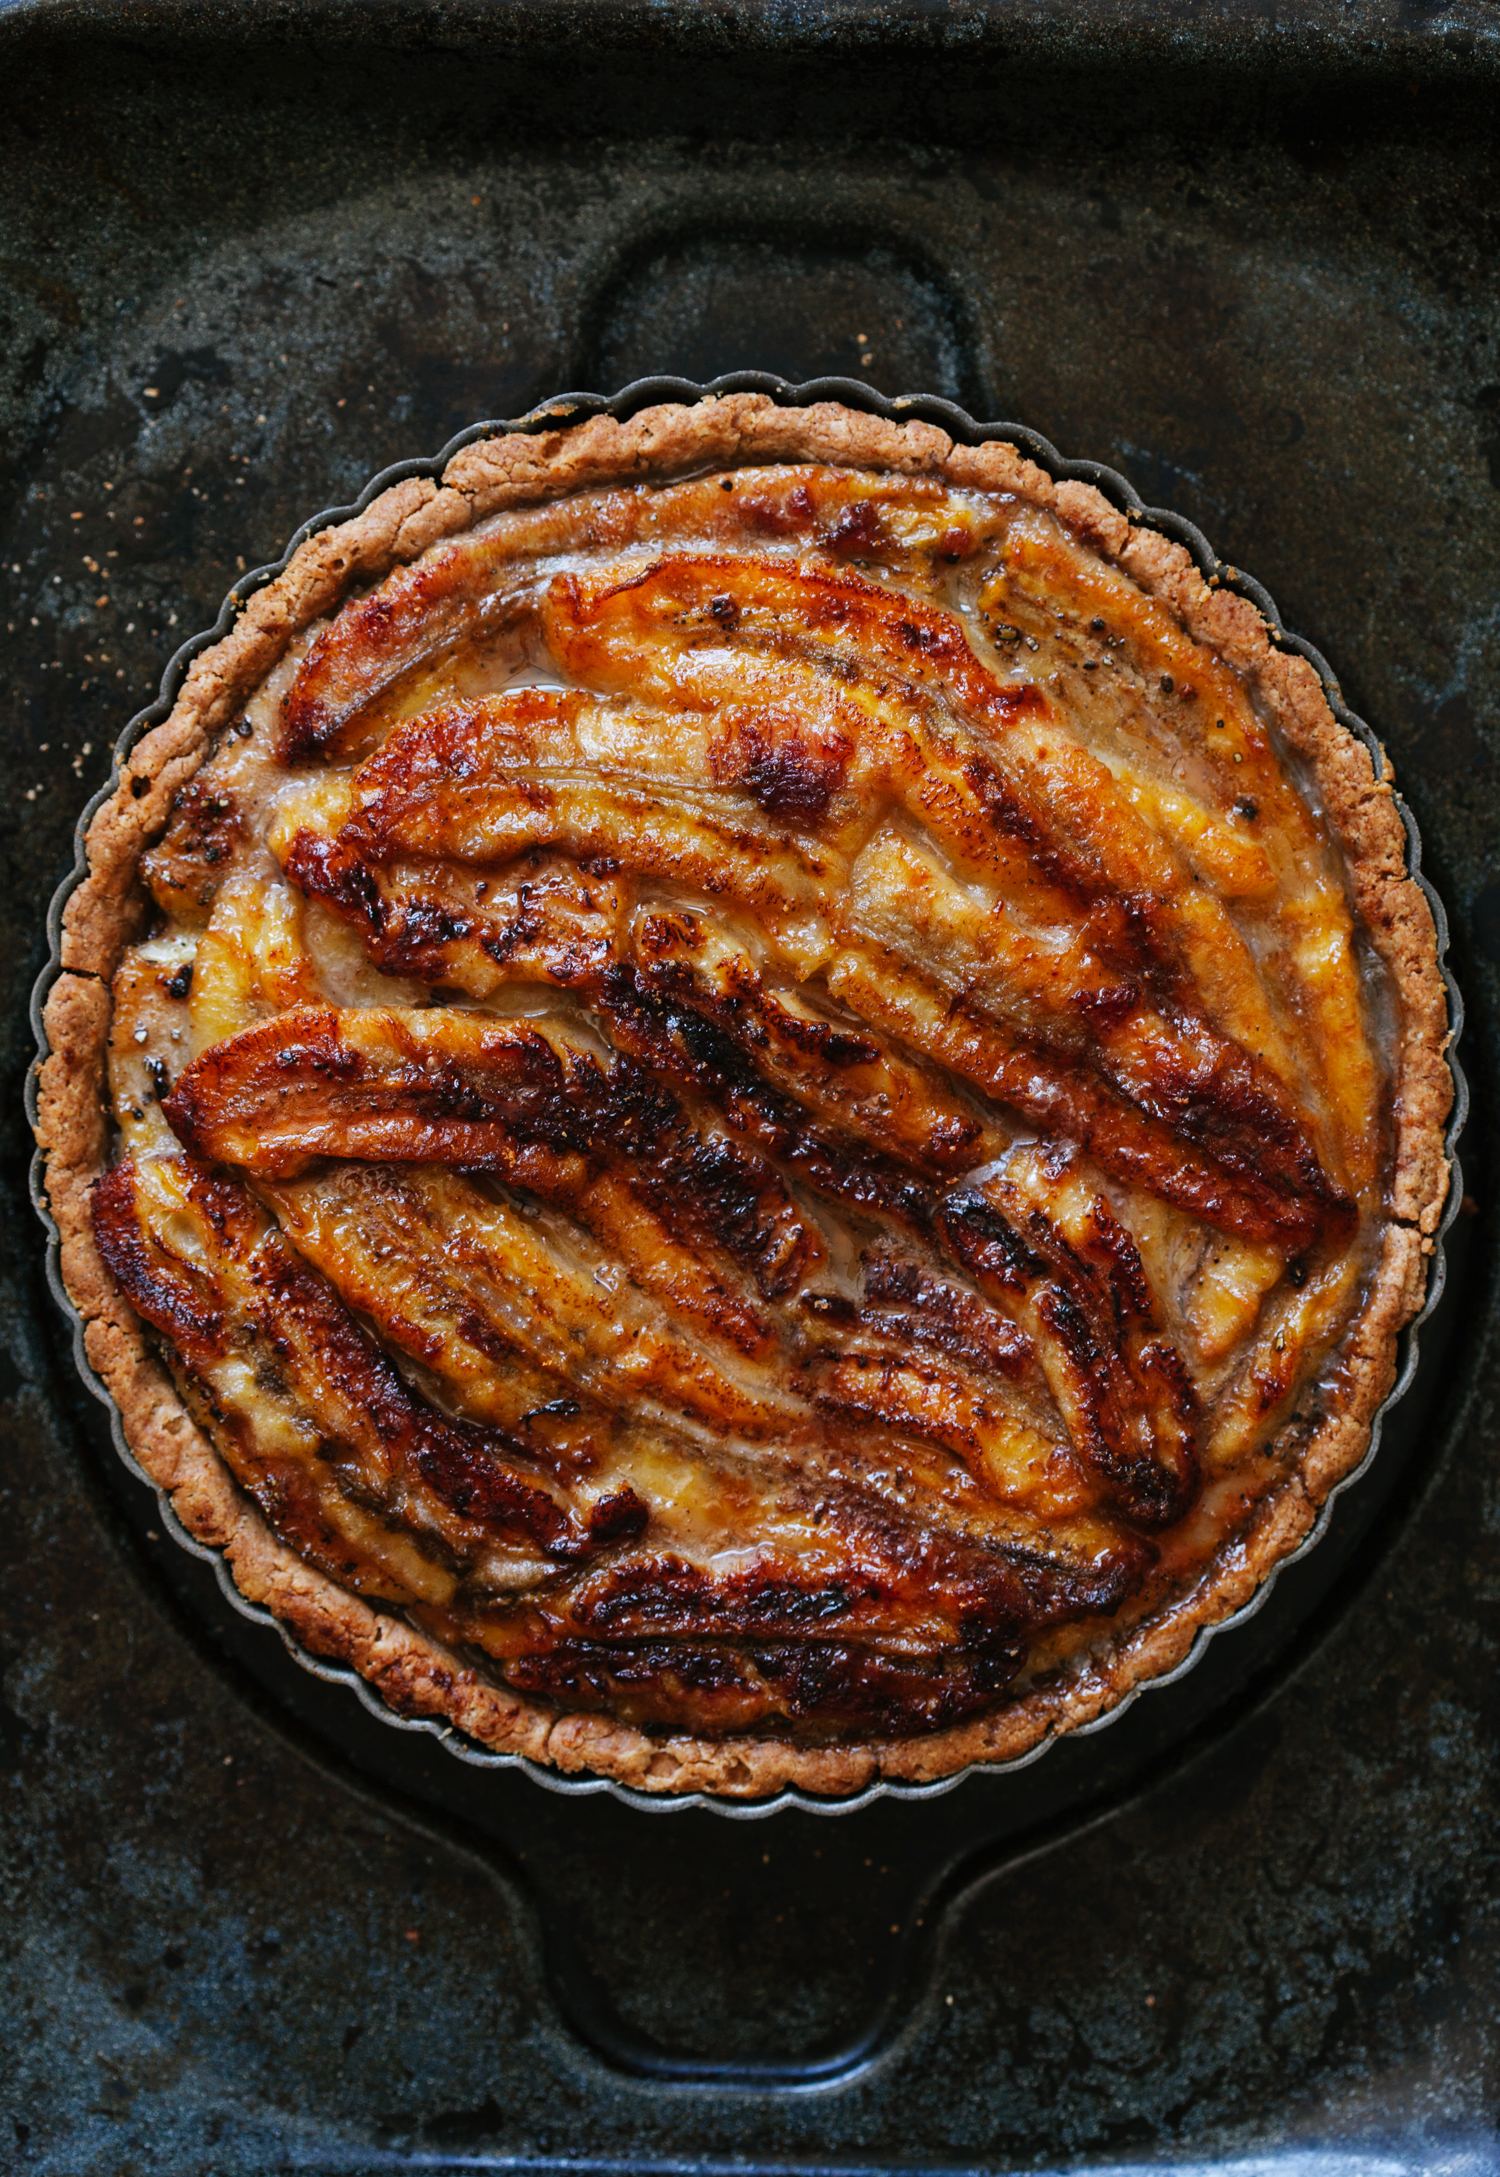
Banana Toffee Tart
by Anya
Read Recipe
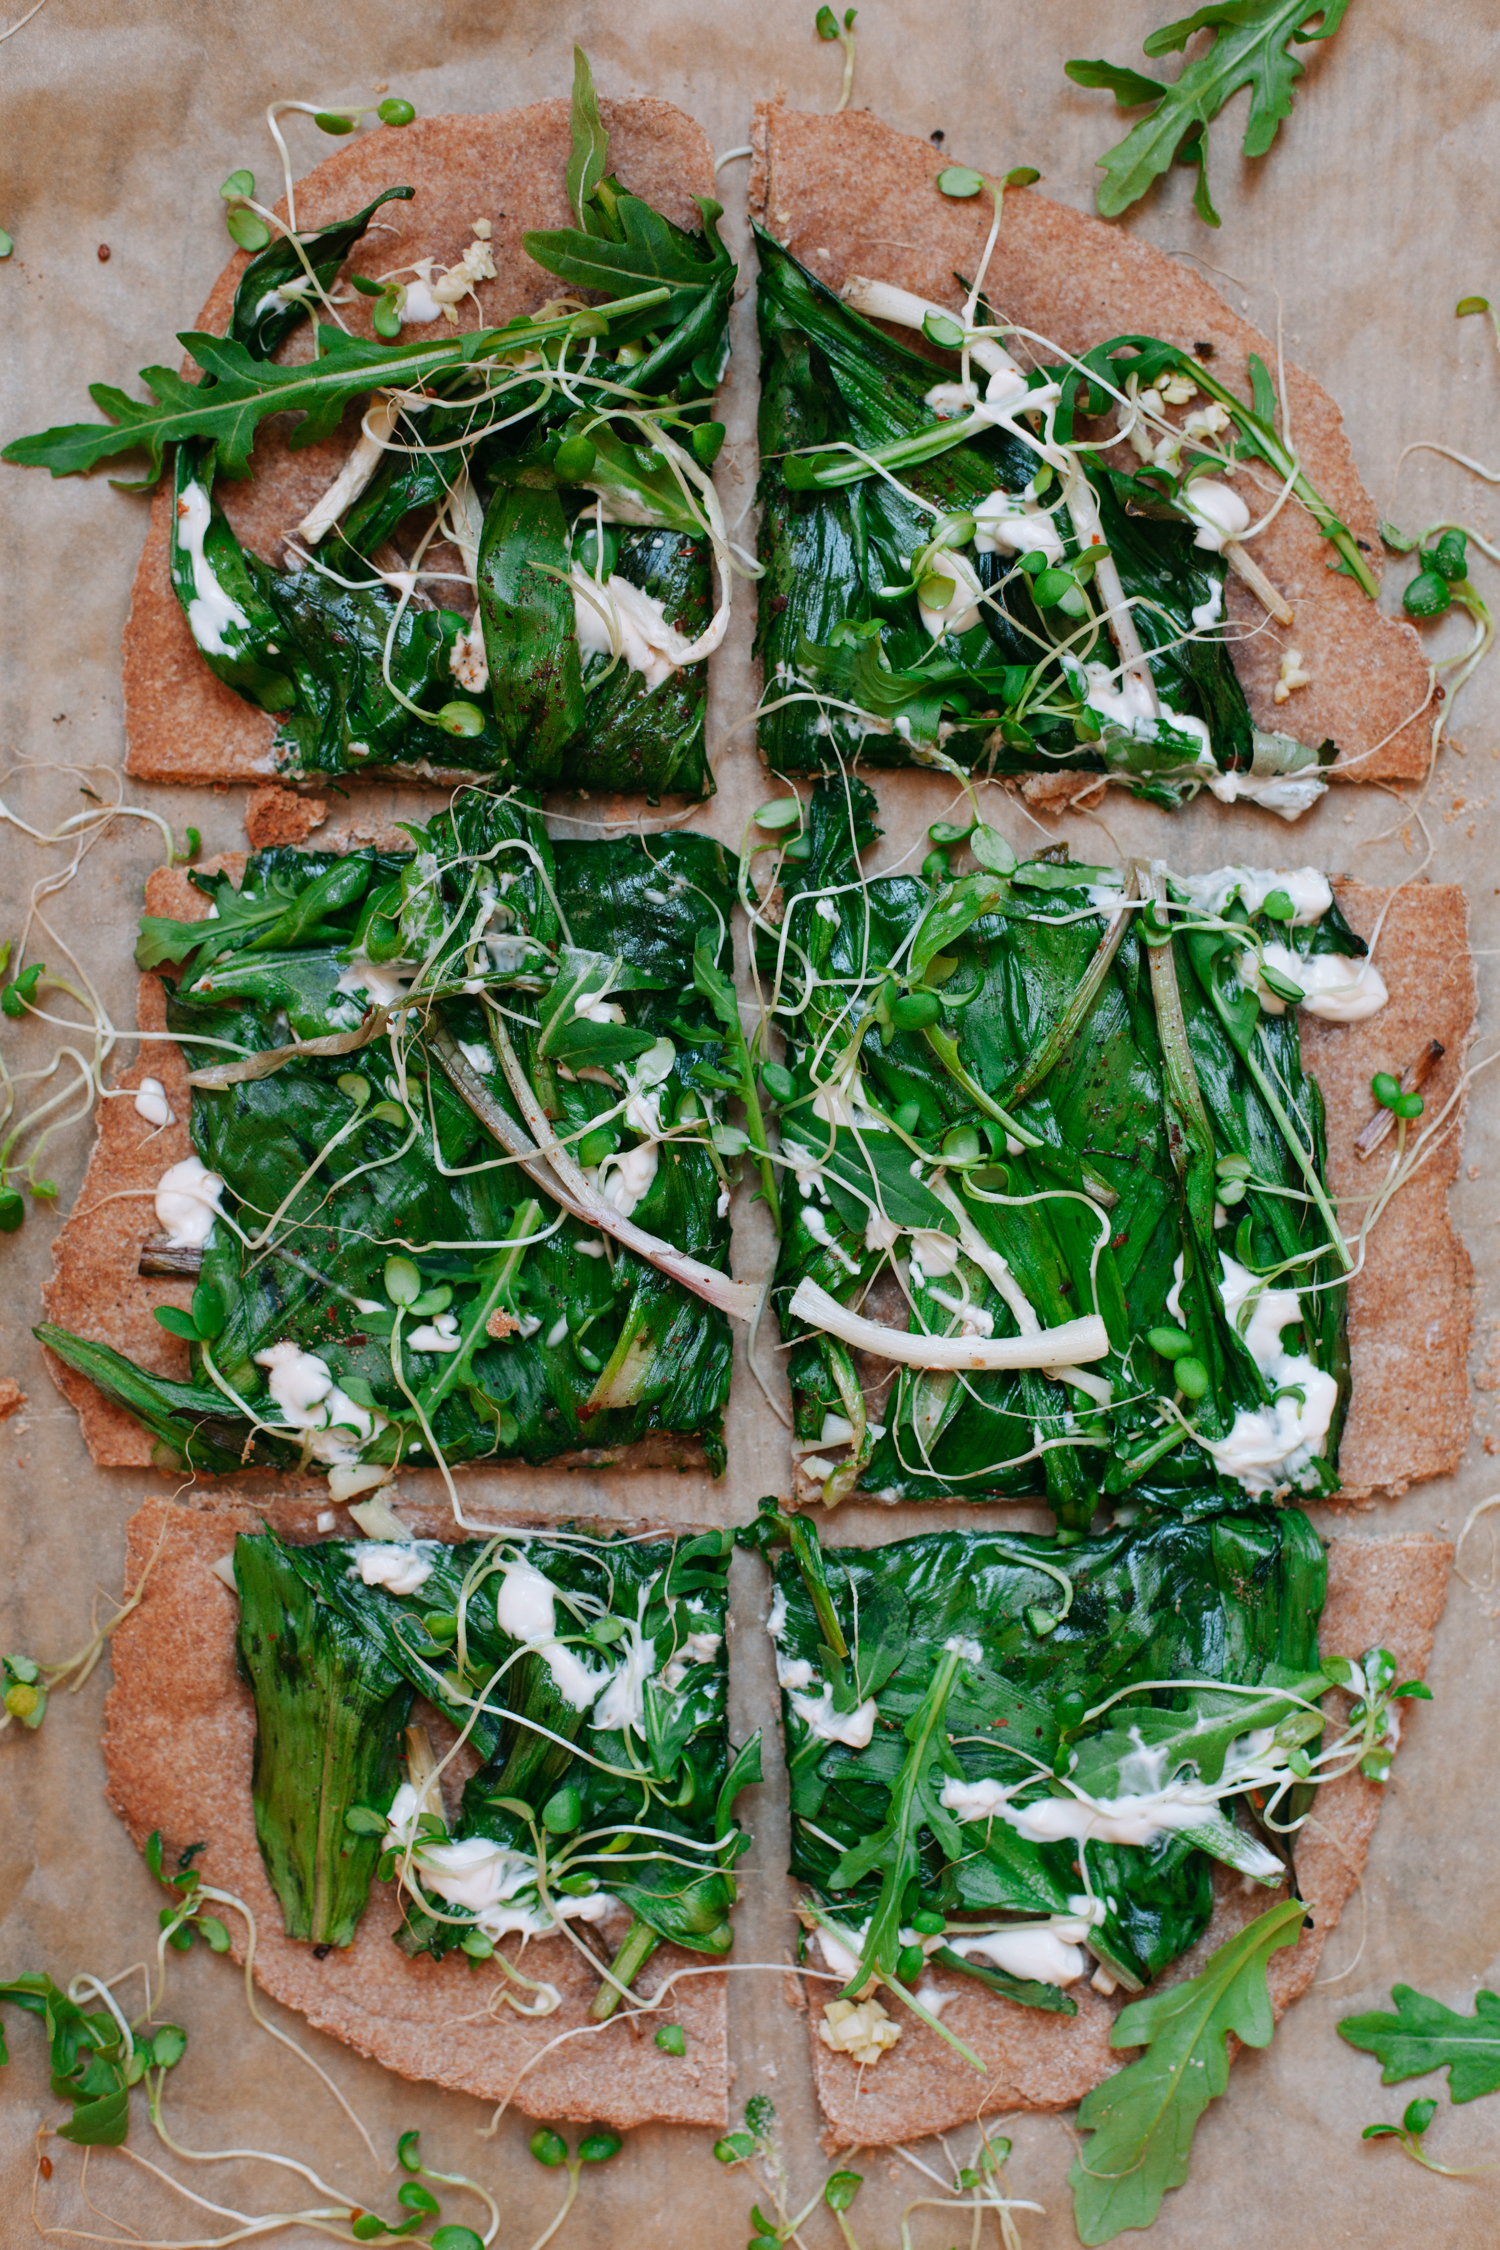
Ramp Flatbread Pizza with Garlic Cream
by Anya
Read Recipe
Vegan Cheese Plate
by Anya
Read Recipe