Snack Recipes Recipes
23
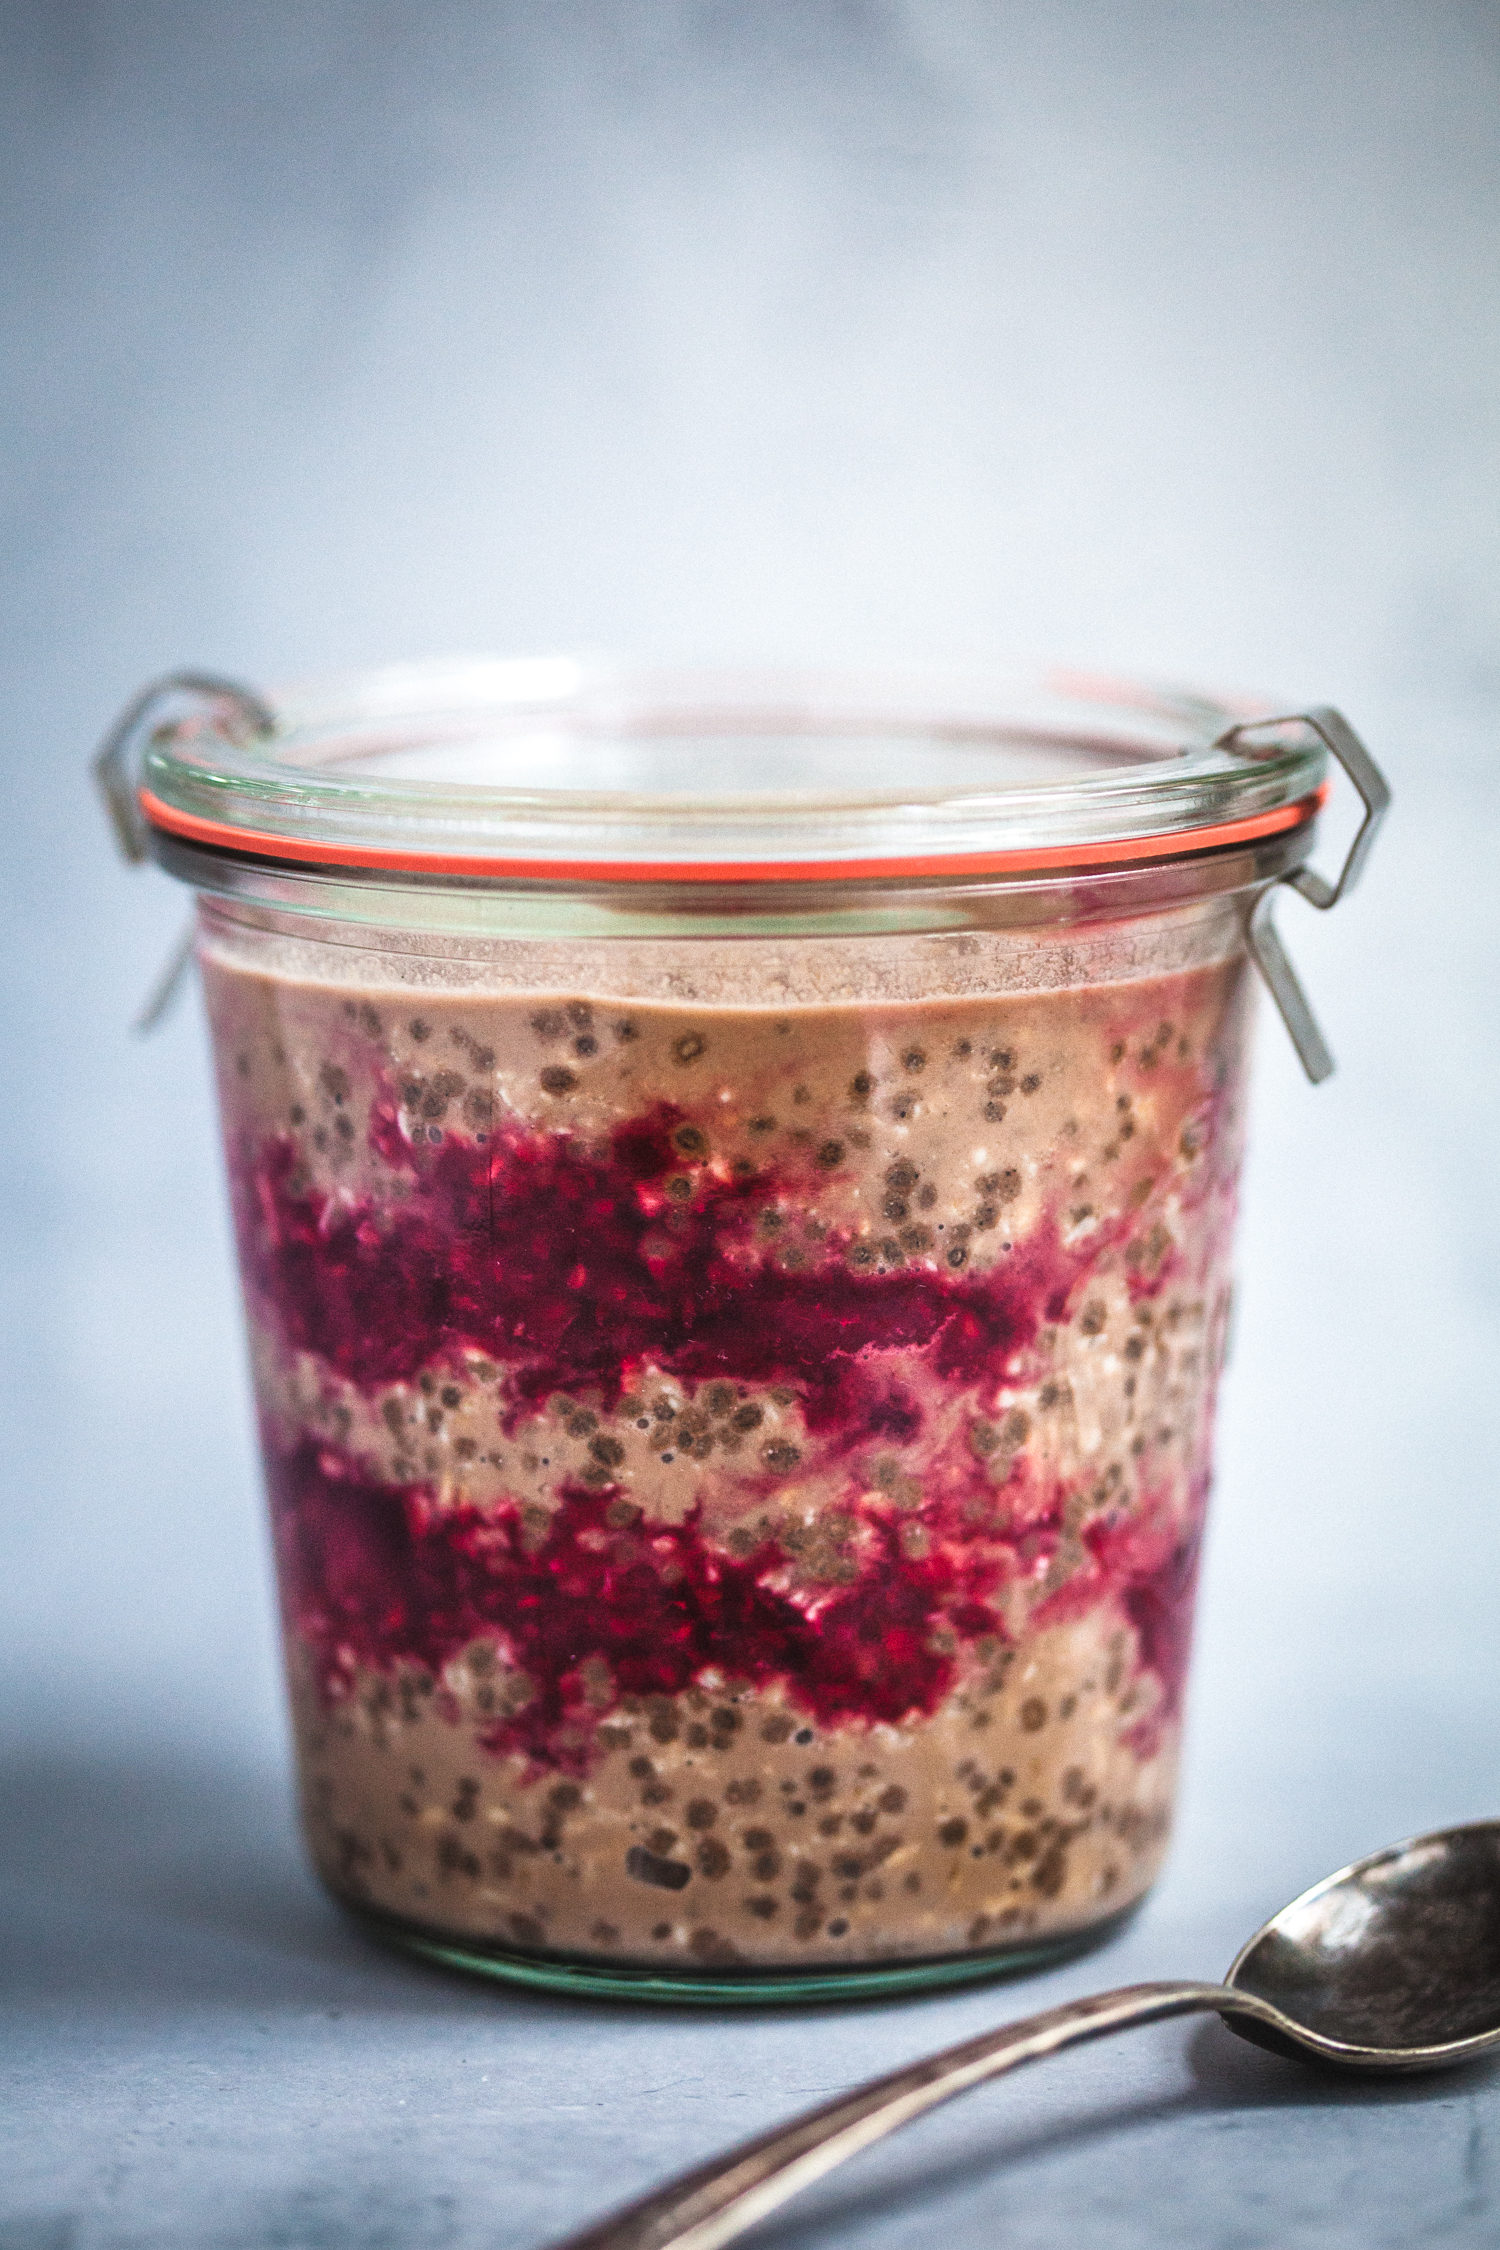
Chocolate Raspberry Overnight Oats
by Masha
Read Recipe
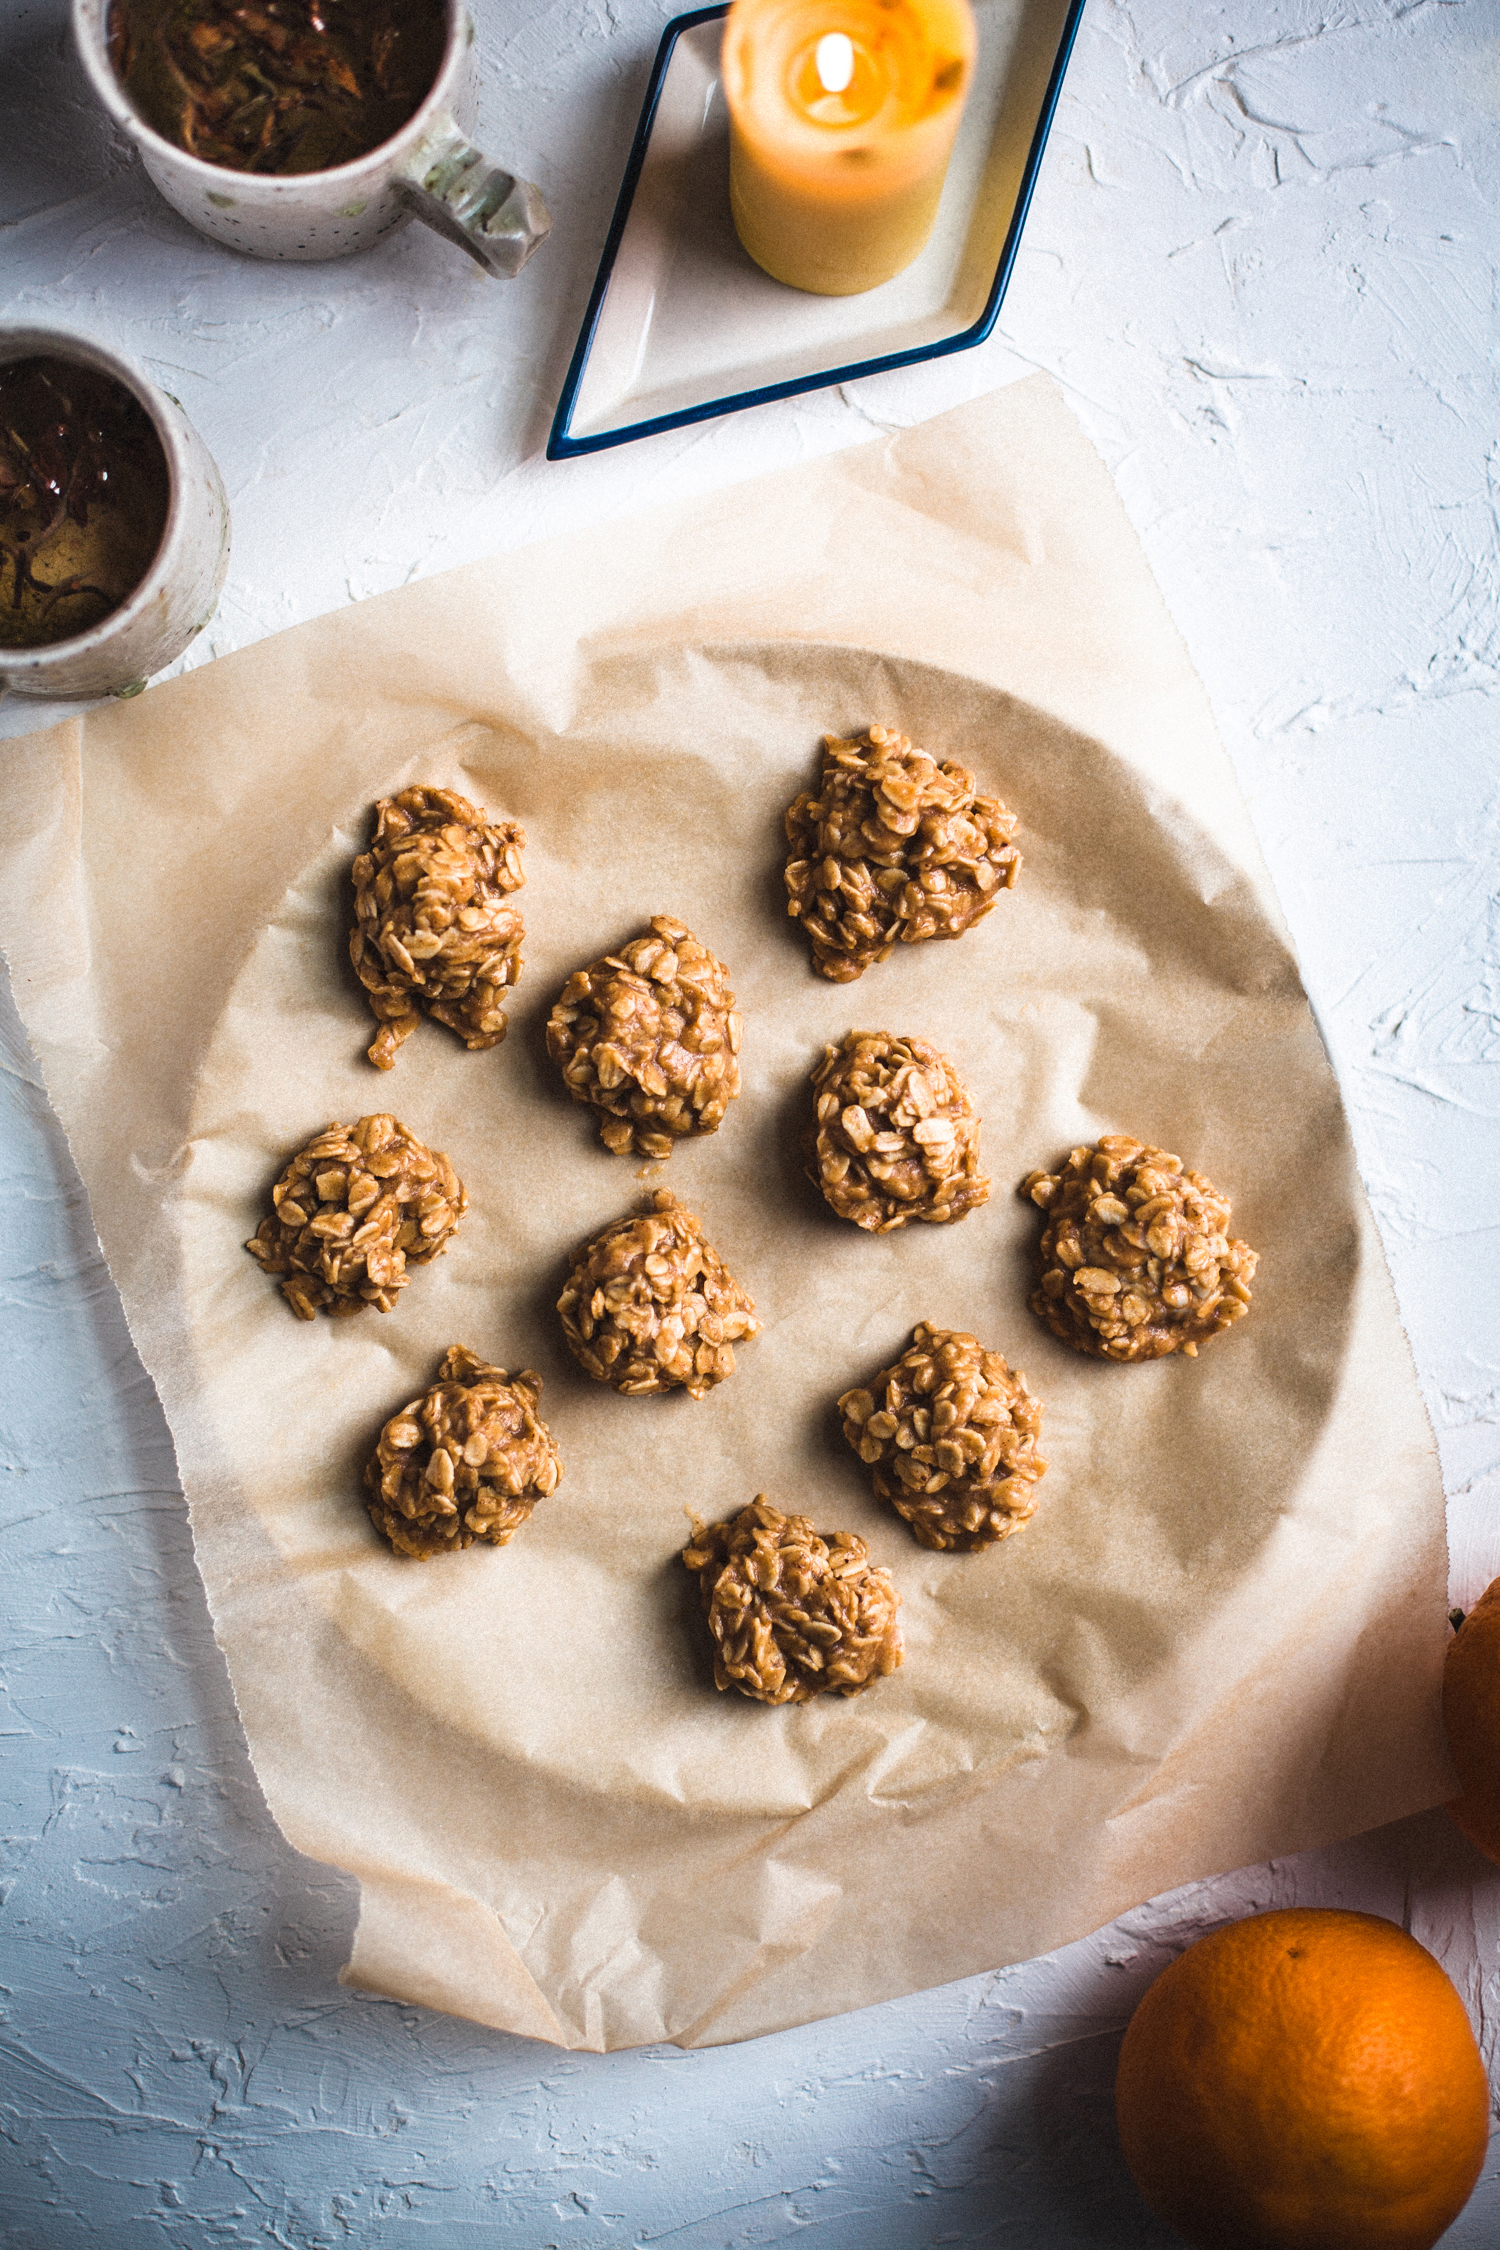
Sweet & Salty Nut Butter Oat Clusters
by Anya
Read Recipe
Popcorn Broccoli
by Masha
Read Recipe
Less Waste: Broccoli Stem ‘Tartare’
by Anya
Read Recipe
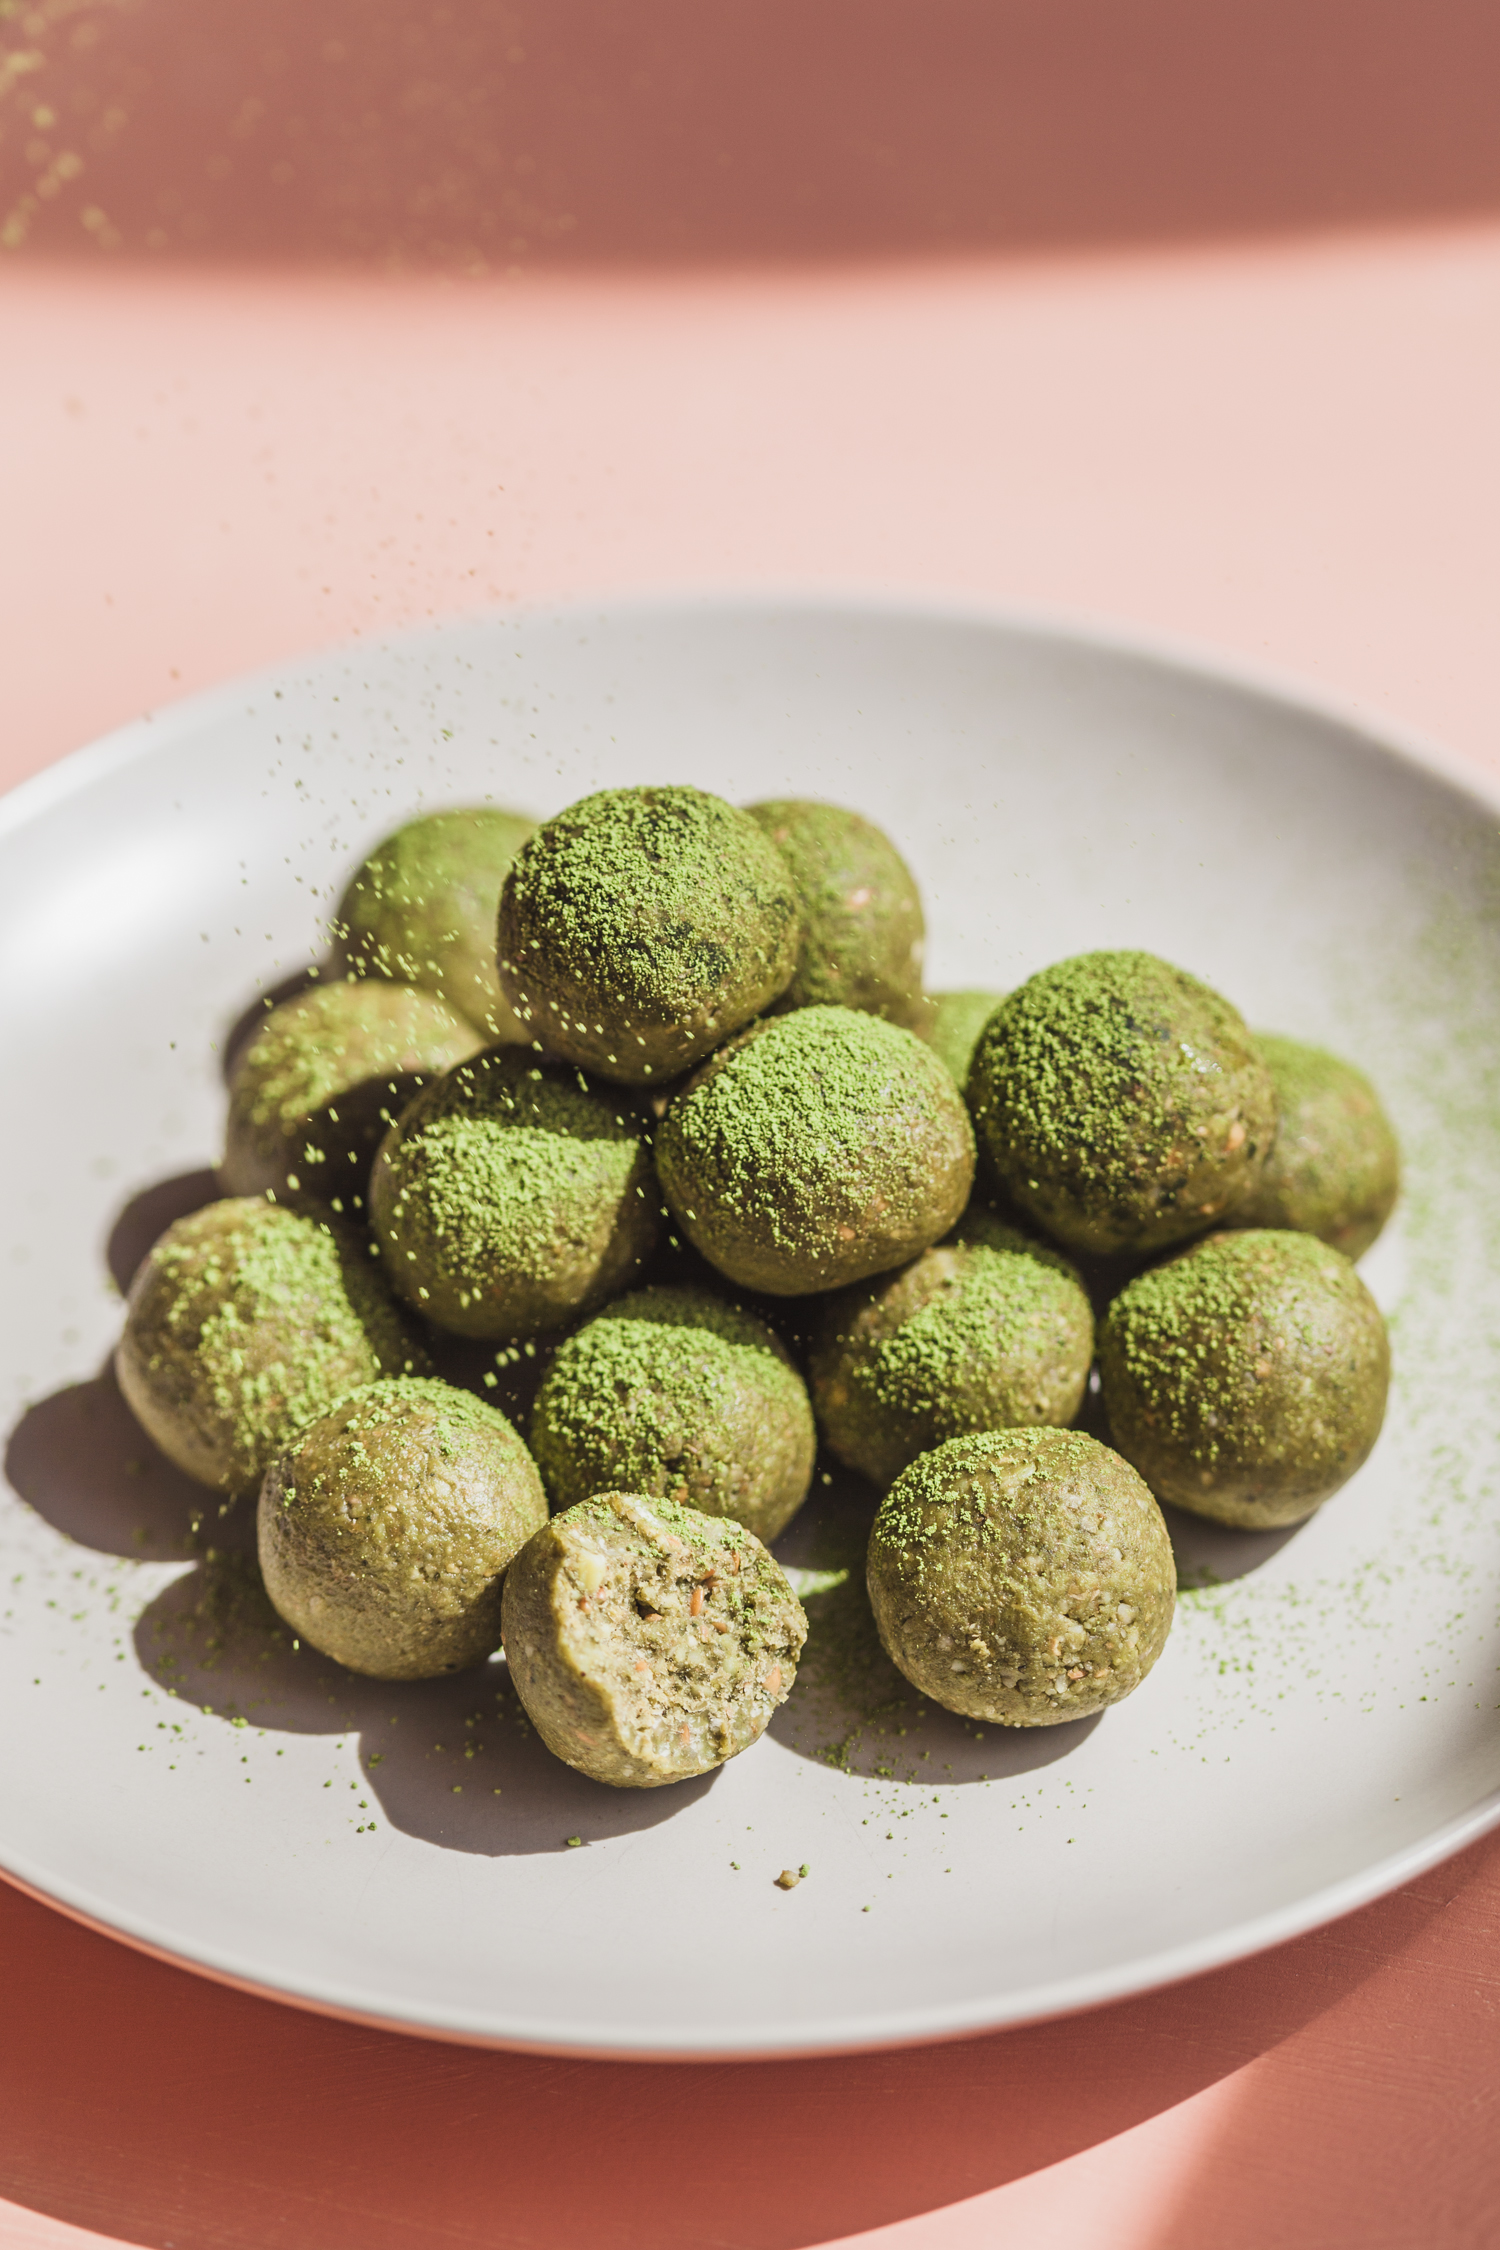
Matcha Butter Balls + Changes
by Anya
Read Recipe
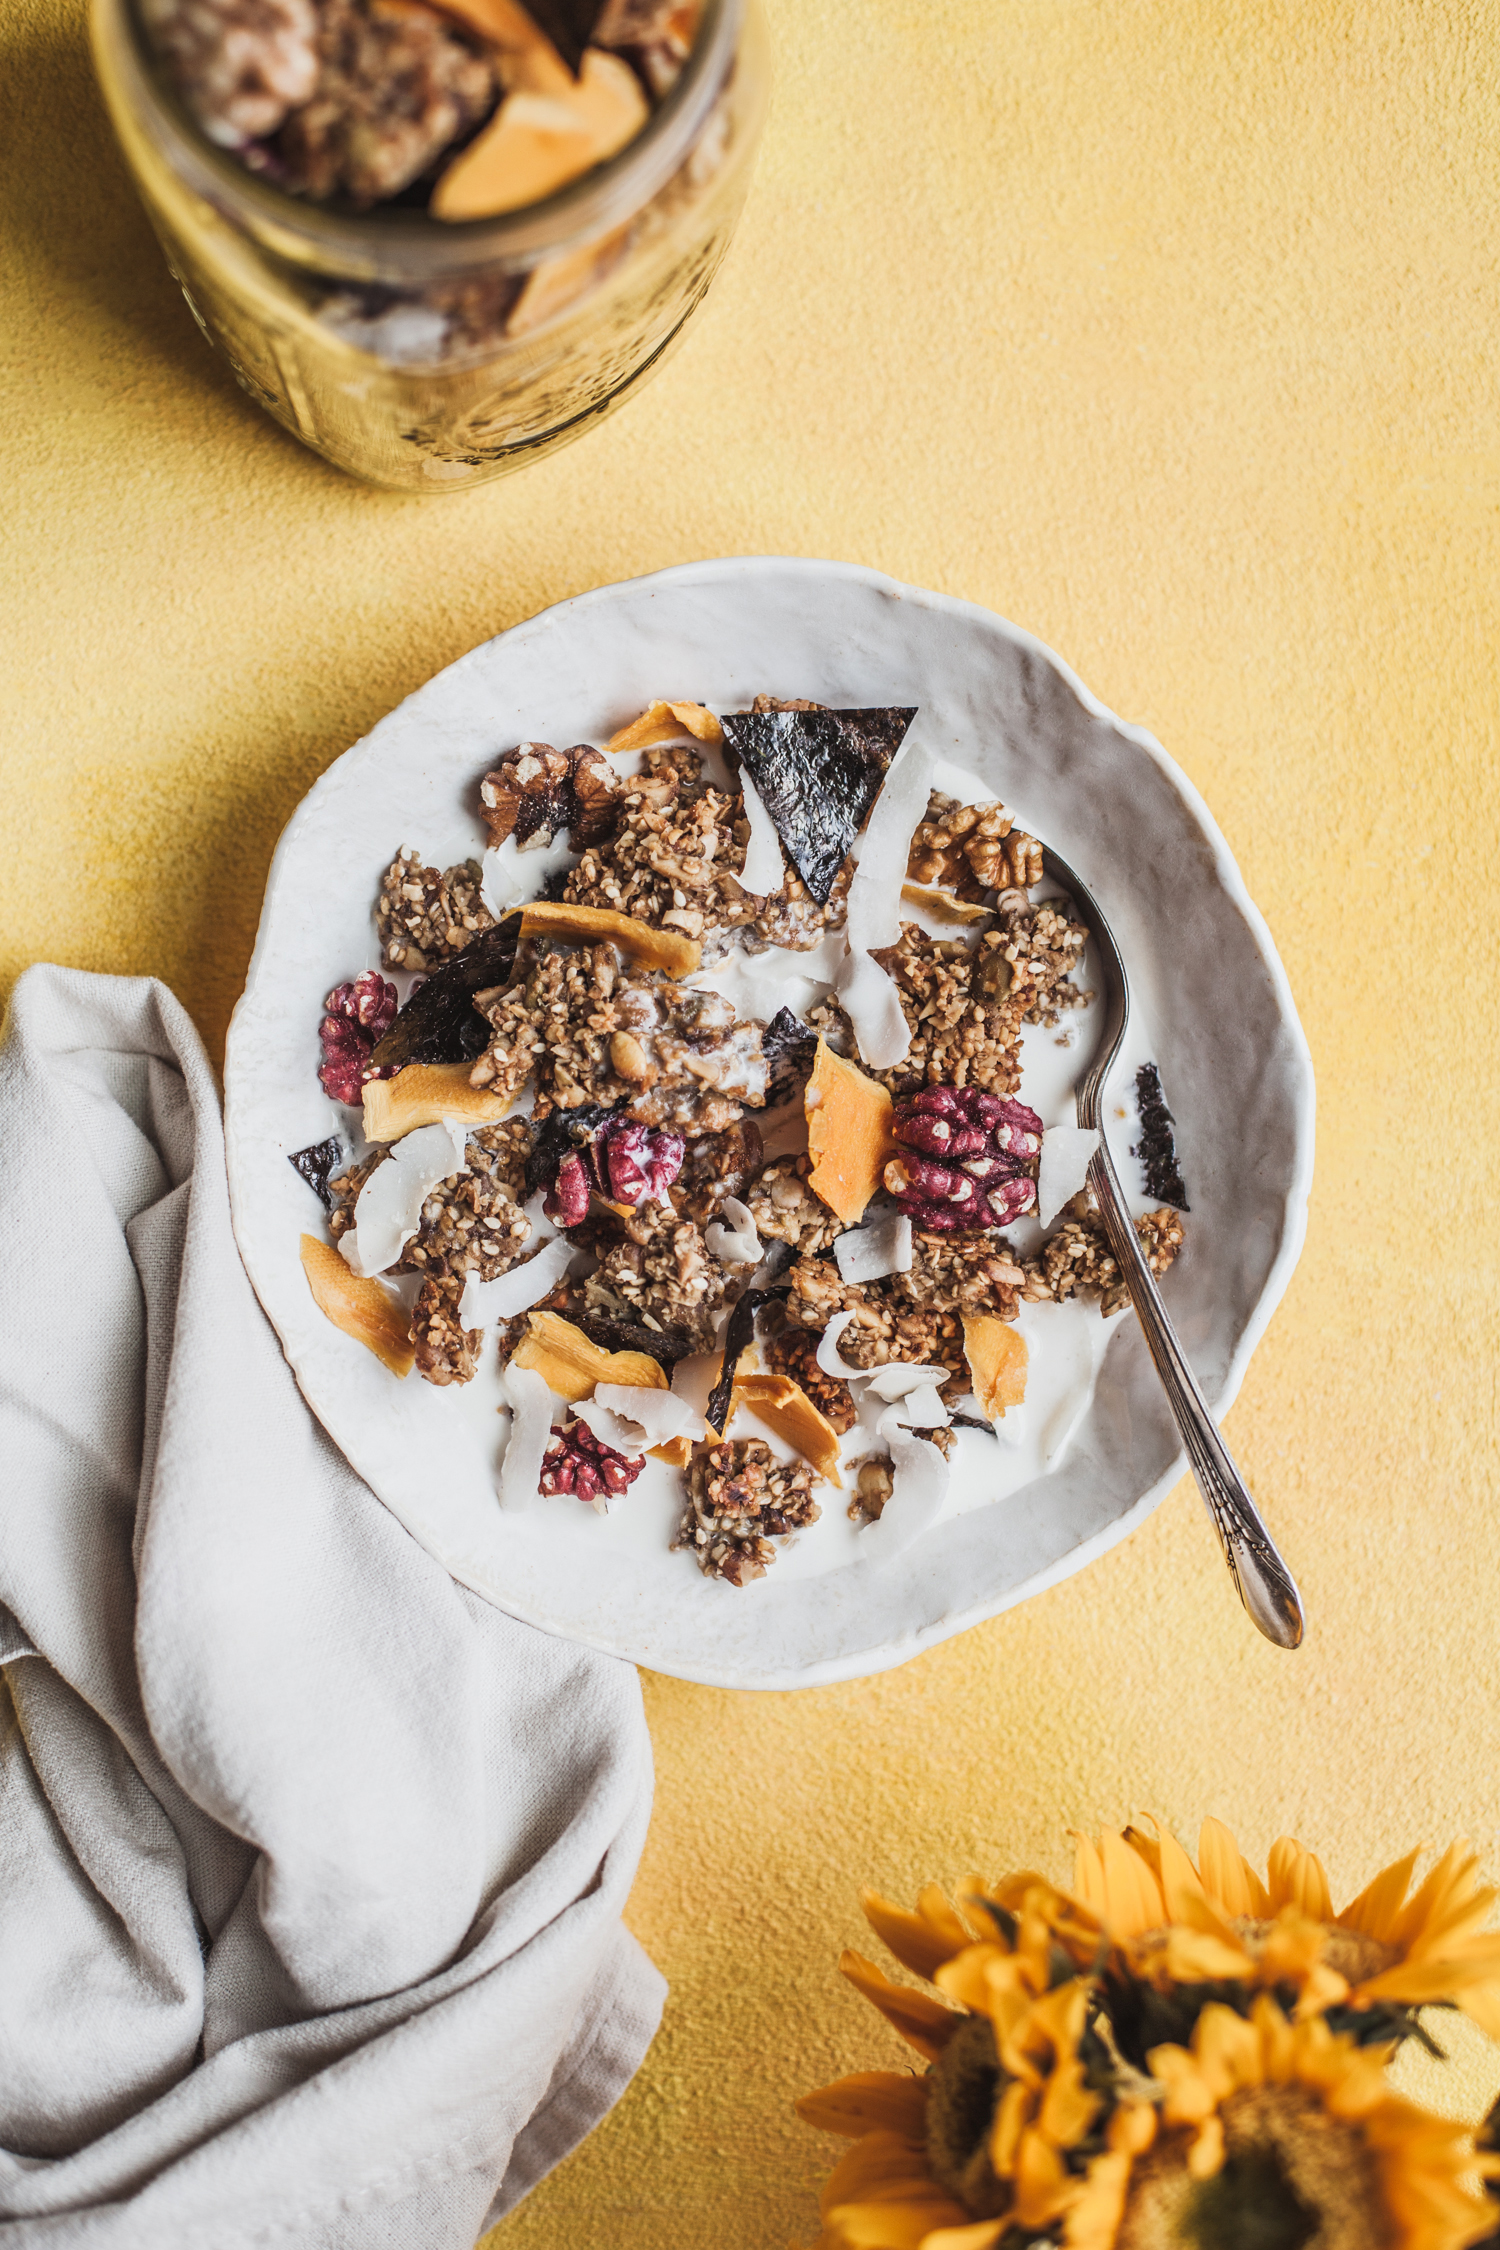
Grain-Free Sweet & Savory Activated Walnut Granola
by Anya
Read Recipe
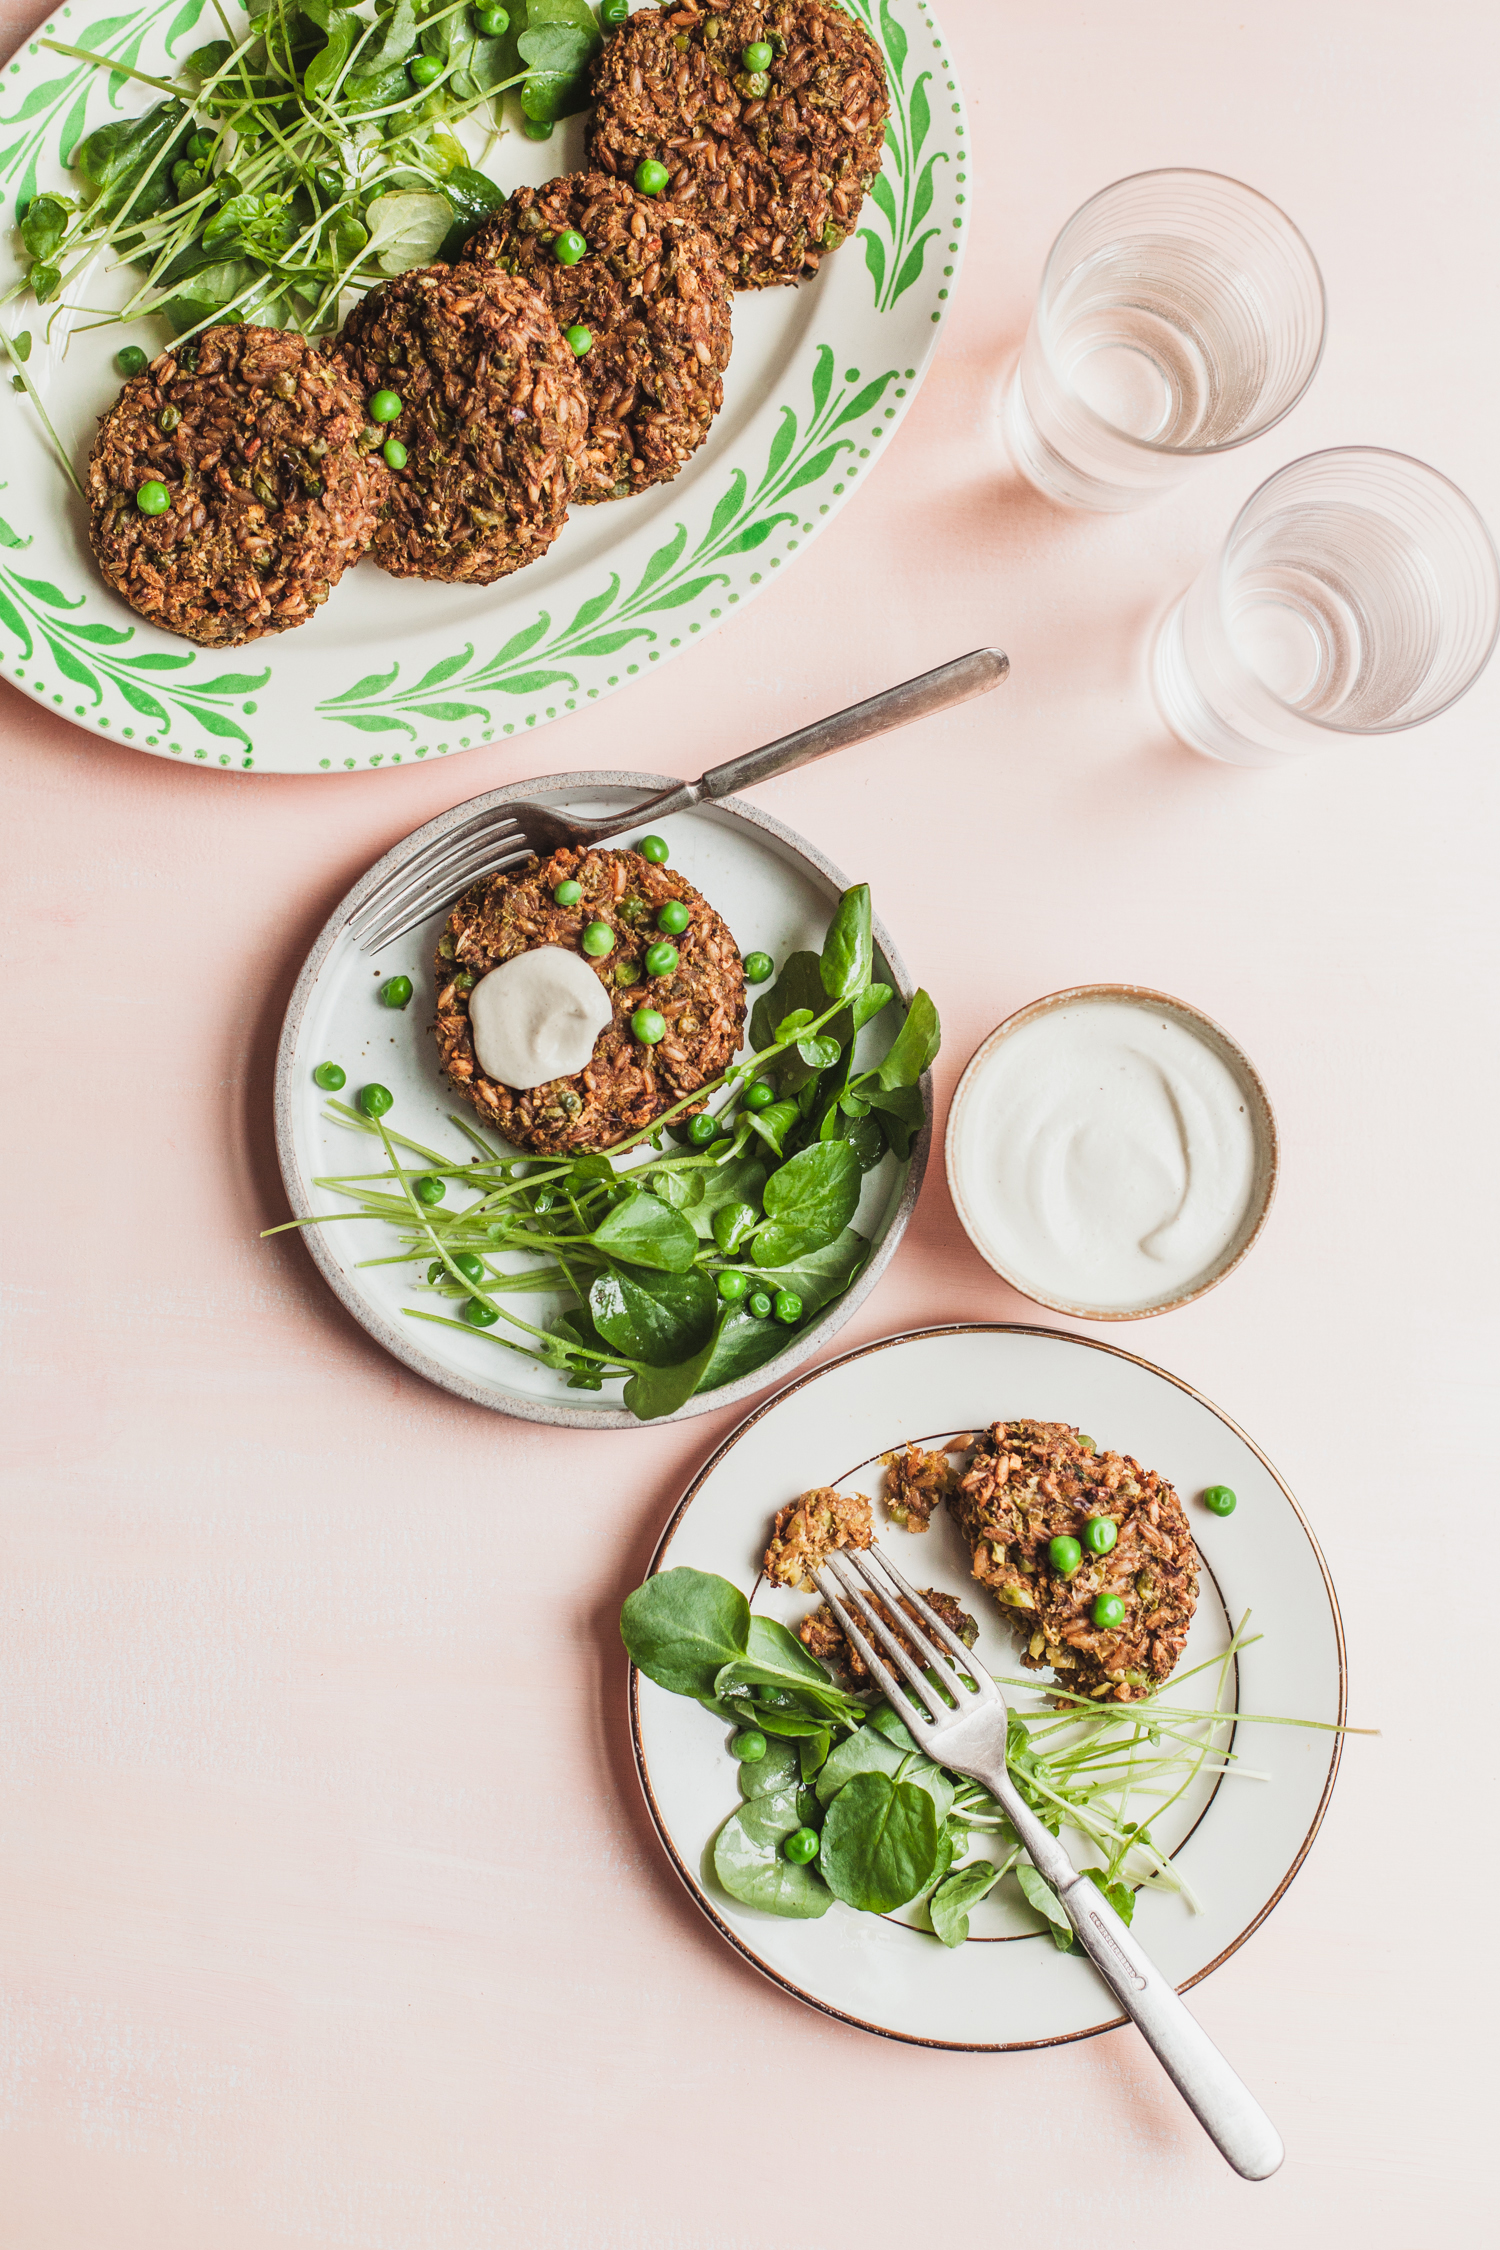
Vegan Farro and Pea Cakes
by Anya
Read Recipe
Strawberry Coconut Candies
by Anya
Read Recipe
Favorite New Year Reset Recipes
by Anya
Read Recipe
Chocolate Chip Cookie Dough Bites
by Anya
Read Recipe
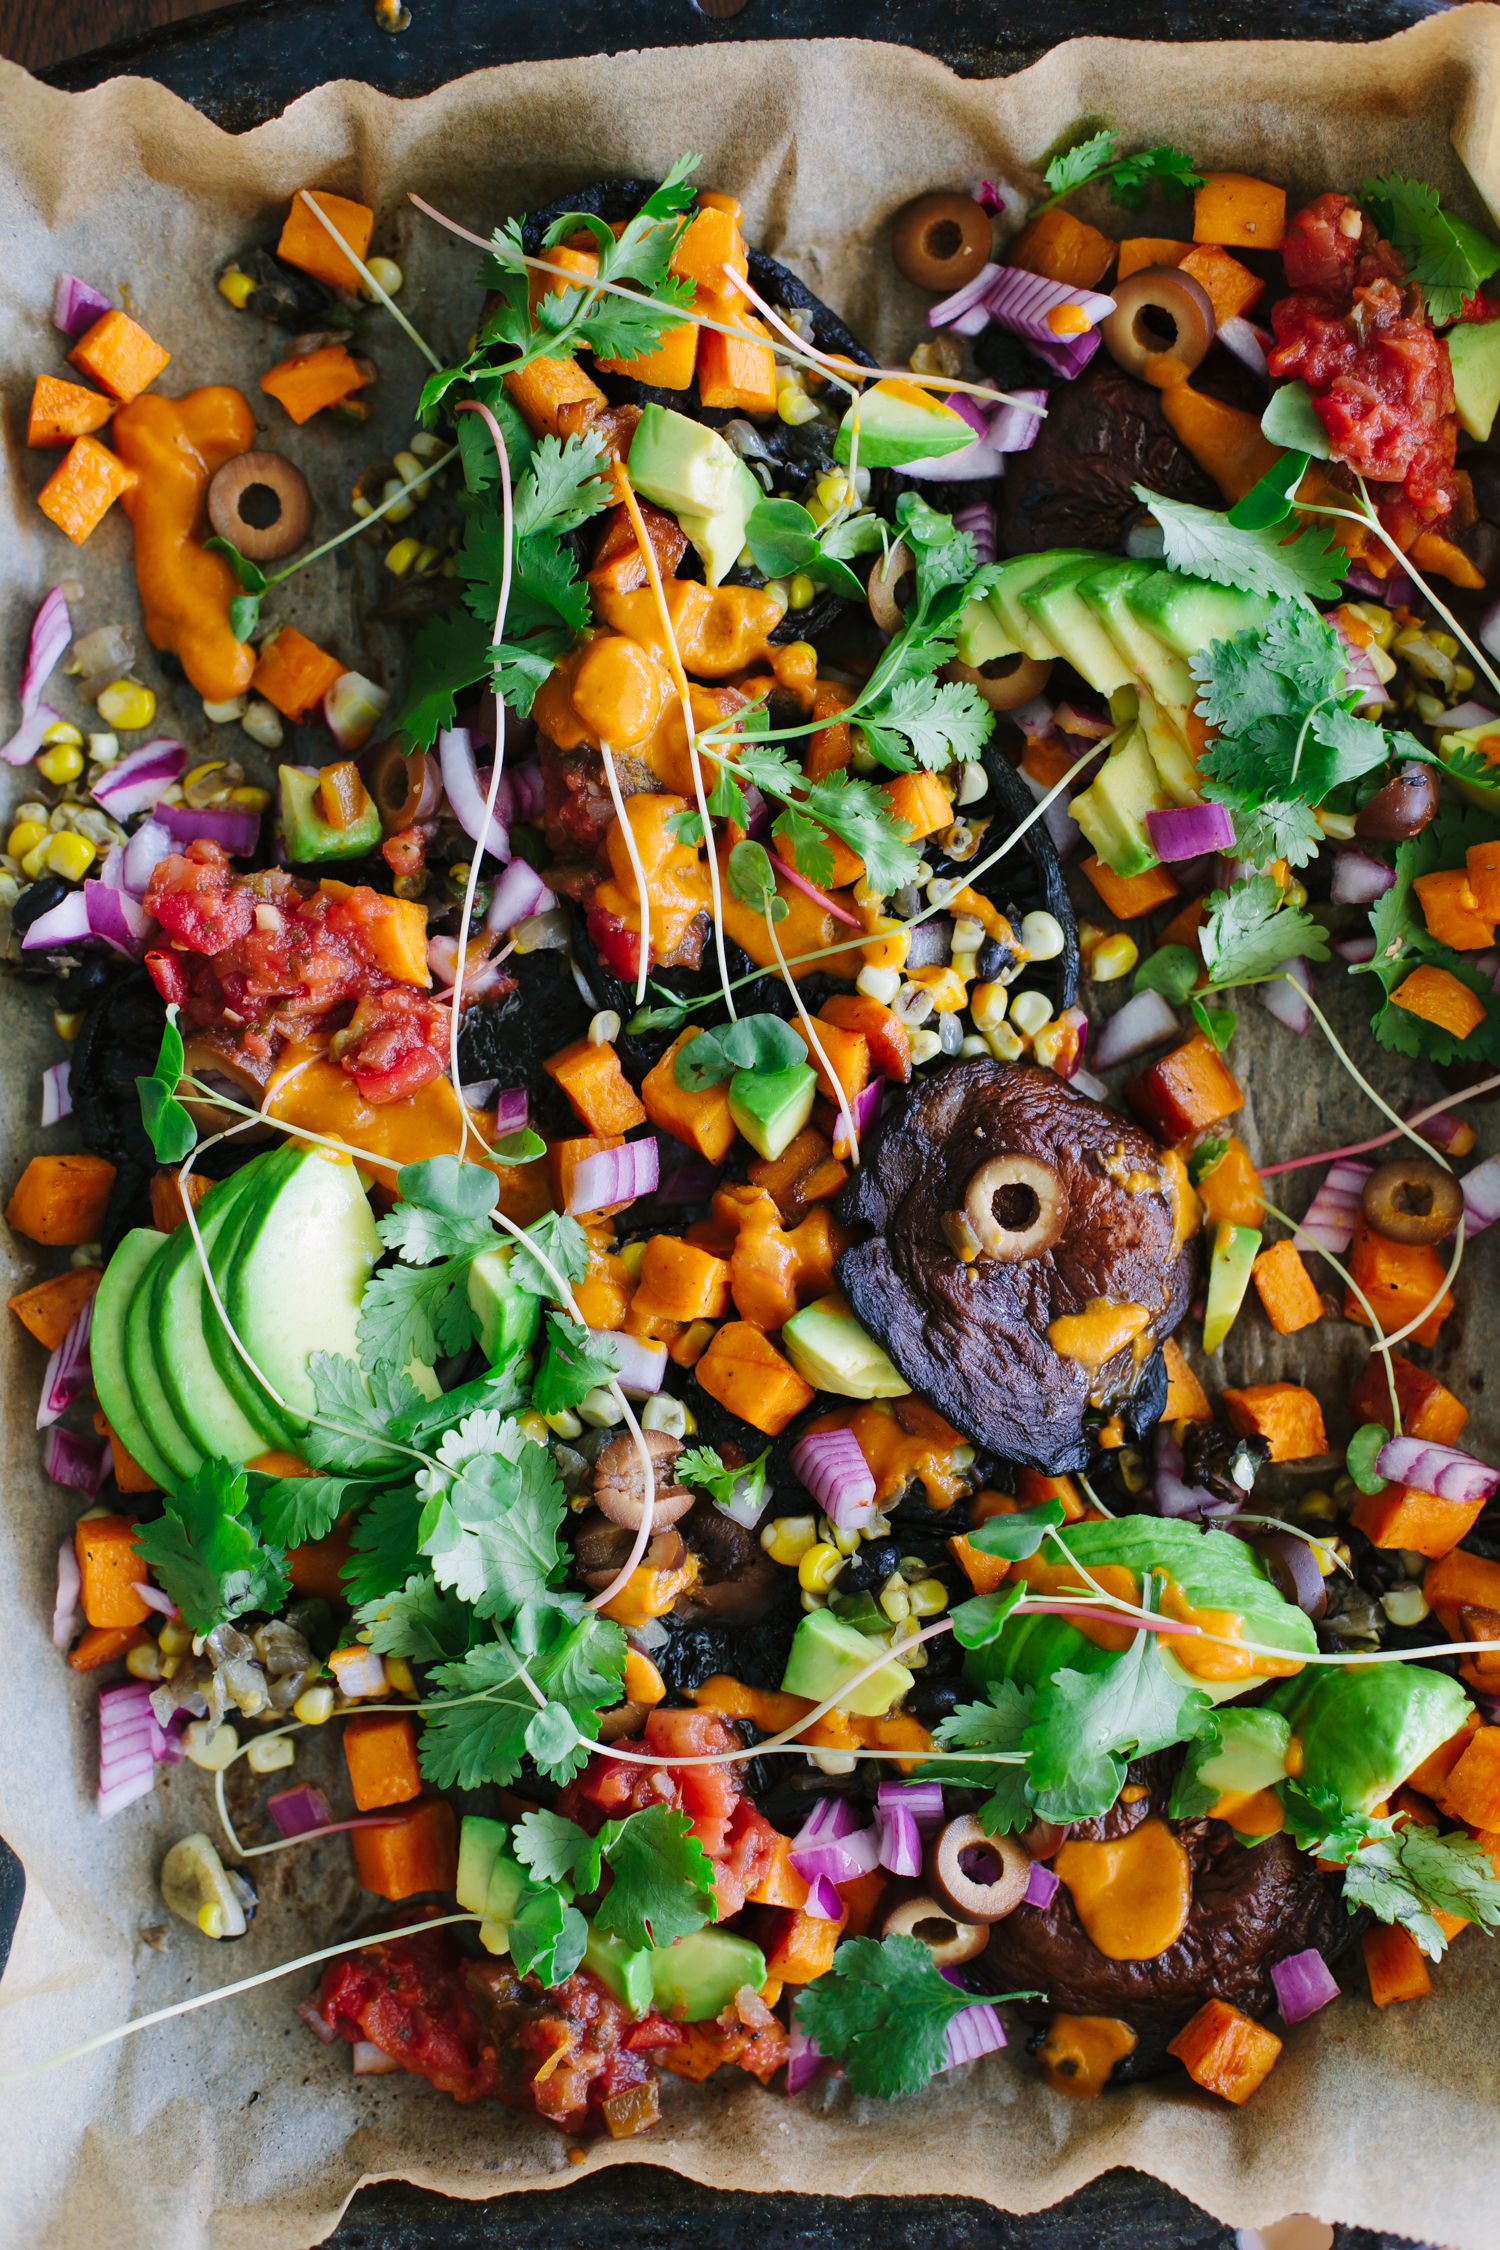
Portobello Nachos
by Anya
Read Recipe
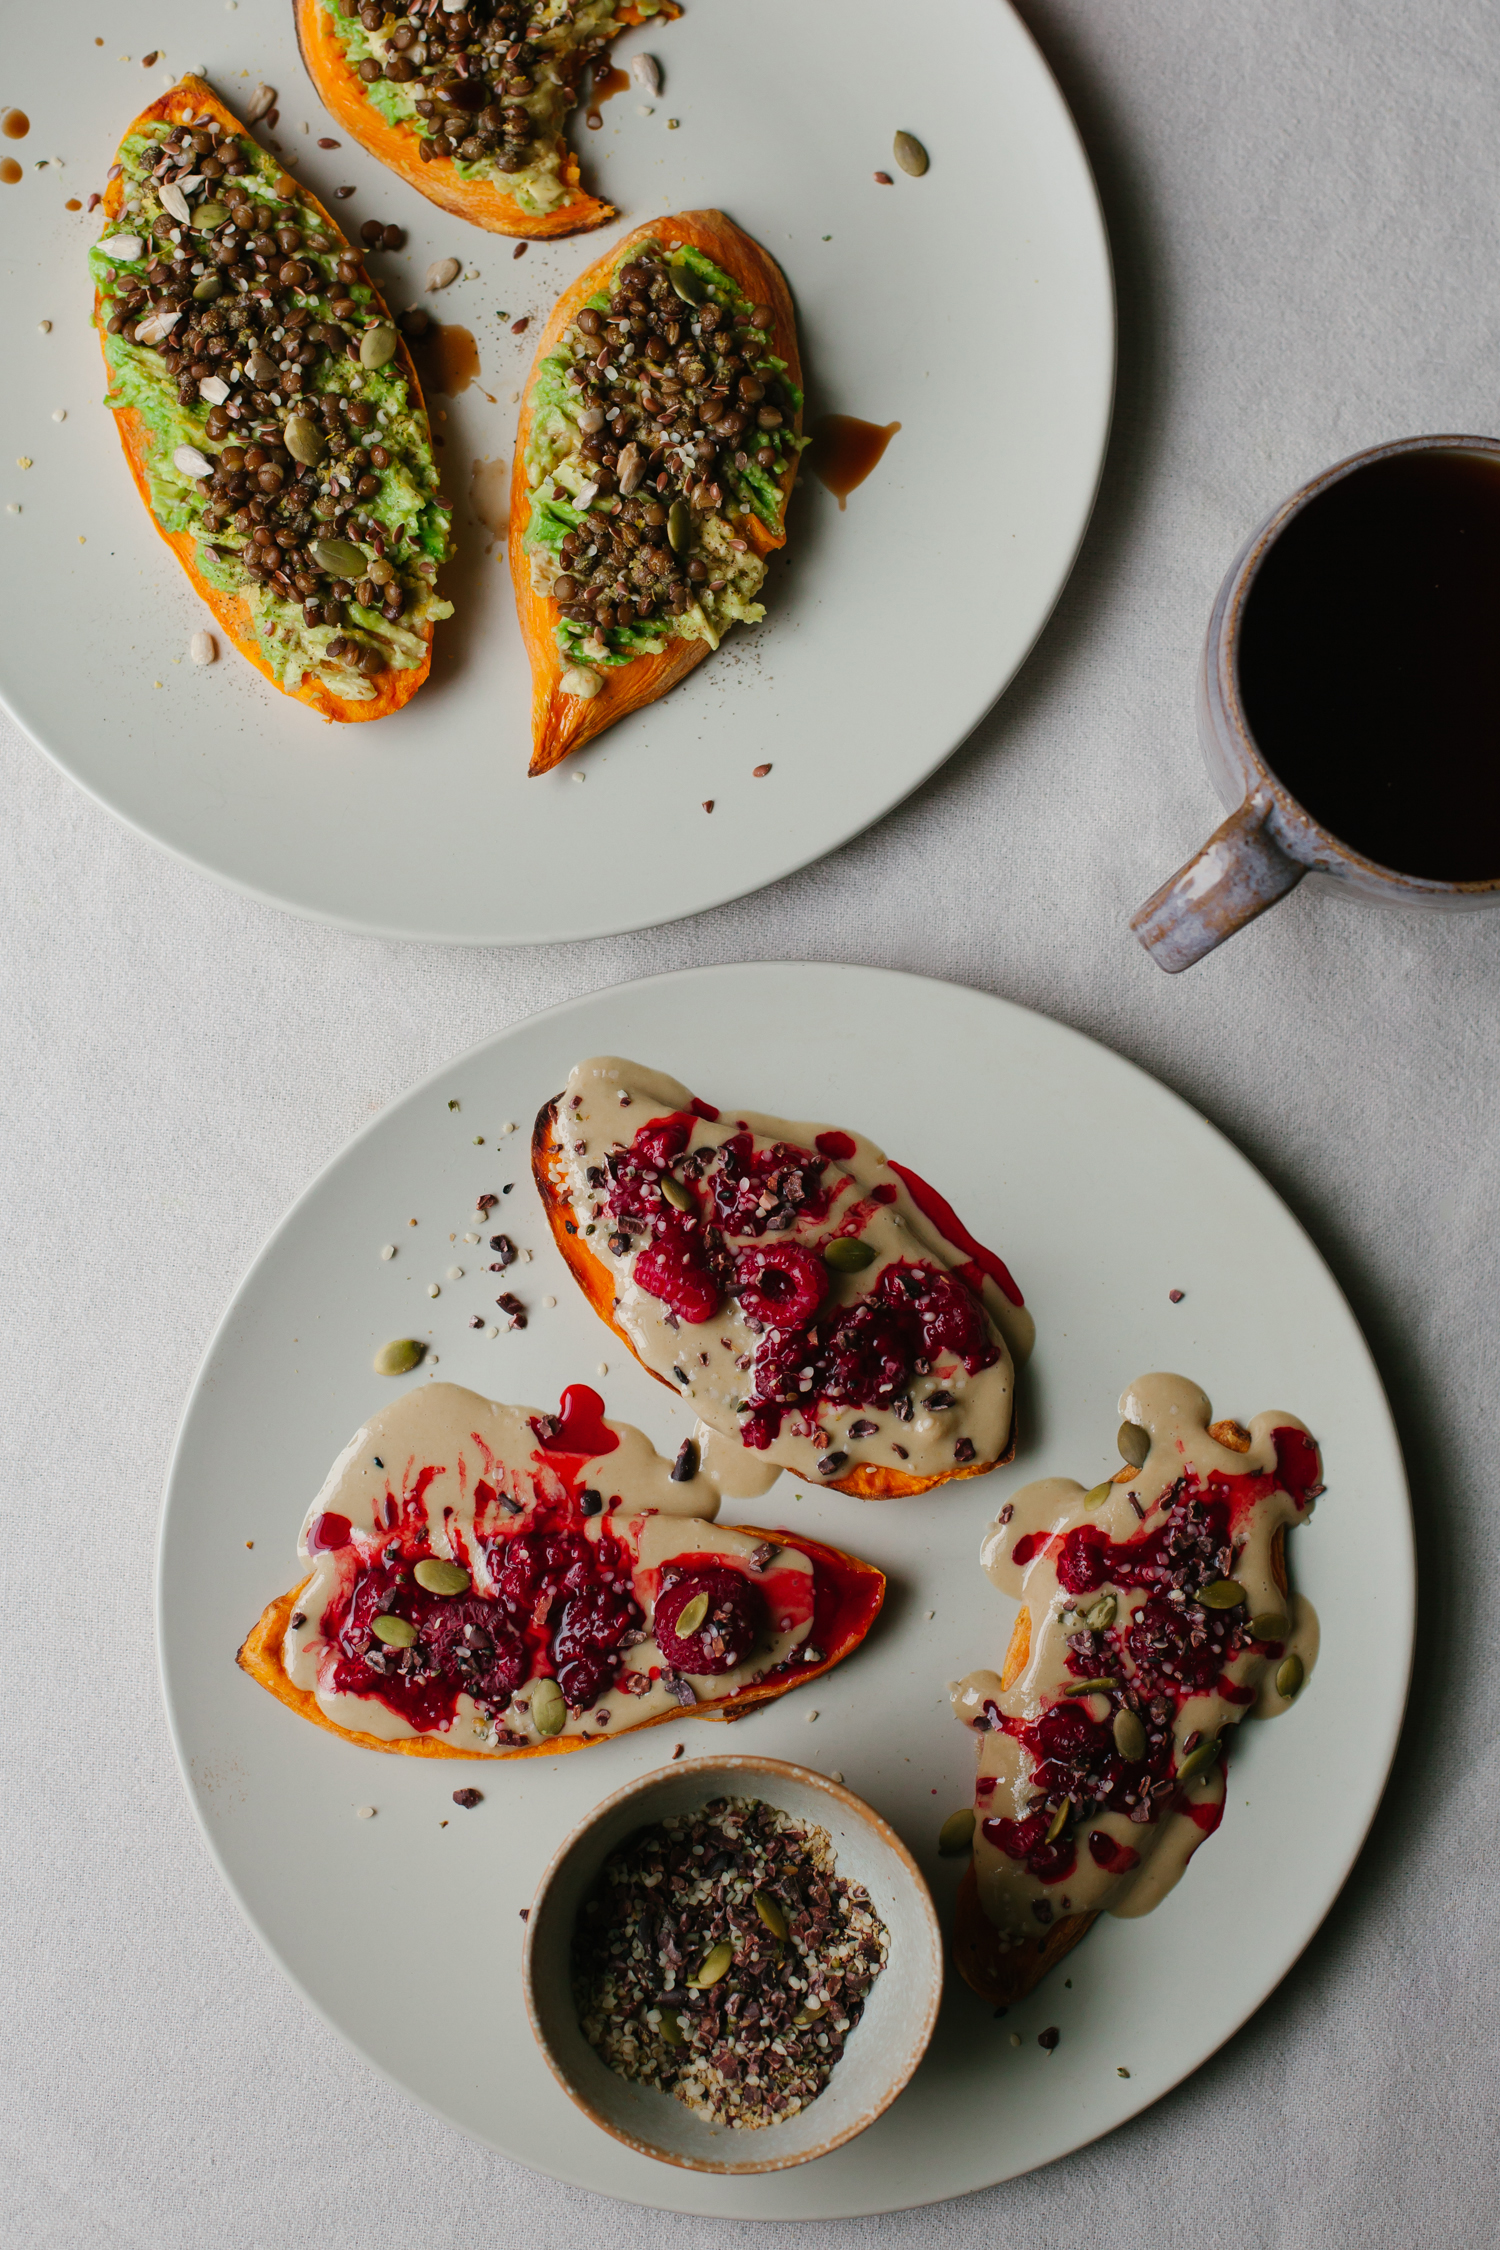
Sweet Potato Toast, Two Ways
by Anya
Read Recipe
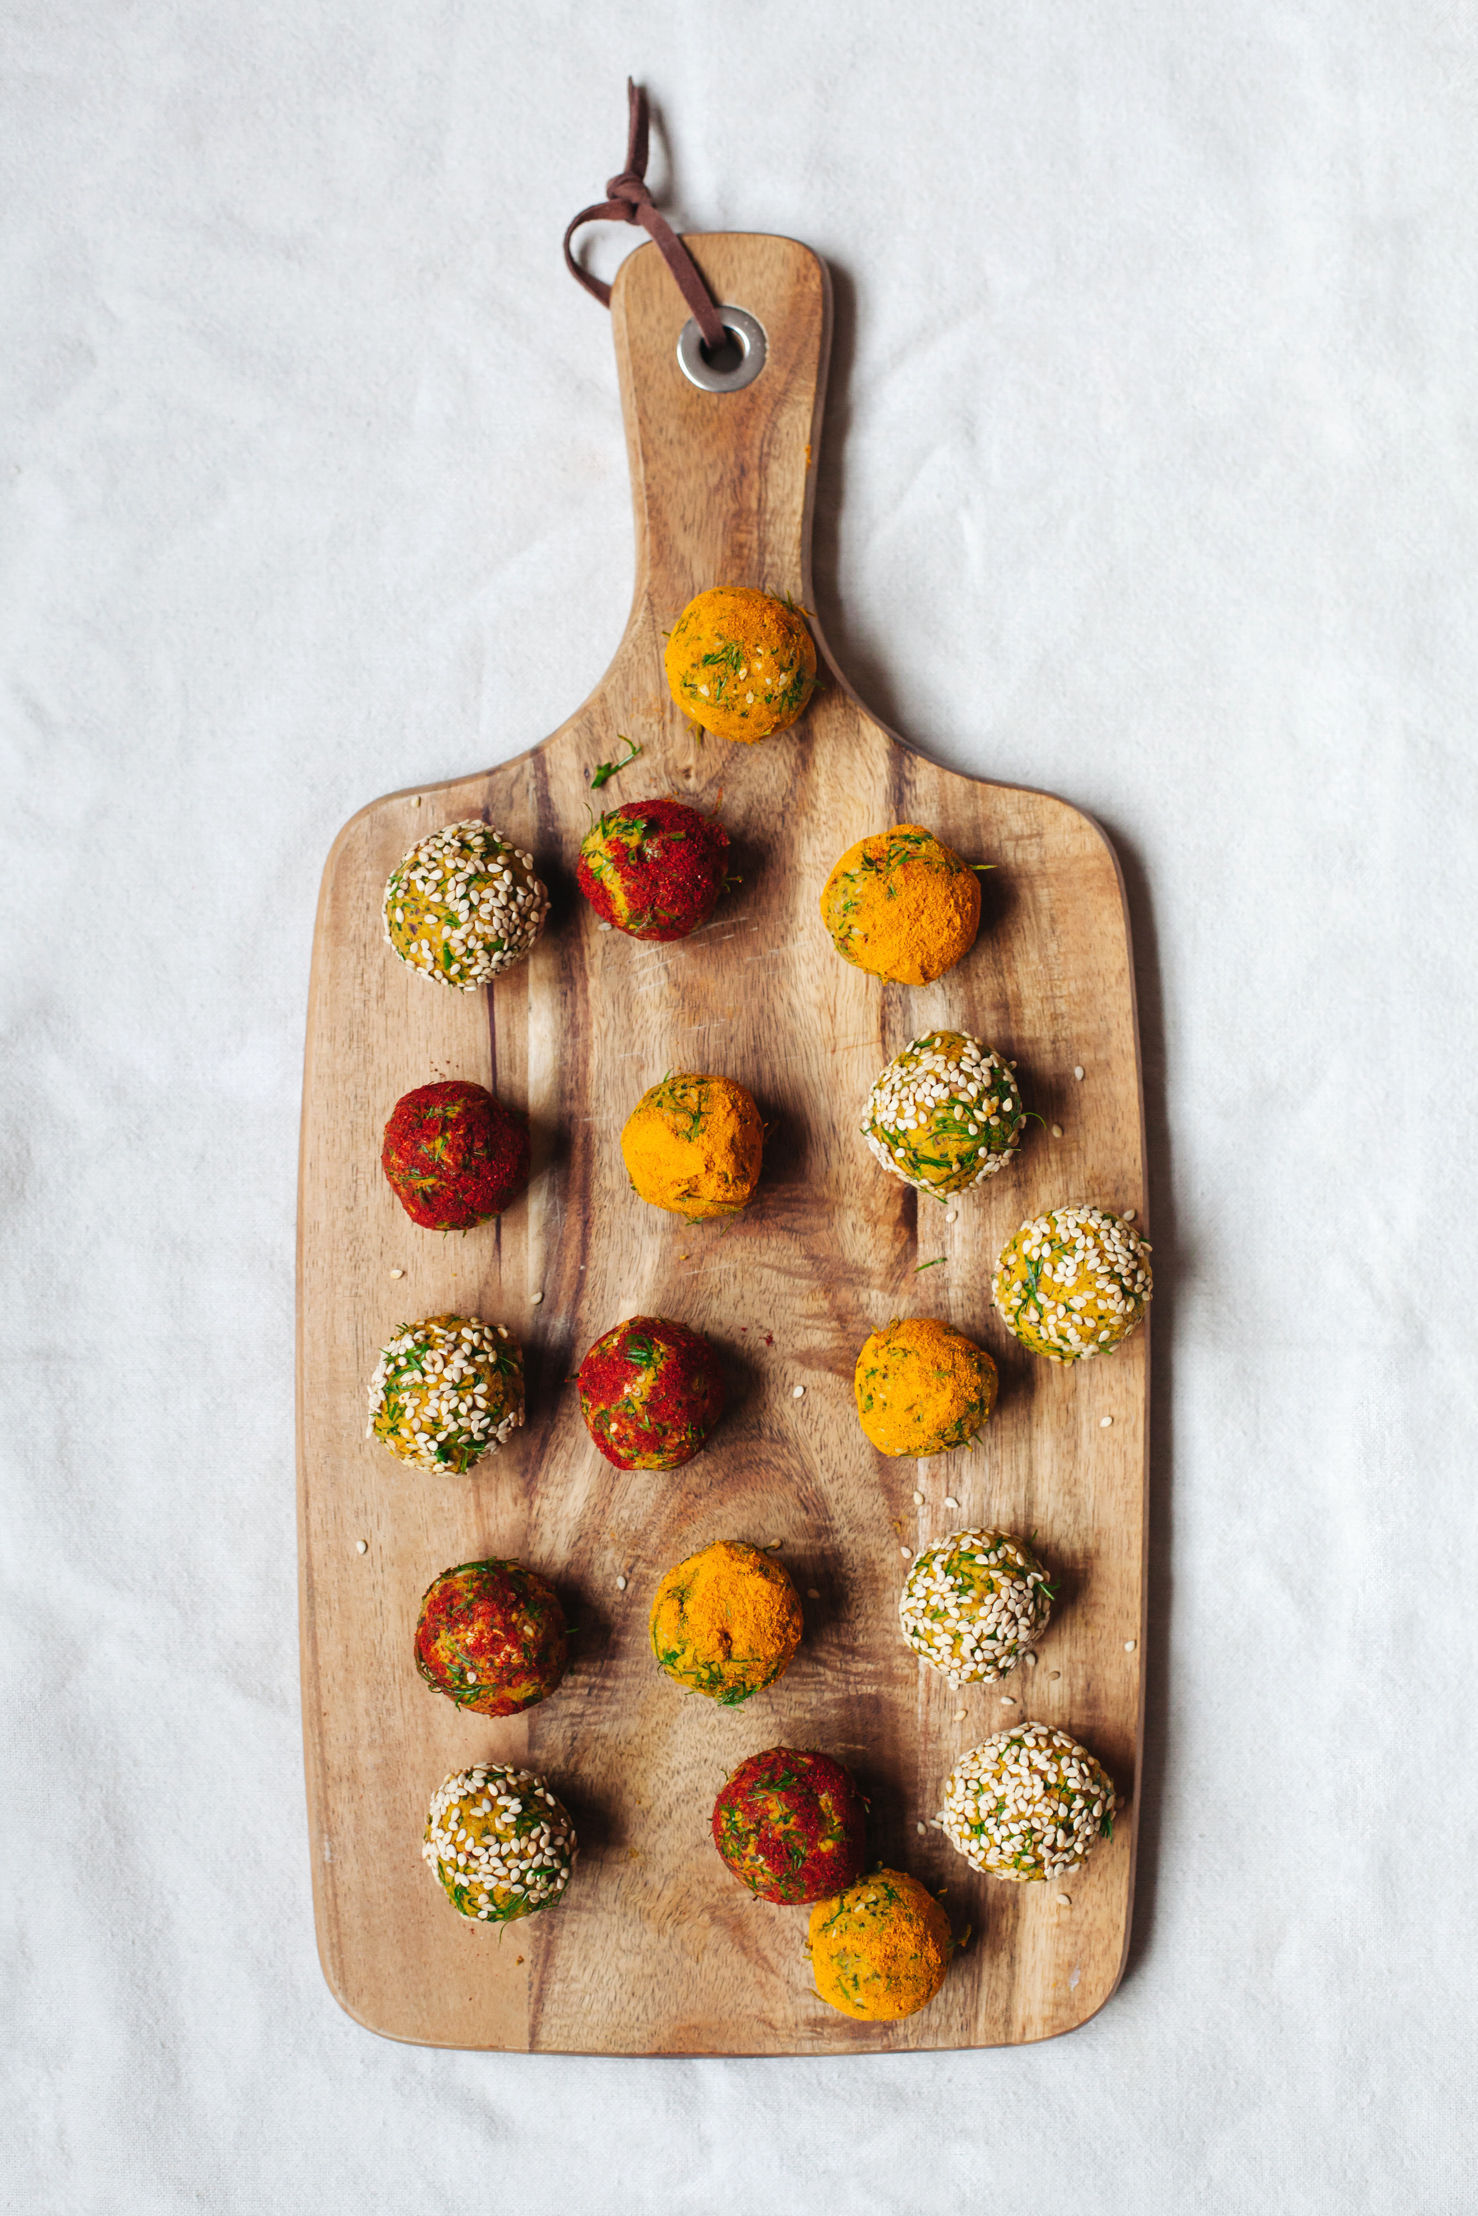
Sweet and Savory Energy Bites, What to Do with Leftover Nut Milk Pulp
by Anya
Read Recipe
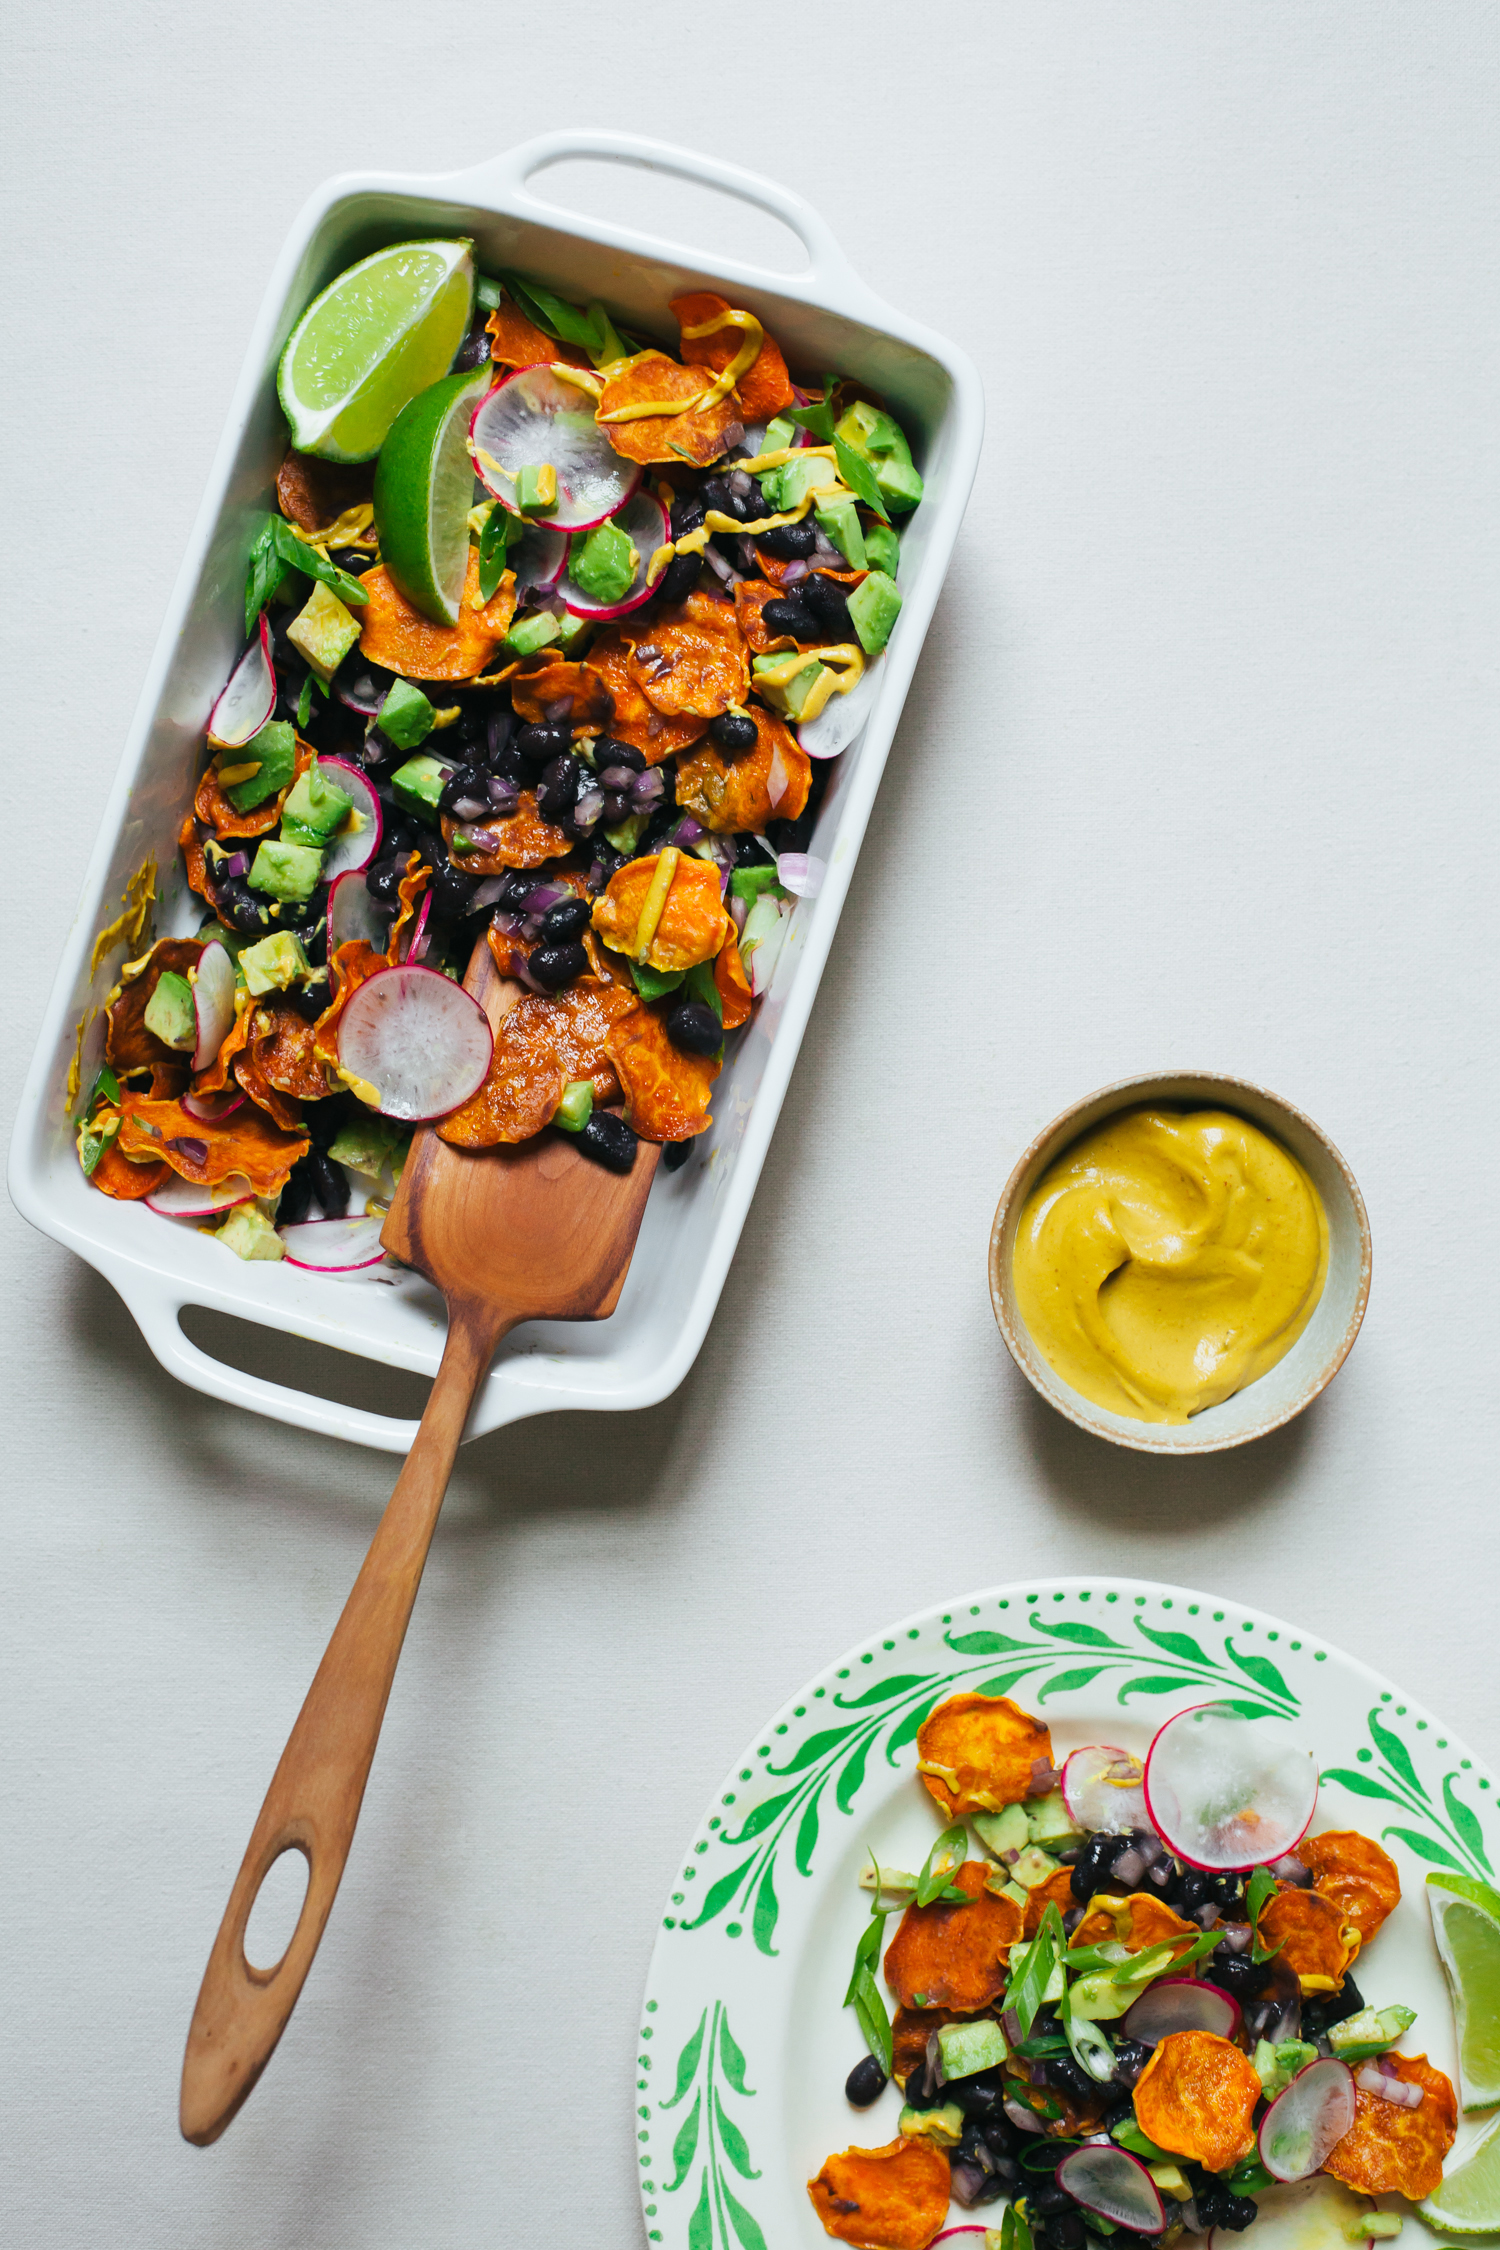
Sweet Potato Nachos with Cheesy Chipotle Sauce and All the Fixings
by Anya
Read Recipe
Strawberry Oat Smoothie Bowl and Superfood Raw Chocolate Bar
by Anya
Read Recipe
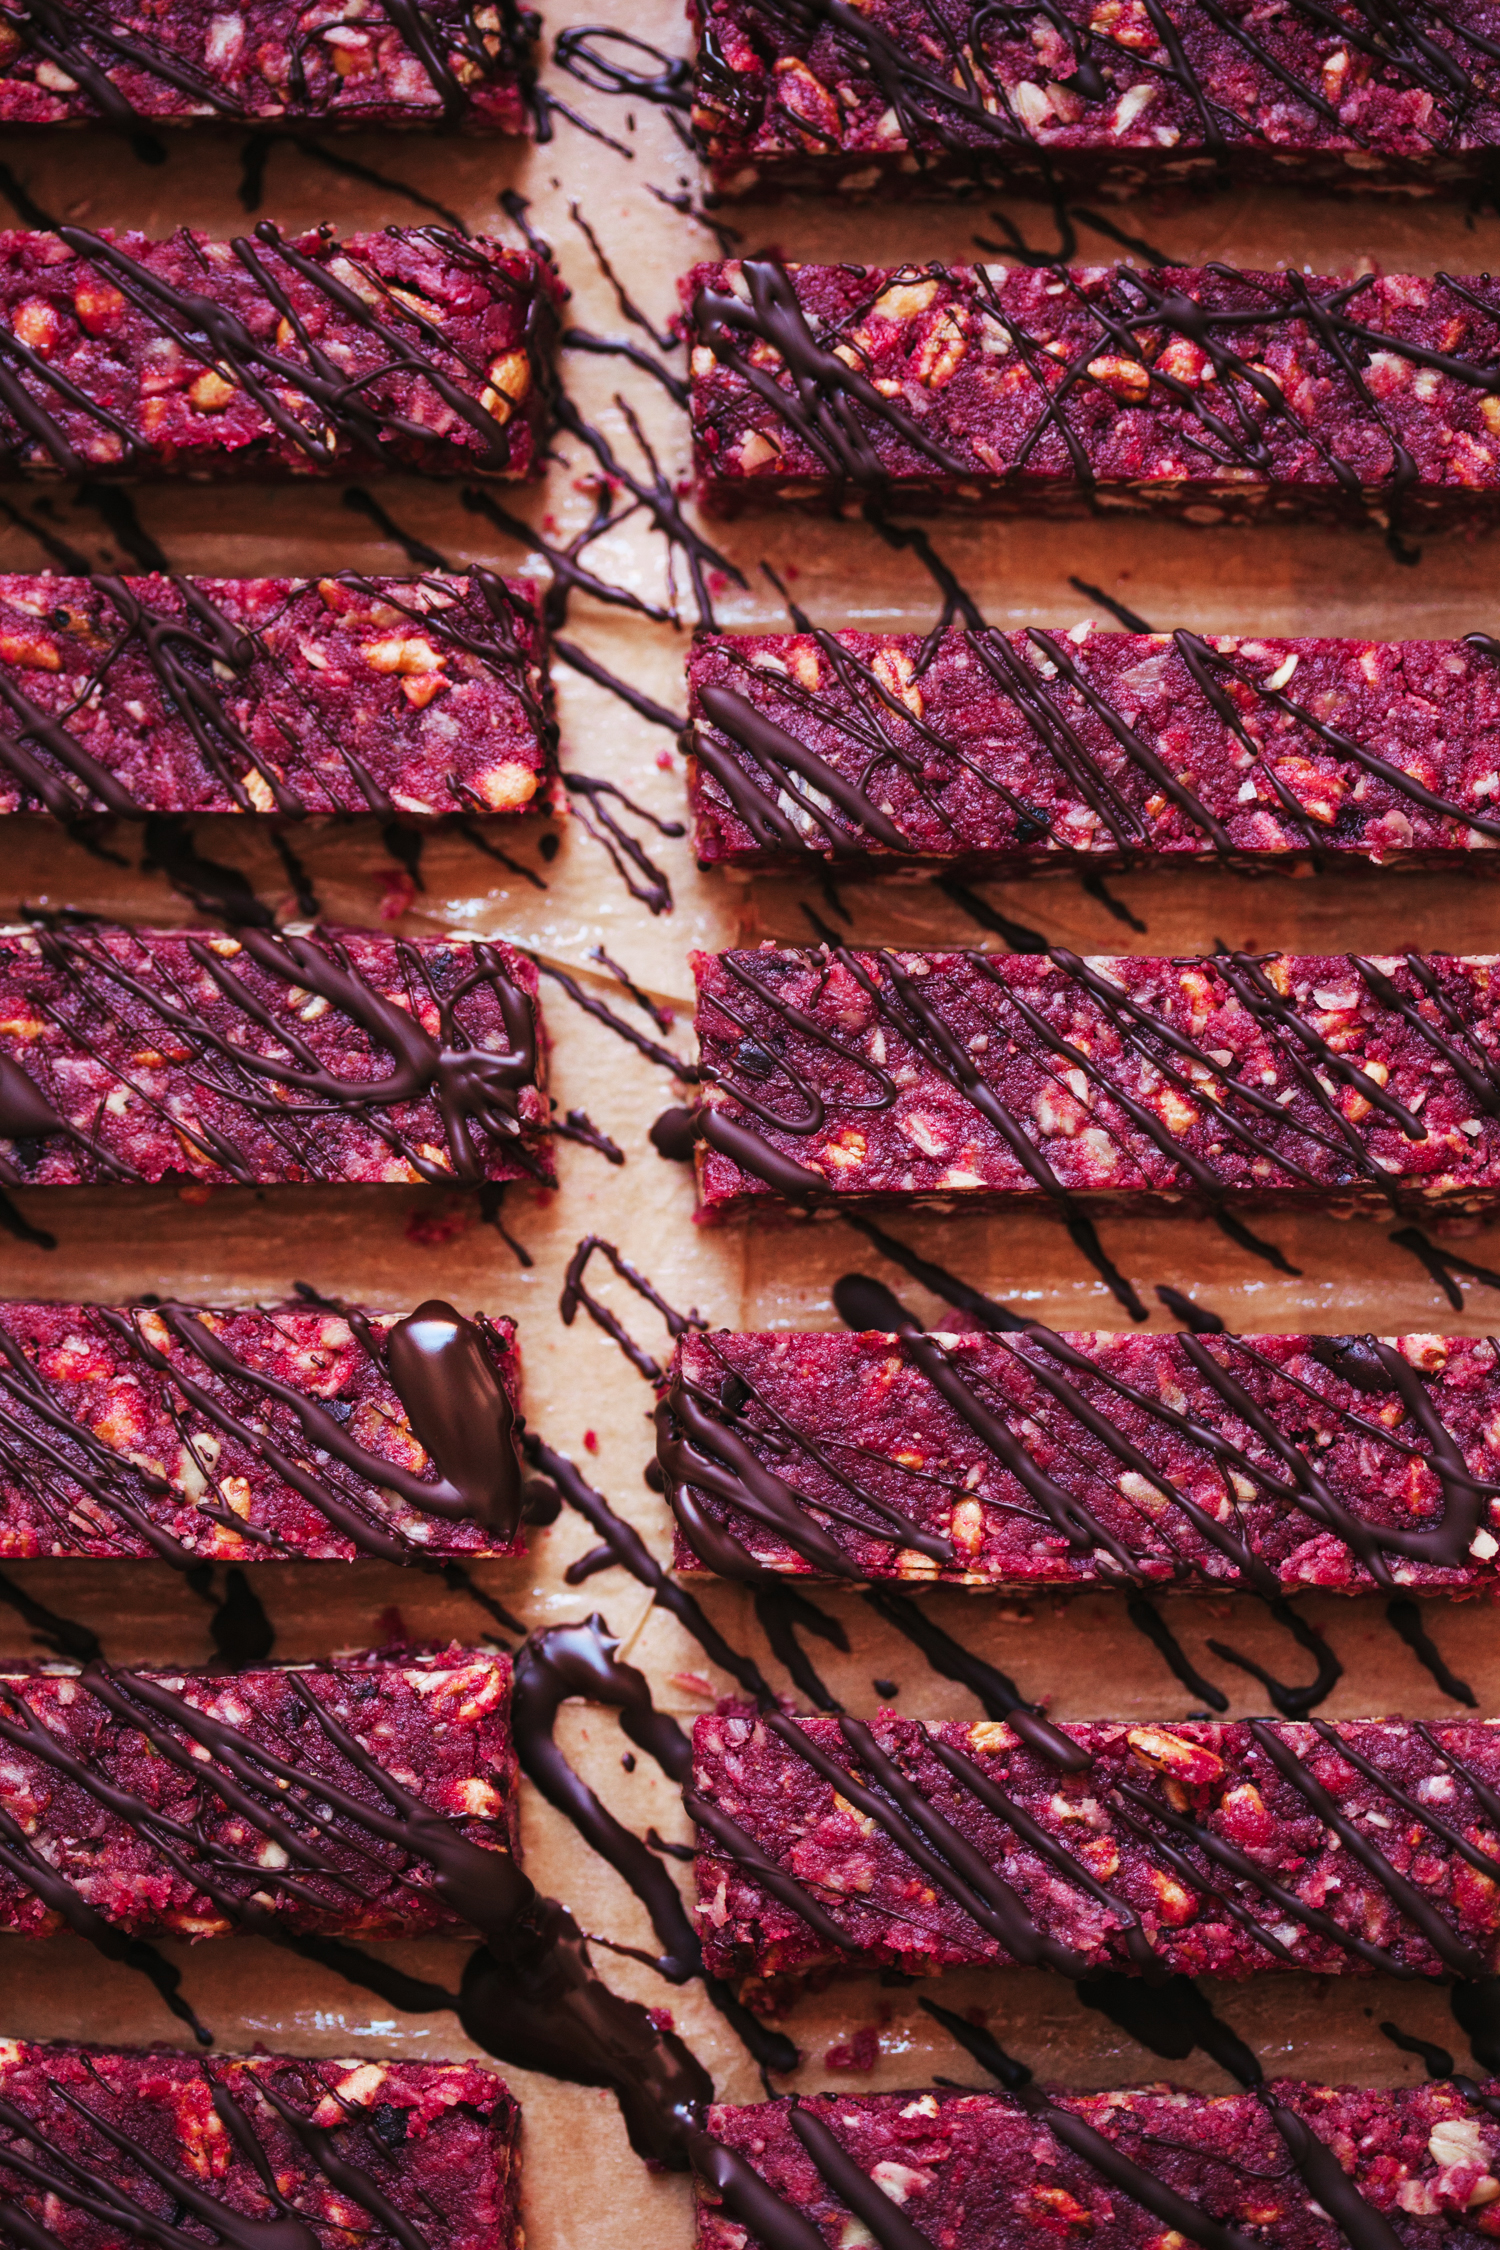
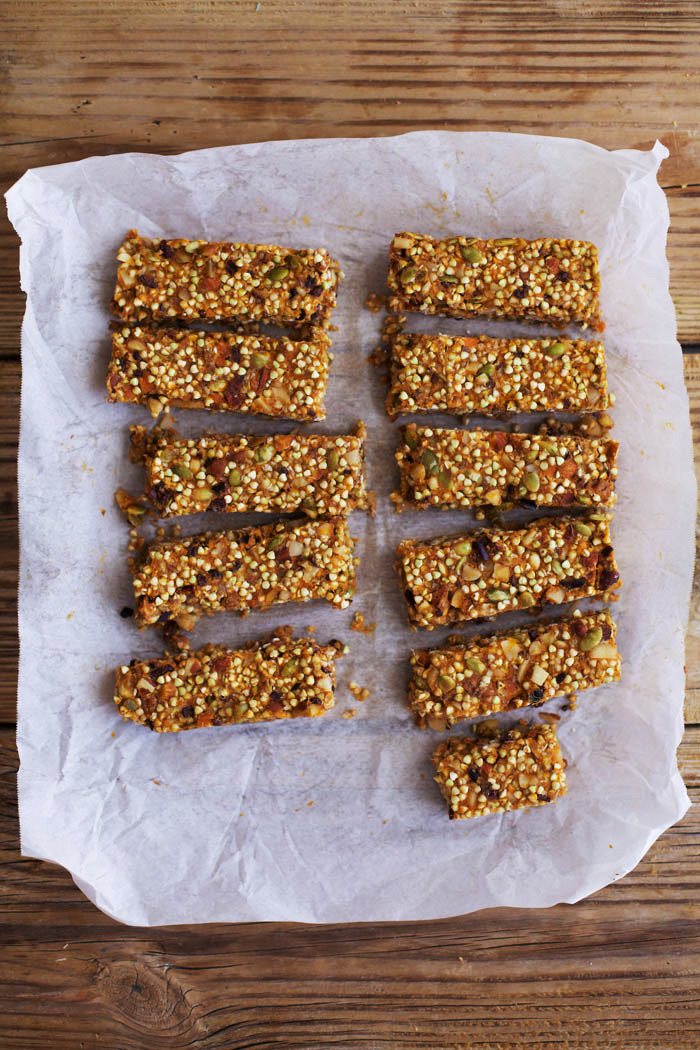
Beet Tahini Snack Bars
by Anya
Read Recipe
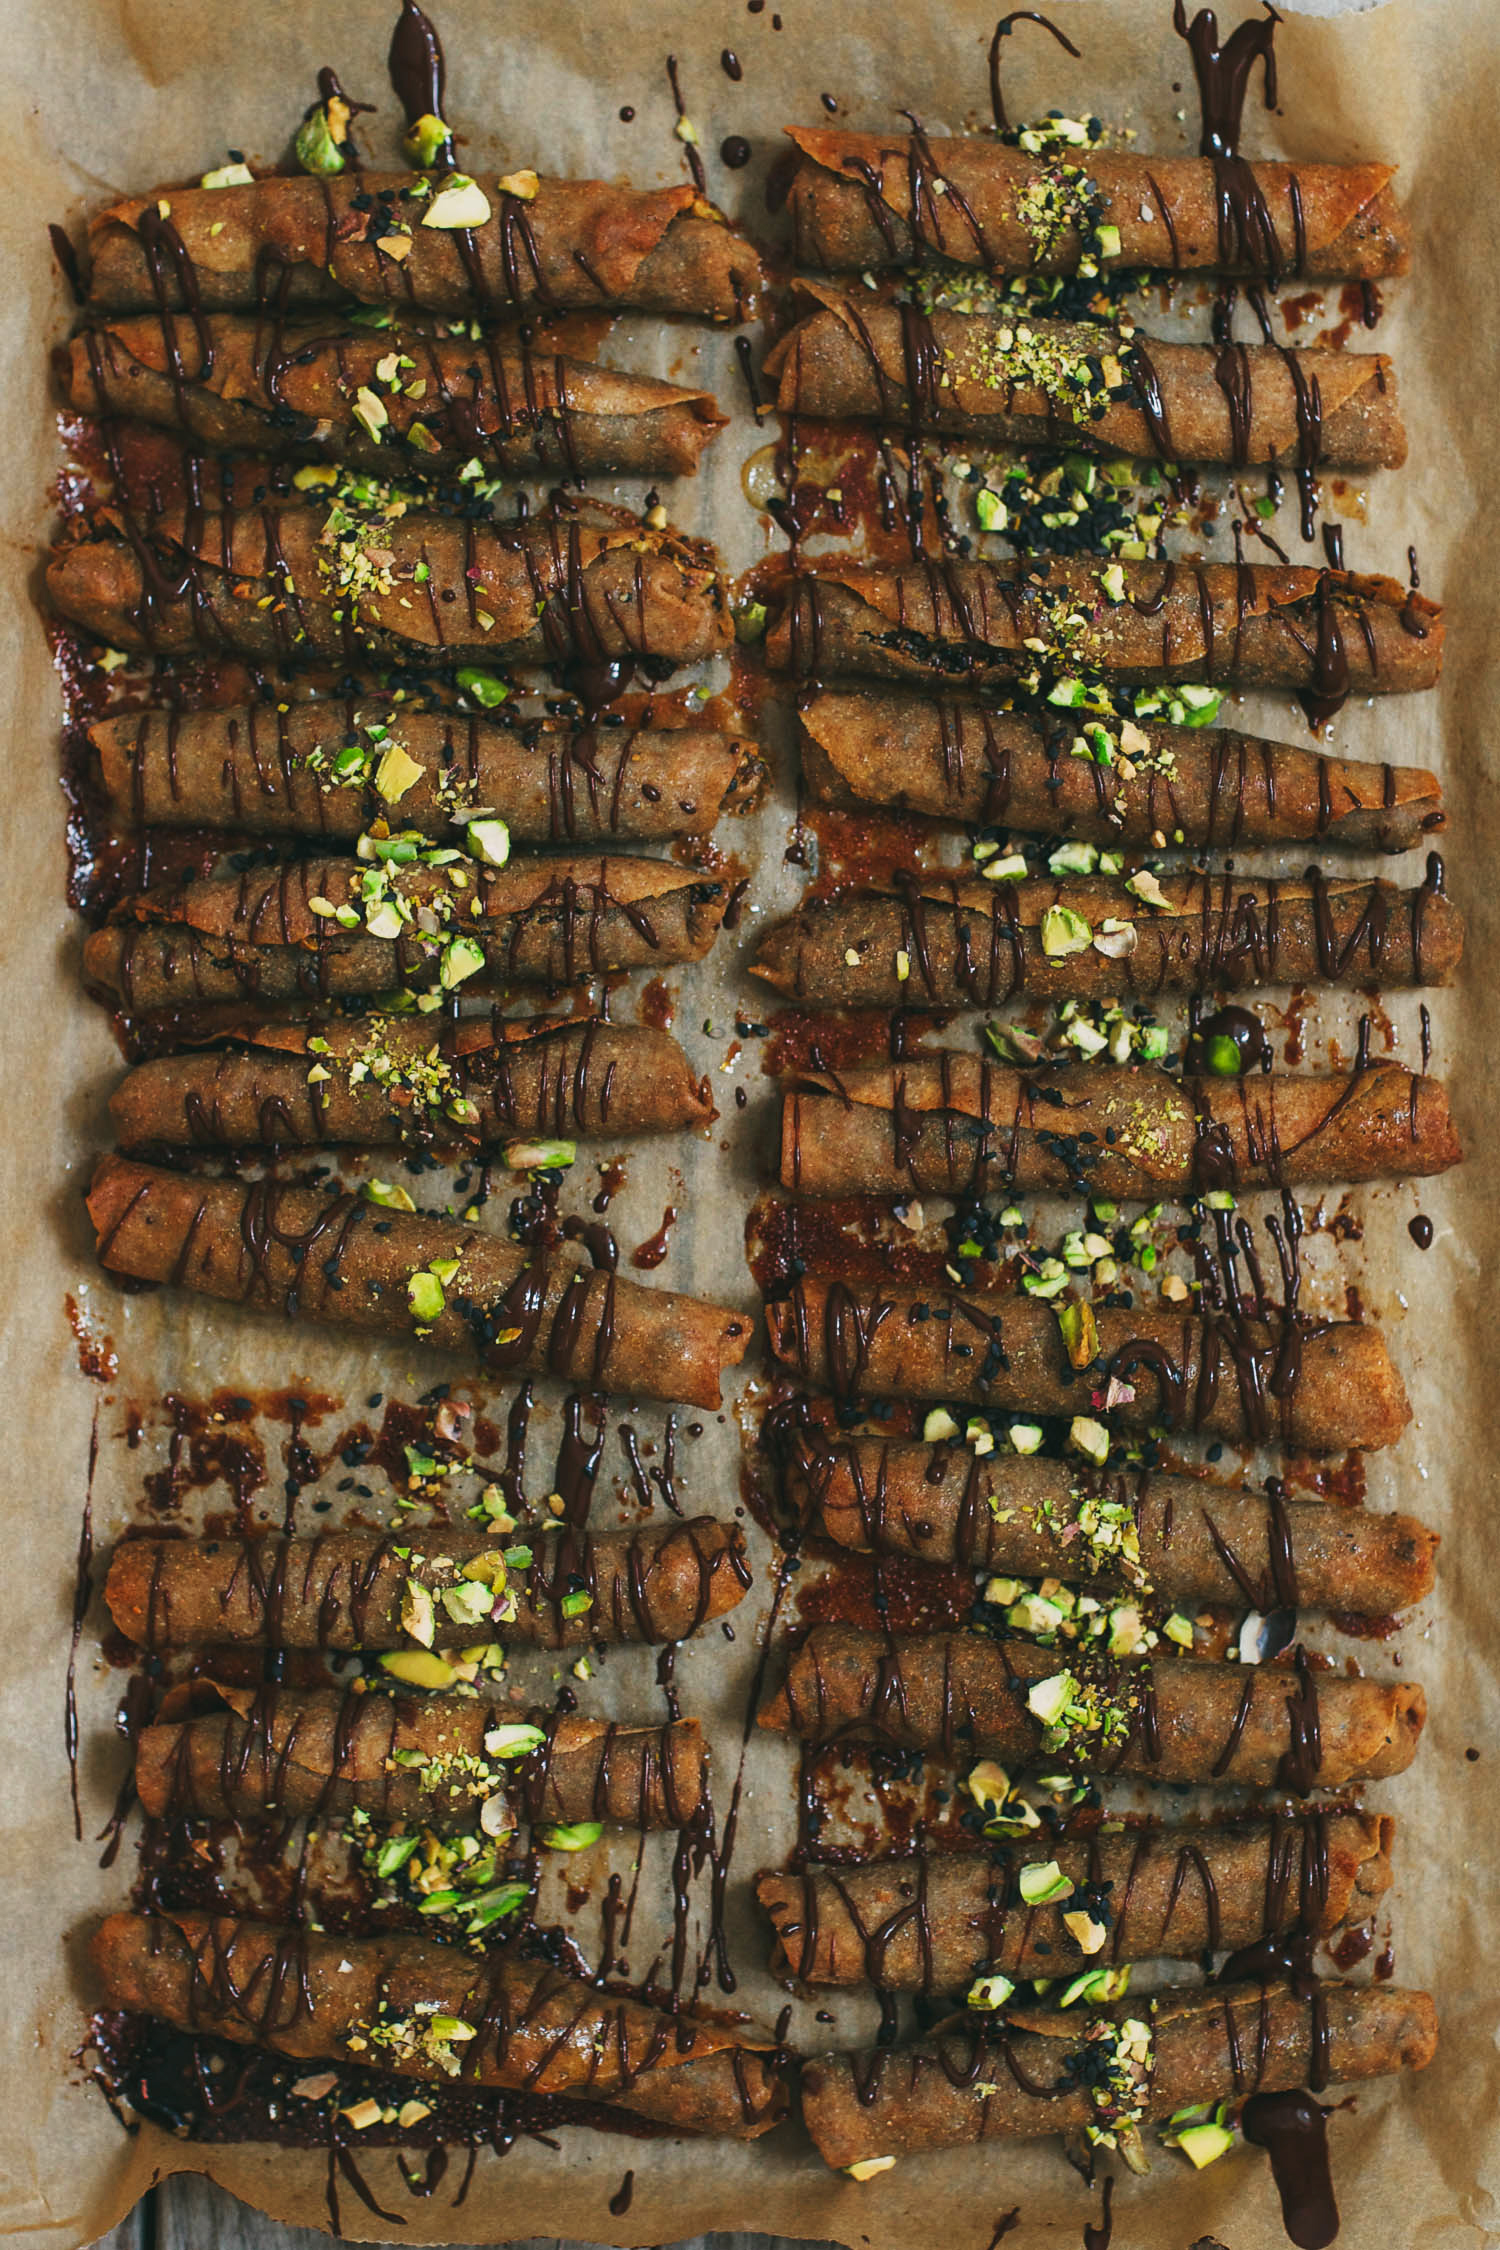
Sweet Dukkah Cigars
by Anya
Read Recipe
Sprouted Sunflower Seed Cocoa Bars
by Anya
Read Recipe
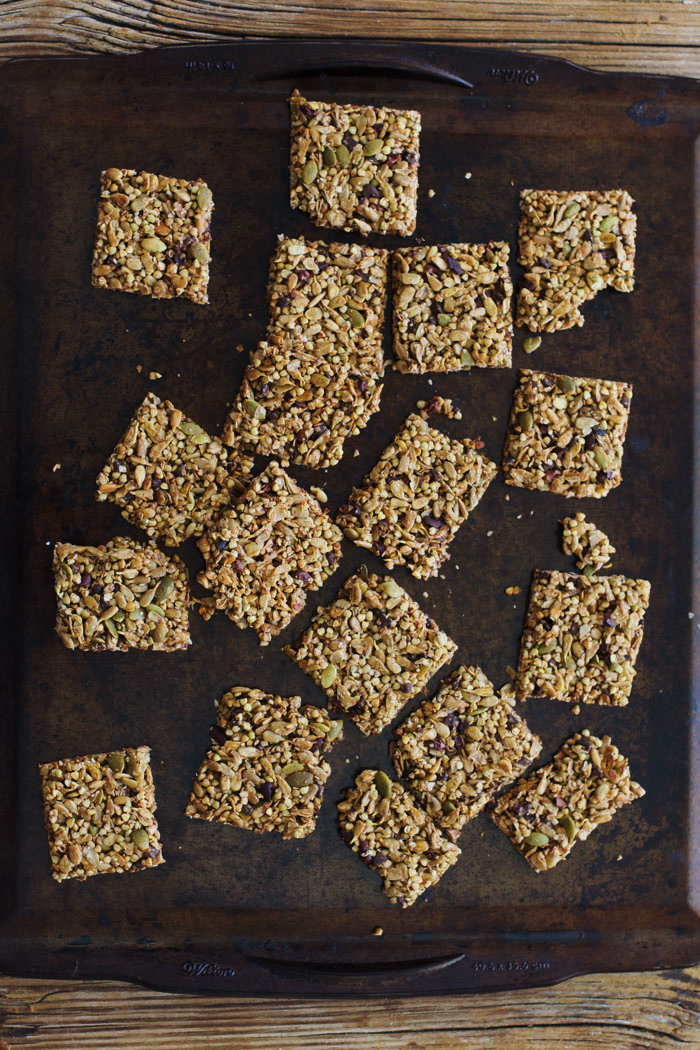
Sweet Potato Buckwheat Snack Bars with Cardamom
by Anya
Read Recipe
Raw Summer Fruit Samosas and a Guest Post for My Sweet Faery
by Anya
Read Recipe
Raw Summer Snack Basket
by Anya
Read Recipe
Temaki-zushi
by Anya
Read Recipe
Raw Kale Chips
by Anya
Read Recipe