Miso Caramel Popcorn

Ingredients
Instructions
-
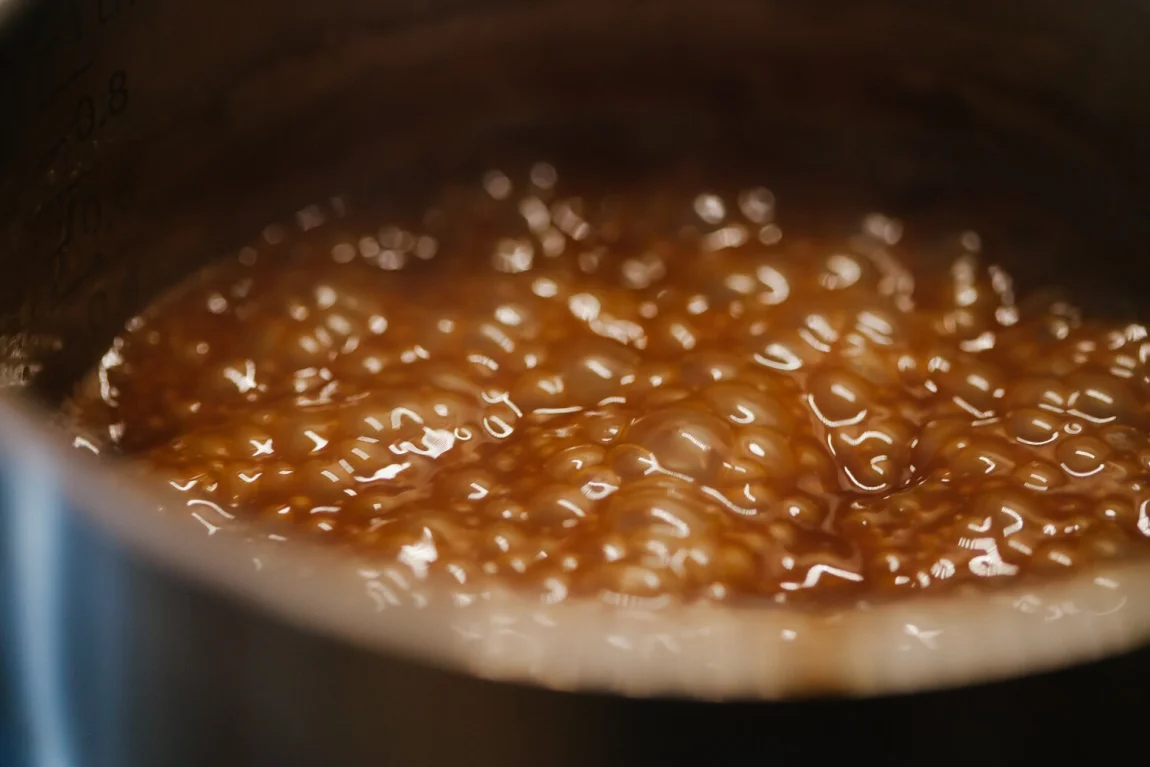
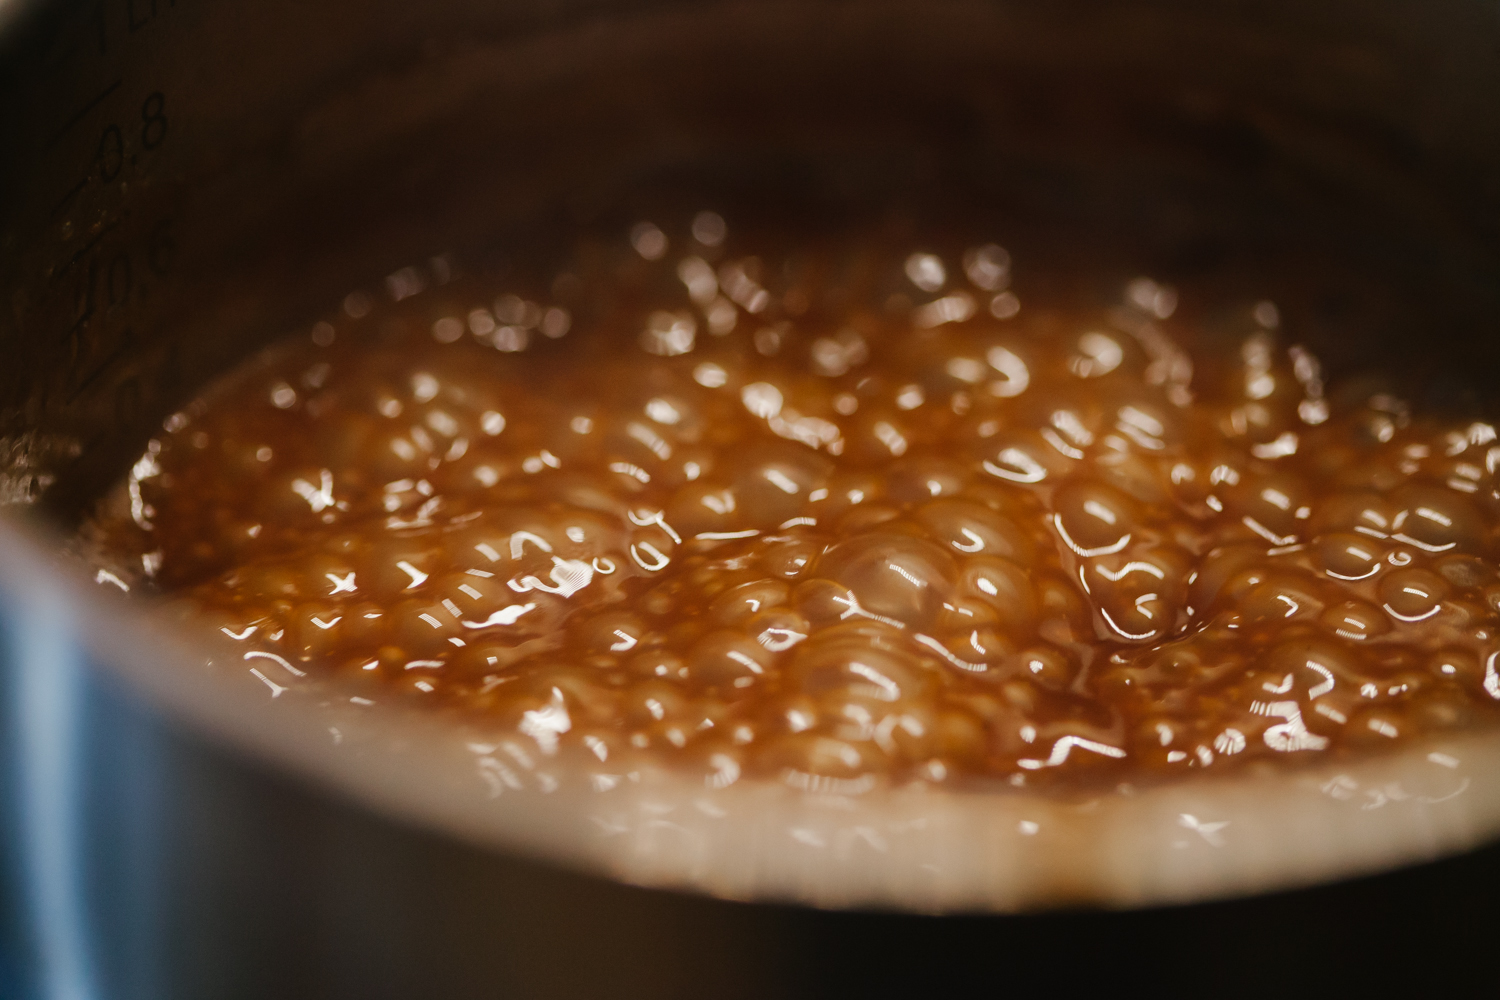
1Combine coconut milk and coconut sugar in a medium saucepan and bring to a boil over medium high heat. Reduce the heat to a simmer and cook for about 30 minutes, stirring, until thickened to a caramel consistency.
-
2Remove from heat and whisk in coconut oil, vanilla extract and miso paste, until smooth and well combined.
-
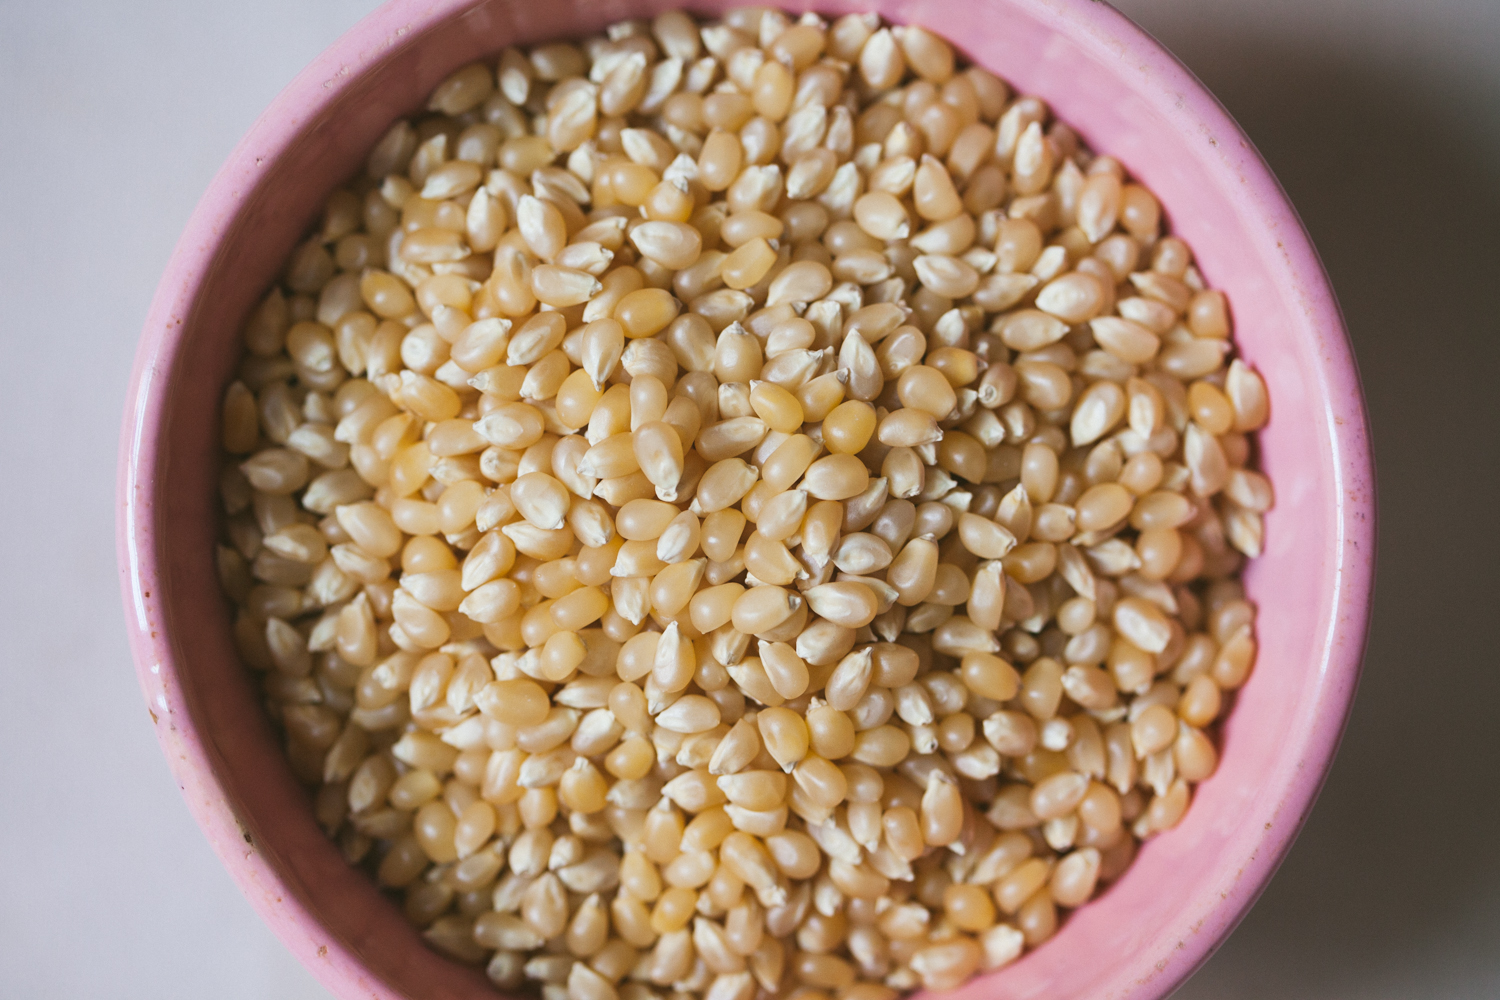
3Warm a large, heavy bottomed pot (pot must have a tight fitting lid) over high heat. Add coconut oil and let it melt and heat up for about 30 seconds. Drop in 3 popcorn kernels to test the heat and shake the pot a bit to cover them with oil. Once those kernels pop, your oil is hot enough and you are ready to add all the popcorn kernels.
-
4After adding all the kernels to the pot, cover it with a lid and begin moving the pot back and forth over the burner, to ensure that all the kernels are being covered with oil and to keep them from burning. Once you hear that the popcorn has started popping, turn down the heat to medium low and keep moving/shaking the pot quickly. You'll know that all/most of the kernels have popped when you hear the popping slow down - once there are about 5 seconds between each pop, remove the pot from the heat, your popcorn is ready. If you smell any burning at any point, remove the pot from the heat.
-
5Preheat oven to 250° F (120° C). Place two oven racks in the top and bottom third of the oven. Prepare two parchment paper-covered baking trays.
-
6Pour caramel into the pot with the popcorn, a little bit at a time, mixing it in every time. If possible, have someone help you - one person can pour and the other can mix.
-
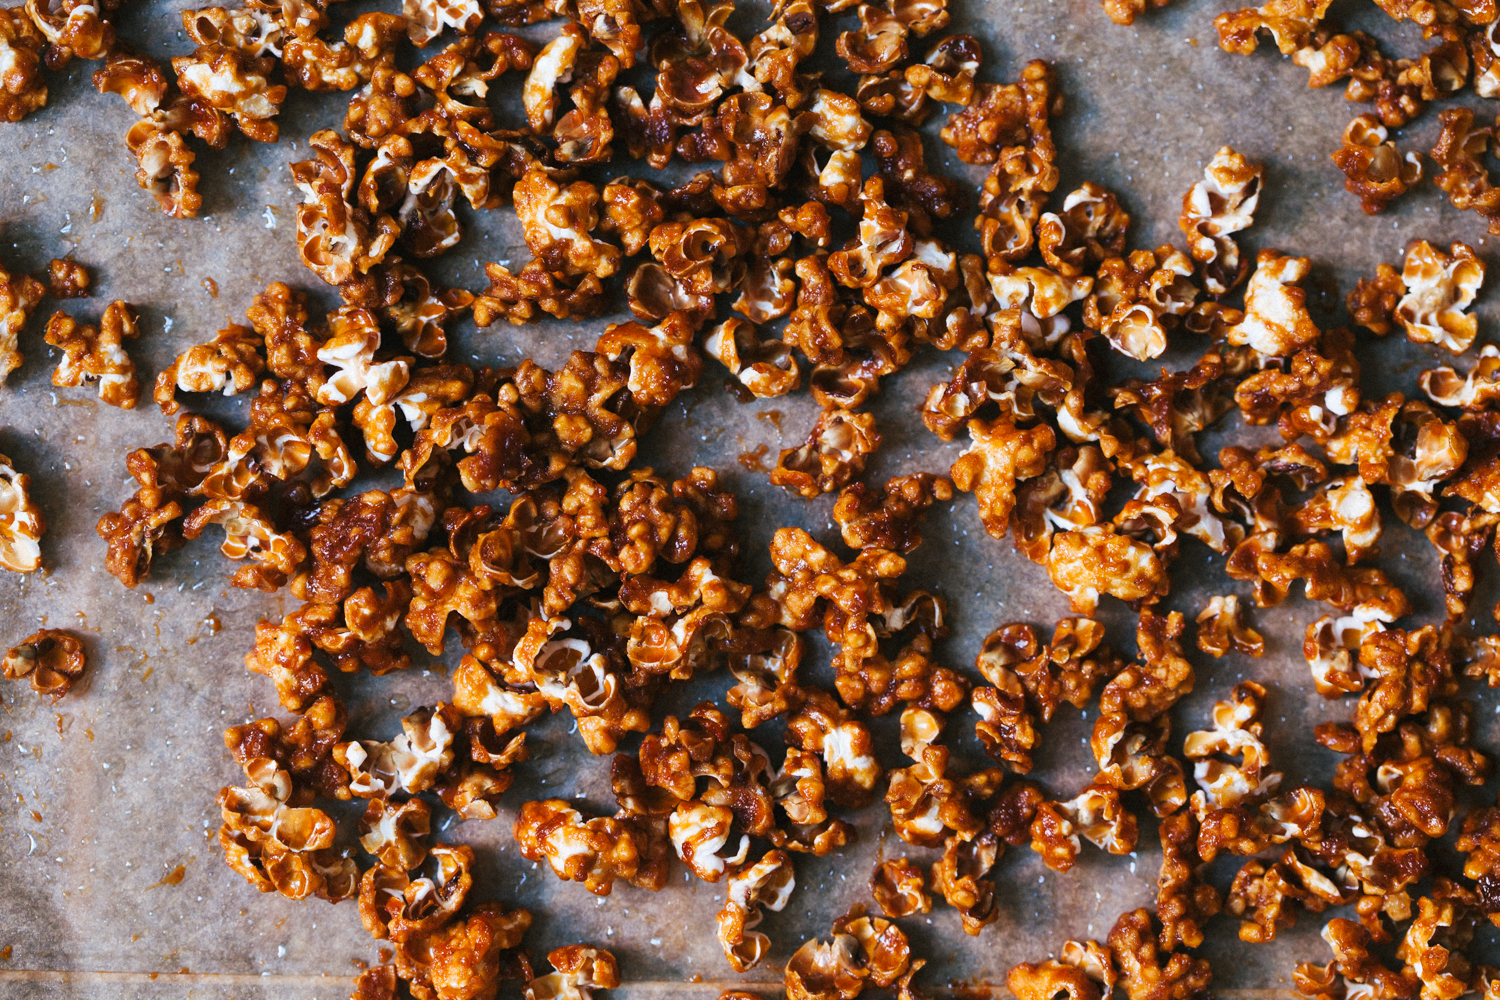
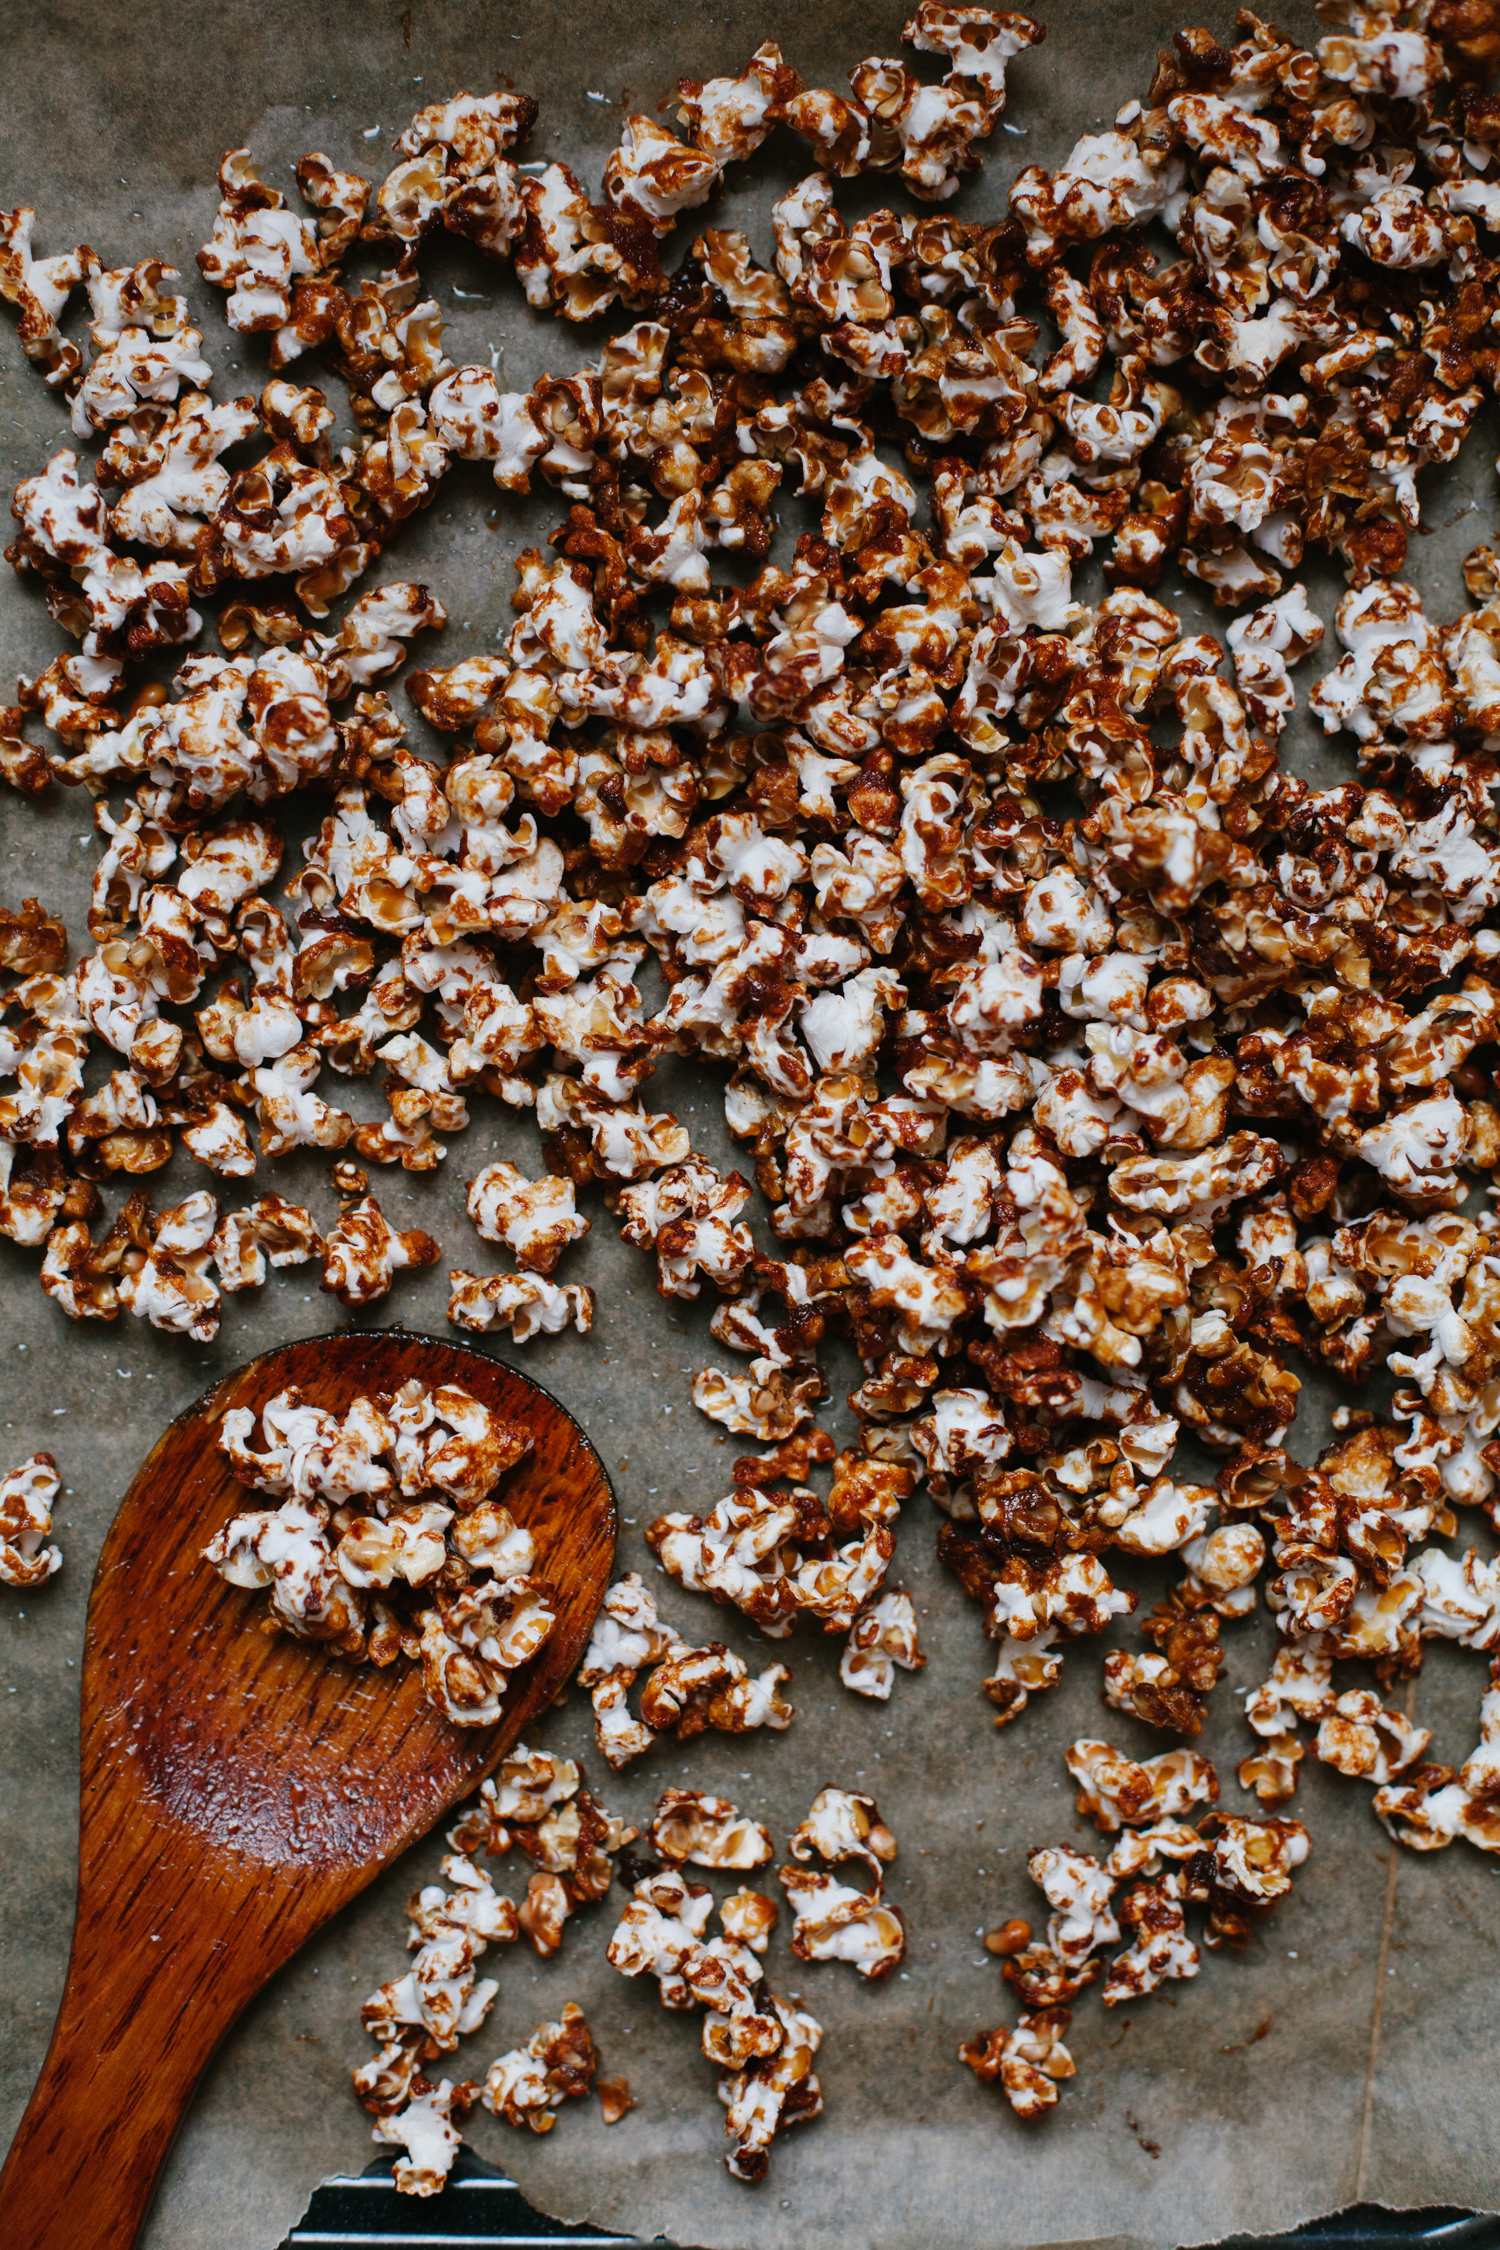
7Immediately distribute the popcorn between the two baking trays in a single, even layer. Place in the oven and bake for about 1 hour, mixing every 15 minutes, until caramel is candied.
-
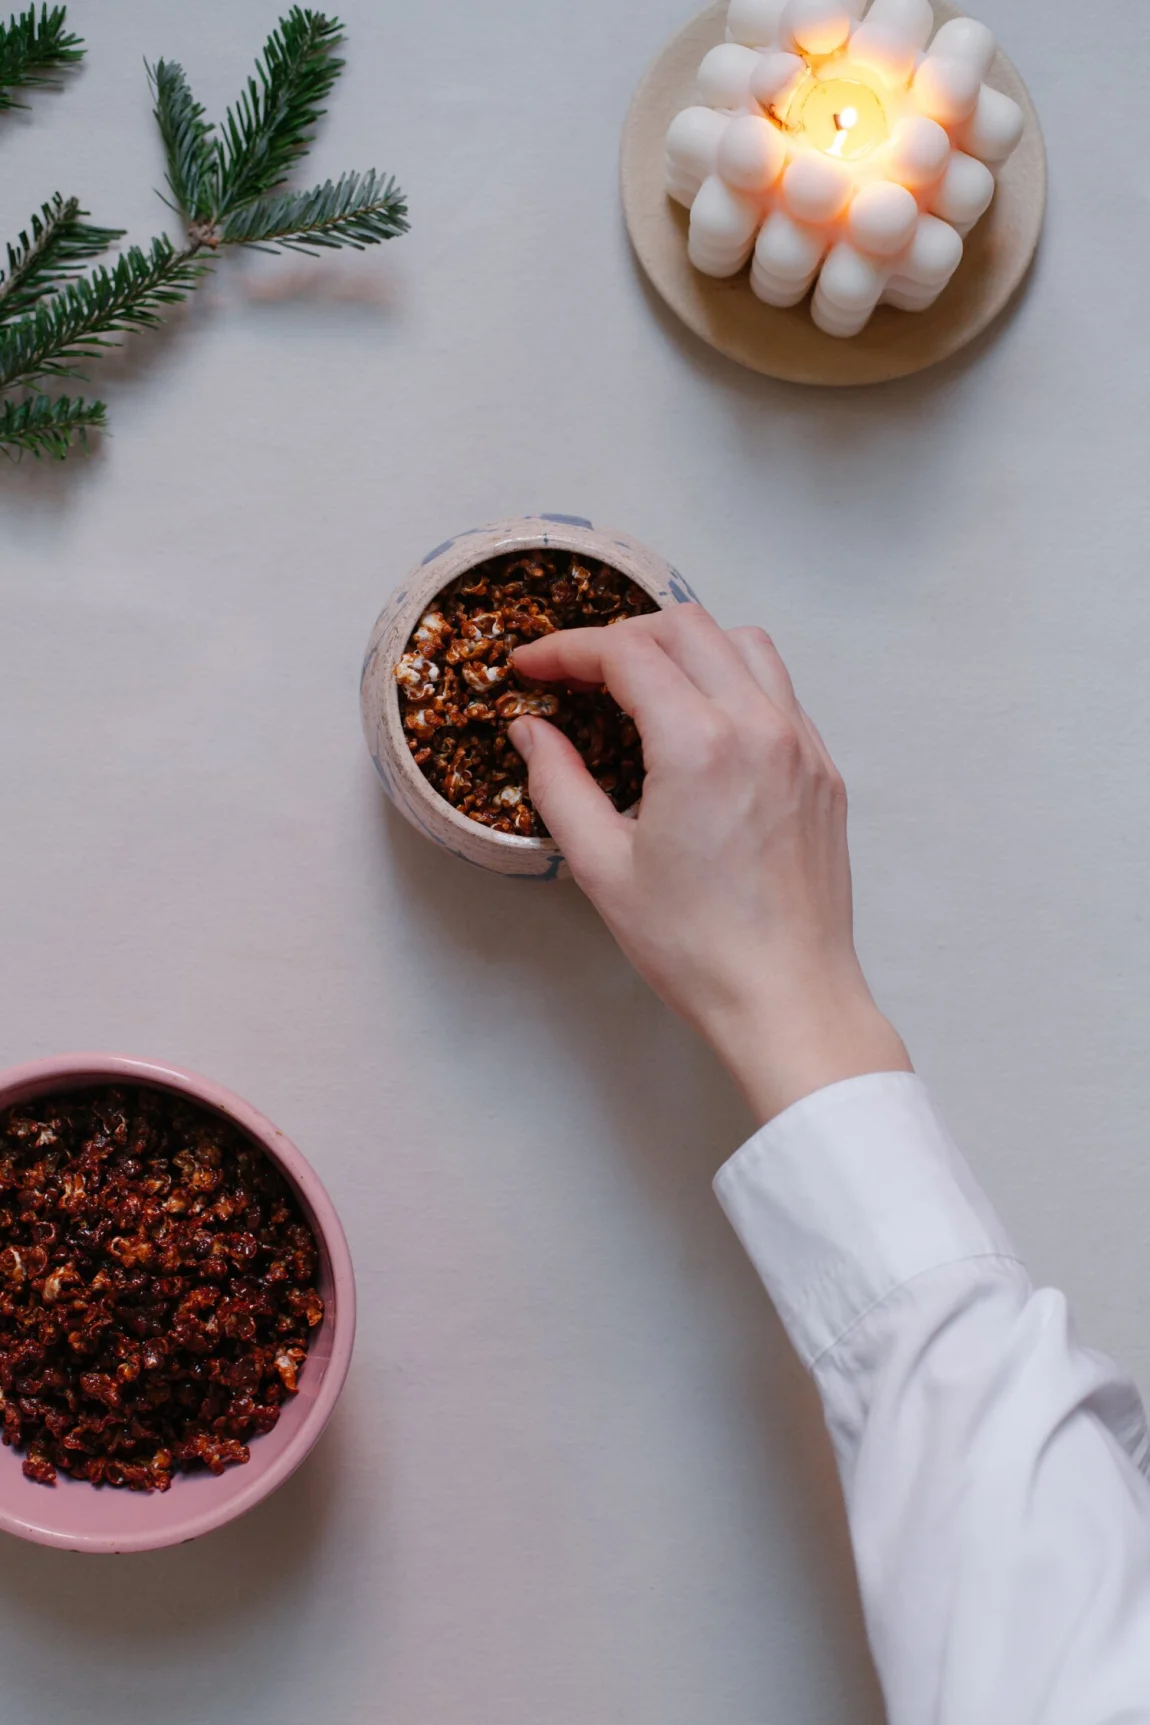
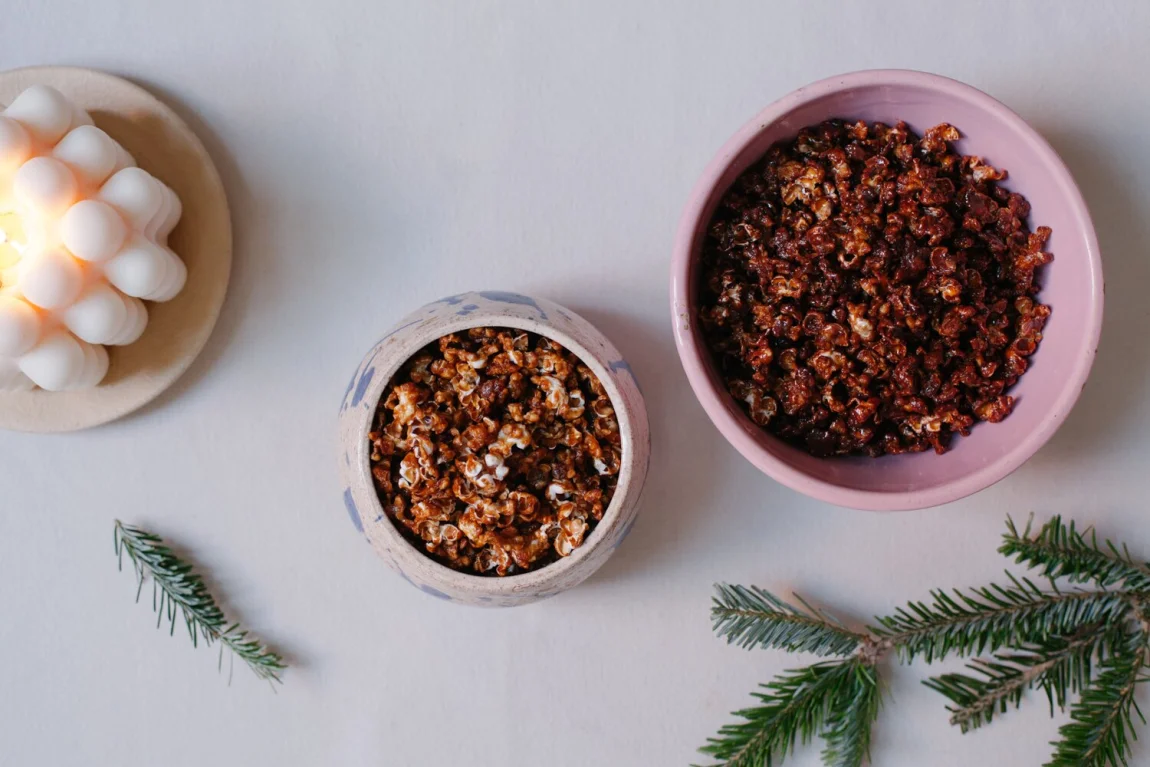
8Once popcorn is ready, optionally sprinkle the chopped dark chocolate over one of the trays of popcorn while it's still hot and mix to coat to make chocolate caramel popcorn. Keep the popcorn in an airtight container or distribute between paper bags for gifts.
This popcorn is the treat I’ll be gifting my friends and bringing to holiday parties this coming week. After spending some time contemplating the bags of caramel popcorn for sale at the grocery store, I became curious about making it at home. After a few trials, I’m pleased to say that it’s quite easy and satisfying to put together on your own, delicious and – I have to warn you – extremely addictive. The caramel here is on the healthier side of the spectrum, made with coconut milk and coconut sugar instead of butter/regular sugar, and the addition of miso adds a nice, salty hint to contrast all the sweetness. If you’ve never made stovetop popcorn before, we’ve got some tips to help you through the process in the recipe.
There are some weekend links after the jump. Stay warm this Sunday :)
Fire Cider – this recipe from Kimberley of The Year in Food looks amazing, going to give it a shot to keep the bugs at bay
Chyawanprash – just ordered this Ayurvedic herbal jam that stimulates the metabolism, aids digestion and helps strengthen the body in face of stress. So curious to try it out! Has anyone had it before?
Interview with Nahvae Frost on Local Creatives – can’t wait to visit her cafe
Durga Chew-Bose’s Twitter – captivated with this writer’s words
The Well Woman – new instagram crush
McKel Hill on Chris Ducker’s podcast – stripping back a personal brand success story


for the miso caramel
- 1 can full fat usweetened Thai coconut milk
- ½ cup coconut sugar
- 1 tablespoon neutral extra virgin coconut oil
- 2 teaspoons vanilla extract (optional)
- 1 tablespoon sweet miso paste
for the caramel popcorn
- 1½ tablespoons coconut oil
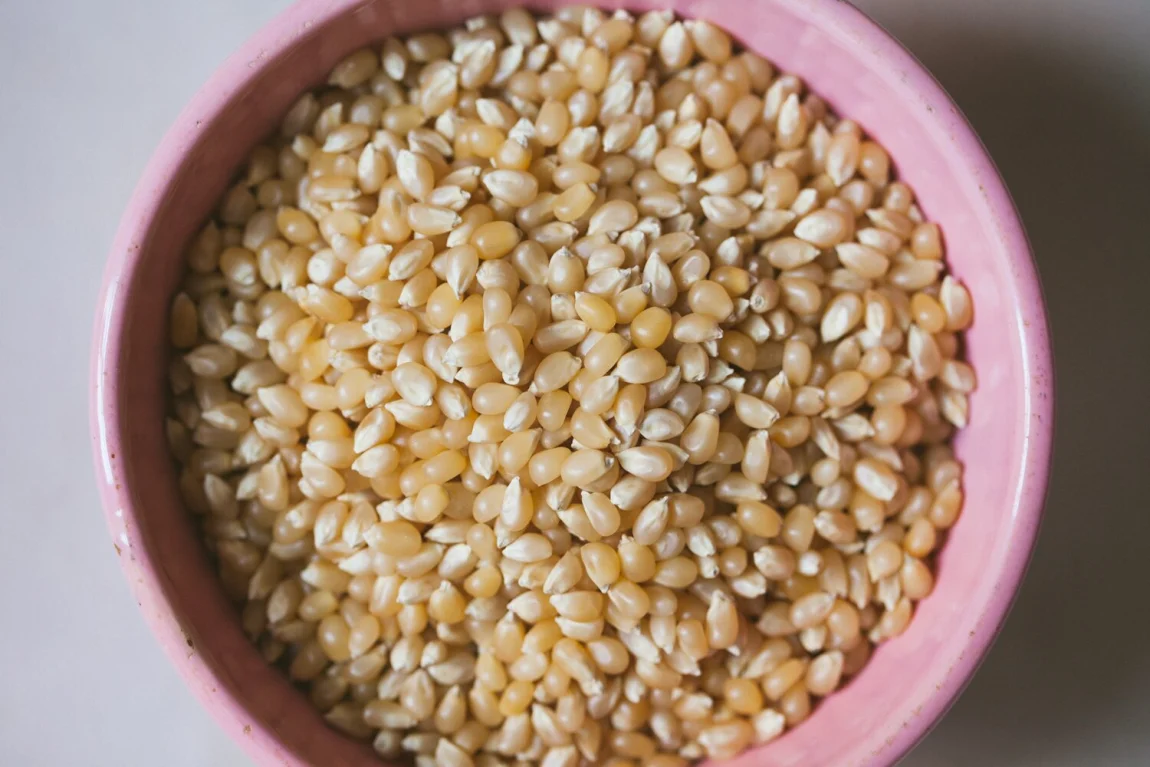
- ½-3/4 cup popcorn kernels (see note)
- miso caramel (from above)
- 2 tablespoons chopped dark chocolate (optional)
to make the miso caramel
- Combine coconut milk and coconut sugar in a medium saucepan and bring to a boil over medium high heat. Reduce the heat to a simmer and cook for about 30 minutes, stirring, until thickened to a caramel consistency.
- Remove from heat and whisk in coconut oil, vanilla extract and miso paste, until smooth and well combined.
to make the caramel popcorn
- Warm a large, heavy bottomed pot (pot must have a tight fitting lid) over high heat. Add coconut oil and let it melt and heat up for about 30 seconds. Drop in 3 popcorn kernels to test the heat and shake the pot a bit to cover them with oil. Once those kernels pop, your oil is hot enough and you are ready to add all the popcorn kernels.
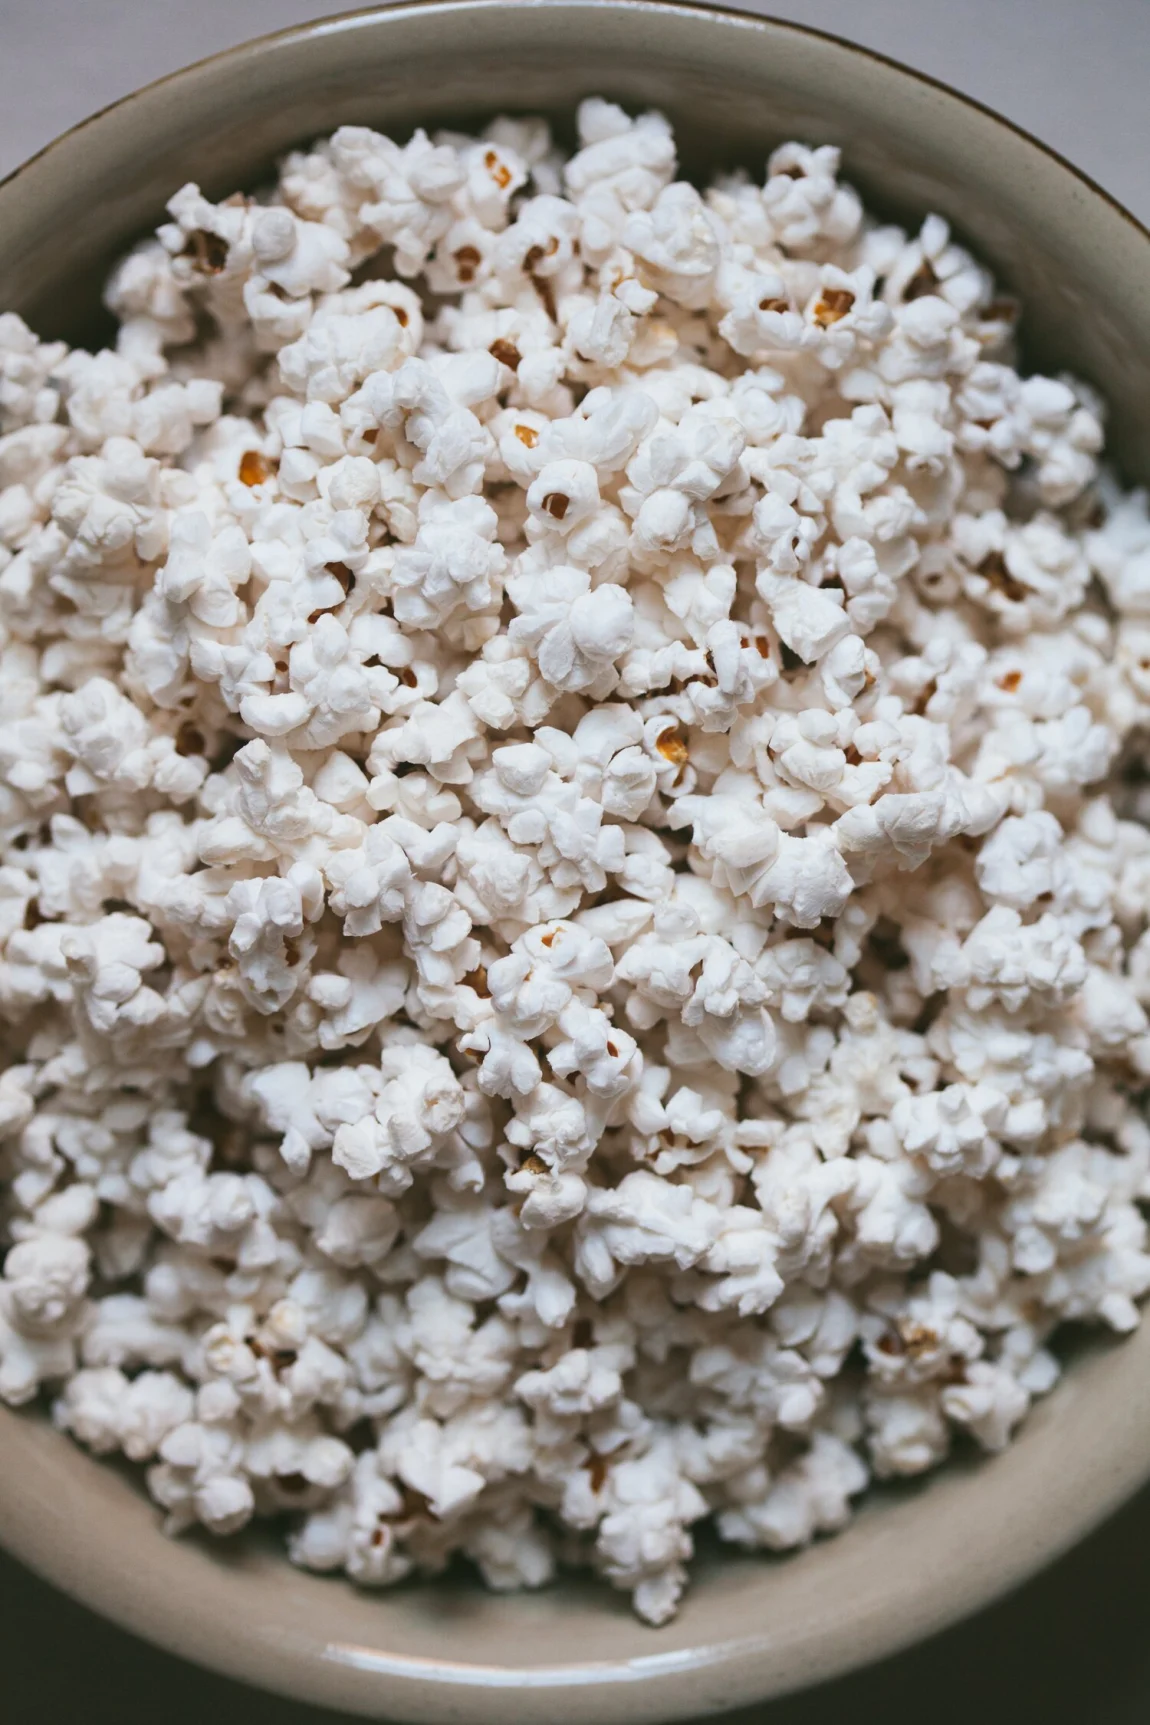
- After adding all the kernels to the pot, cover it with a lid and begin moving the pot back and forth over the burner, to ensure that all the kernels are being covered with oil and to keep them from burning. Once you hear that the popcorn has started popping, turn down the heat to medium low and keep moving/shaking the pot quickly. You'll know that all/most of the kernels have popped when you hear the popping slow down - once there are about 5 seconds between each pop, remove the pot from the heat, your popcorn is ready. If you smell any burning at any point, remove the pot from the heat.
- Preheat oven to 250° F (120° C). Place two oven racks in the top and bottom third of the oven. Prepare two parchment paper-covered baking trays.
- Pour caramel into the pot with the popcorn, a little bit at a time, mixing it in every time. If possible, have someone help you - one person can pour and the other can mix.
- Immediately distribute the popcorn between the two baking trays in a single, even layer. Place in the oven and bake for about 1 hour, mixing every 15 minutes, until caramel is candied.
- Once popcorn is ready, optionally sprinkle the chopped dark chocolate over one of the trays of popcorn while it's still hot and mix to coat to make chocolate caramel popcorn. Keep the popcorn in an airtight container or distribute between paper bags for gifts.
2. Caramel popcorn technique adapted from The Kitchn.
Recipe Gallery


Reader Comments (5)
See what other home cooks are saying about this recipe