Favorite Plant-Based Holiday Recipes
Here comes the annual round-up of our favorite, plant-based holiday recipes. We’ve got you covered on mains and hearty...
Read Recipe
Here comes the annual round-up of our favorite, plant-based holiday recipes. We’ve got you covered on mains and hearty...
Read Recipe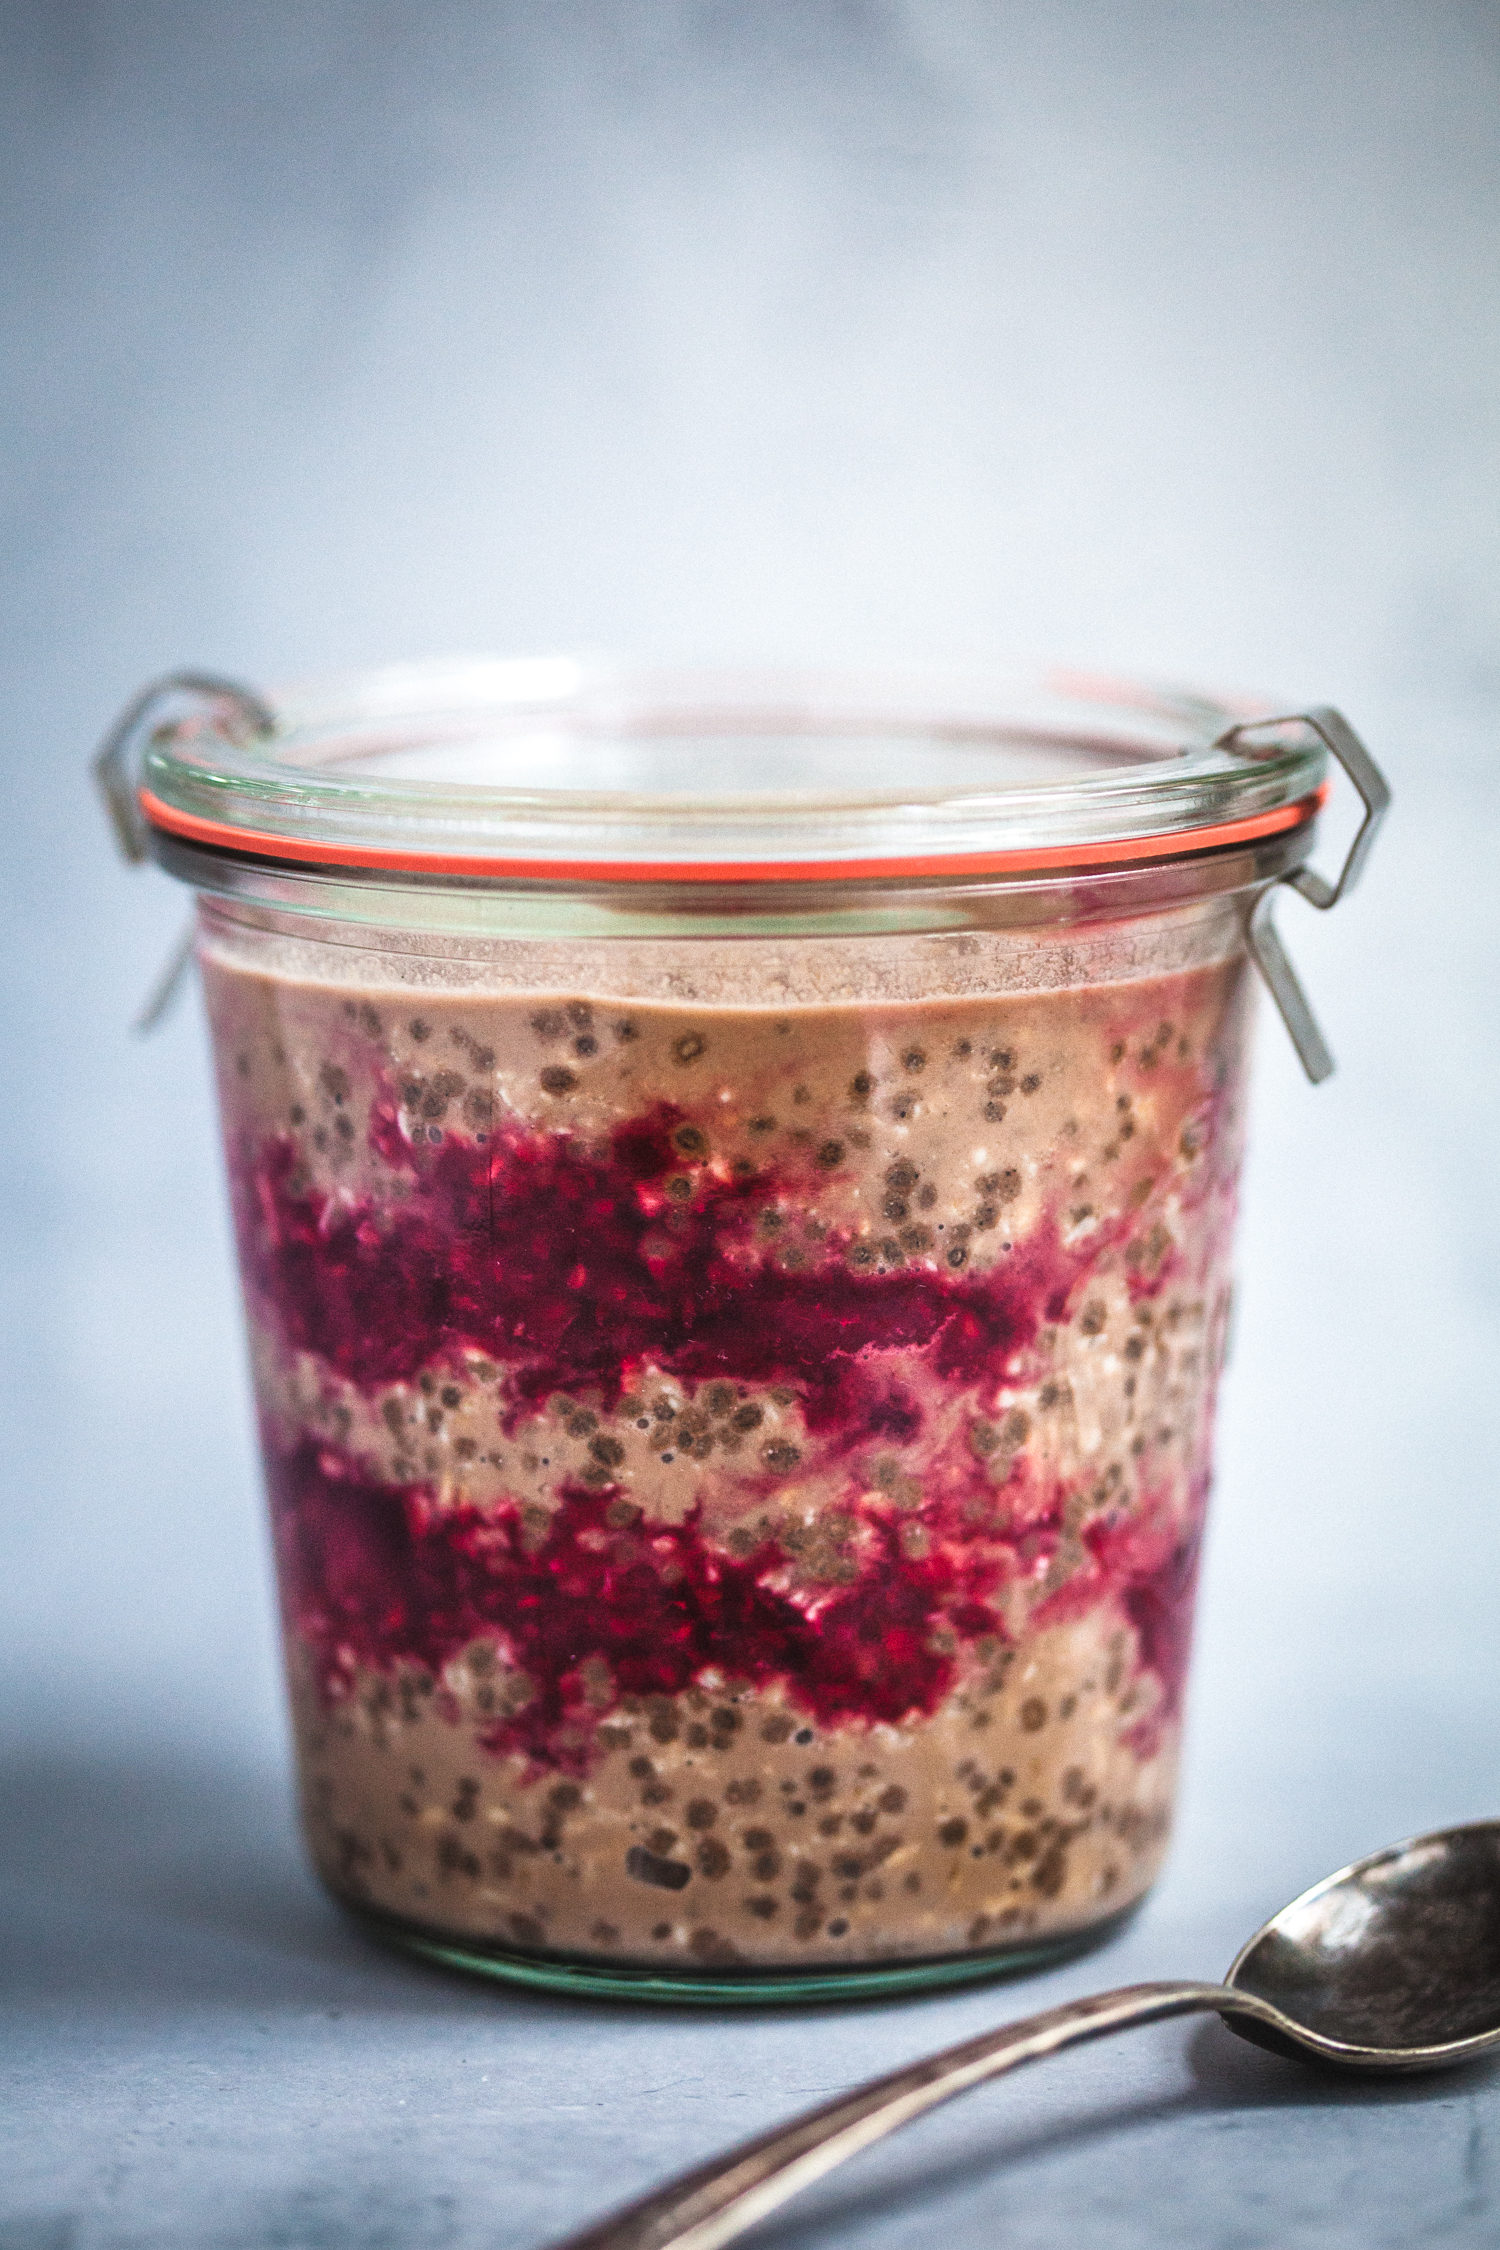
I make a variation of these overnight oats all the time. I love that they come together super quickly, make for a great ...
Read Recipe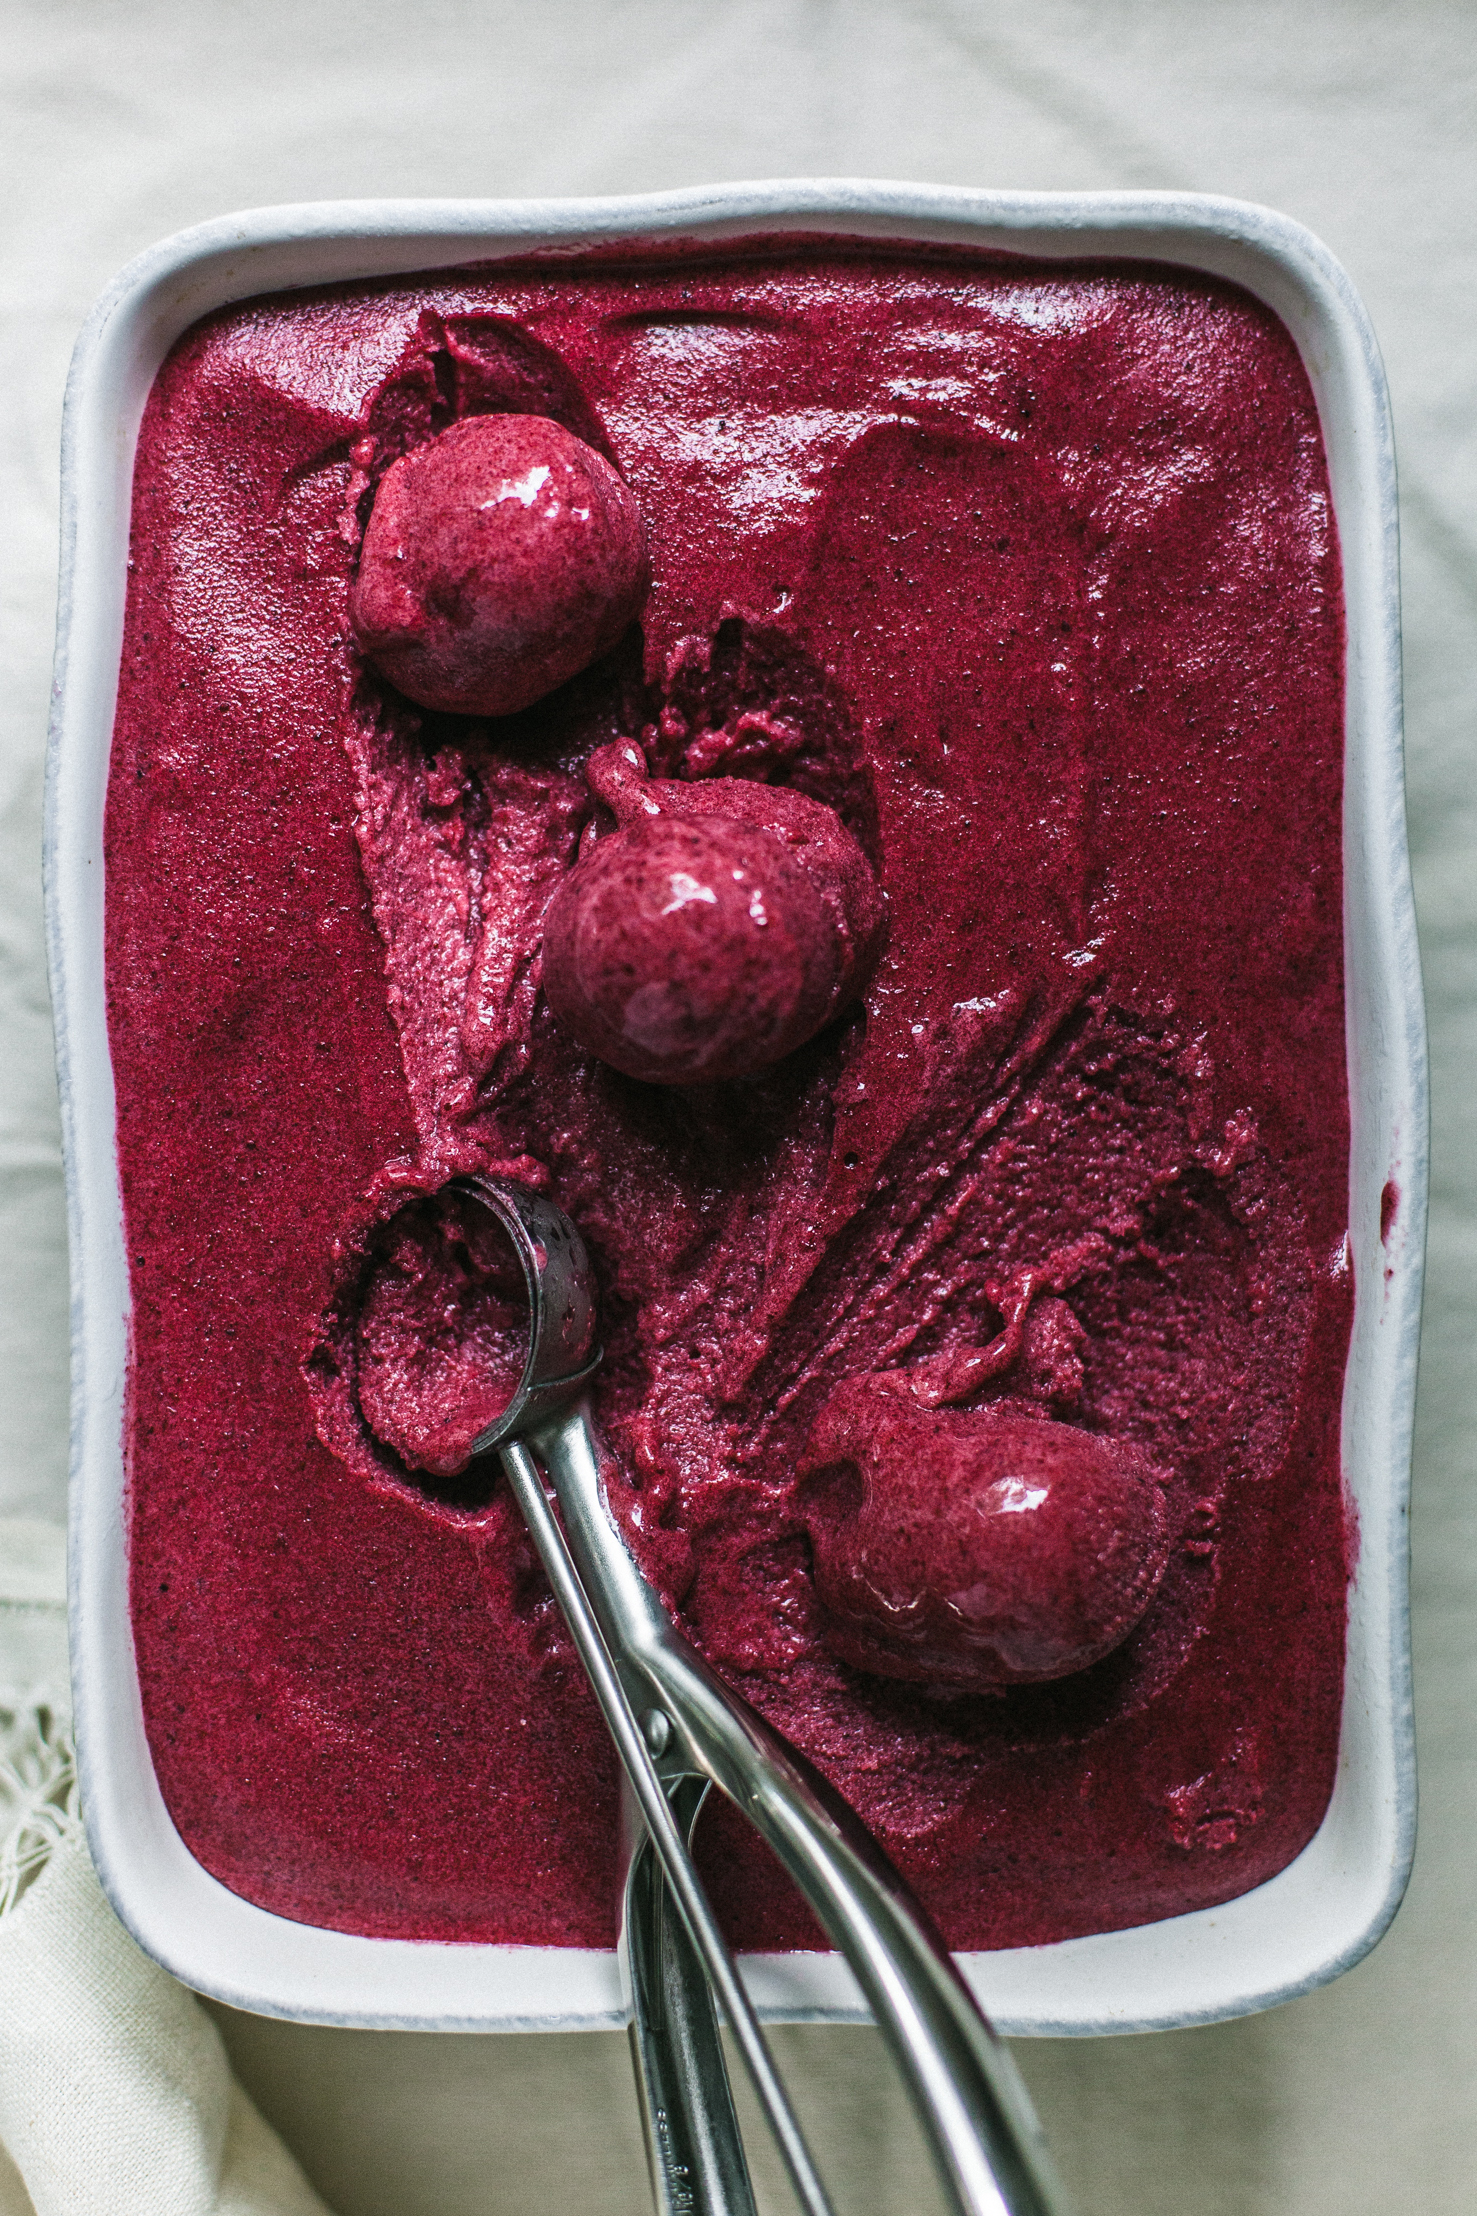
Few desserts embody summer as well as a lush, fruity sorbet. This one is very straightforward in ingredients and prepara...
Read Recipe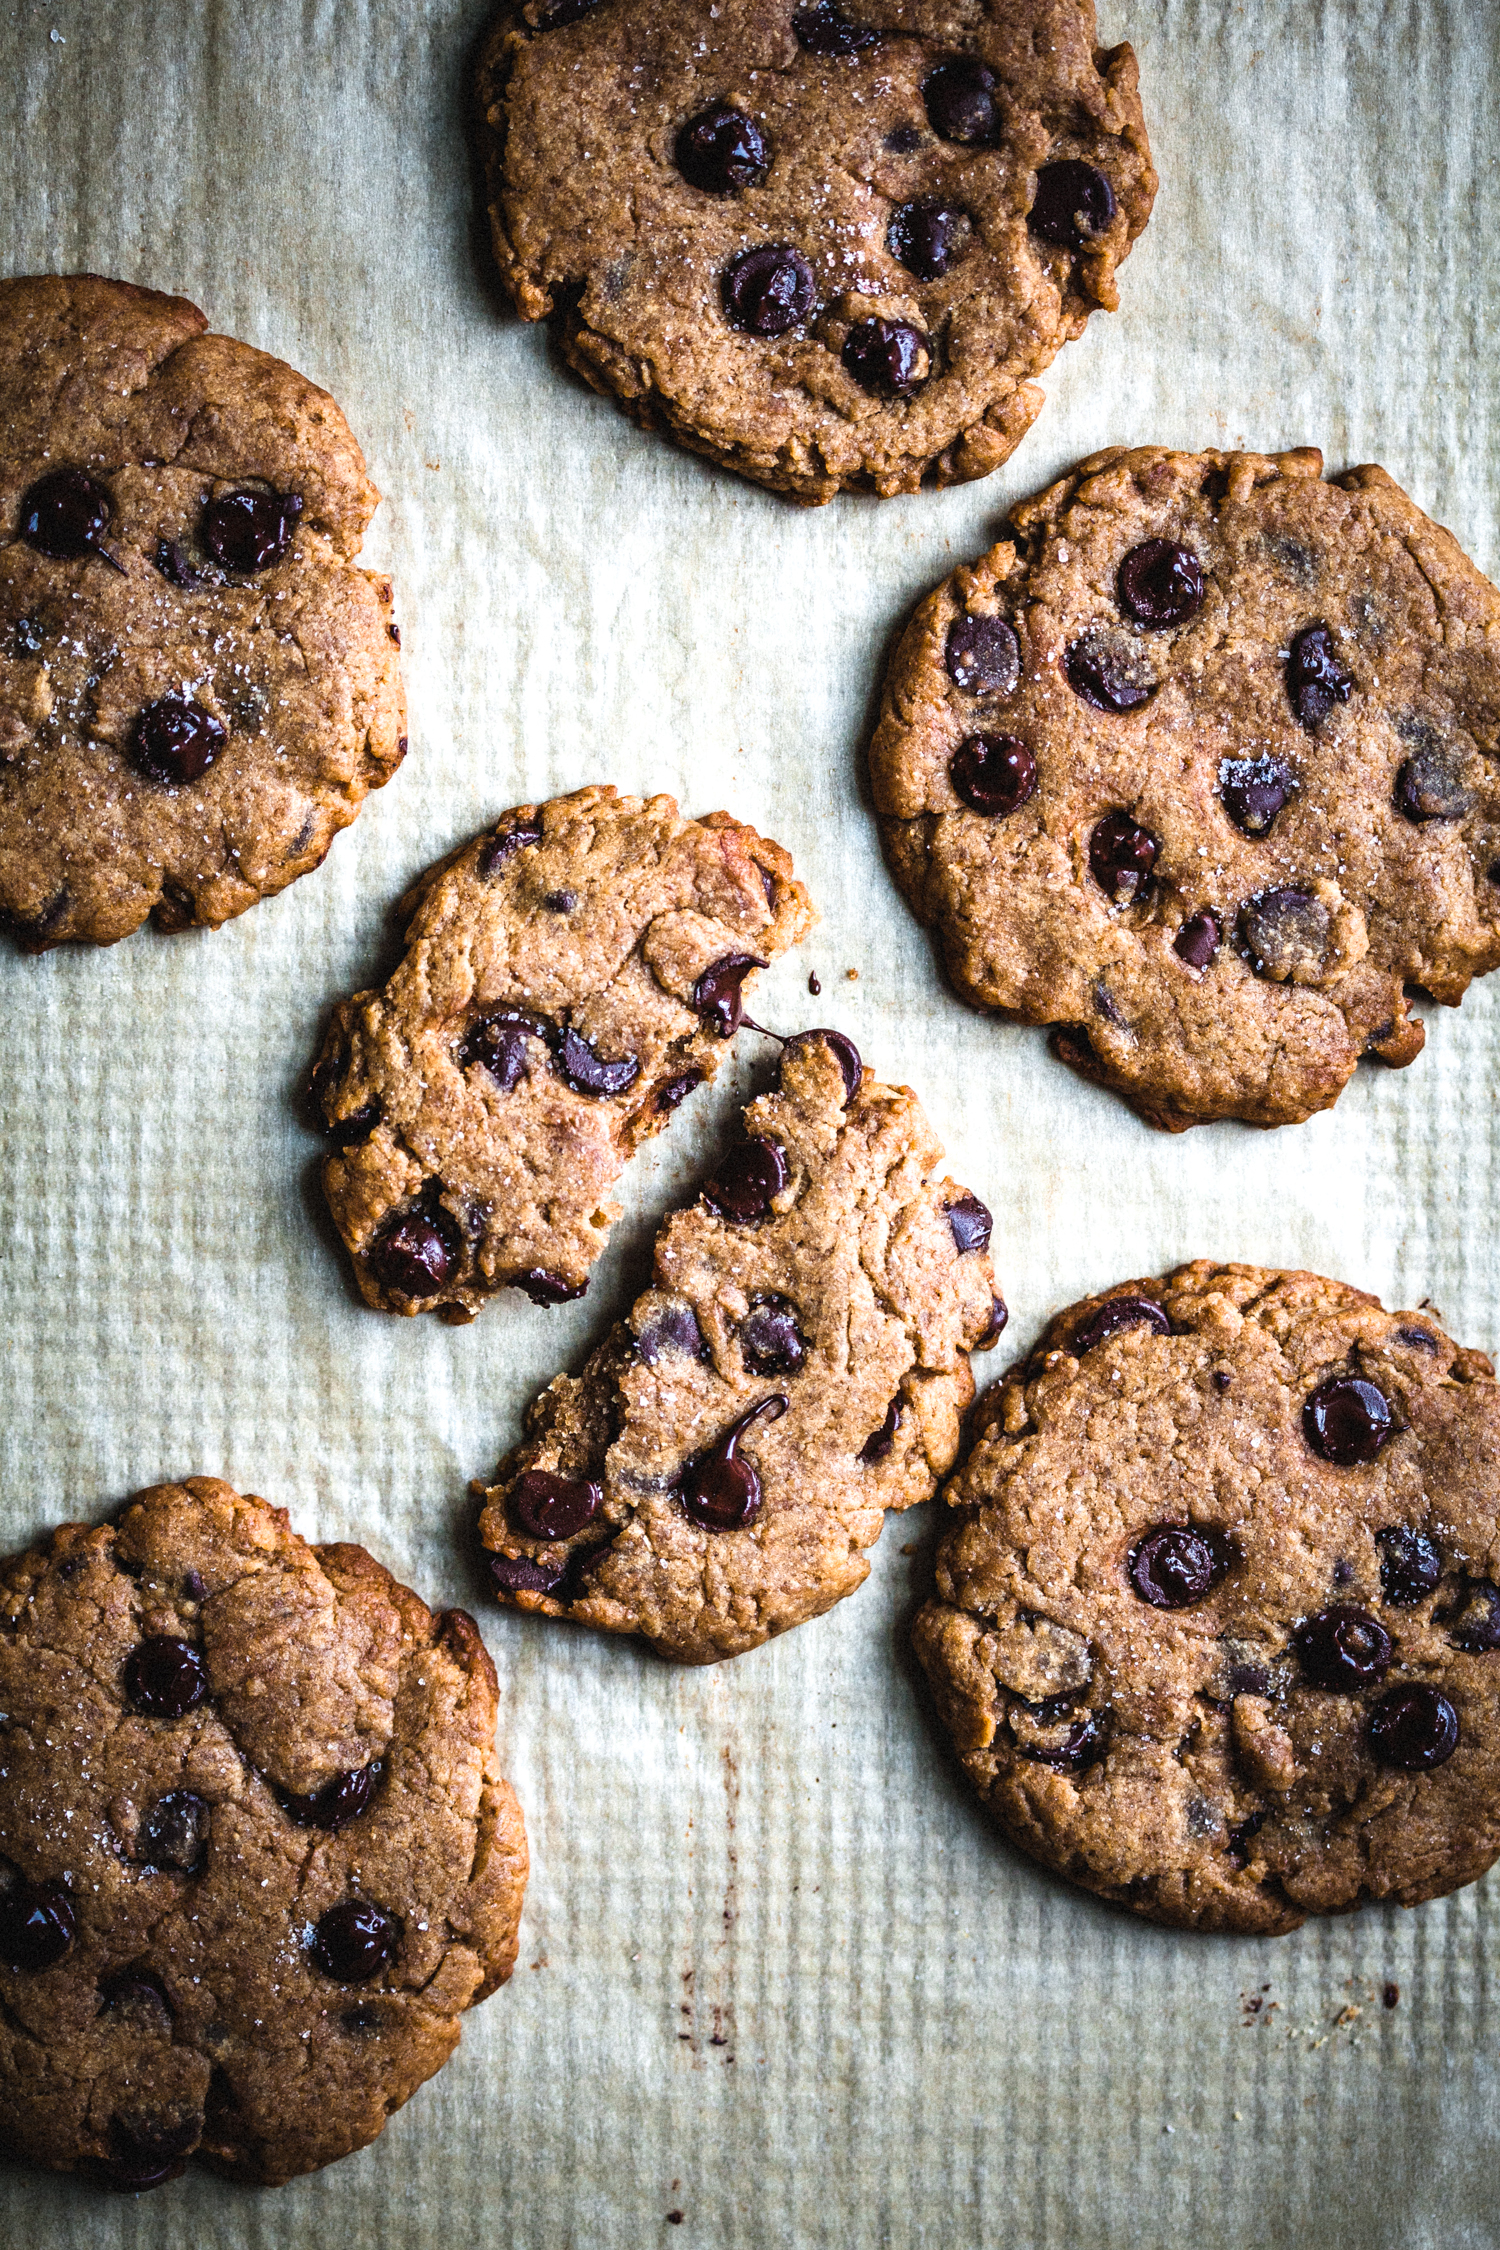
I’ve been thinking about making a sourdough starter and baking bread ever since I finally got a Dutch oven this summer...
Read Recipe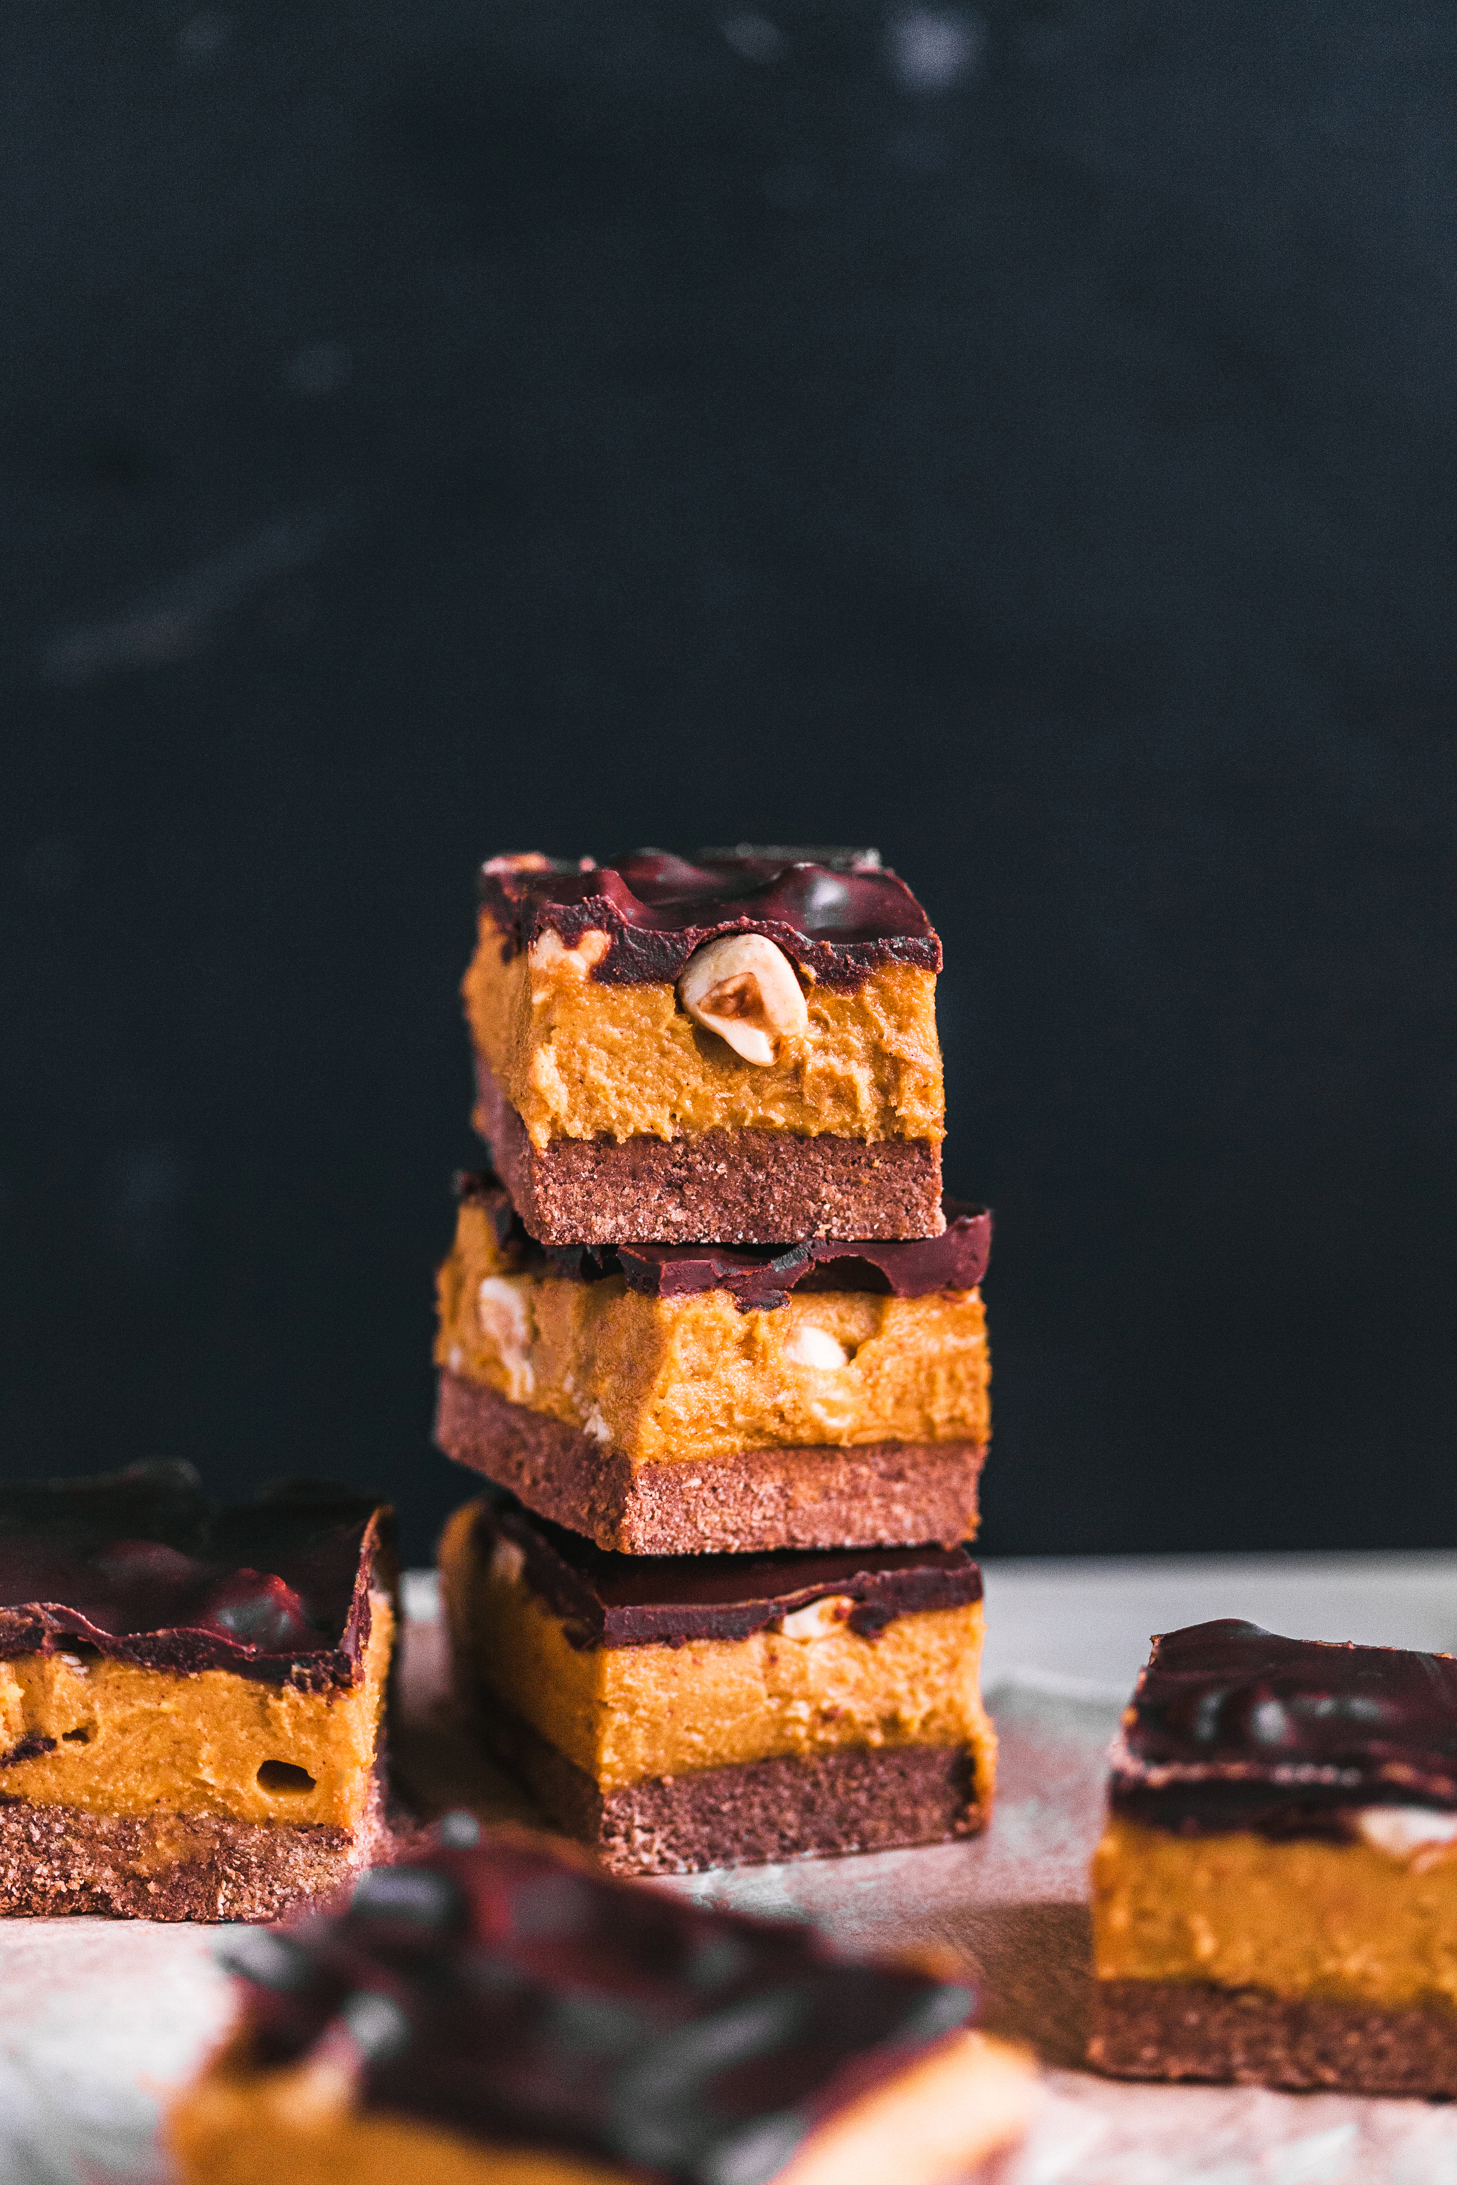
You’d think we were trying to check off as many October-inspired ingredients as possible with today’s recipe: pumpki...
Read Recipe
So happy to come out with another mini meal plan! This series is one of my absolute favorite things to work on. It defin...
Read Recipe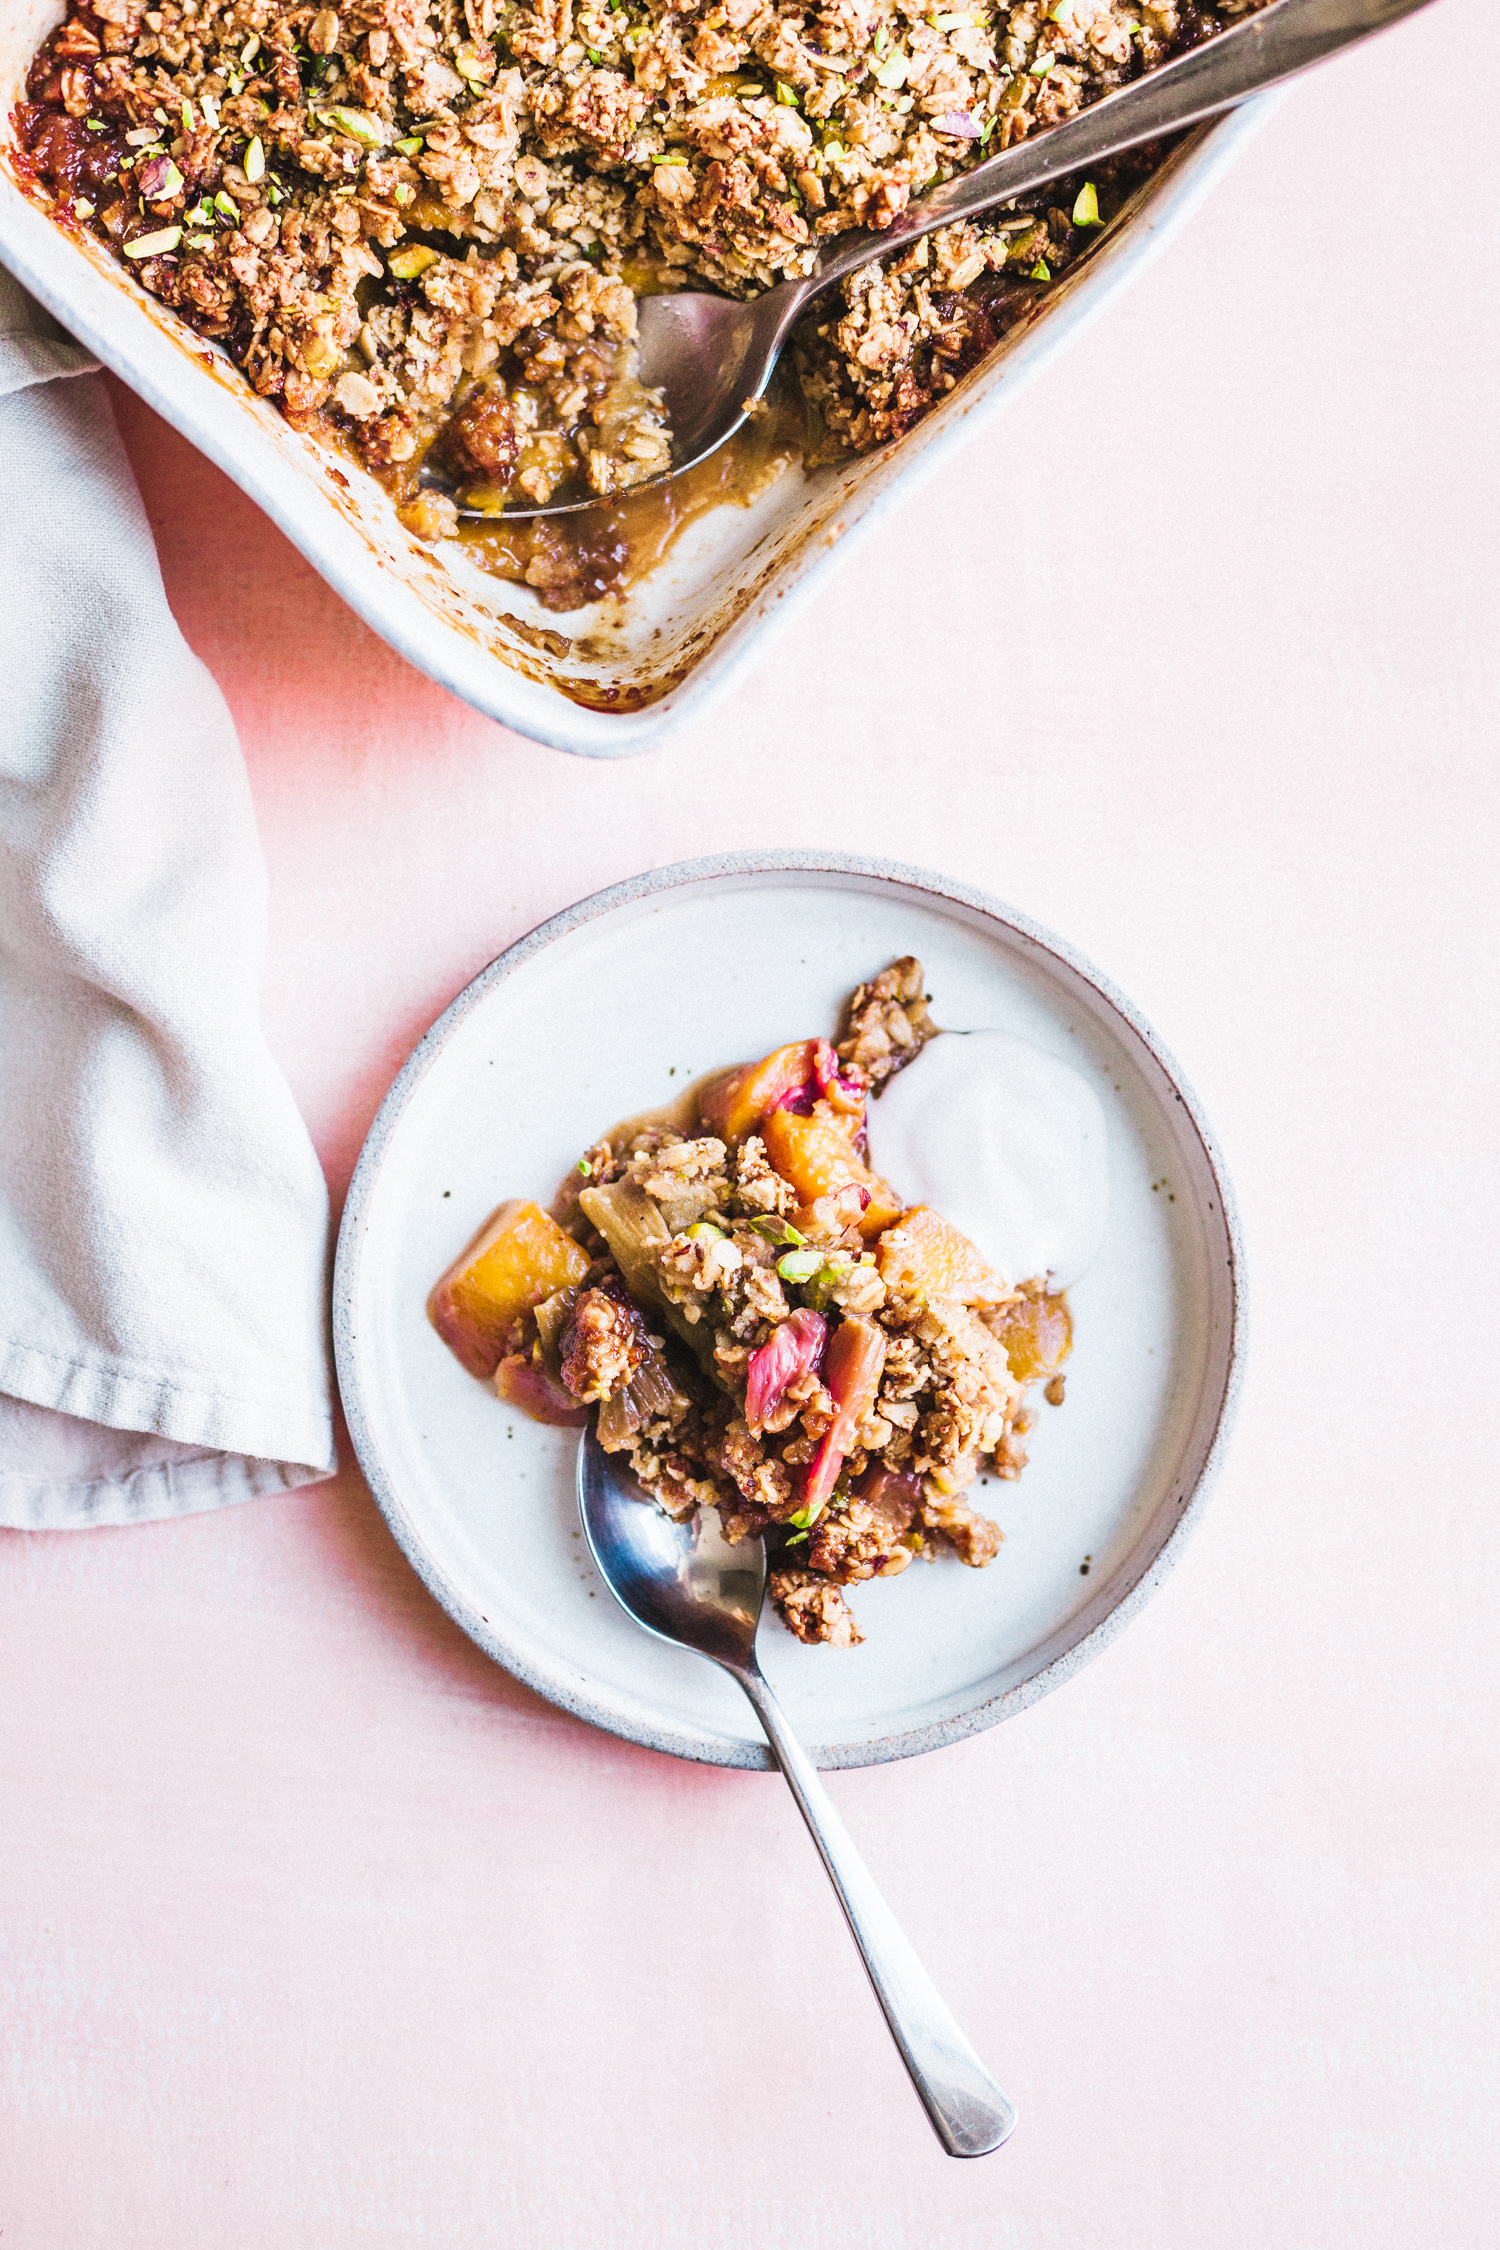
Keeping the rhubarb content coming these past few weeks. No regrets :) Crisps are the ultimate lazy desser...
Read Recipe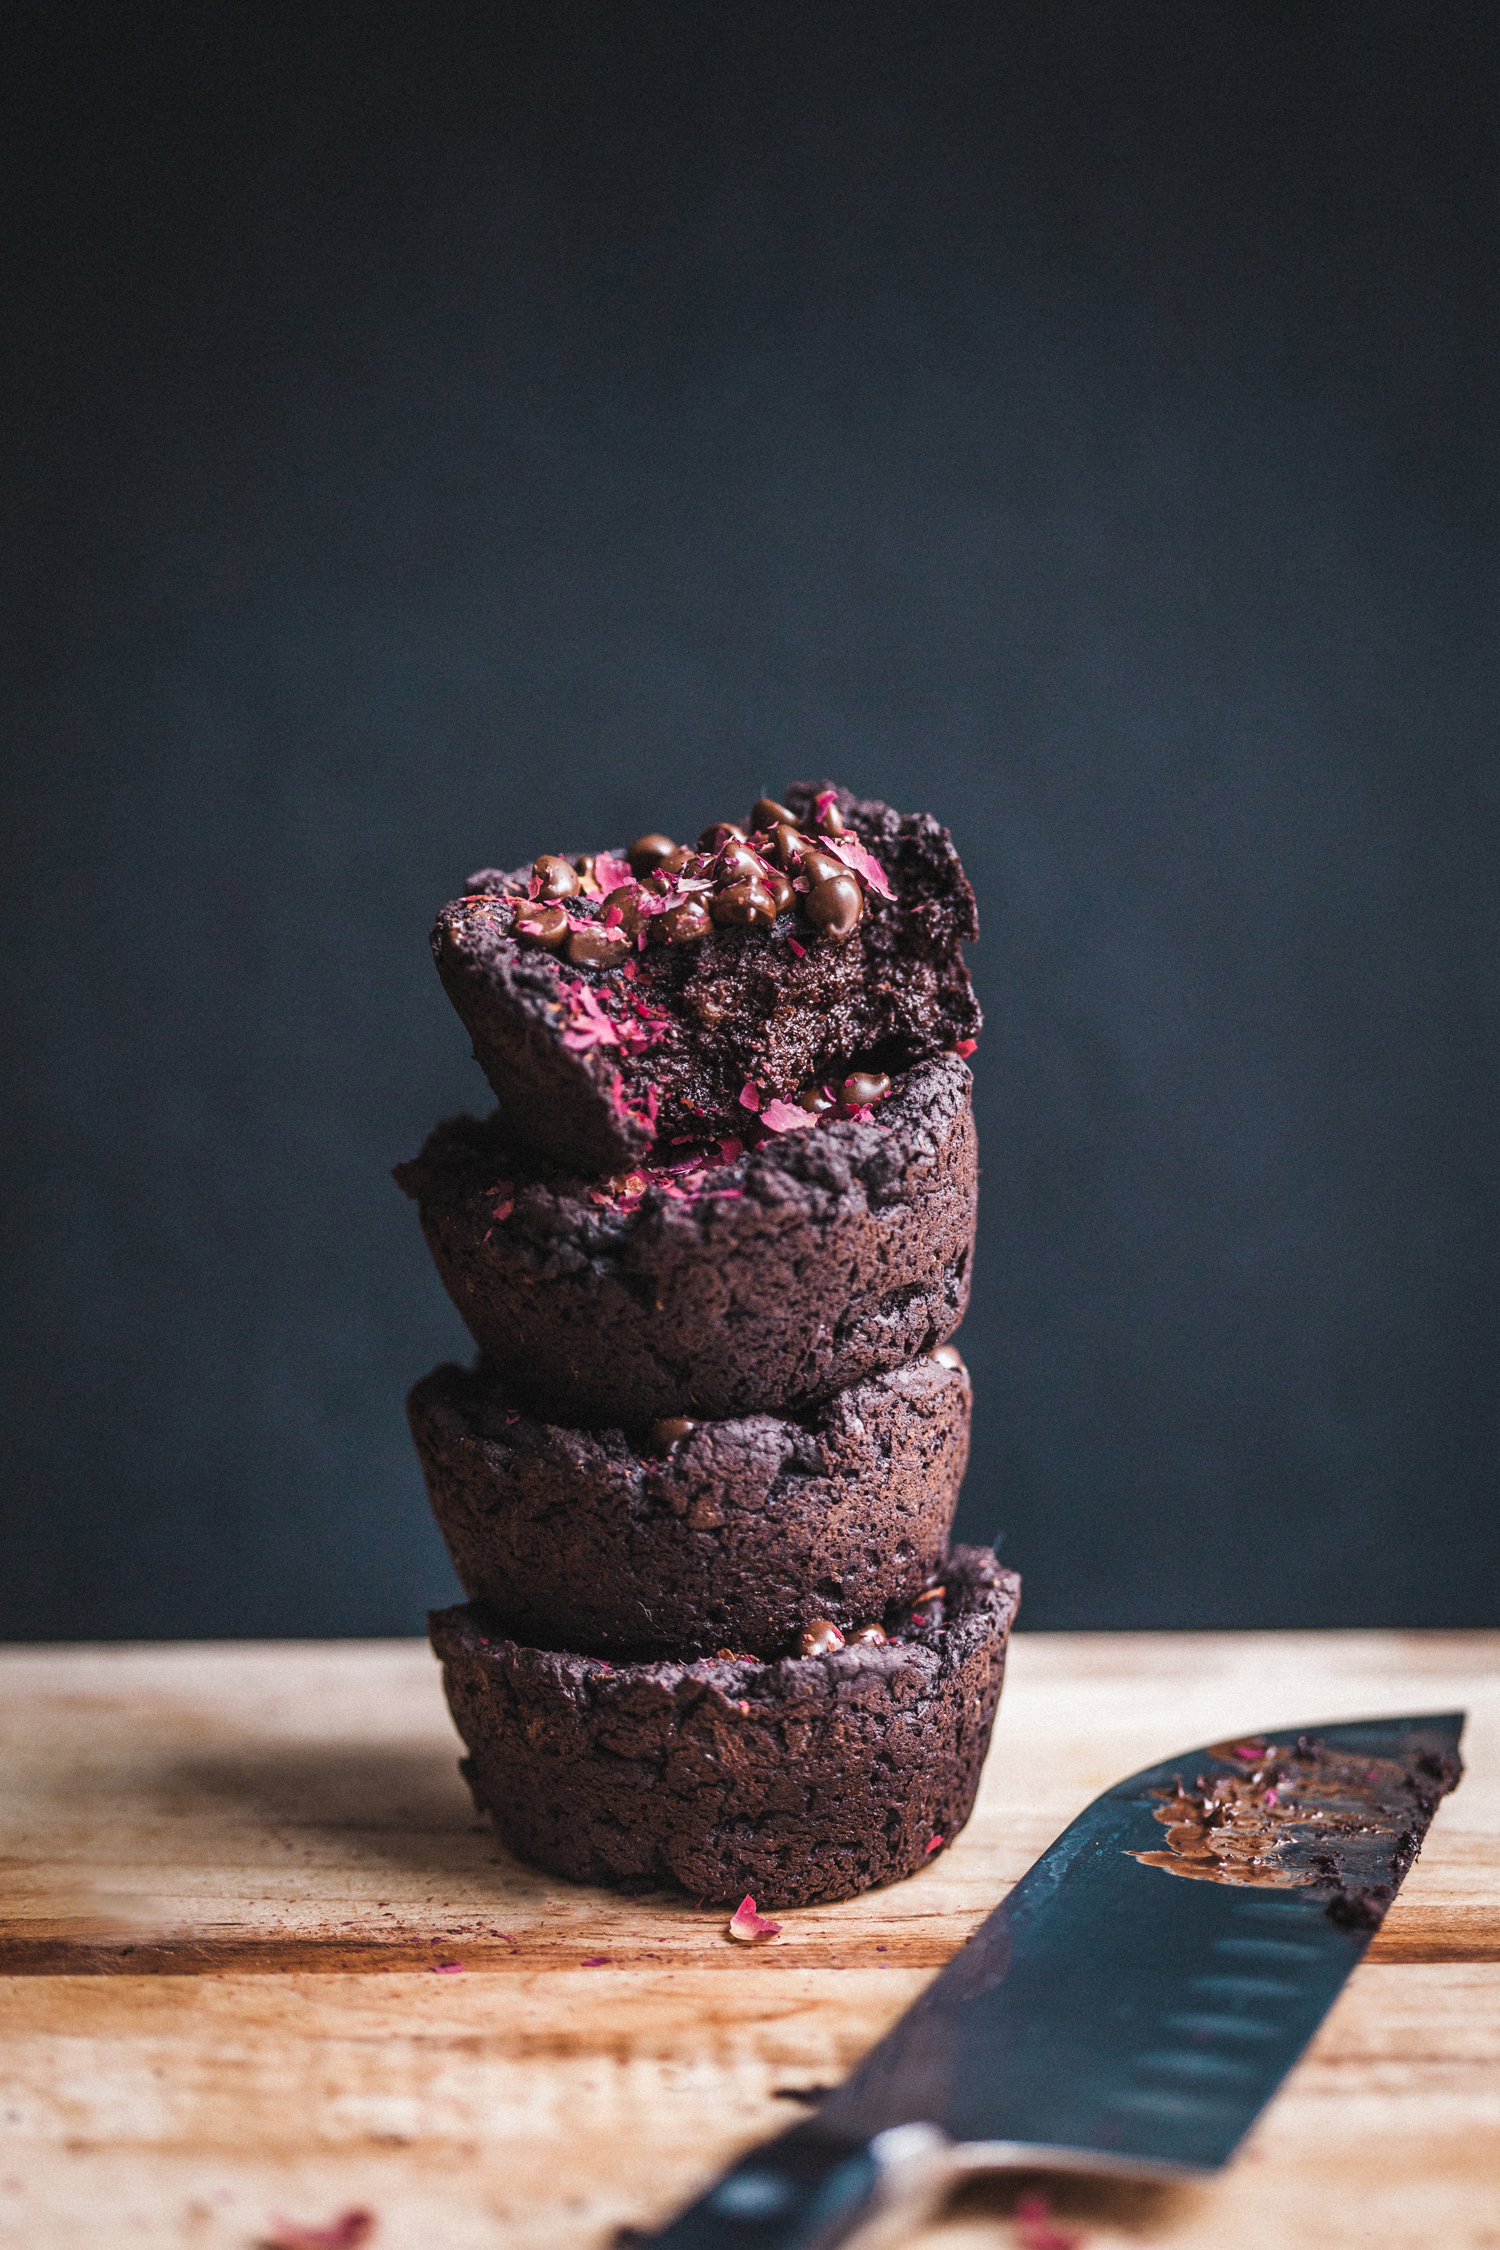
I consider these to be snacking brownies, rather than full-on dessert brownies. They’re vegan, gluten-free, flourless,...
Read Recipe
Read Recipe
Happy 2019, friends! Hope you’ve been having an inspiring beginning to the year. Today we’re excited to announce tha...
Read Recipe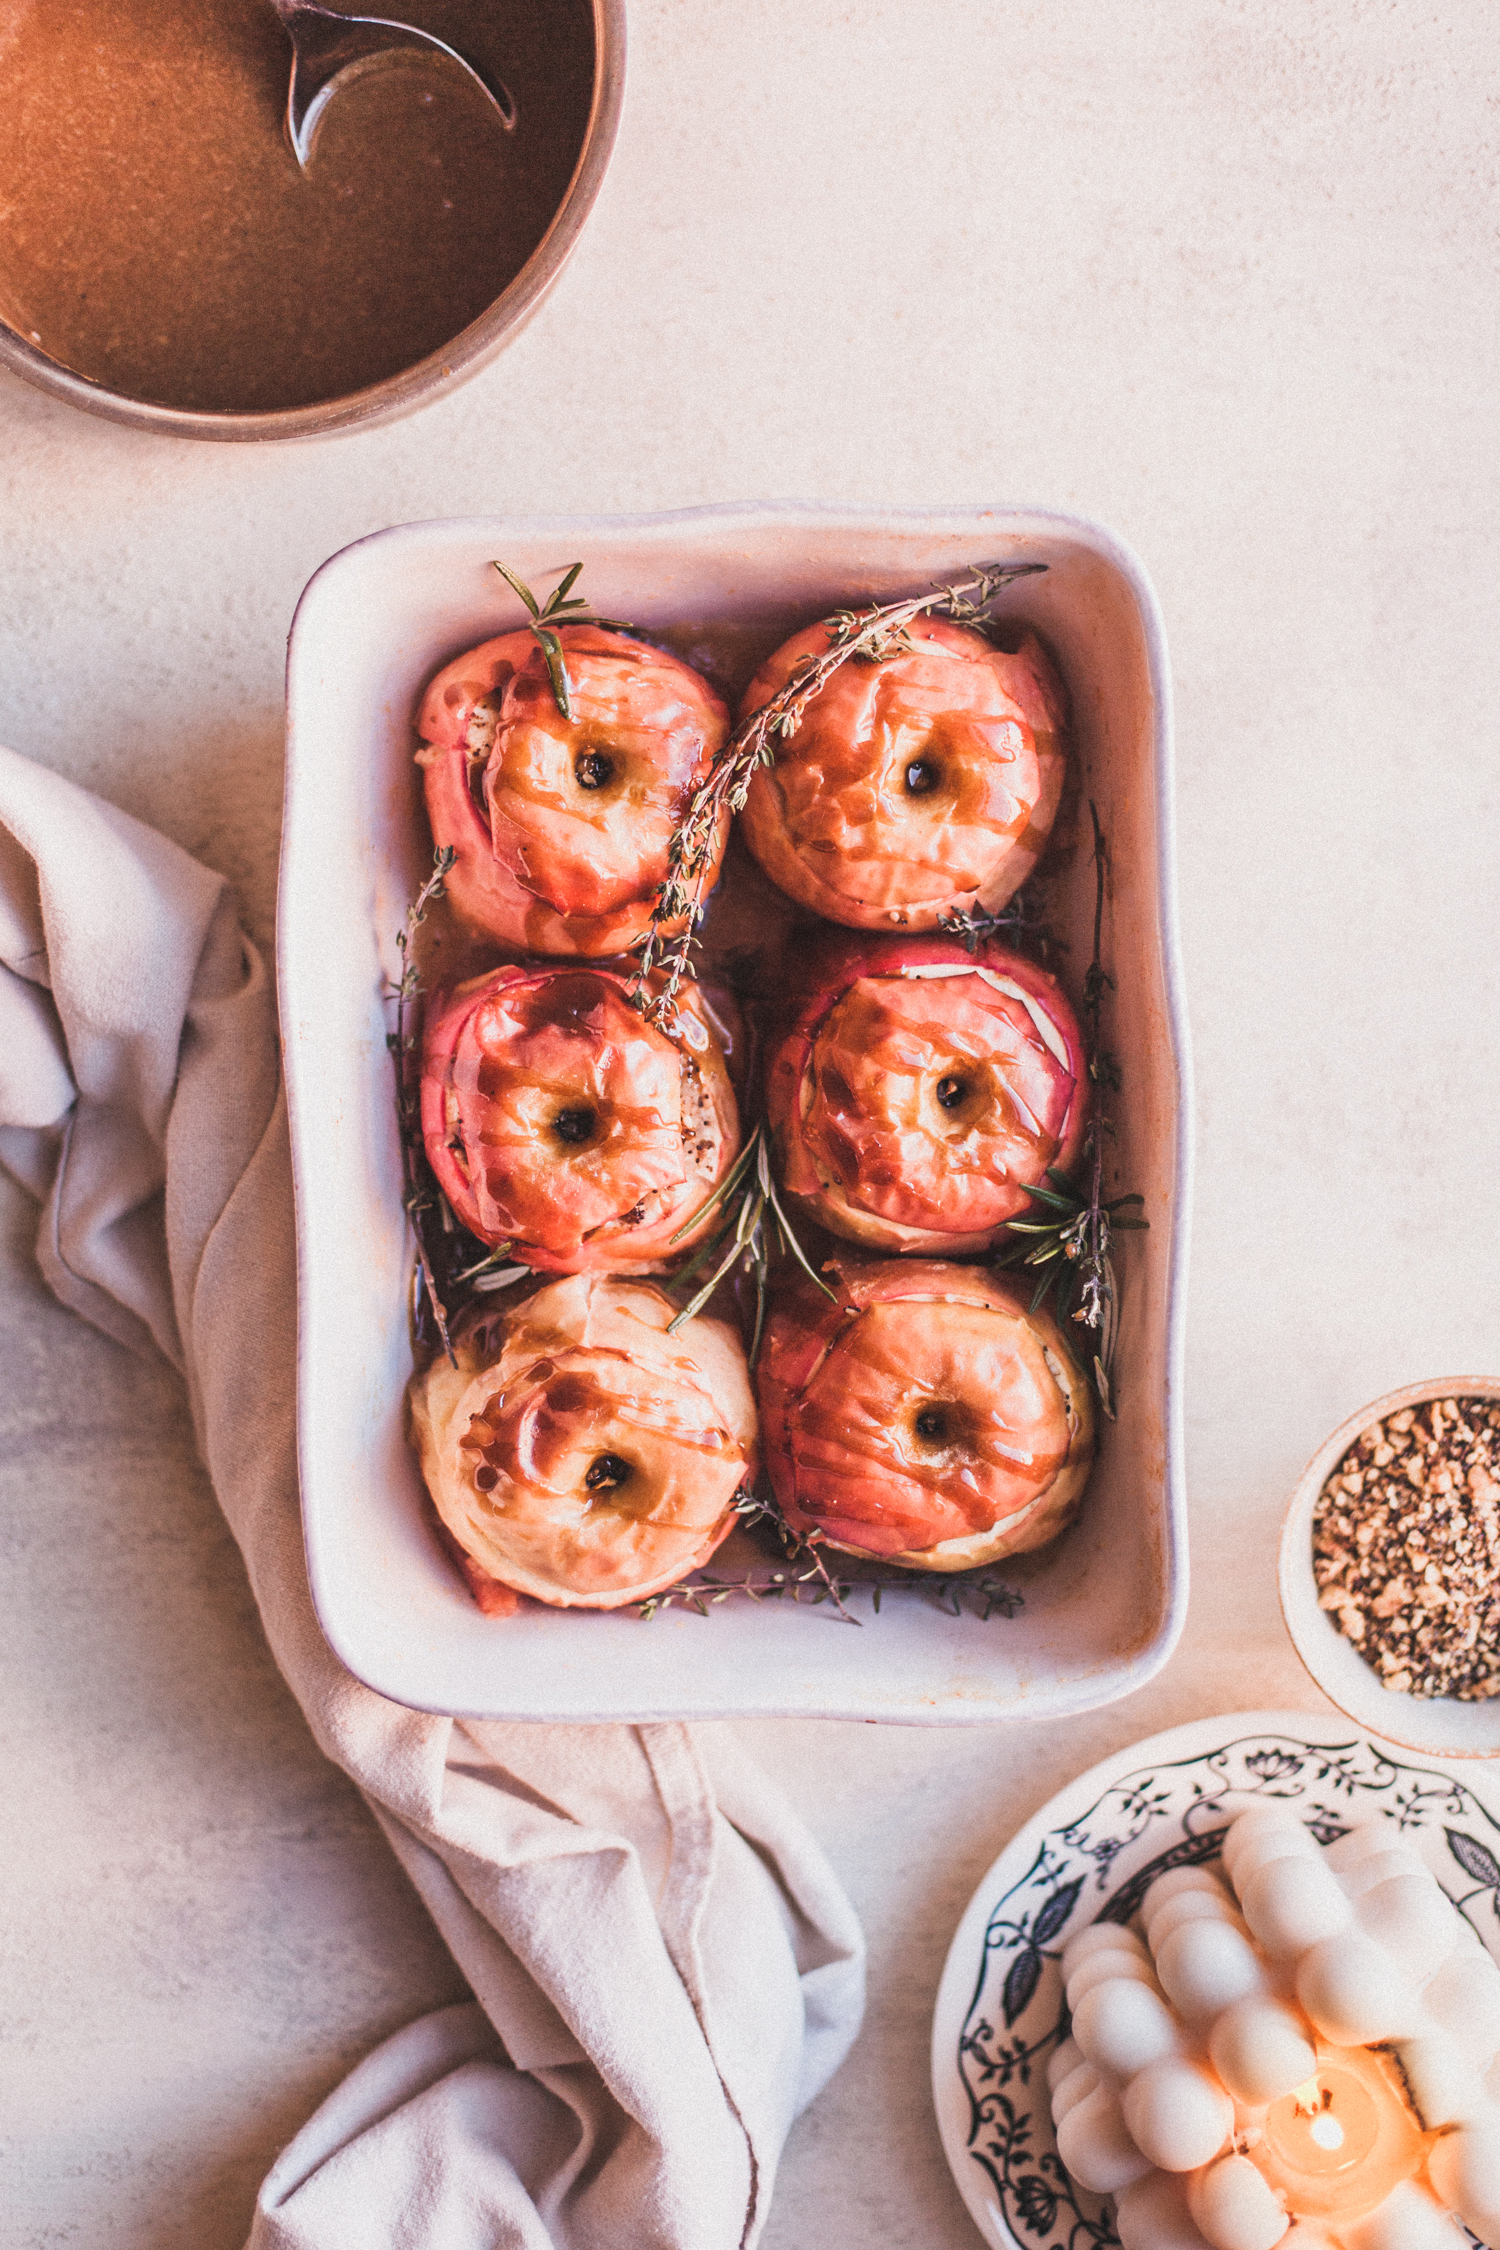
Popping in really quickly today to share the recipe for this holiday table dessert contender – baked apples! These bab...
Read Recipe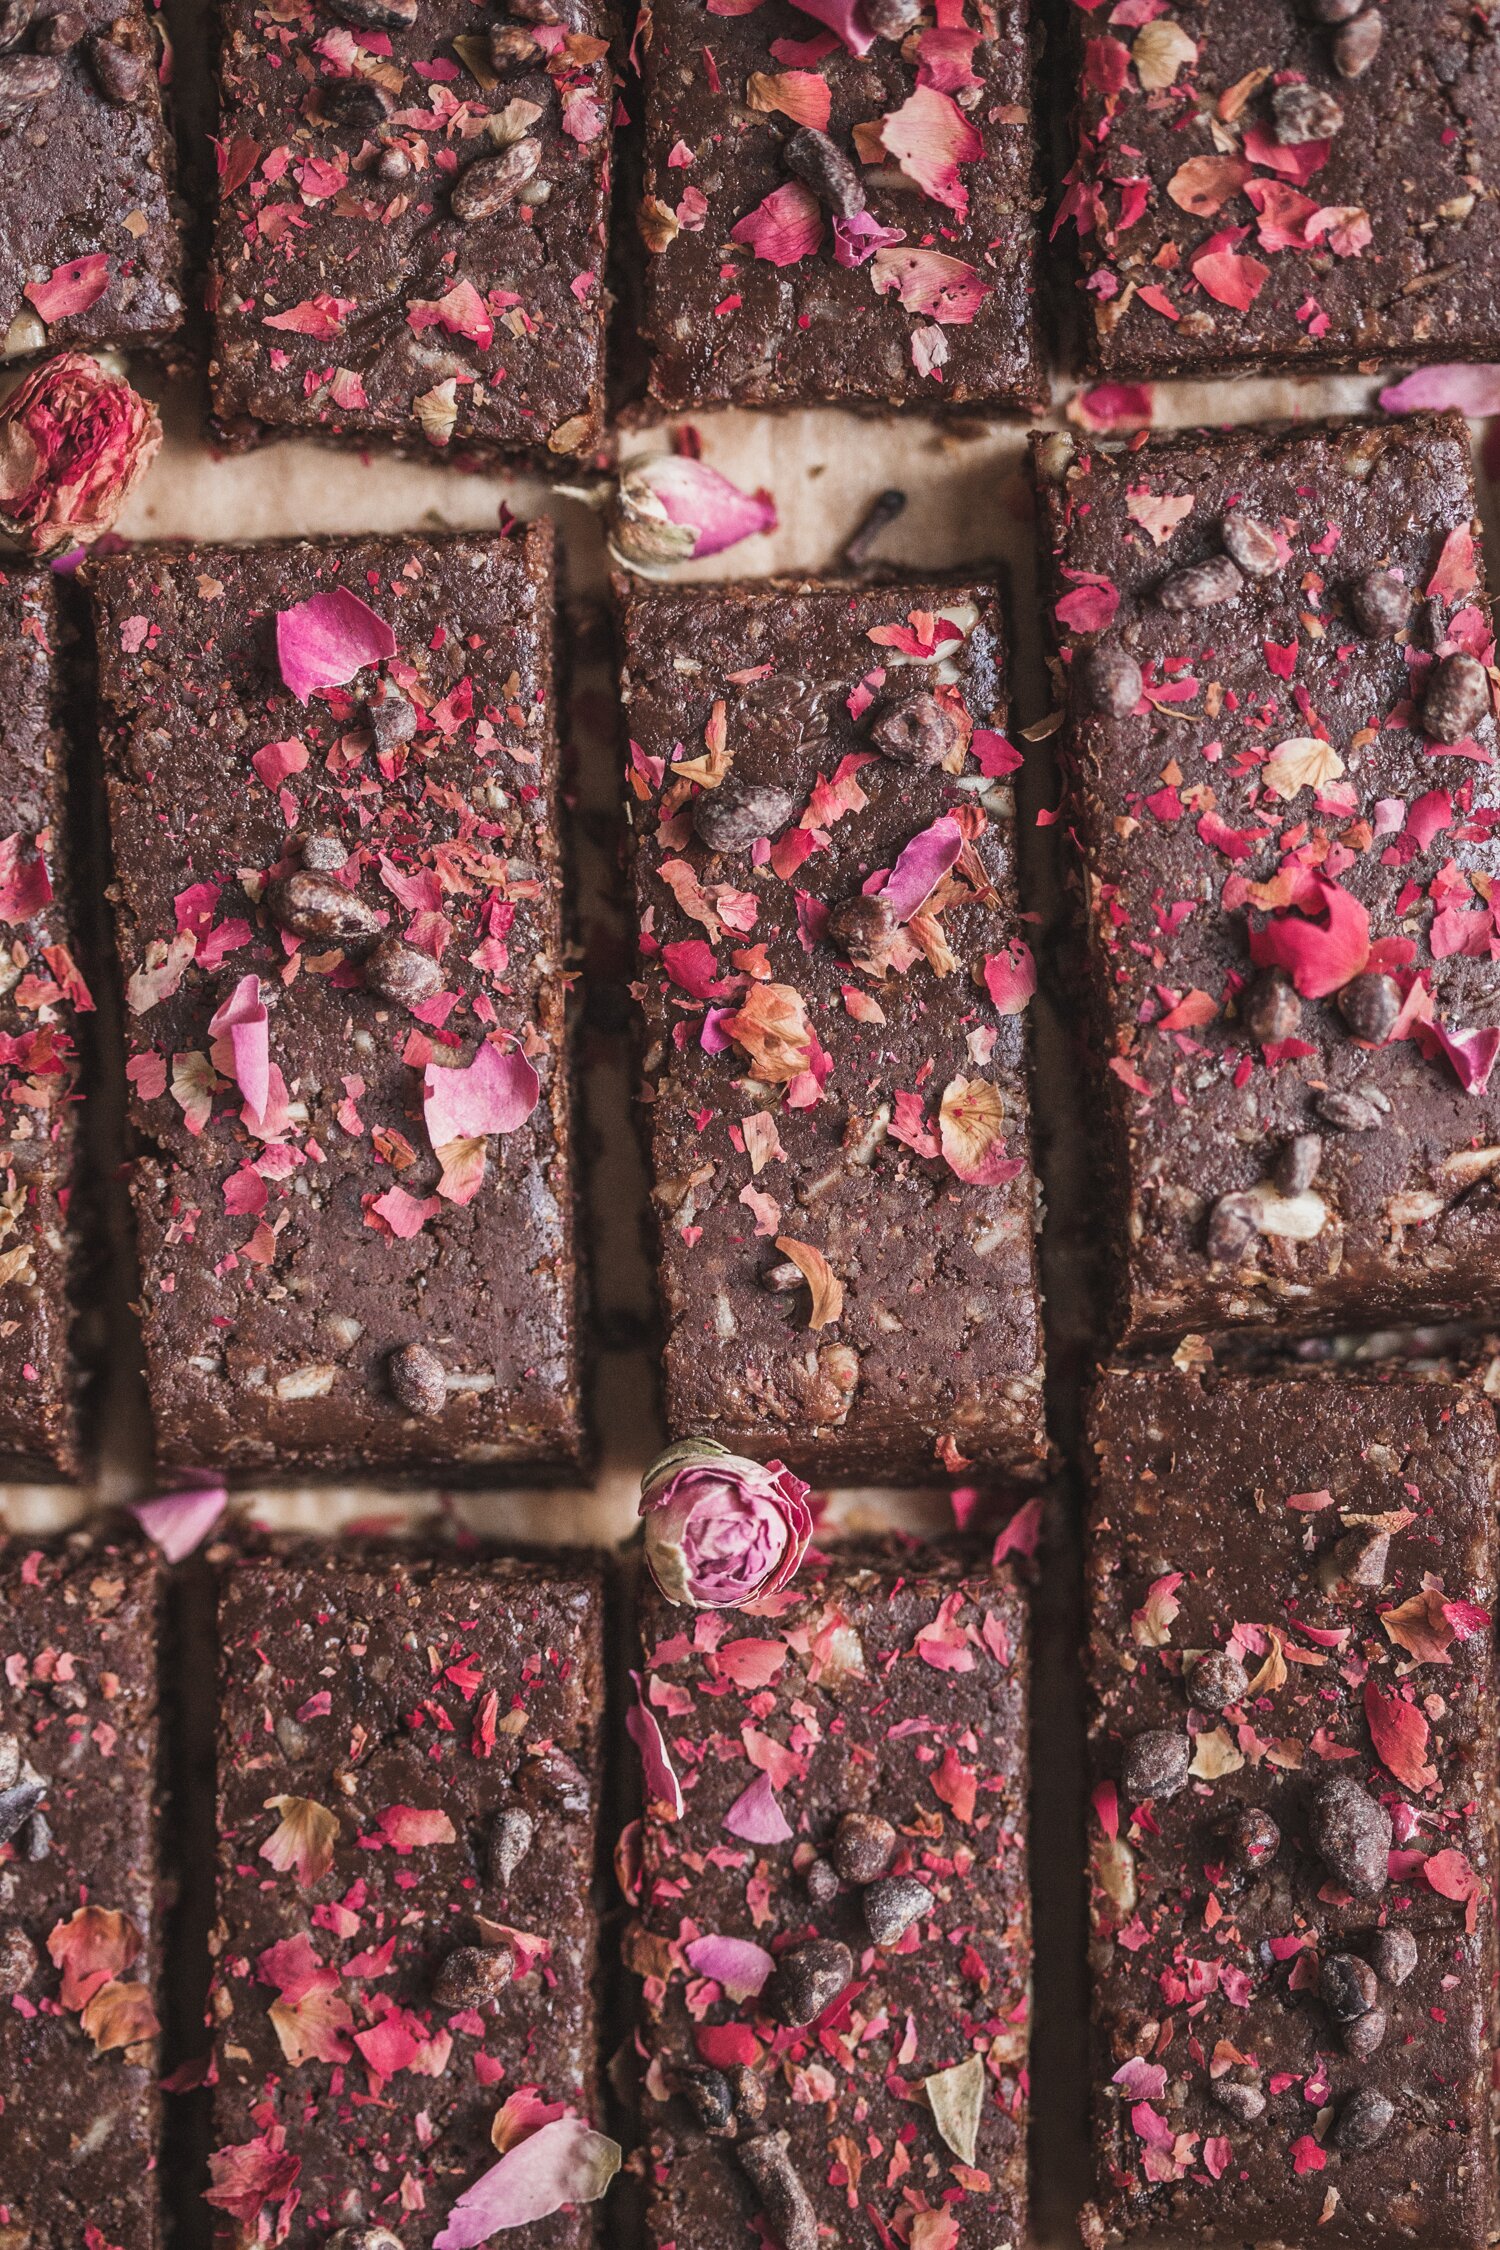
Having wholesome, nourishing snacks around is my way of preparing for success. I’ve never been able to have three squa...
Read Recipe
This post was created in partnership with Nuts.com. We’ve got a subtly red-white-and-blue treat for you...
Read Recipe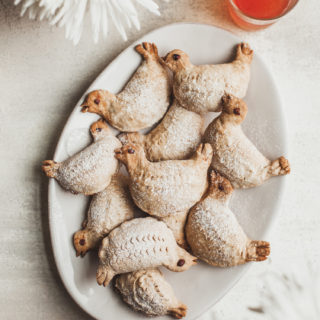
There are still a few spots left in our Abruzzo Forage and Cook Retreat in Italy this coming October! We thought we woul...
Read Recipe
This post was created in partnership with Nuts.com. There are a lot of healthful, chocolatey nut spread r...
Read Recipe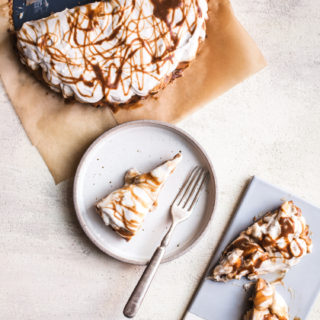
Before we get to this heavenly Banana Cream Tart, we’re going to squeeze in a quick word about our very first vegan/ve...
Read Recipe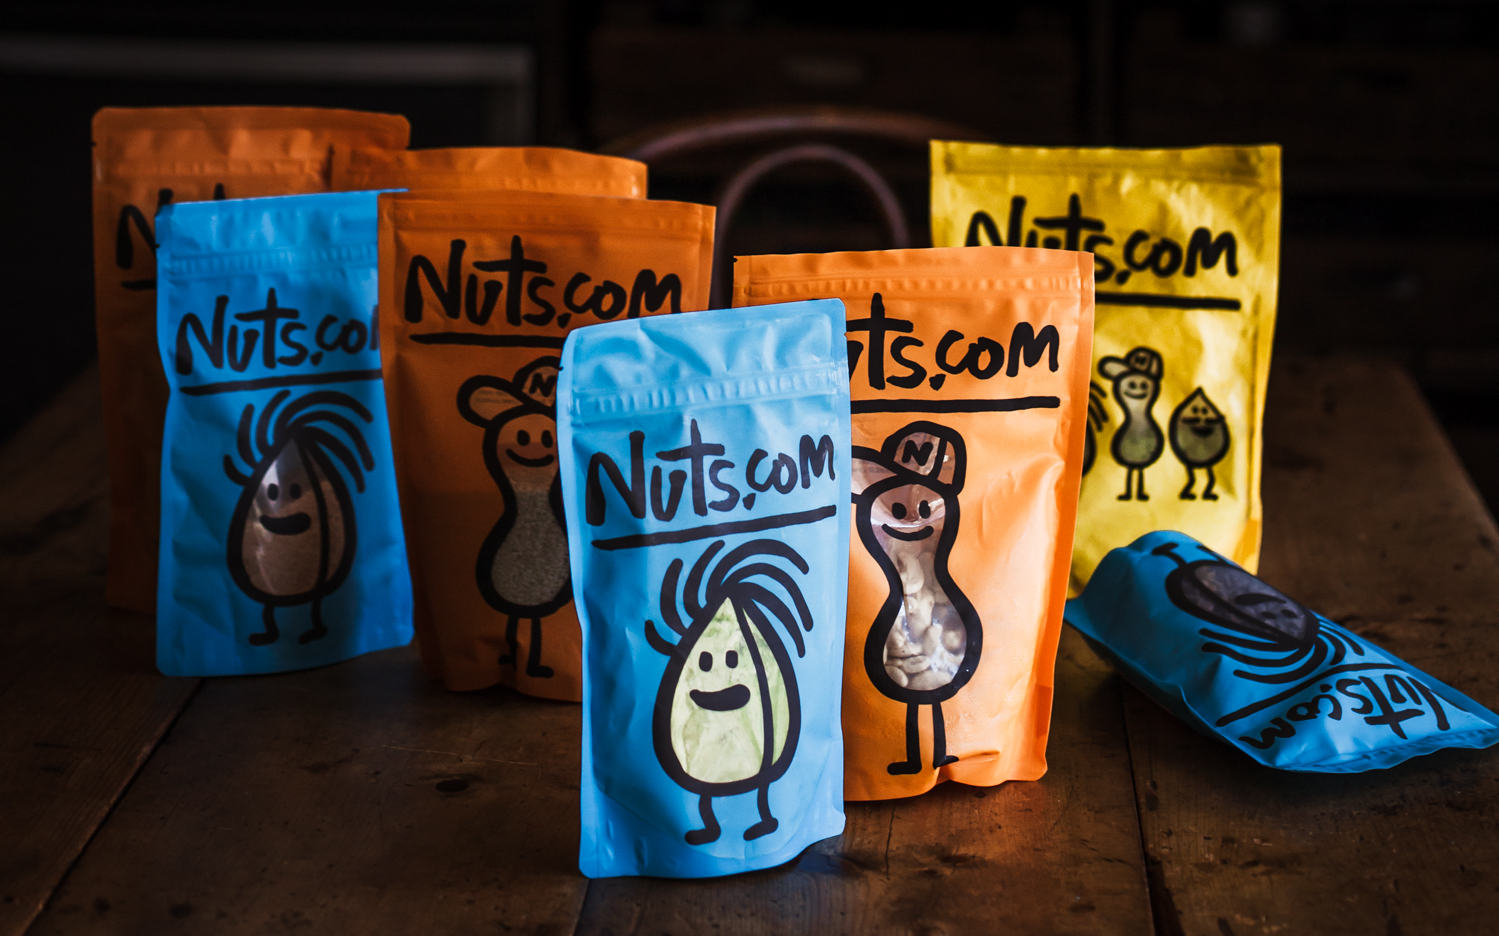
This post was created in partnership with Nuts.com. Pudding/mousse-like desserts are my favorite, and comi...
Read Recipe
This post was created in partnership with Nuts.com. If chocolate chip cookies, oatmeal cookies, and banana...
Read Recipe
This post was created in partnership with Nuts.com. Sorry we didn’t post these guys for you before Valen...
Read Recipe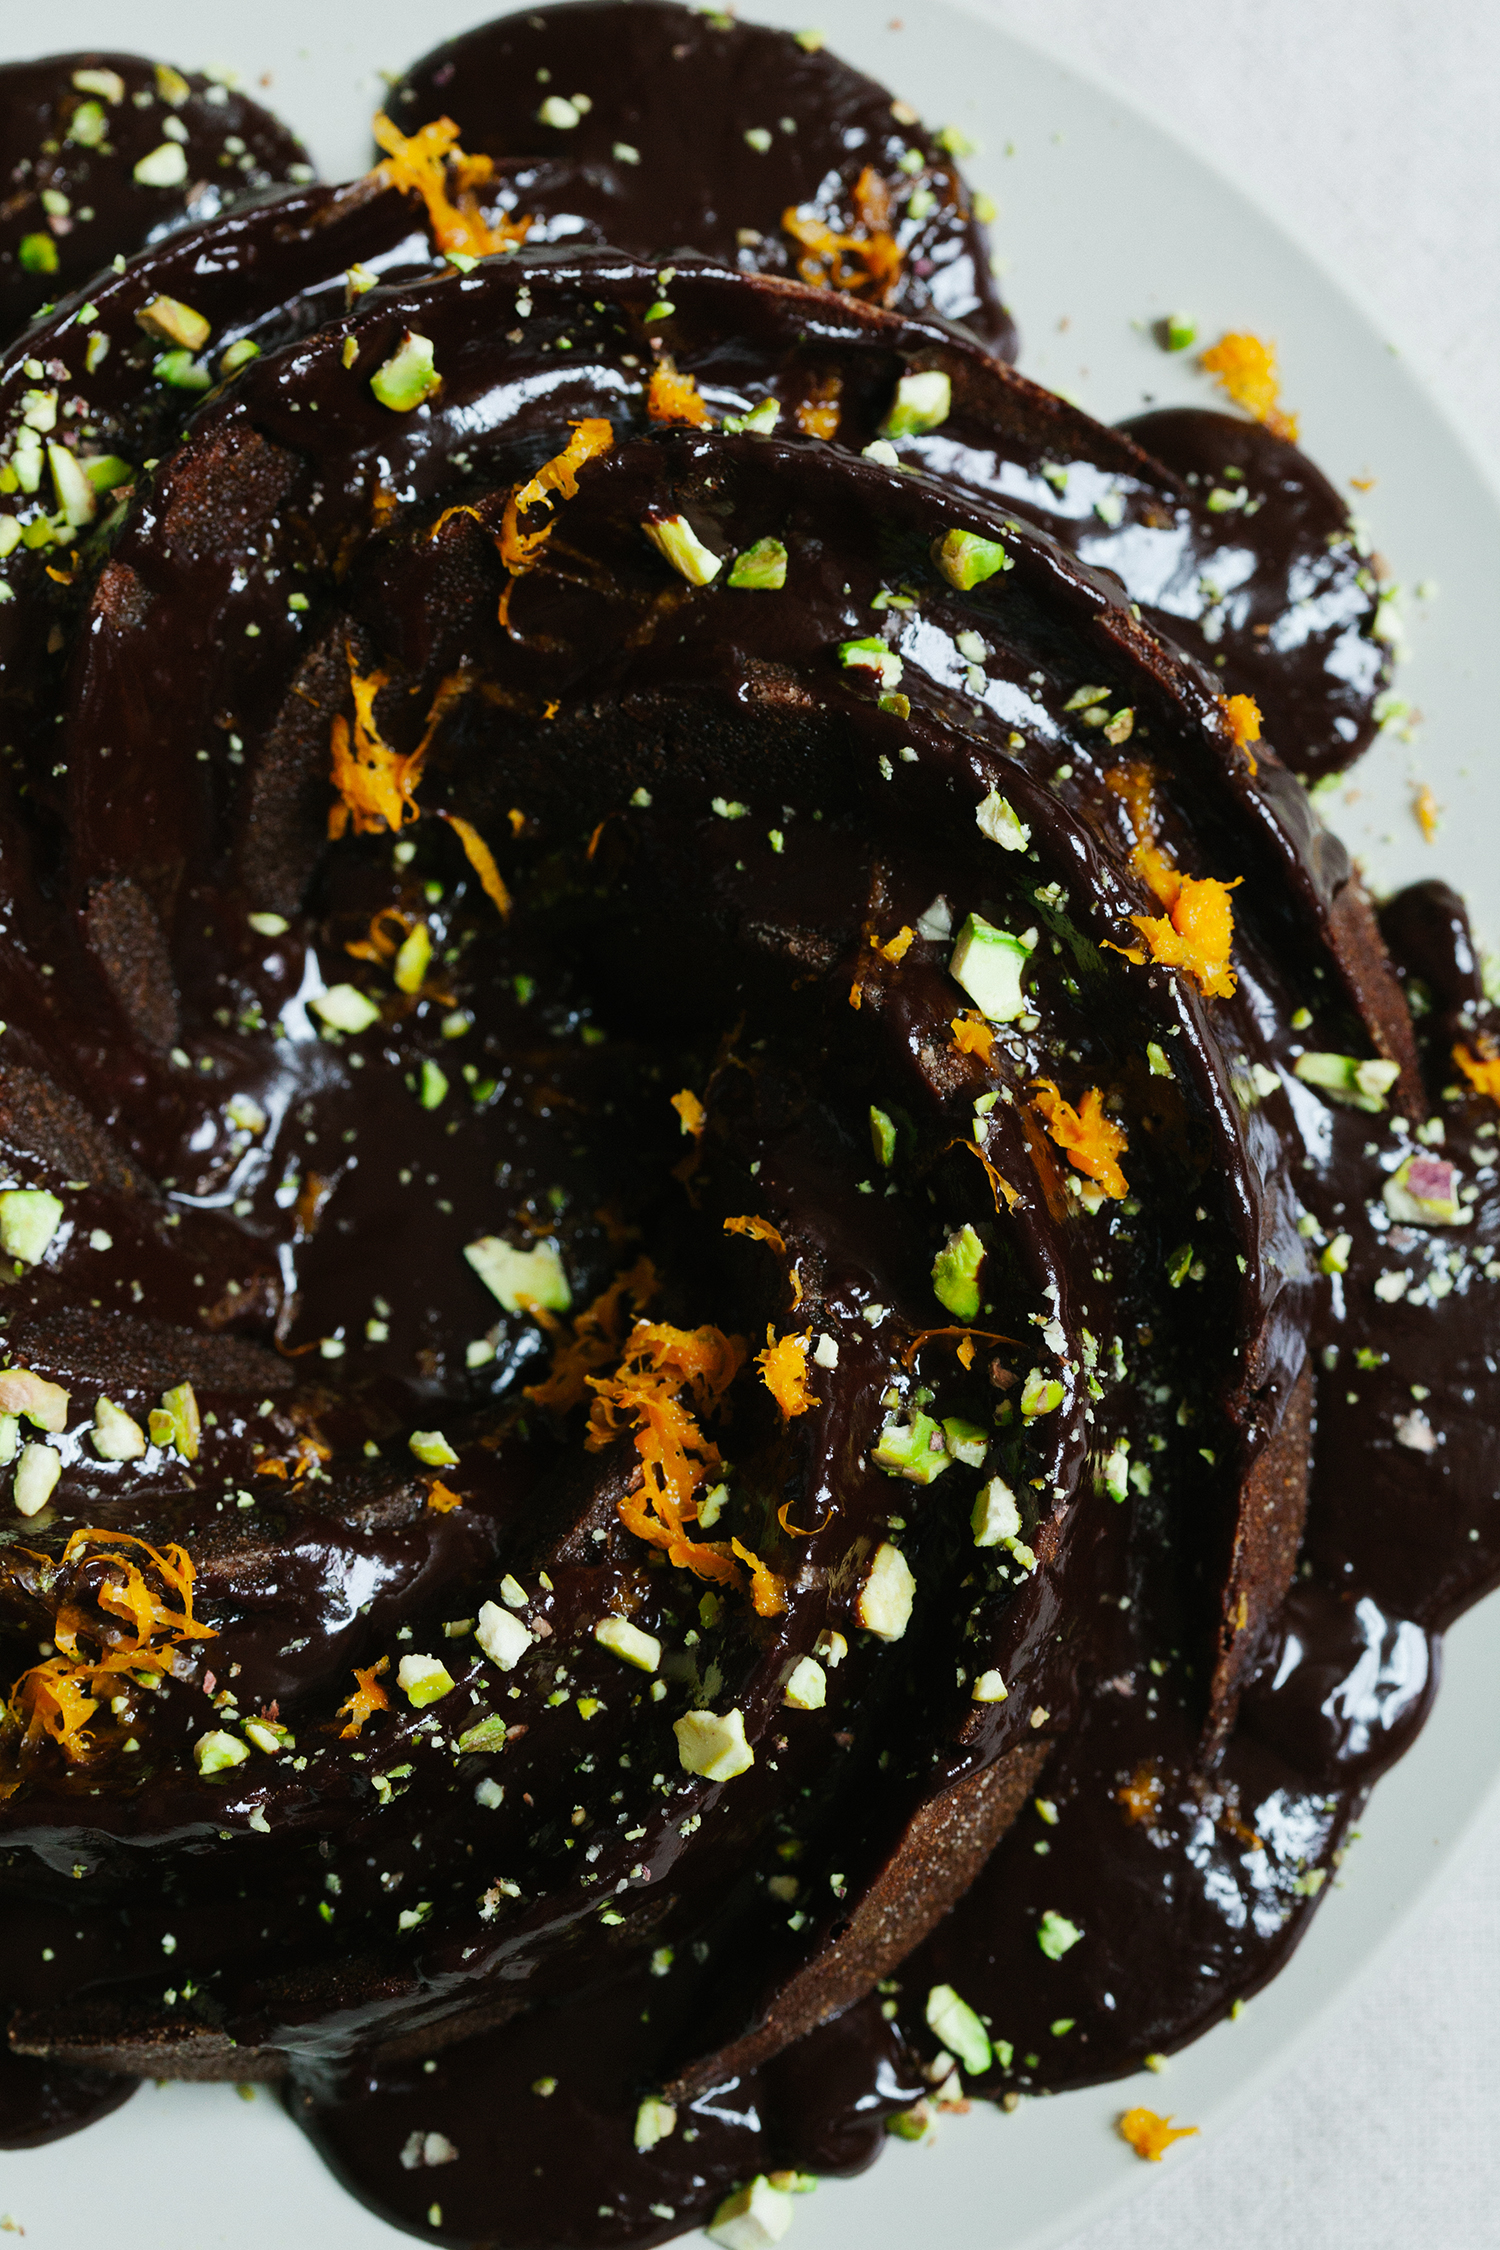
Today we are sharing another step-by-step video we filmed of one of our favorite recipes from Simply Vibrant, in order ...
Read Recipe
This post was created in partnership with Nuts.com. My love affair with the combination of matcha and sesa...
Read Recipe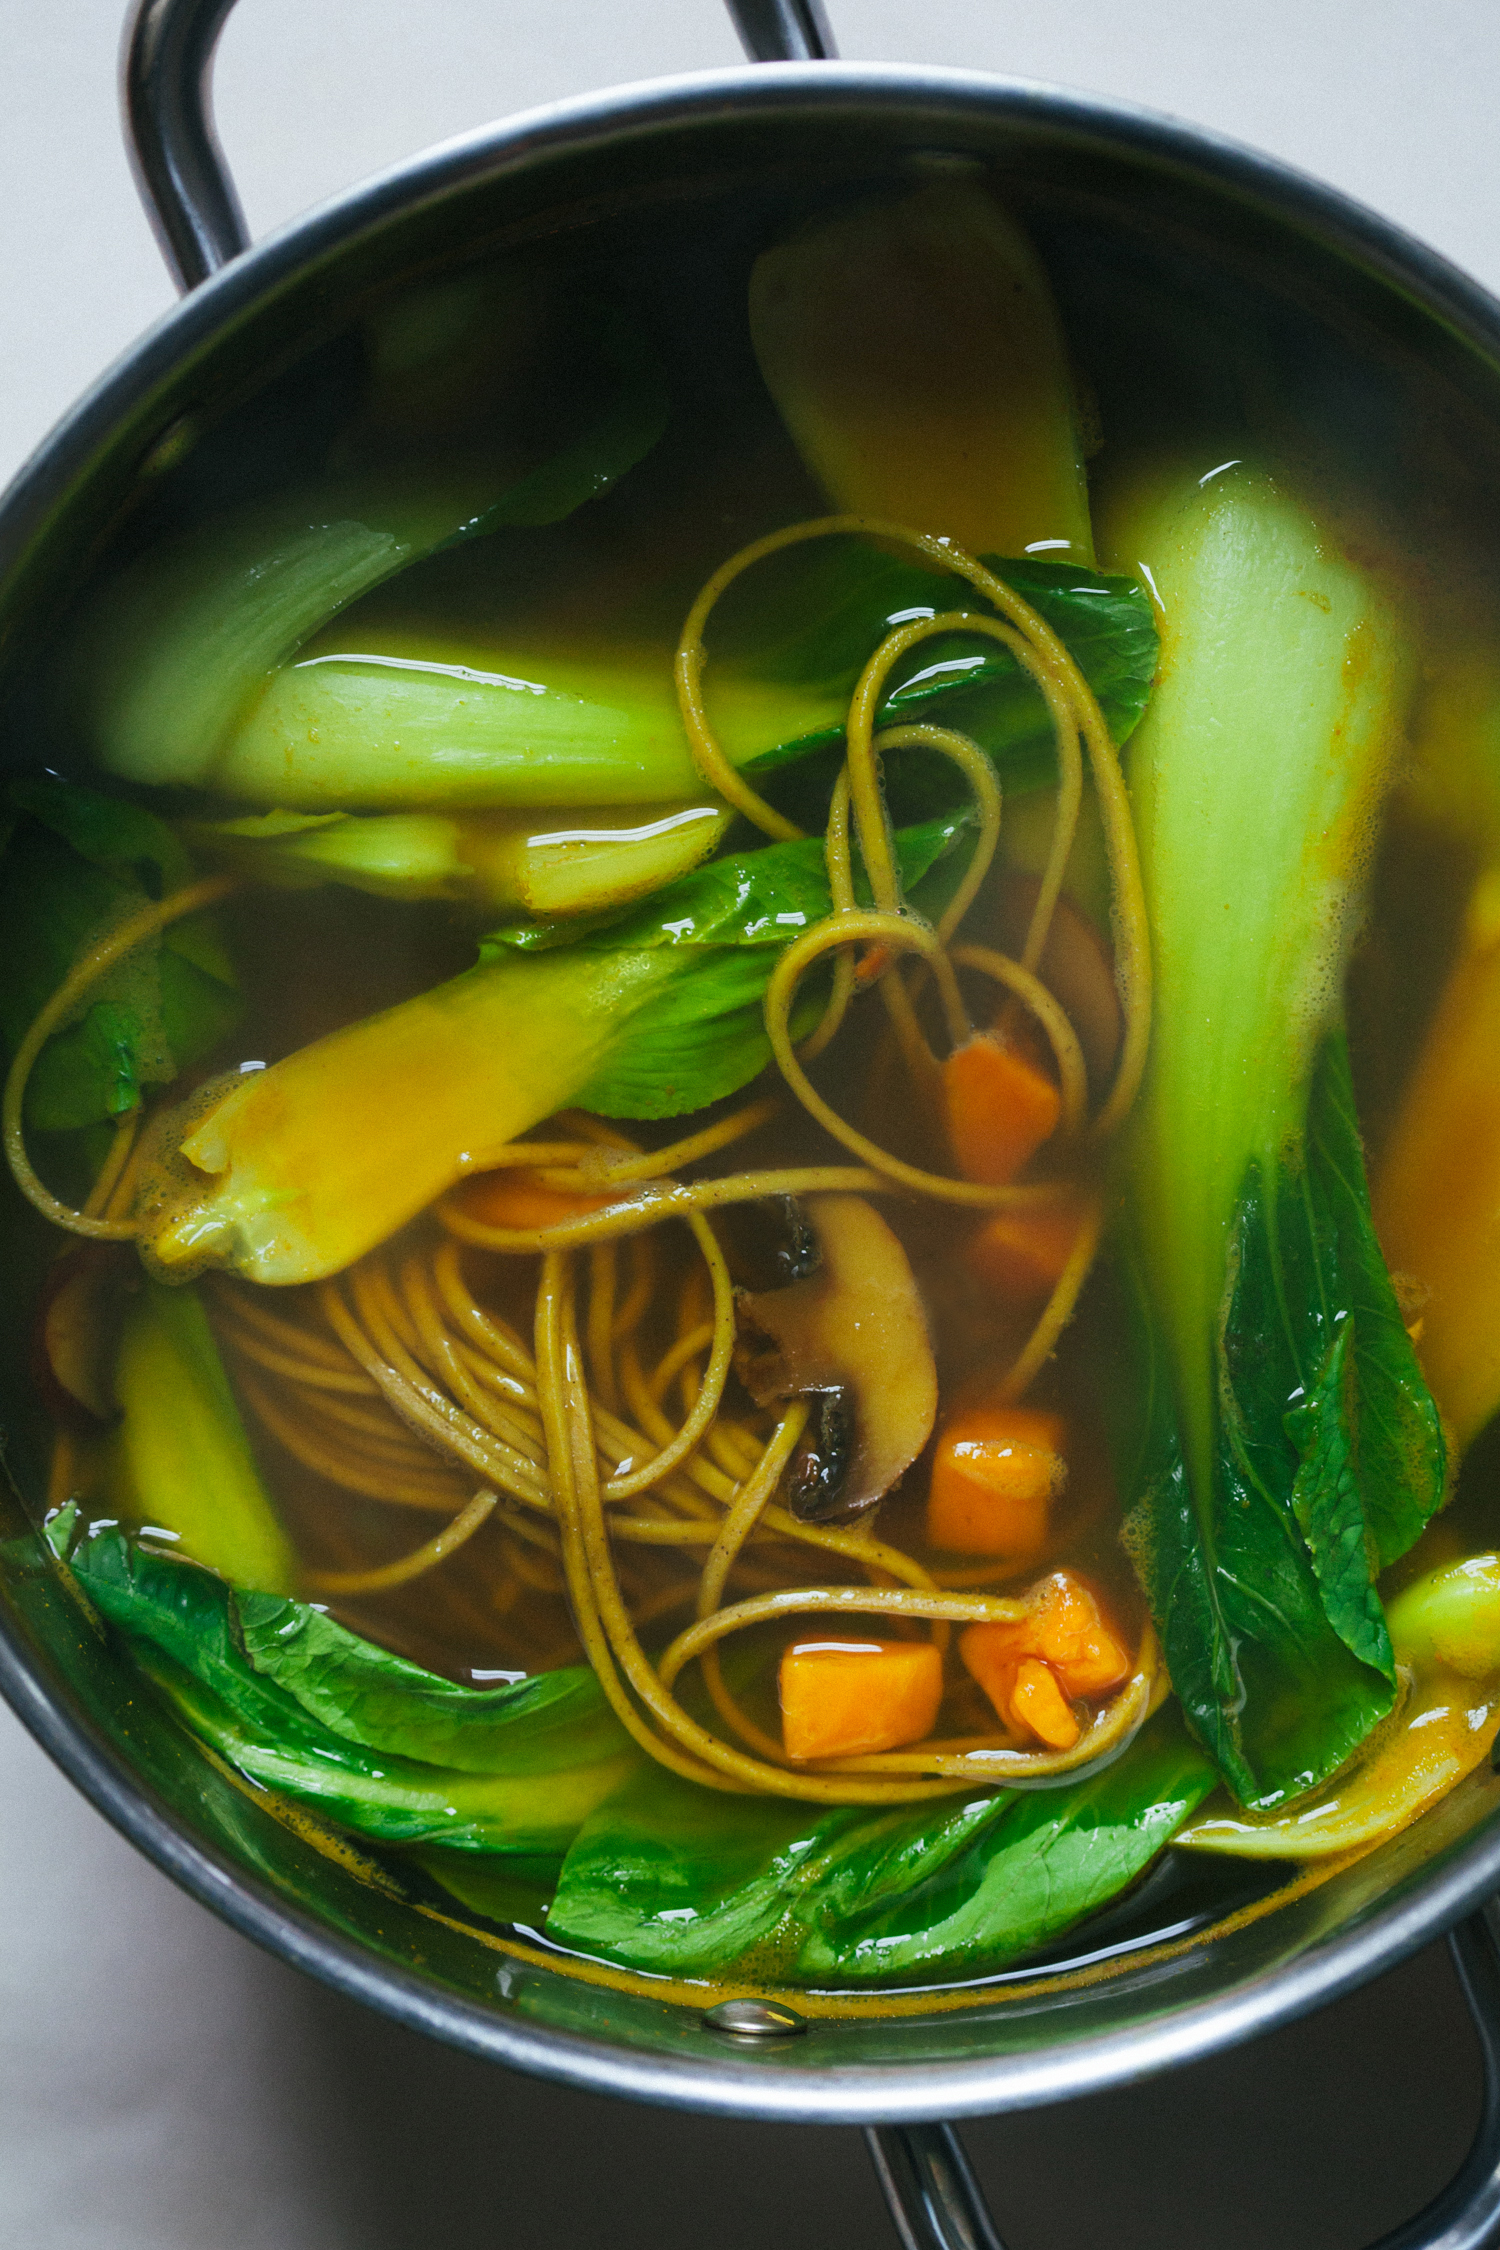
Happy New Year, friends! We wanted to stop by with a round-up of vegan and gluten-free New Year reset-friendly recipes ...
Read Recipe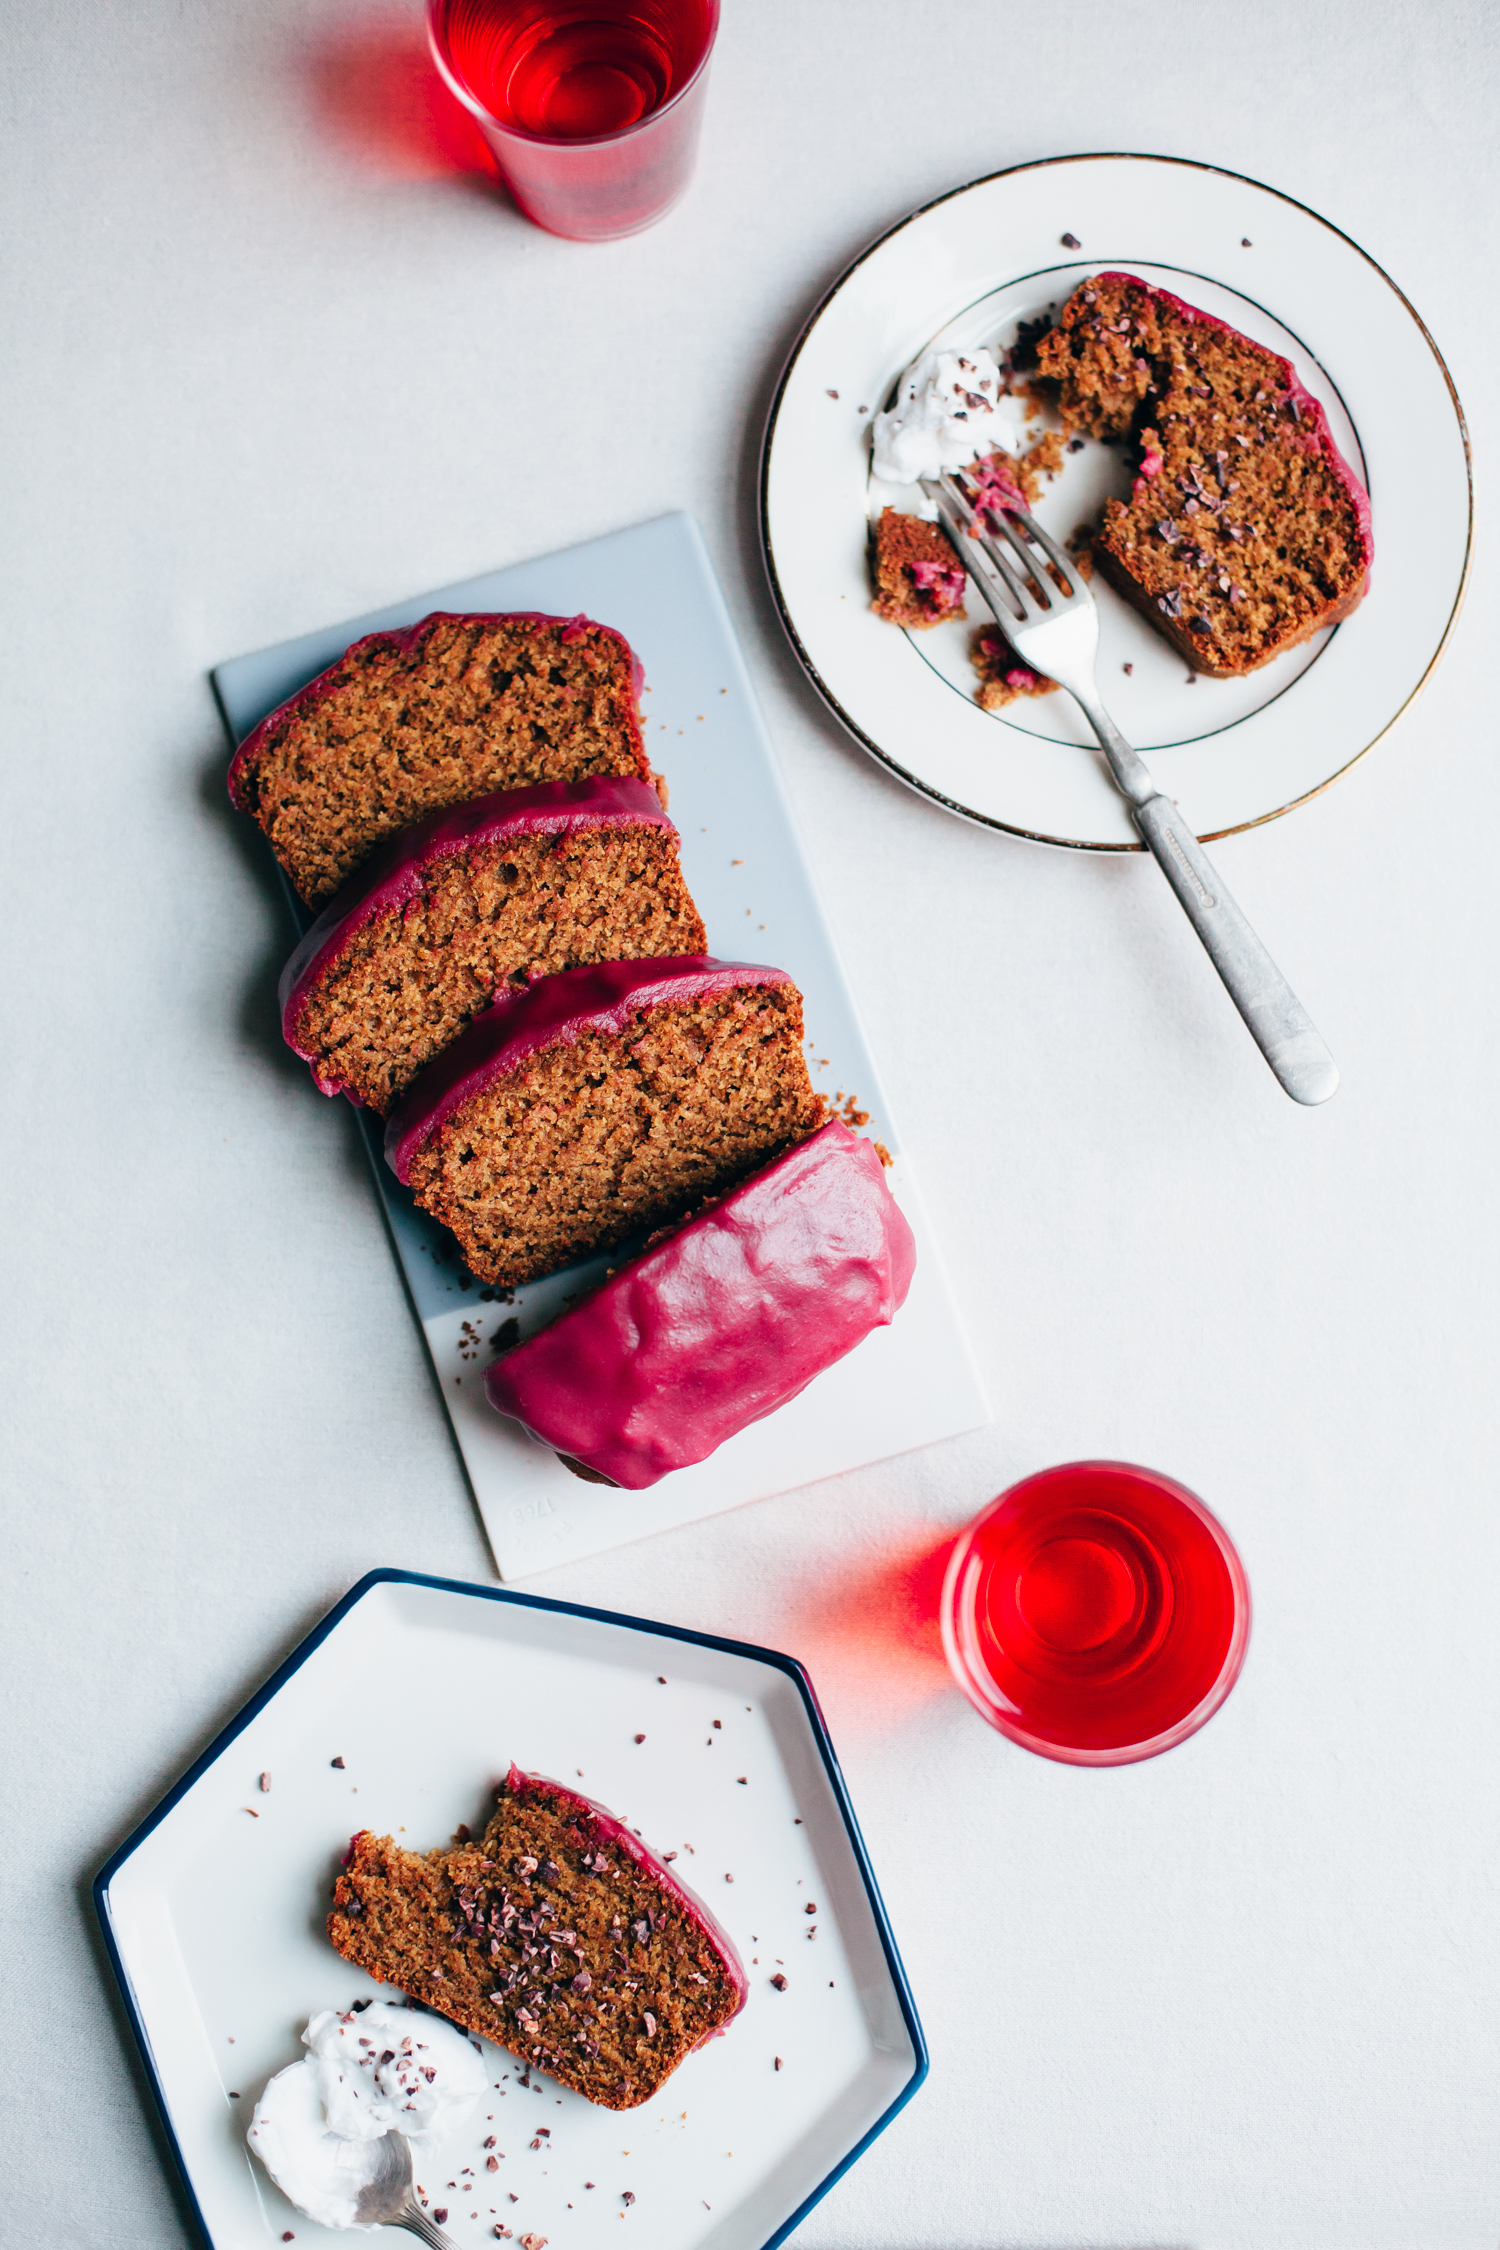
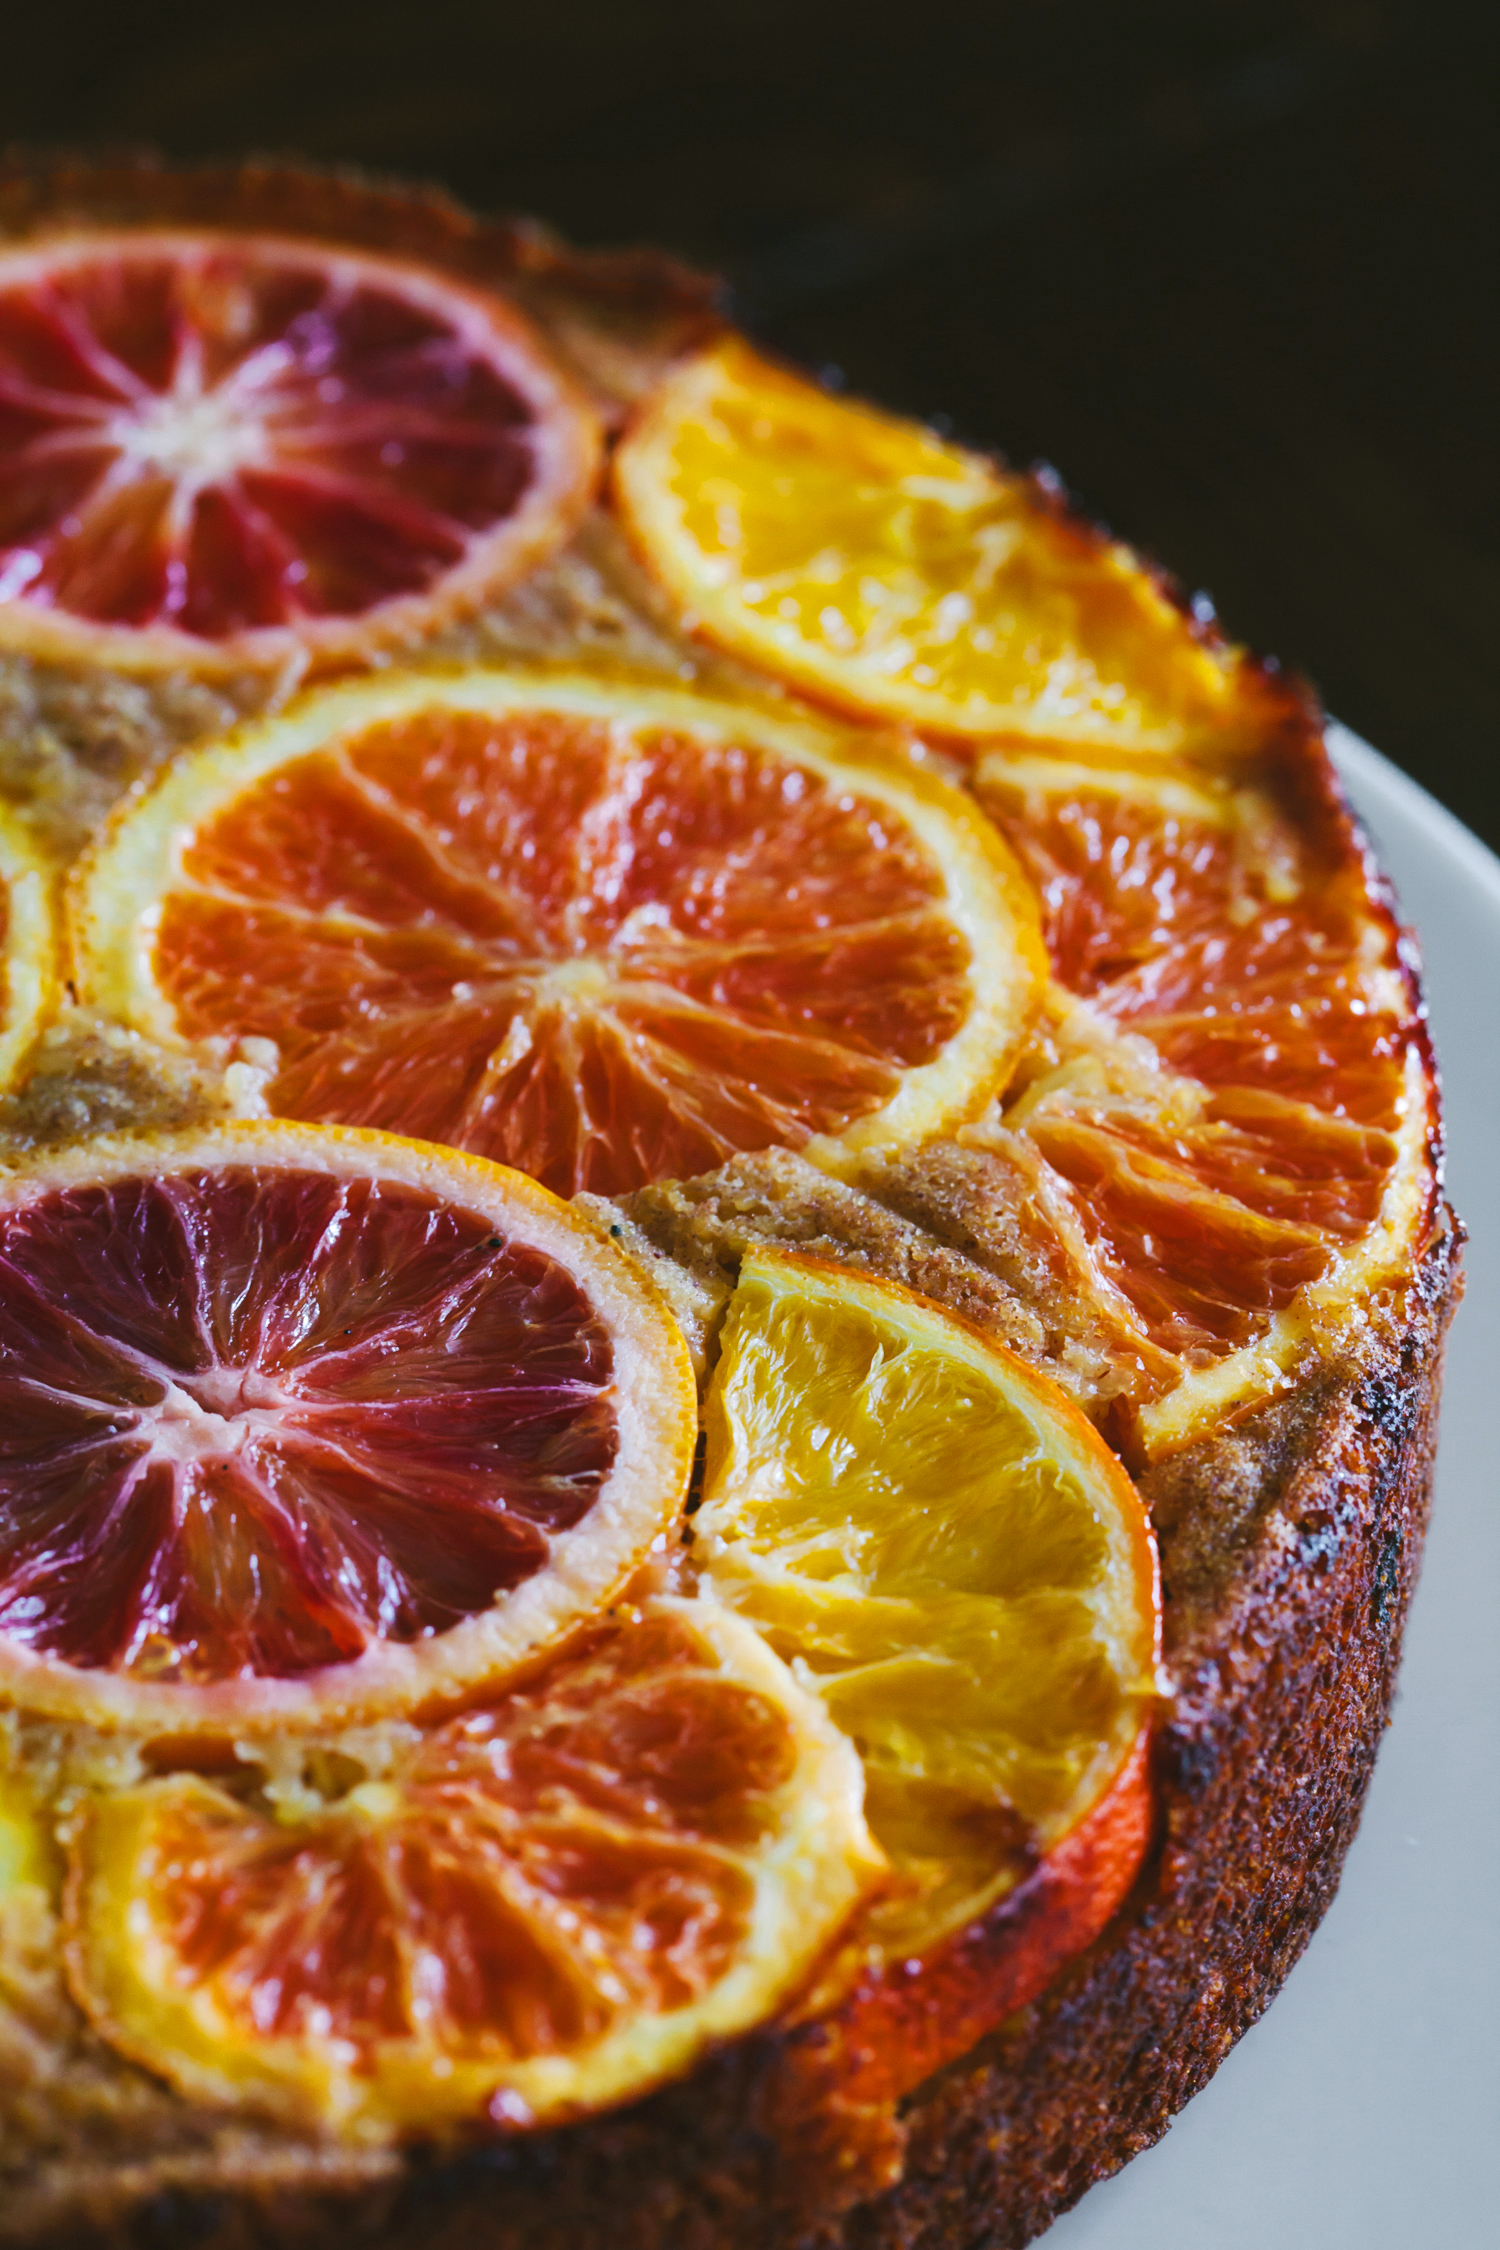
Checking in really quickly with this olive oil loaf that we haven’t been able to get out of our heads. We knew that we...
Read Recipe
This post was created in Partnership with Nuts.com Coming to you with my favorite, easy treat as of late. ...
Read Recipe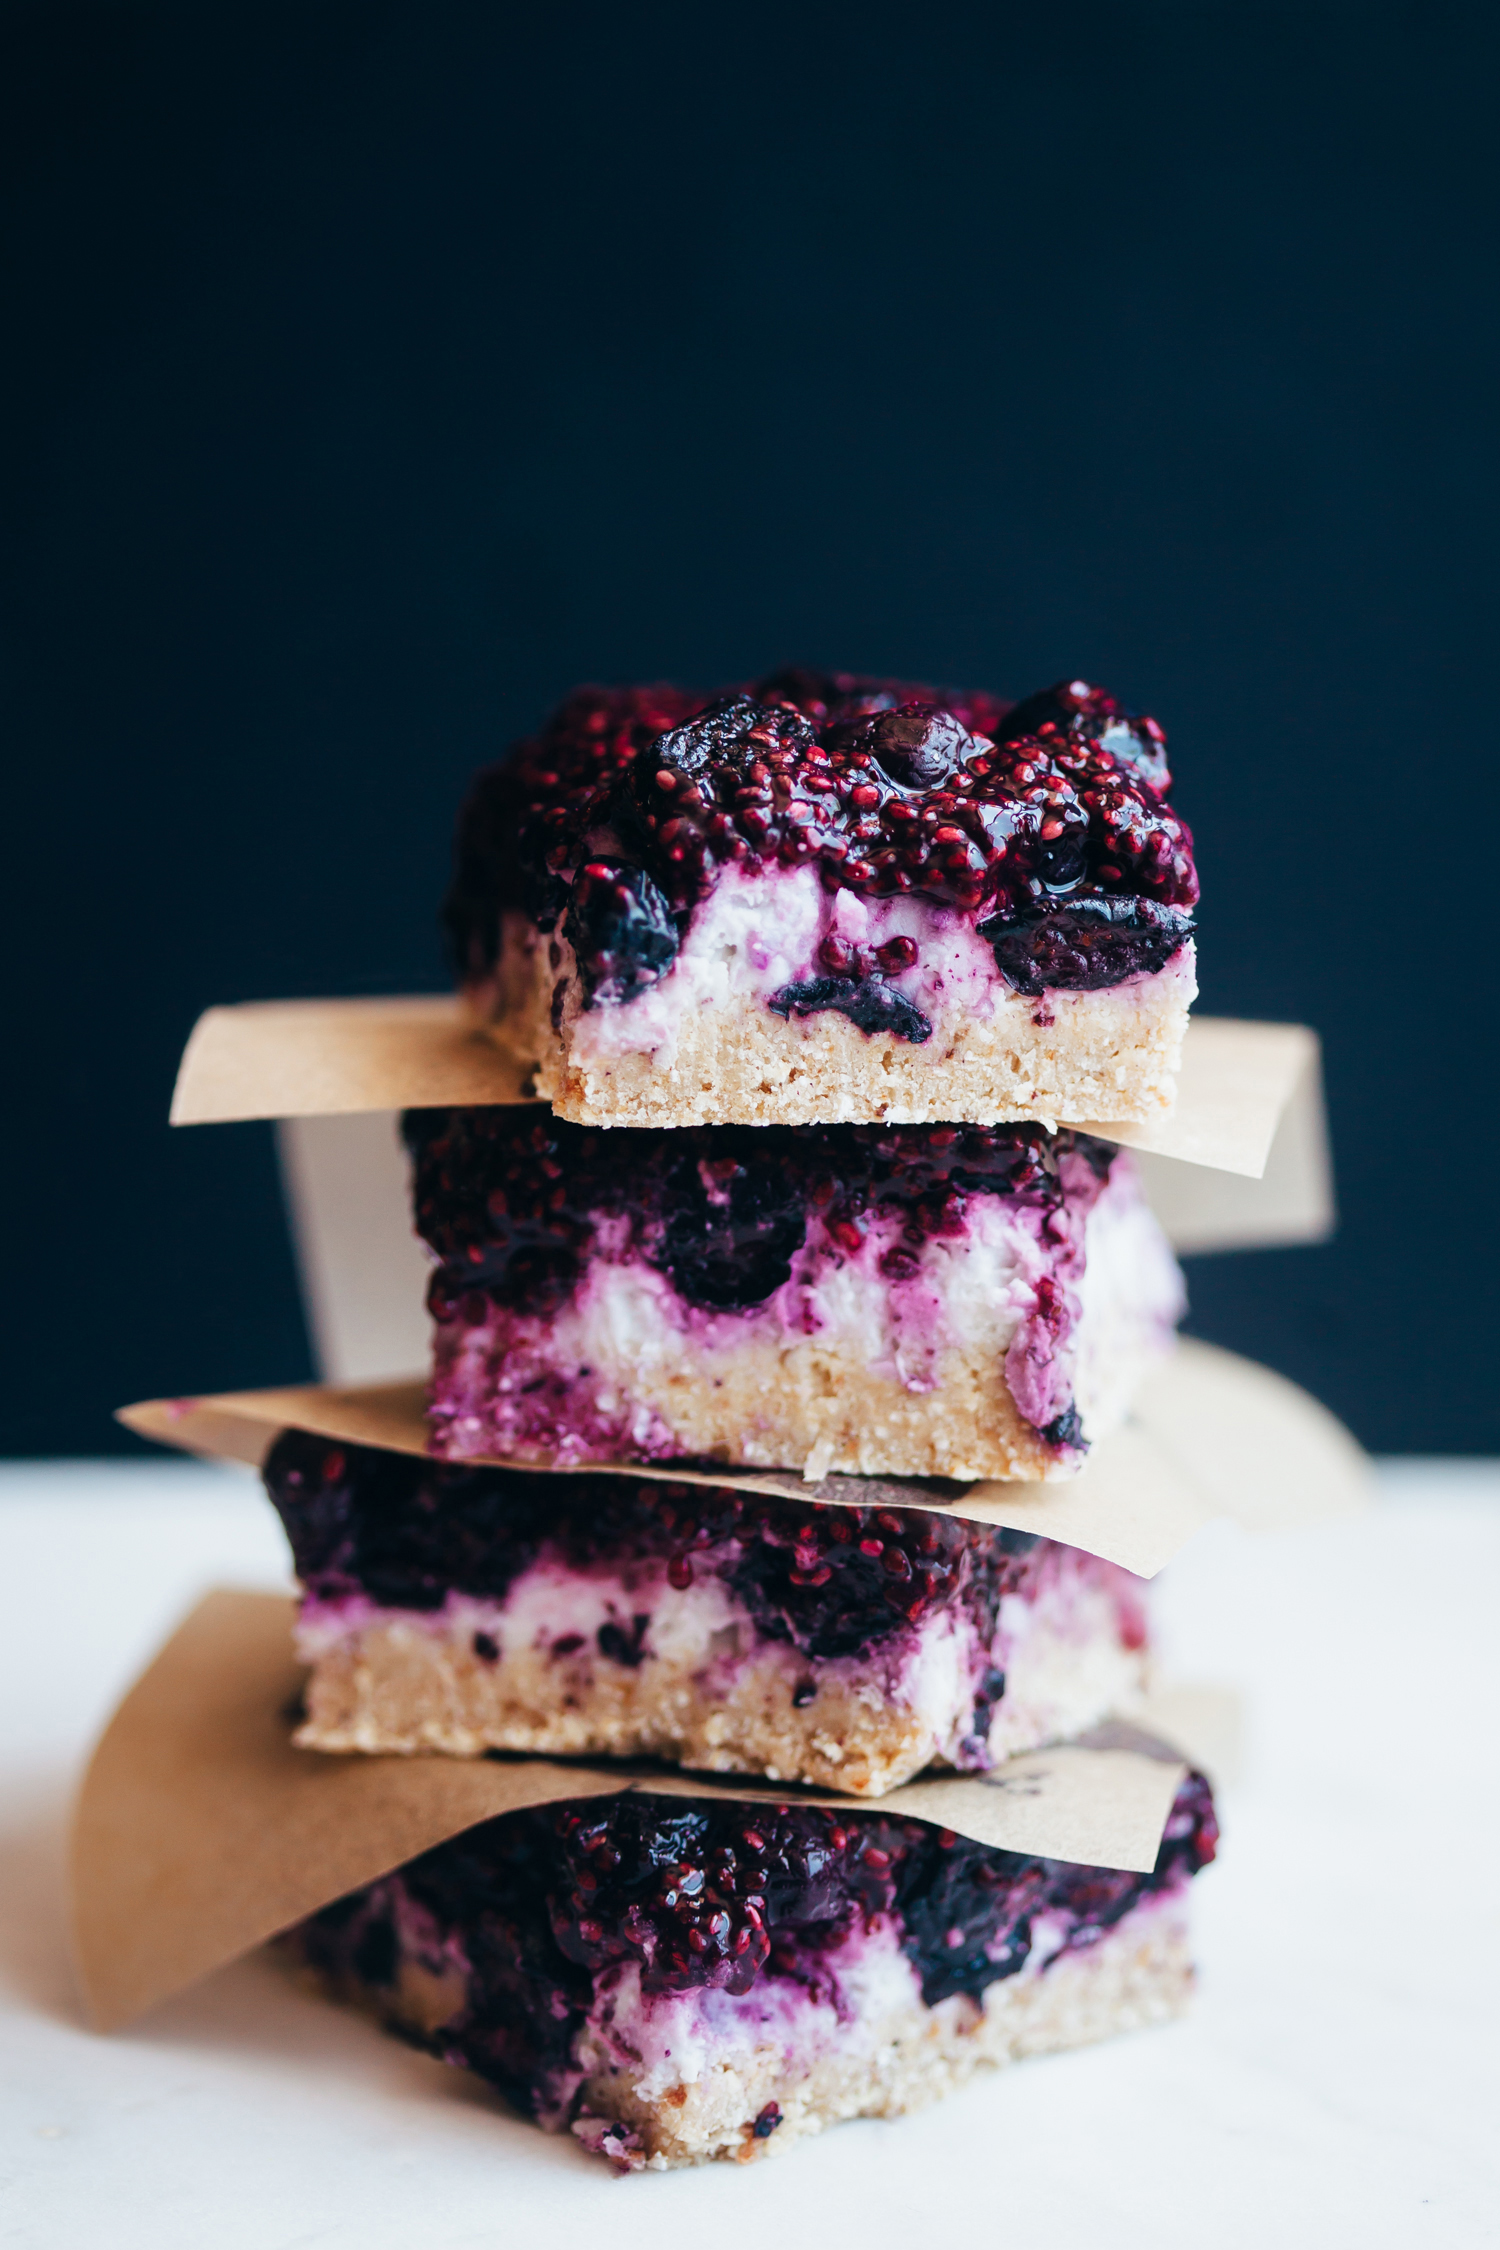
It’s been difficult for me to contain my excitement about these Blueberry Coconut Bars ever since I nailed the recipe ...
Read Recipe
We’re trying to get all of this summer’s most successful ice cream recipes out while it’s still prime time for fro...
Read Recipe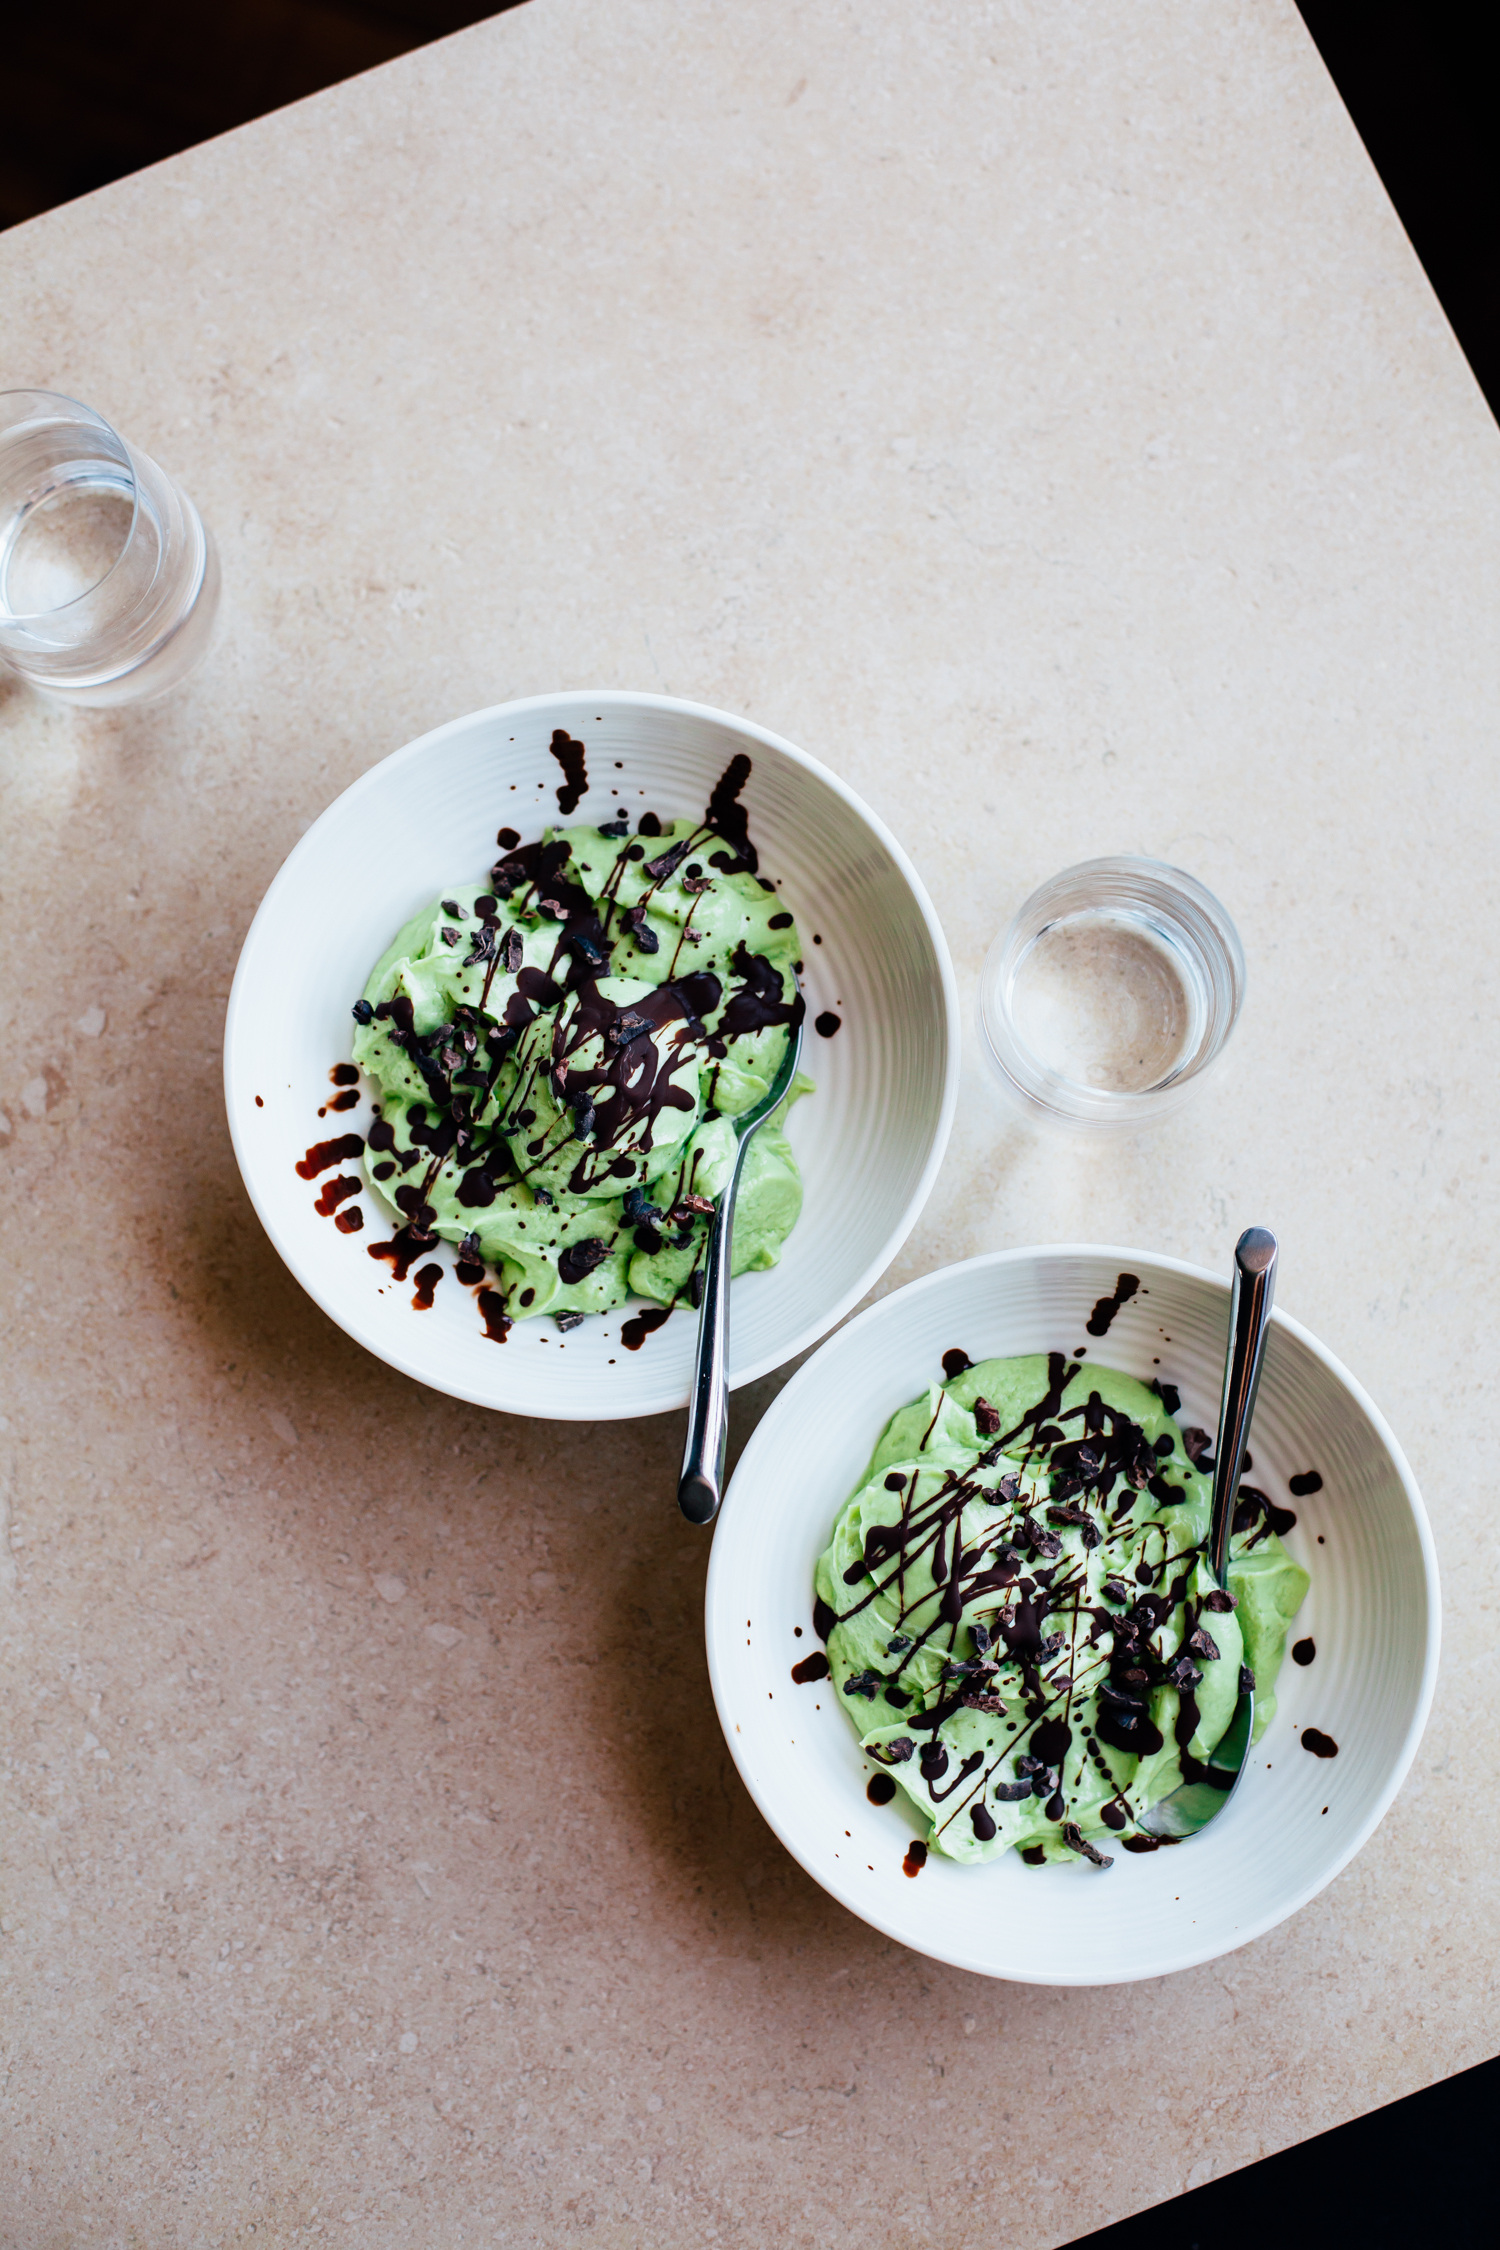
I often buy those nets of not-yet-ripe, organic avocados to have them ripen later in the week. What ends up happening m...
Read Recipe
Paloma’s been taking an active interest in cooking and working on fun food projects with me in the kitchen. This newfo...
Read Recipe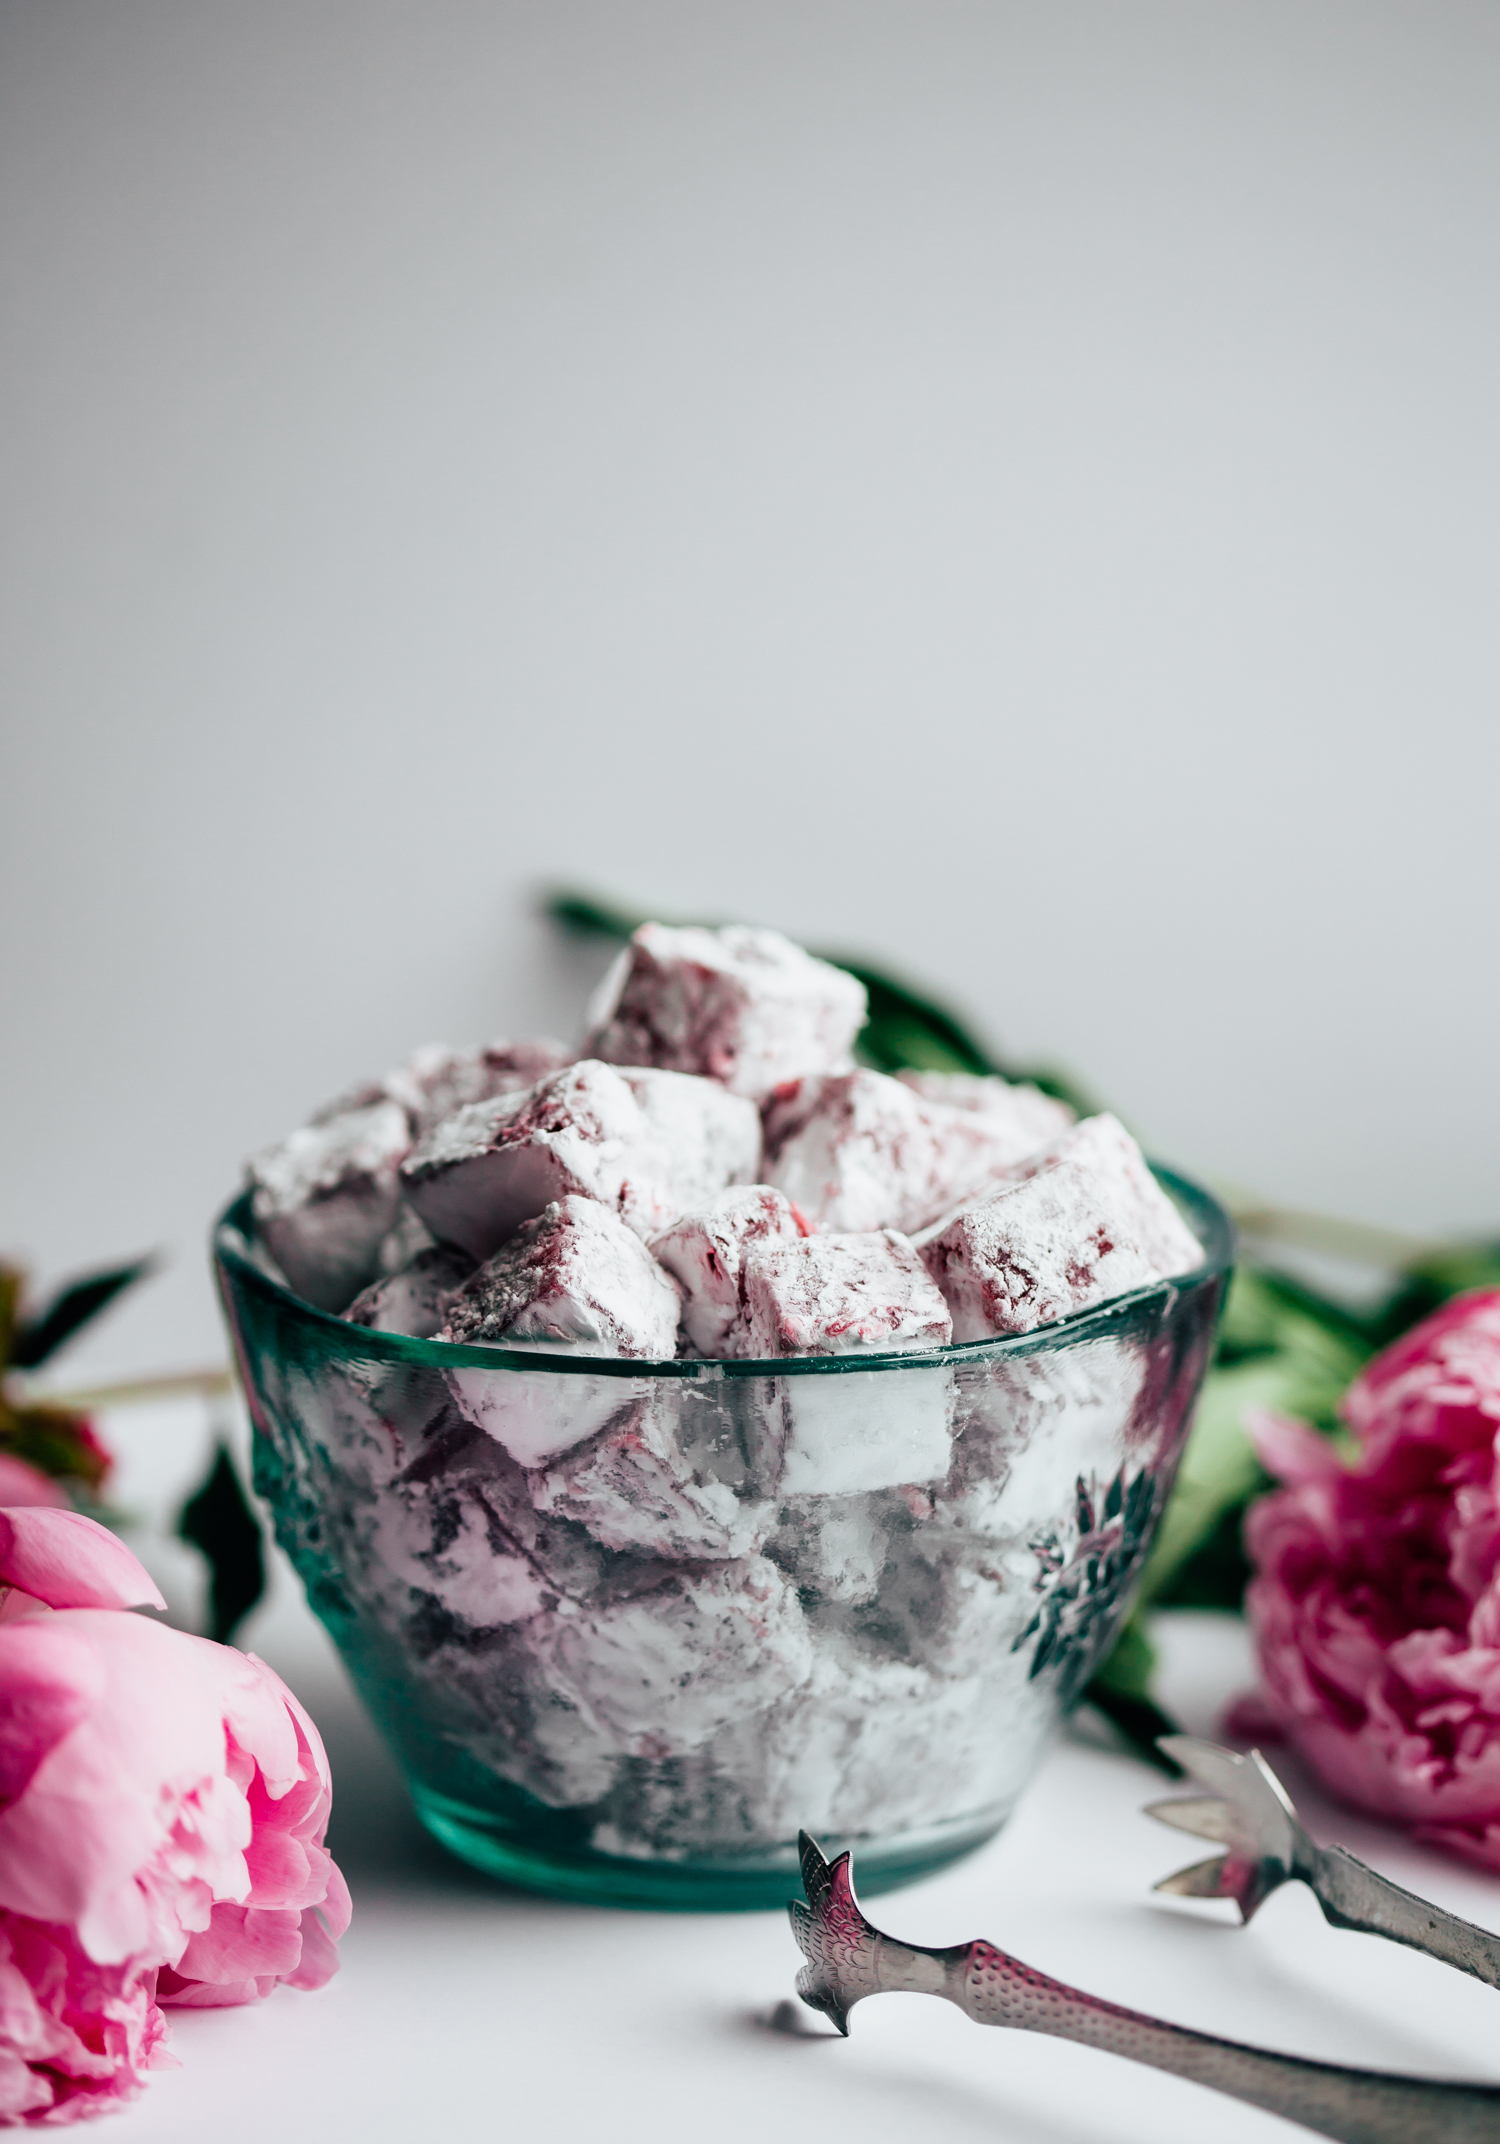
This post was created in partnership with Whole Earth Sweetener Co. Turkish delight is one of those old-sc...
Read Recipe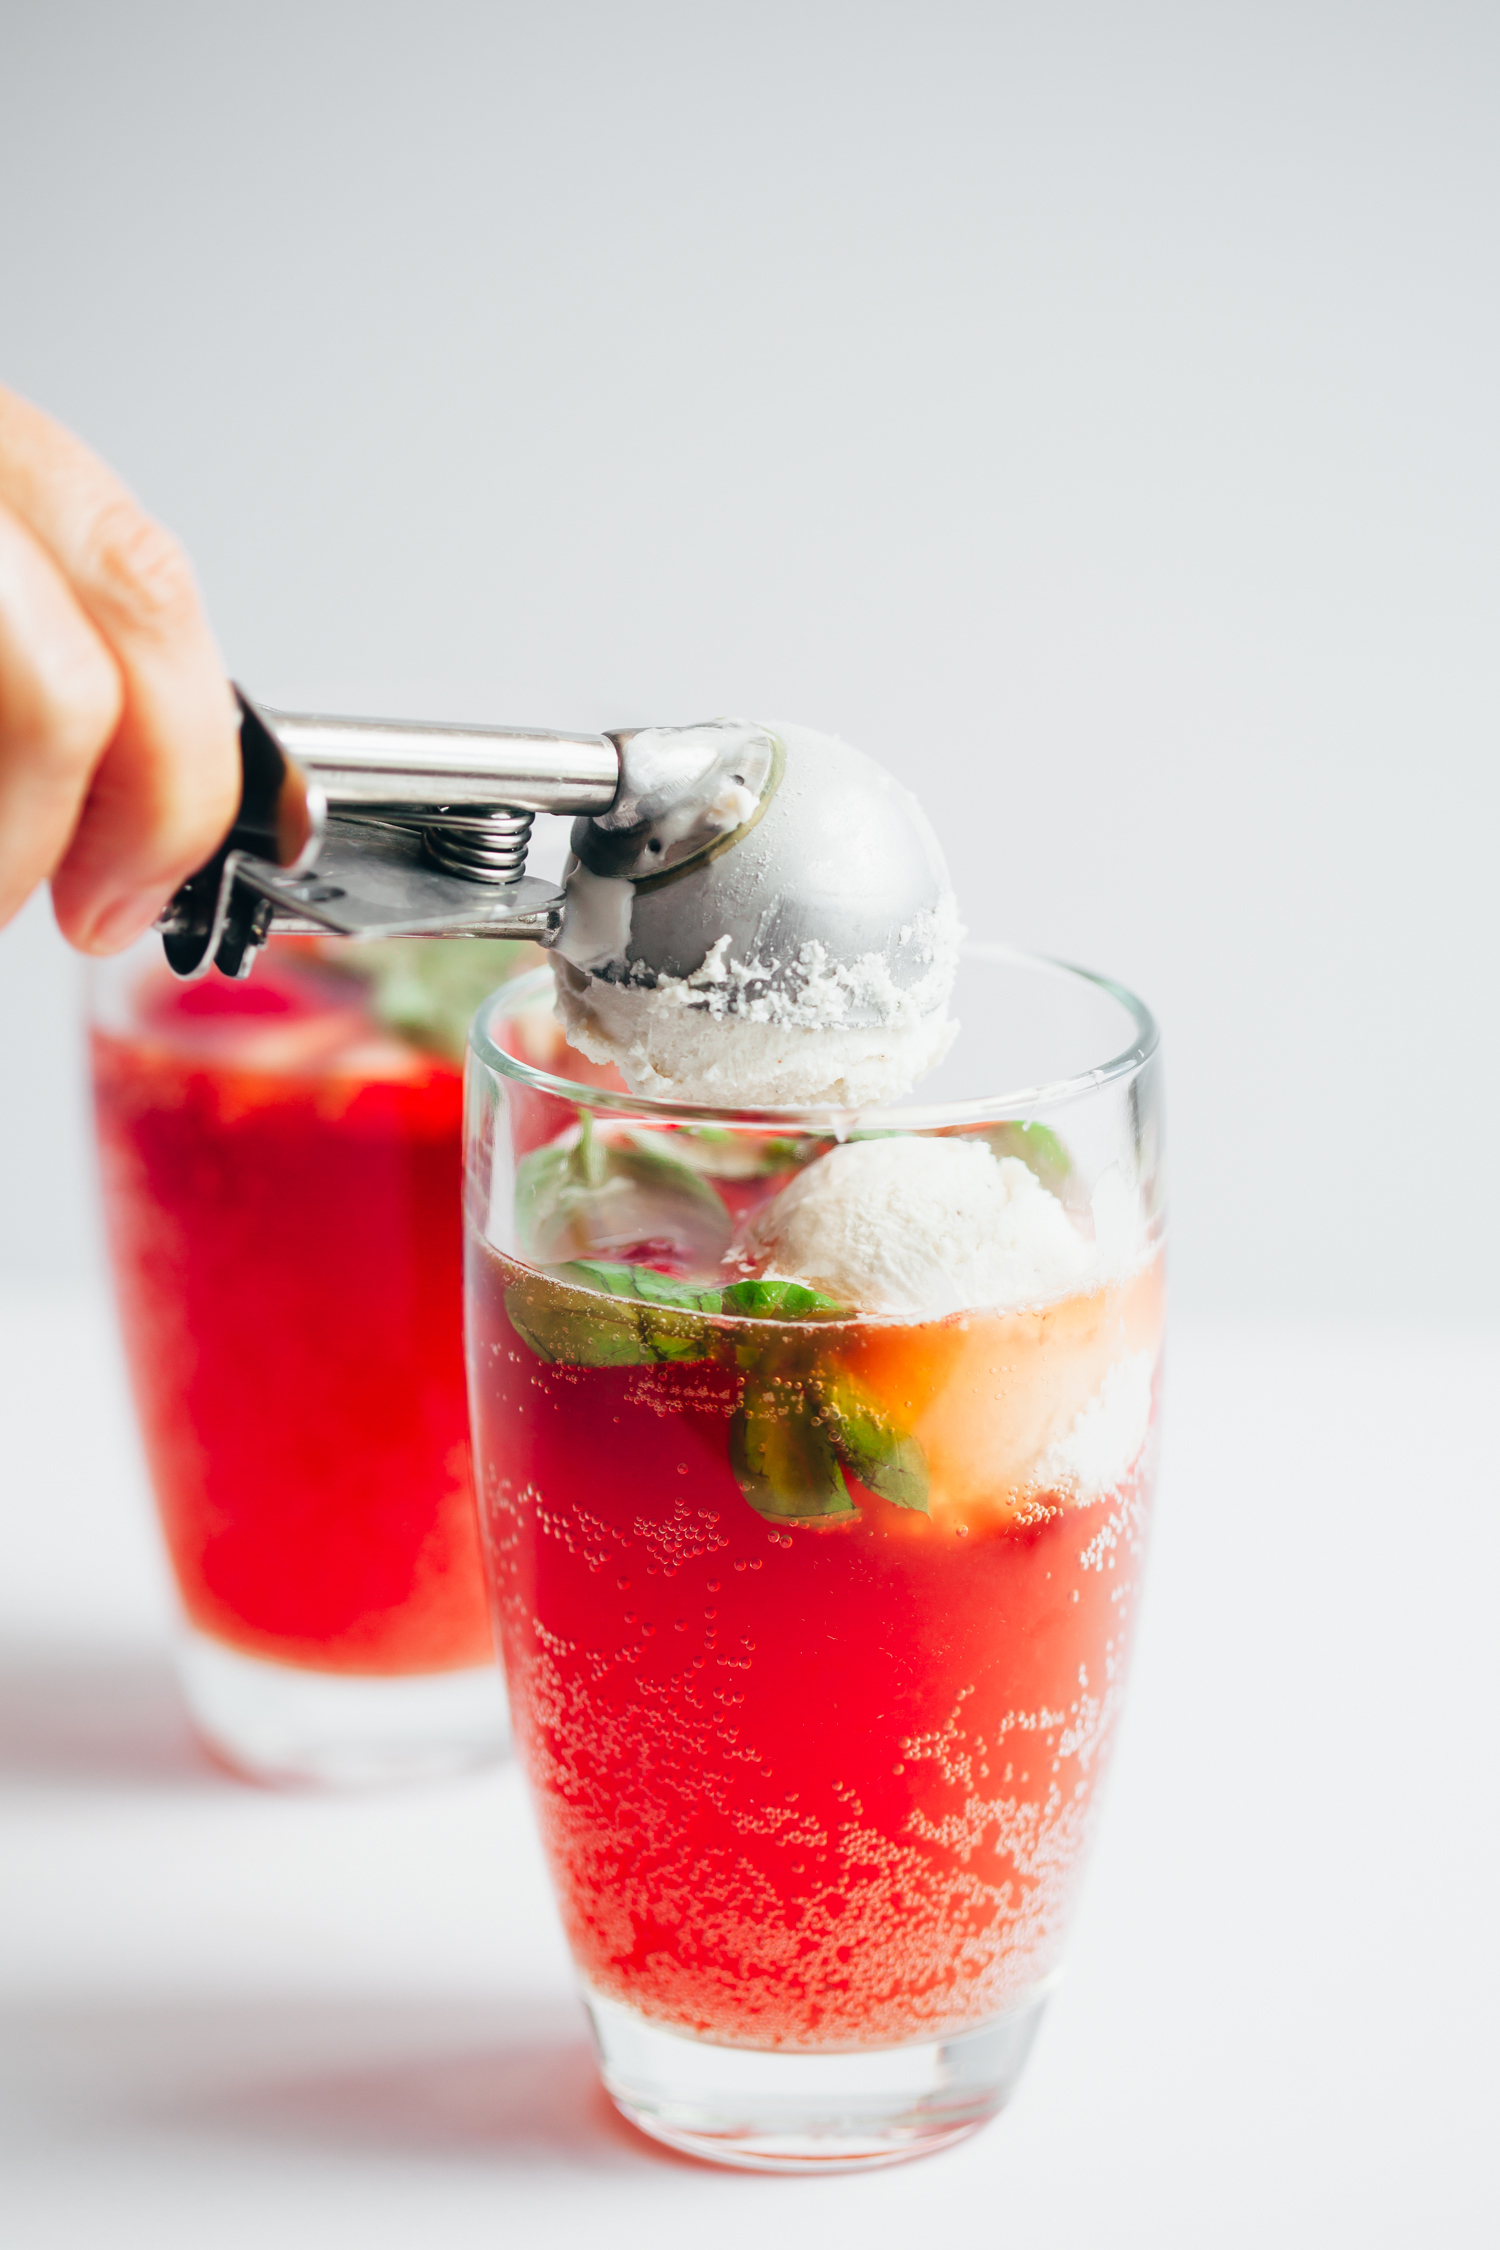
A confession – I’ve never actually tried a classic root beer float, but if it’s anything like this kombucha float,...
Read Recipe
This post was created in partnership with Nuts.com Wow, am I excited to finally be sharing these bars here...
Read Recipe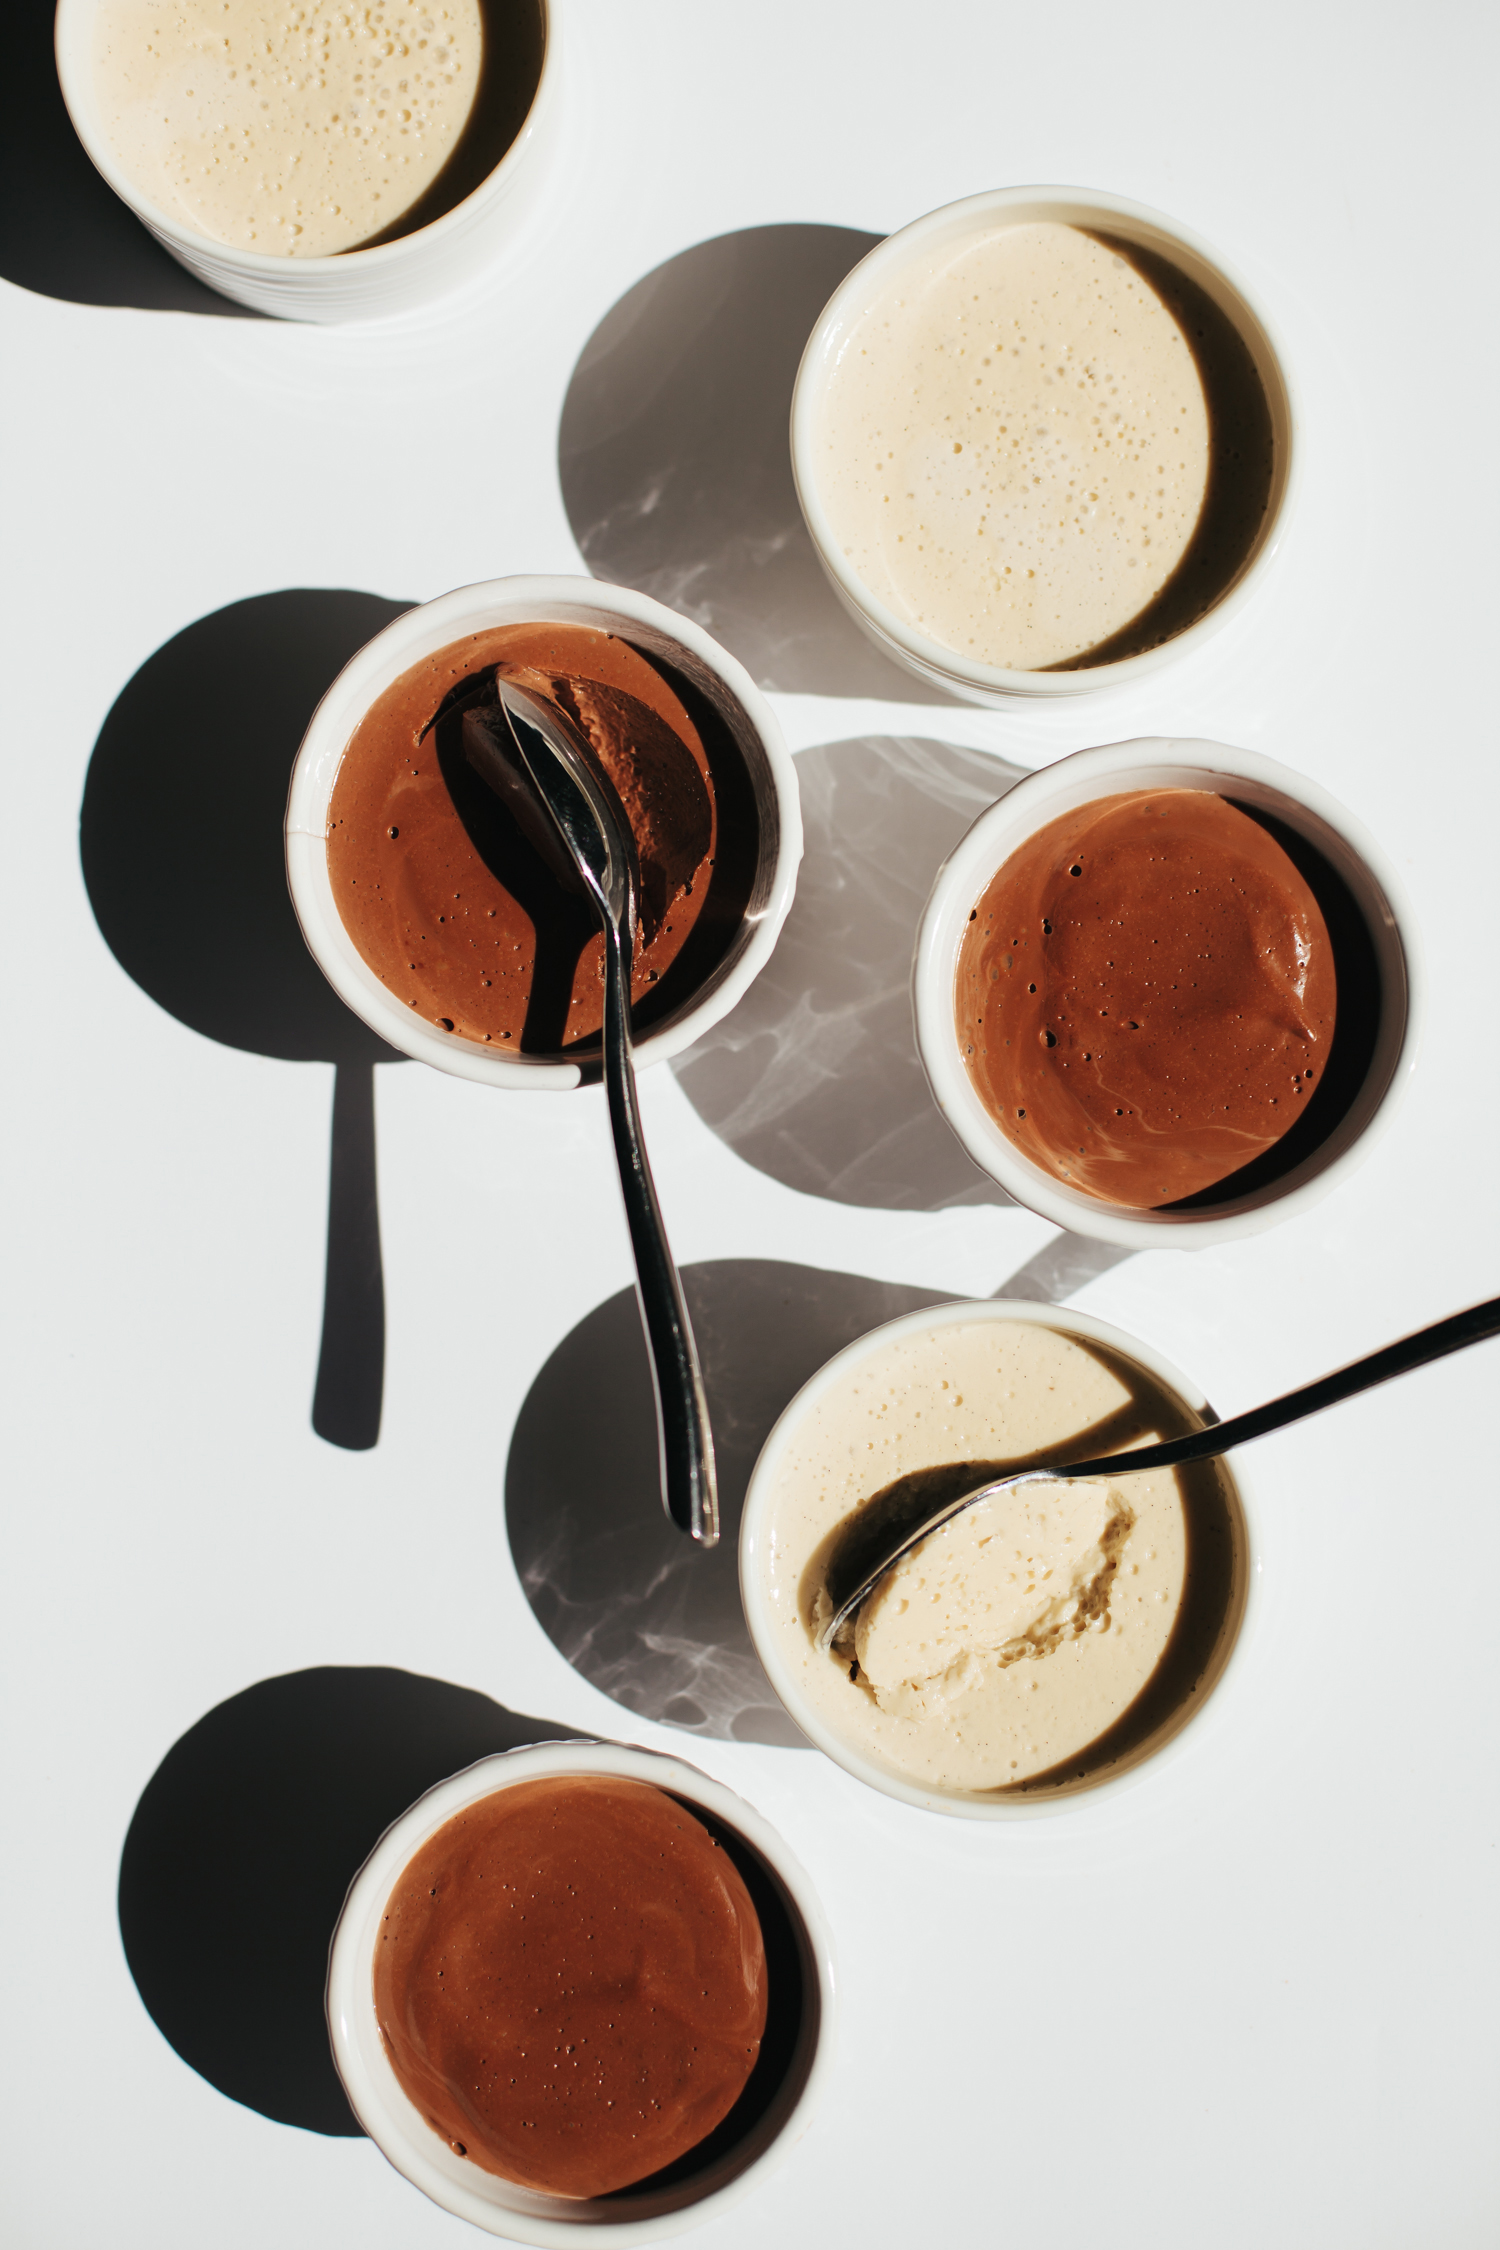
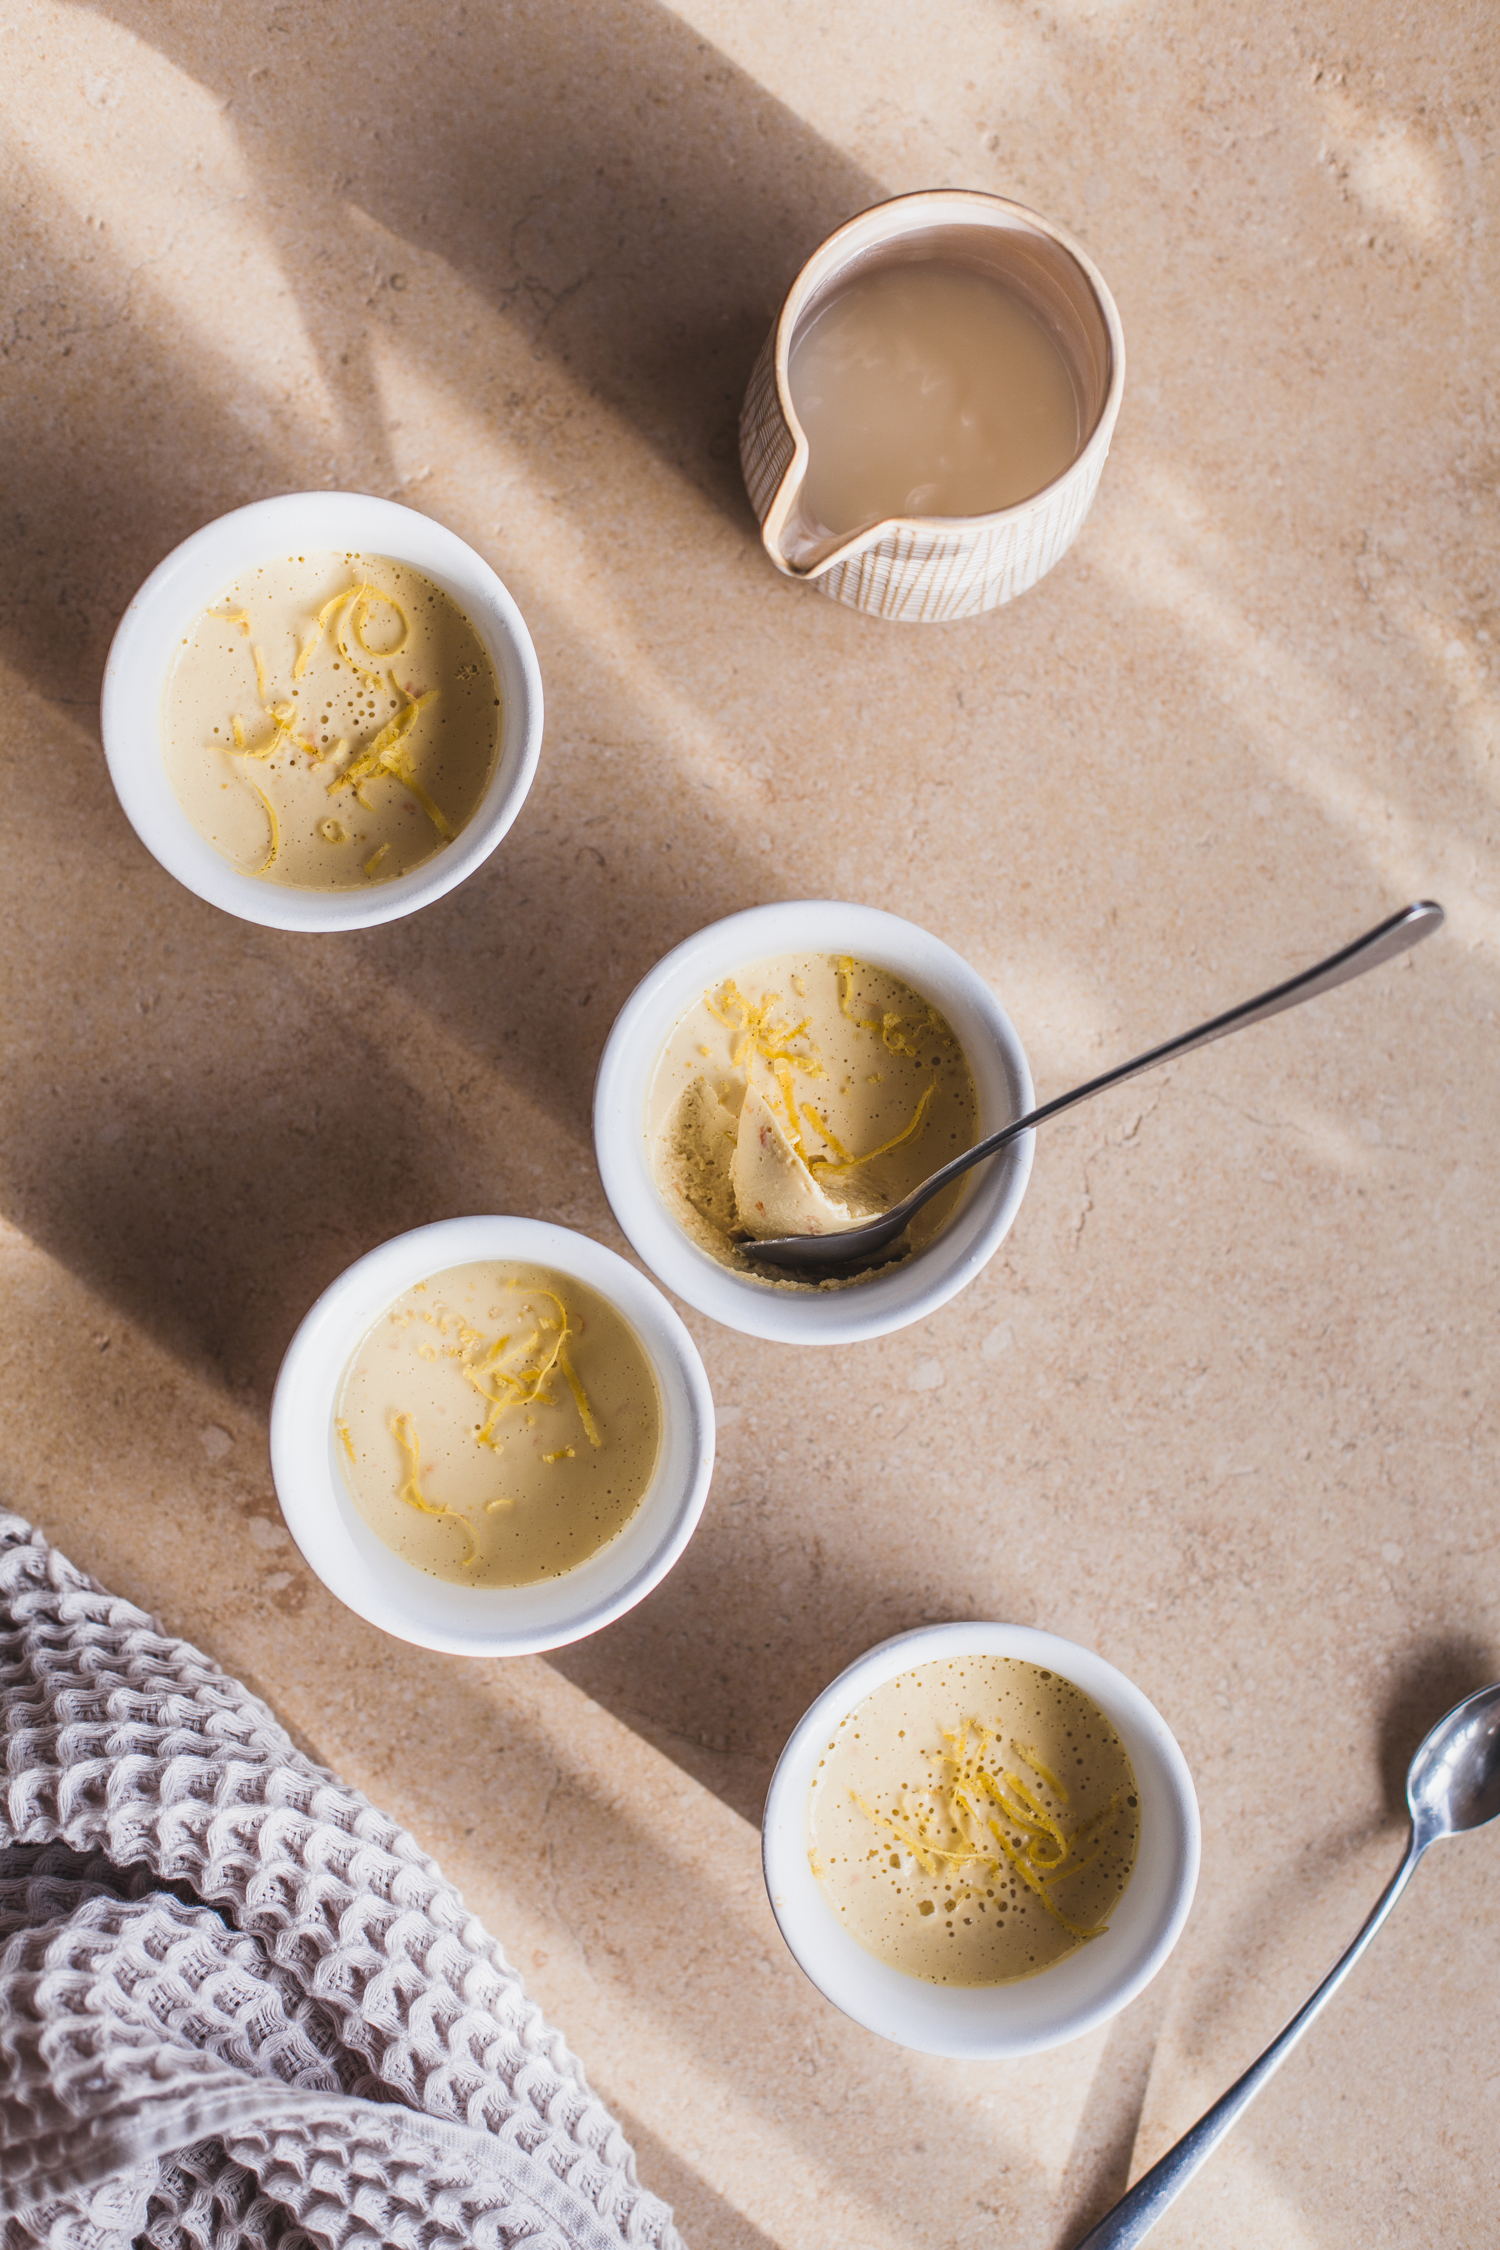
Out of all the desserts in the world, I crave the pudding/mousse-kind the most. A tiny cup full of something light, crea...
Read Recipe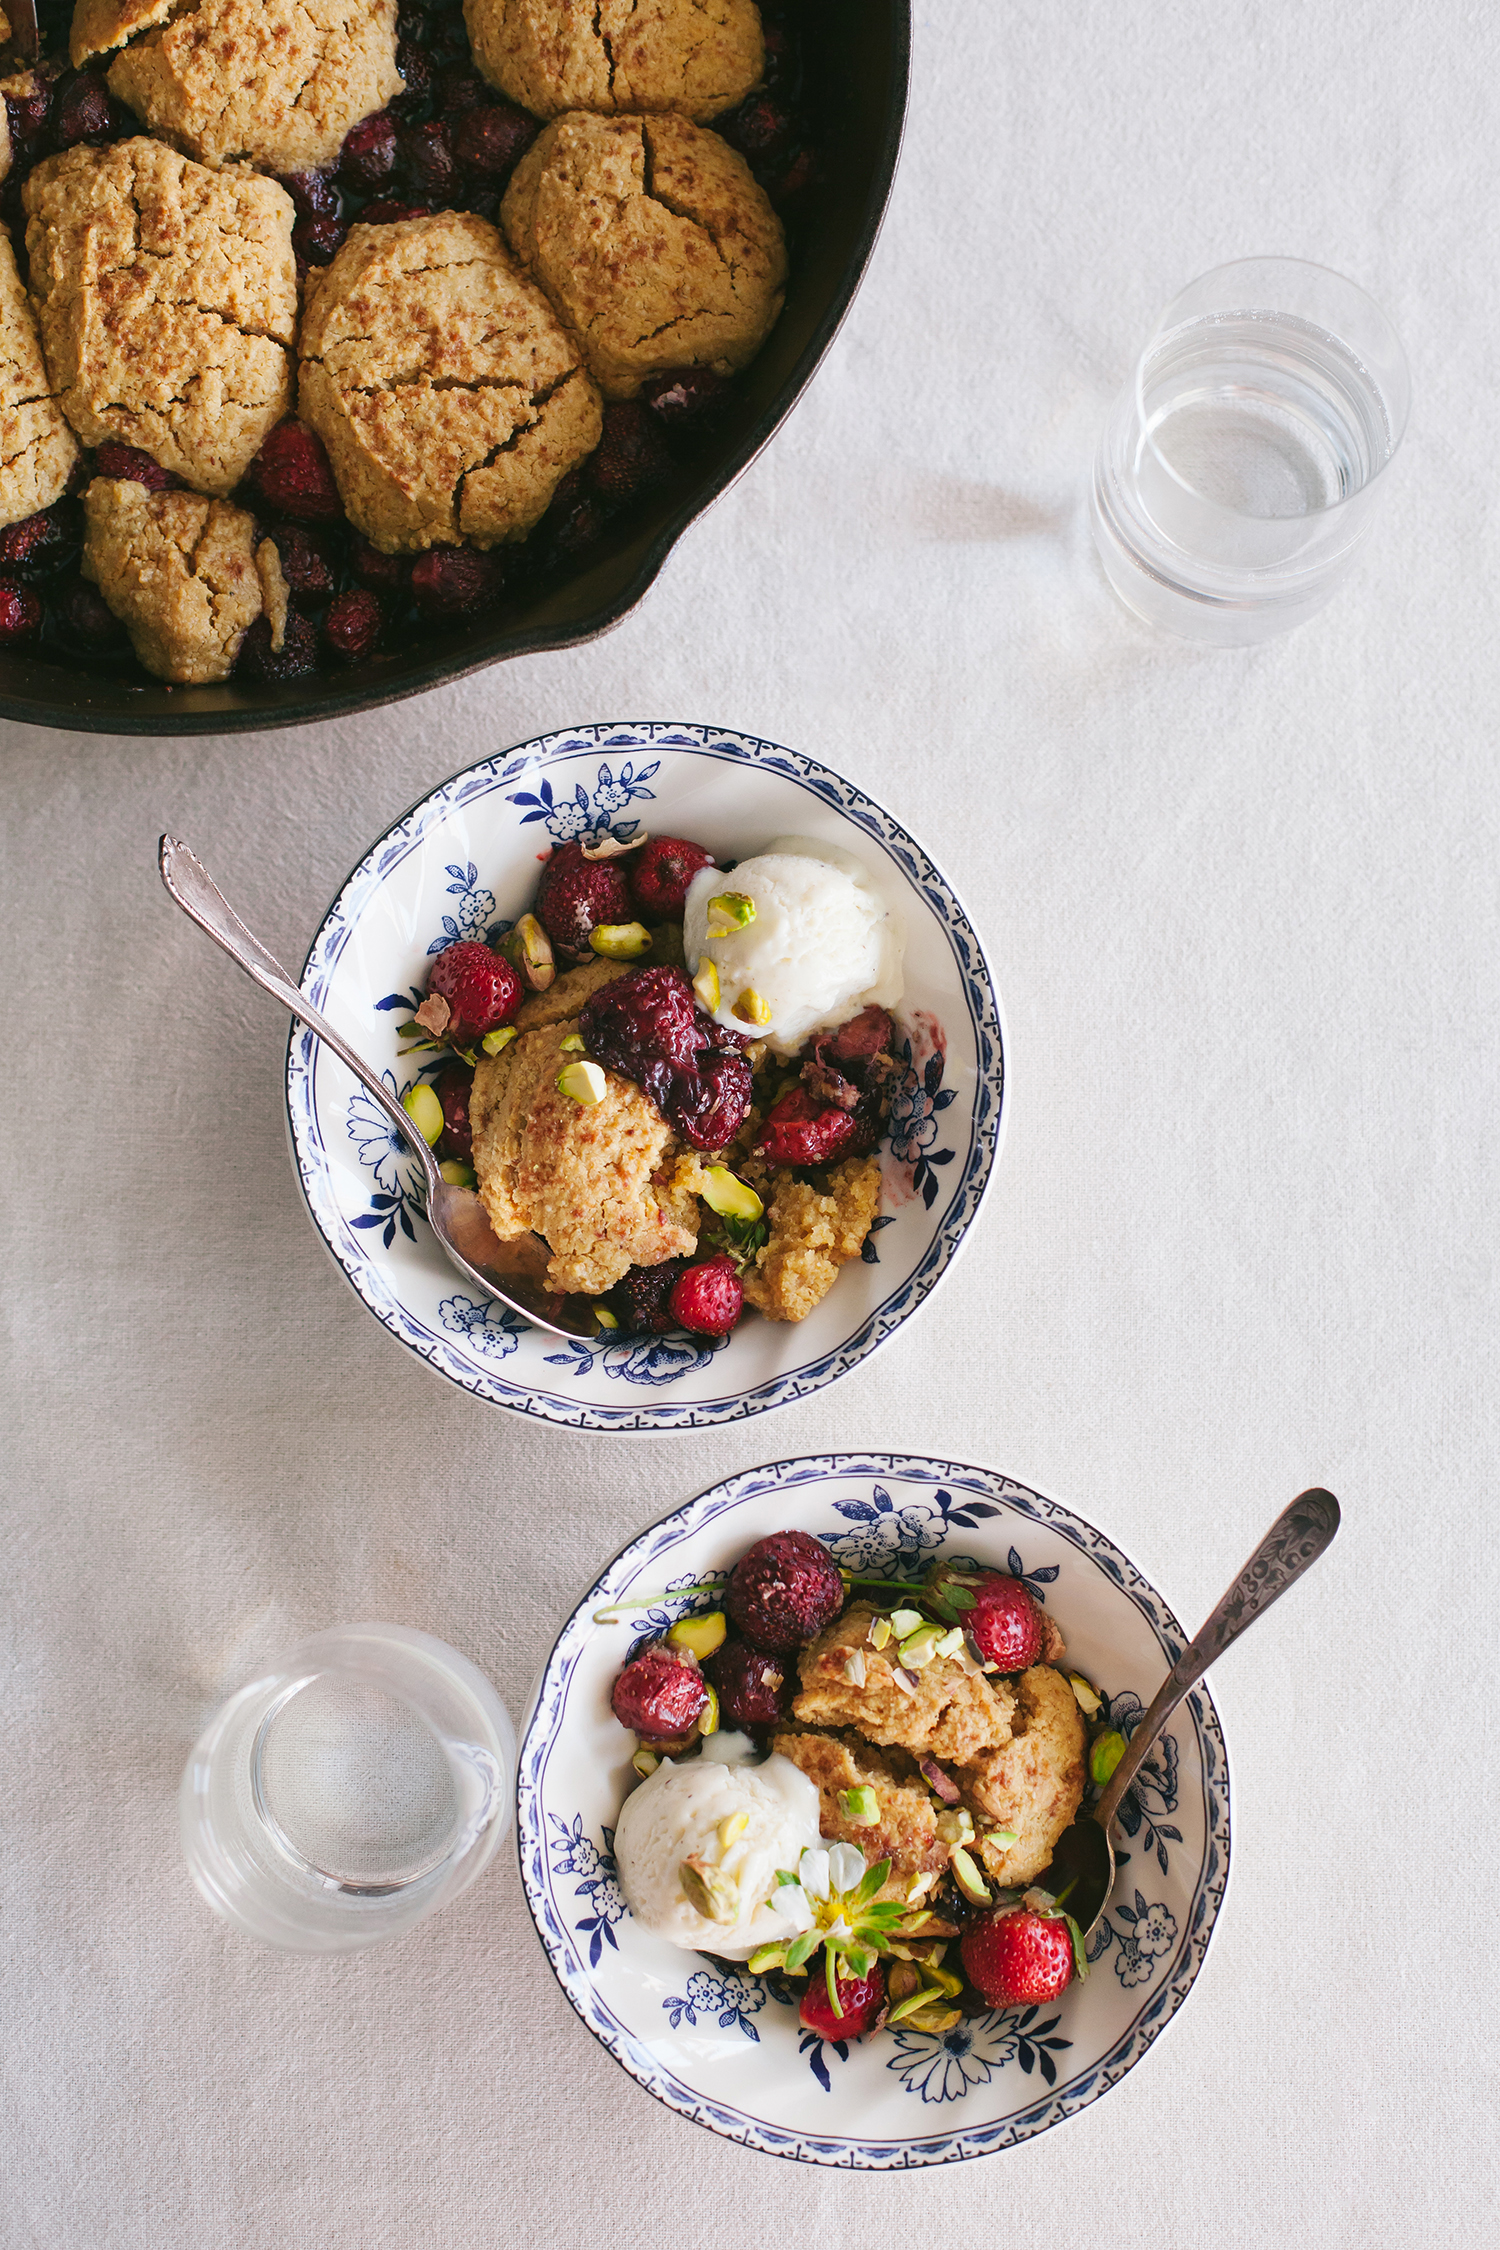
Checking in really quickly today with a recipe and step-by-step video of this gluten-free and vegan Strawberry Cobbler. ...
Read Recipe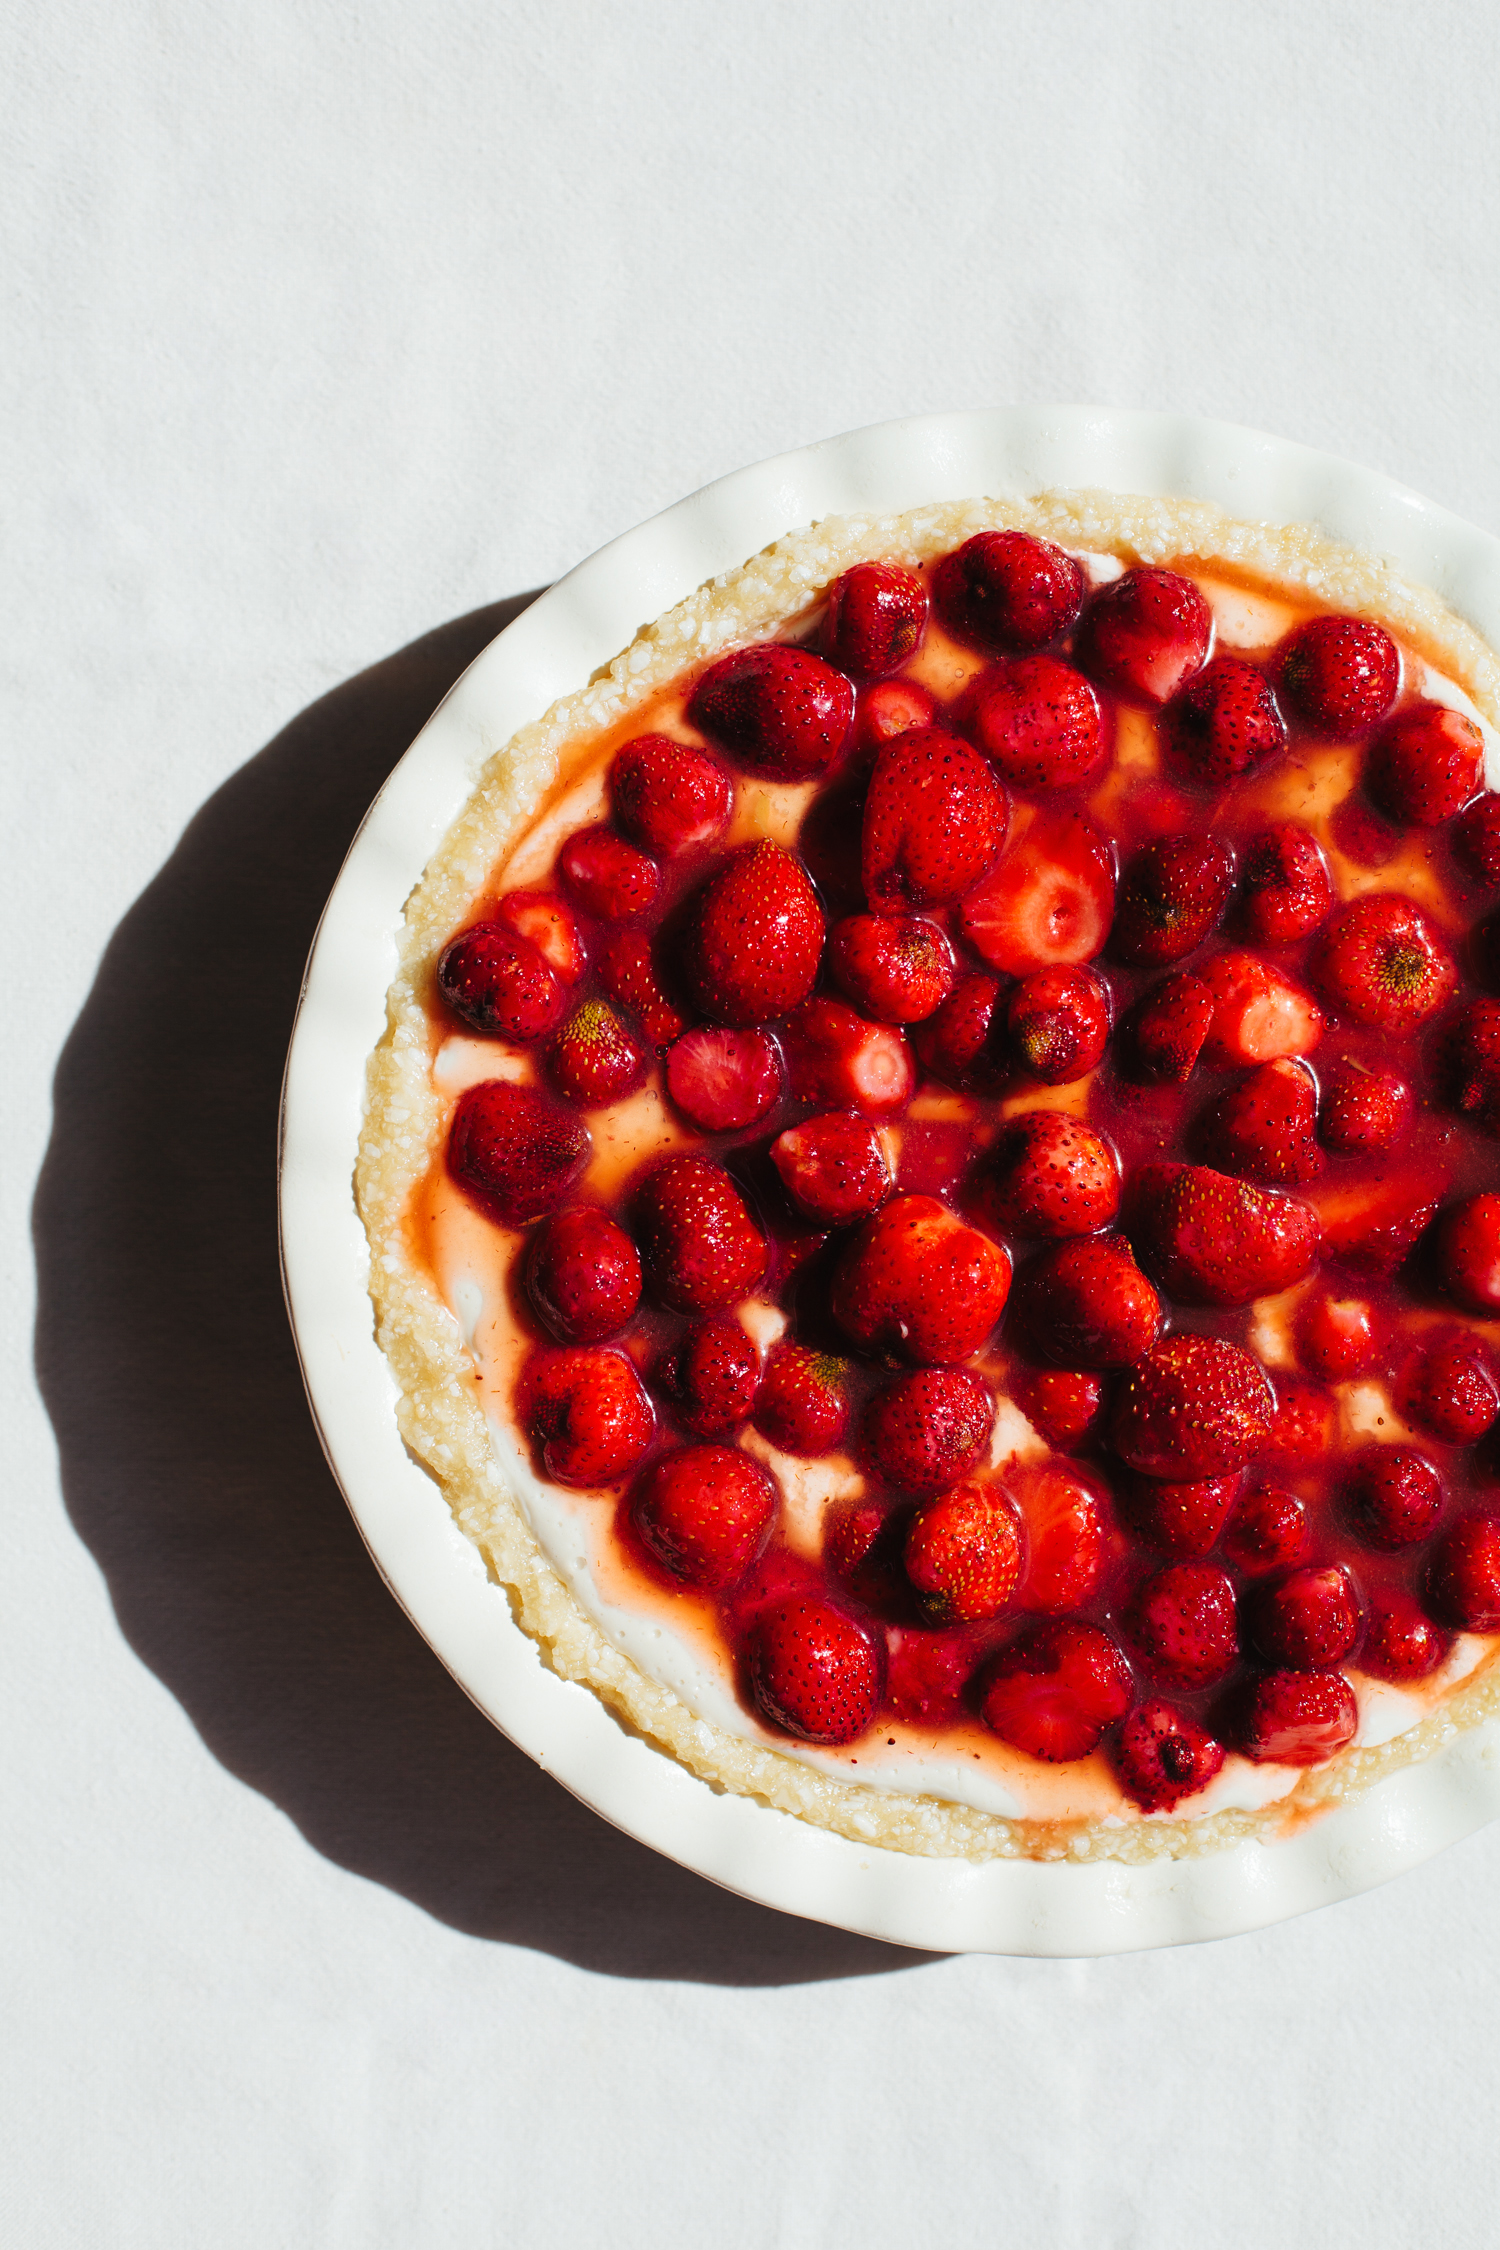
Strawberry season happens much earlier in Florida than in most places, and it’s already come and gone. Thankfully, I h...
Read Recipe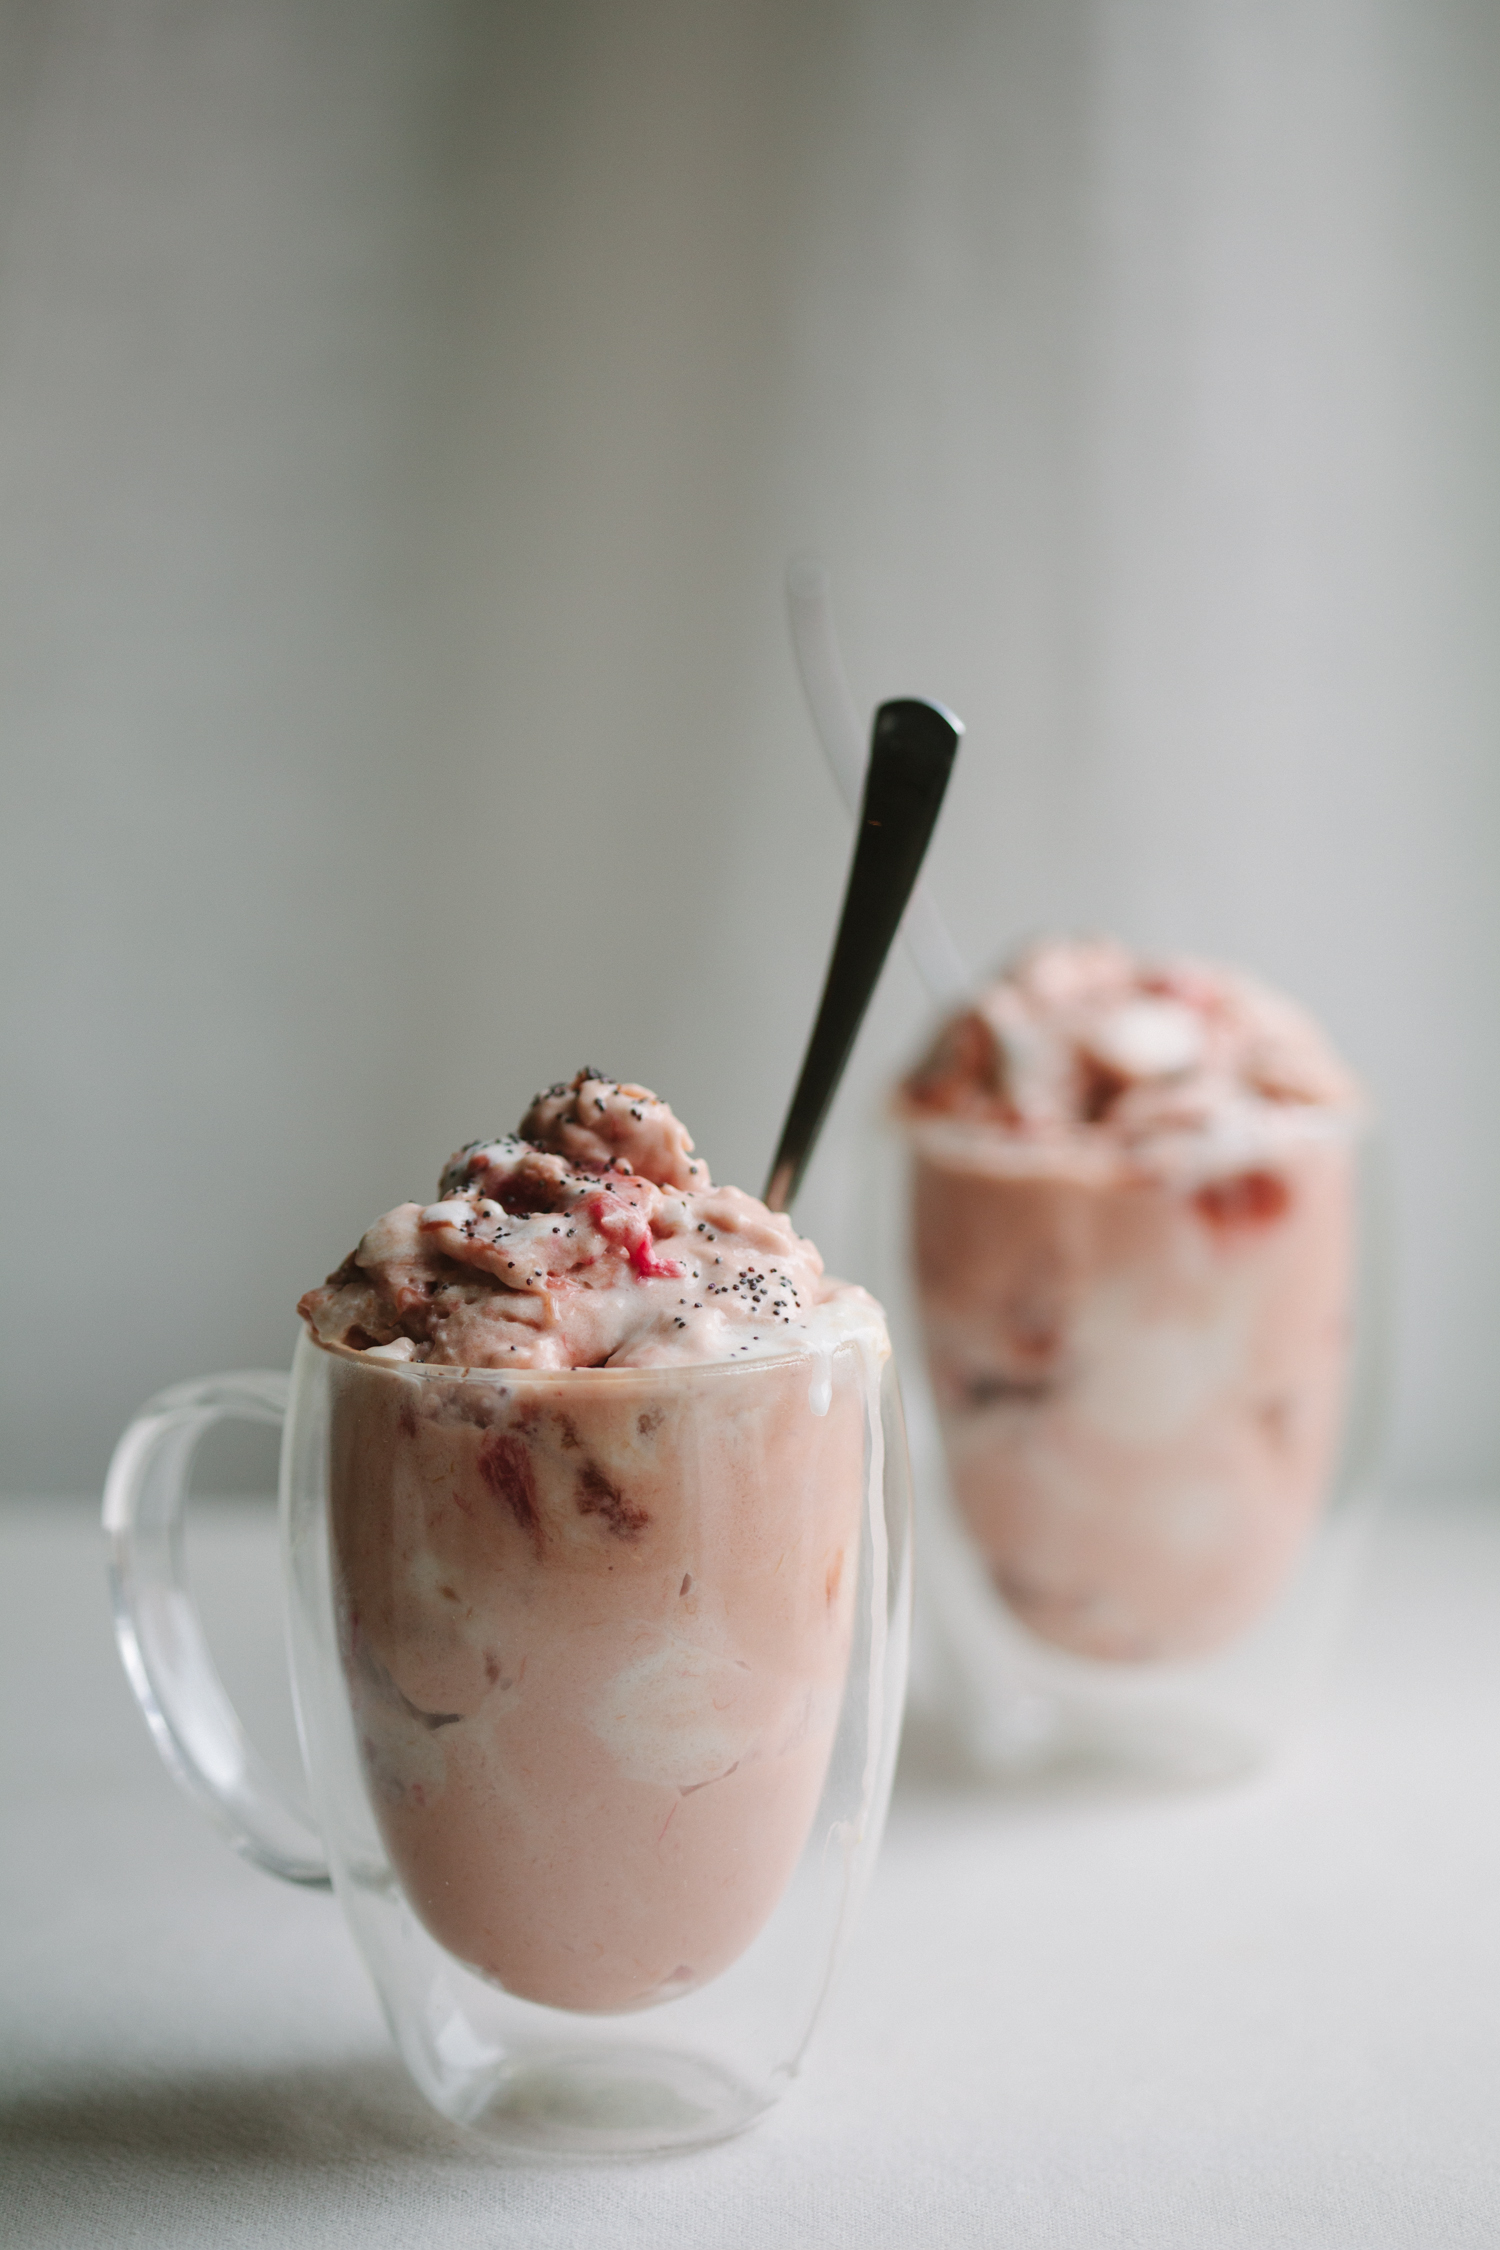
Have you ever heard of the quick soft serve ice cream technique, where you freeze coconut milk in ice cube trays and the...
Read Recipe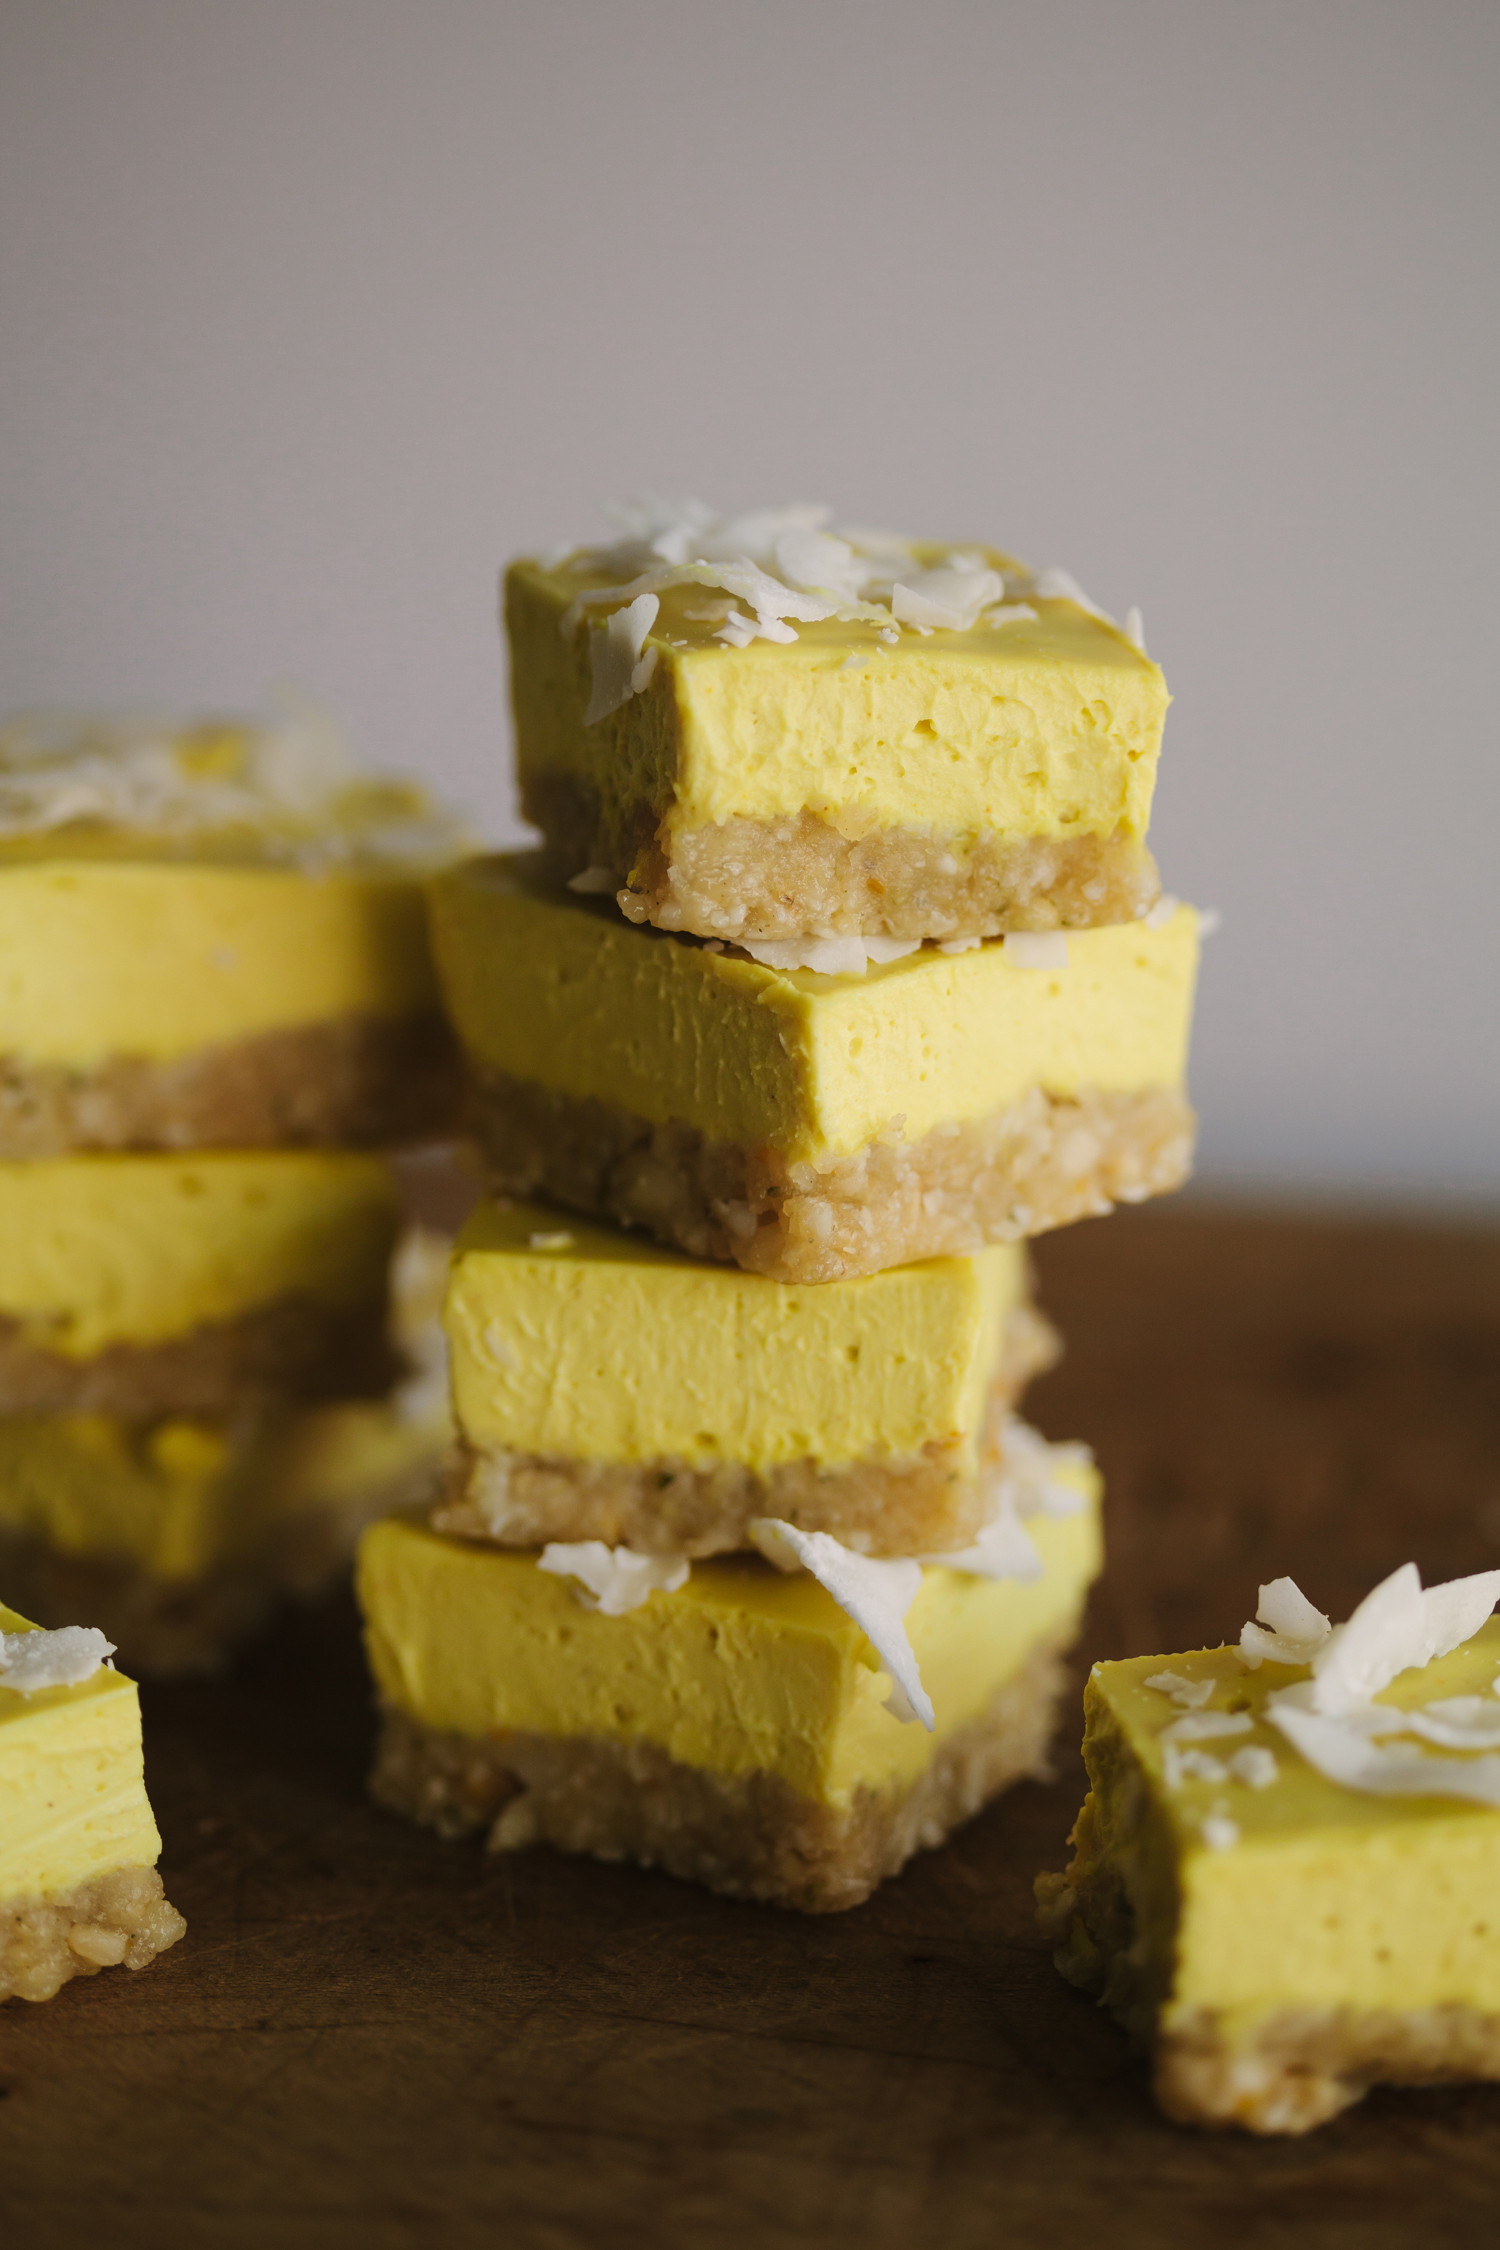
I’ve been dreaming about making no-bake lemon bars for a while now and finally got around to the idea a few weeks ago...
Read Recipe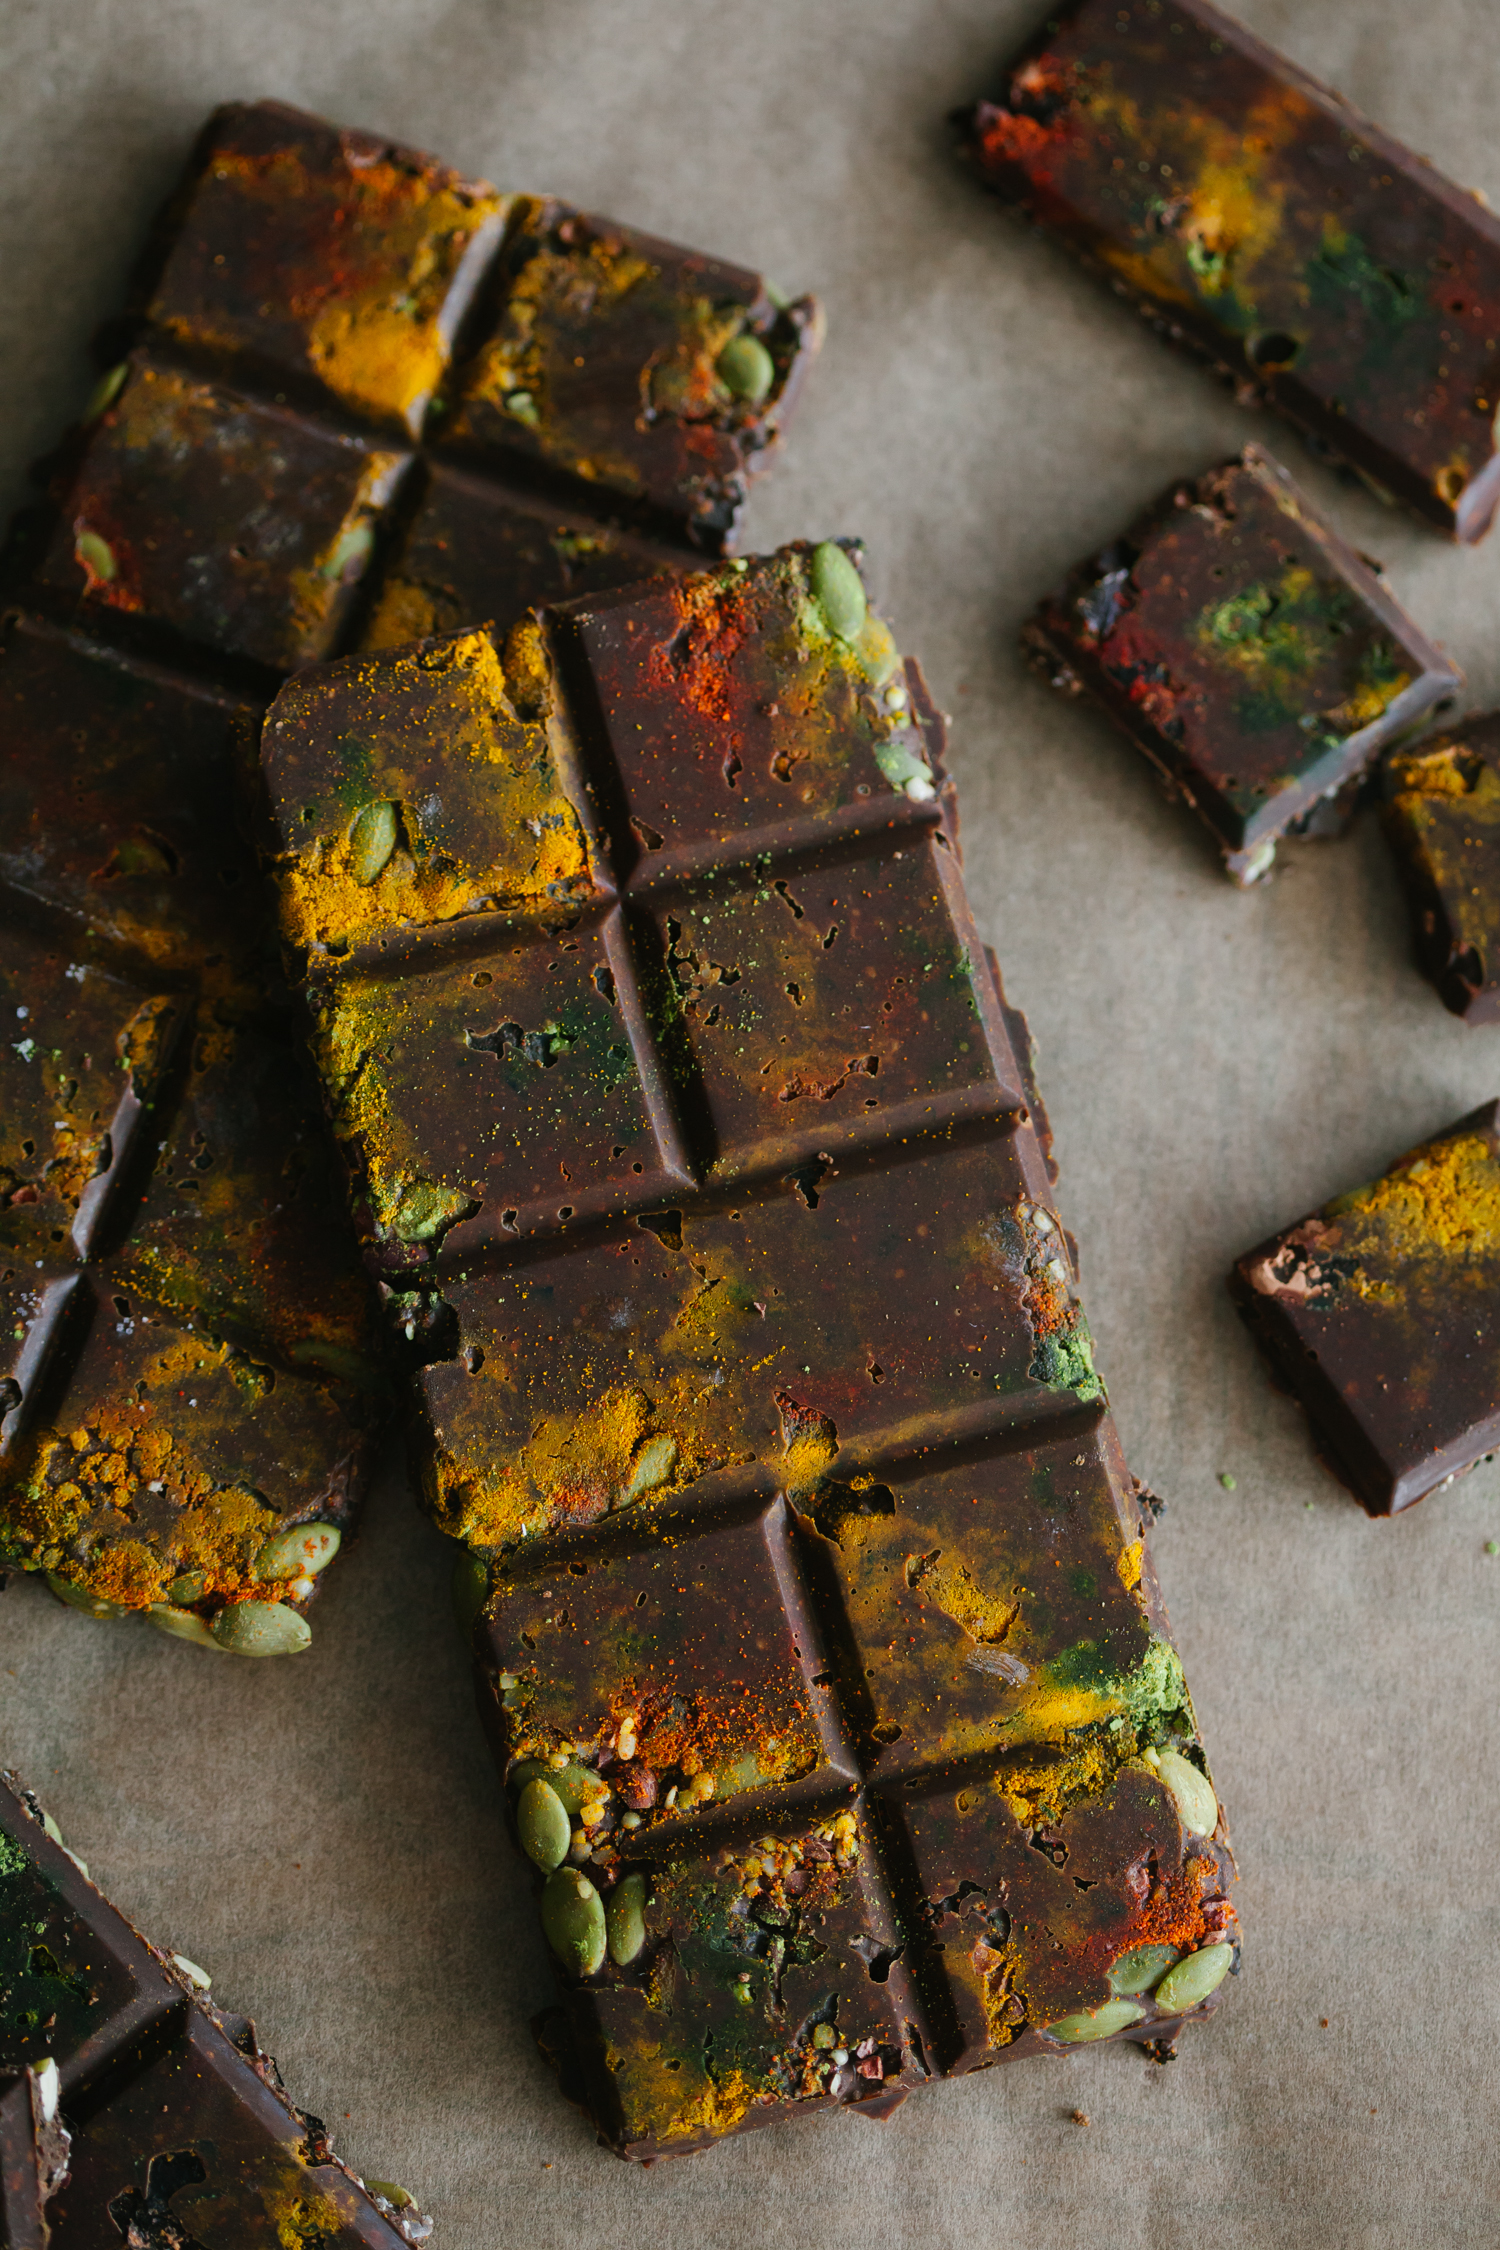
Read Recipe
March is tricky. It’ll throw out a few of those luxuriously warm days in a row, which cause collective memory loss abo...
Read Recipe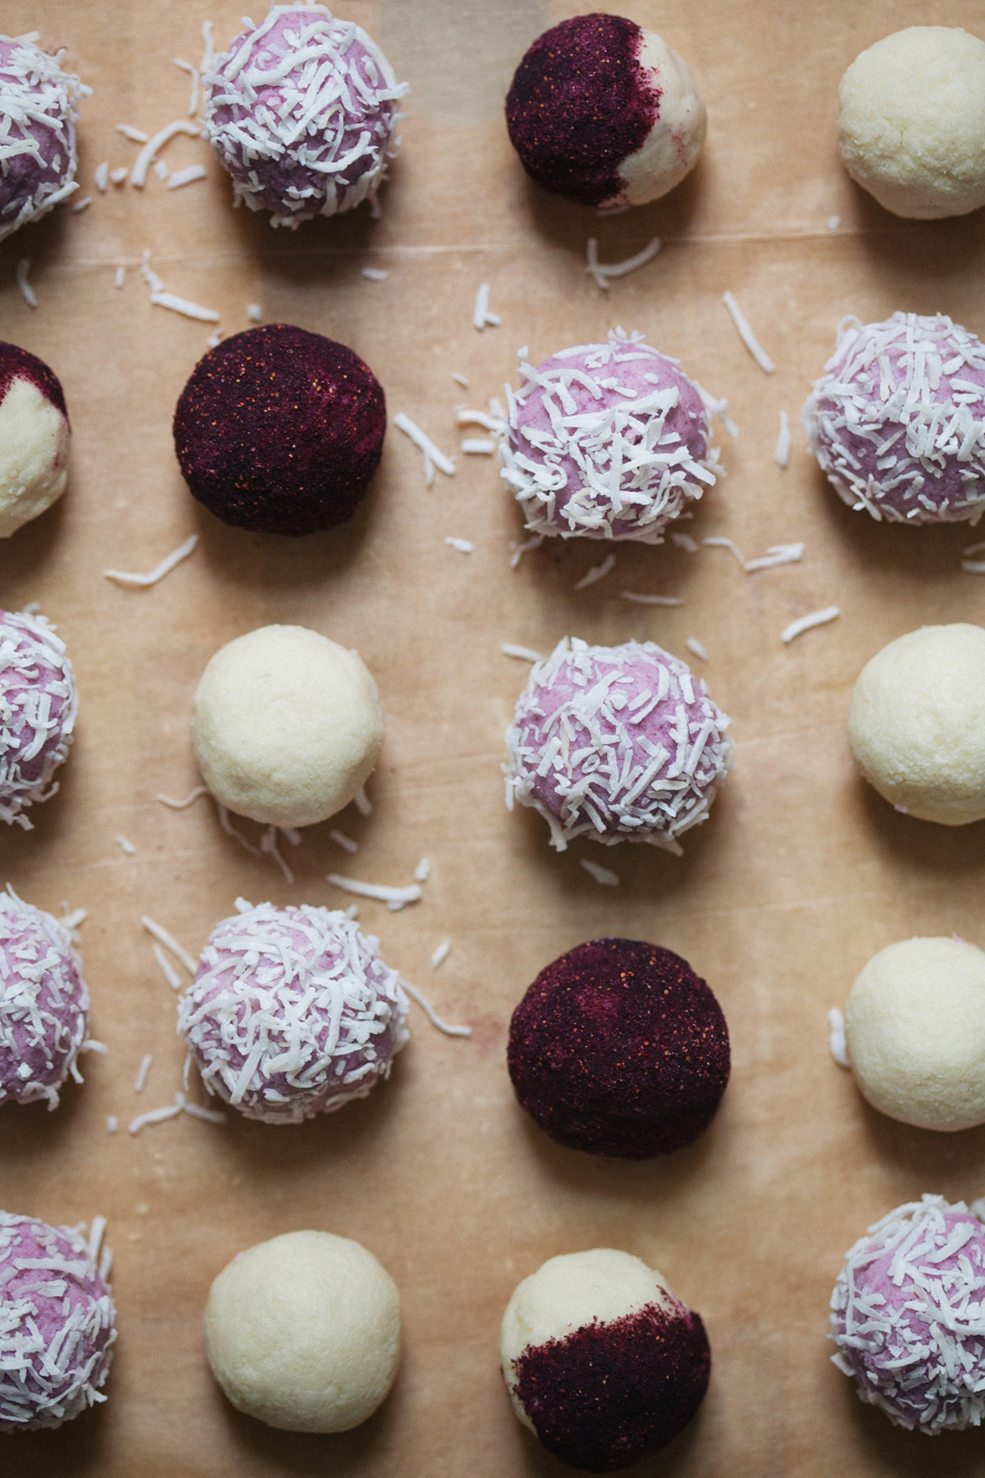
These cheesecake truffles are another fun recipe I developed for Nuts.com. Chocolate truffles full of healthful ingredie...
Read Recipe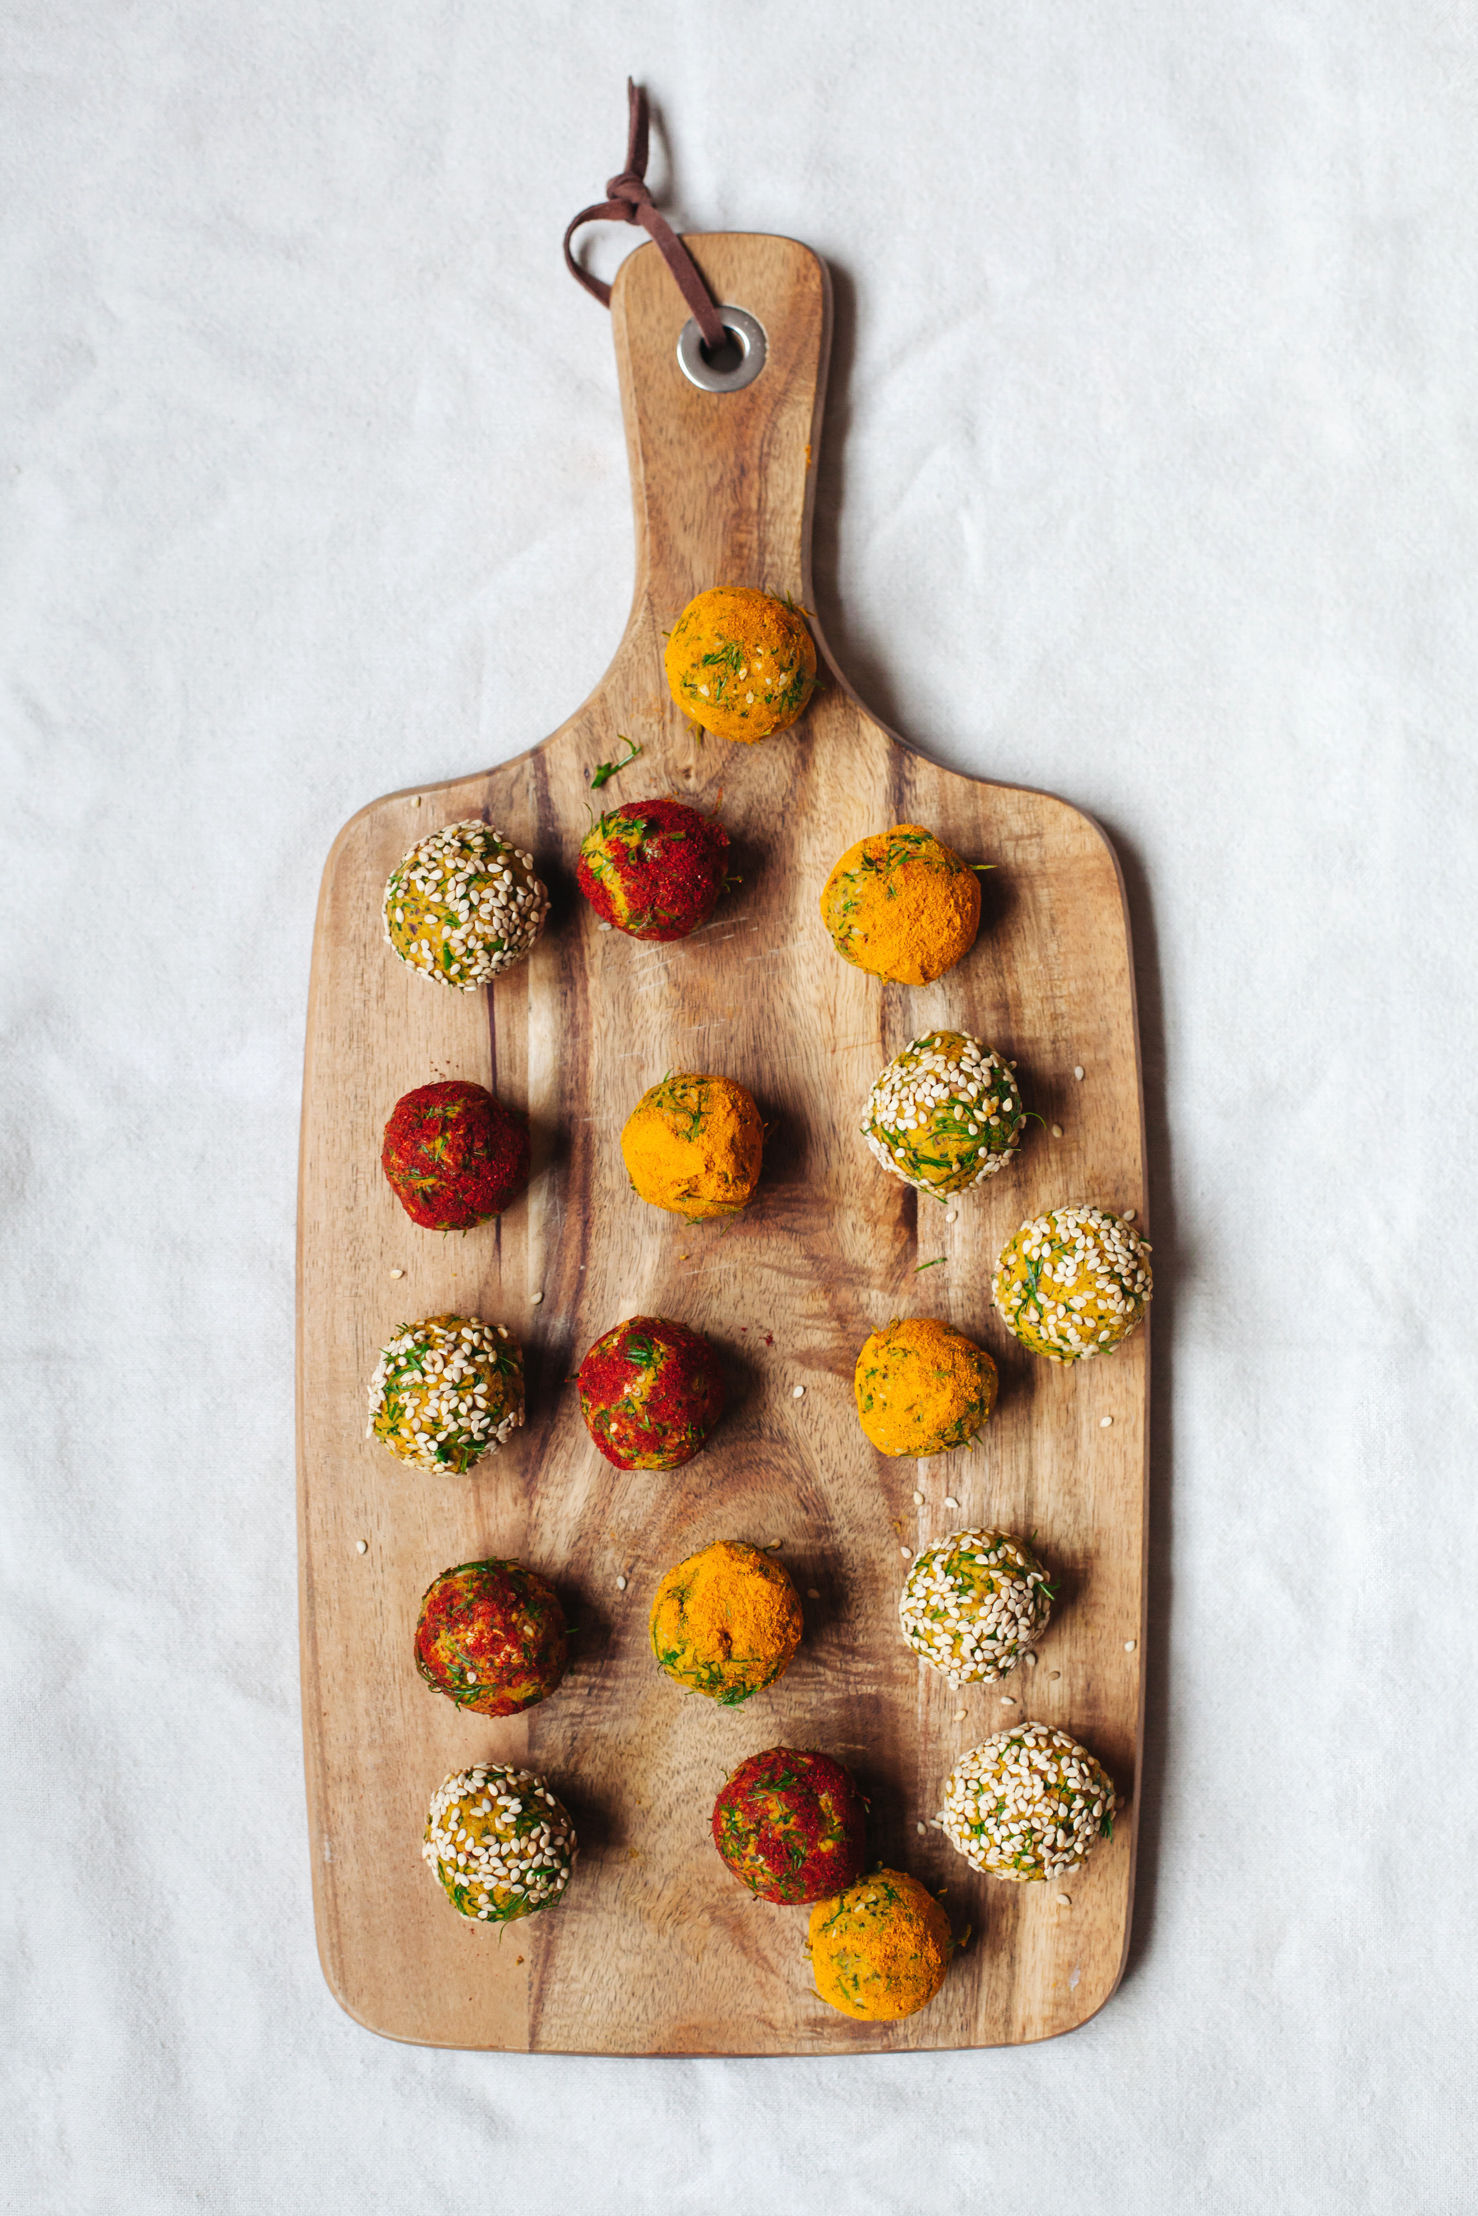
Last week, I talked a little bit about my love for homemade nut milk, how it always tastes better than the store-bough...
Read Recipe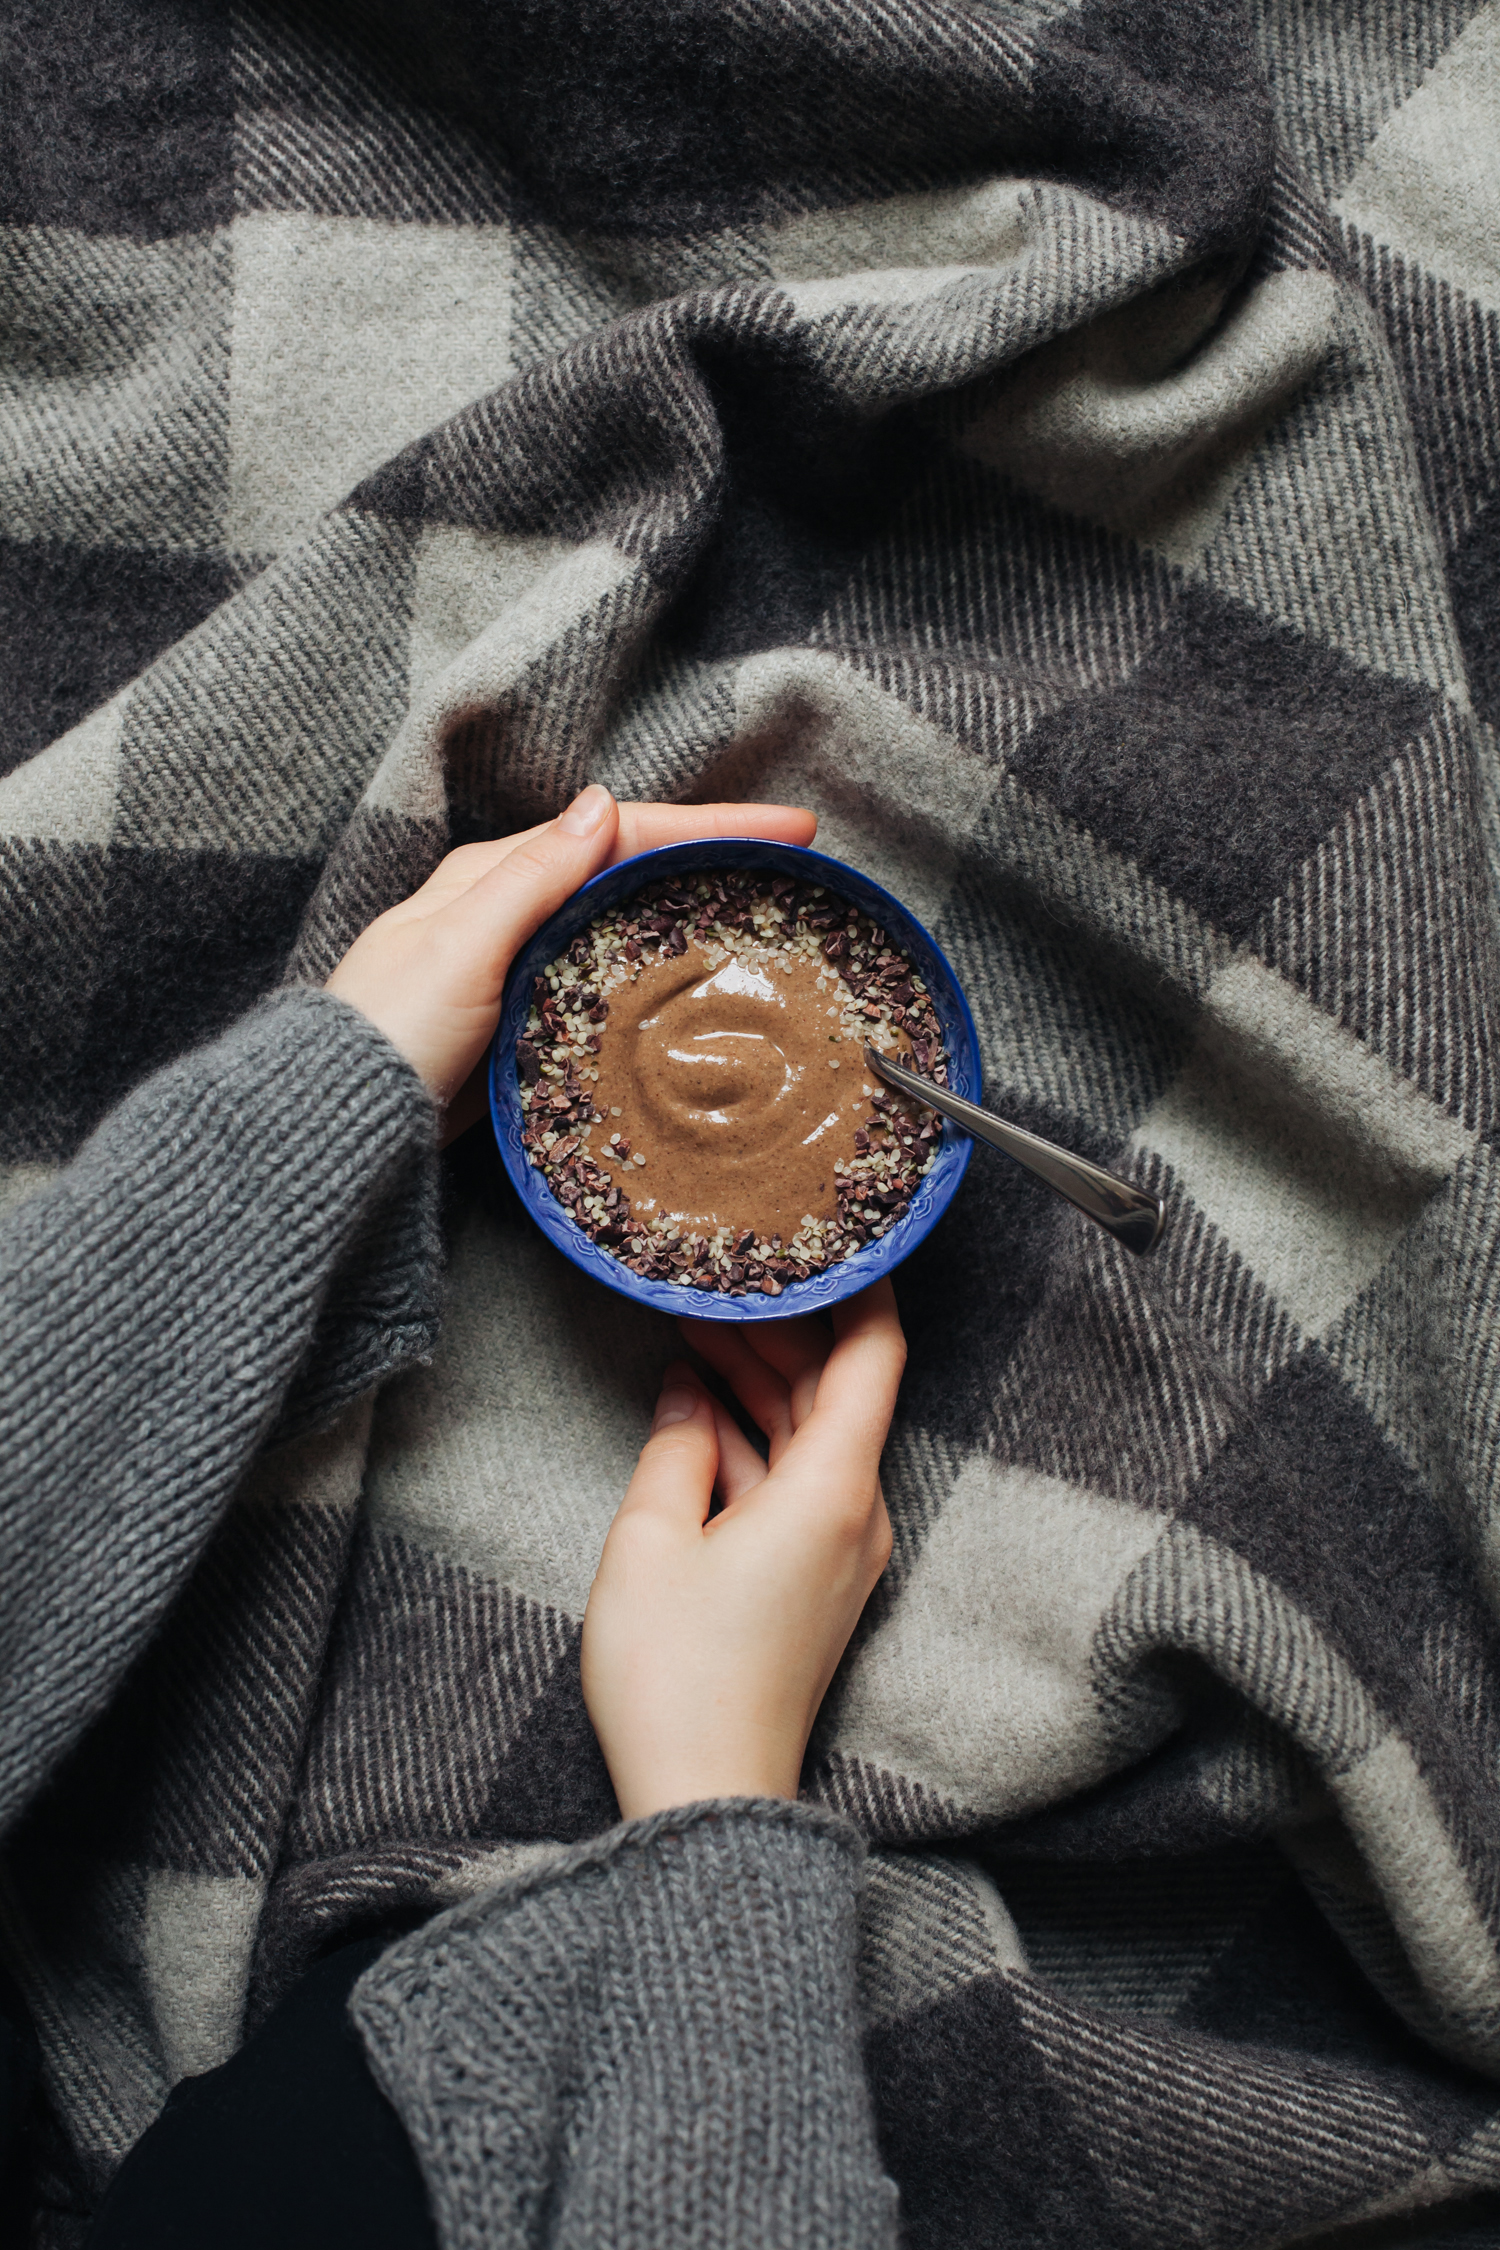
Happy New Year! Checking in with a quick breakfast recipe idea that was born out of my struggle to feed my very picky e...
Read Recipe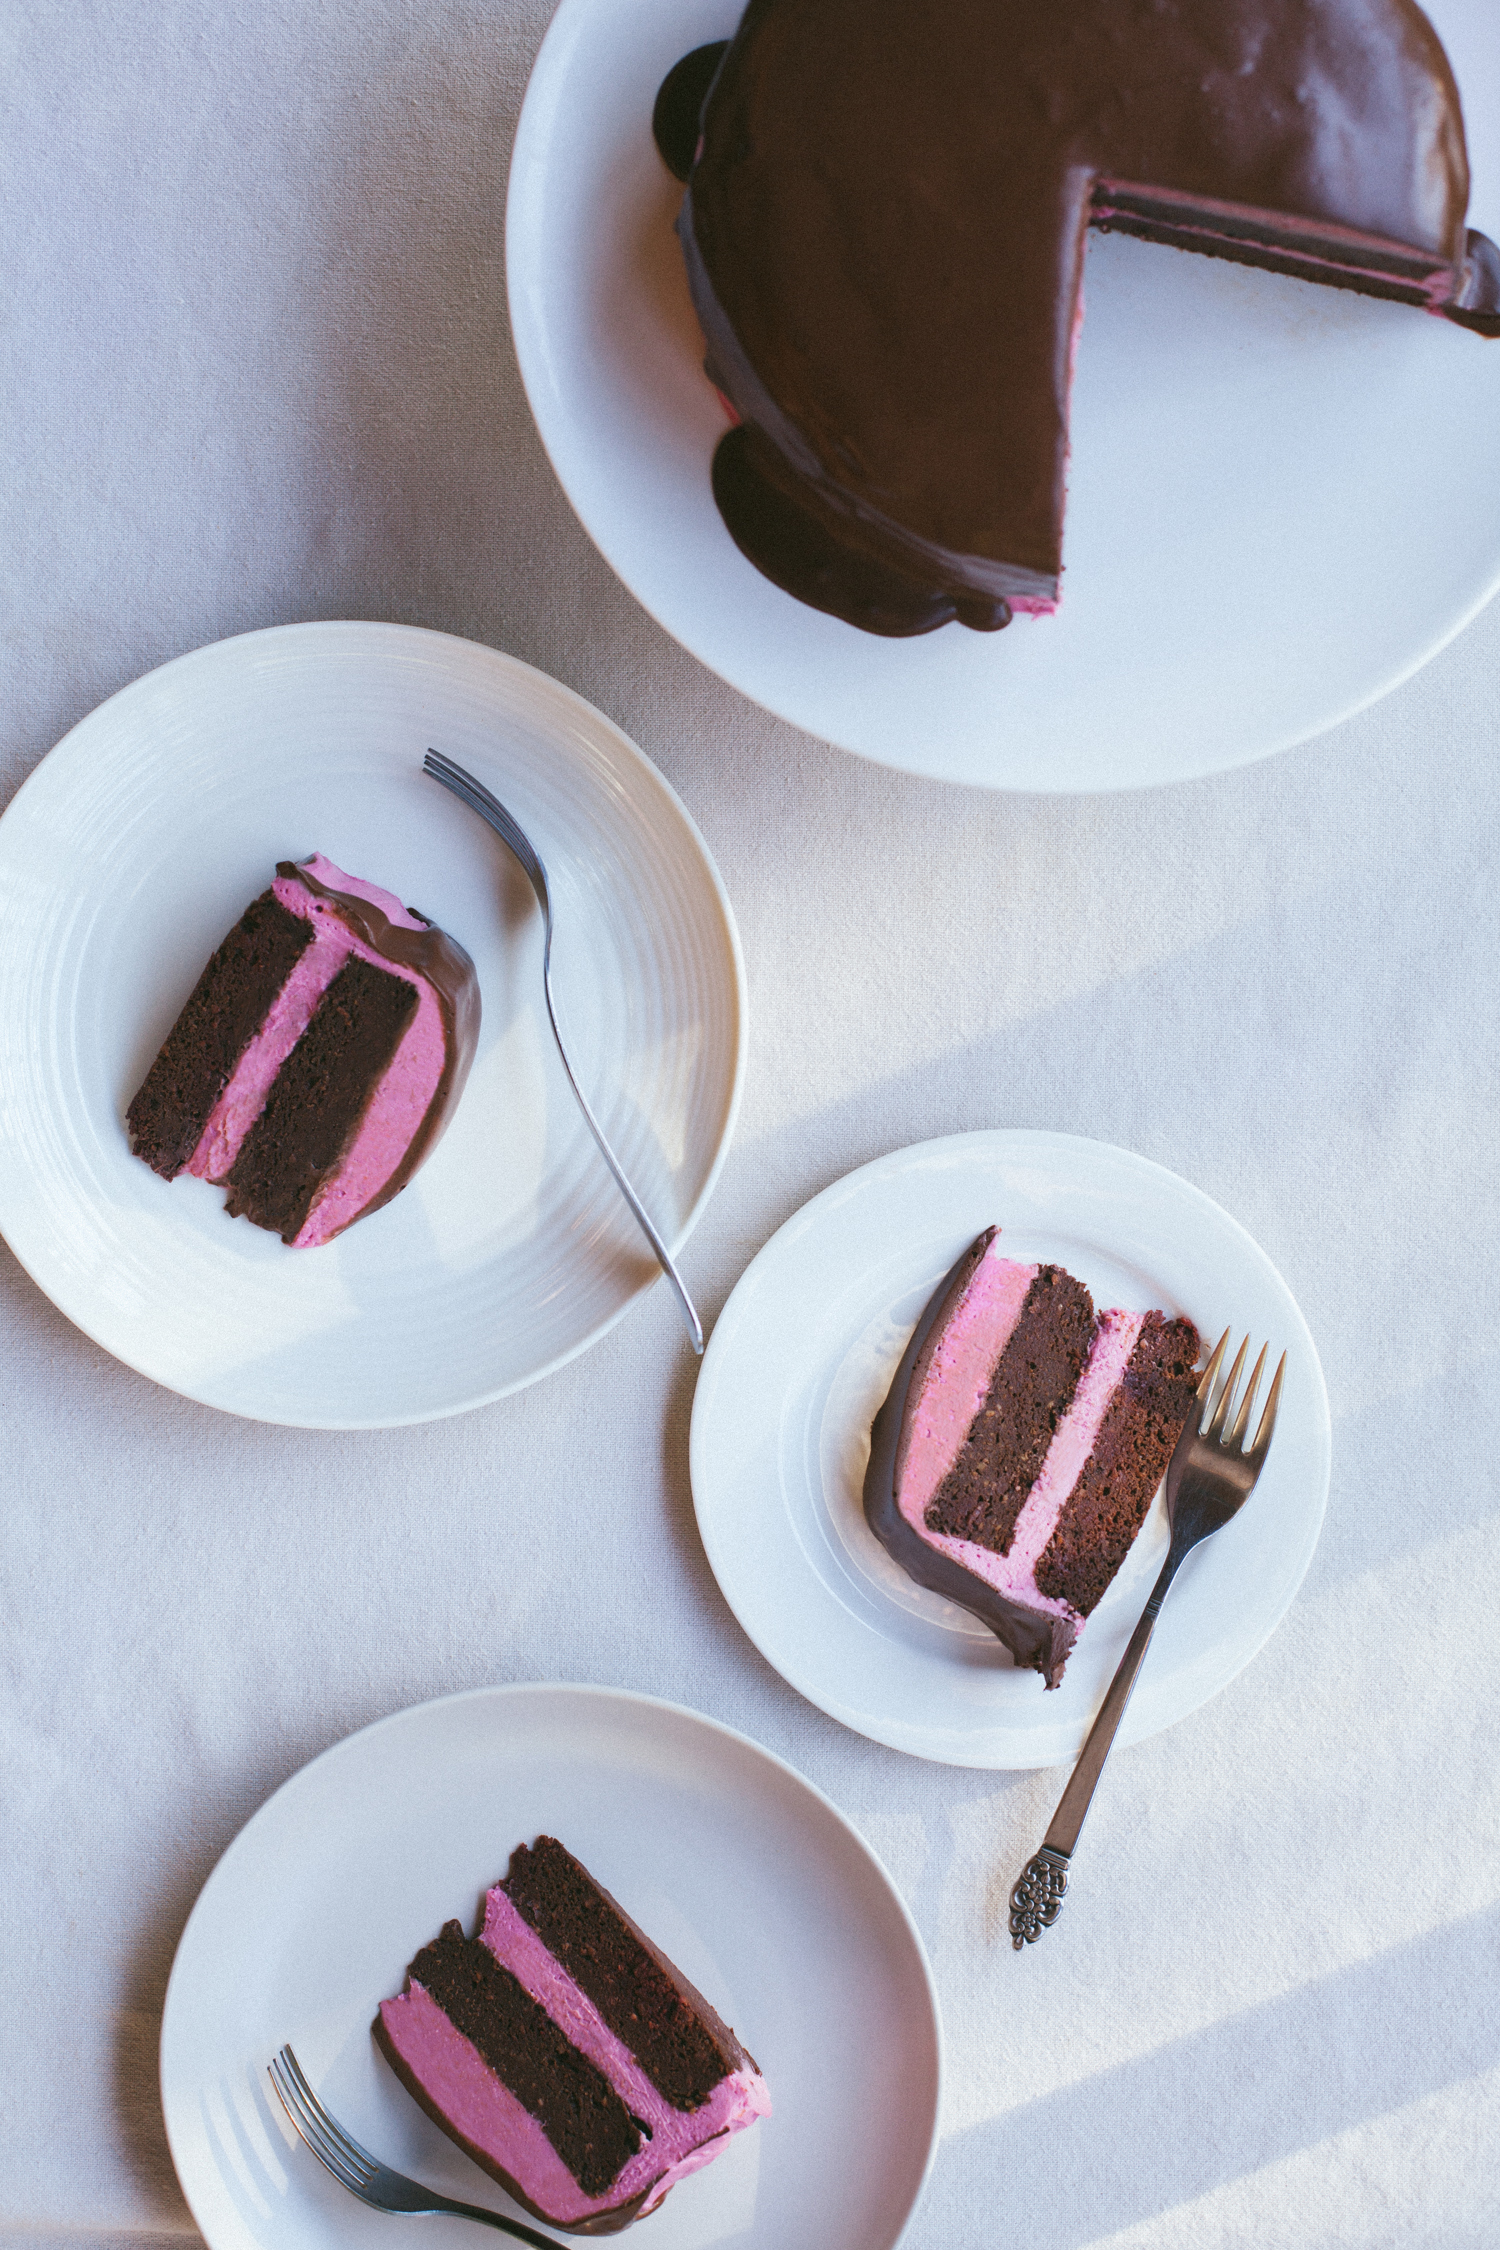
Since we’ve been making a point of keeping things festive around here for the past month or so, we thought it was time...
Read Recipe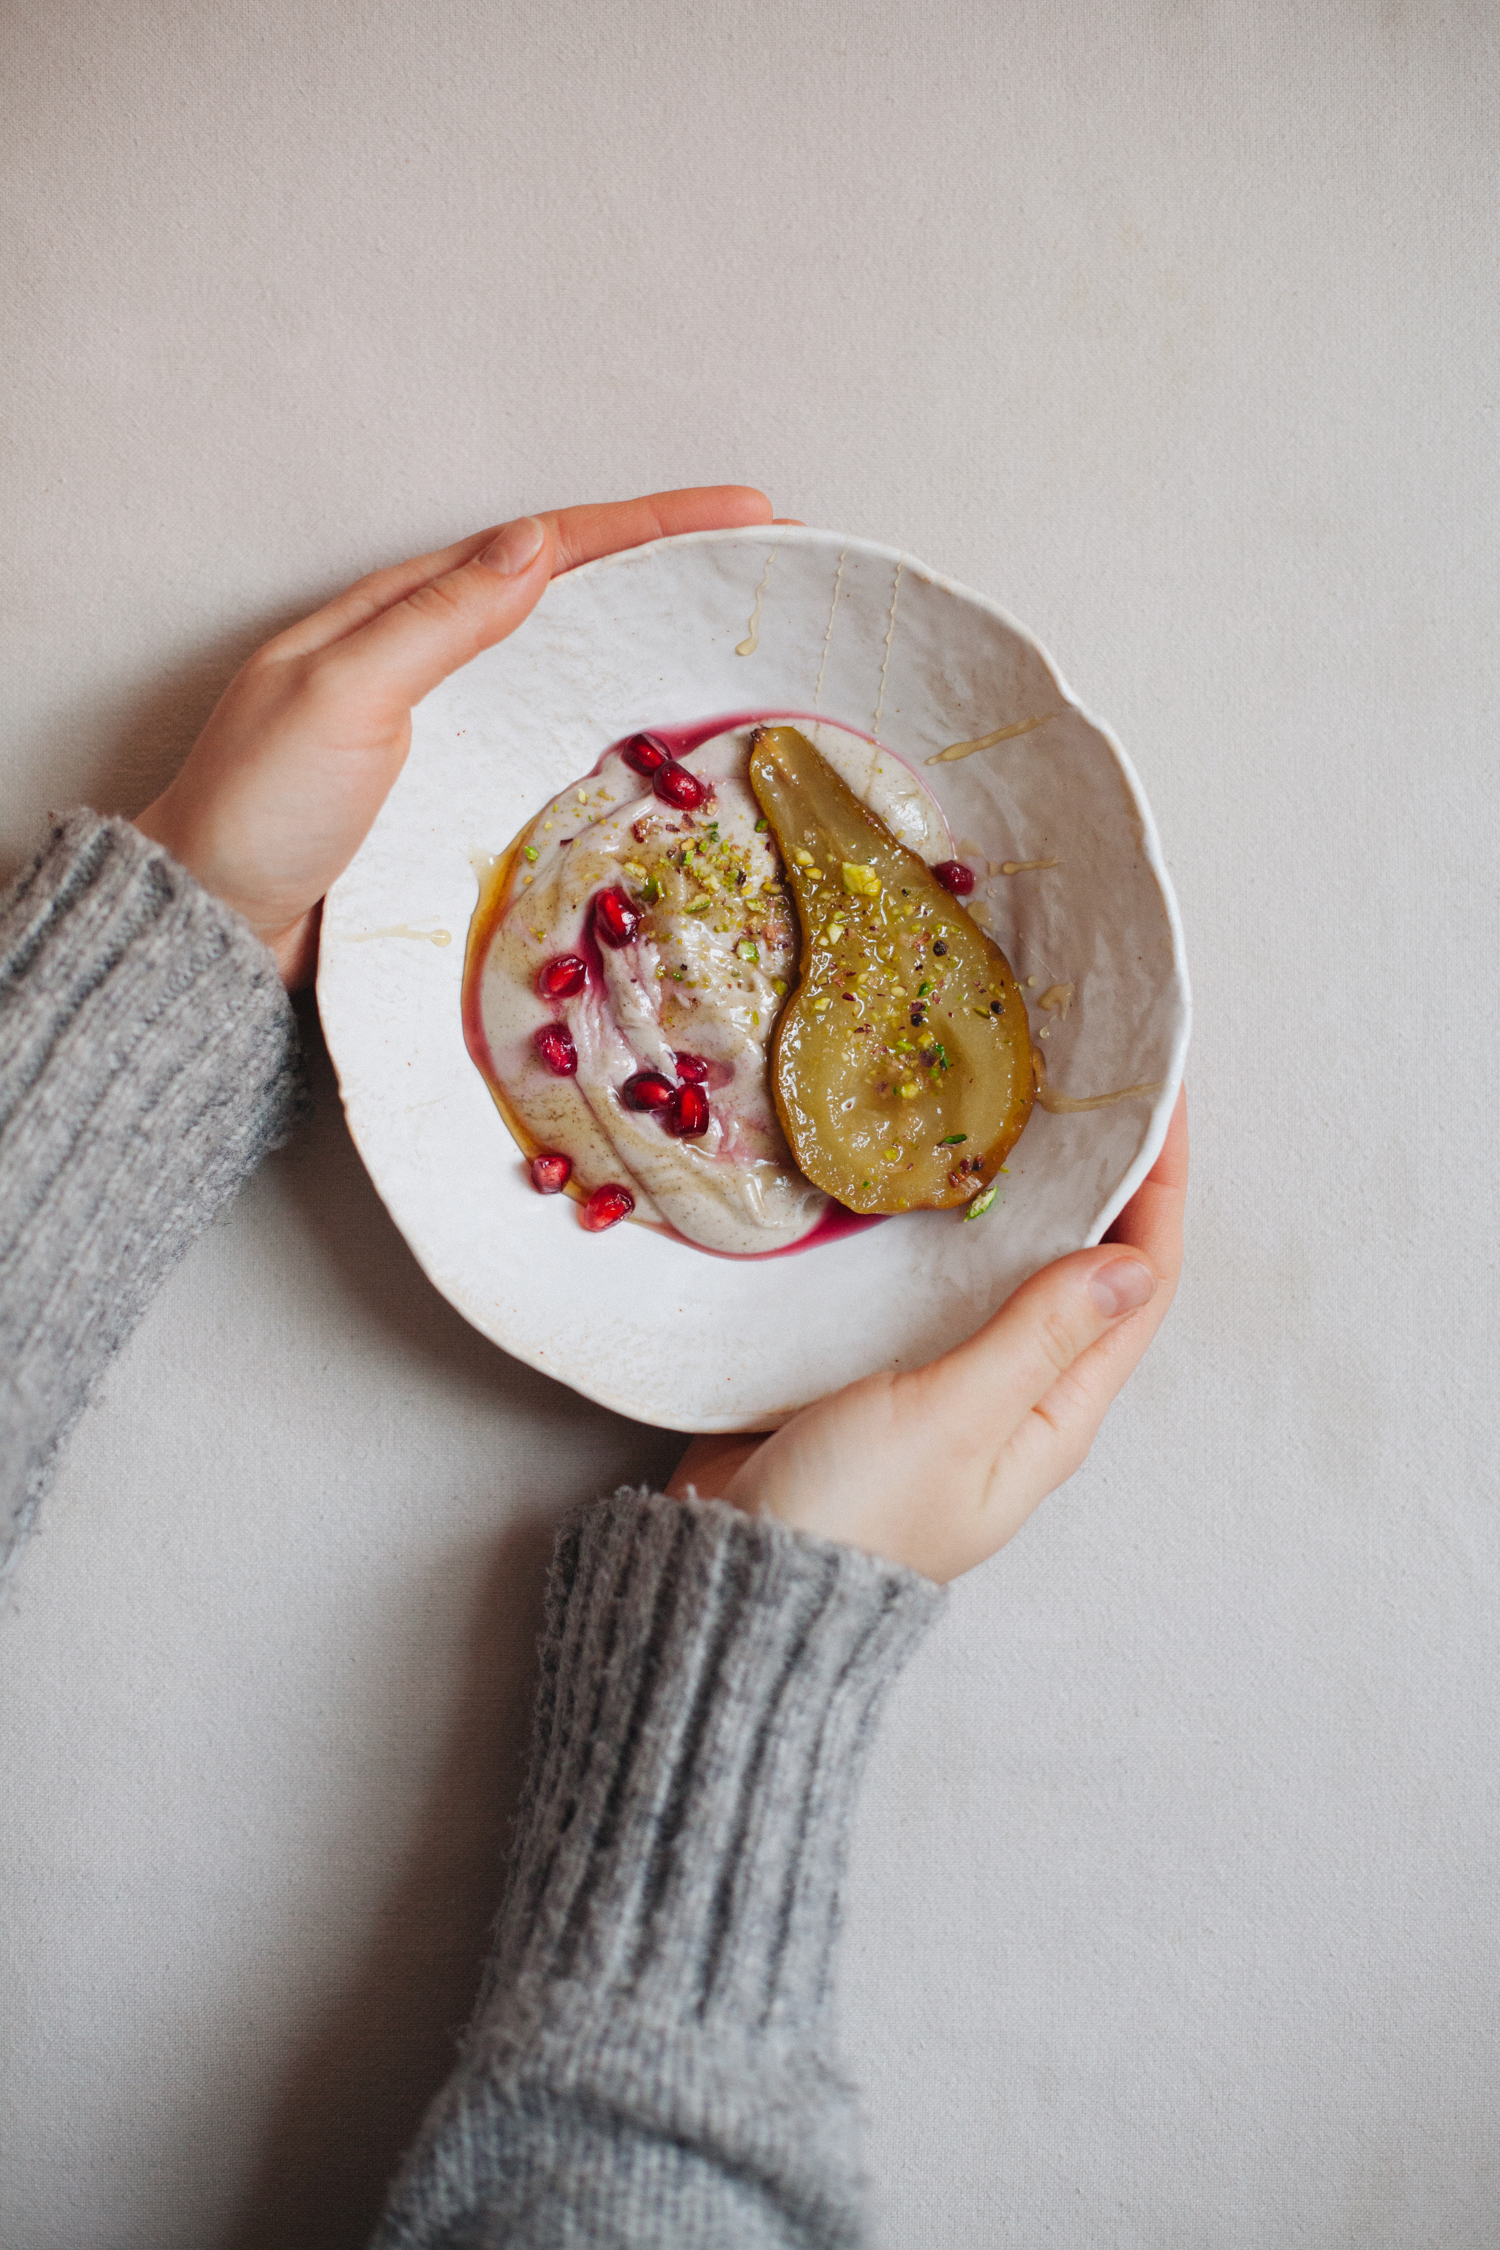
This post was created in partnership with Smiley Honey. Roasting pears is the easy road to a sophisticated...
Read Recipe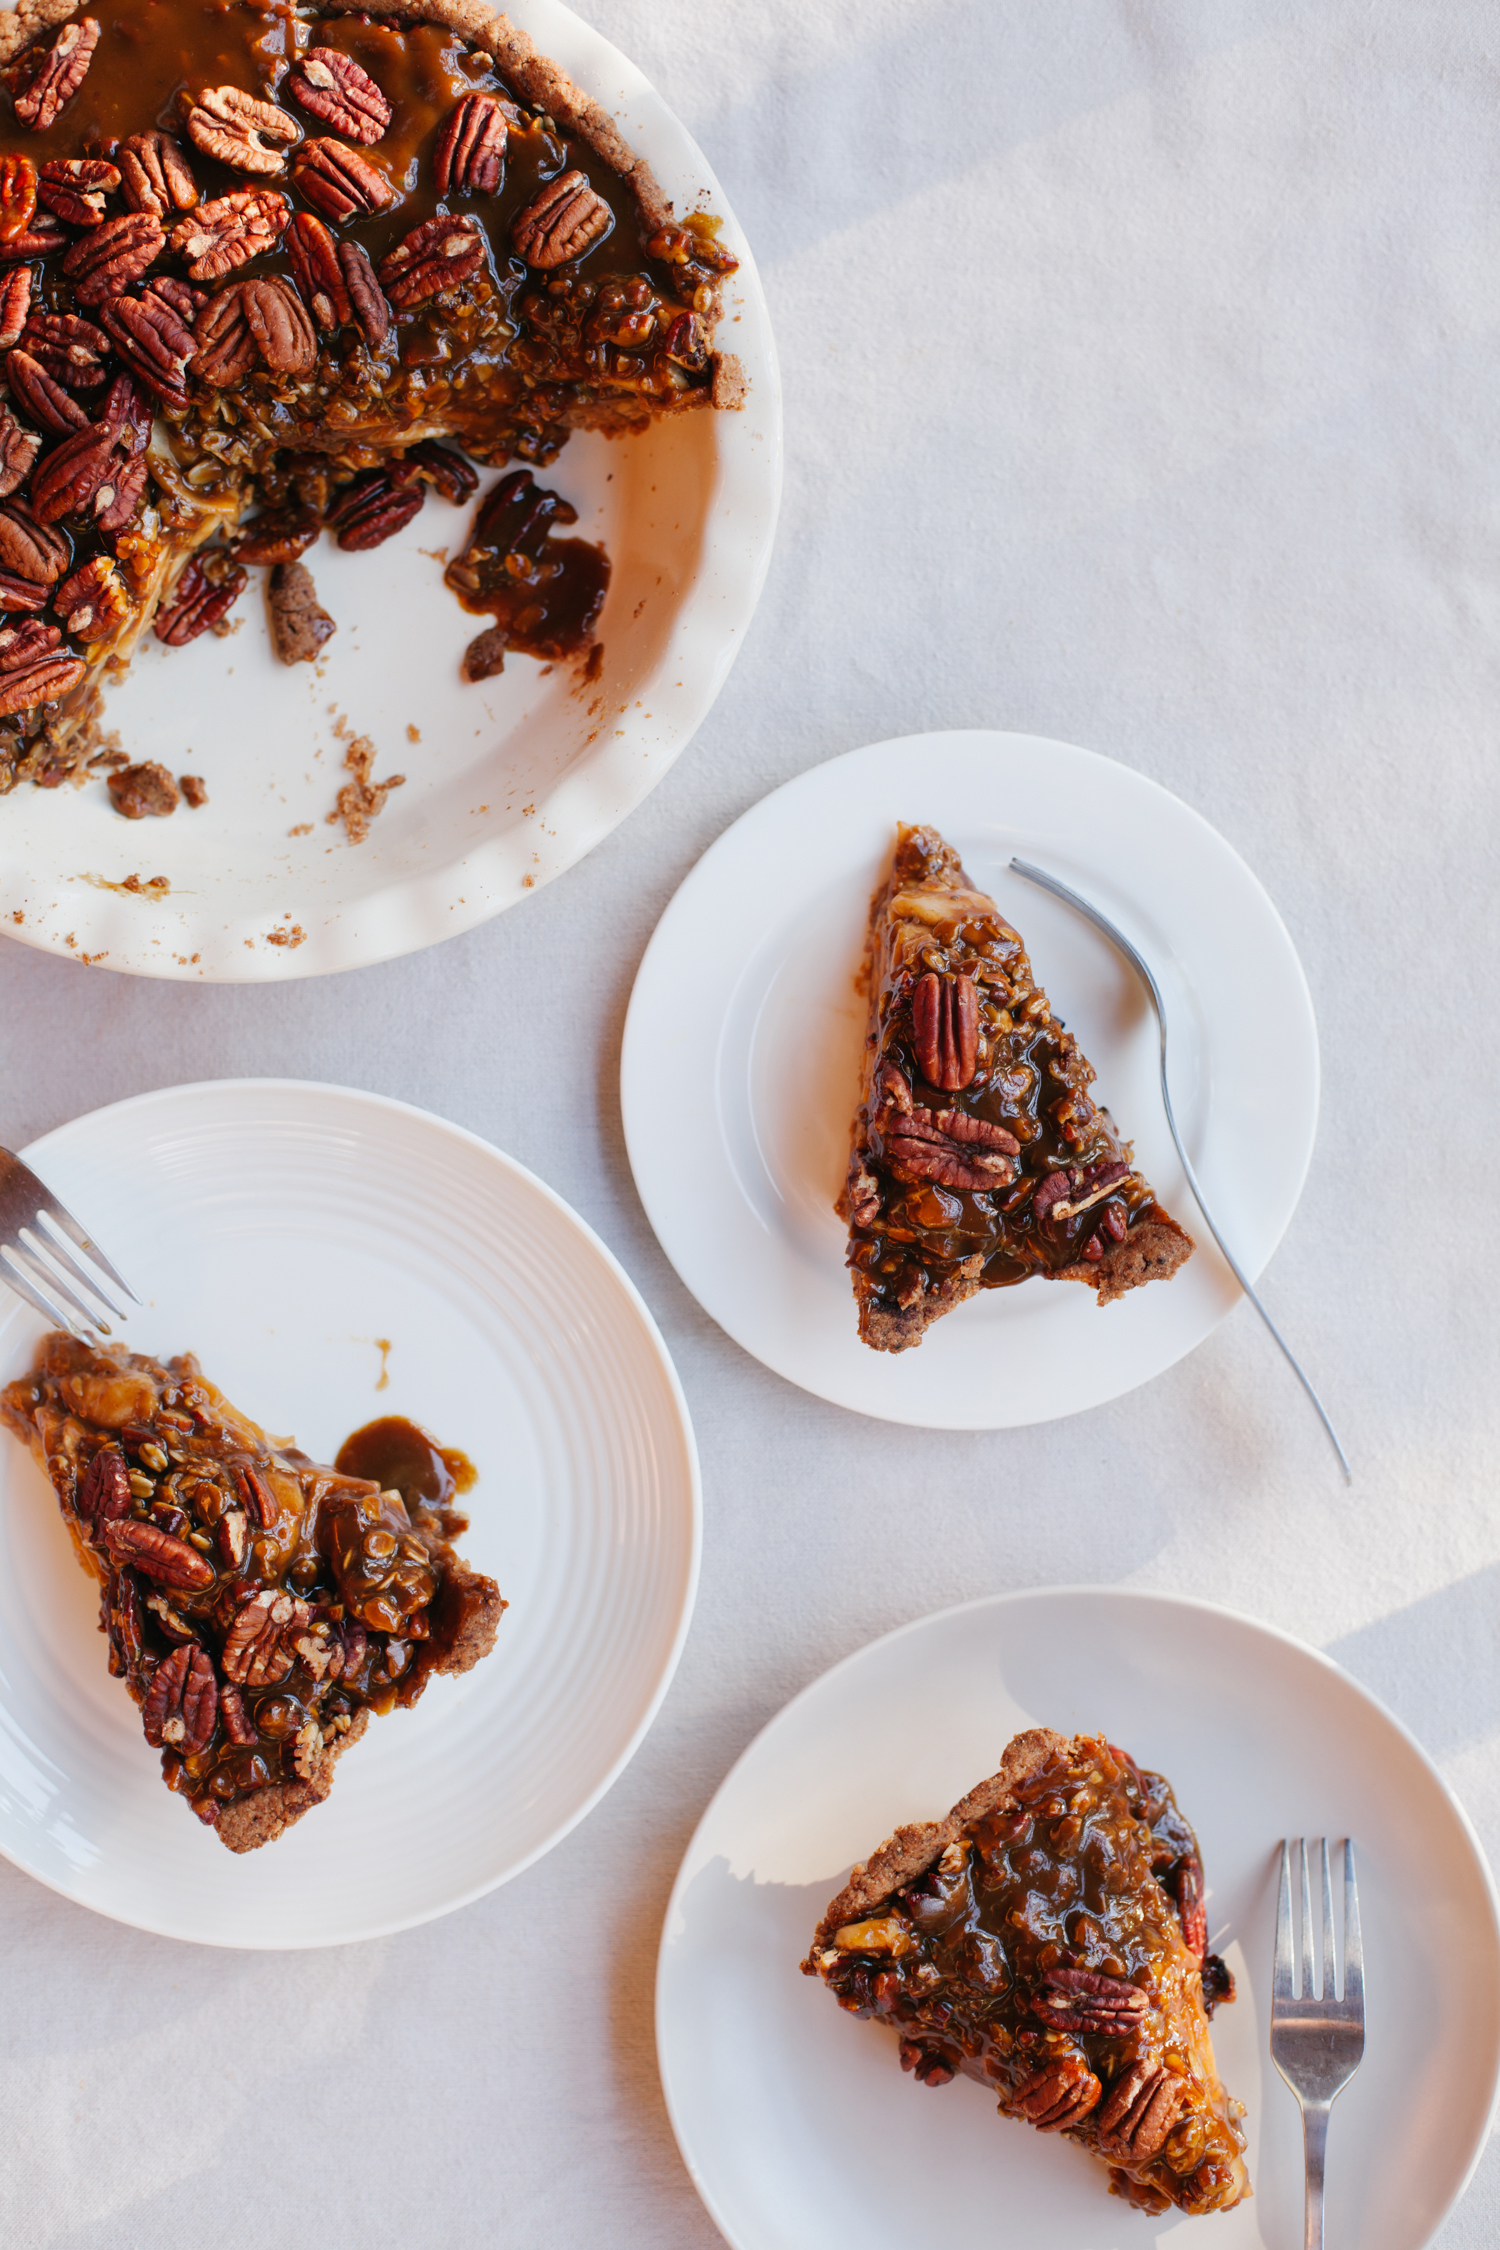
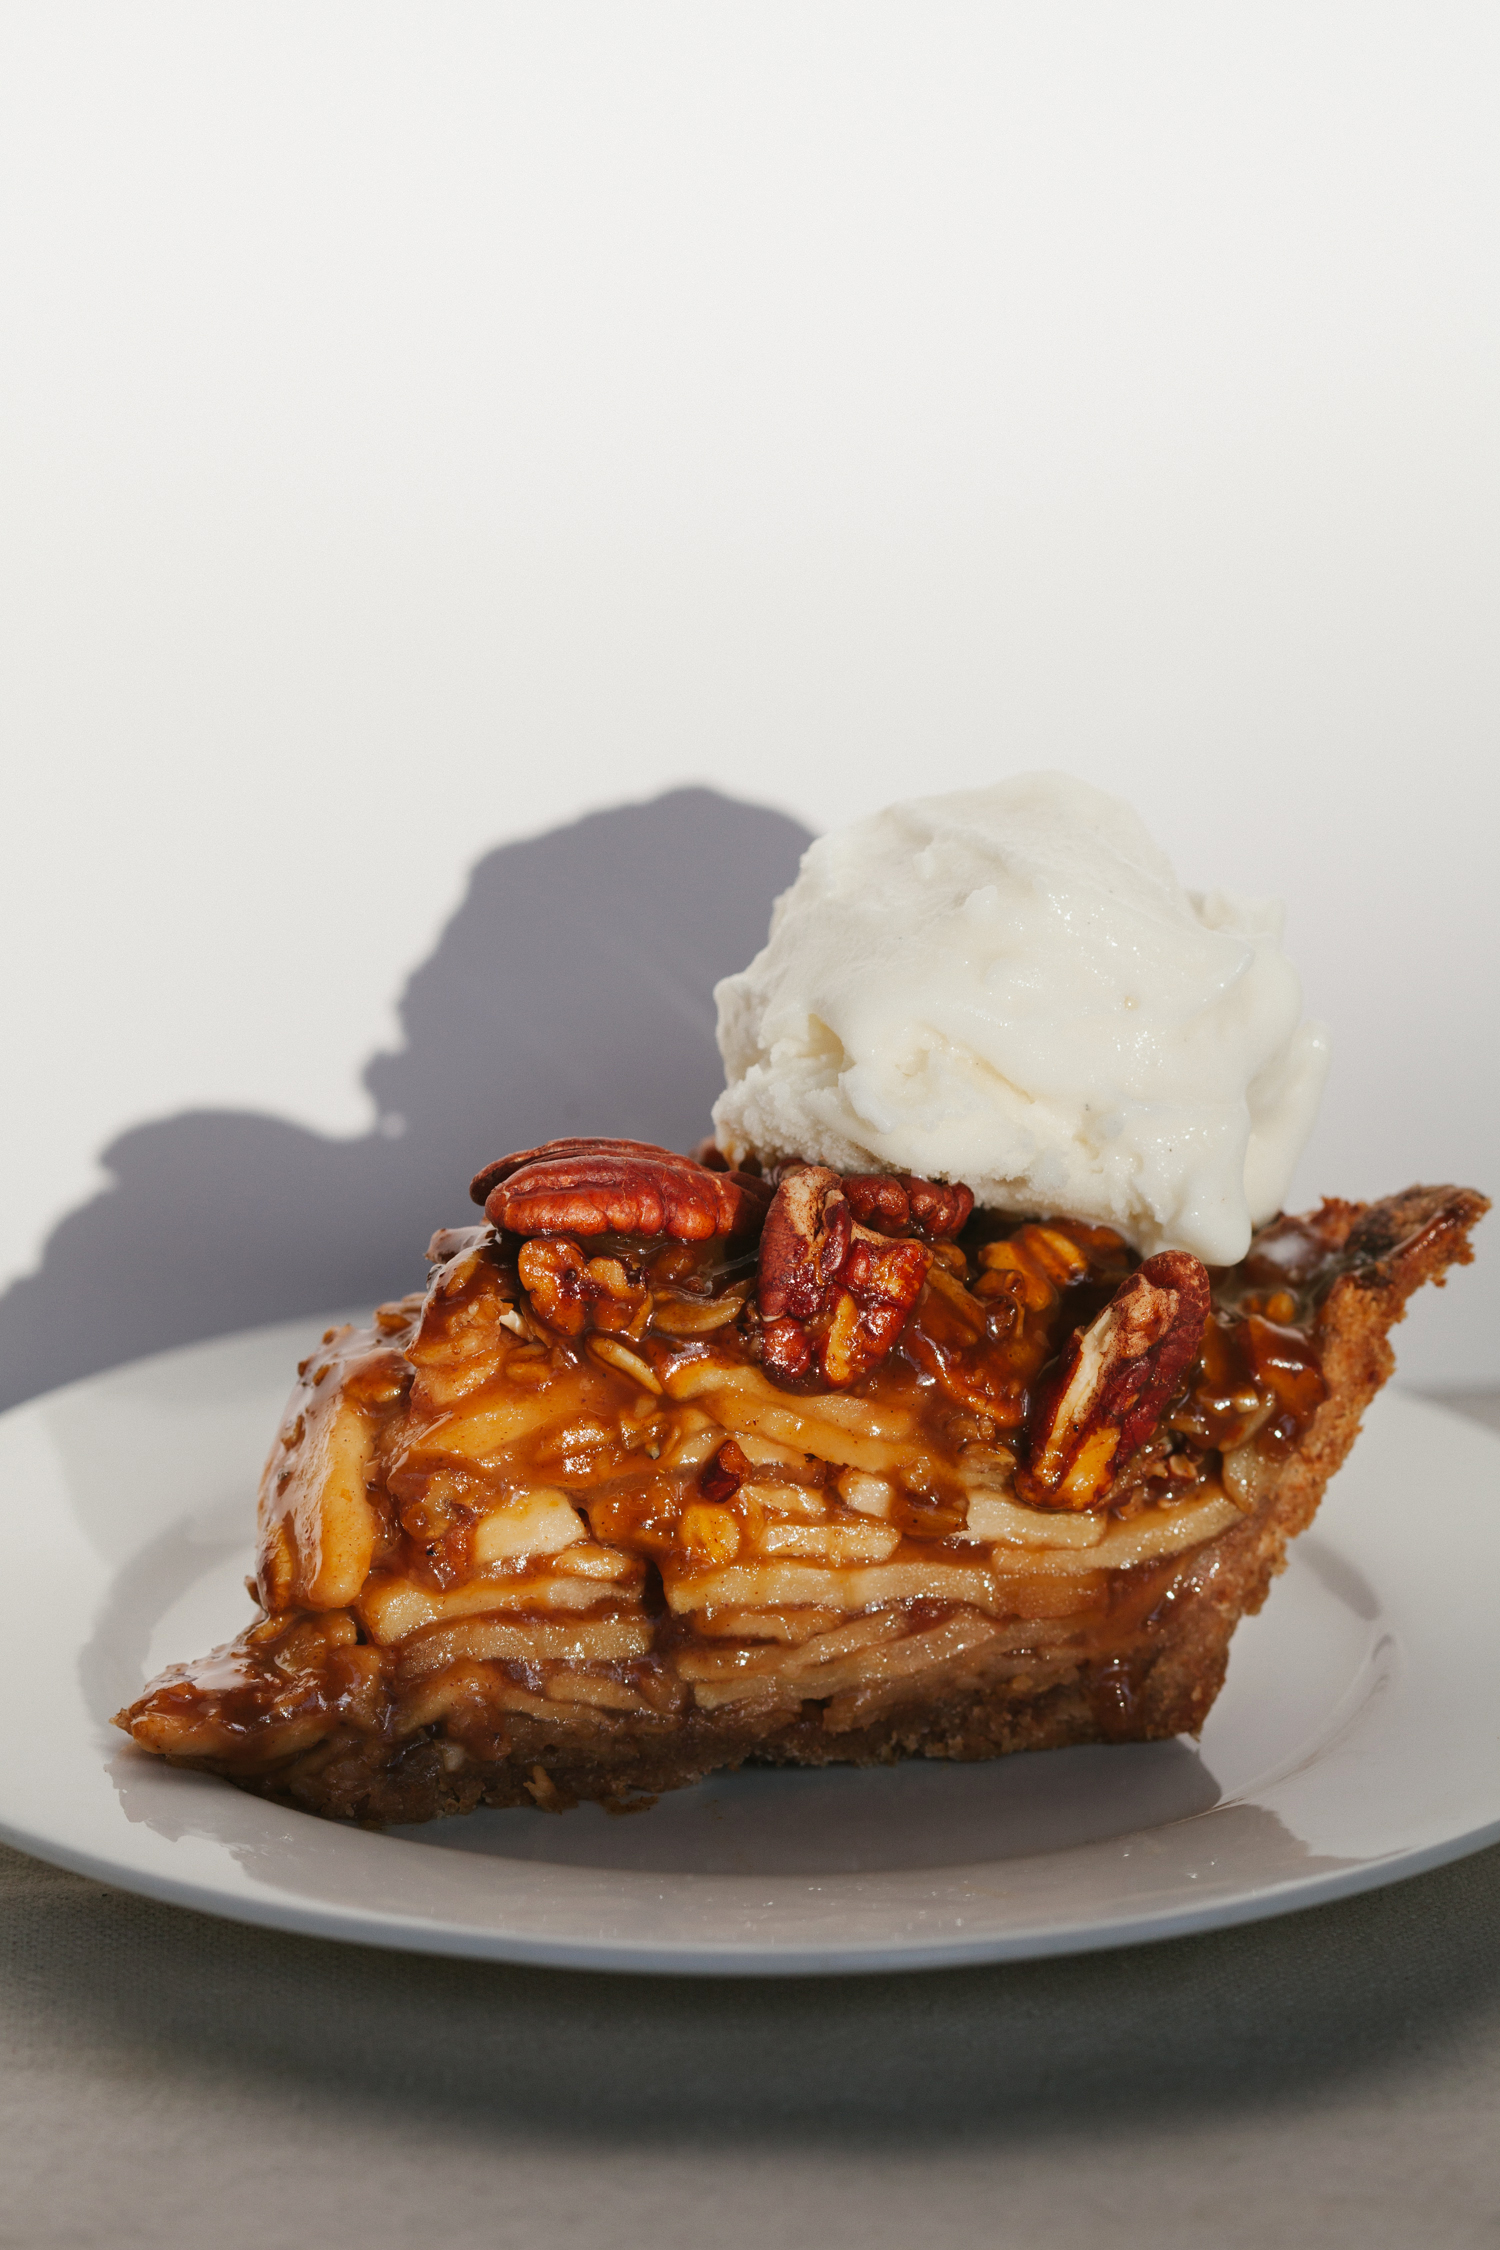
Focusing on love, peace and hope today and sending all those vibes your way, but we know you come here for the pie, amon...
Read Recipe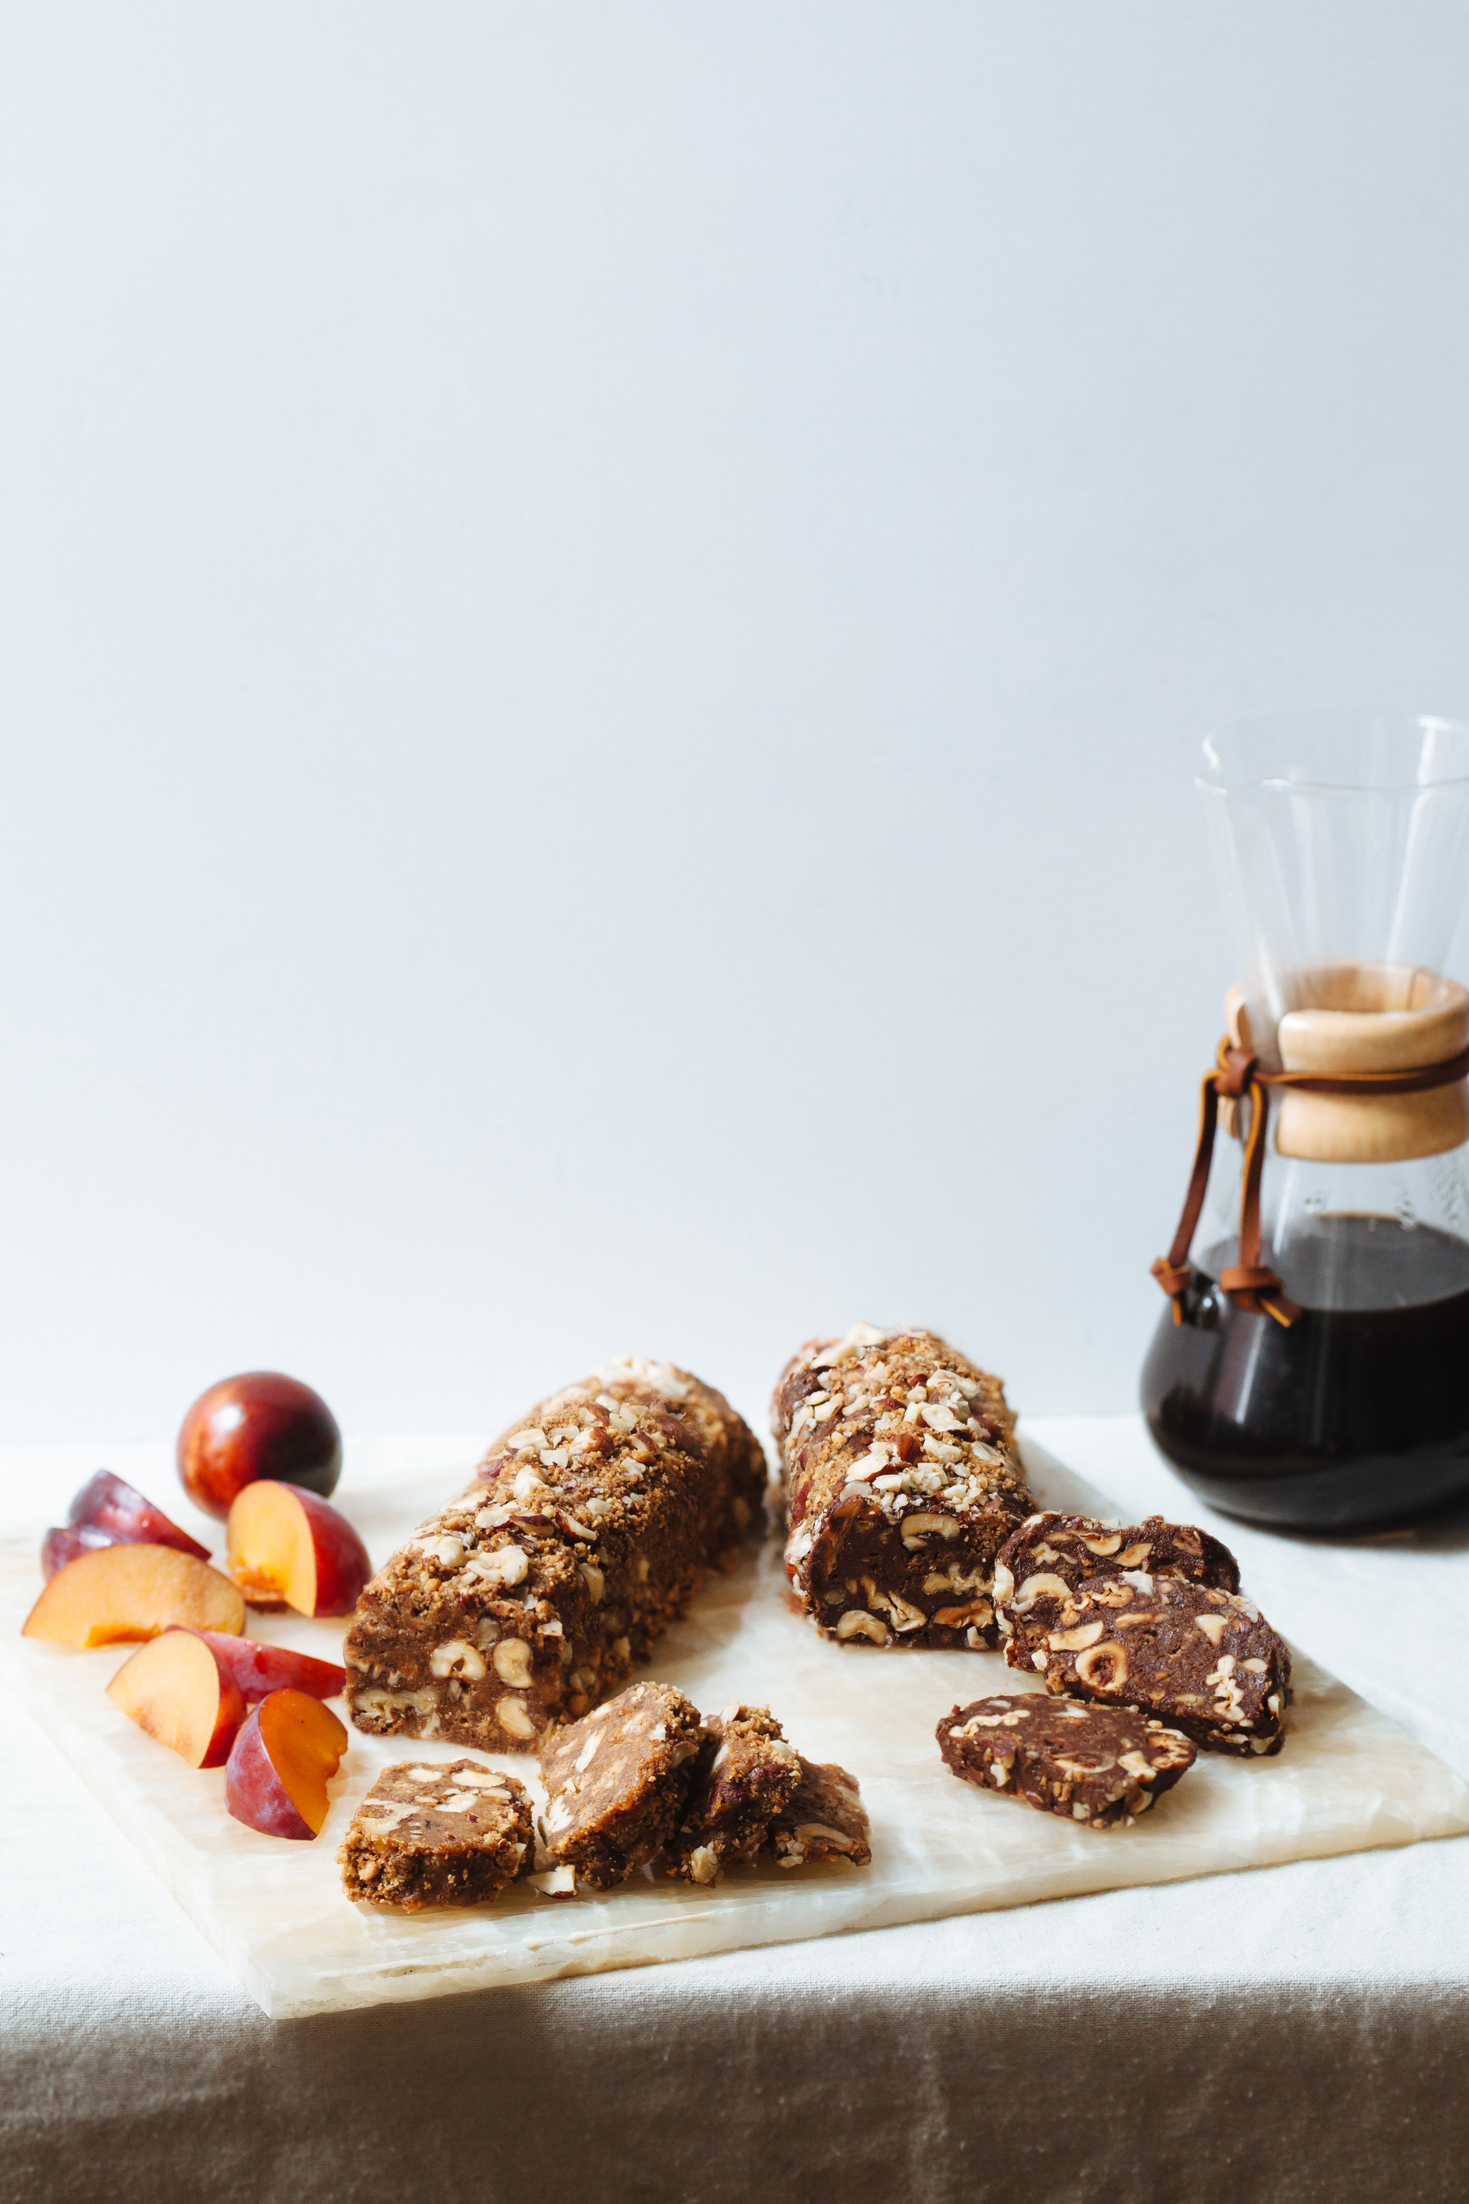
This post is created in partnership with MightyNest, keep reading for a great discount. Right off the ba...
Read Recipe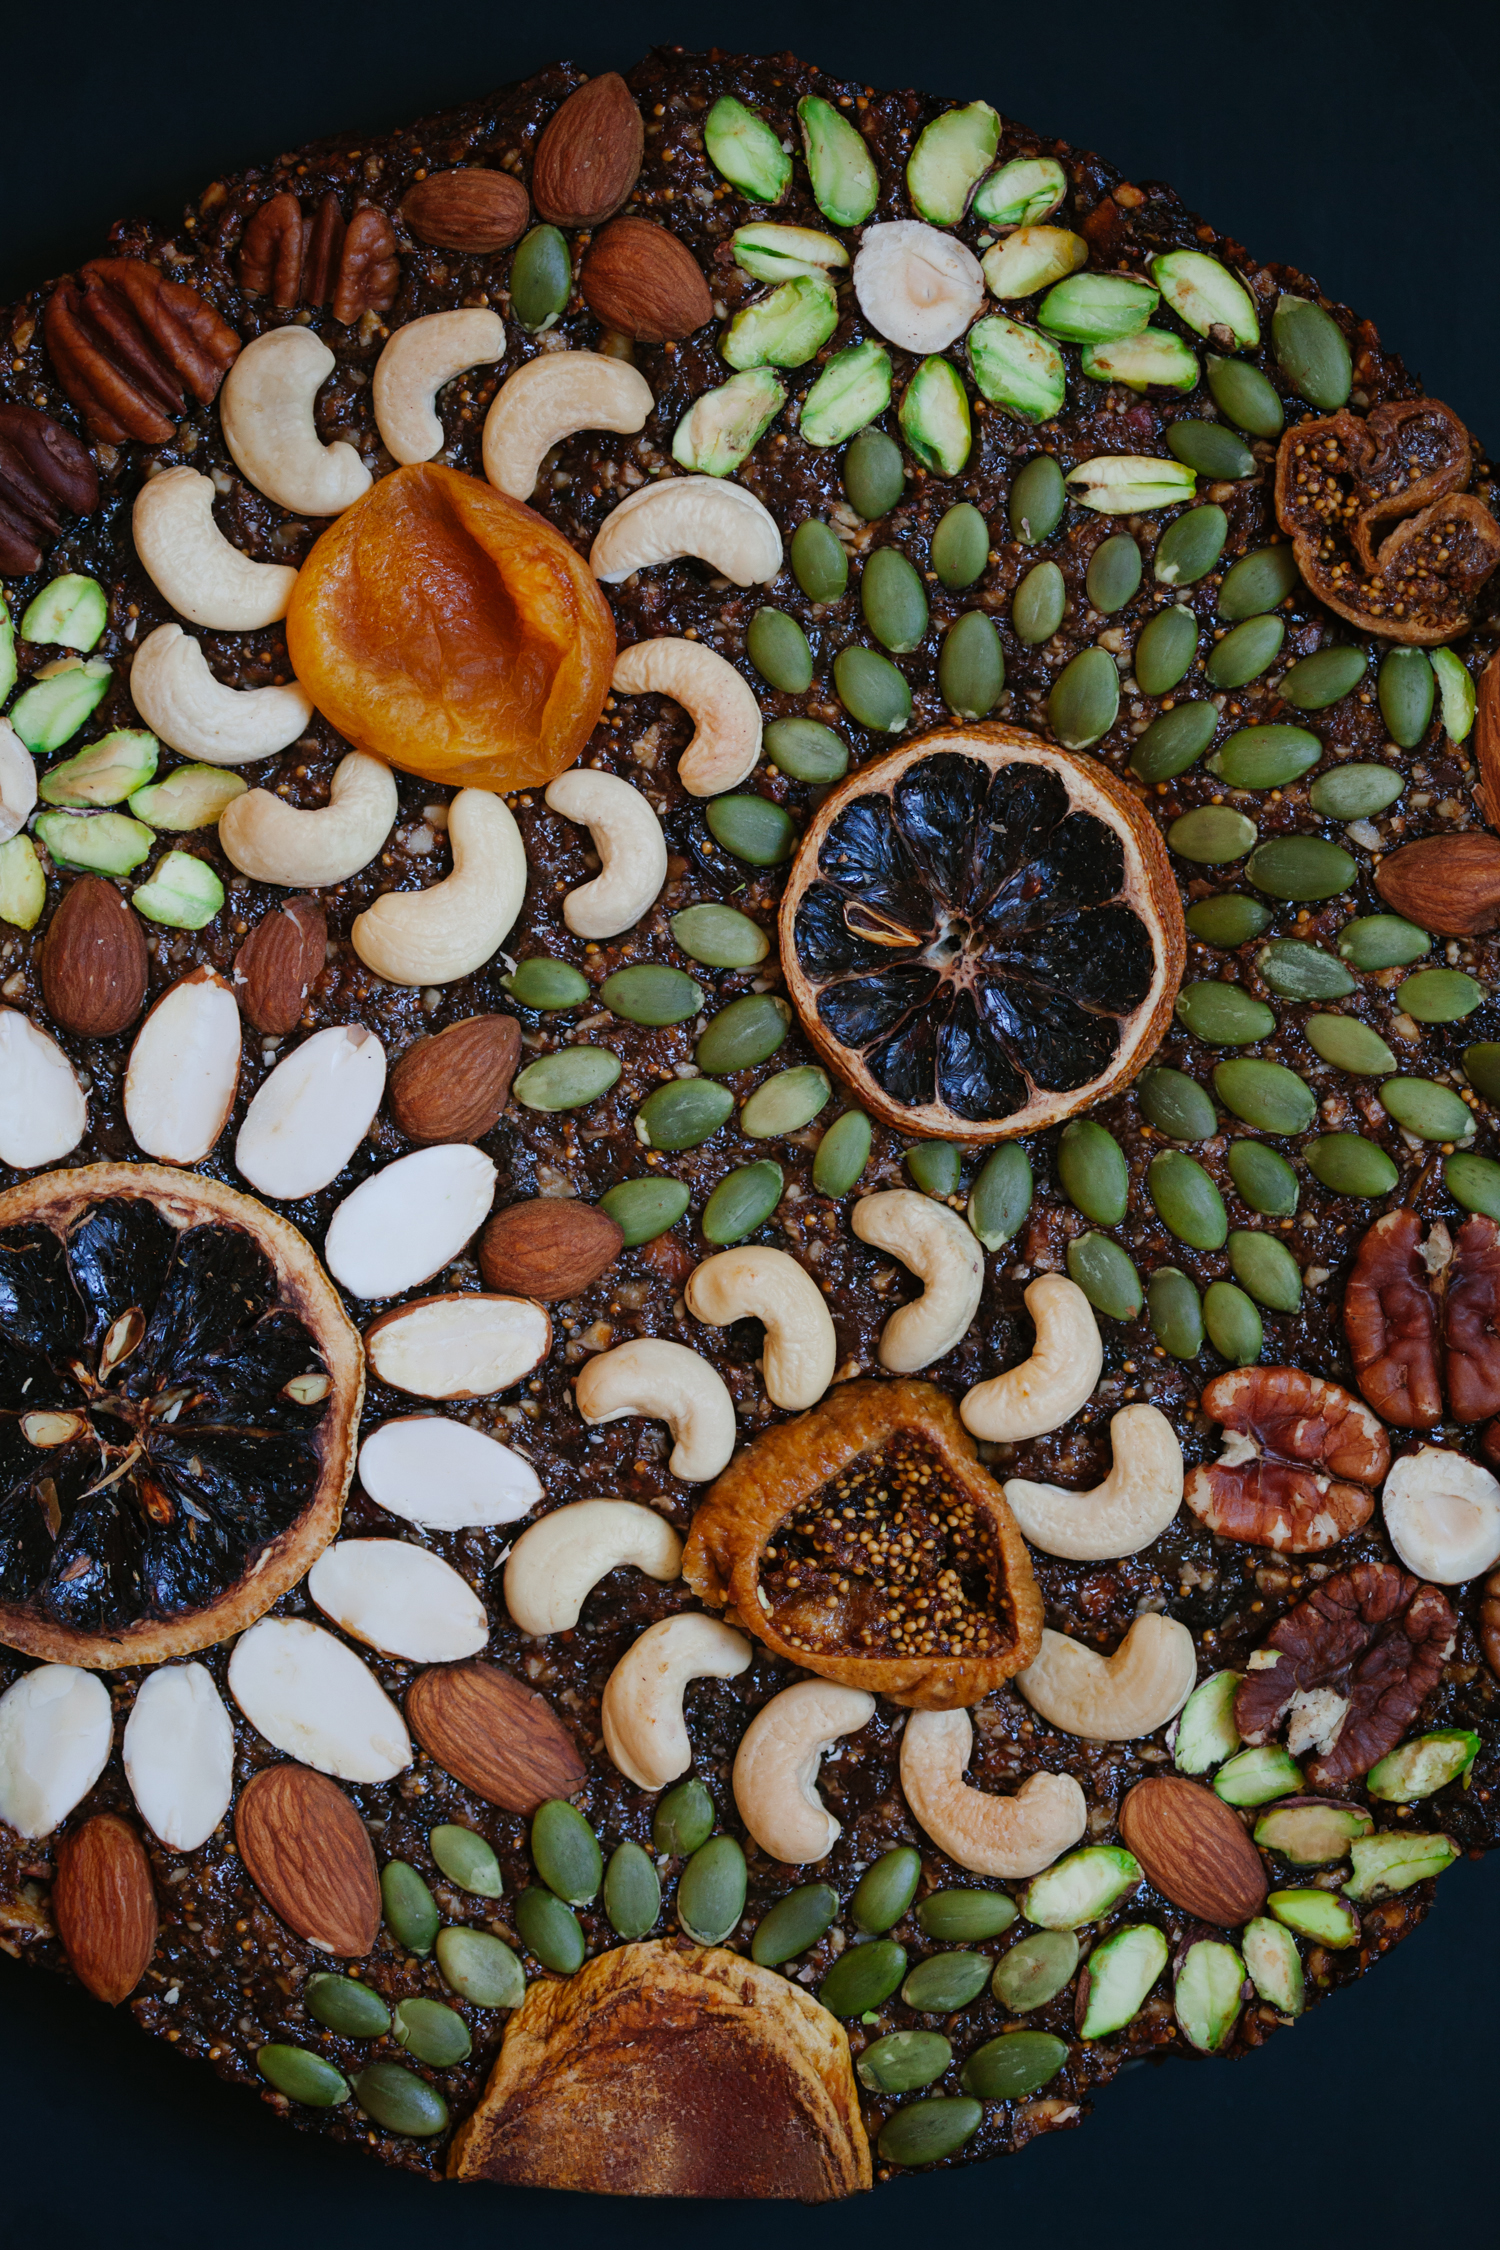
I have a whole lot of cozy fall and holiday recipe ideas bouncing around in my mind, even though it’s still warm out a...
Read Recipe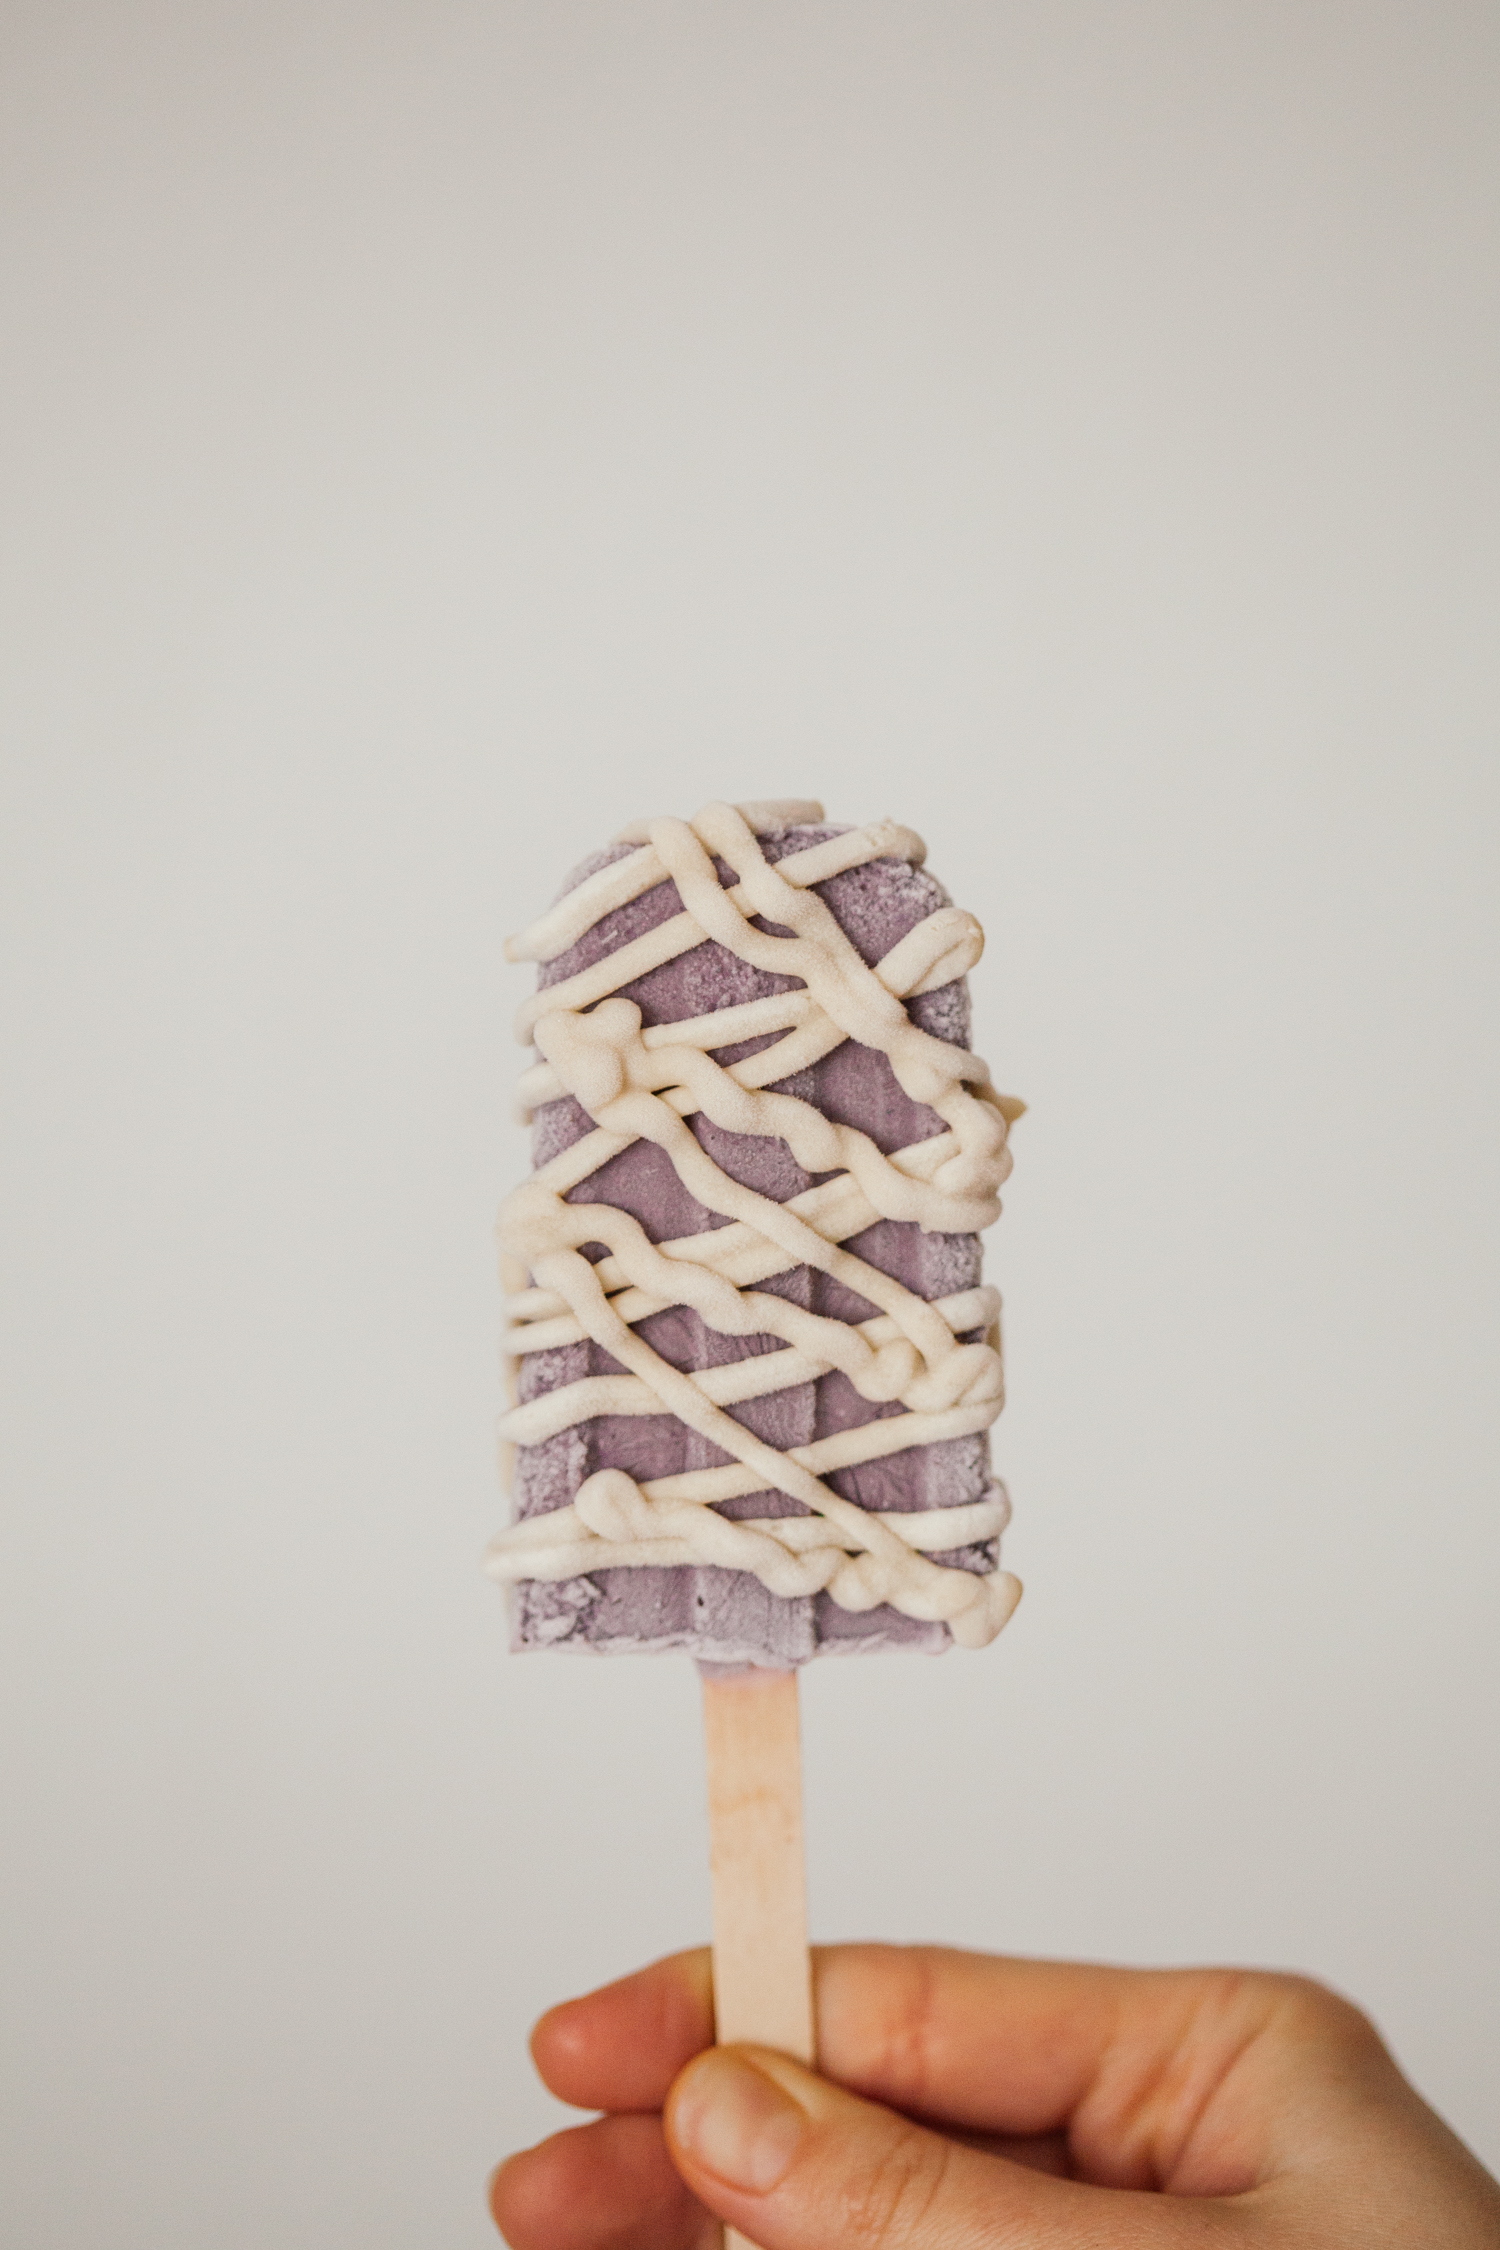
Every time I feel a hint of sadness towards the closing of August, I have to remind myself that summer is not at all ov...
Read Recipe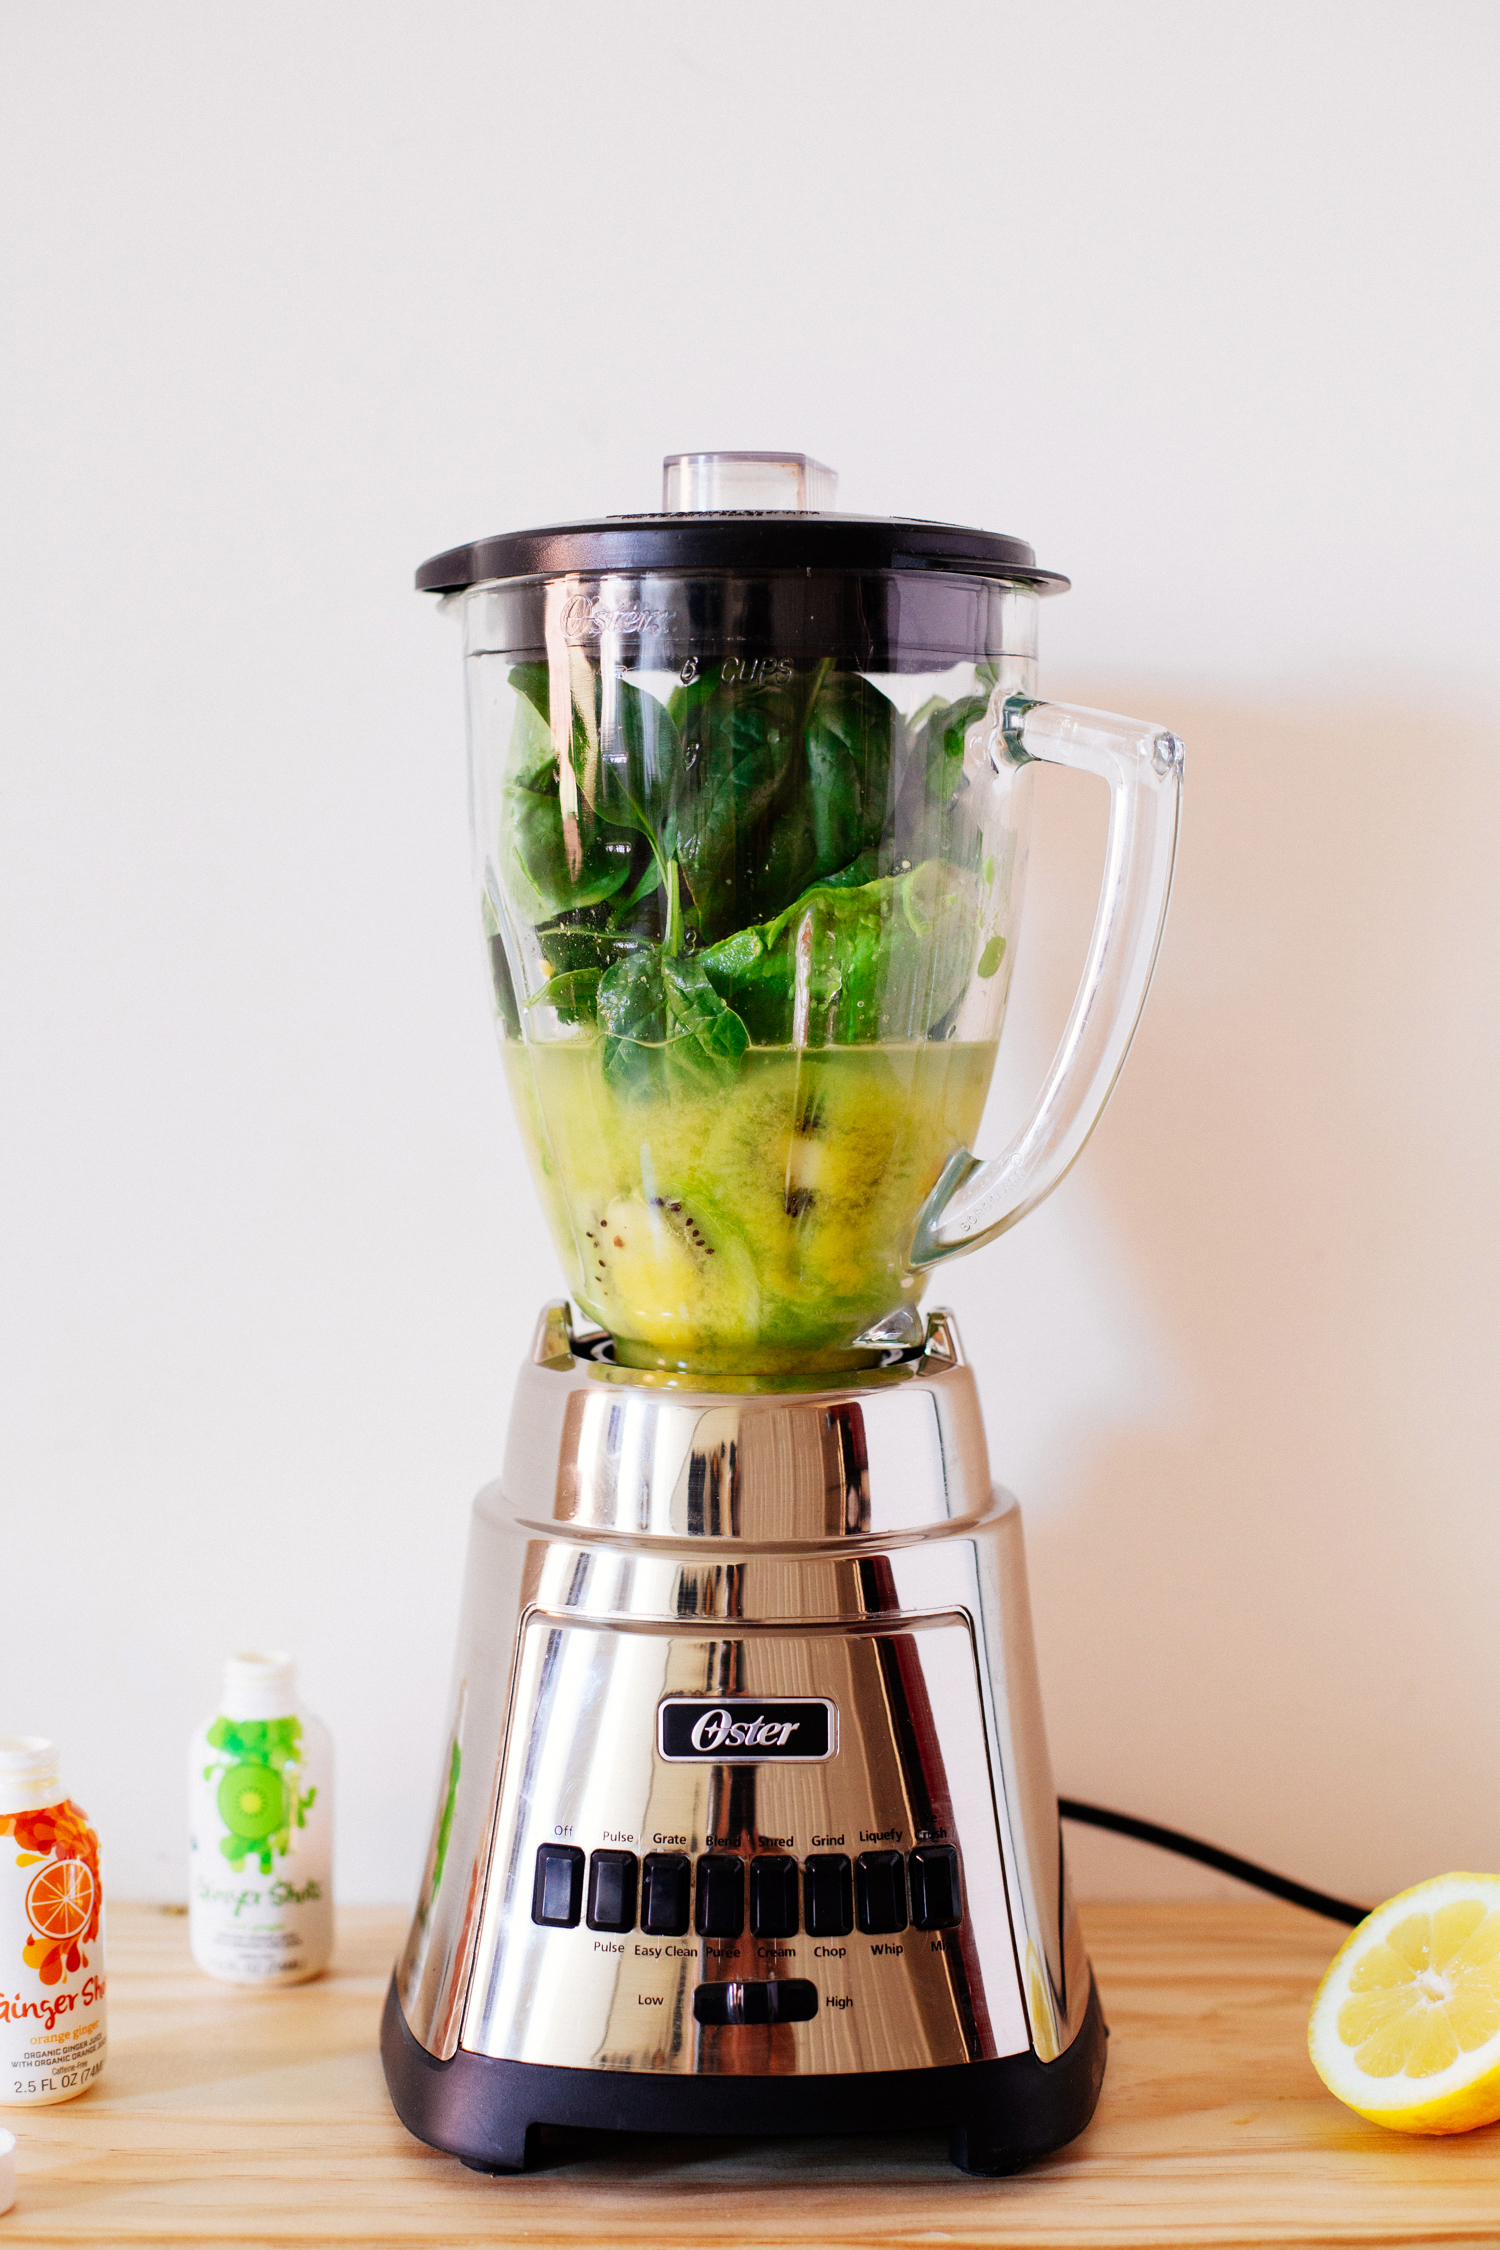
Every one of us has, at some point or another, felt at a loss when tasked with making a meal. Sometimes there’s just t...
Read Recipe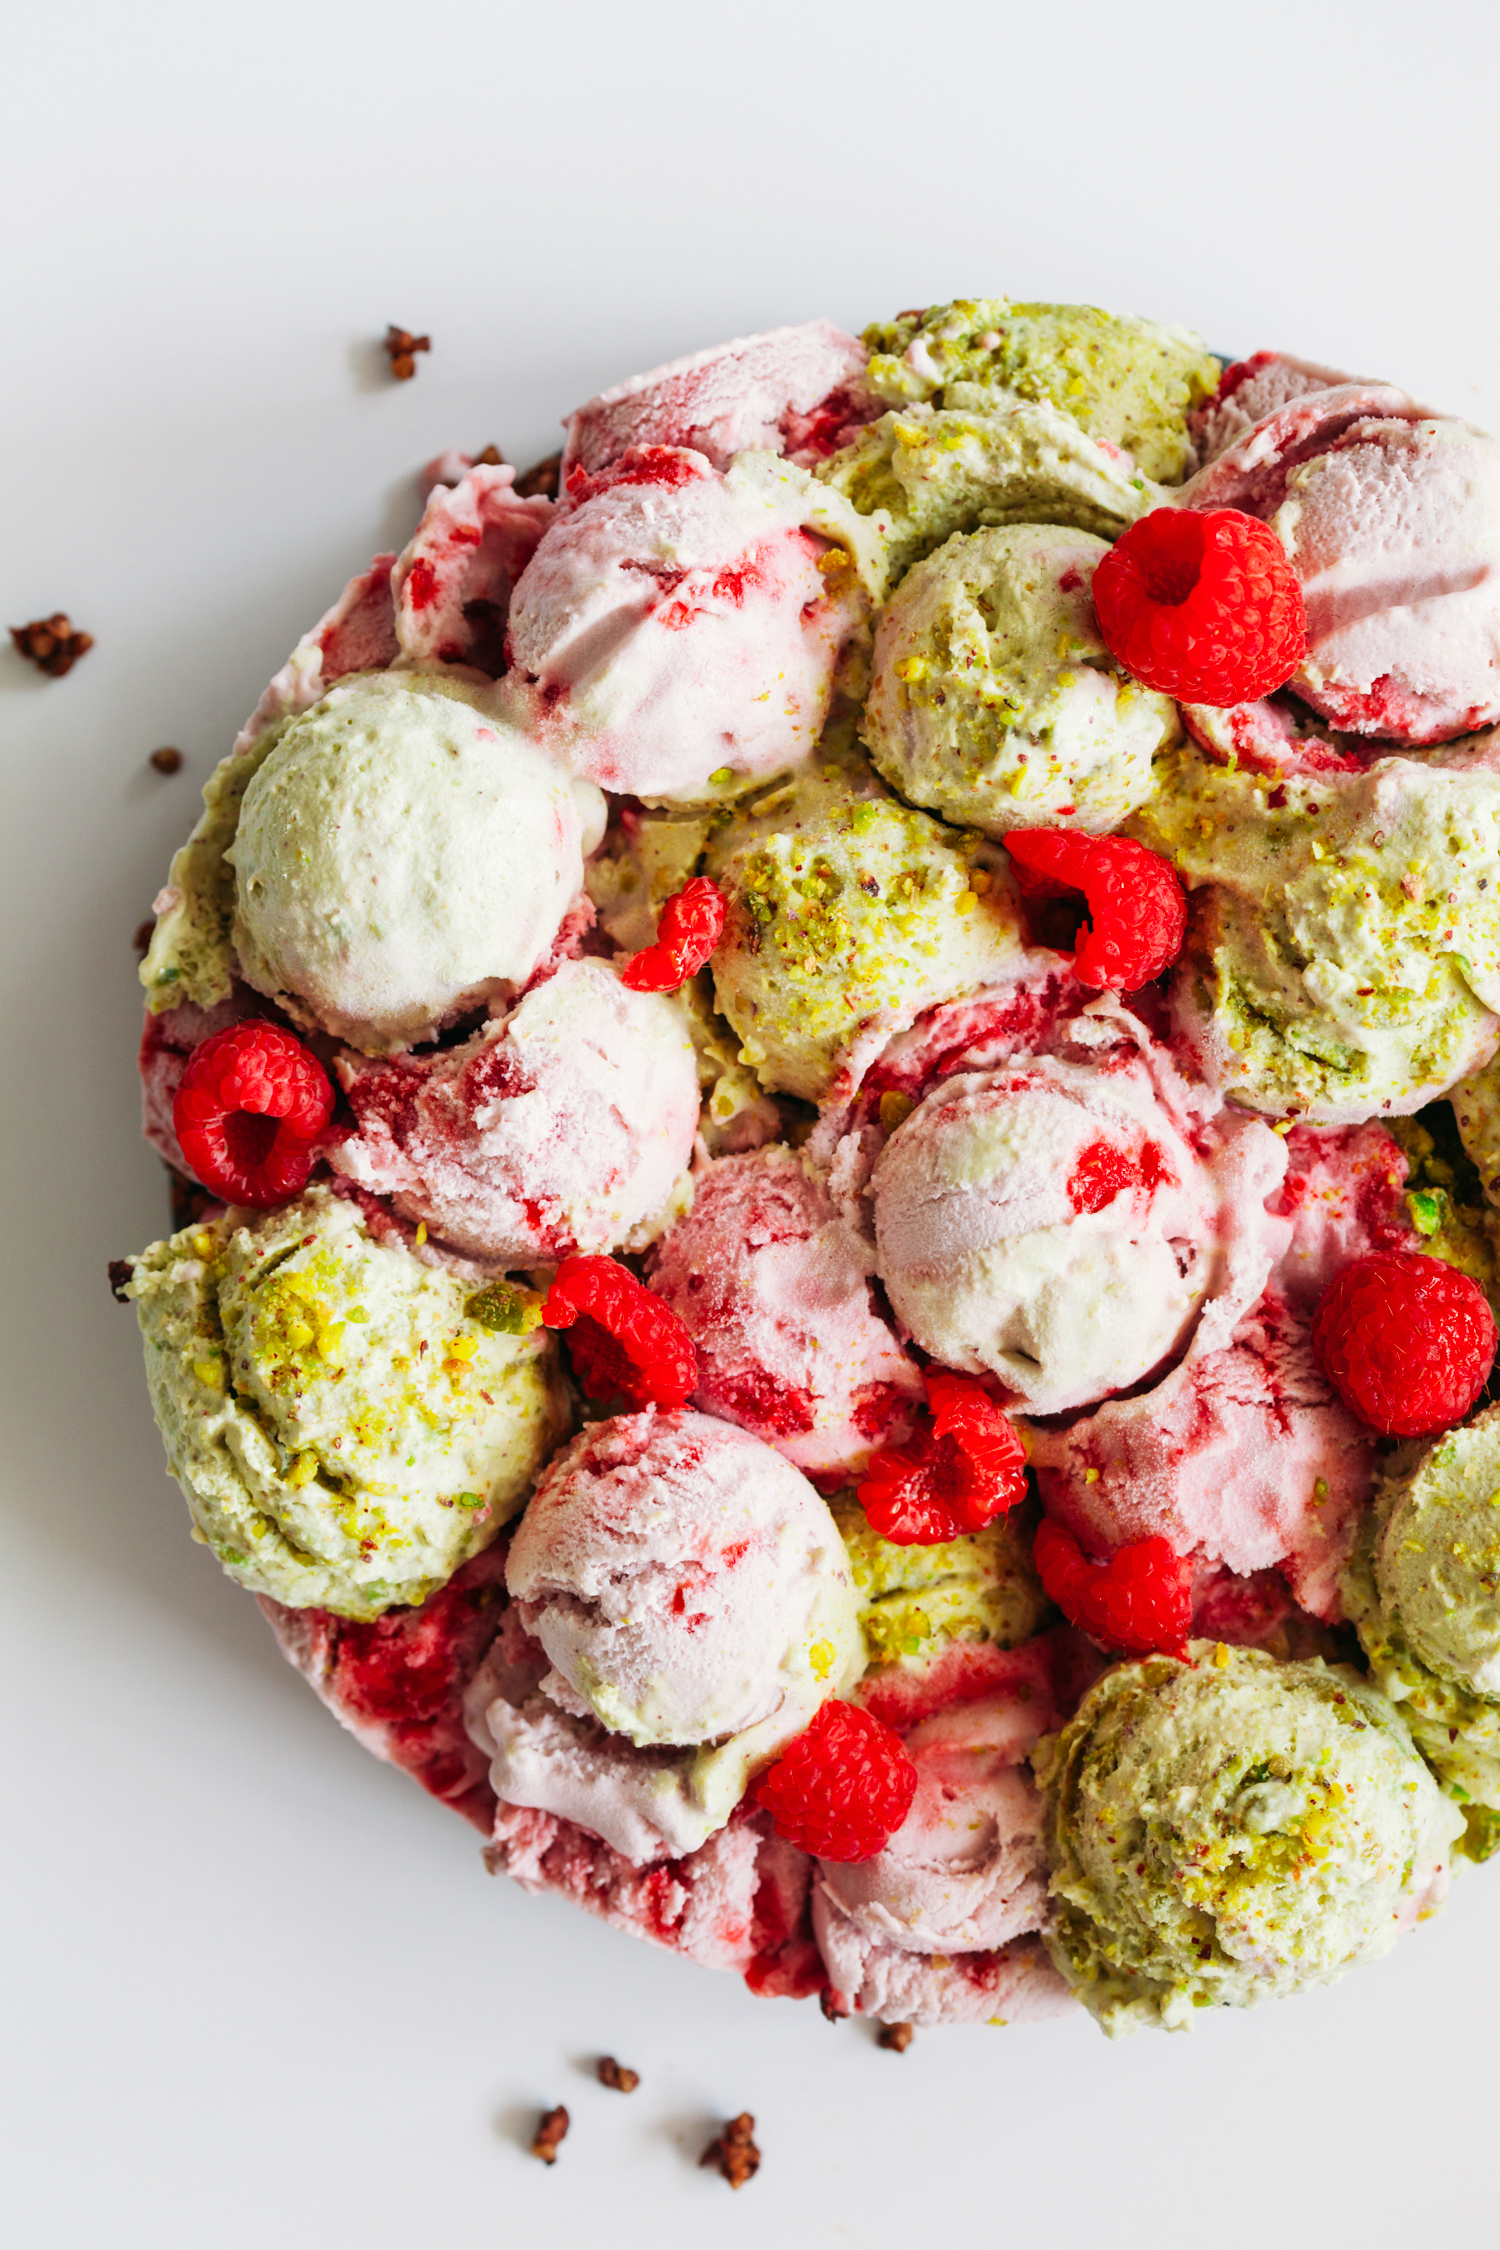
Yesterday, Paloma turned eight, and we celebrated with this magical ice cream cake. Then we went on a road trip to Orlan...
Read Recipe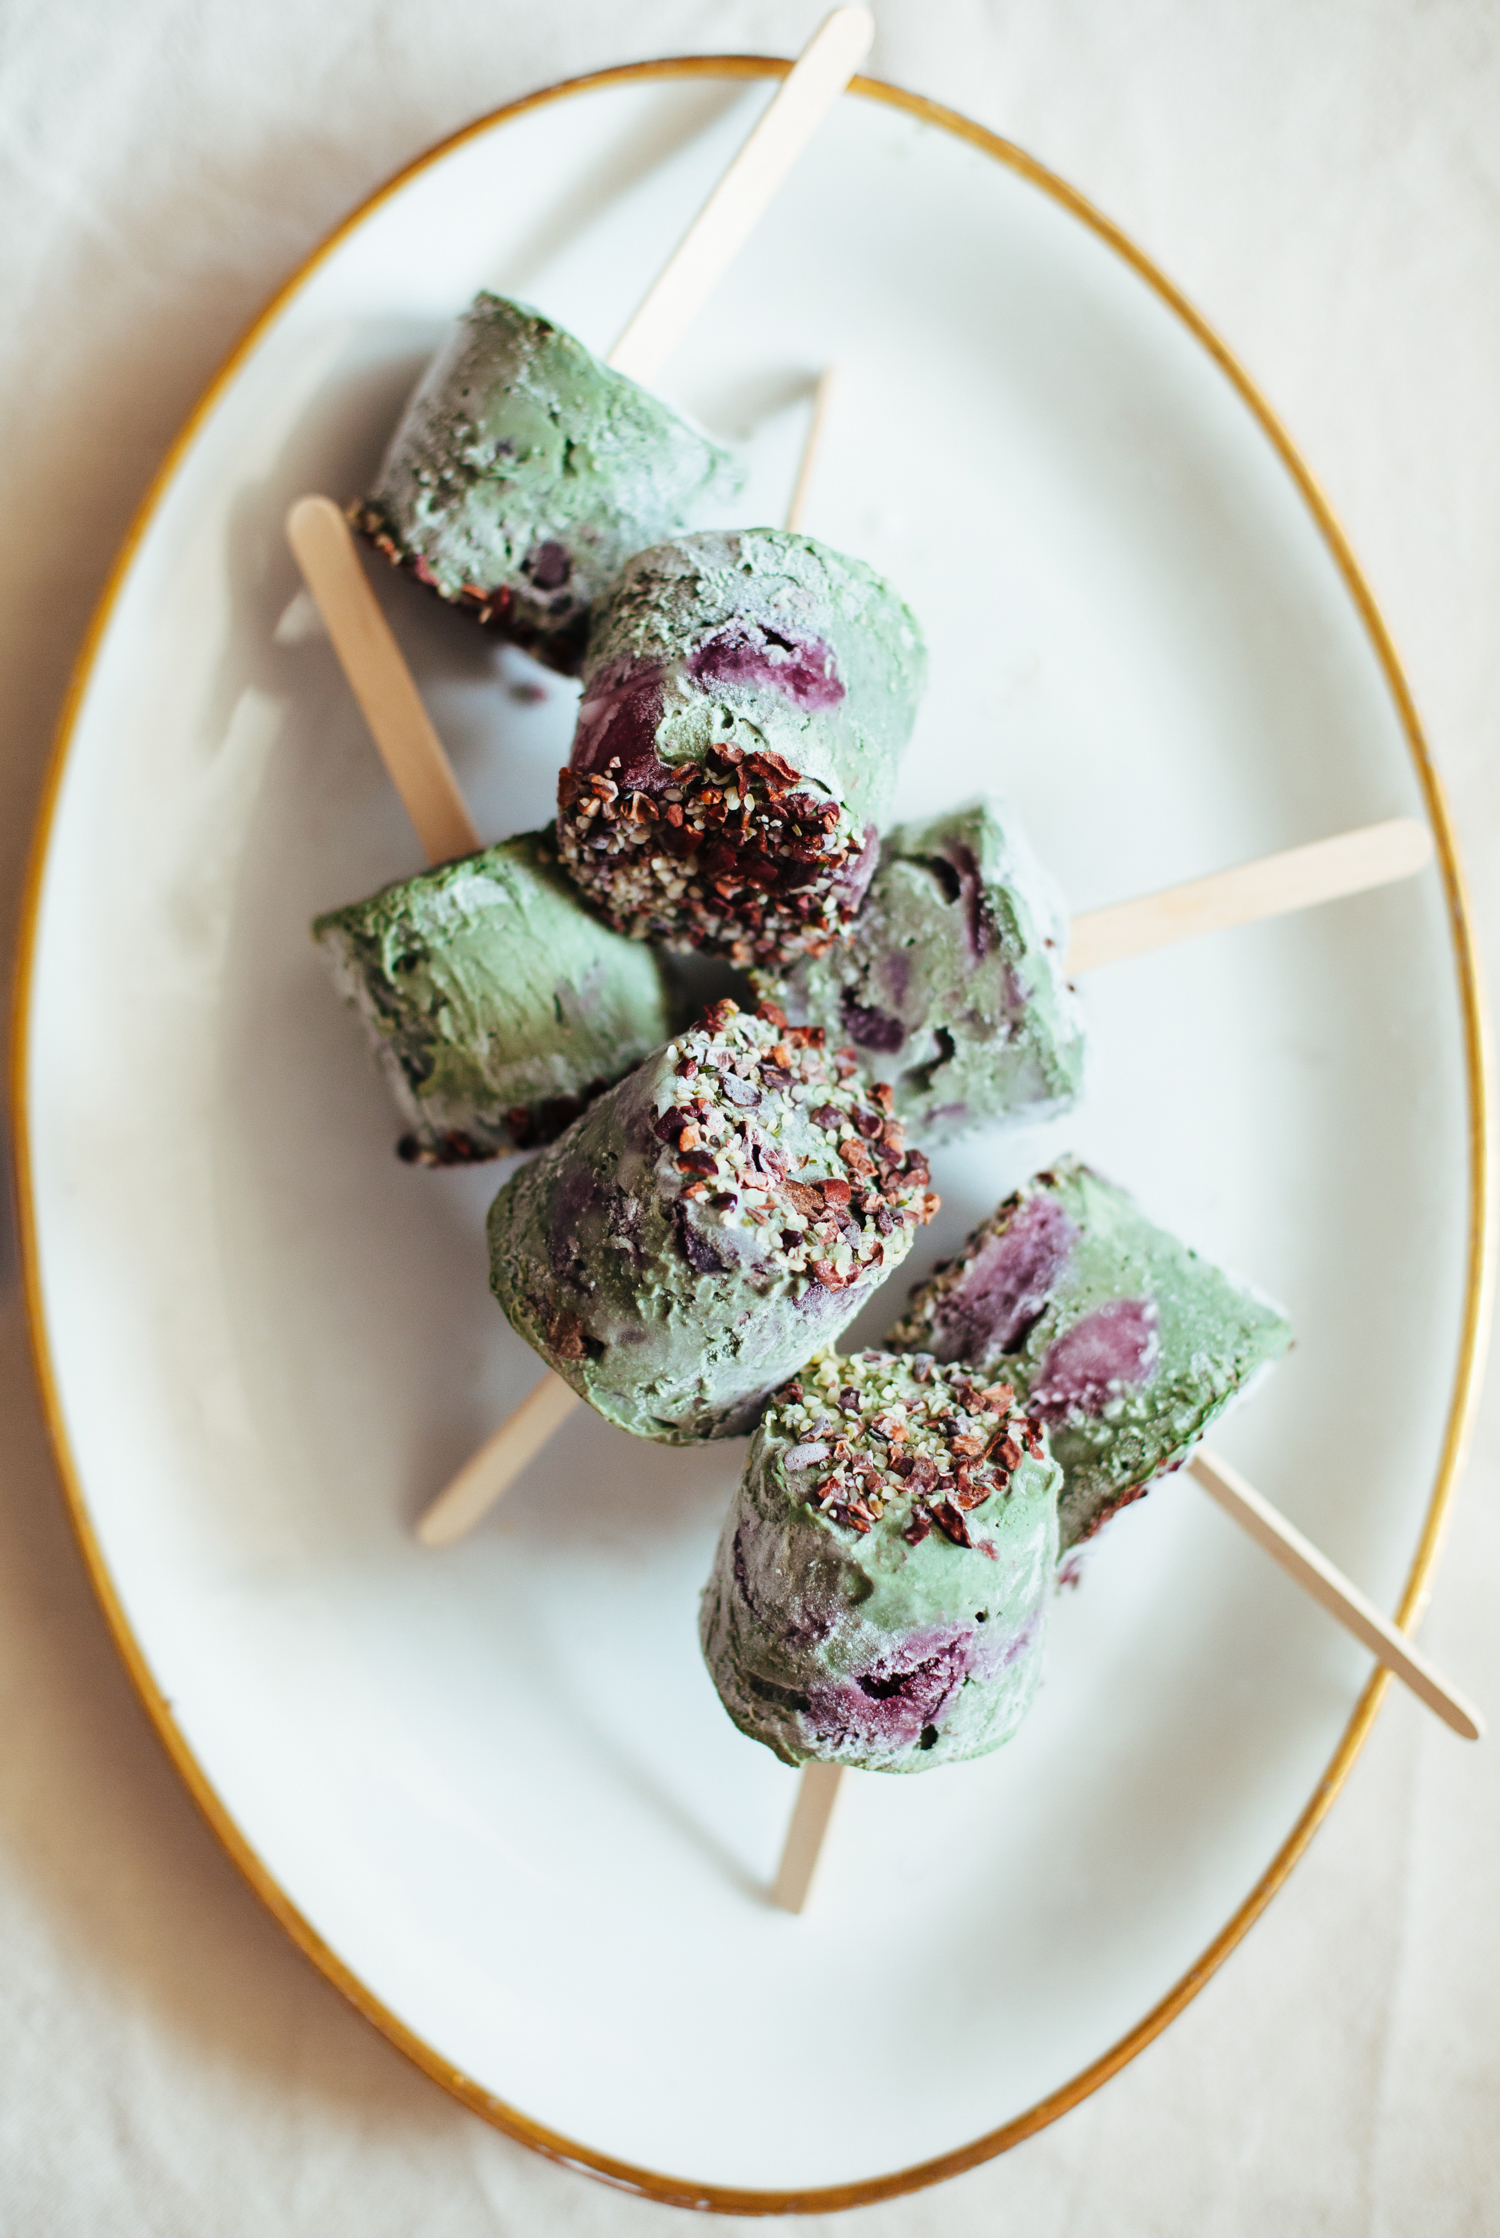
This week, I wanted to re-create my favorite Ben & Jerry’s ice cream flavor, making it vegan (though B&J came ...
Read Recipe
I’m so excited for today’s ice cream flavor, I could hardly wait until Sunday to share it. These delicious ice cream...
Read Recipe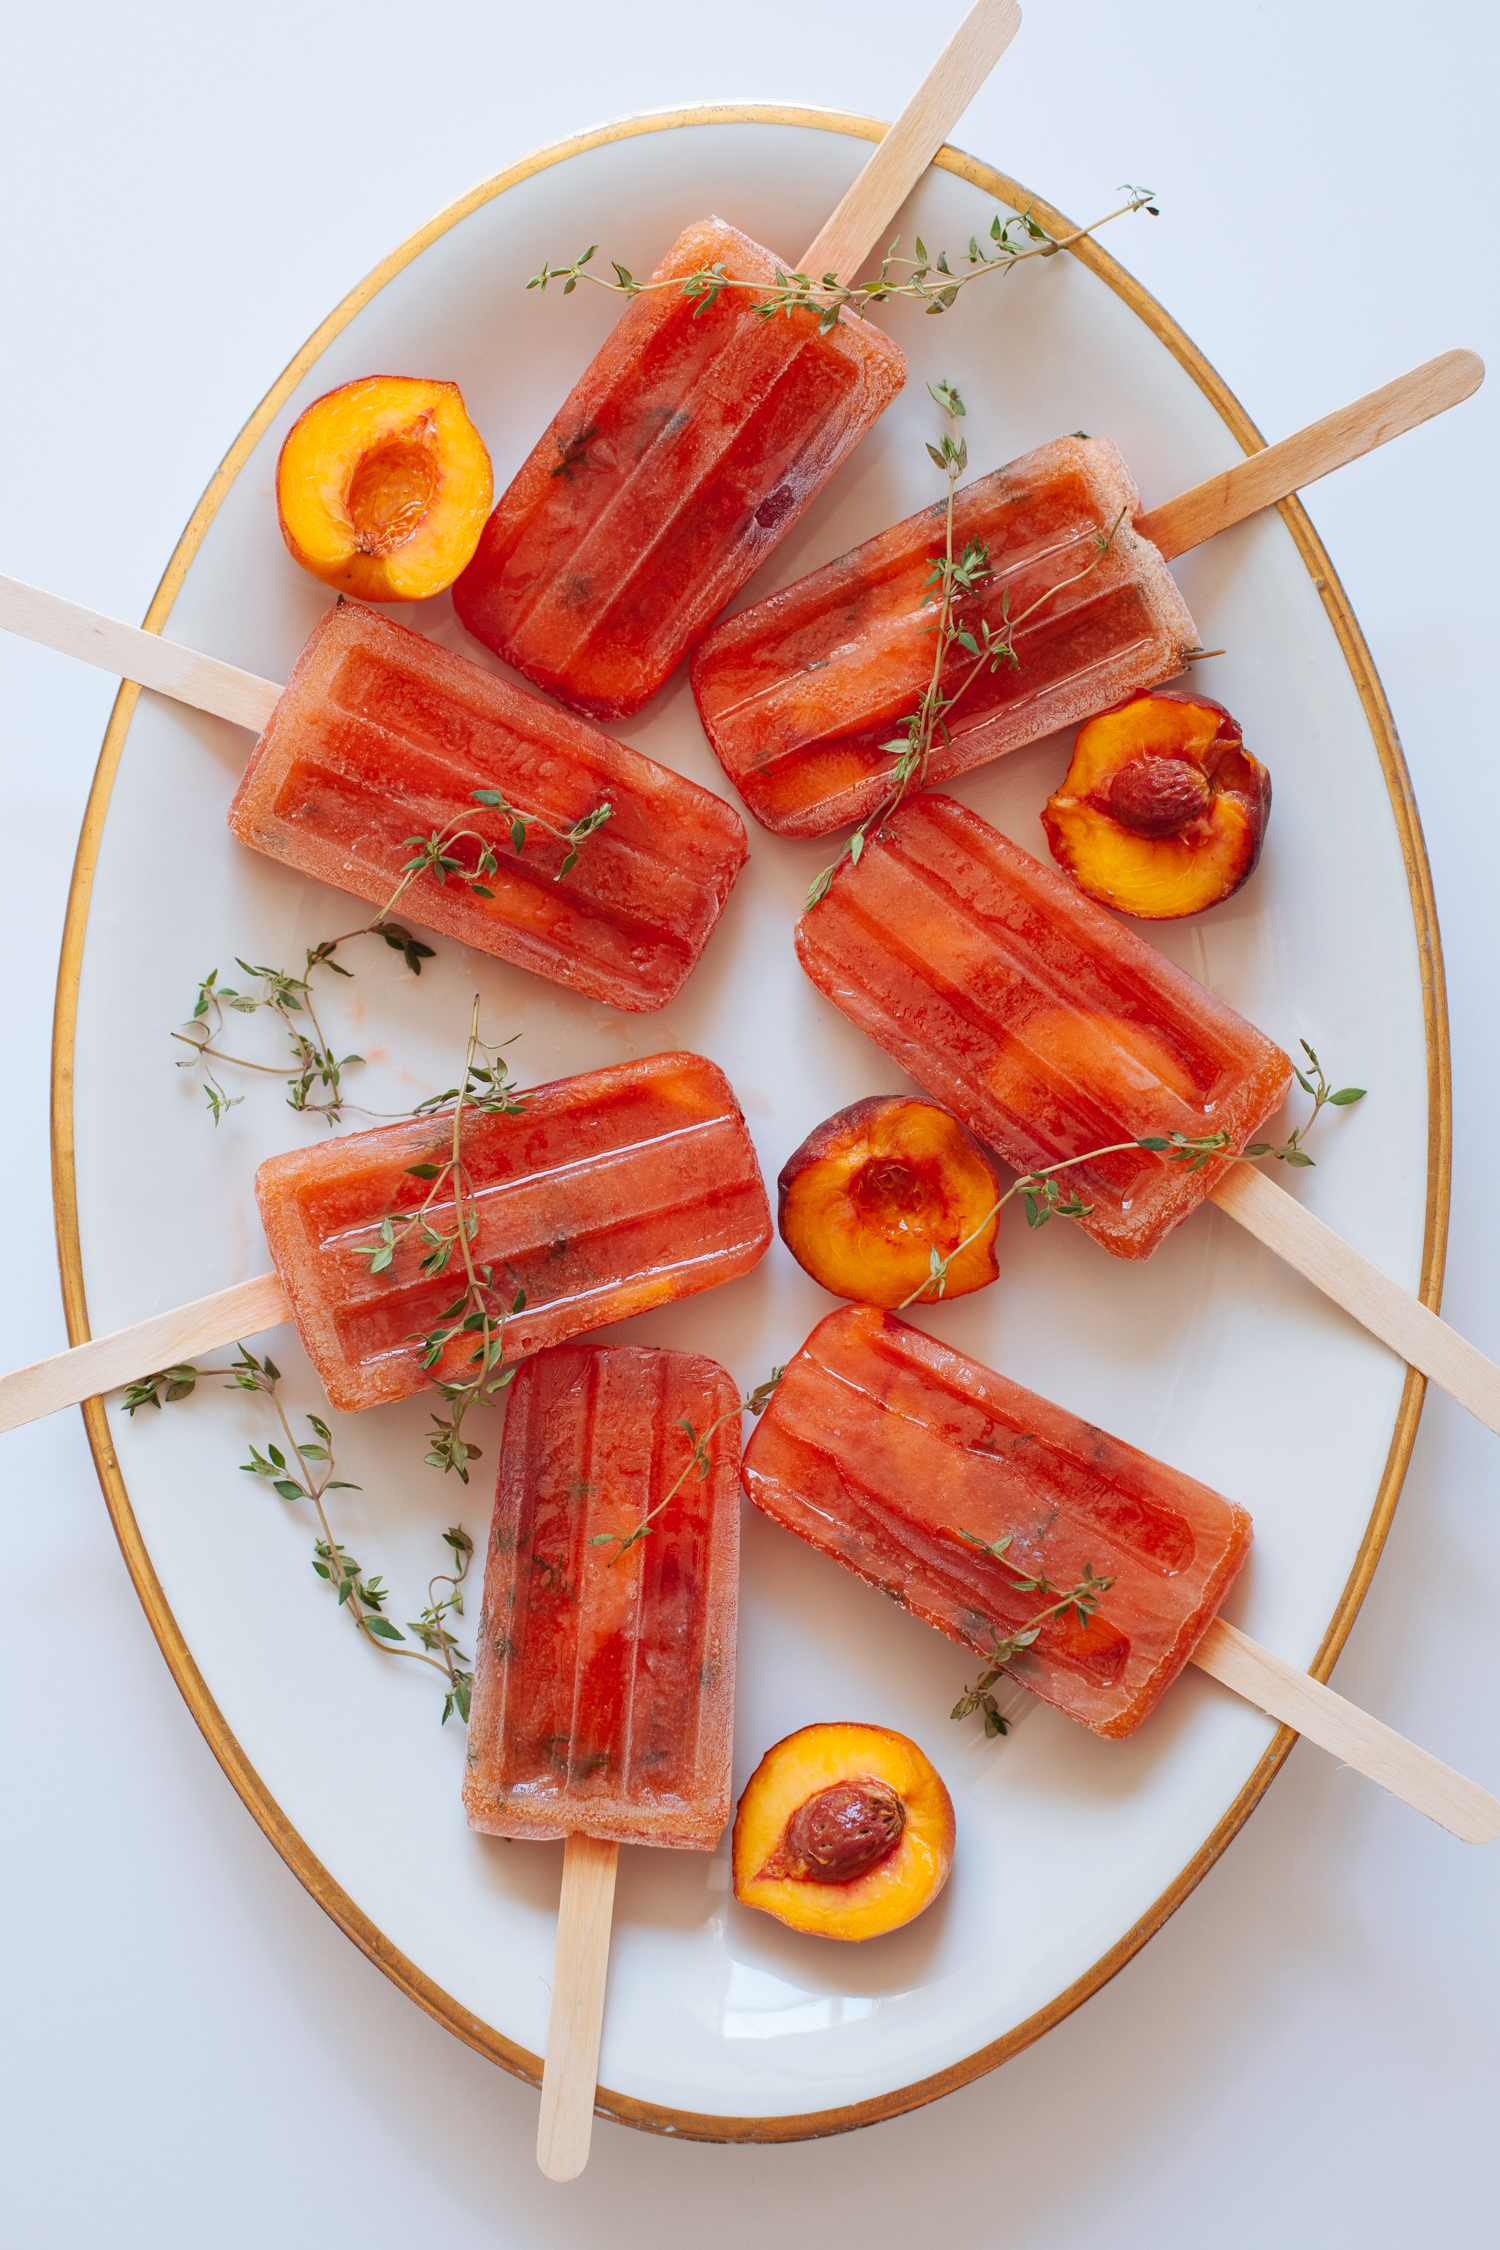
It’s been so hot! Every summer, without fail, my general appetite decreases, while cravings for all things fresh, cris...
Read Recipe
We made and photographed these beauties this past winter, but they kept getting pushed back on the blog post schedule, ...
Read Recipe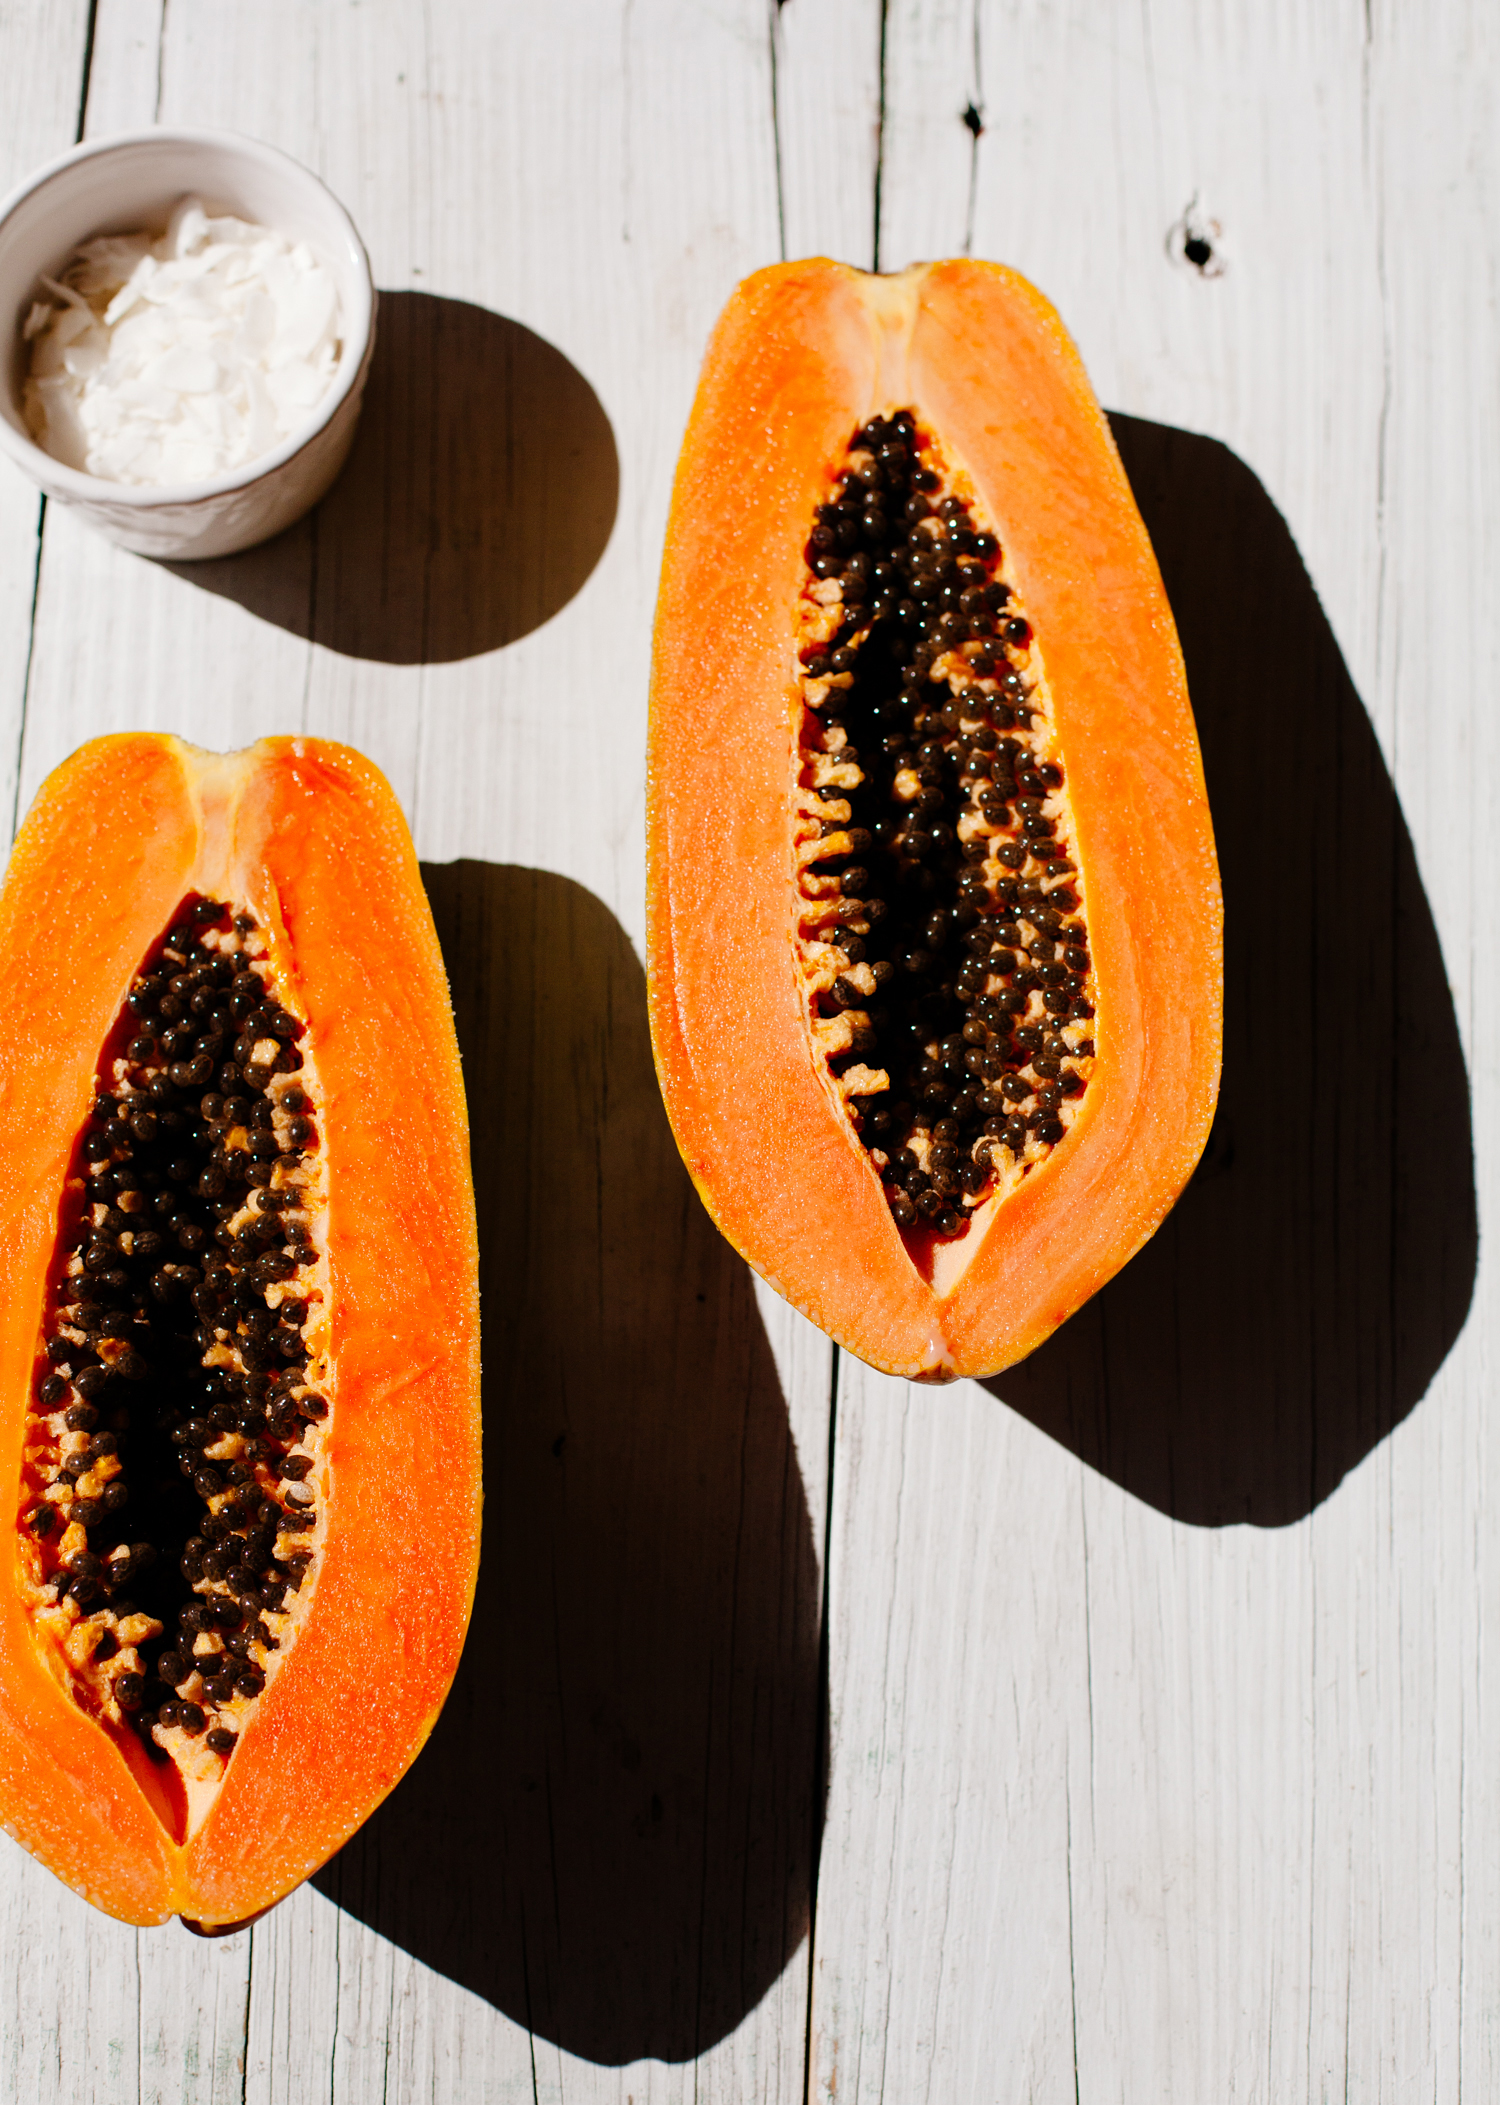
Papaya is one of my favorite things to eat this time of year, so figuring out a papaya sorbet recipe that worked was ve...
Read Recipe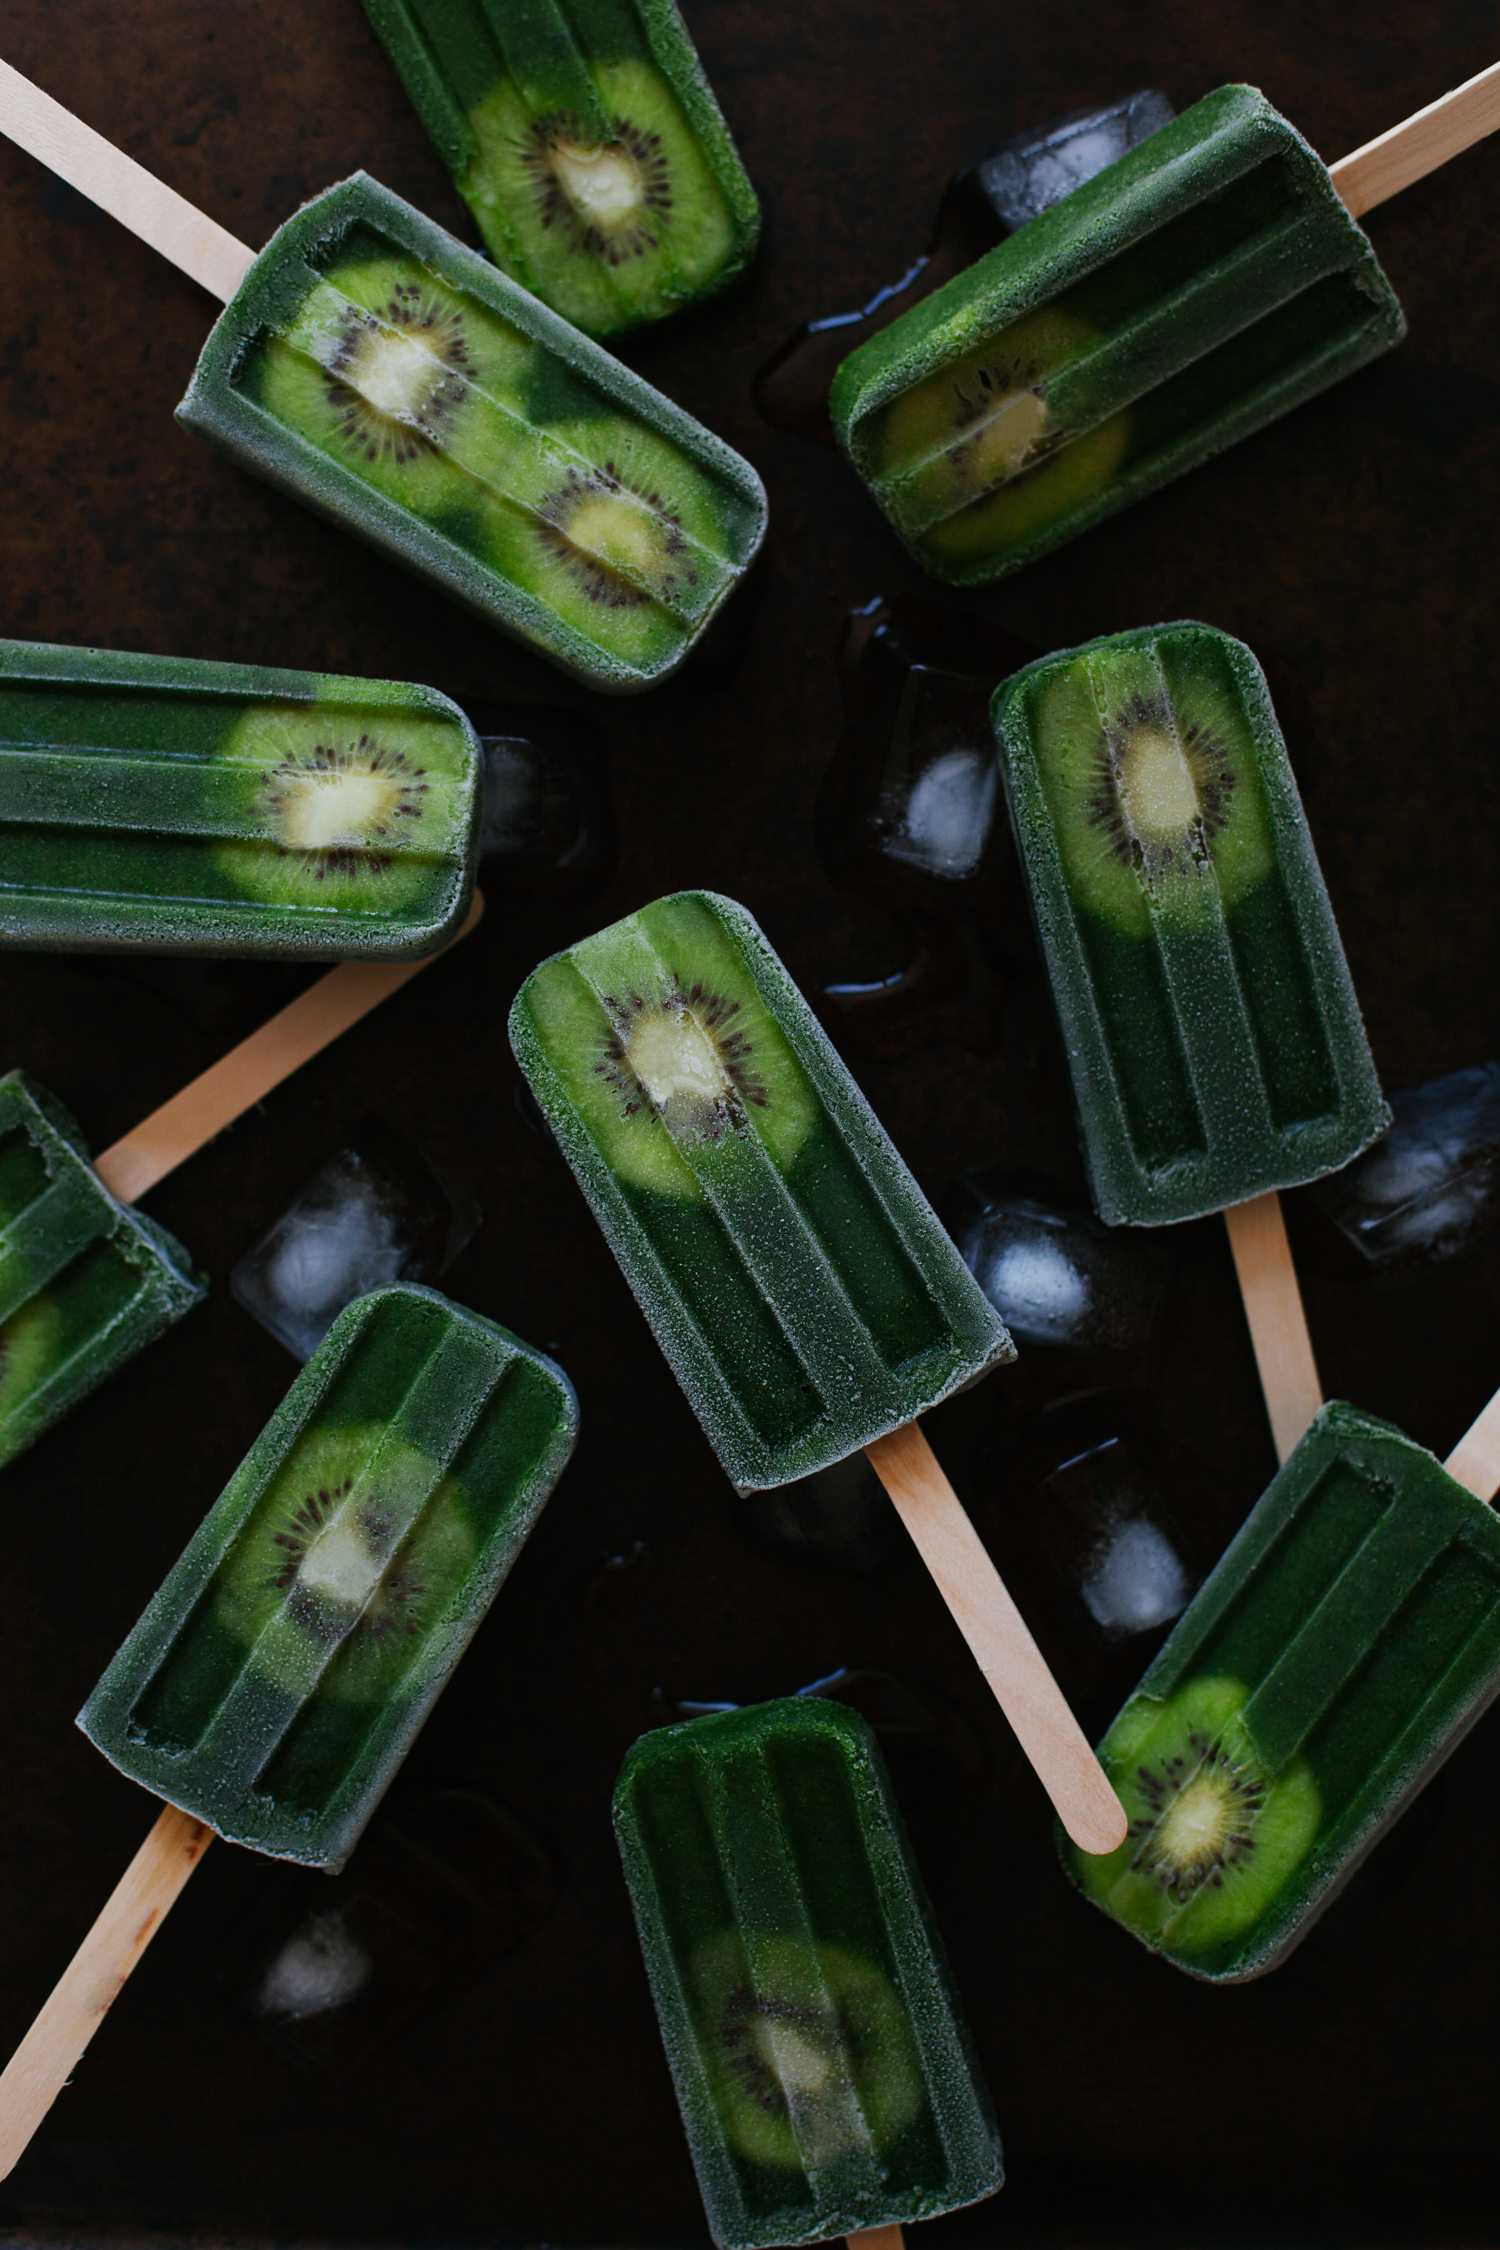
This Sunday, we are going for something very light, summery, fruity, and very nutritious. More particularly, a green sm...
Read Recipe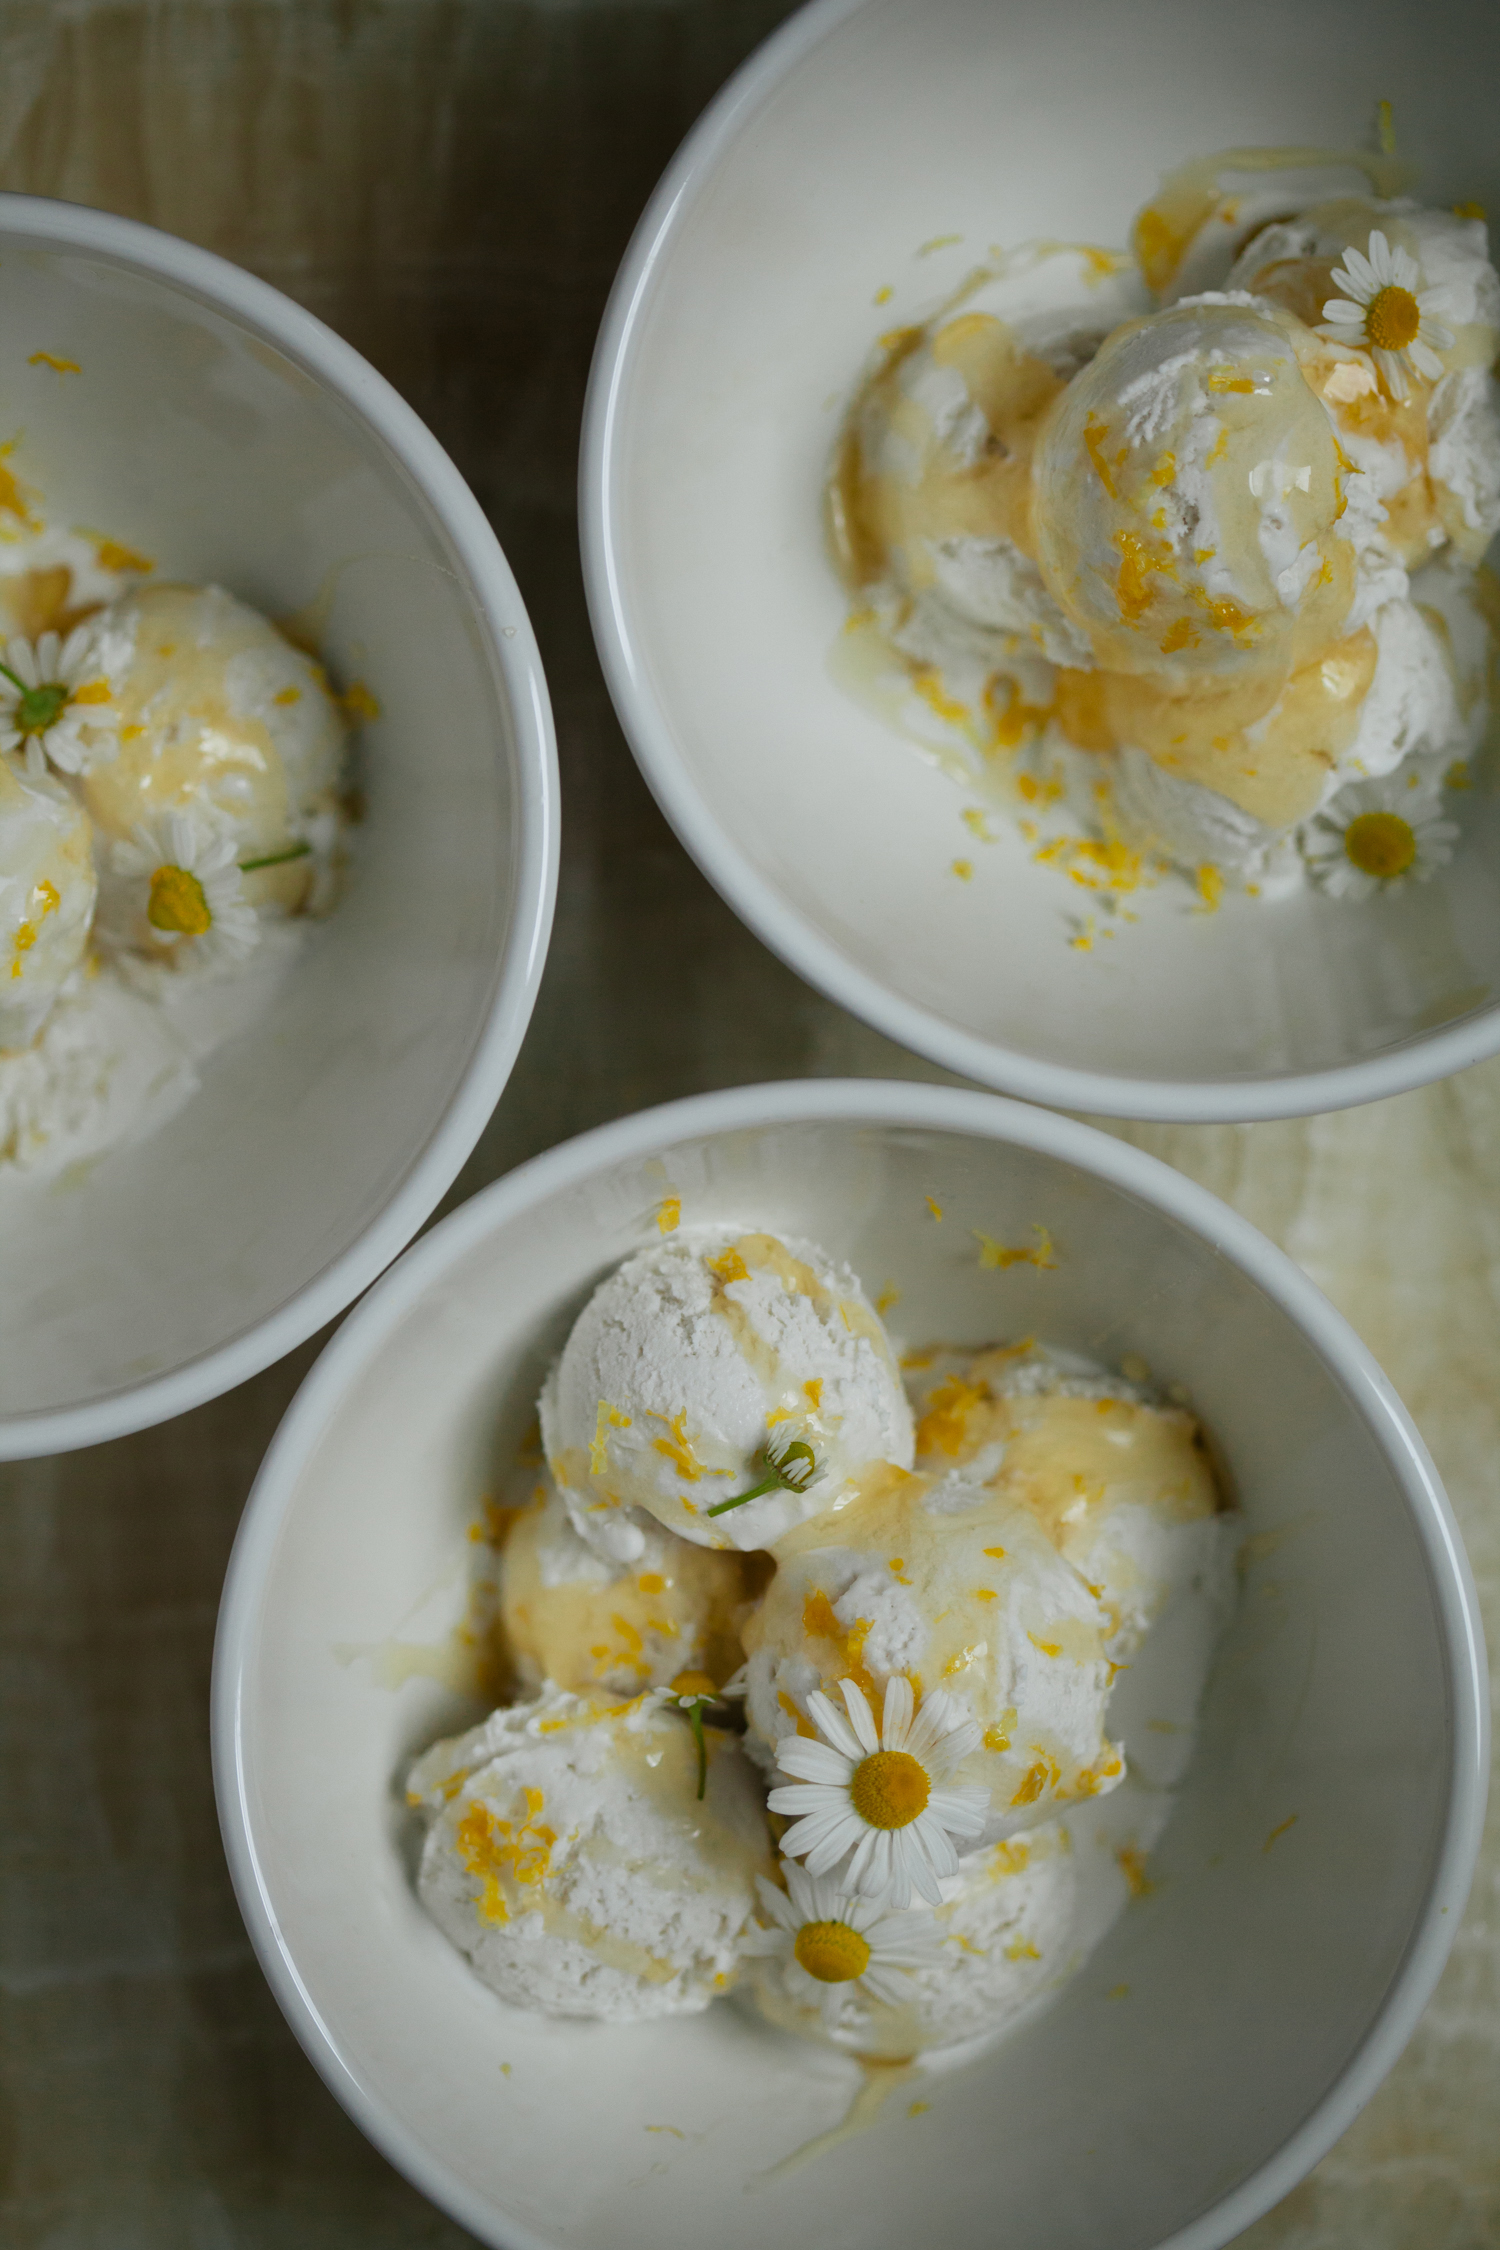
To continue with the herbal/floral theme from last week, this Sunday, we’ve got Chamomile Honey-Lemon Ice Cream. We’...
Read Recipe
This Sunday’s flavors are lavender, chocolate and tahini. I’ve talked about my love for lavender on this blog quite ...
Read Recipe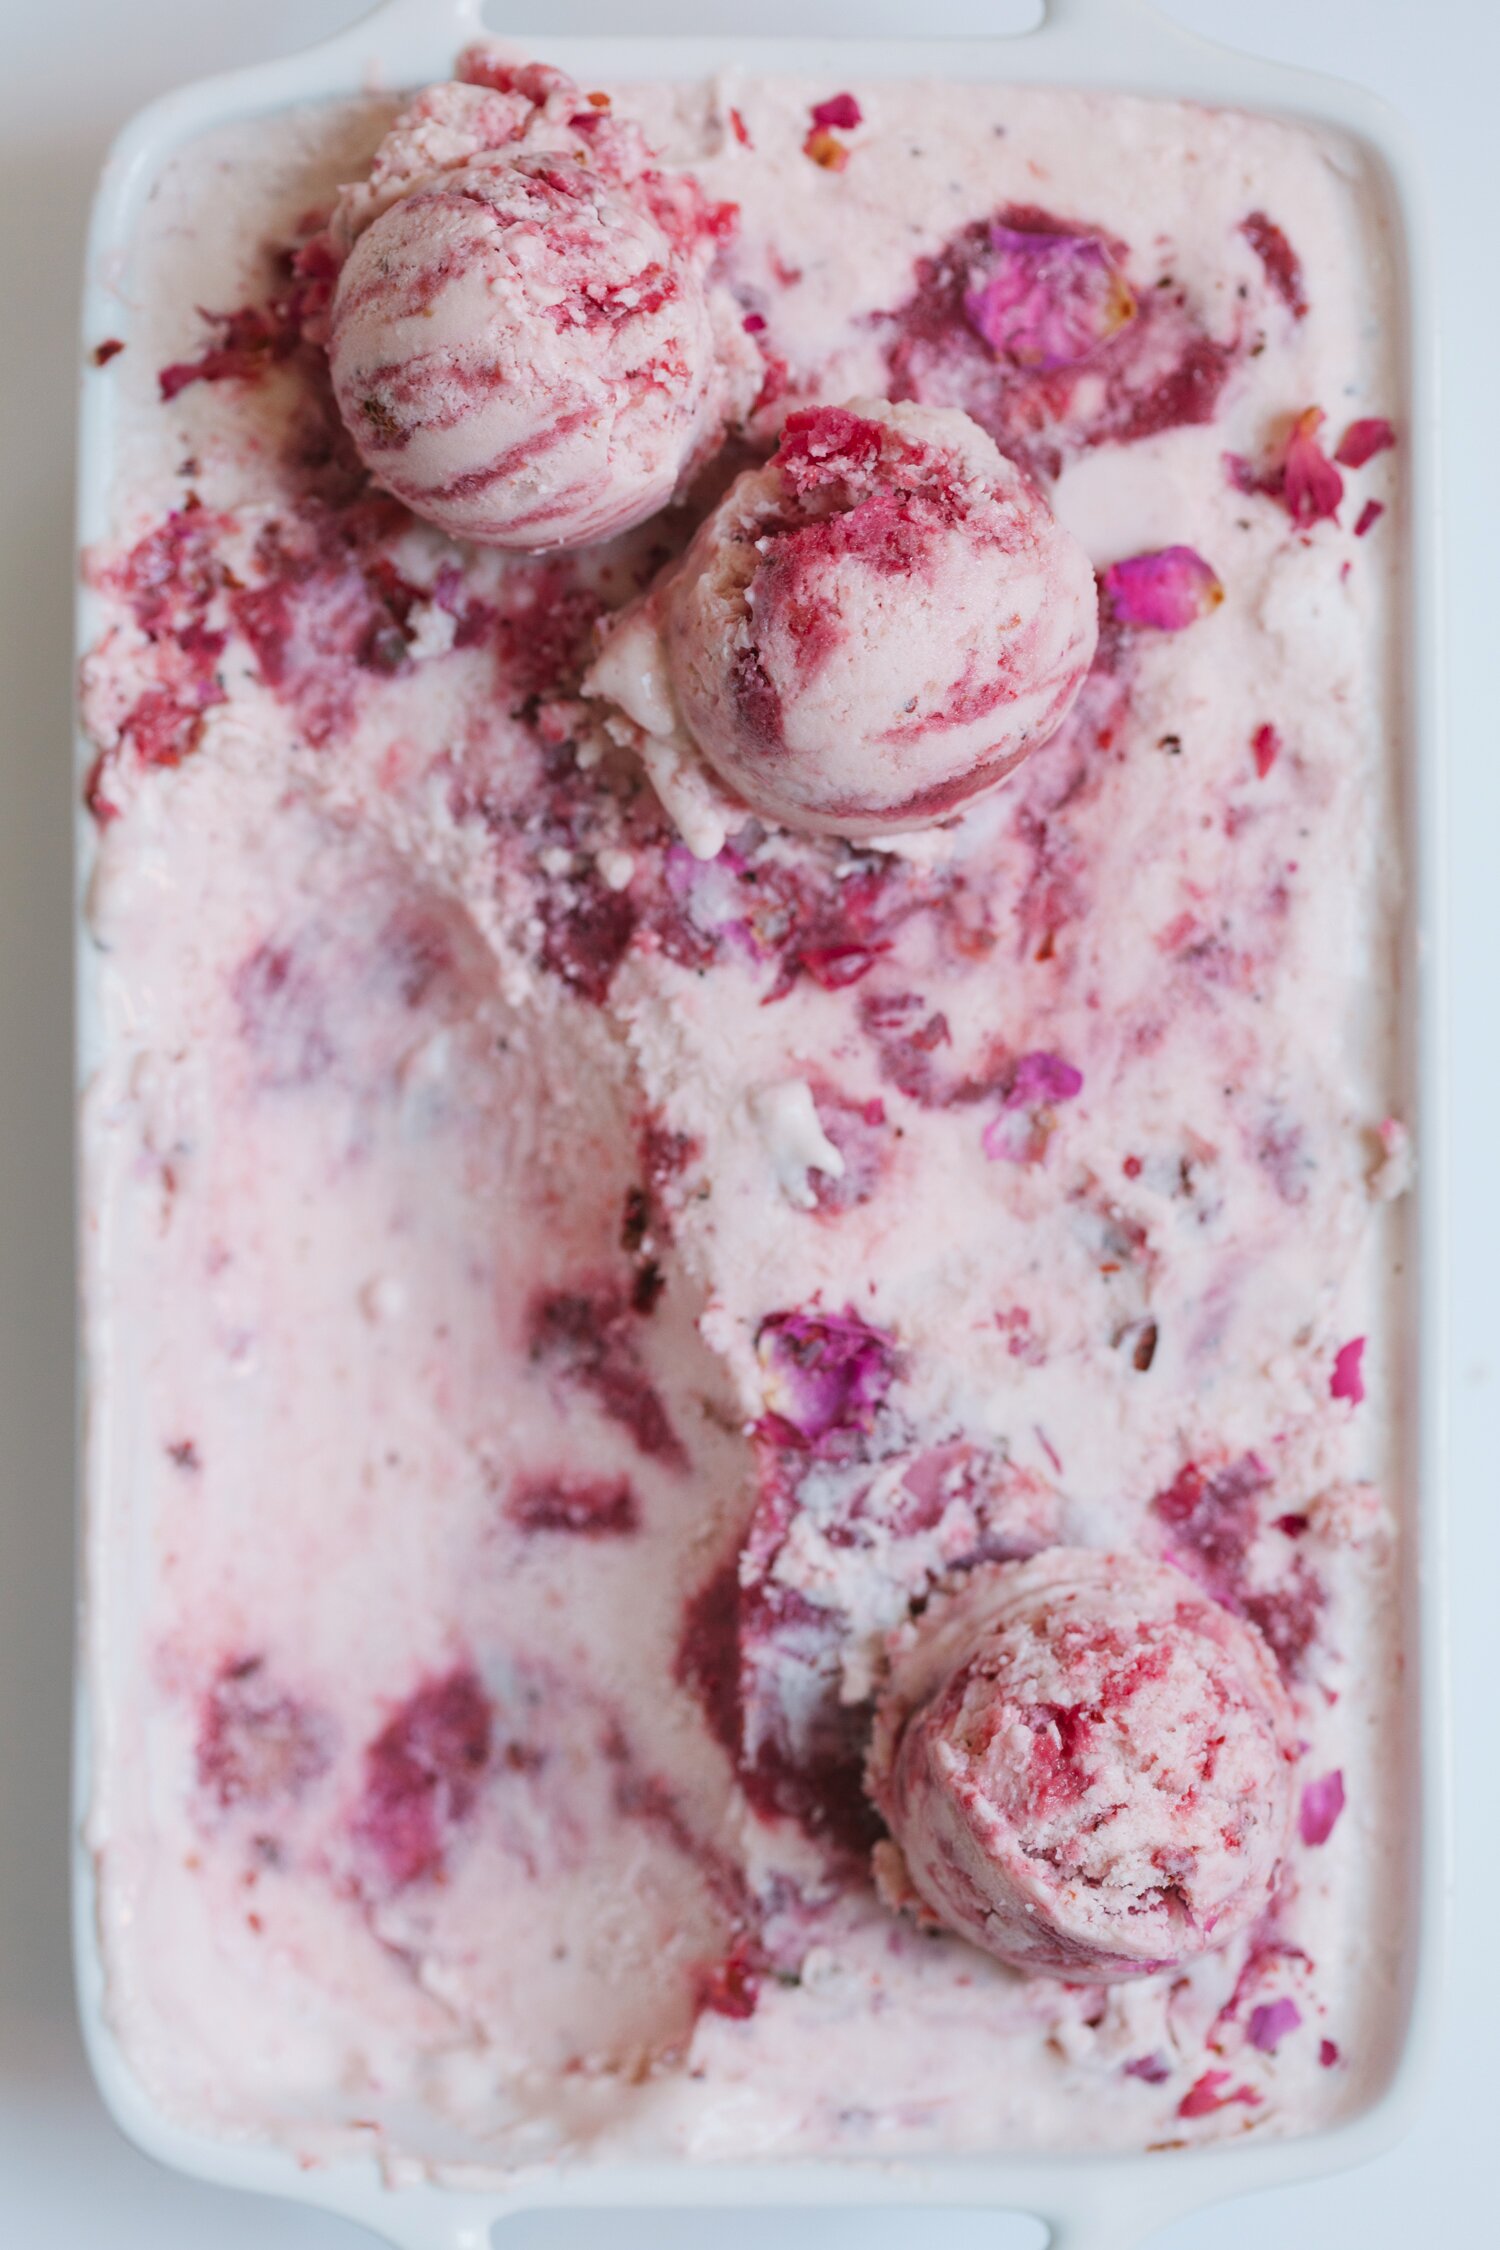
I think I first got the desire to make rhubarb frozen yogurt when I saw a photo of Nigel Slater’s Rhubarb Eton Mess....
Read Recipe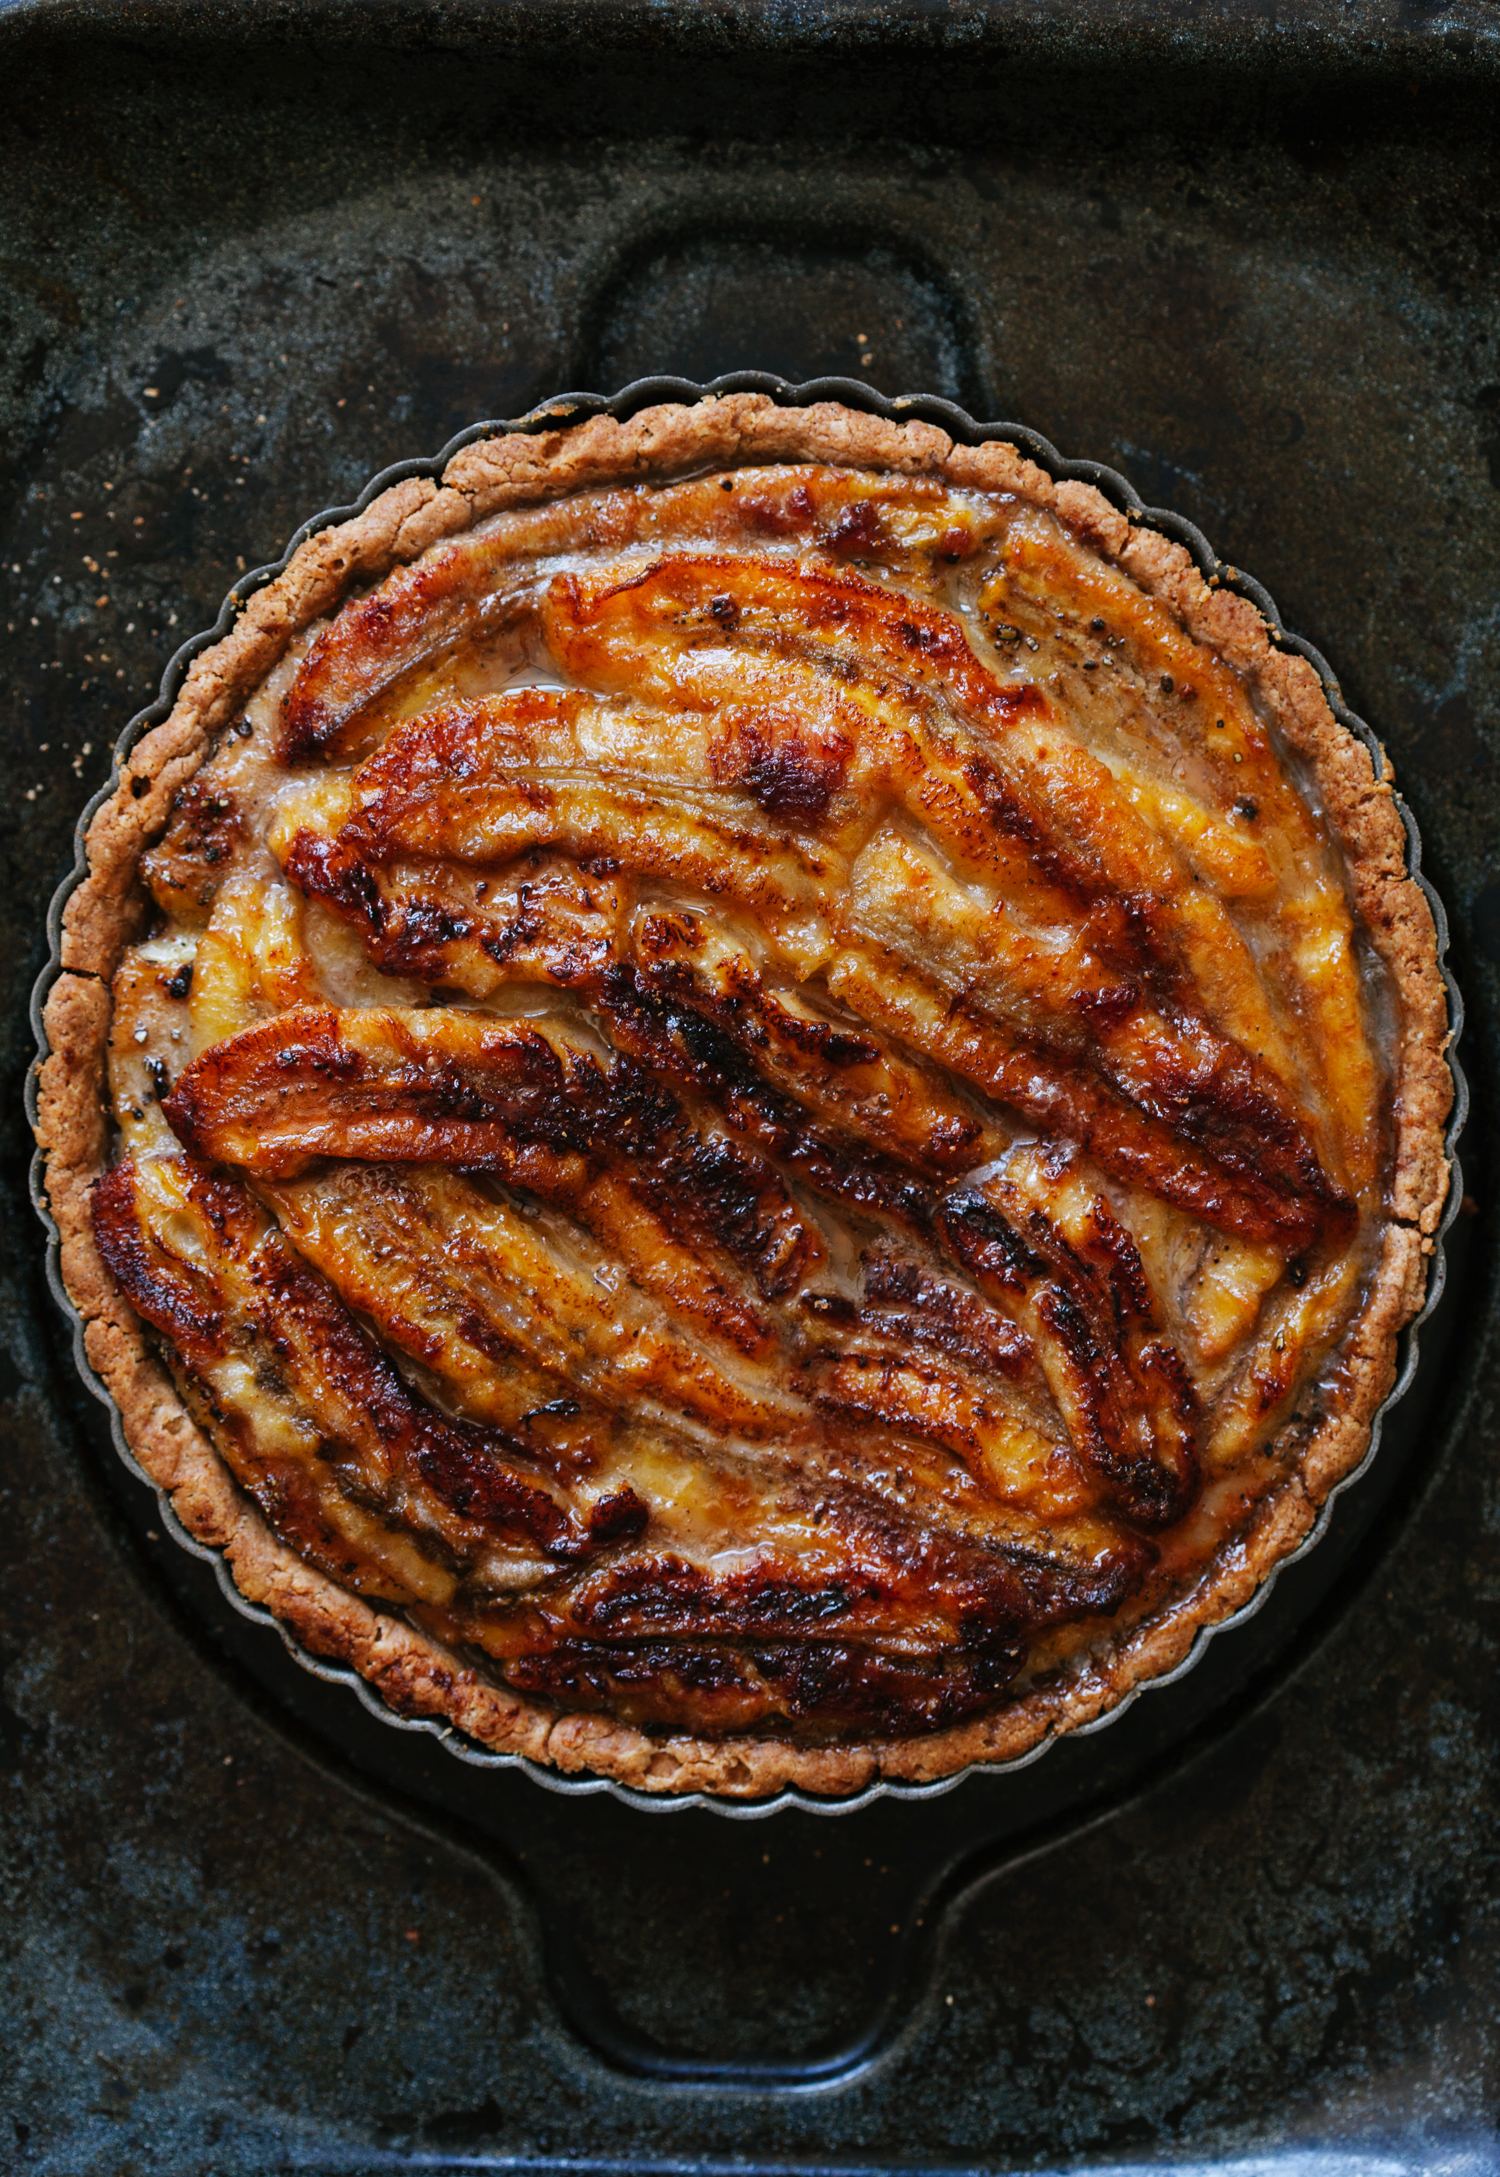
As part of my recipe development process, I do a lot of research, whether related to ingredients or techniques. One of m...
Read Recipe
Recently, I’ve been working on developing very light, very mildly sweetened, mousse-like dessert recipes for the new ...
Read Recipe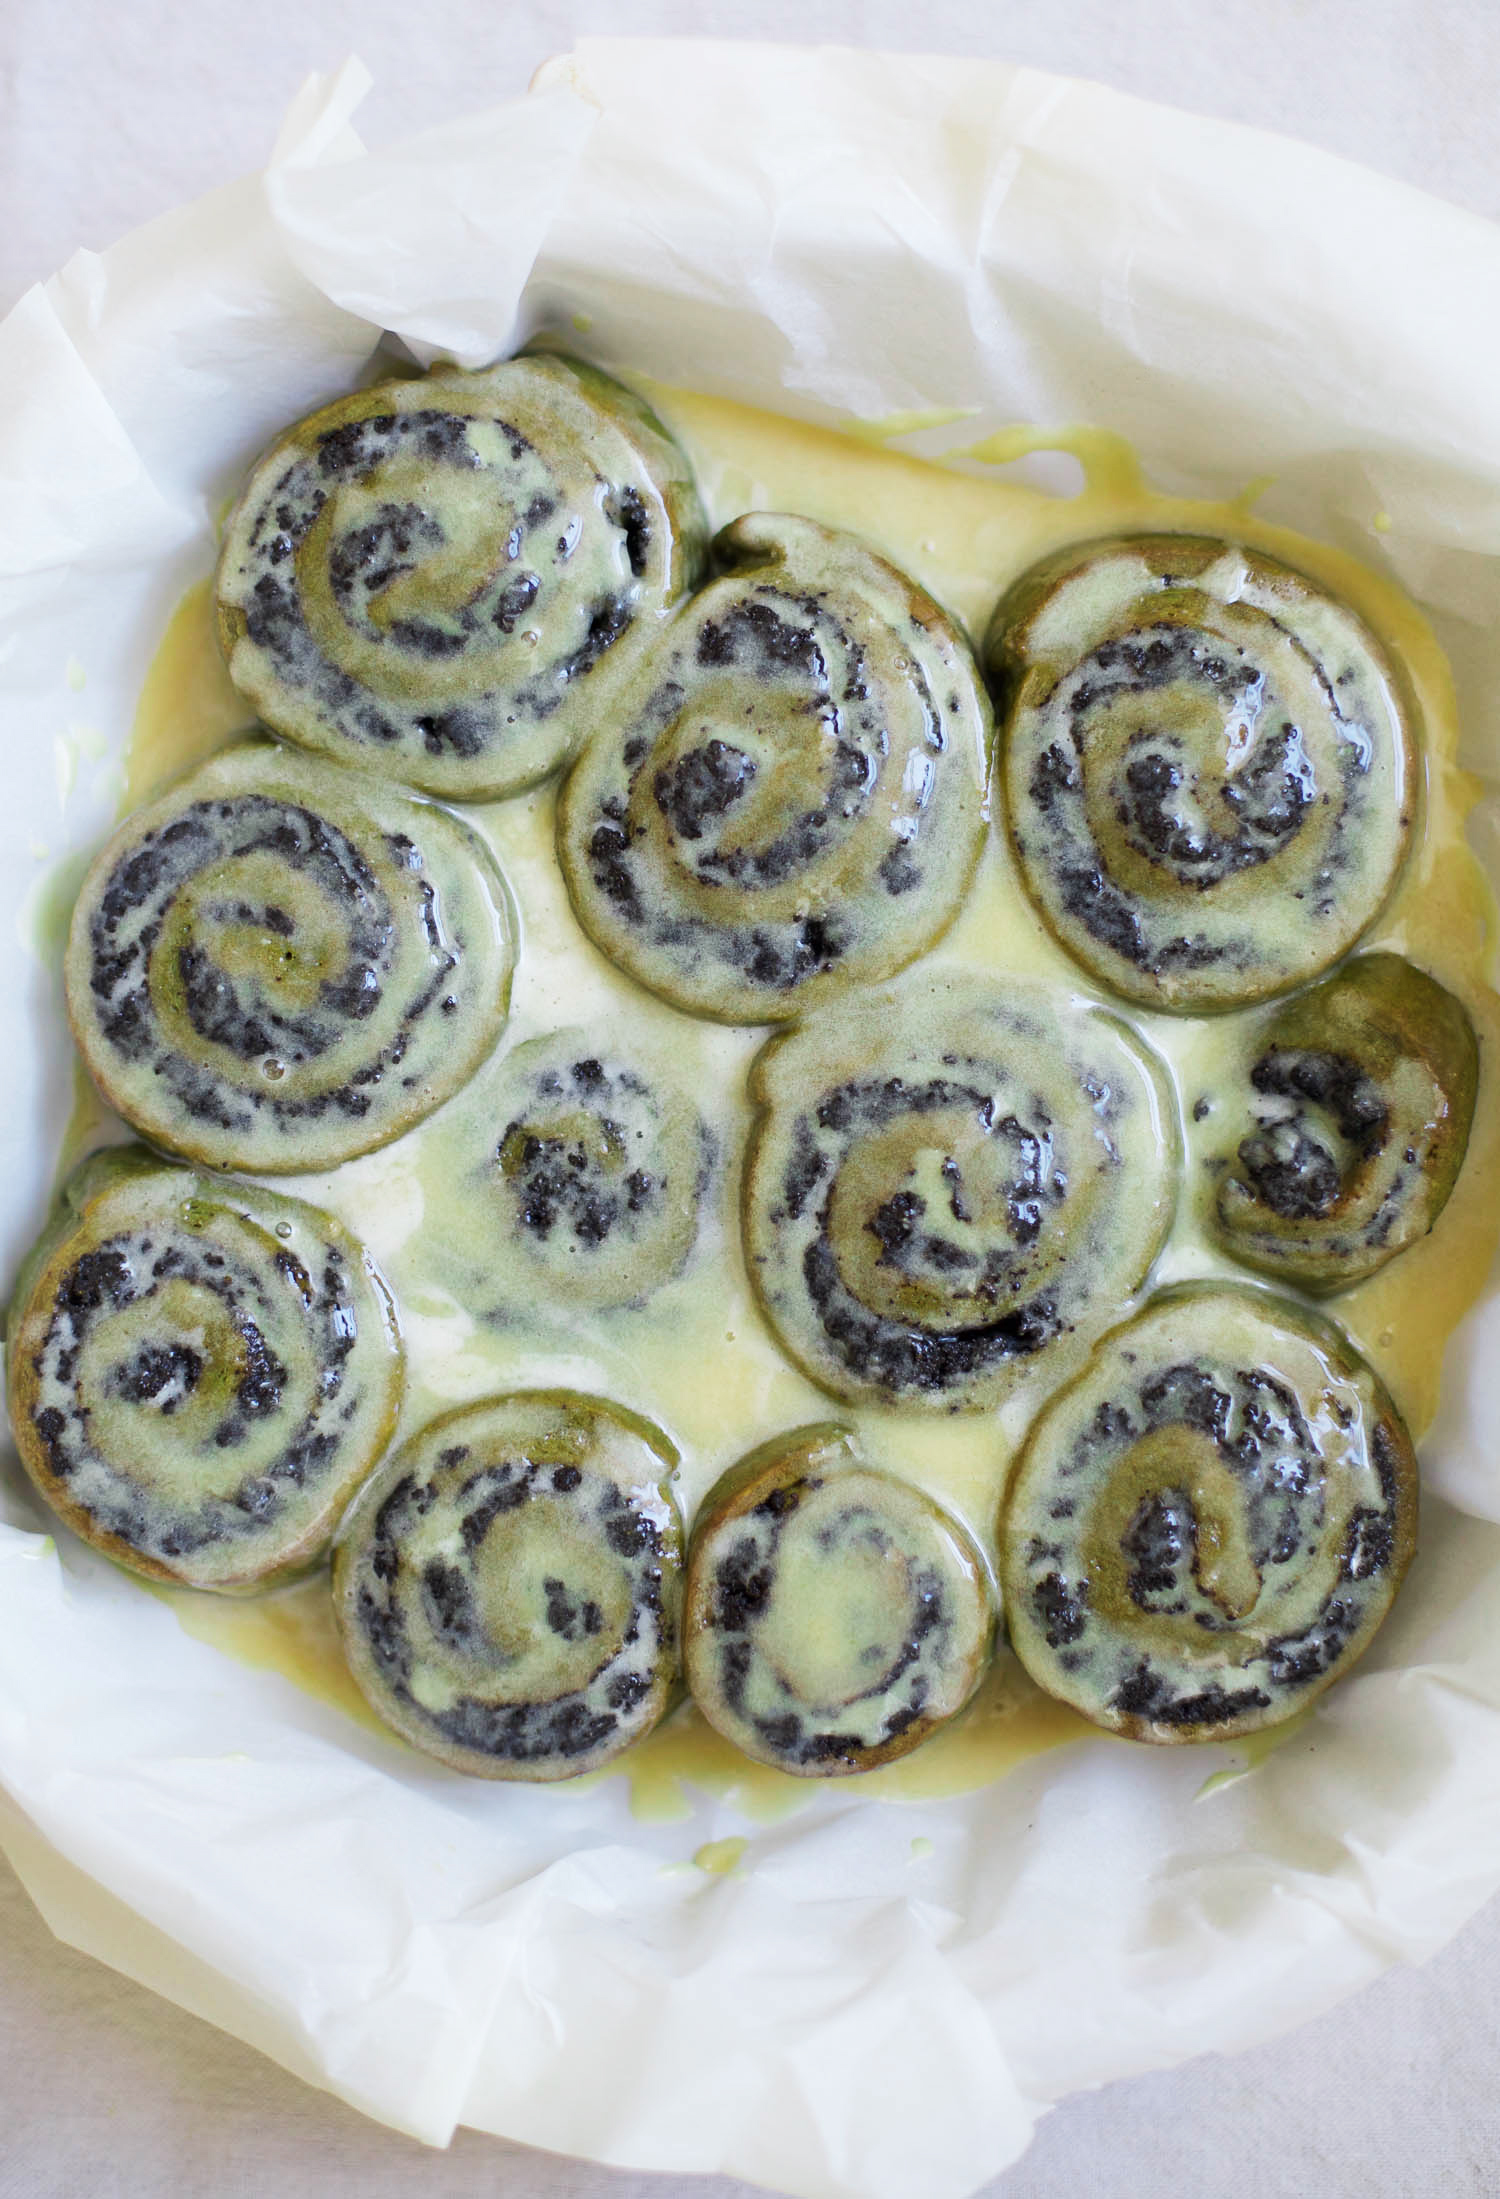
Call me crazy, but I’ve never been attracted to sticky cinnamon buns. I blame the fact that I didn’t grow up eating ...
Read Recipe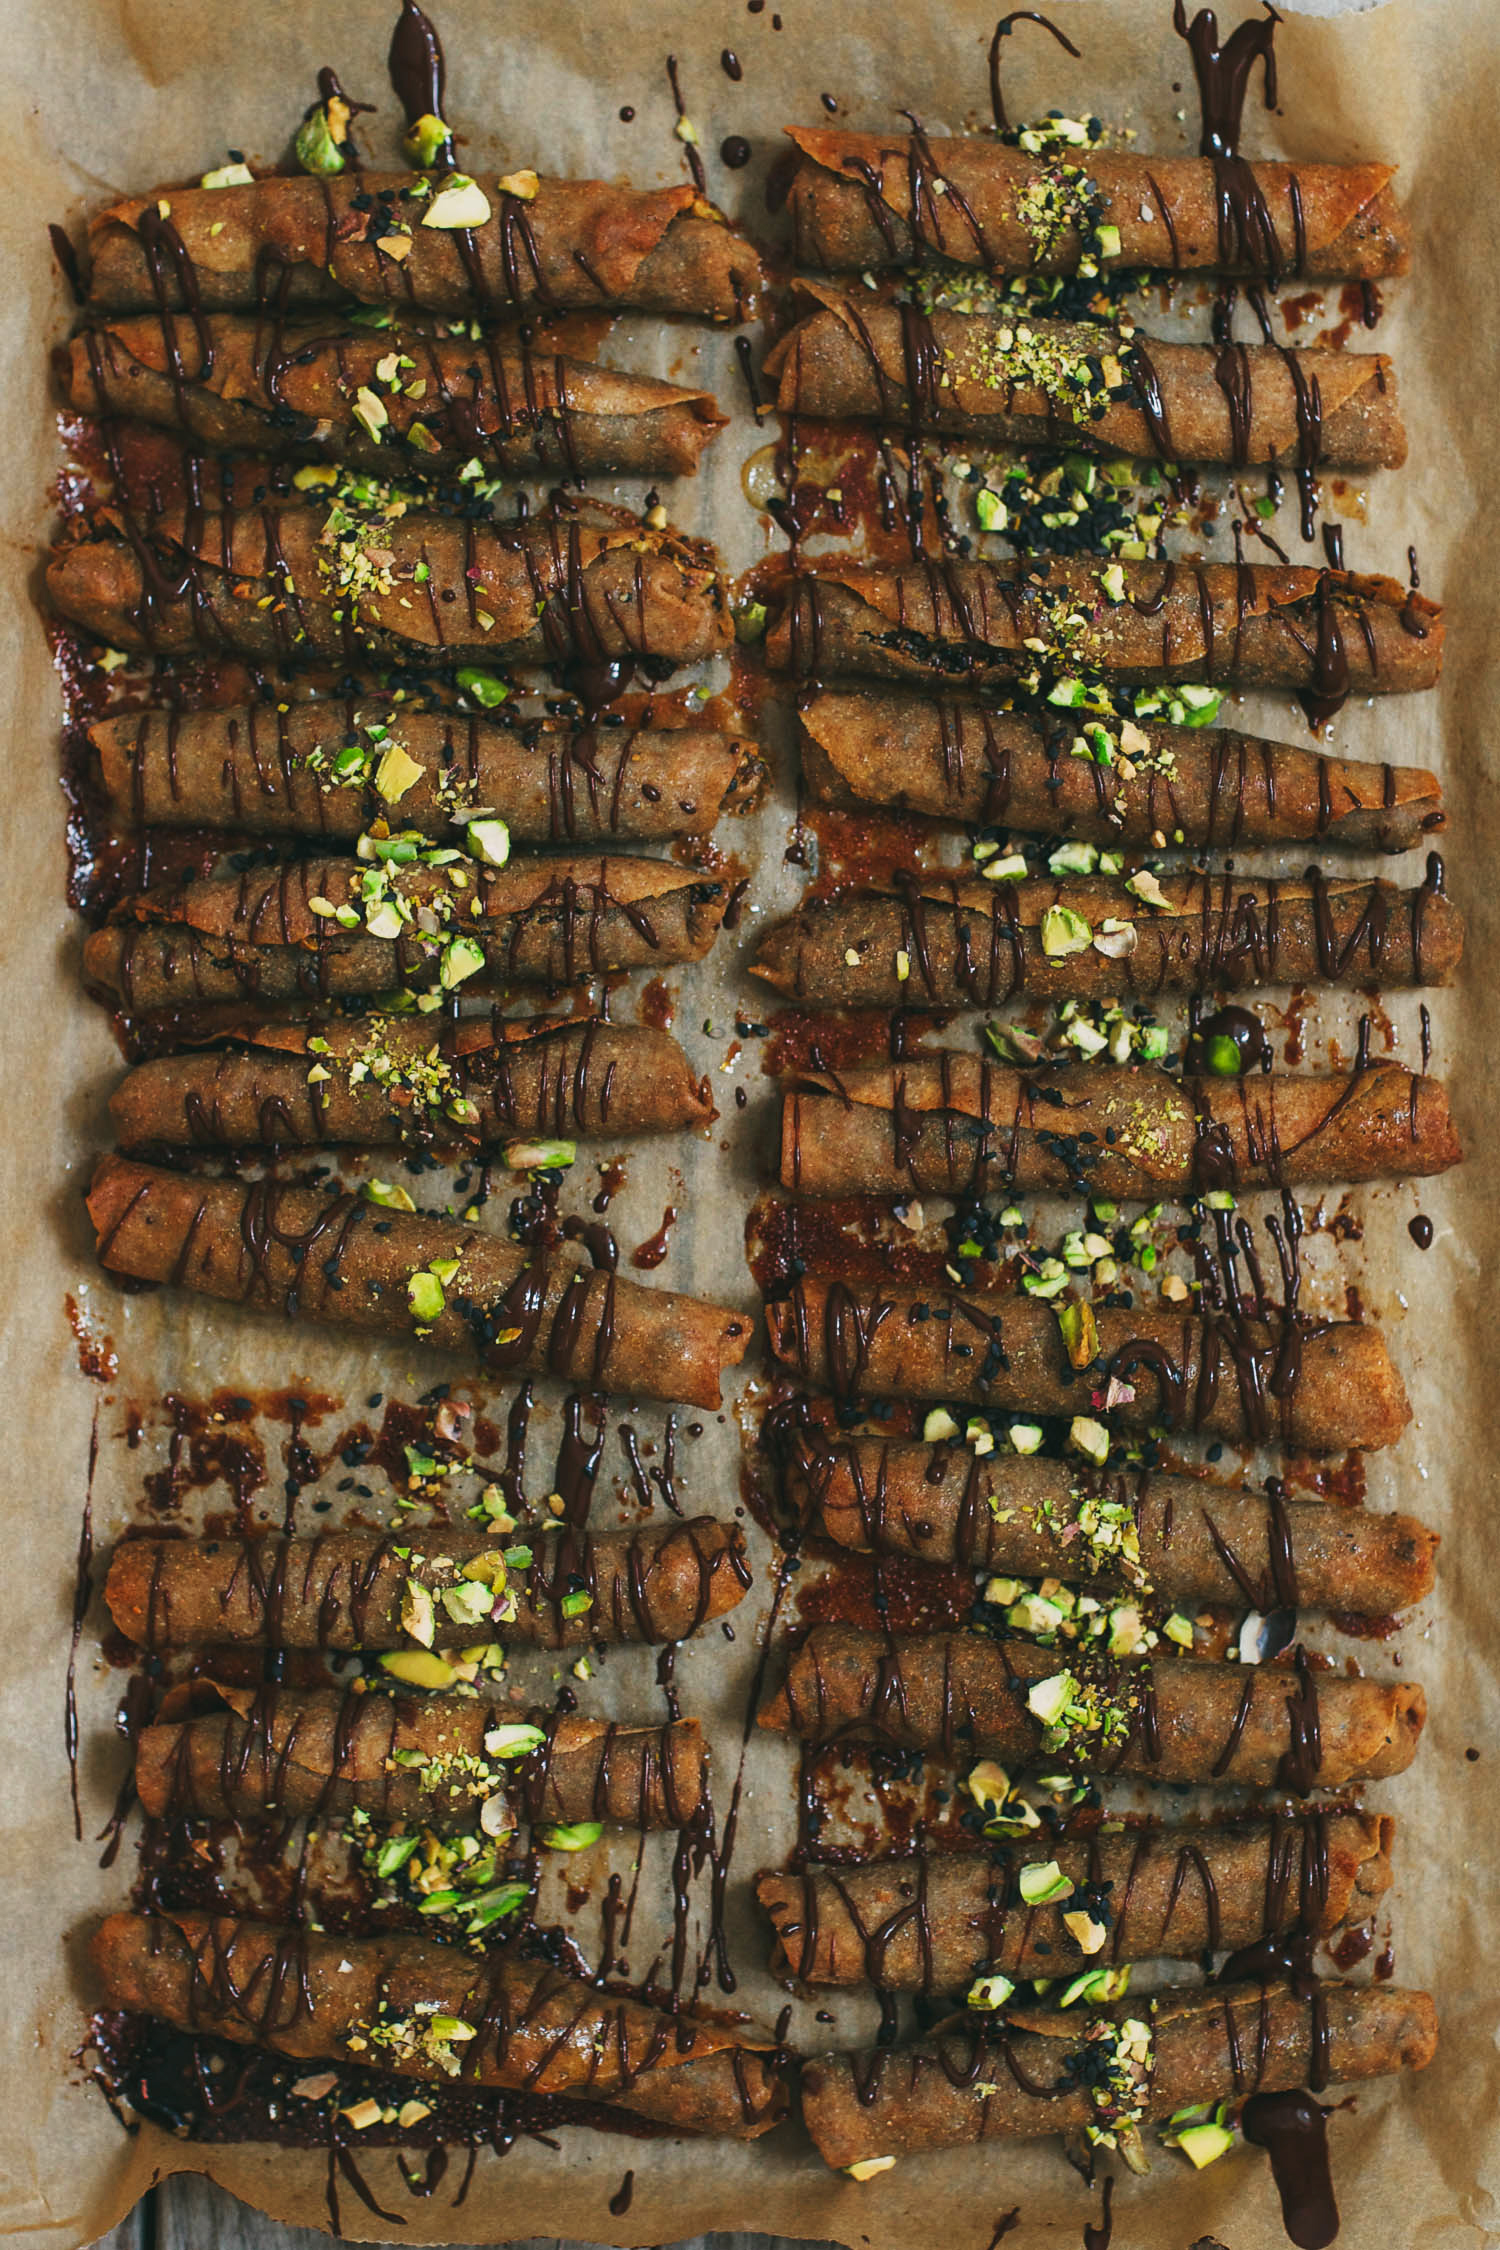
Dukkah is an Egyptian spice mix traditionally made of various nuts, sesame seeds, herbs and spices like coriander and cu...
Read Recipe
I want to wish you all a happy holiday season and thank you for your readership, for trying our dishes and for buying ou...
Read Recipe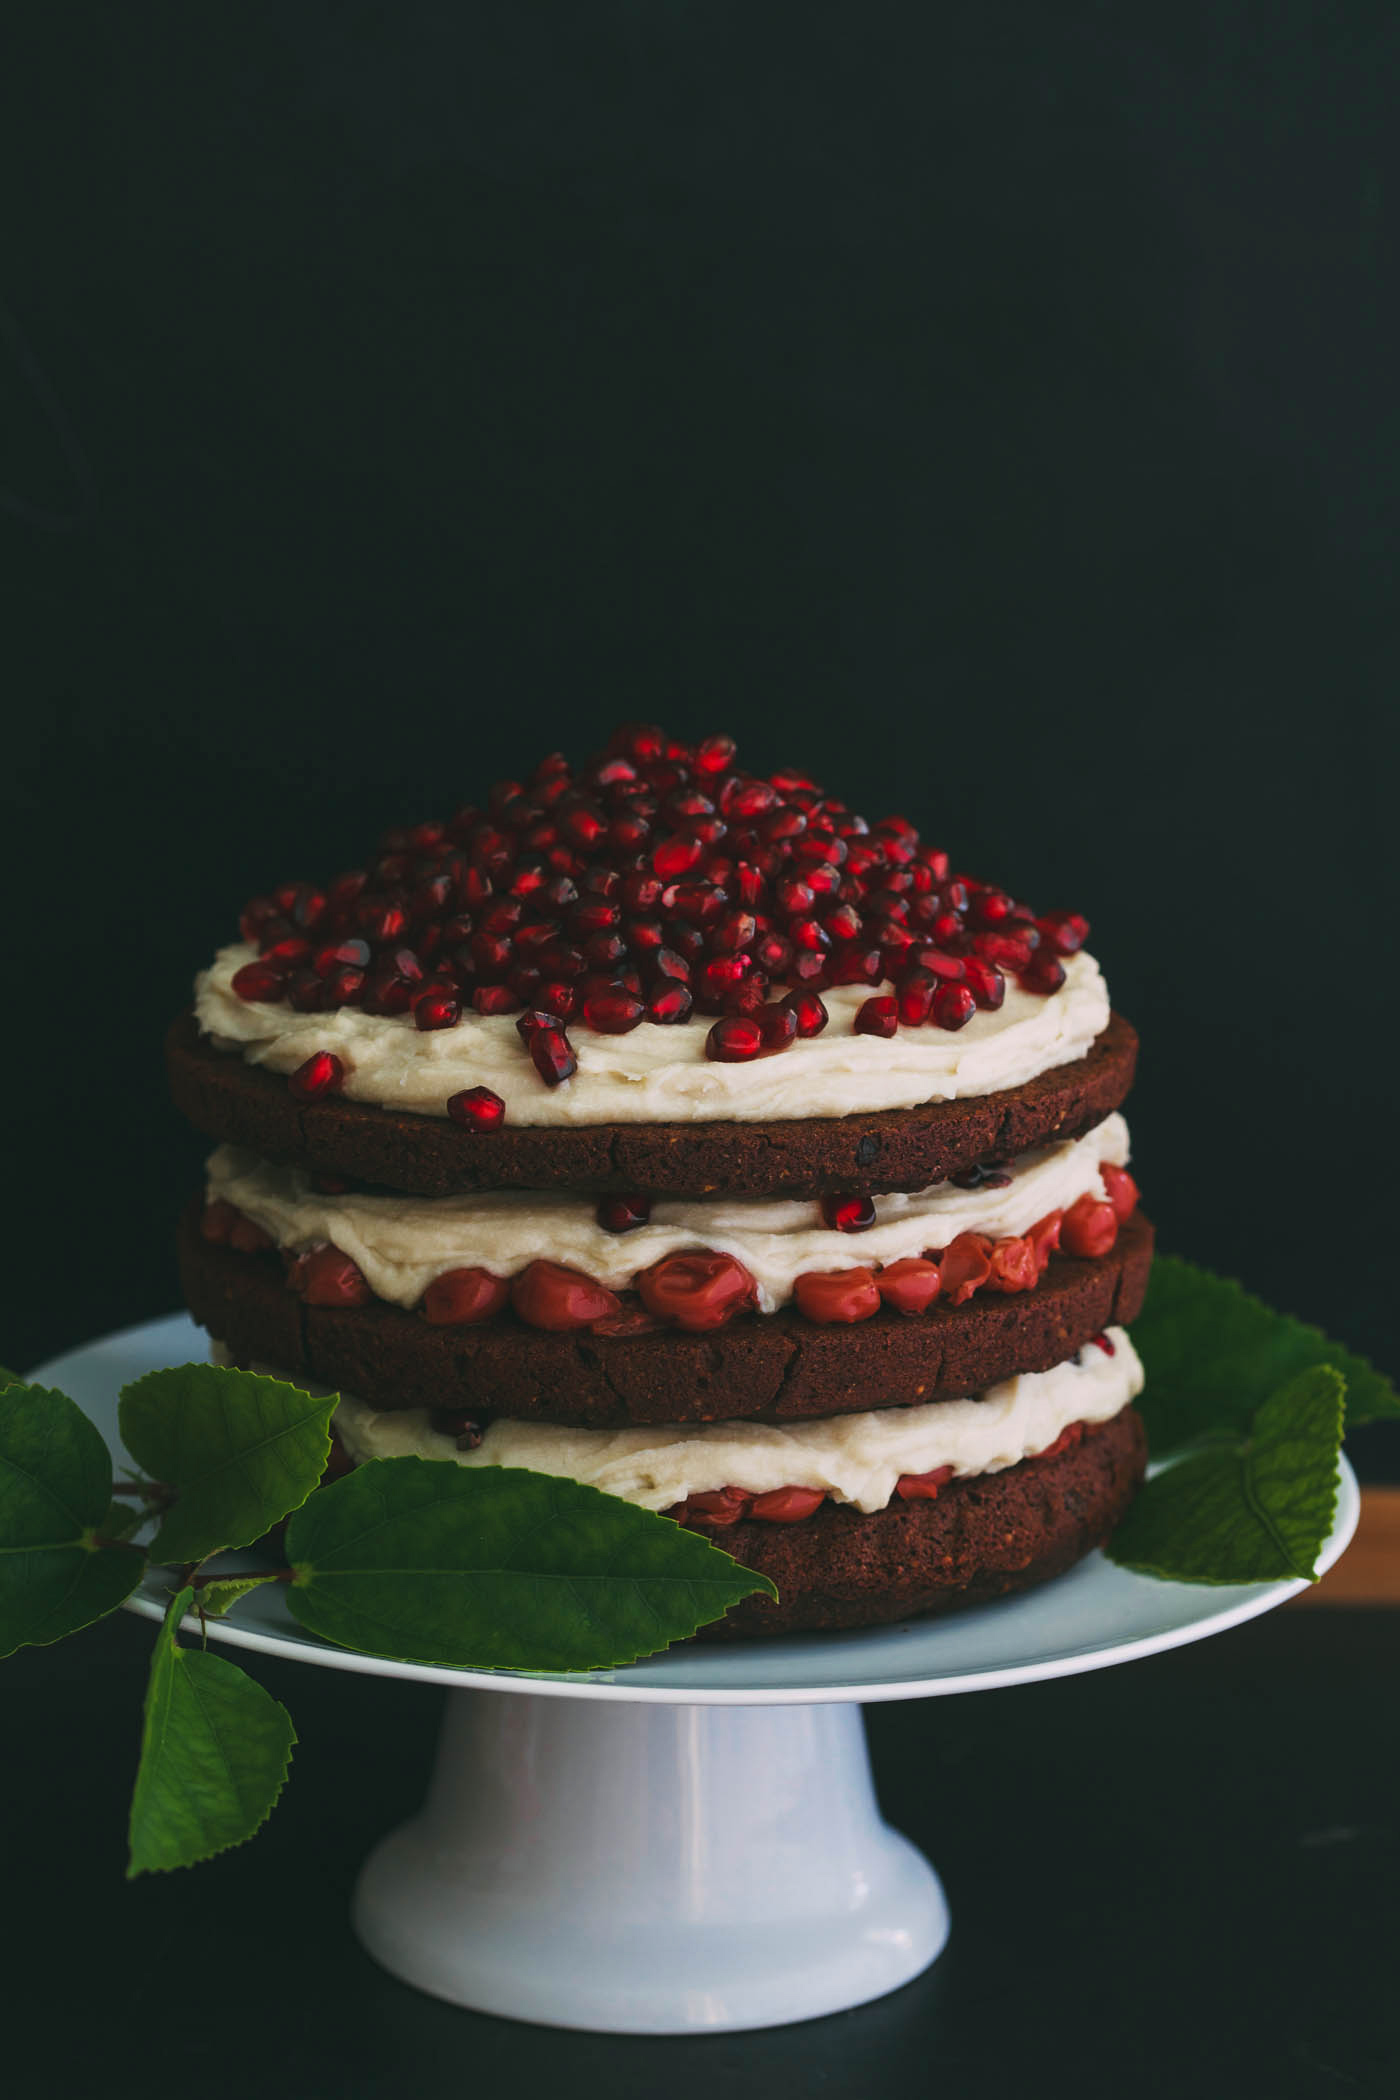
Today I’d like to talk about At Home in the Whole Food Kitchen, a book I’ve been cooking from non-stop since getting...
Read Recipe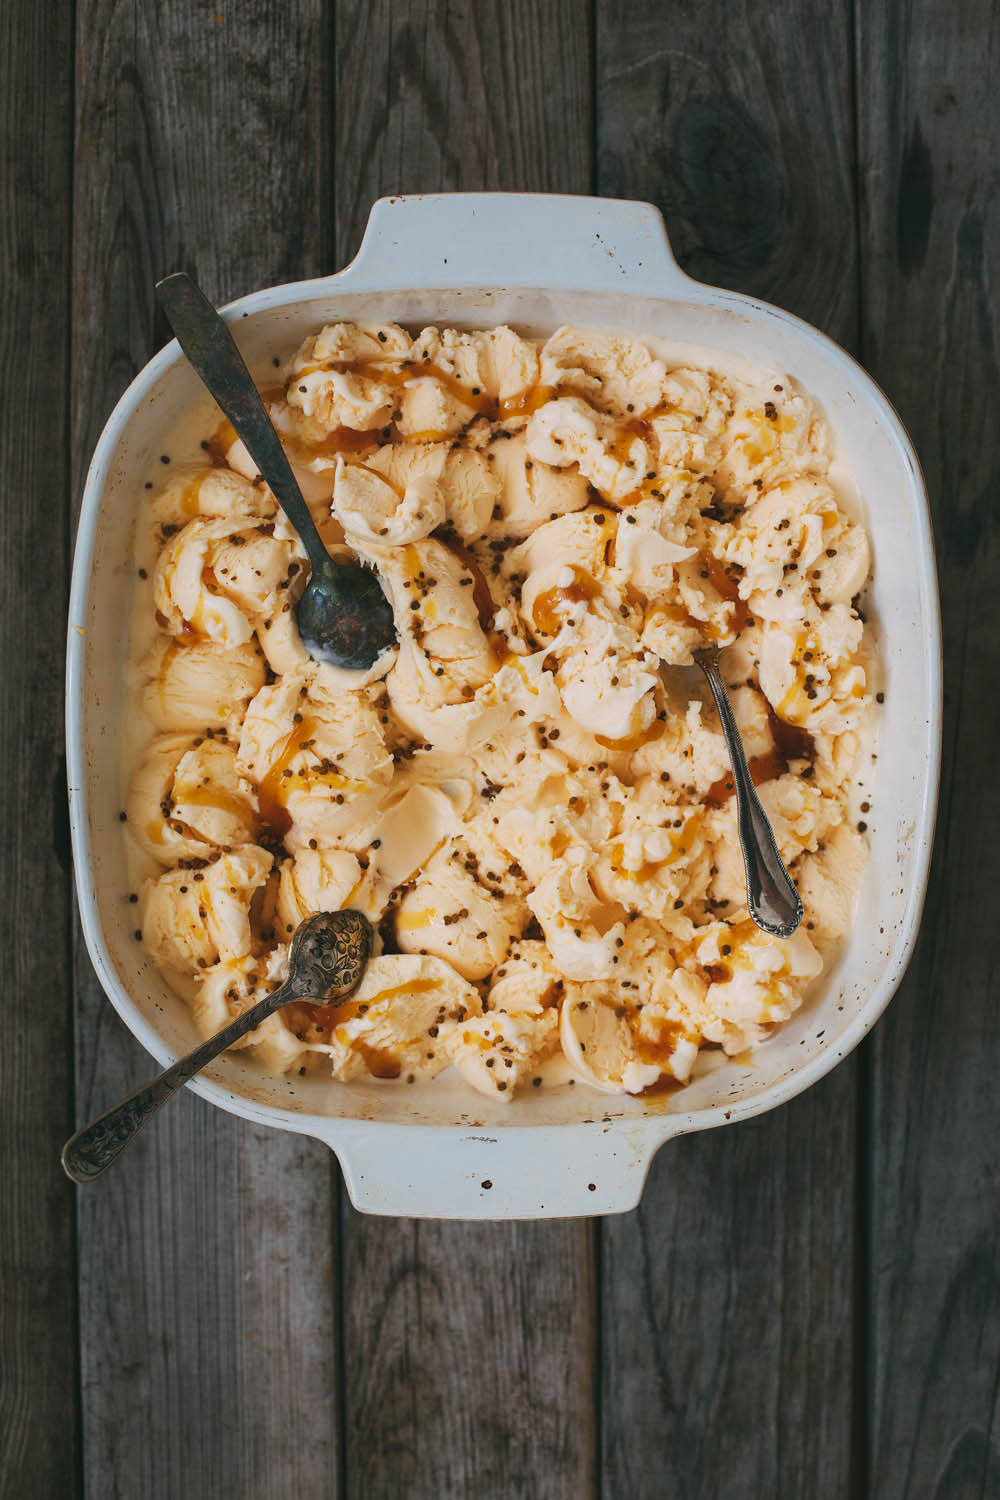
This past summer was a summer of ice cream for us. Since I bought an ice cream machine five years ago, I haven’t been ...
Read Recipe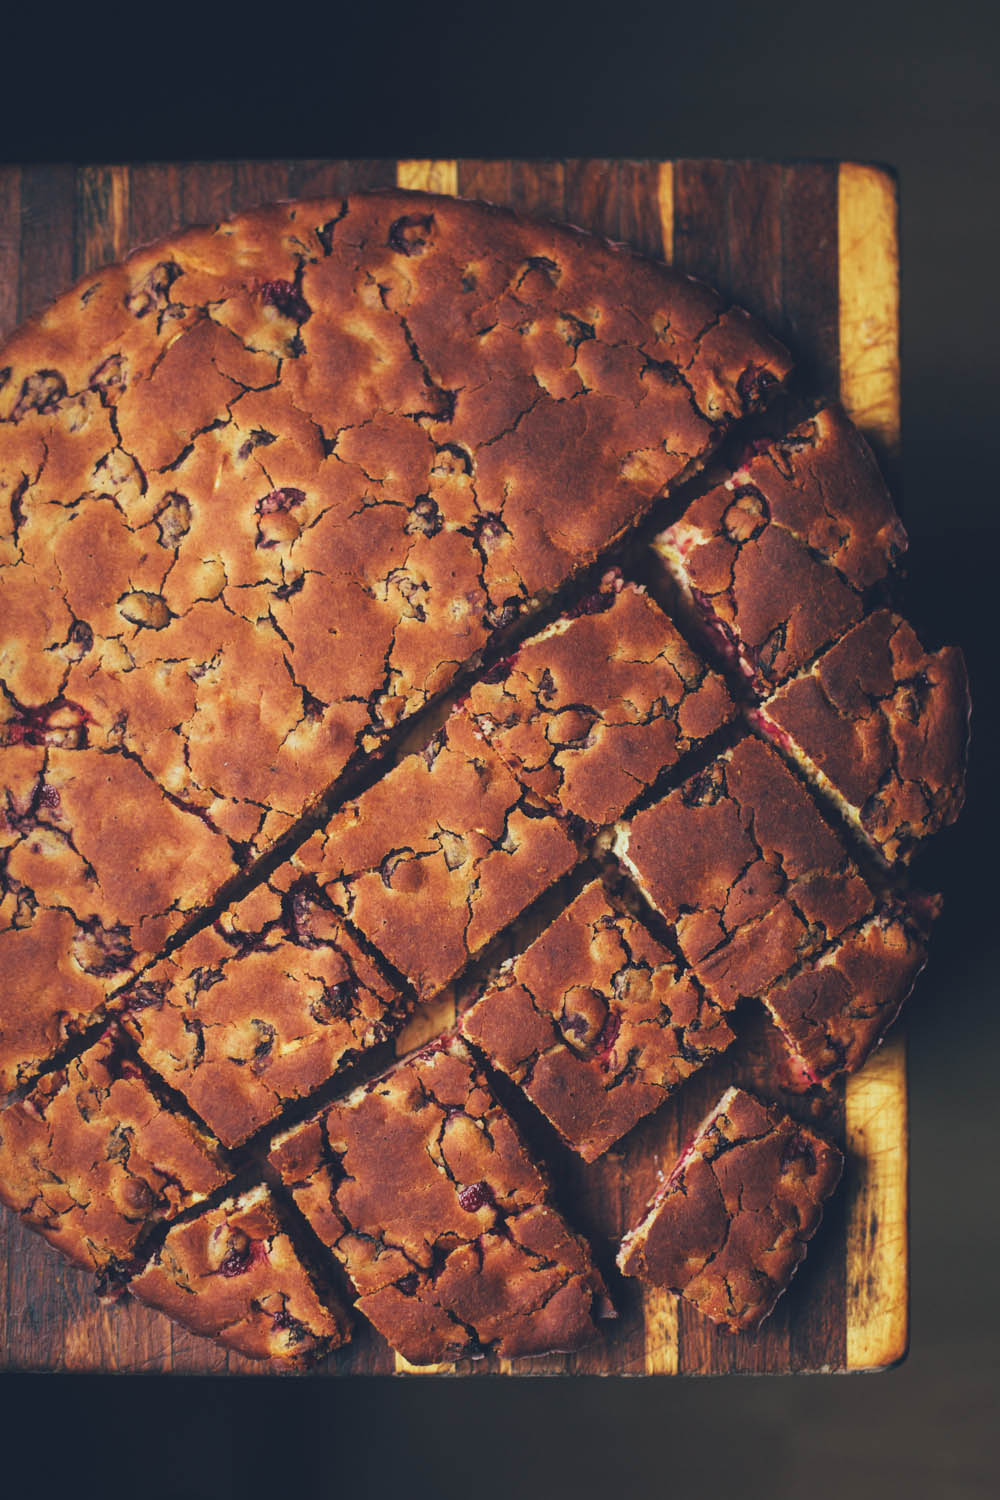
There are three foods from back home that I find myself missing consistently – wild mushrooms, black currants, and sou...
Read Recipe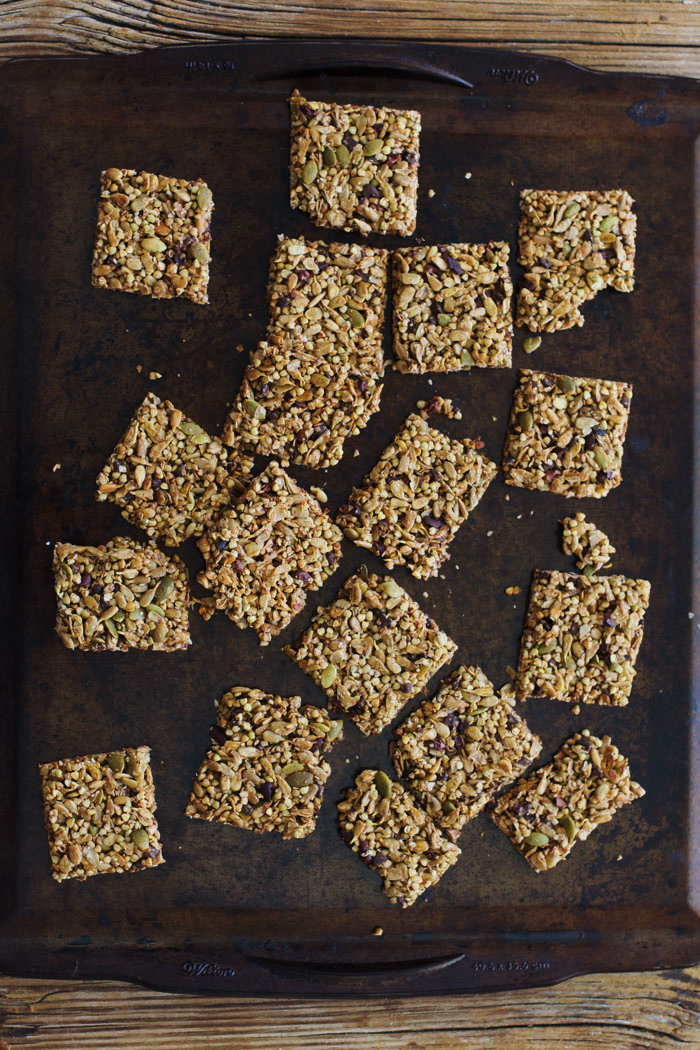
Paloma and I are leaving for Russia today, and here is one of the snacks I will be bringing for the long flight. Lately,...
Read Recipe
Finally, our plans have been set in stone, the tickets have been bought and all the arrangements made. Paloma and I are ...
Read Recipe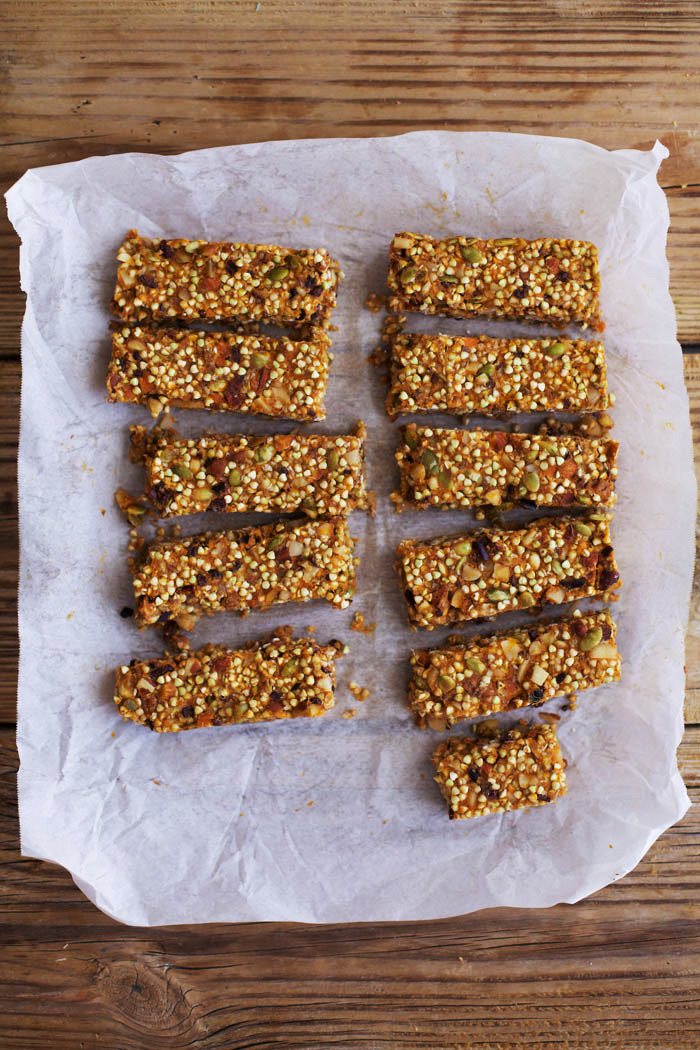
Granola bars have always presented somewhat of a challenge to me. I haven’t been able to find a wholesome store-bought...
Read Recipe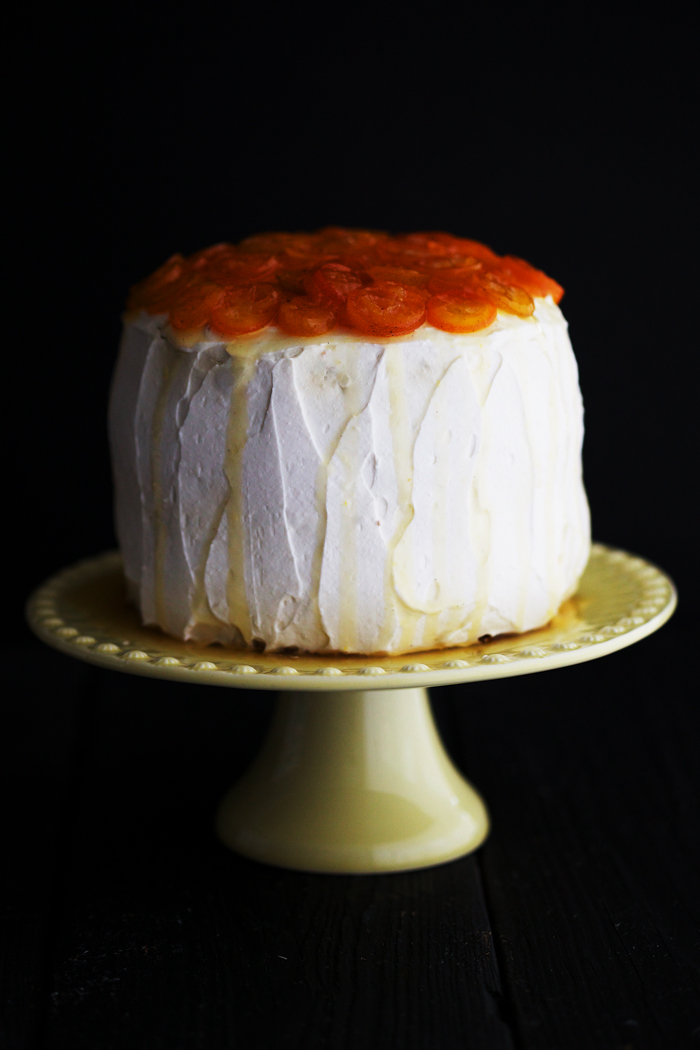
I must admit that I’m not very skilled when it comes to proper cake making. I could tell you about several disasters, ...
Read Recipe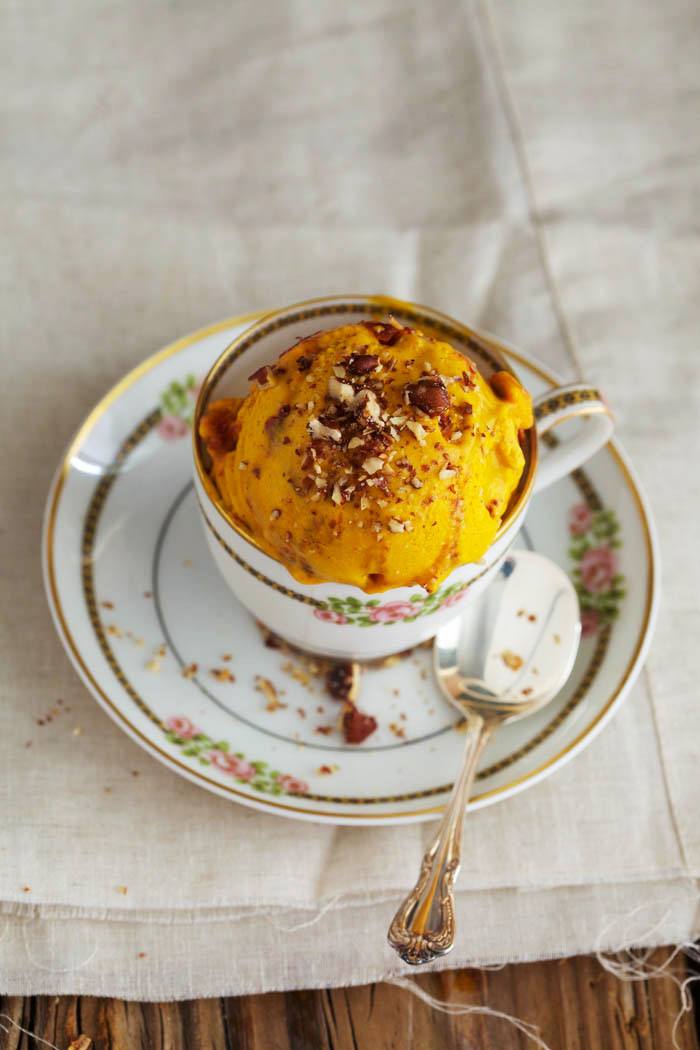
Today we celebrate our book, The Vibrant Table, being available for pre-order and all the work on it – successfully c...
Read Recipe
Finally, the weather broke and the steaming Florida September heat began to give up. I can’t wait for the day when we ...
Read Recipe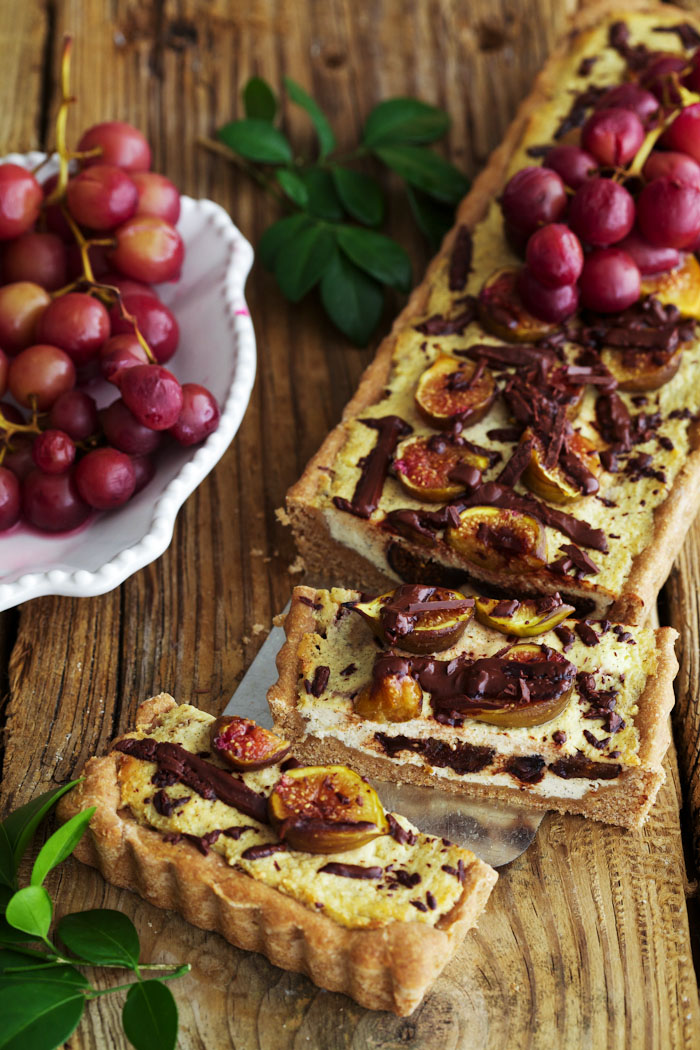
After all these years of living in Florida, I’d never seen, let alone tasted a local fig until very recently. I heard ...
Read Recipe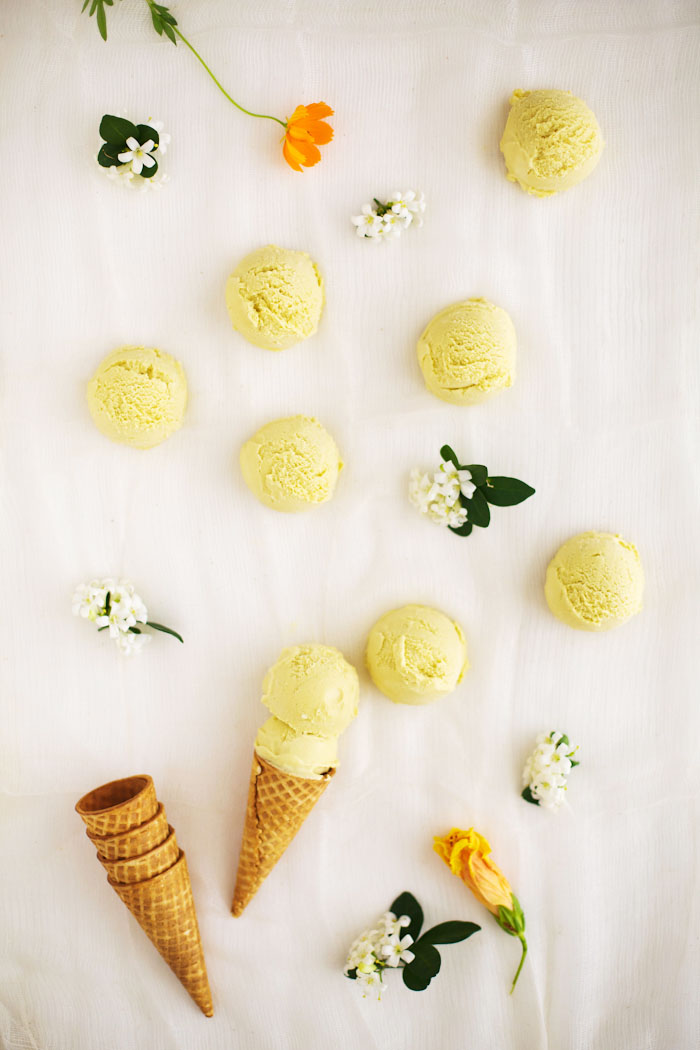
When it comes to ice-cream, for me, the stranger and less common the flavour, the better. My track rec...
Read Recipe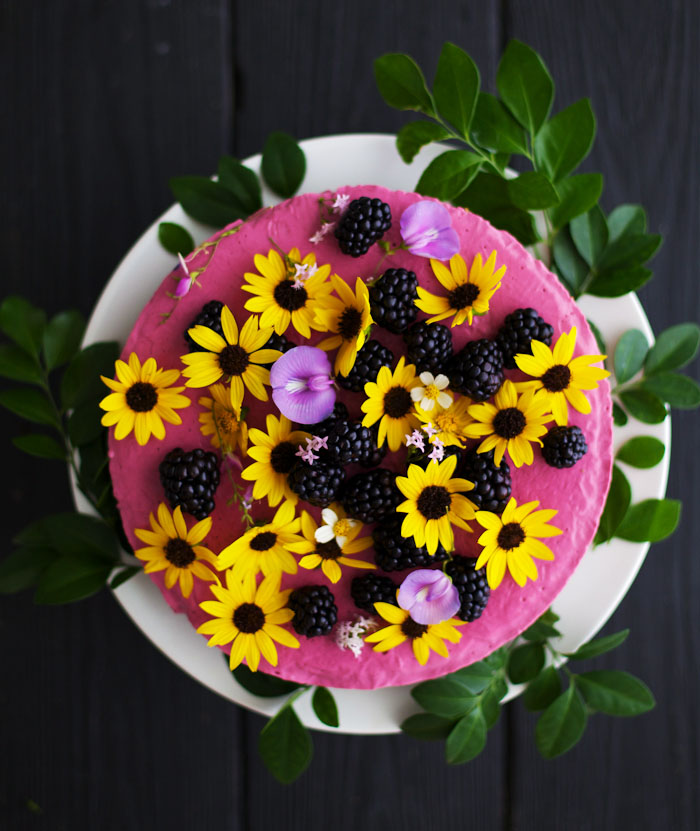
Frozen Berry Cheesecake on a Sunflower Crust Food blogs have become a big part of my life, and there are s...
Read Recipe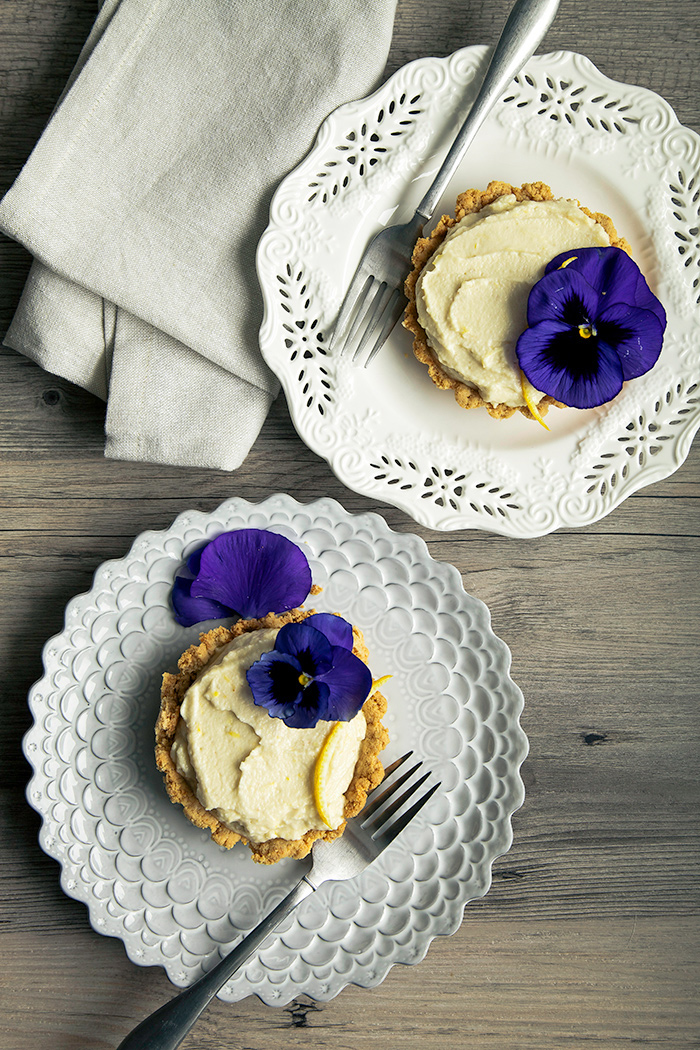
Today we are so happy to welcome a guest poster, Laura, a beautiful lady behind The First Mess. In case you are not fami...
Read Recipe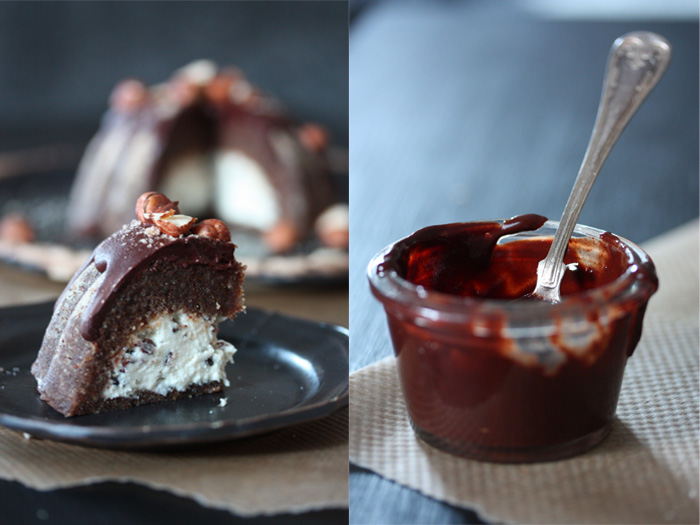
Today I’ve got a guest post for you that I am very excited about. When Karolina Eleonóra of The Raw Dessert Kitchen...
Read Recipe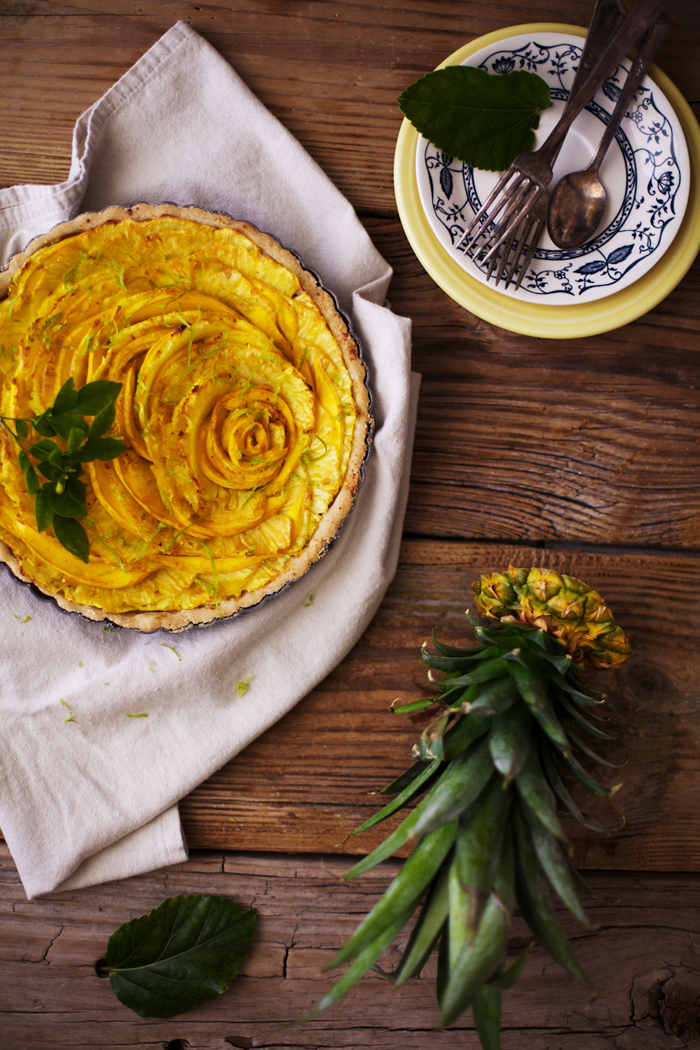
The cookbook manuscript has been submitted! And even though there is still a lot of work to be done in the editing stage...
Read Recipe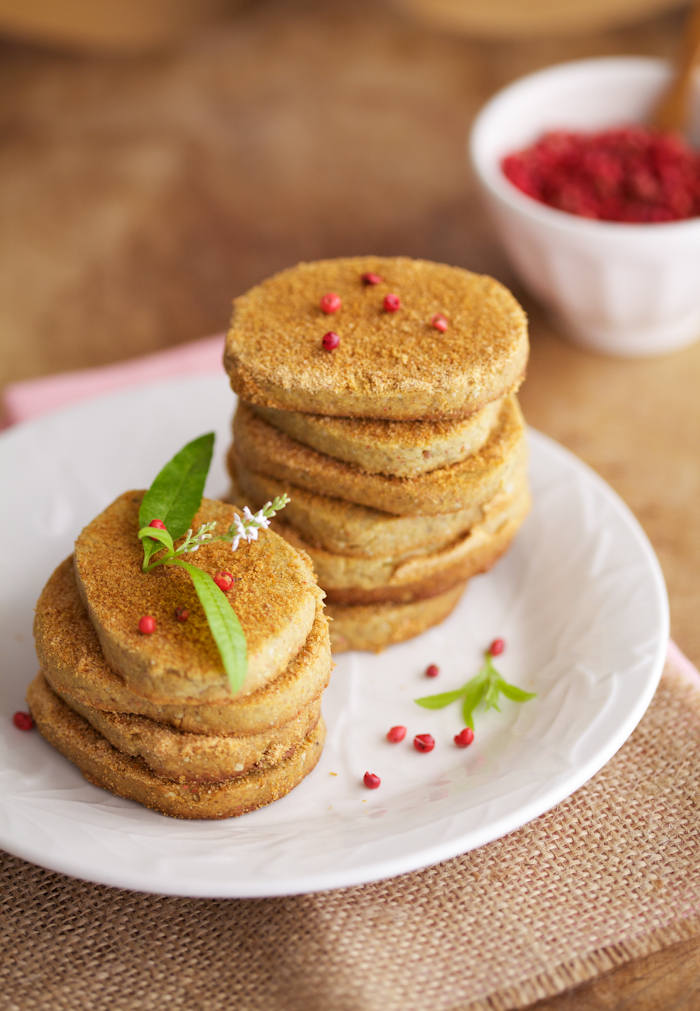
This post is also available in: French Aran Goyoaga hardly needs an introduction. Her a...
Read Recipe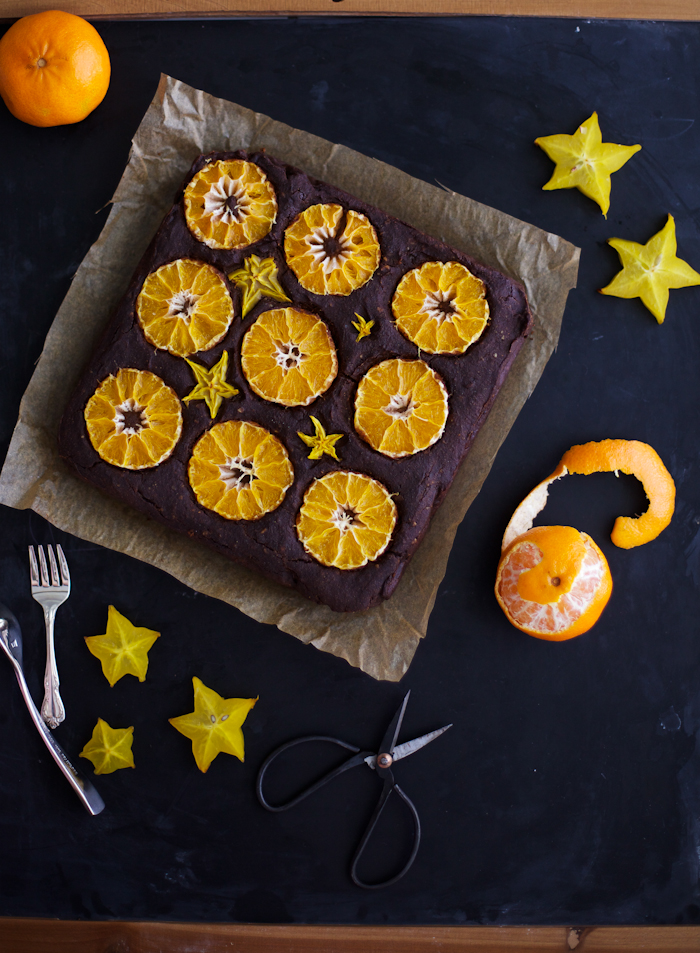
Happy Holidays, everyone! To celebrate, here’s a fudge cake made with black beans and studded with the fruit of the se...
Read Recipe
Today, I don’t want to say much, just that our hearts go out to the victims and families of the terrible tragedy in CT...
Read Recipe
Hope everyone in hurricane Sandy’s path is staying safe, warm, and dry. Now to pears – what a perfect ...
Read Recipe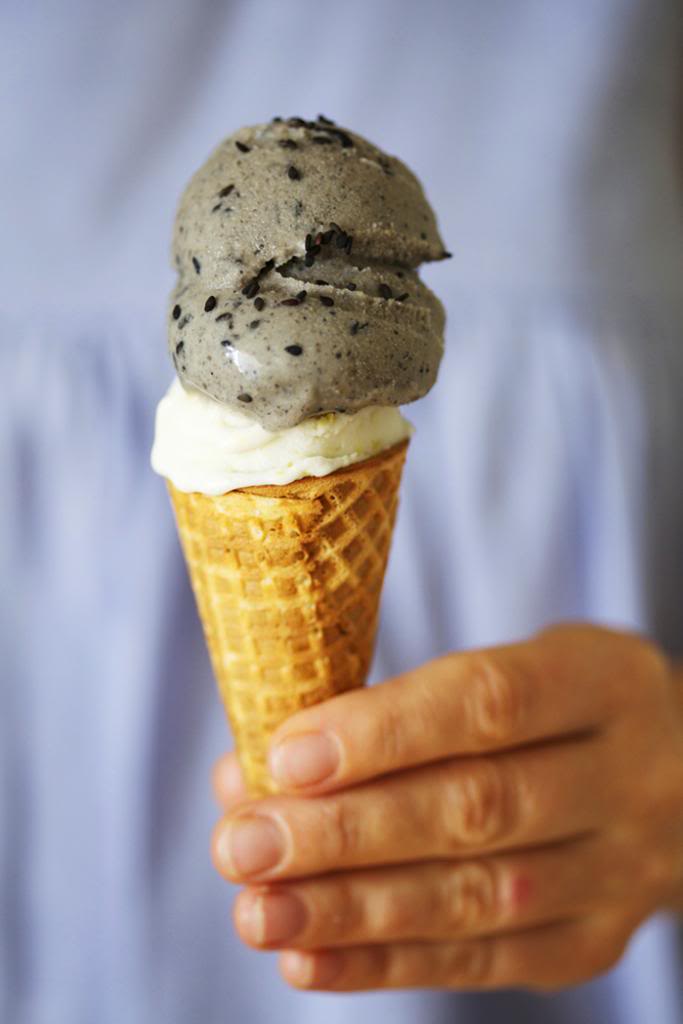
This post is also available in: French Before it gets too cold, here are two...
Read Recipe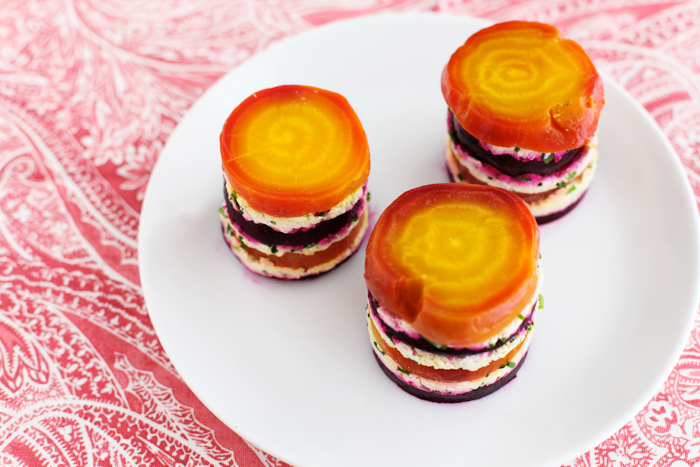
This post is also available in: French La Tartine Gourmande is a cookbook I’ve been spend...
Read Recipe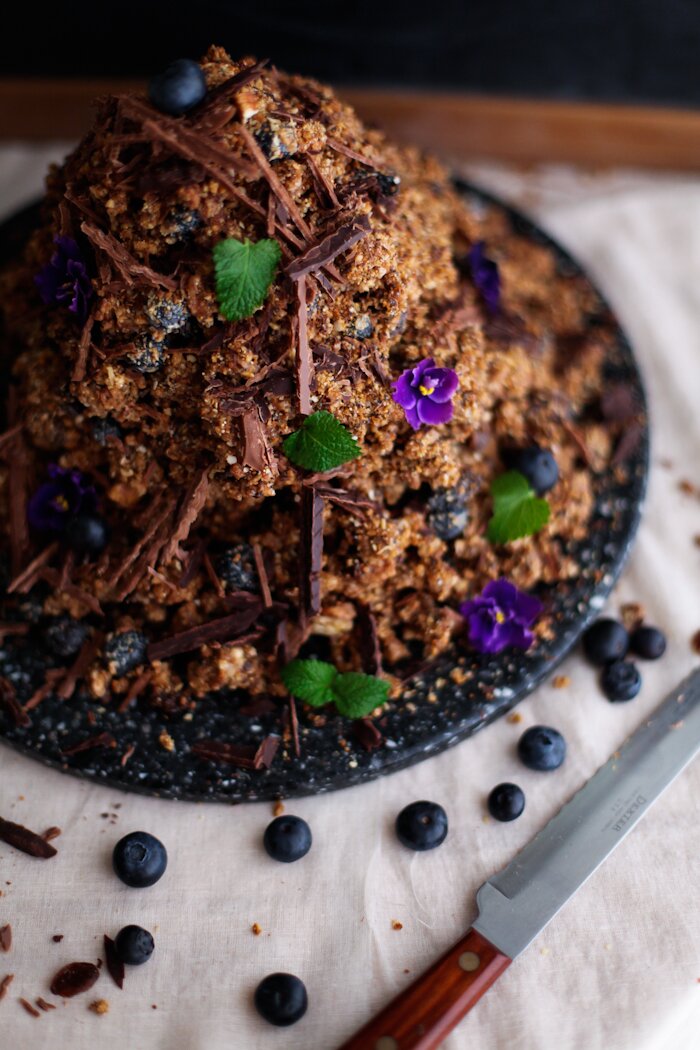
This post is also available in: French Here is a (lighter) version of a ca...
Read Recipe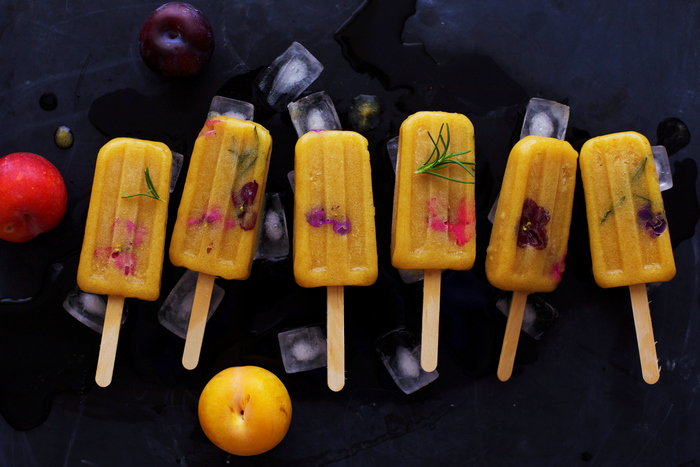
This post is also available in: French I’ve always associated late summer with plums,...
Read Recipe
Thank you all for participating in the Wholistic giveaway. The rose mist goes to The Best Decade, please email us your a...
Read Recipe
It’s time for apricots, that sweet part of the summer when the sun gets bright enough to make their delicate skins blu...
Read Recipe
Hello from chilly San Francisco! We just arrived, and the weather forecast is promising sun and high 60s all week. A ver...
Read Recipe
This one is for all the recent graduates. Congratulations, it’s quite an accomplishment, what you did! We have our own...
Read Recipe
One of the things I miss the most about the home country is dacha. I can only describe it as the most comforting place o...
Read Recipe
Recently, we attended a birthday party that left me incredibly impressed and full of hope for the future. In fact, it wa...
Read Recipe
Today we continue our series of posts, describing the preparations for our Argentinean tango inspired 3D gathering, whic...
Read Recipe
A salad of roots like jicama, fennel, and daikon radish. We’re blessed with the growing season in the midst of the wi...
Read Recipe
We’re deep into New Year’s preparations this morning. There’s salad to be chopped, coconuts to be cracked, ice cre...
Read Recipe
This year, we are giving edible presents. Since I spend so much time in the kitchen, it makes sense to prepare delicious...
Read Recipe
We thought it would be nice to share a comforting treat, when a large part of the country is waiting for Irene, and so m...
Read Recipe
Like many committed at-home cooks, I’ve lived through a full-on love affair with Nigella Lawson. It was so long ago, b...
Read Recipe
I love visiting Asian markets – they are always full of surprises and things that to me are unknown and curious. As a ...
Read Recipe
Summer in Florida is challenging. It is hot. Your only chance of catching some decent breeze is at the beach. Local prod...
Read Recipe
Last week, I promised to make a savoury dish for the next post, but I’d completely forgotten that Easter is just aroun...
Read Recipe
Last week, I decided to hop on the adventure that is the Master Cleanse and just recently completed the ten days. Fastin...
Read Recipe
A few weeks ago, David and Luise from Green Kitchen Stories asked us to do a guest post for their wonderful blog. They a...
Read Recipe
The first time I tried macarons was at the Macaron Café in Midtown, Manhattan. I had seen many photos of them prior to ...
Read Recipe
This Halloween is not only the first one that Paloma can understand as a holiday, but, in a way, the first one for me. A...
Read Recipe
Ever since making our savoury avocado truffles, we’ve been thinking about creating a dessert version of this much love...
Read Recipe
Paloma loves to eat. In that way, we are very fortunate. It’s quite a rarity for her to turn down food, and she’s al...
Read Recipe
Autumn is coming and there is no stopping of it. We’re excited – in the world of food that means more savouries, com...
Read Recipe
This post is a kind of tribute to the lovely season that is quickly drawing to a close, summer. Here is our celebration ...
Read Recipe
Parfait is a wonderful thing. It allows those of us who find boredom in single-flavour desserts to enjoy many tastes and...
Read Recipe
Paloma turned two on Friday, and we can hardly believe how fast time flies. Last year, for her first birthday, we had a ...
Read Recipe
I have a small linen bag of dried lavender hanging on my bedpost. The herb is said to calm the senses and help with slee...
Read Recipe
I must confess, I never liked gathering blackberries. Their bushes are covered with sharp little thorns that make the pr...
Read Recipe
We’ve finally gathered up the courage to buy an ice cream maker. Very quickly, this smooth white friend ...
Read Recipe
This time of year is when stone fruits have finally become sweet, sun baked, and worth the buy. The ultimate way of eati...
Read Recipe
Napoleon is one of the most beloved desserts in Russia. That version consists of layers upon layers of rich and moist cr...
Read Recipe
These avocado truffles were once again inspired by Luxirare. The challenge was to use raw ingredients and create some ki...
Read Recipe
A rich option for all the sweet-teeth out there who find it difficult to control themselves. This cake tastes like it co...
Read Recipe