Mains Recipes Recipes
64
Favorite Plant-Based Holiday Recipes
by Anya
Read Recipe
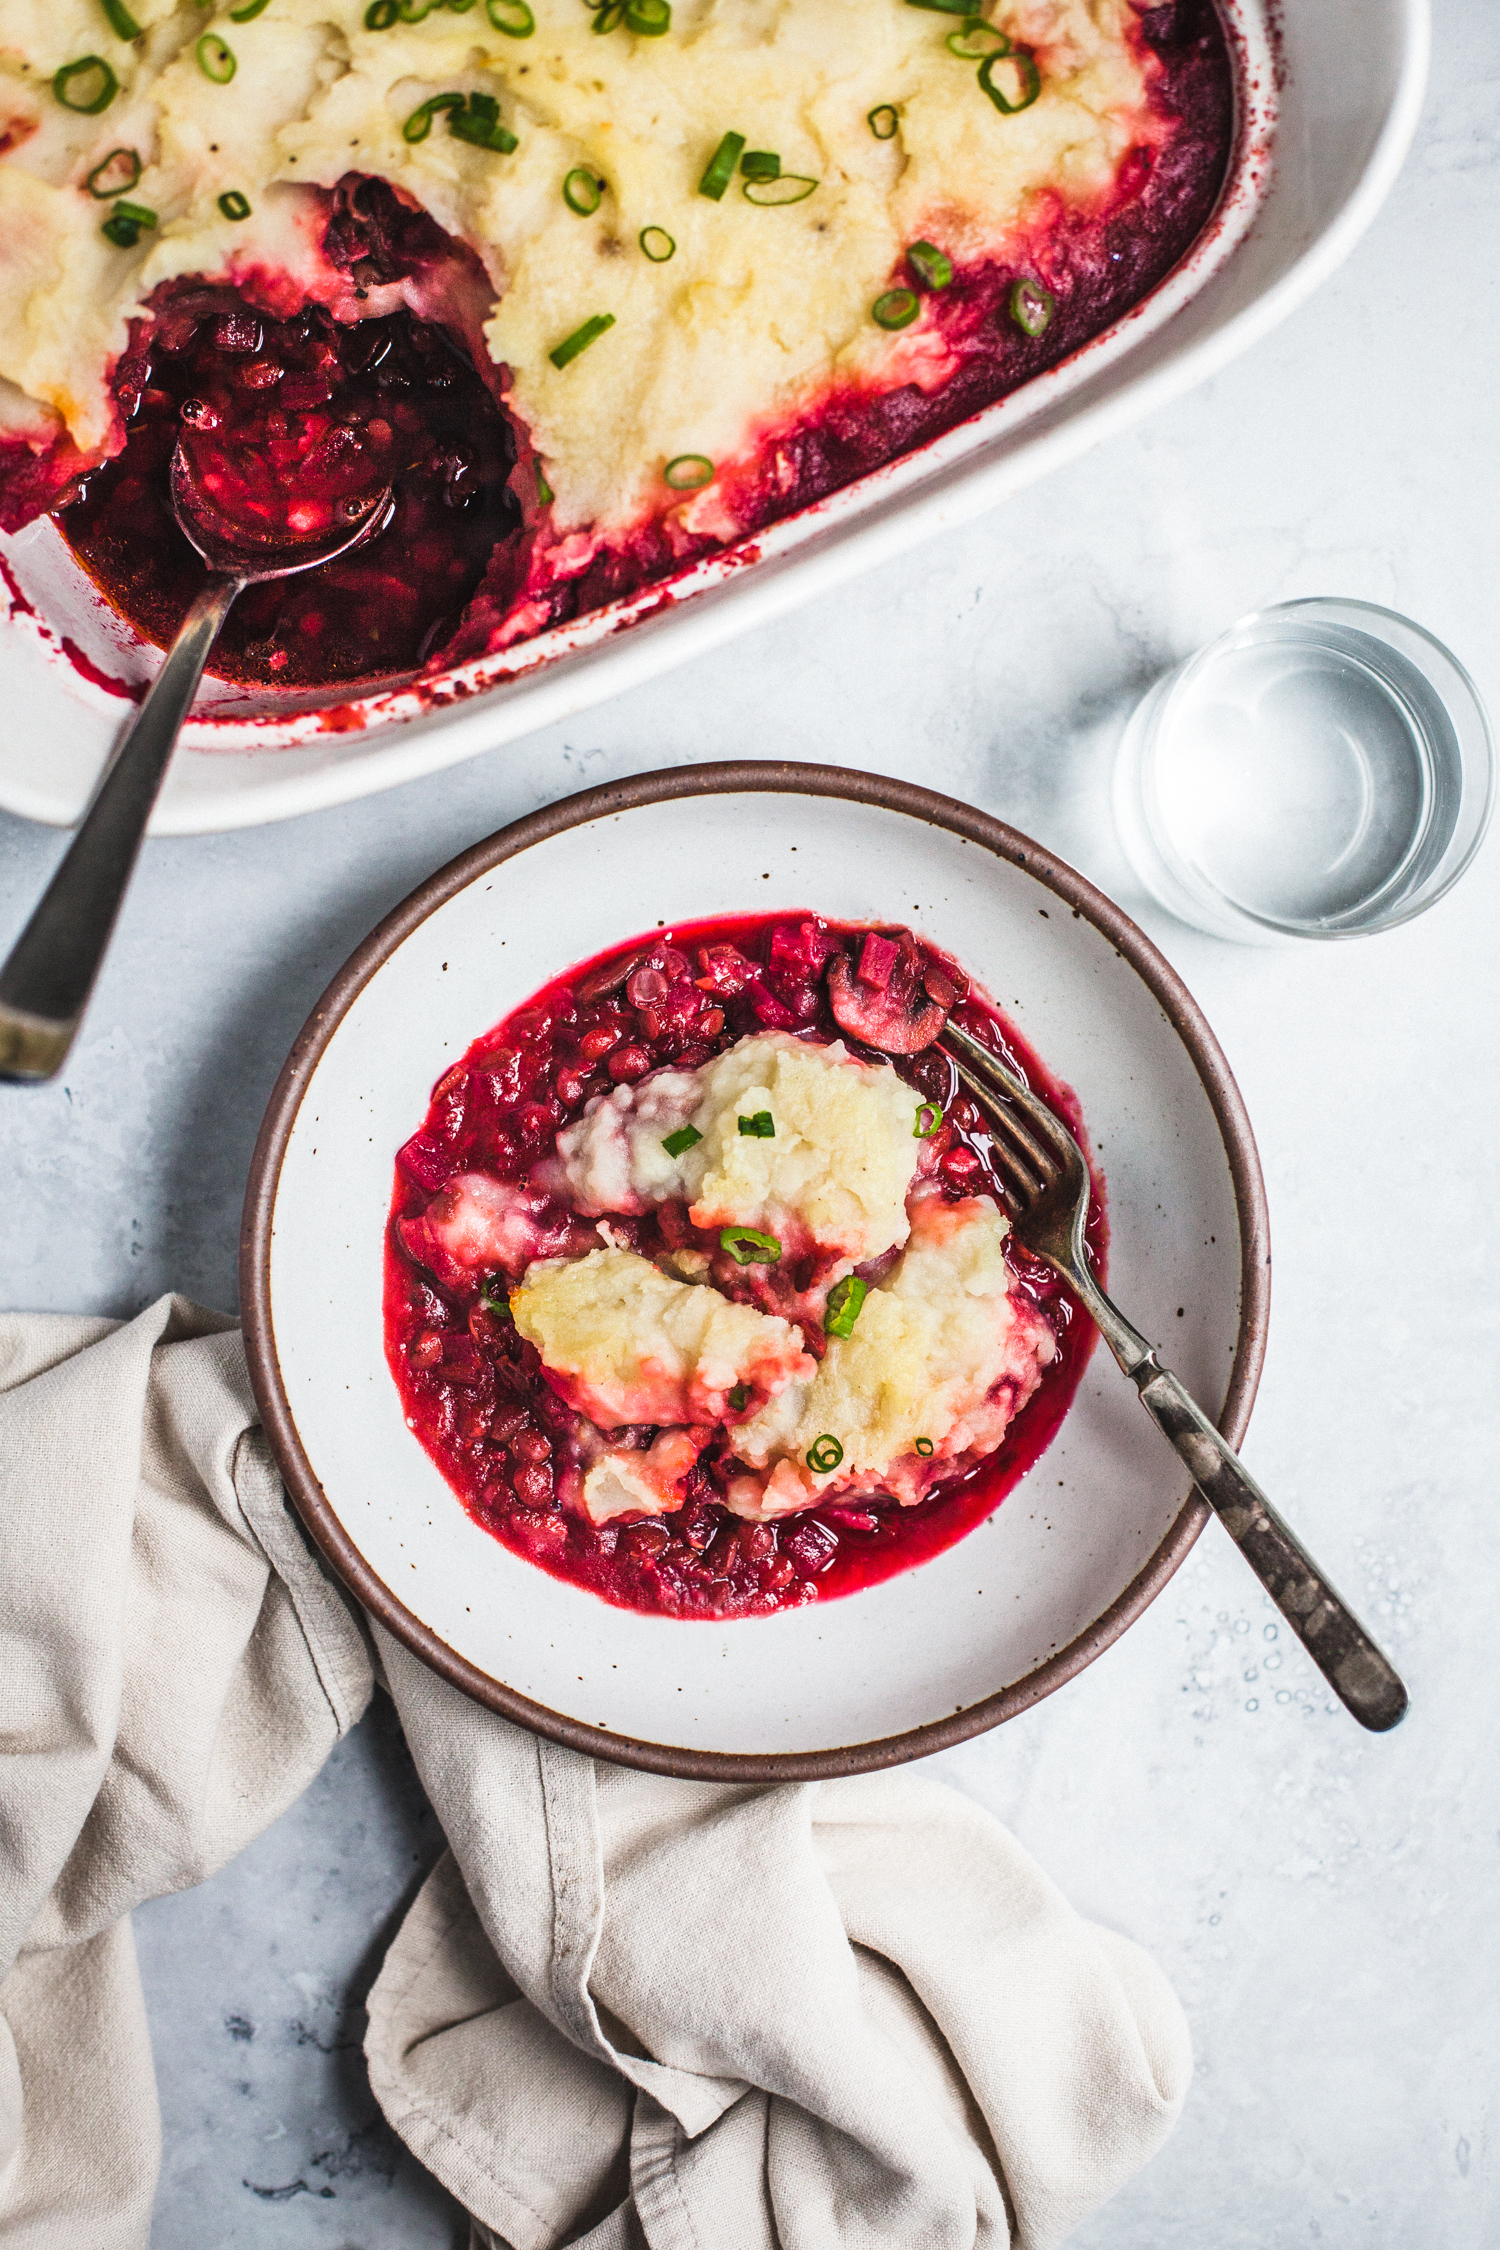
Beet Shepherd’s Pie with Balsamic, Lentils, and Mushrooms
by Masha
Read Recipe
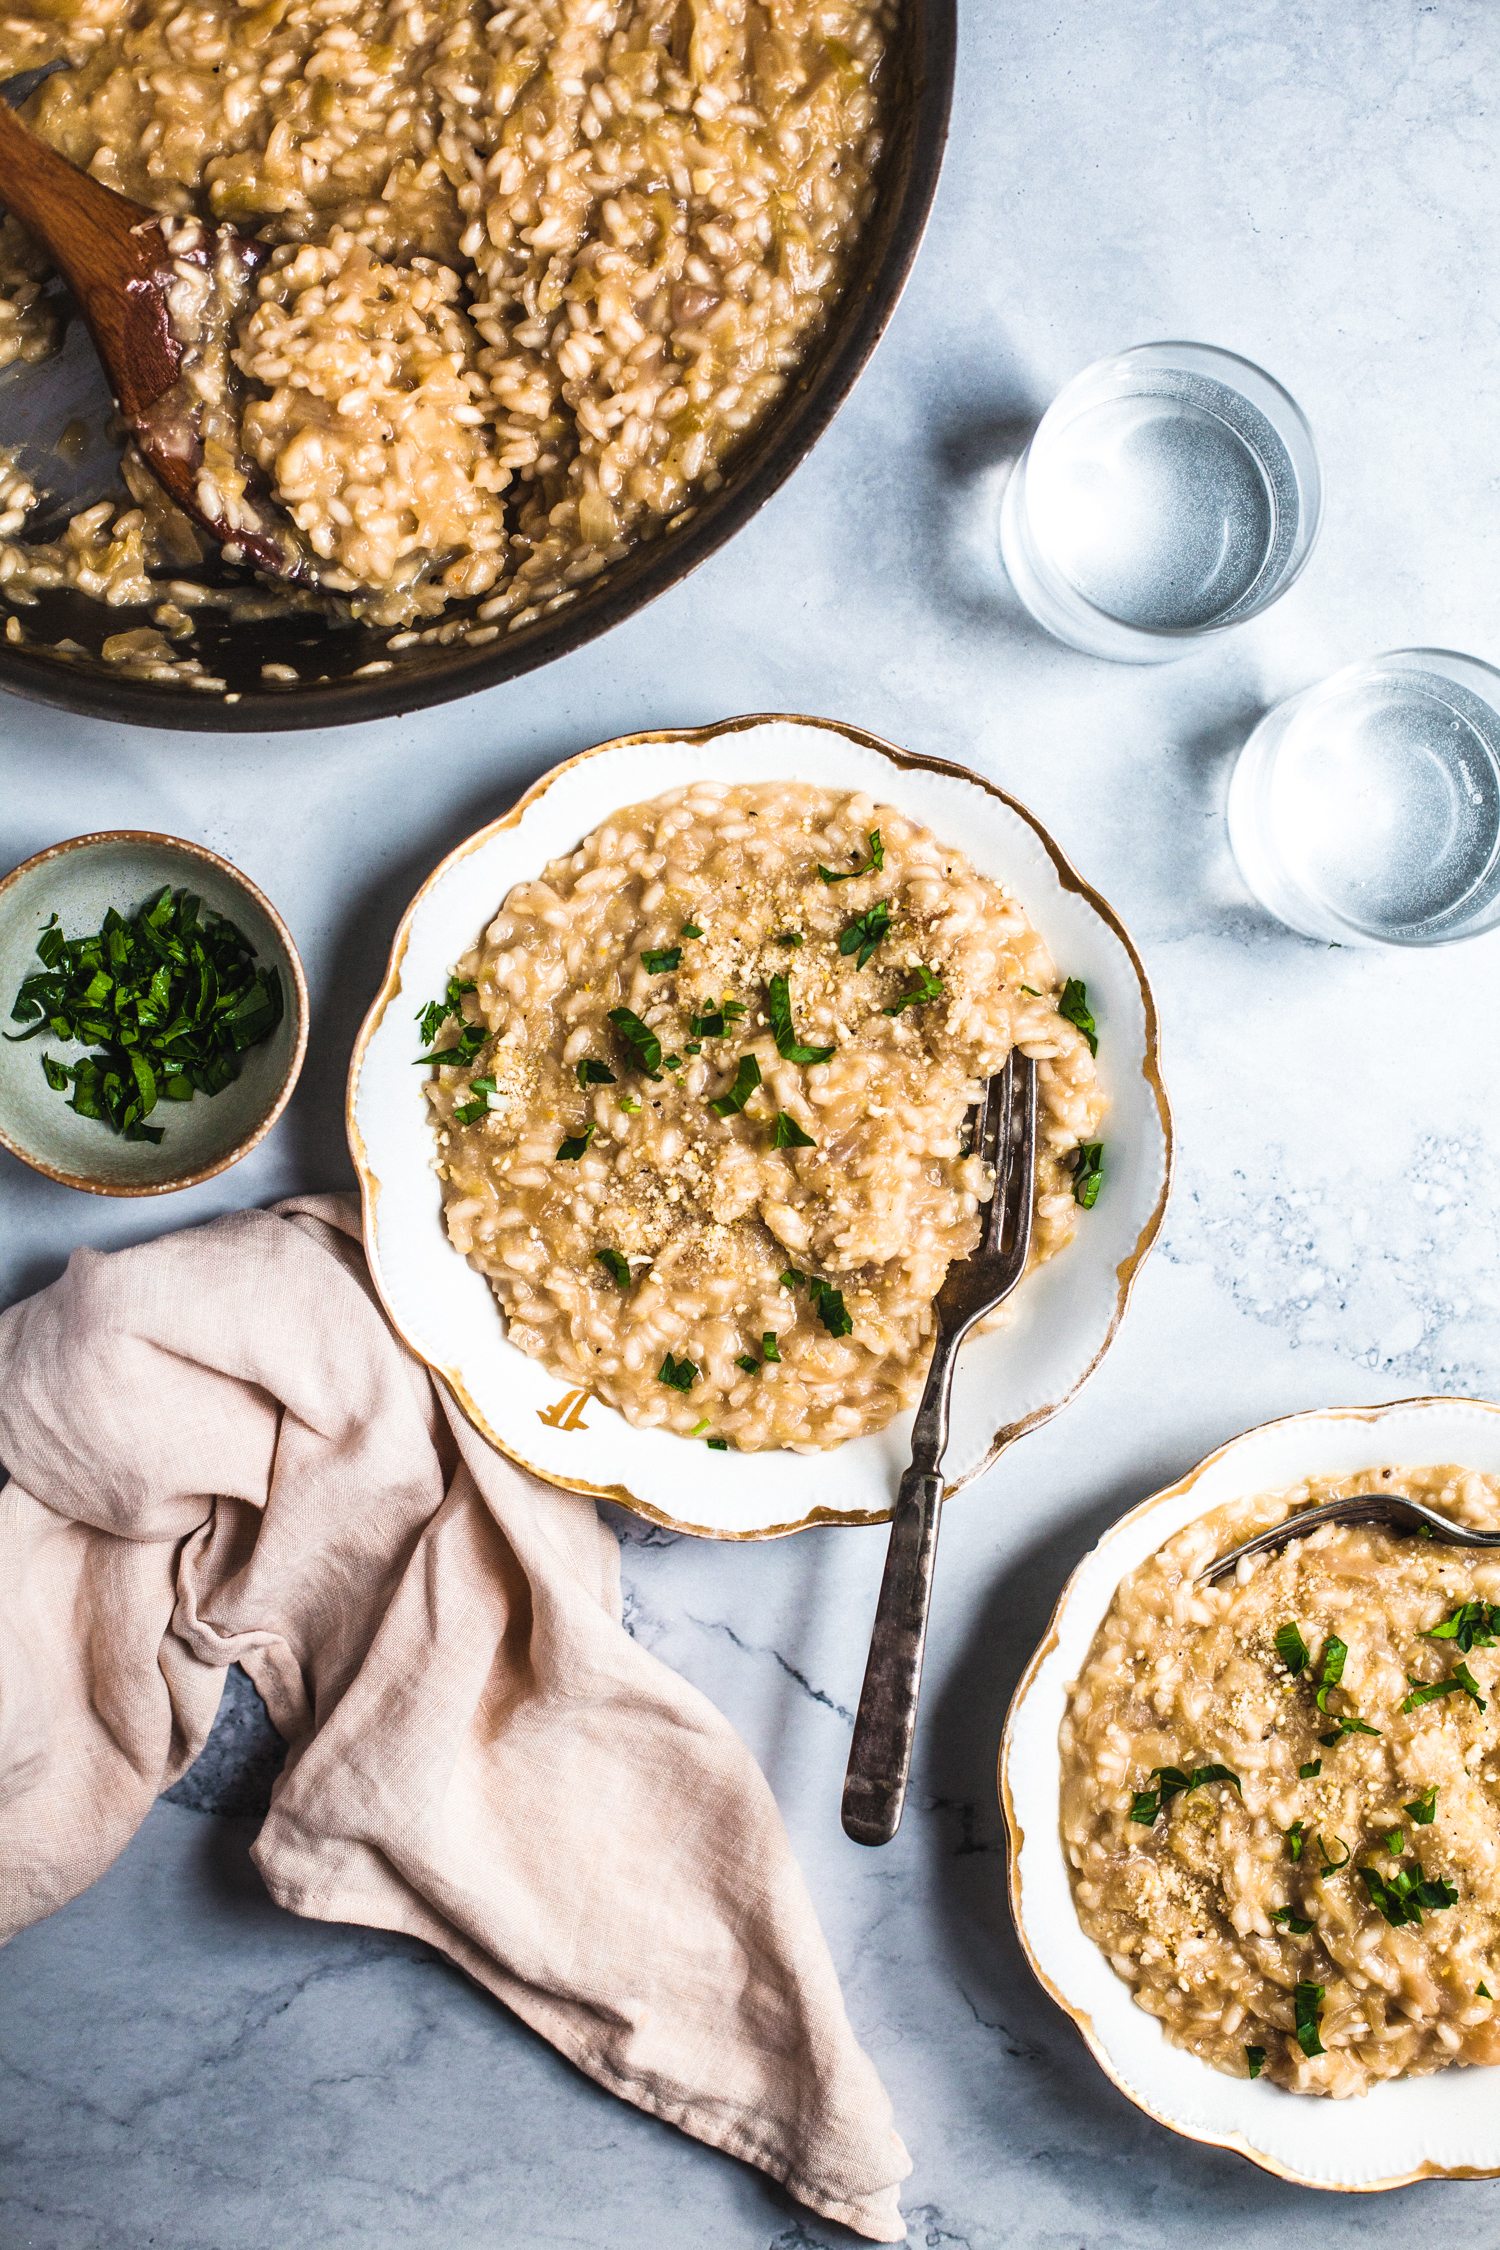
Cabbage and Lemon Risotto
by Masha
Read Recipe
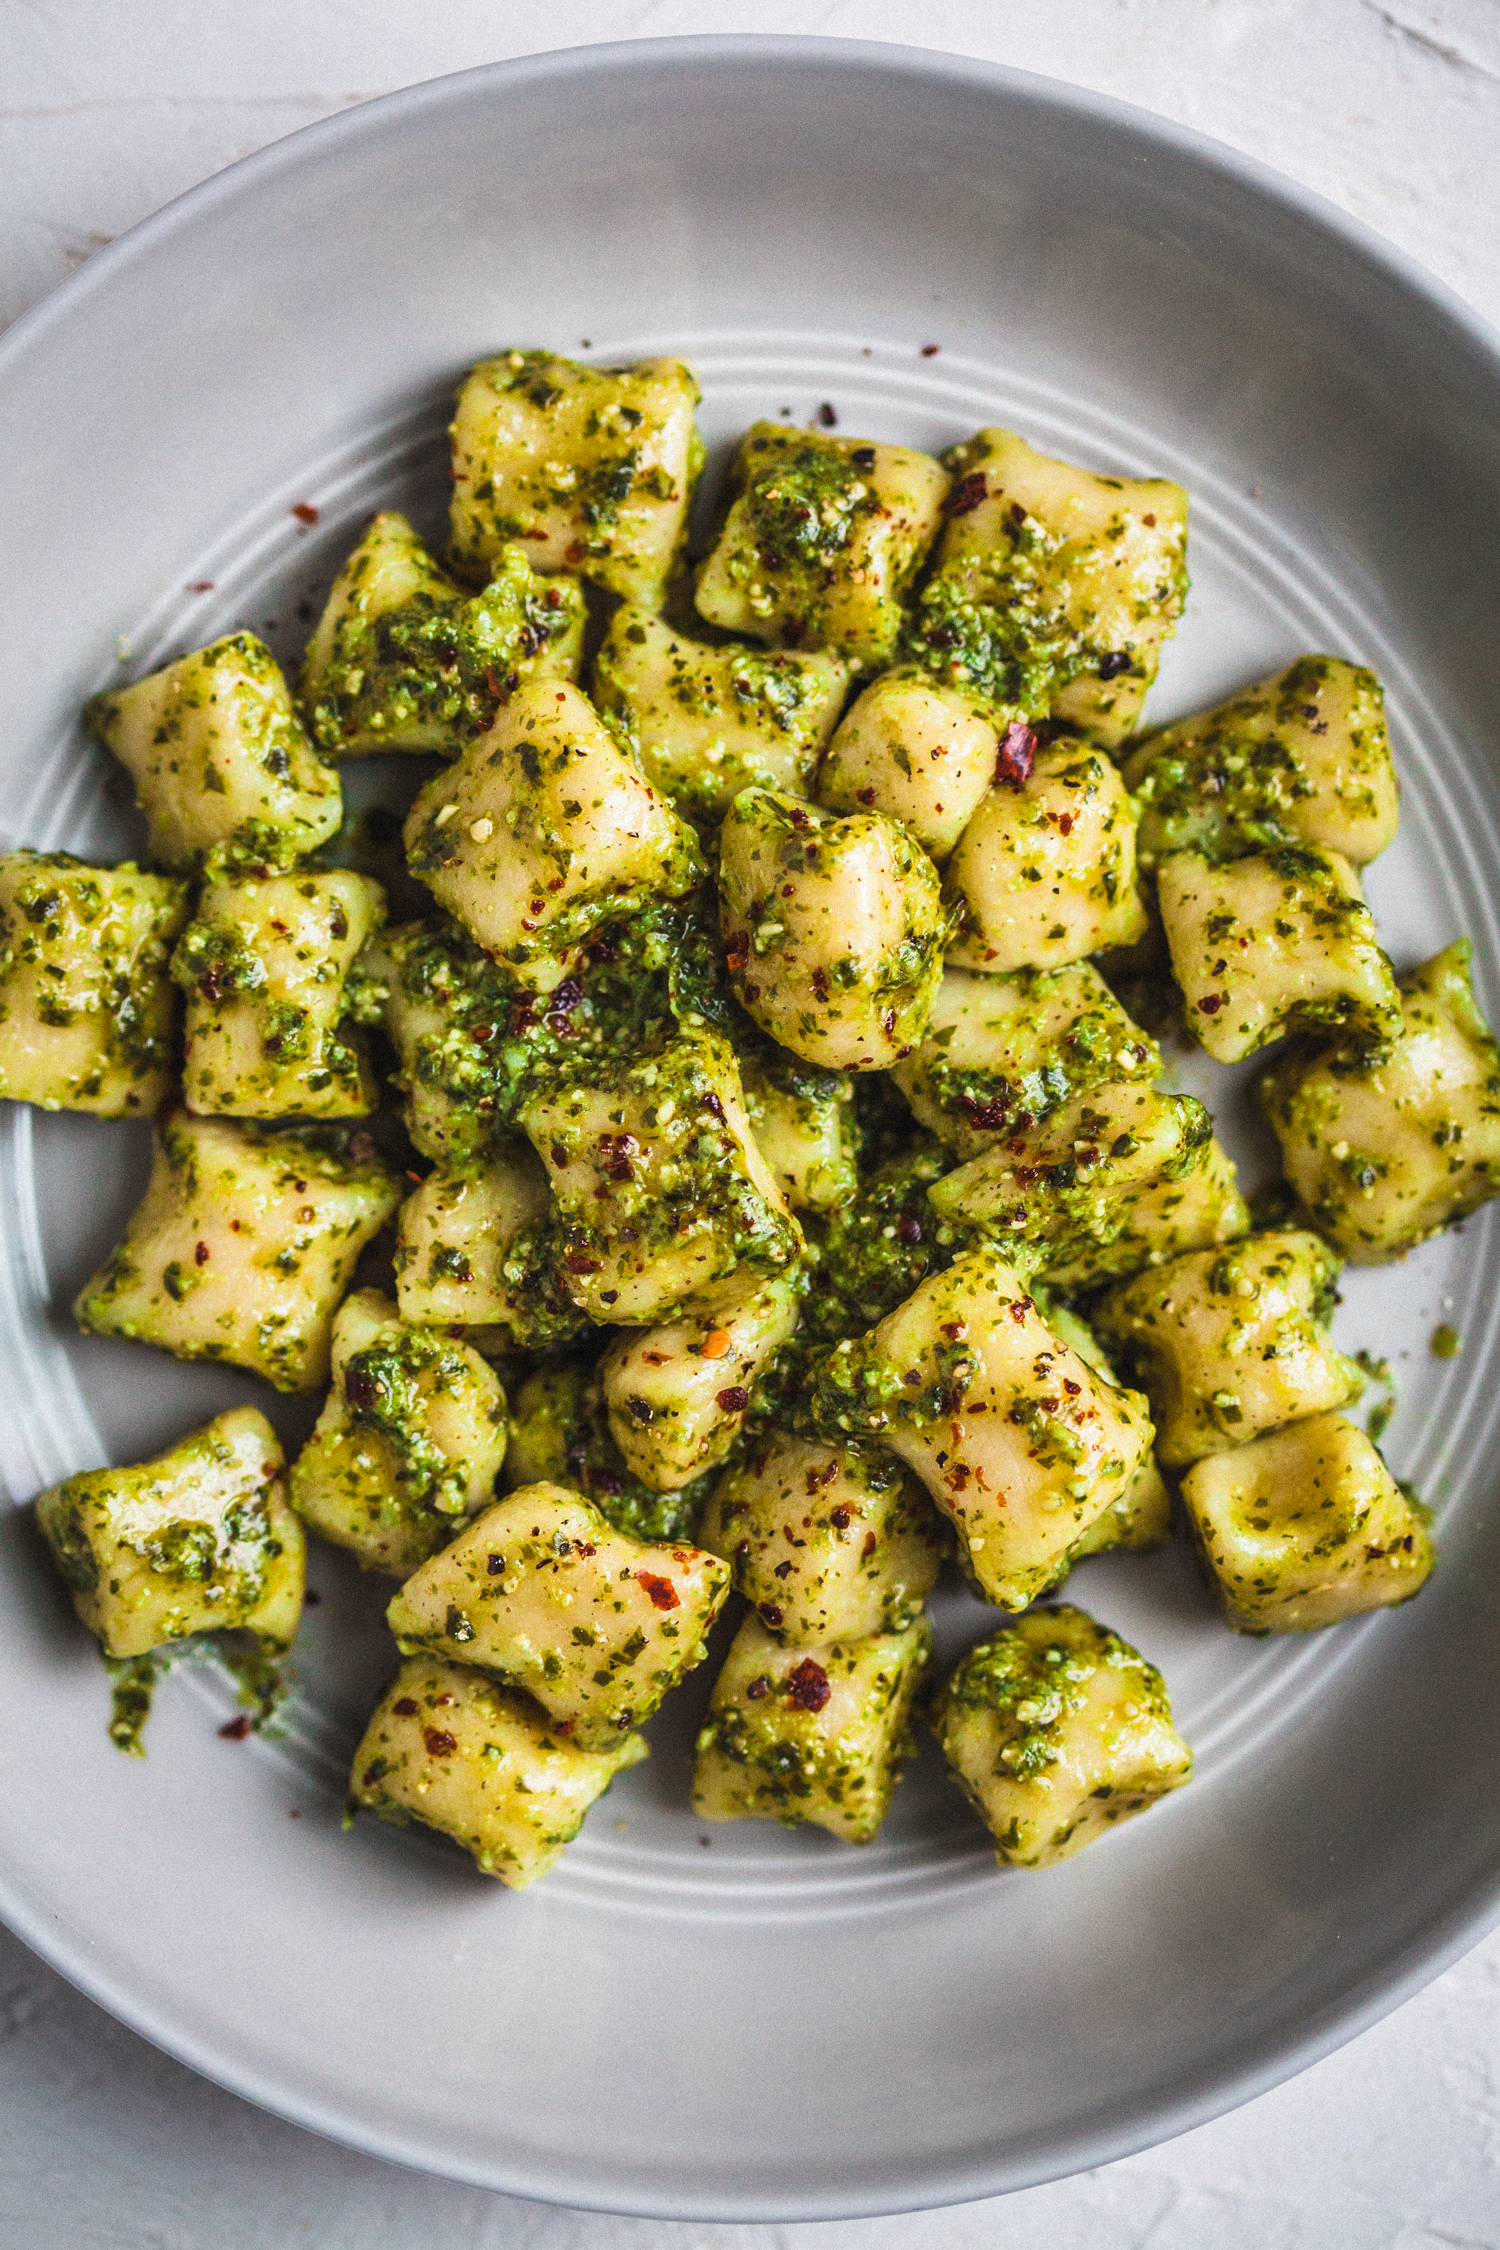
Simple Vegan Gnocchi
by Anya
Read Recipe
Sesame Ginger Cabbage with Tofu and Shiitake
by Anya
Read Recipe
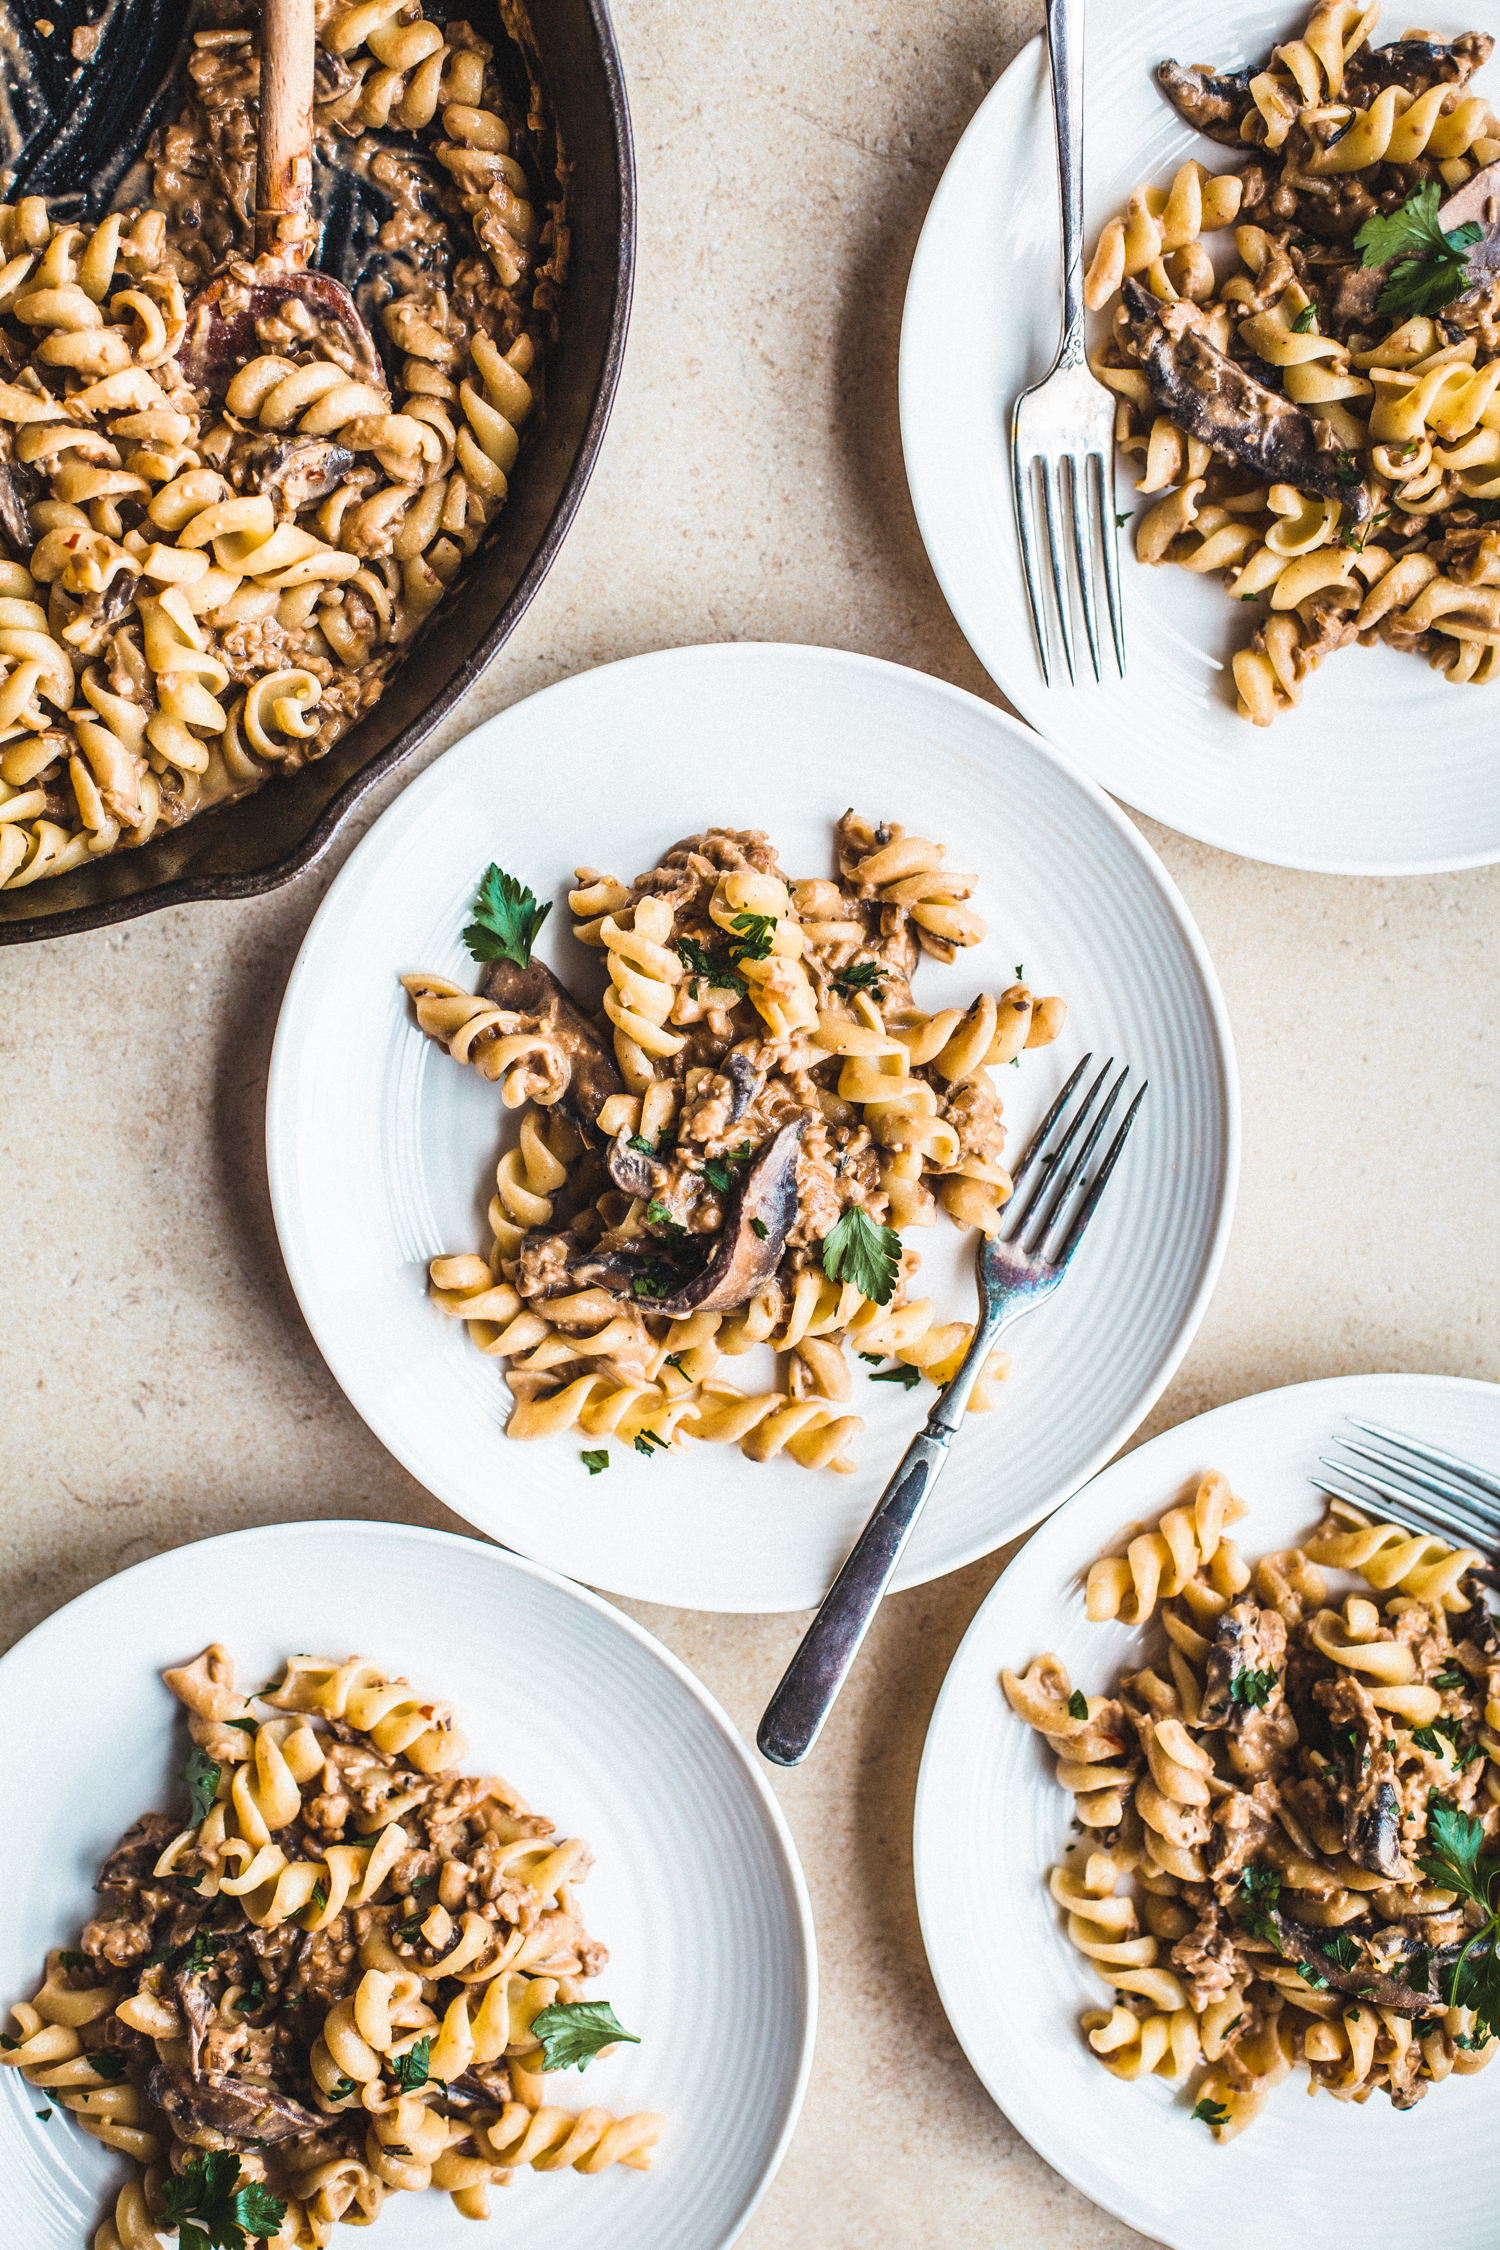
Mushroom Tempeh Stroganoff
by Masha
Read Recipe
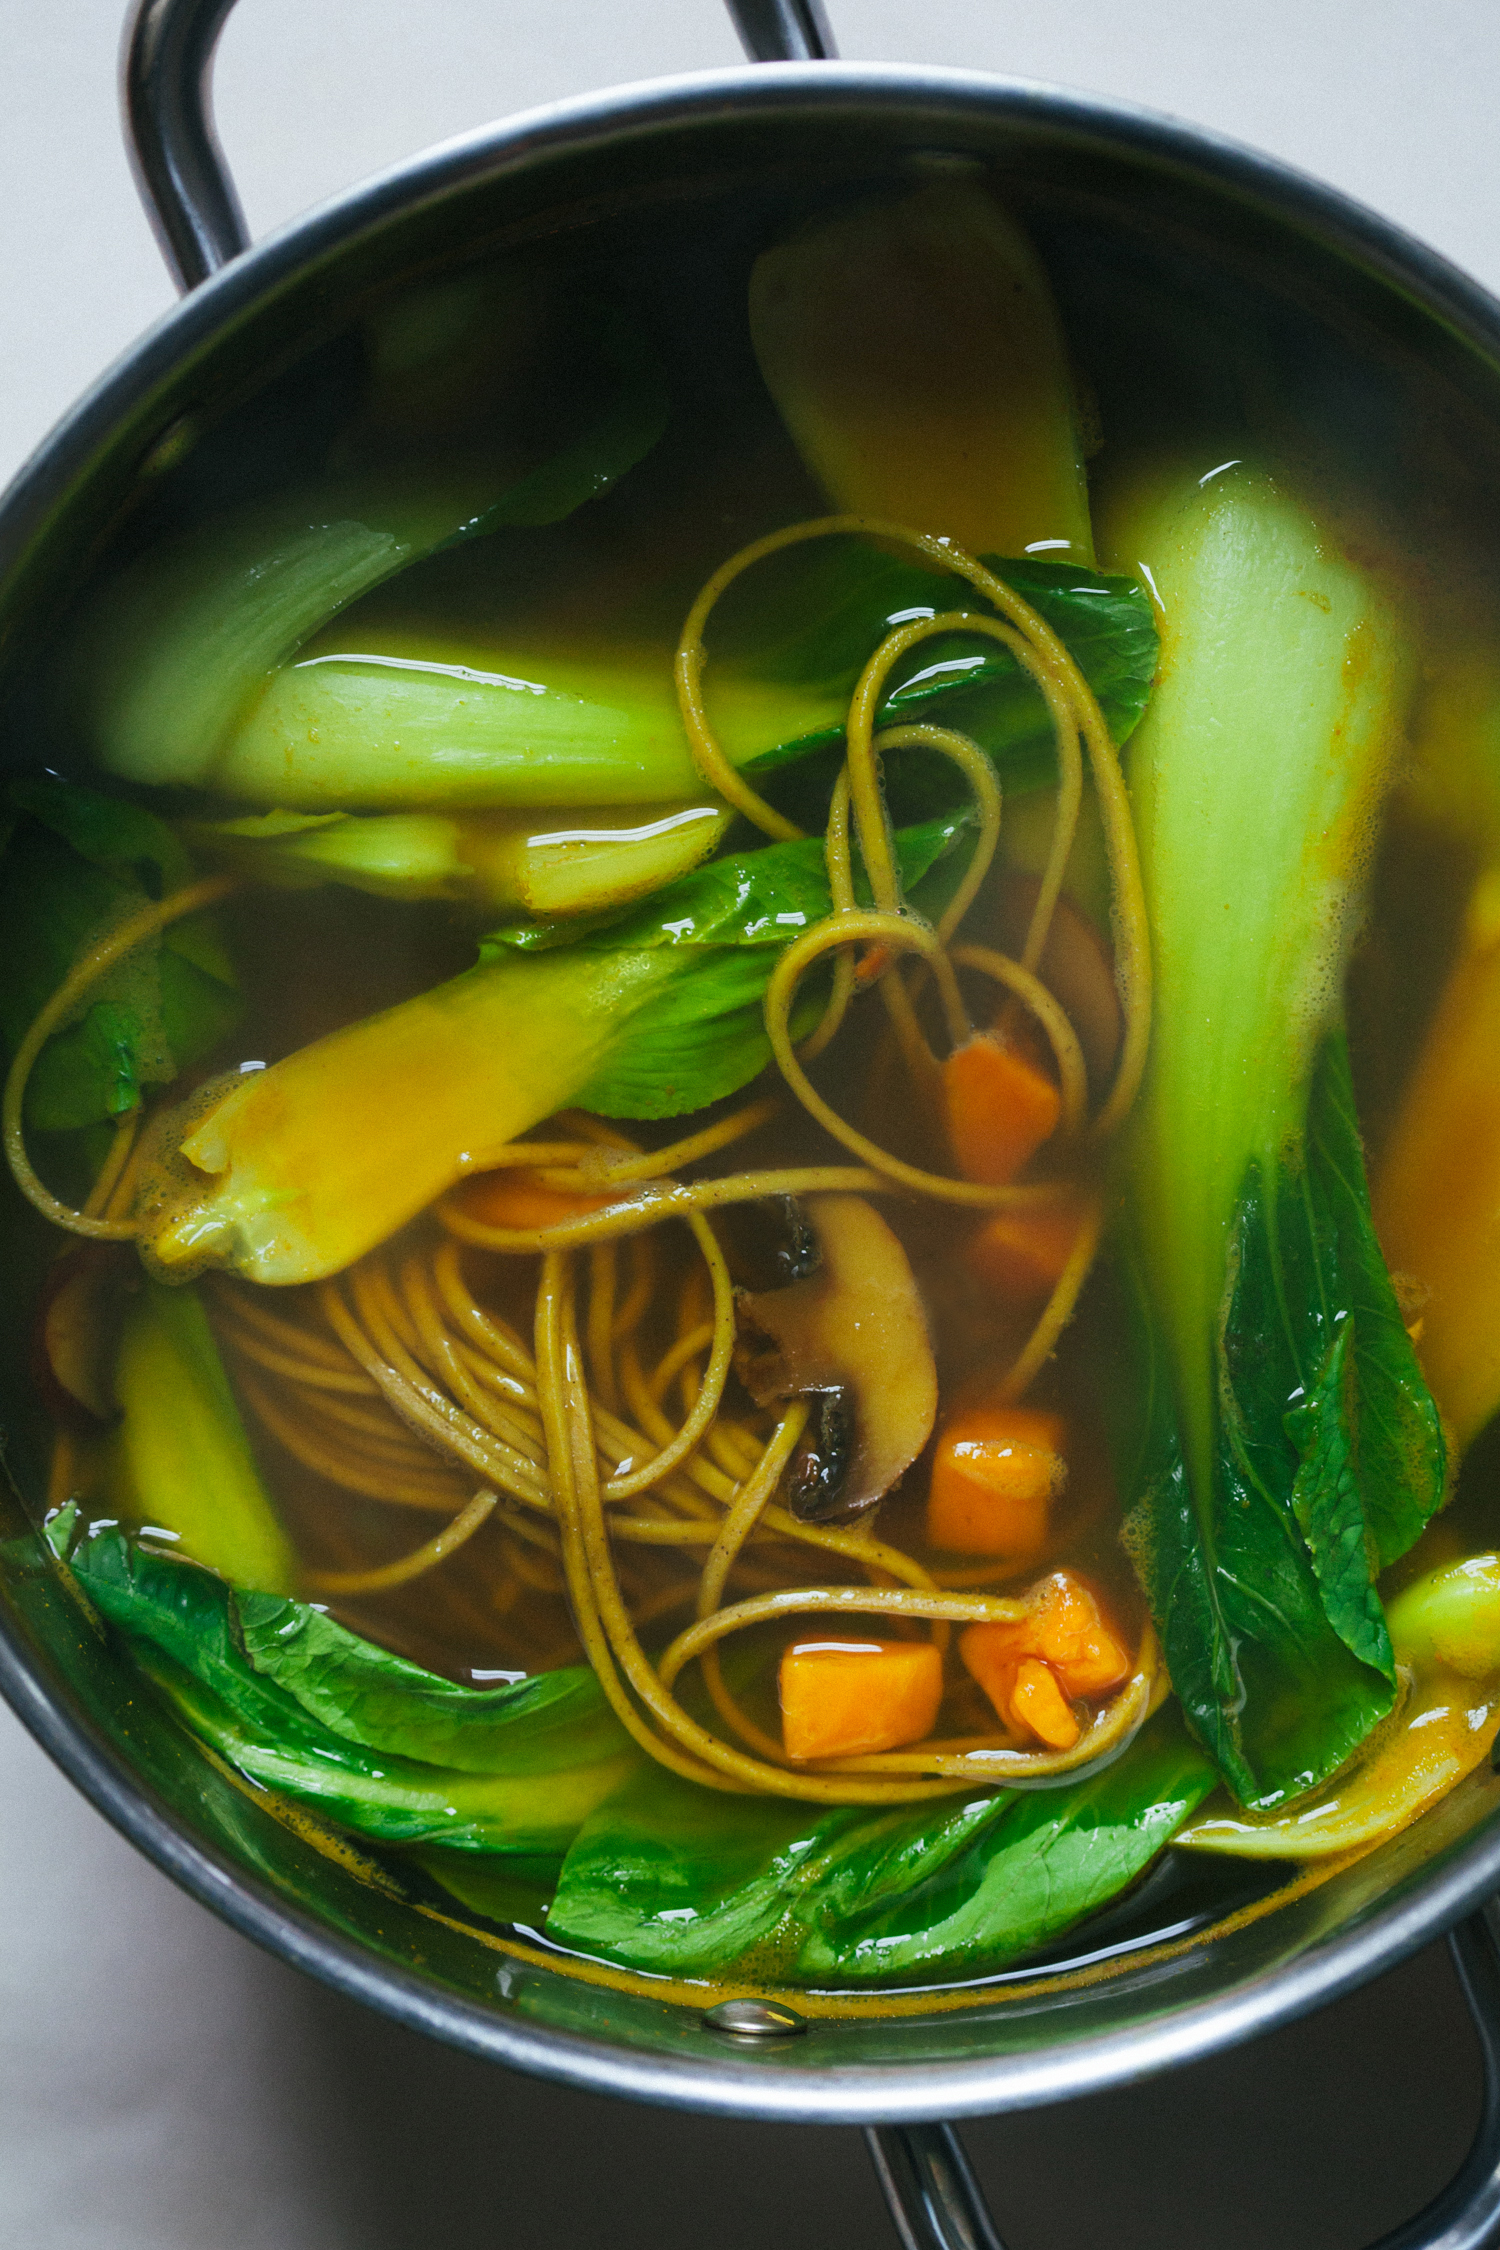
Coconut Noodle Soup
by Masha
Read Recipe
One Pot Vegan Creamed Beans and Greens with Chili Oil
by Masha
Read Recipe
Holiday Veggie Roast with Oven Cranberry Sauce
by Masha
Read Recipe
Vegan Cauliflower and Leek Pie with Onion Crust
by Anya
Read Recipe
Cozy Pantry Stew
by Masha
Read Recipe
Potato and Fennel Hash Skillet
by Anya
Read Recipe
Spring Vegetable and Quinoa Pot Pie
by Anya
Read Recipe
General Tso’s Cauliflower from Healthier Together
by Masha
Read Recipe
Silky Sweet Potatoes with Cucumber Tahini Ranch, Green Veg and Chickpeas
by Masha
Read Recipe
Zucchini, Tempeh and Mushroom Bolognese
by Anya
Read Recipe
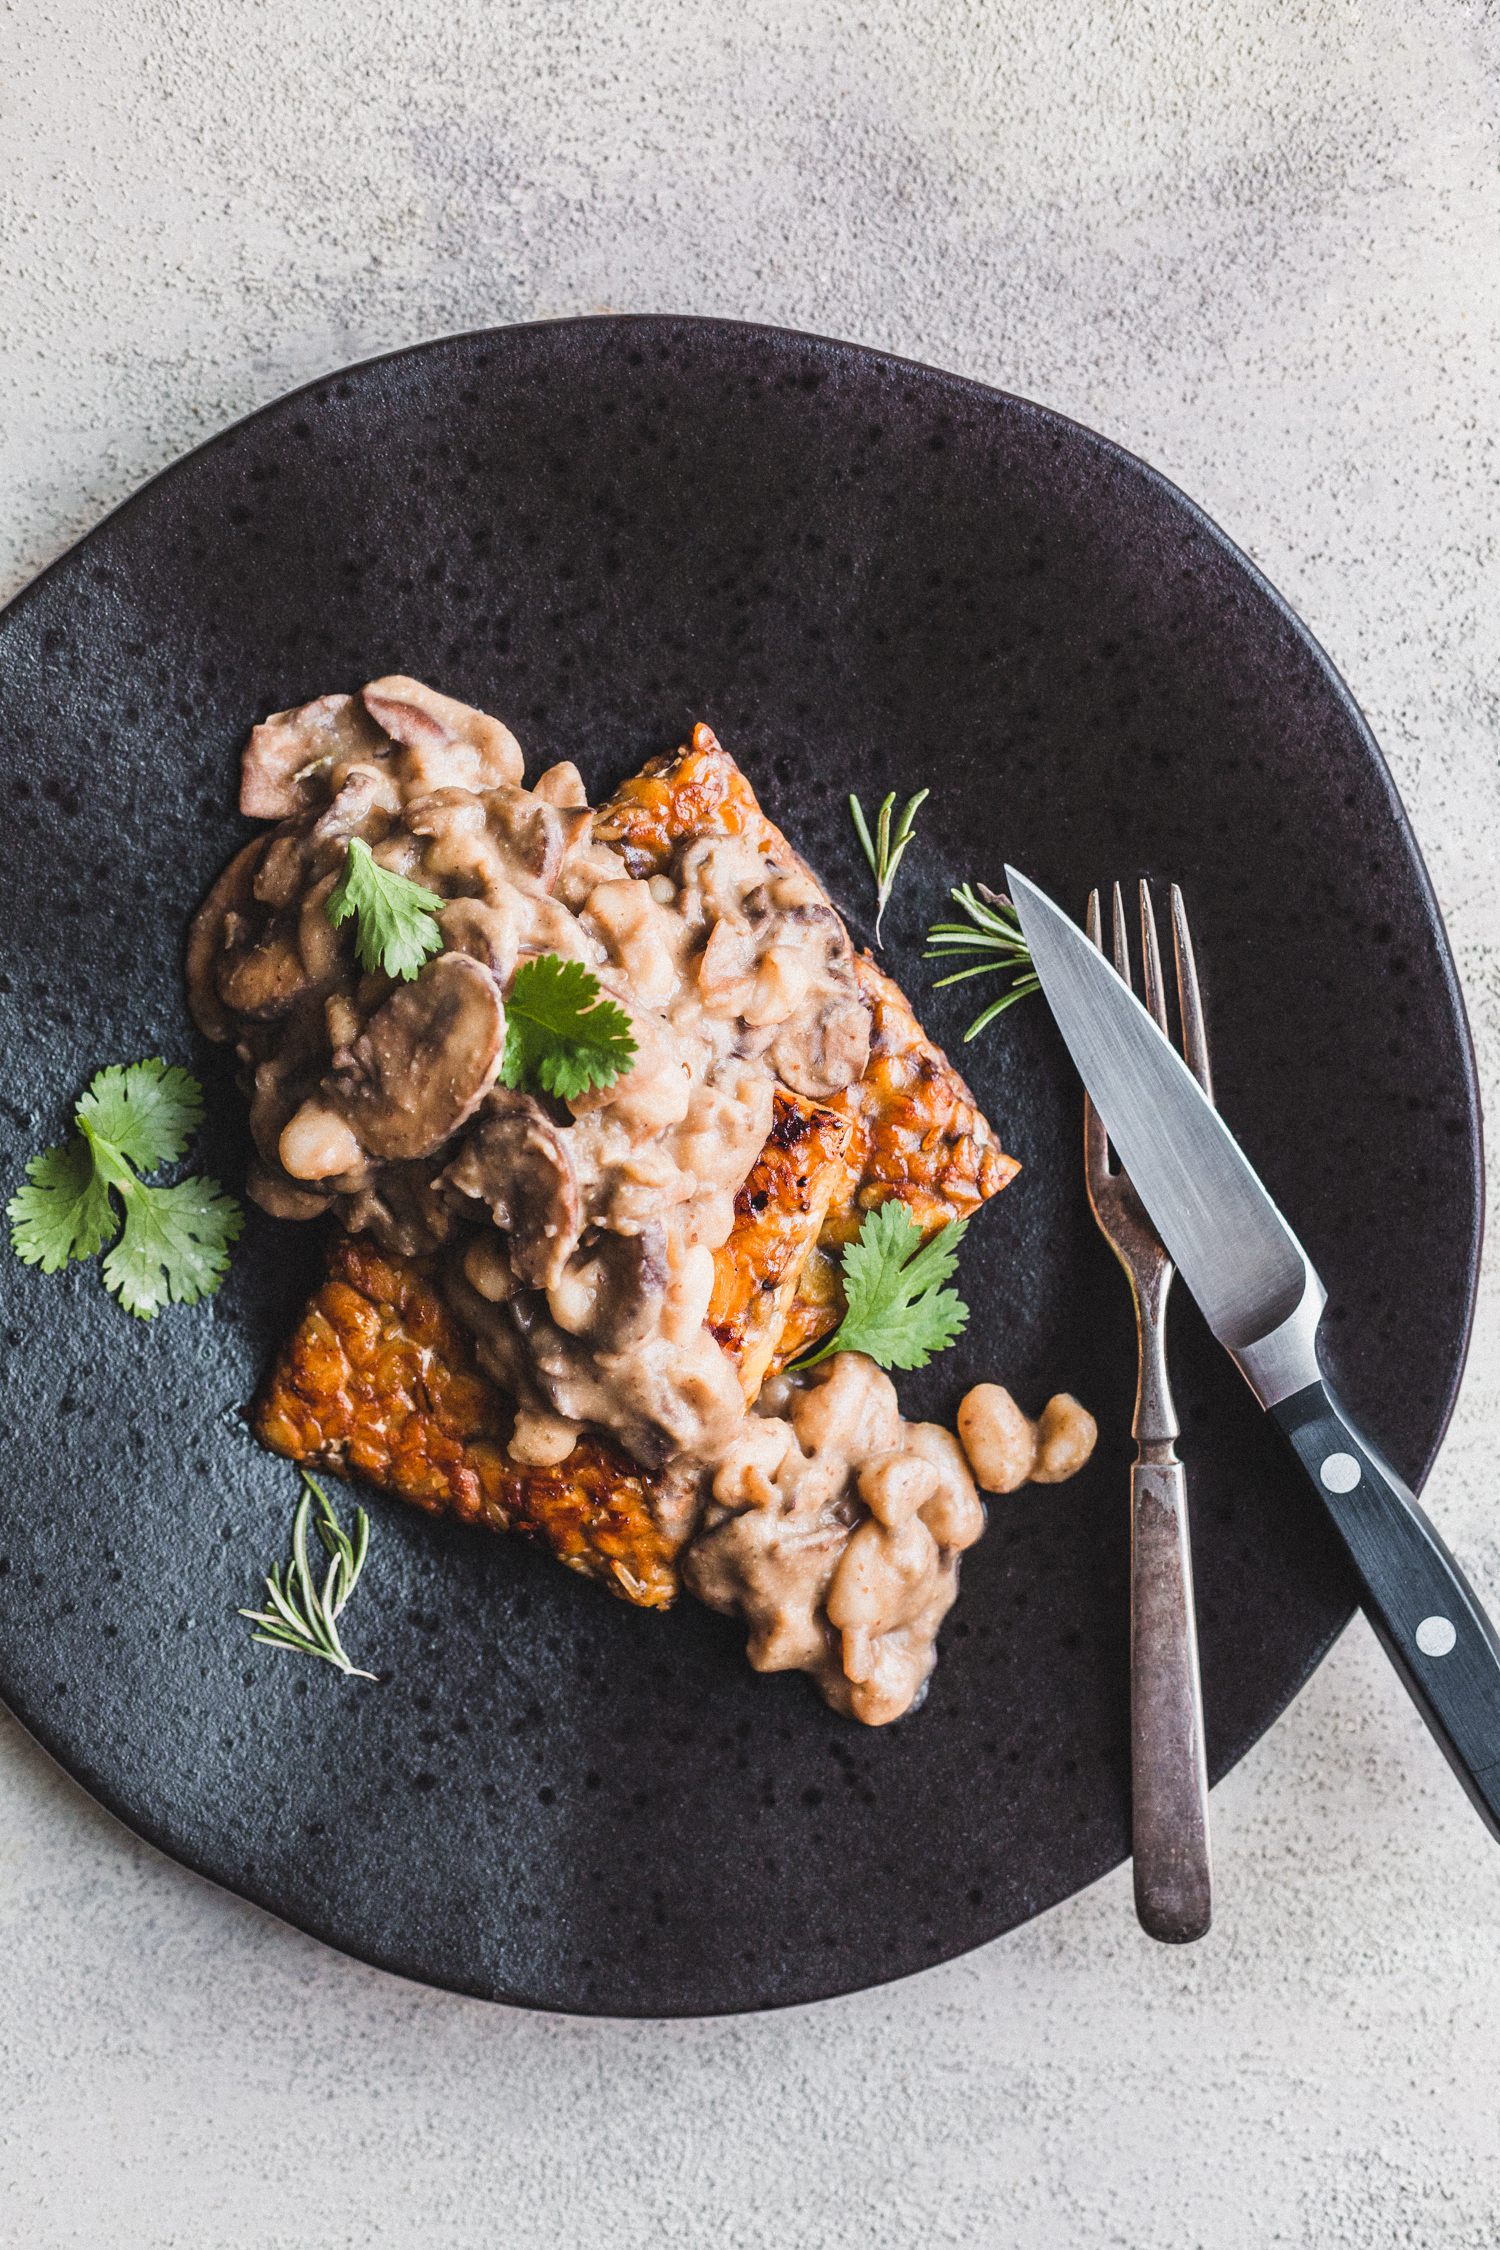
Glazed Tempeh Steaks with Rosemary Mushroom Gravy
by Masha
Read Recipe
Coconut-Ginger Eggplant Fried Rice
by Anya
Read Recipe
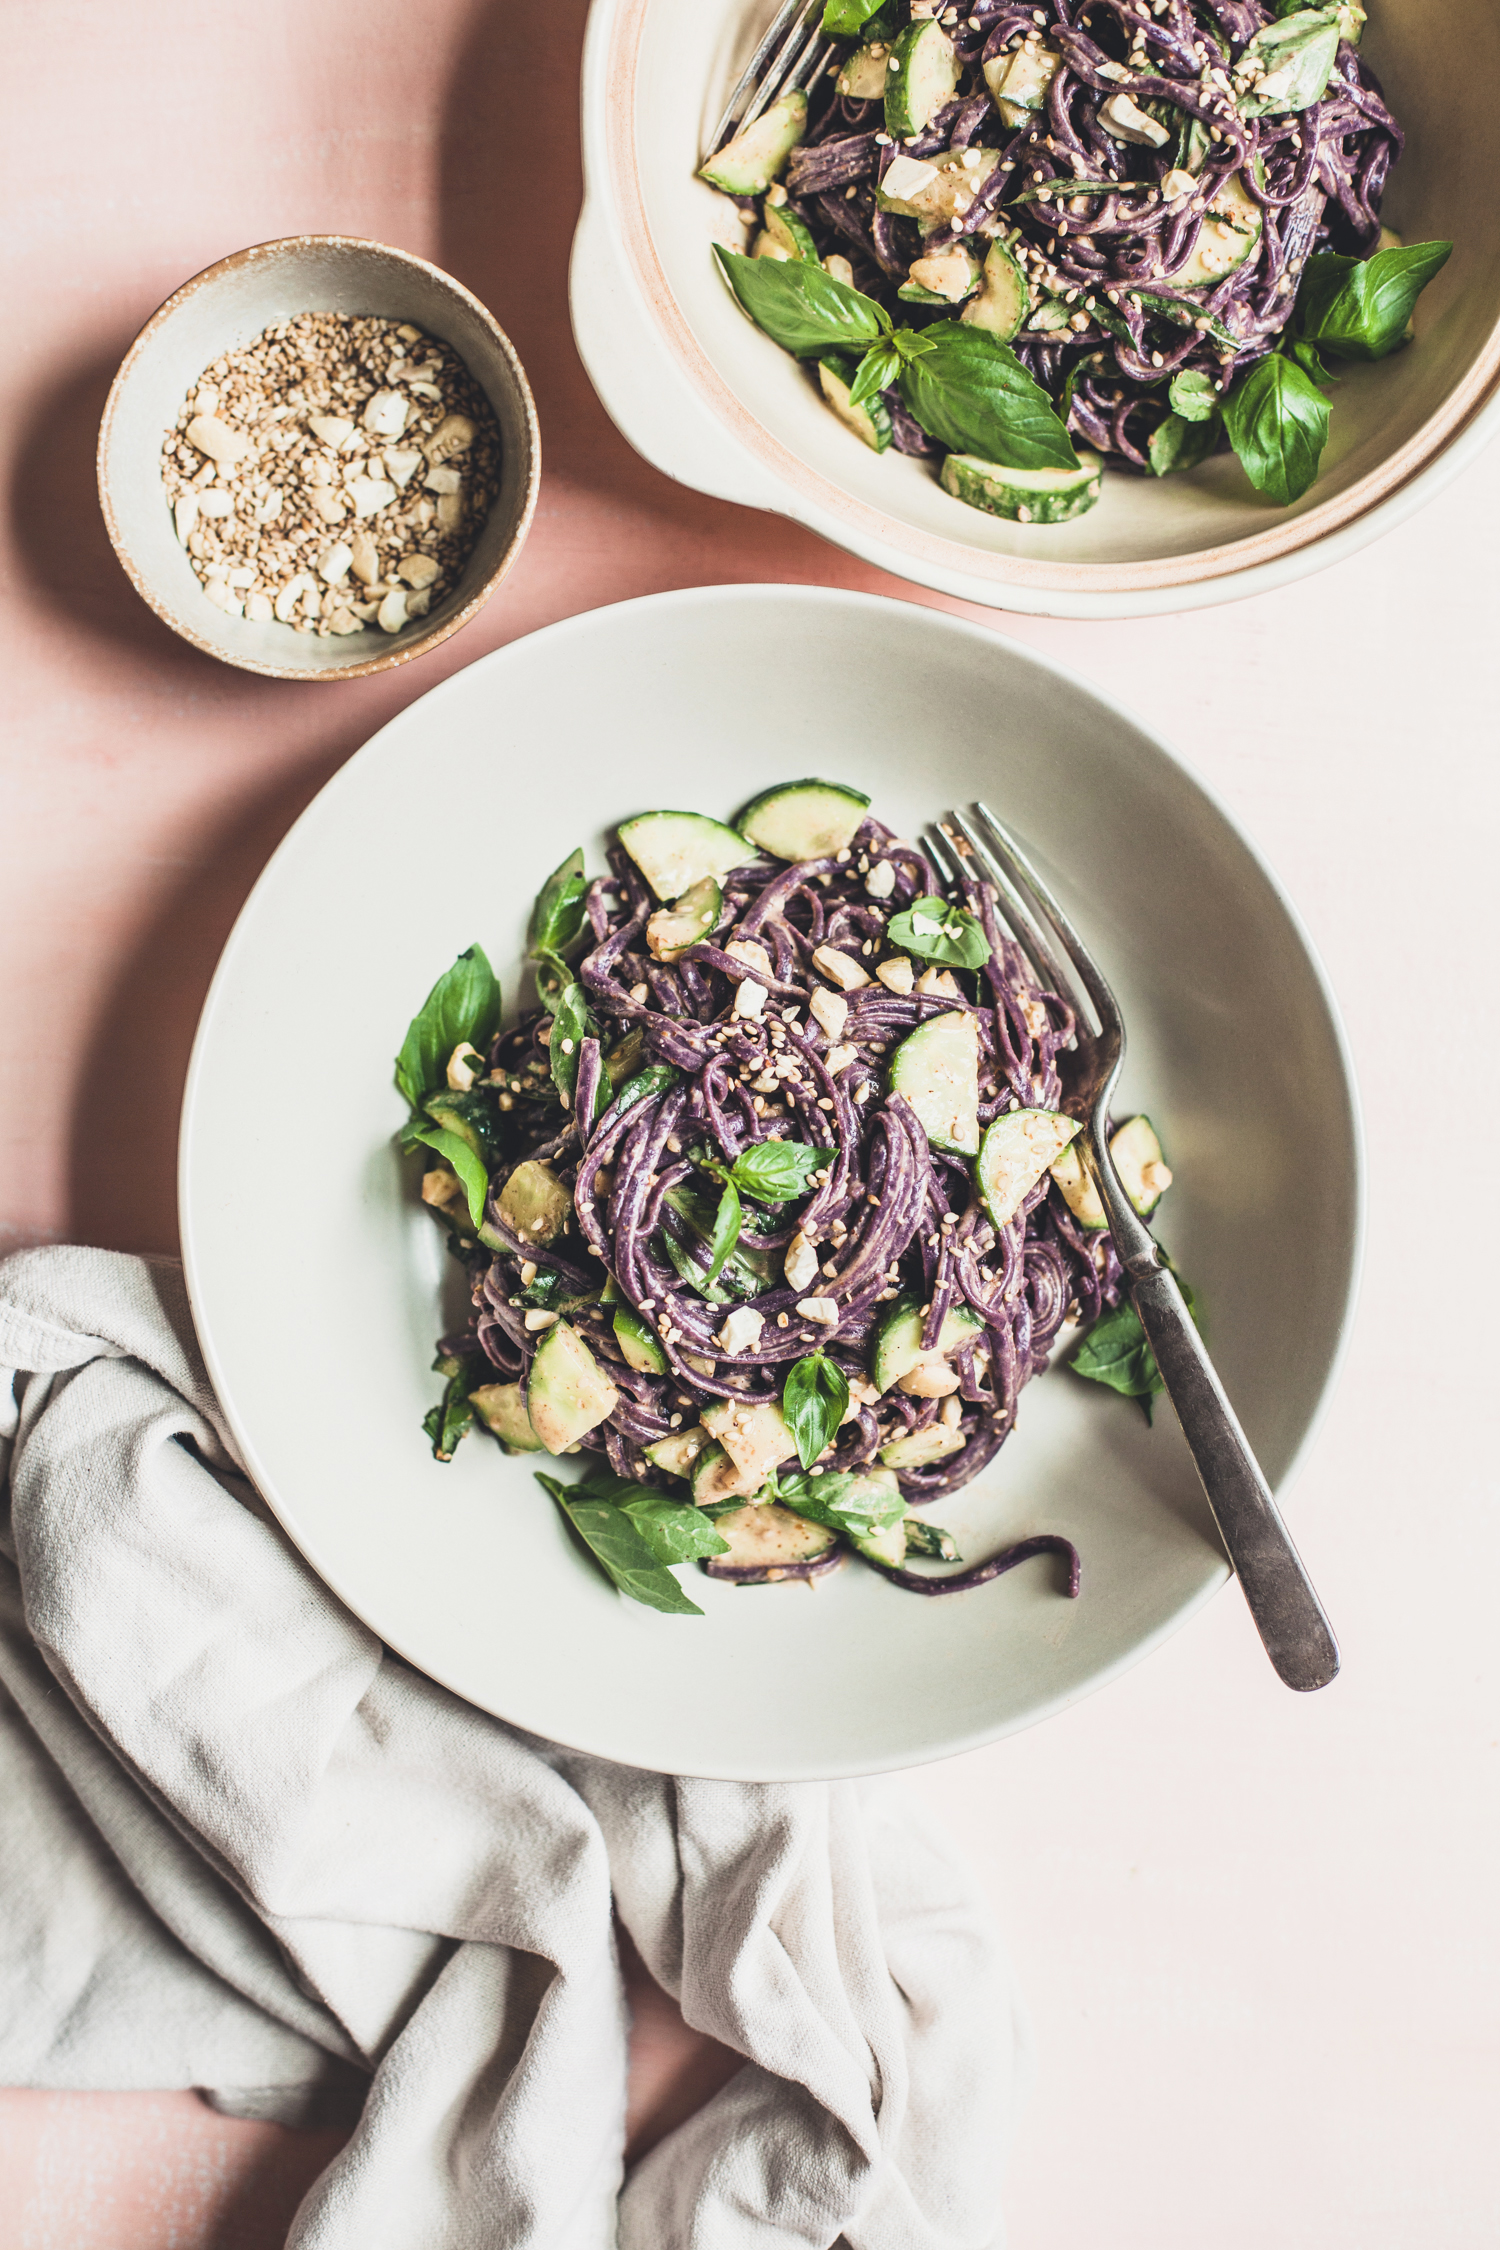
Cold Almond Butter Noodles, Our Weeknight Go To
by Masha
Read Recipe
Ciabotta – Easy Summer Vegetable Stew from Abruzzo
by Anya
Read Recipe
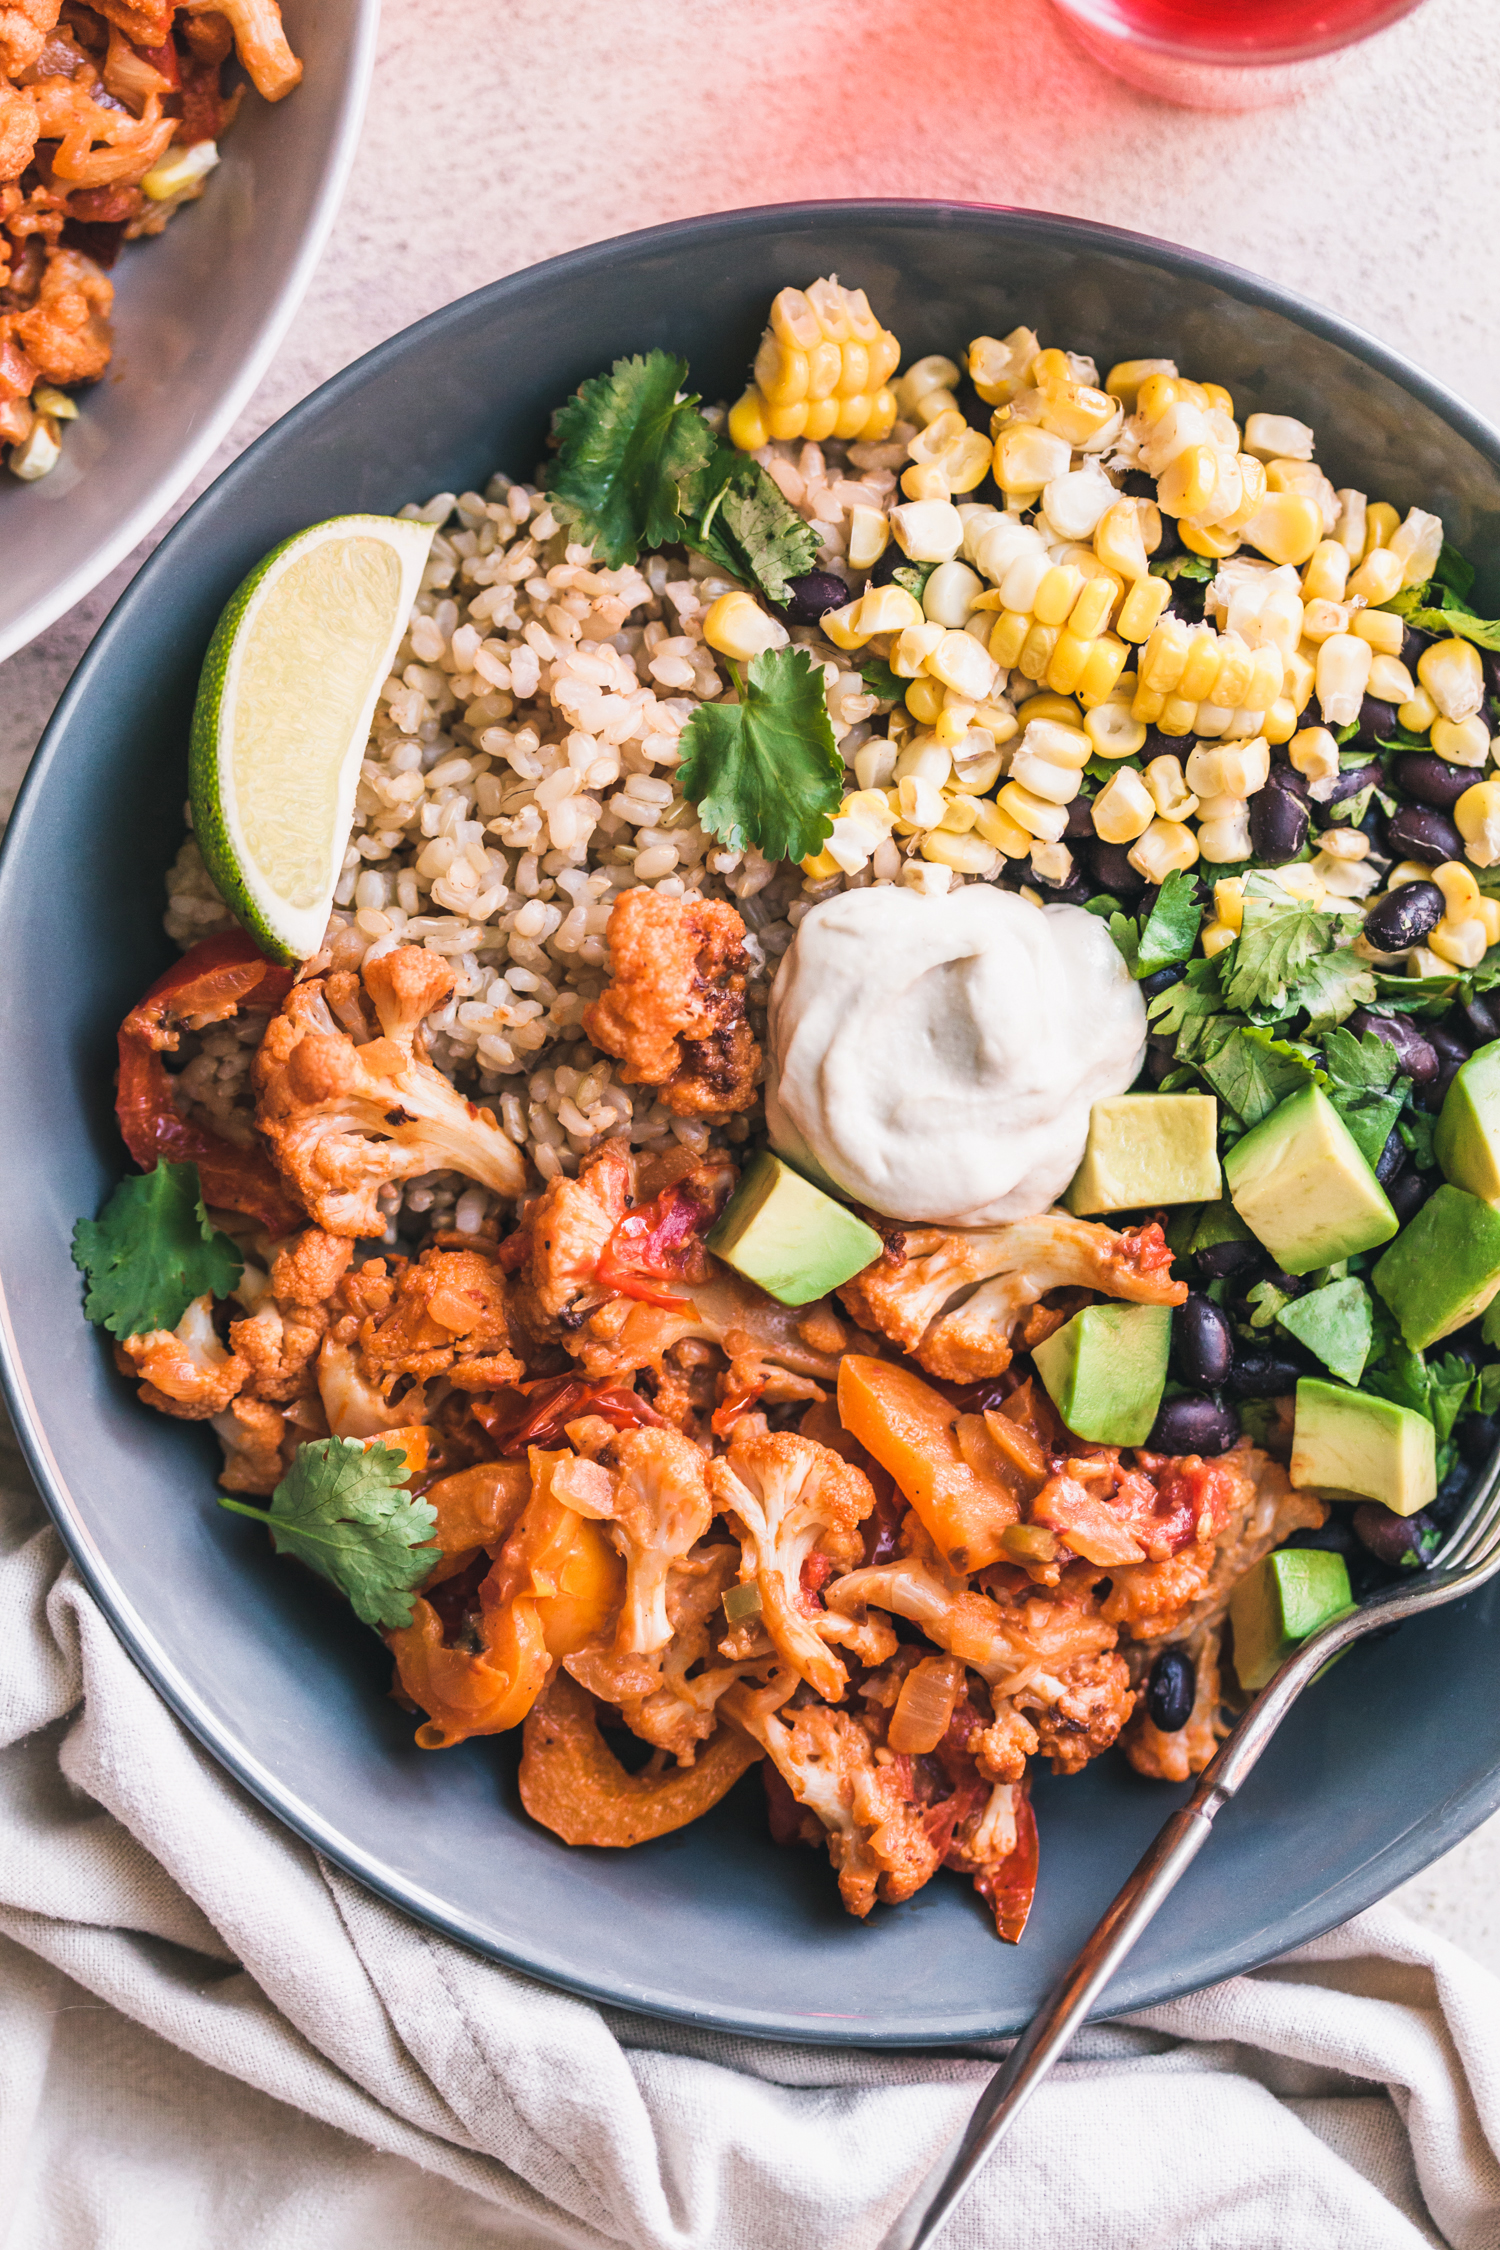
Chipotle Cauliflower Burrito Bowls
by Masha
Read Recipe
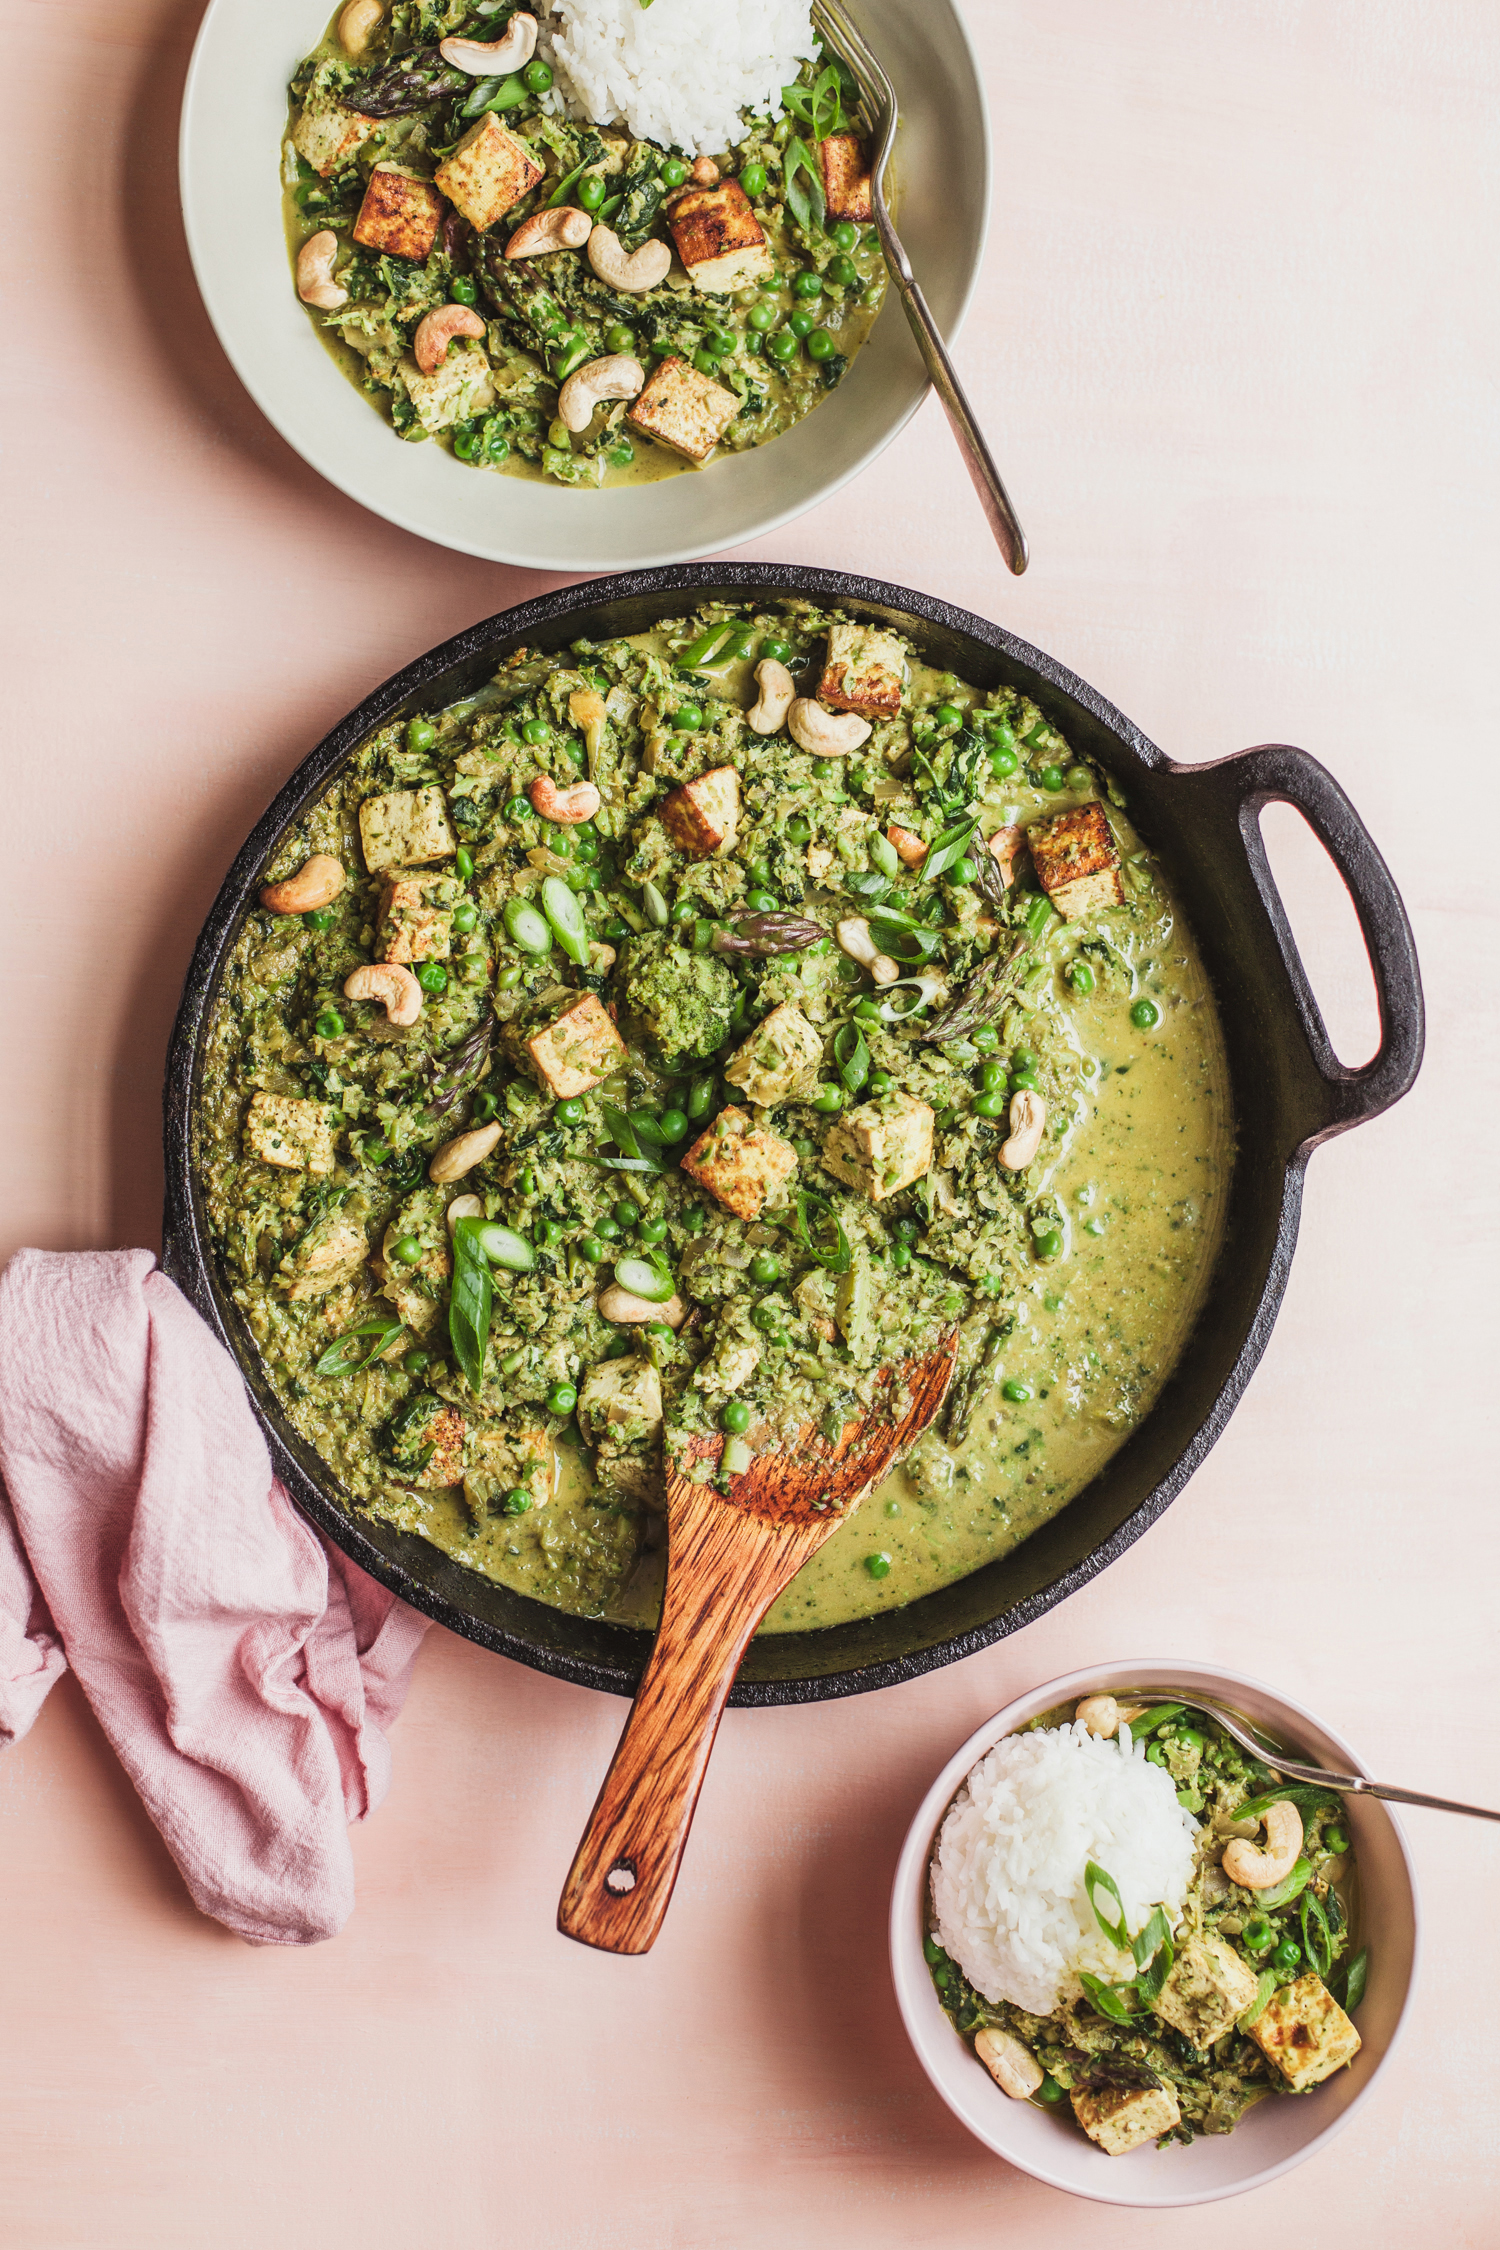
Tofu Saag Paneer, Spring Style
by Anya
Read Recipe
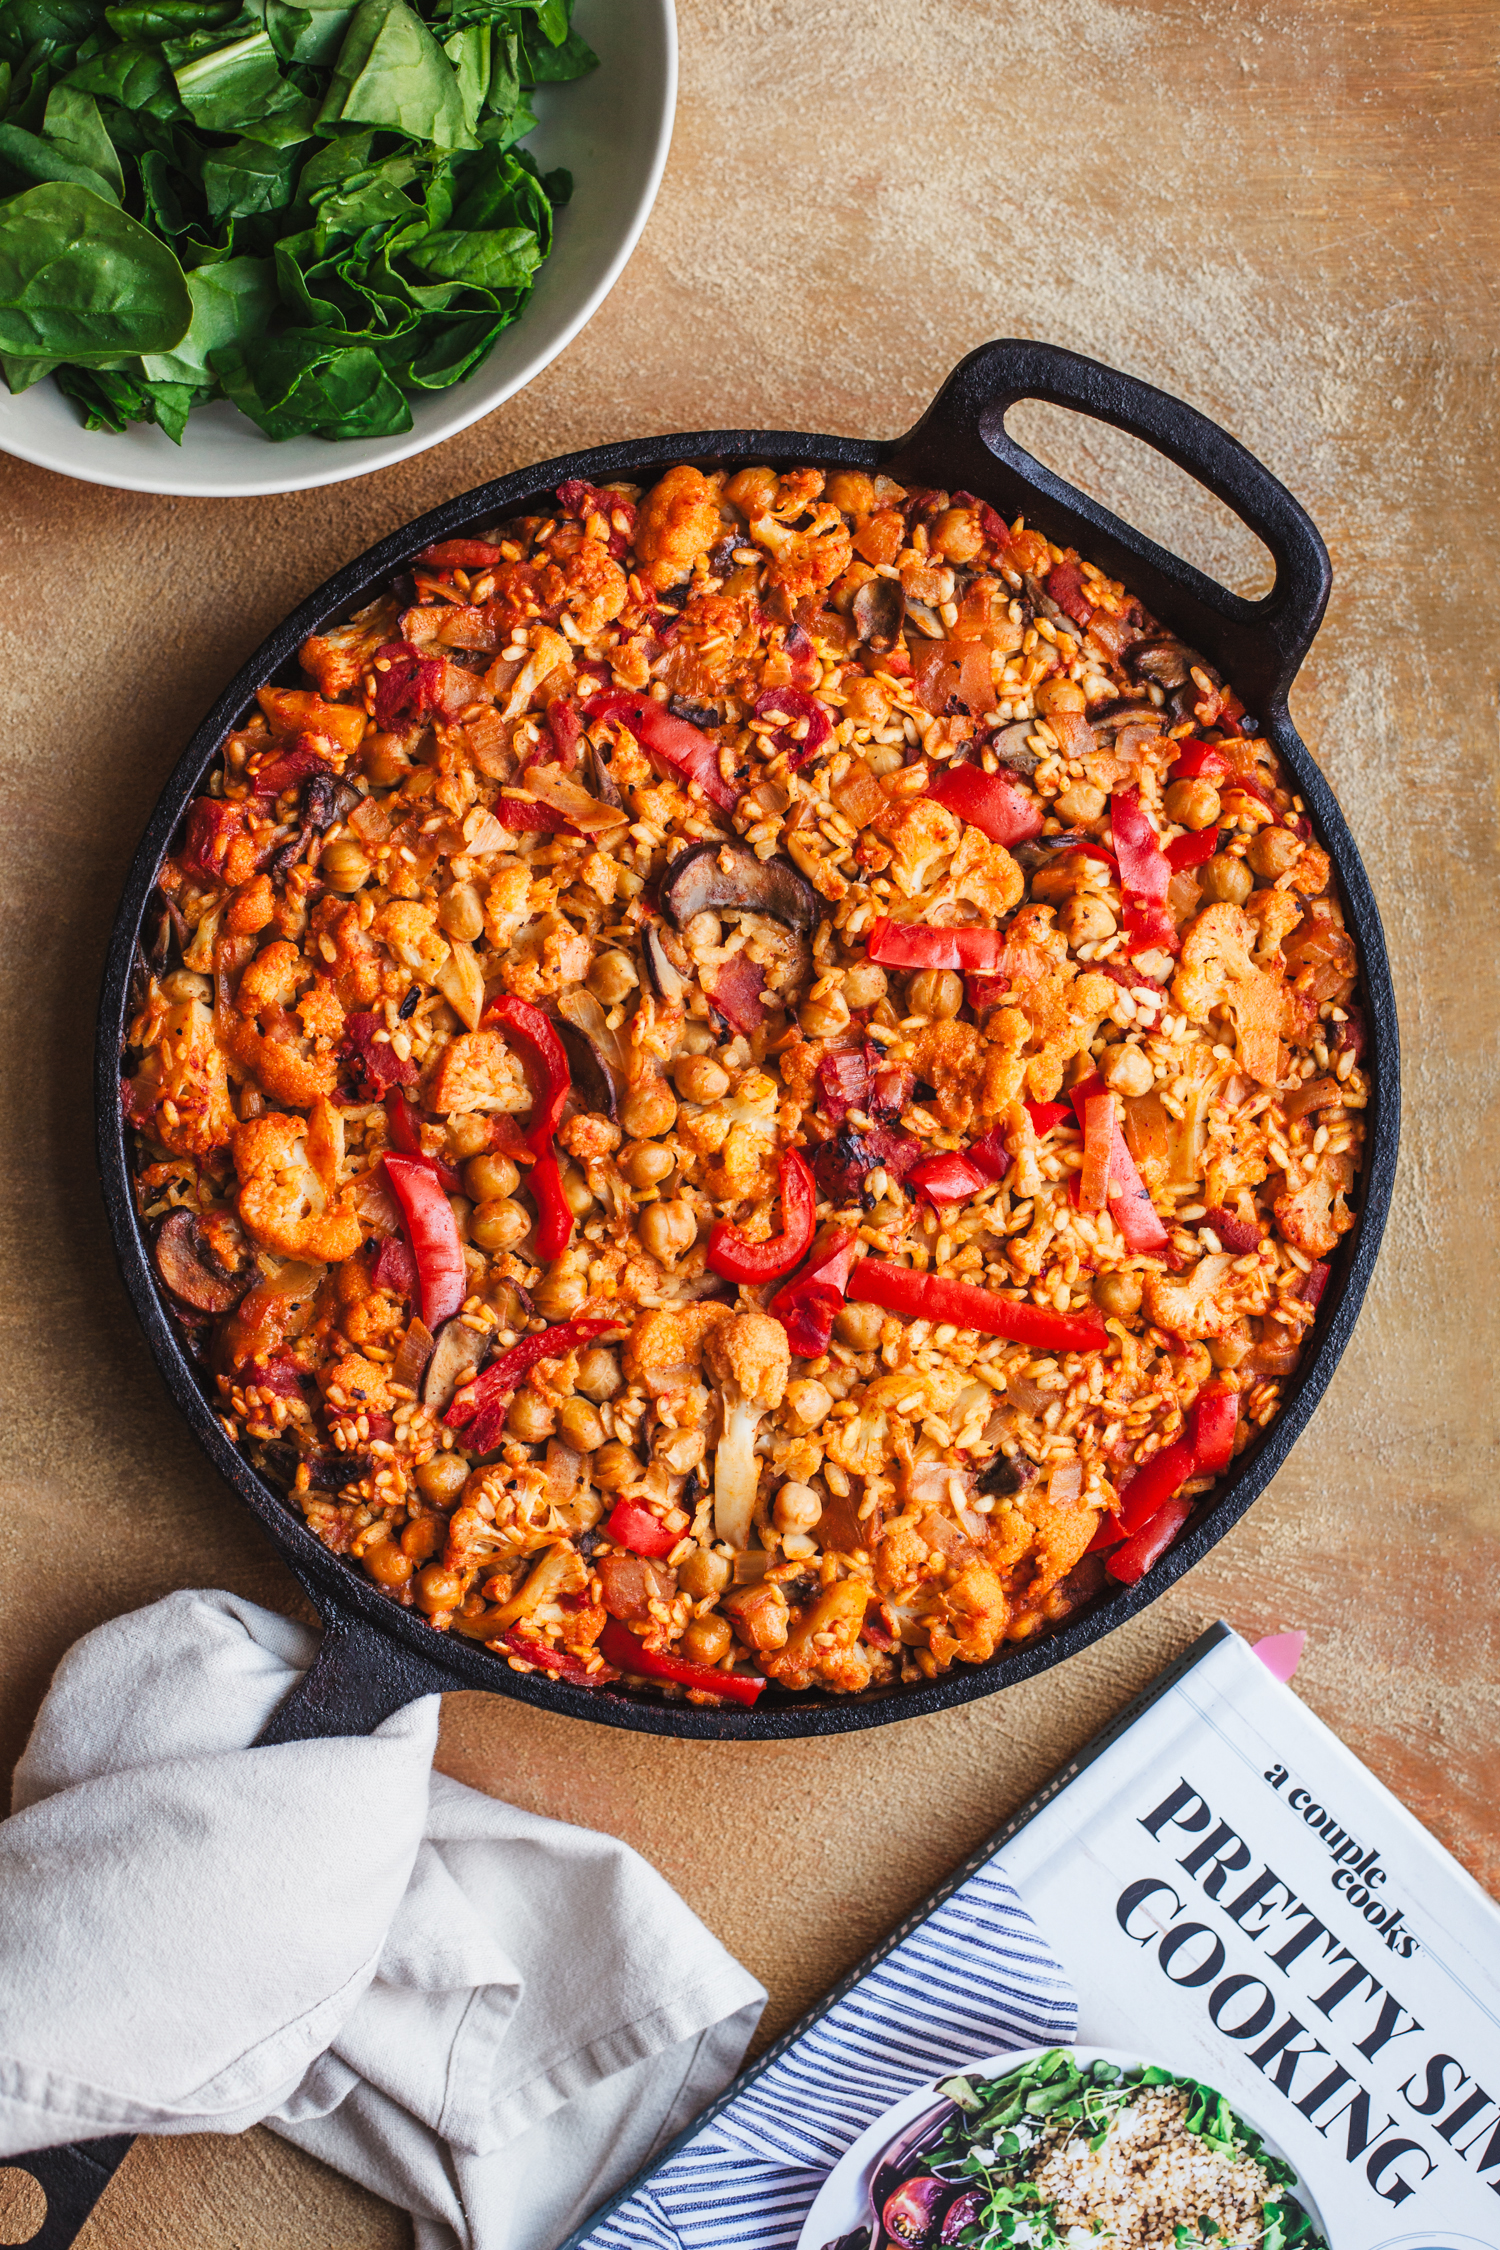
Veggie Supreme Paella From Pretty Simple Cooking
by Anya
Read Recipe
Our Favorite Weeknight Curry
by Anya
Read Recipe
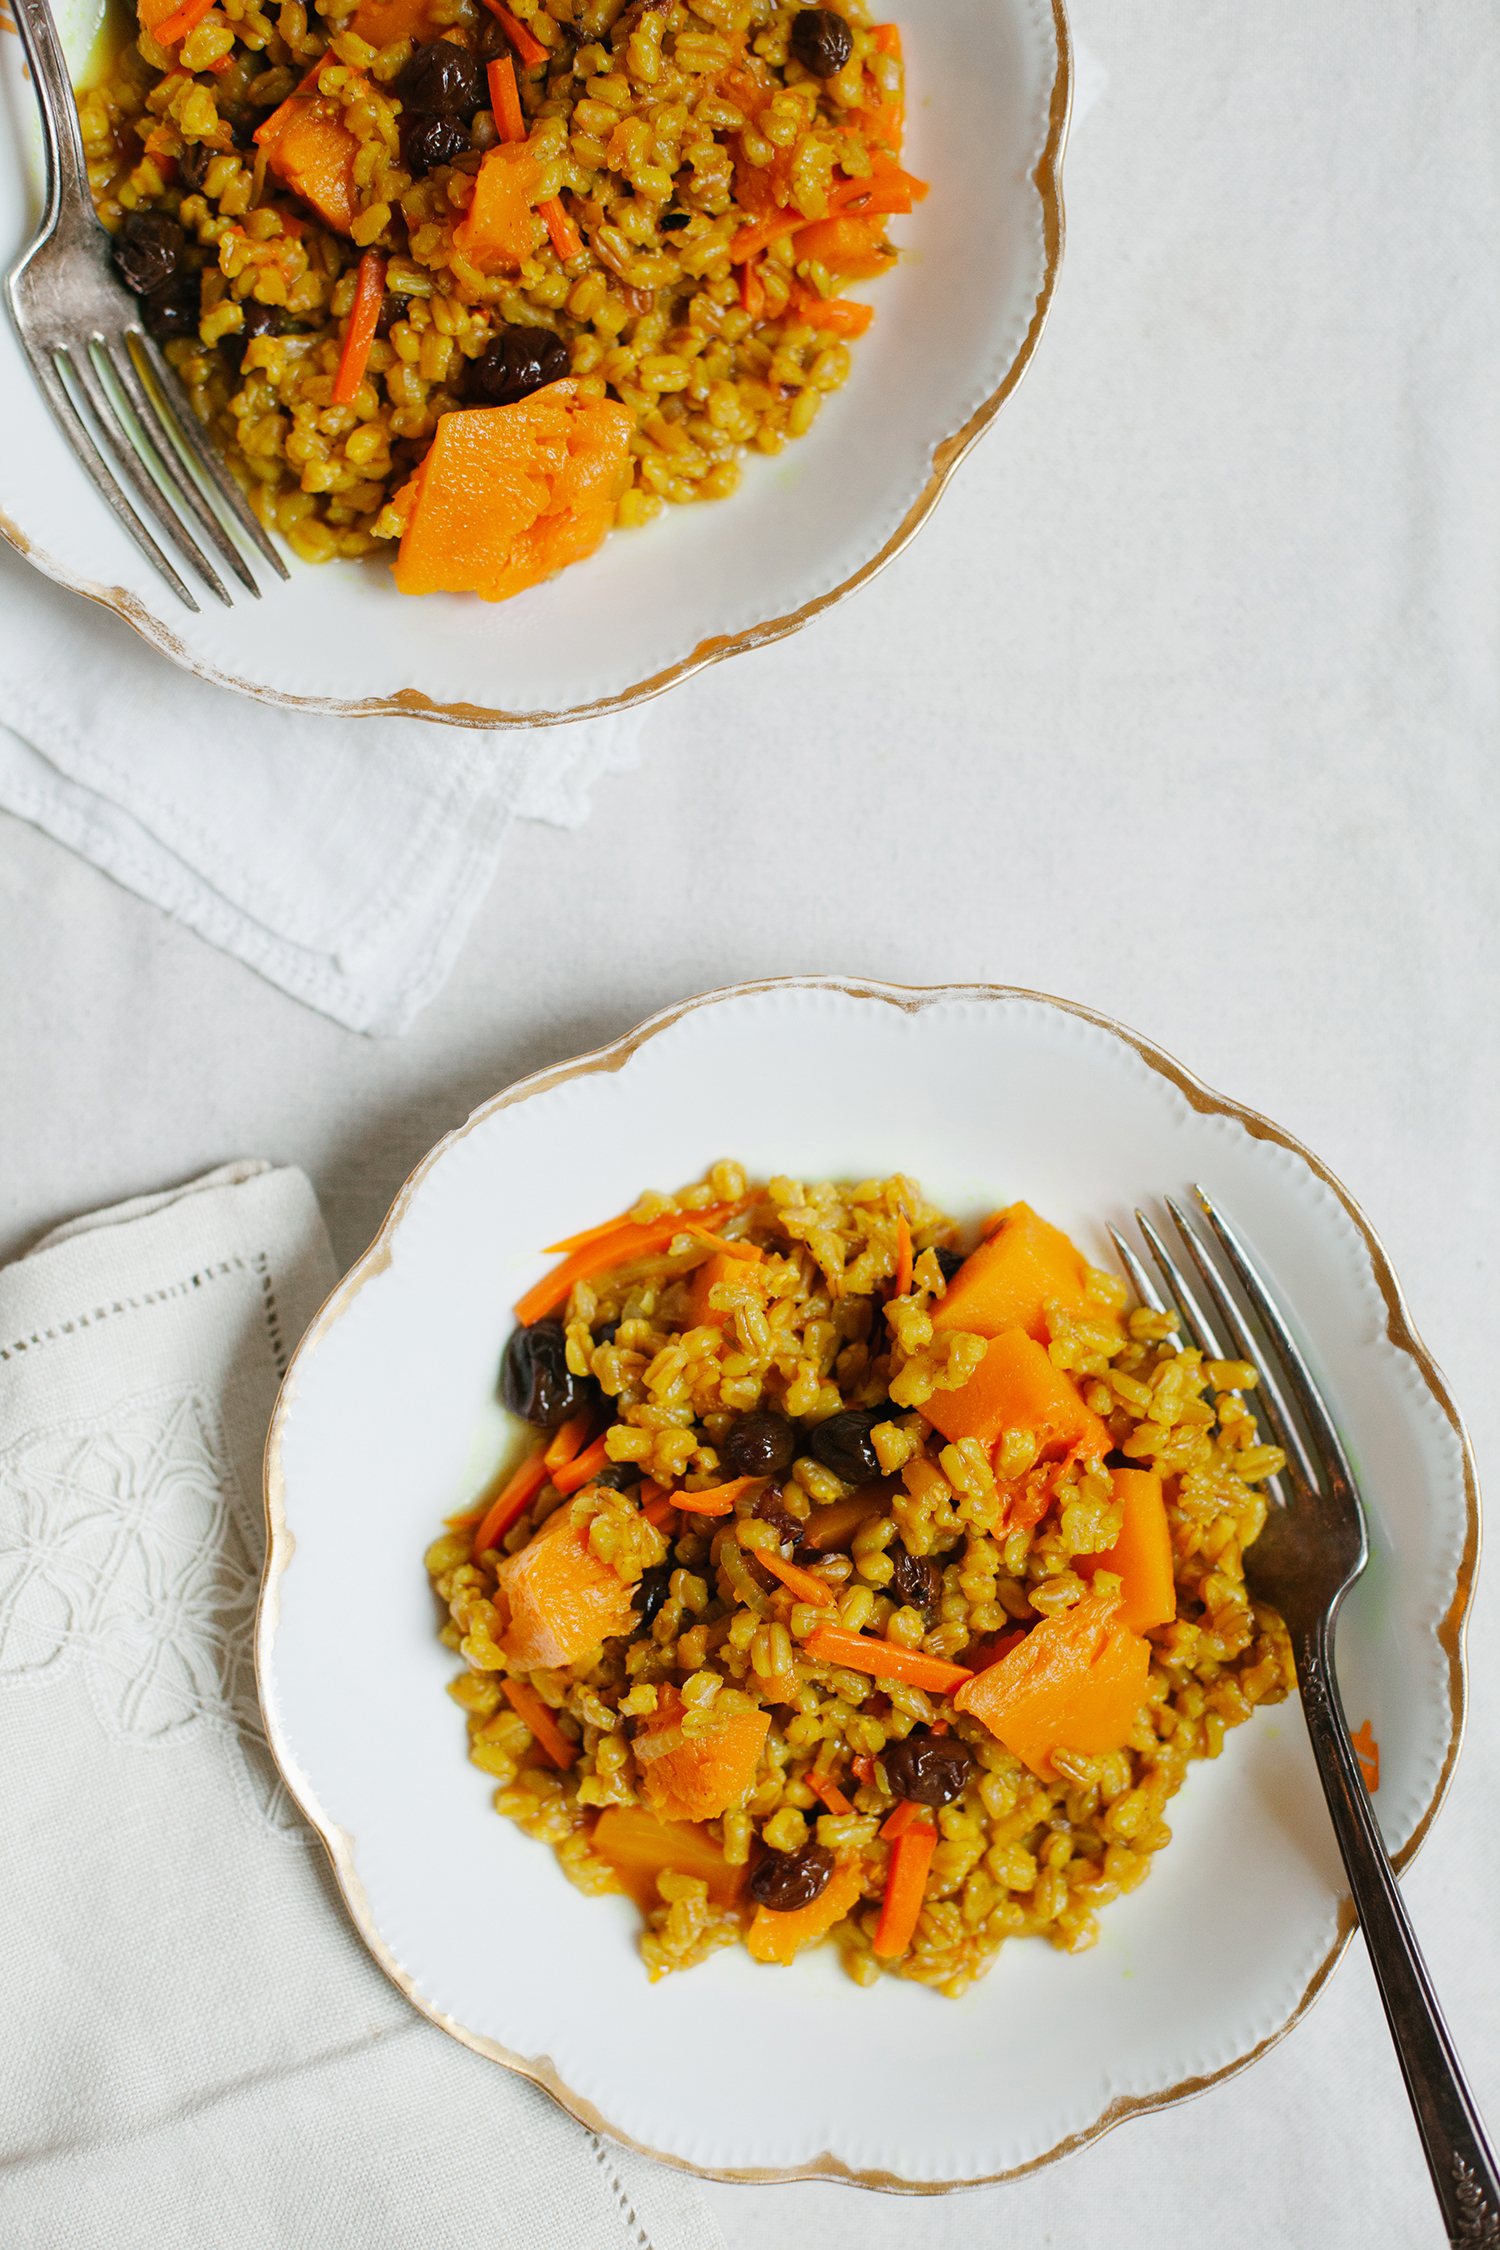
Bukhara Farro Pilaf from Simply Vibrant
by Anya
Read Recipe
Couscous Collard Rolls in Coconut Curry Sauce + Simply Vibrant News
by Anya
Read Recipe
No-Recipe Creamy Soup
by Anya
Read Recipe
Favorite New Year Reset Recipes
by Anya
Read Recipe
One Pan Brussels Sprout and Red Lentil Pie with a Root Vegetable Crust
by Anya
Read Recipe
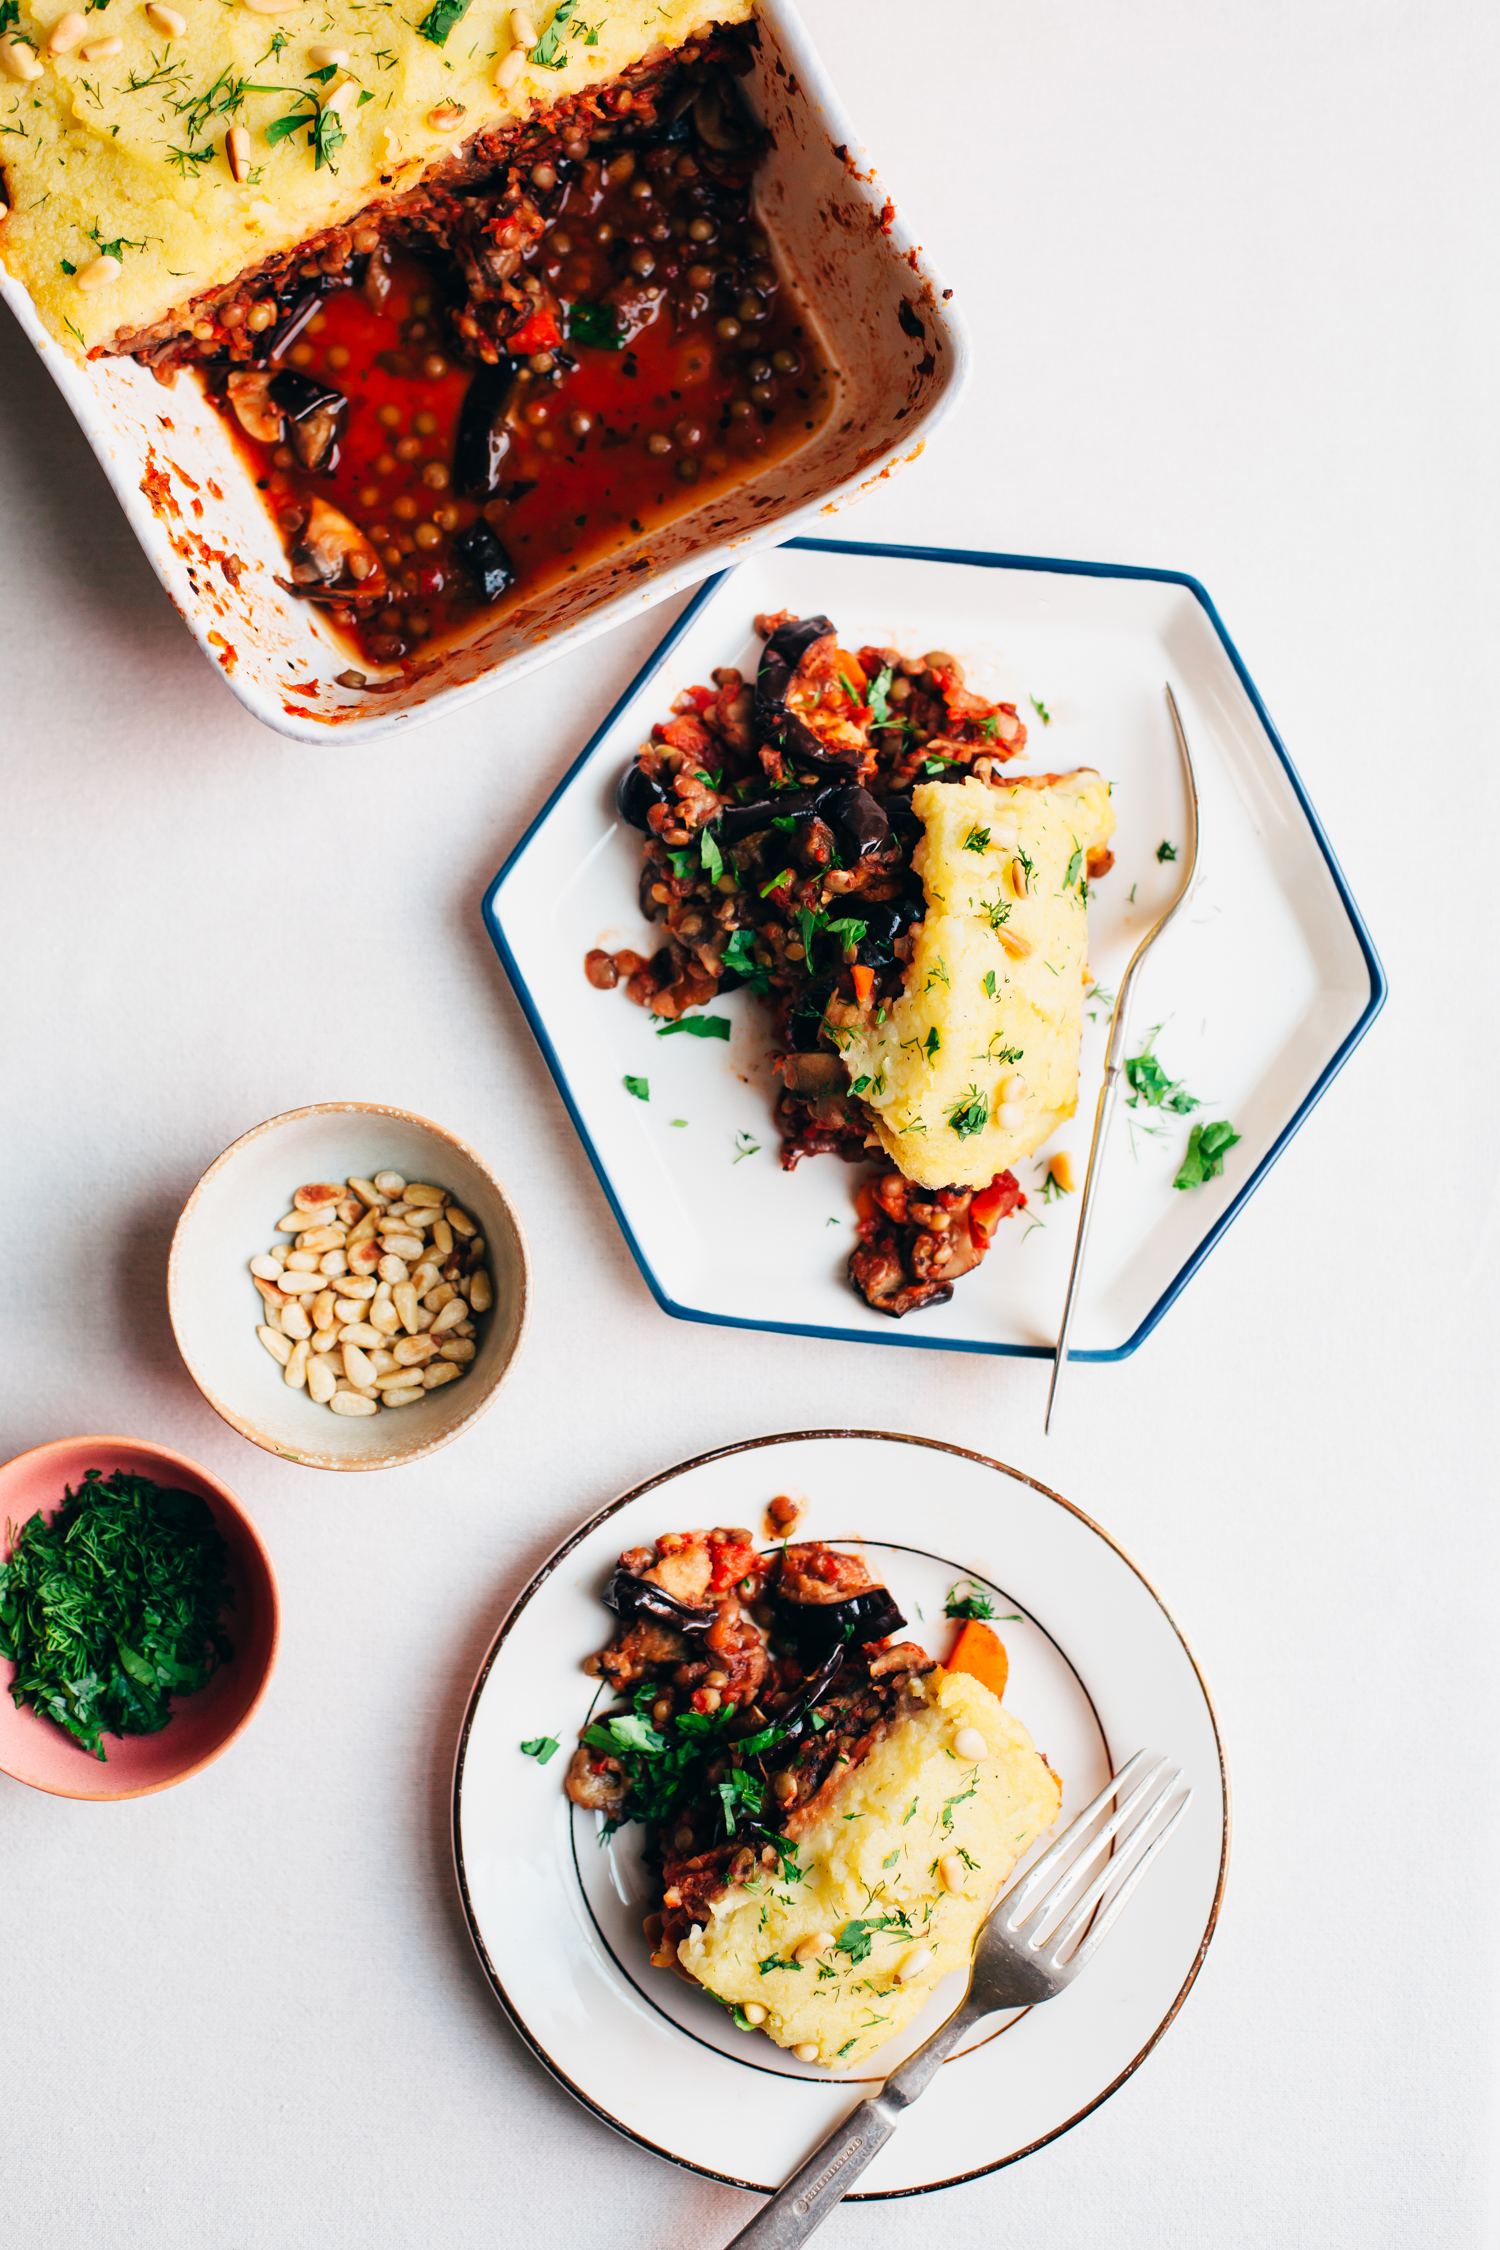
Vegan Lentil Moussaka
by Anya
Read Recipe
Cauliflower ‘Pesto’ Pasta
by Anya
Read Recipe
Roasted Eggplant Wedges with Herbed Pistachio Millet
by Anya
Read Recipe
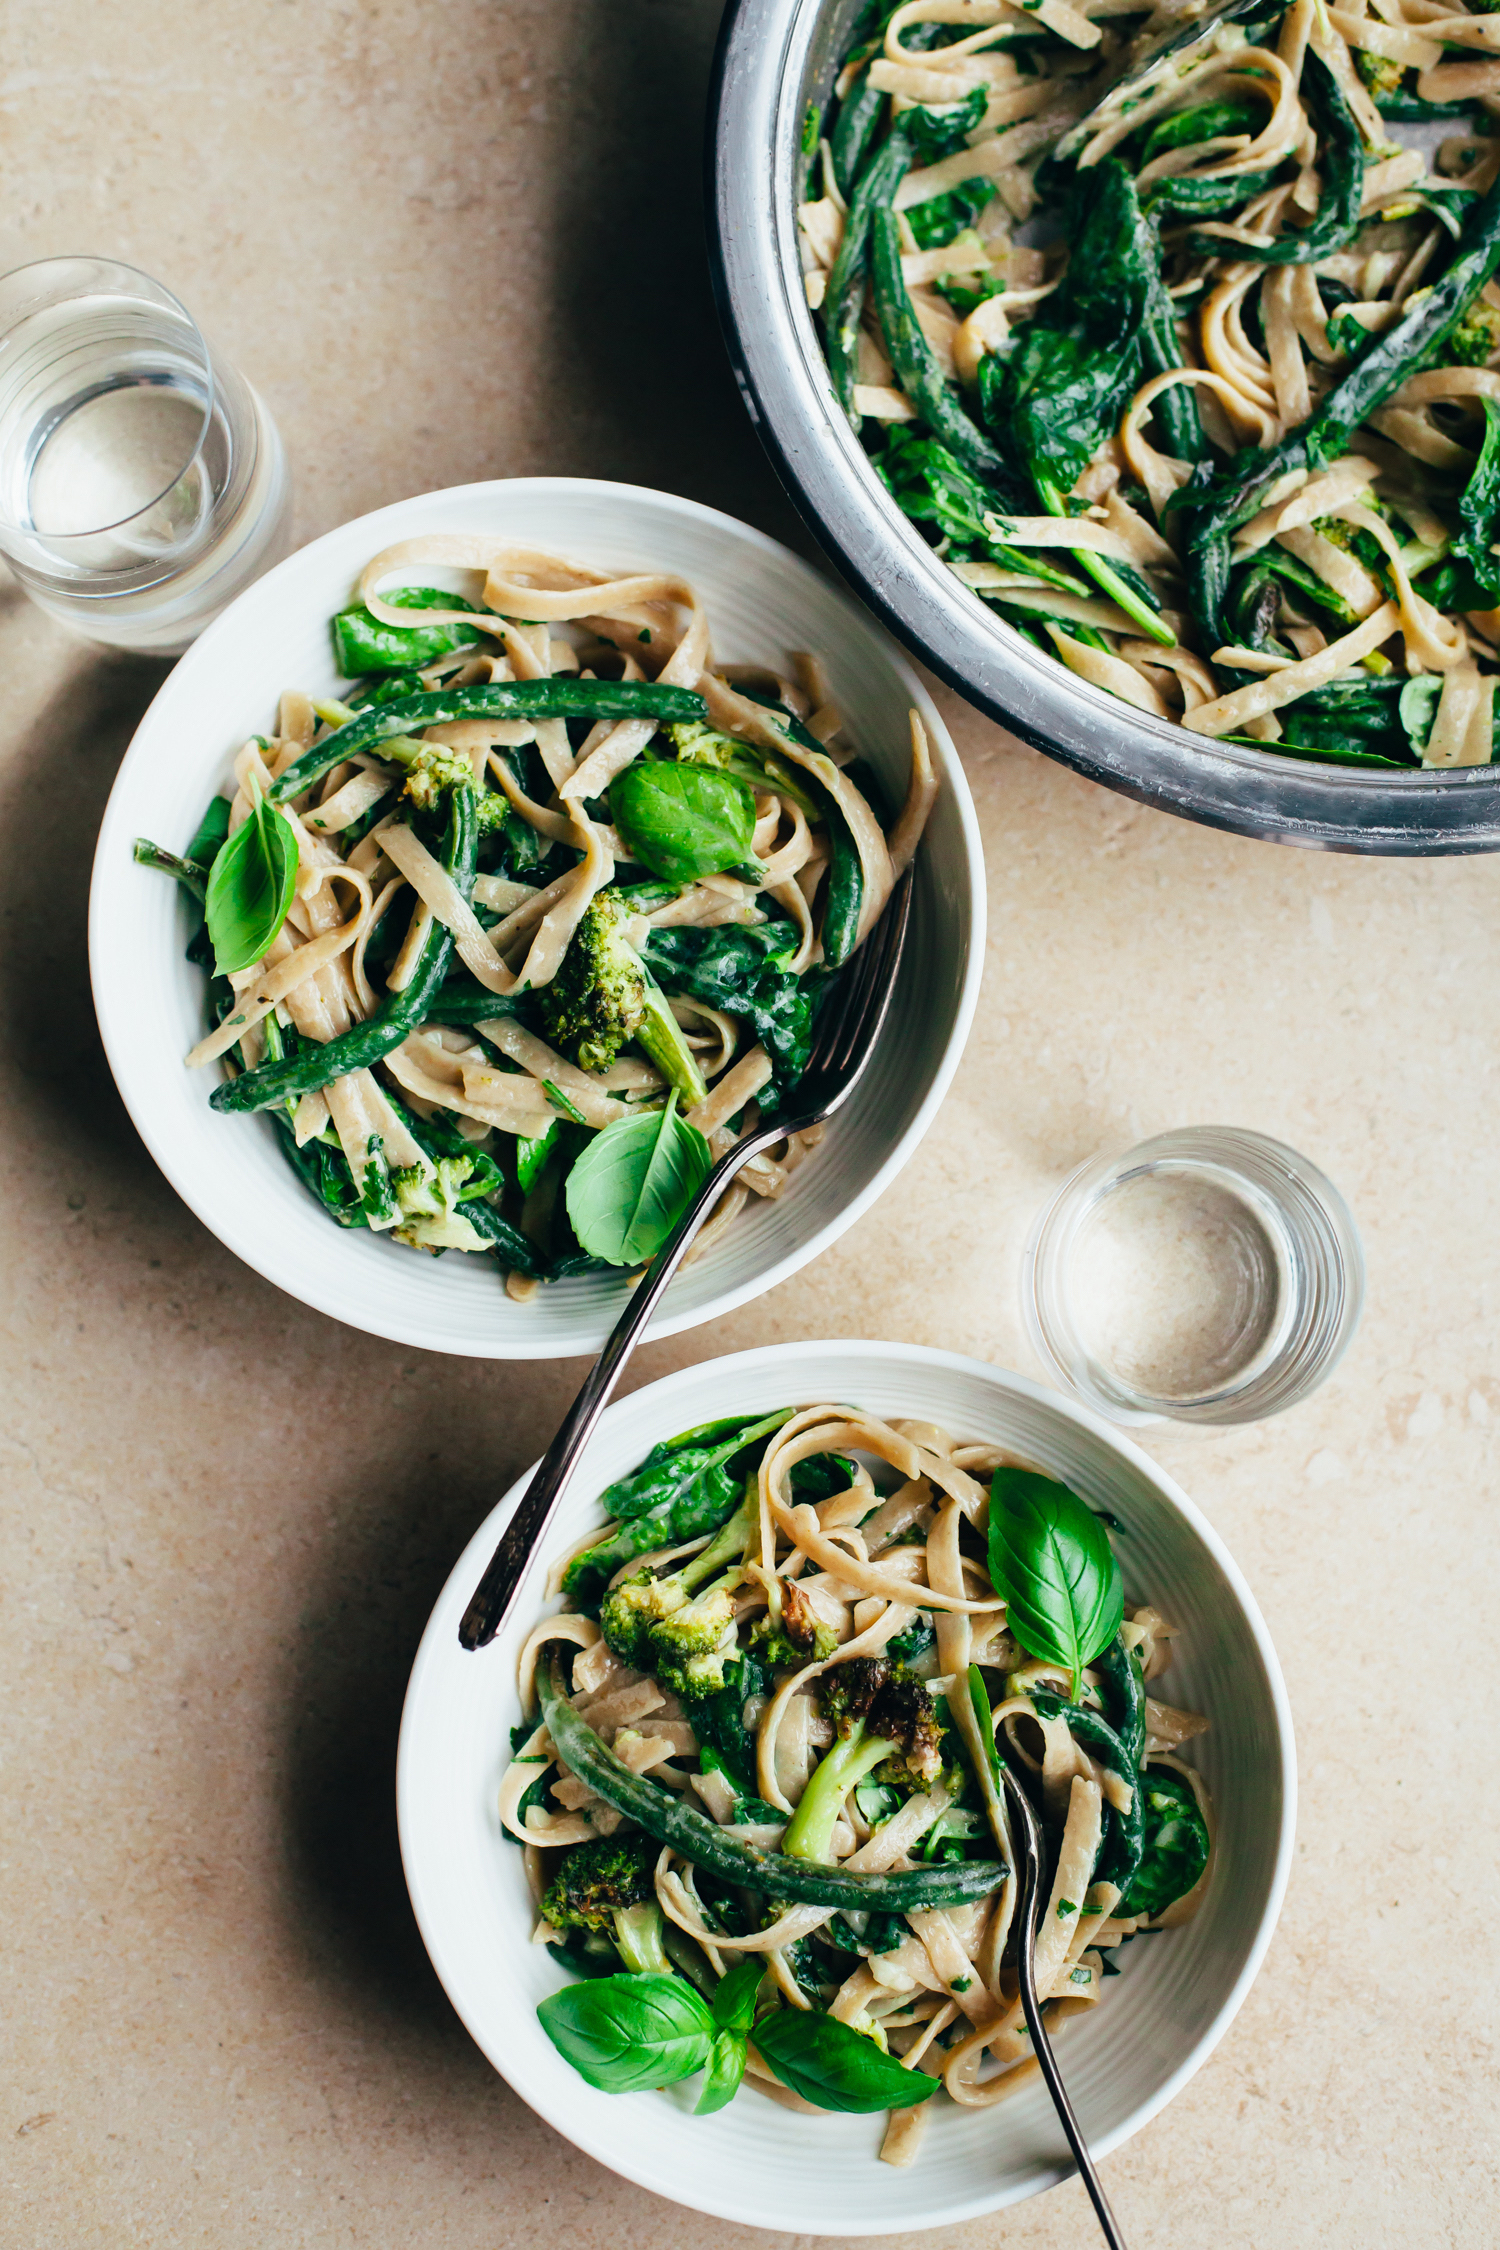
Creamy, Garlicky Fettuccine with Roasted Green Vegetables
by Anya
Read Recipe
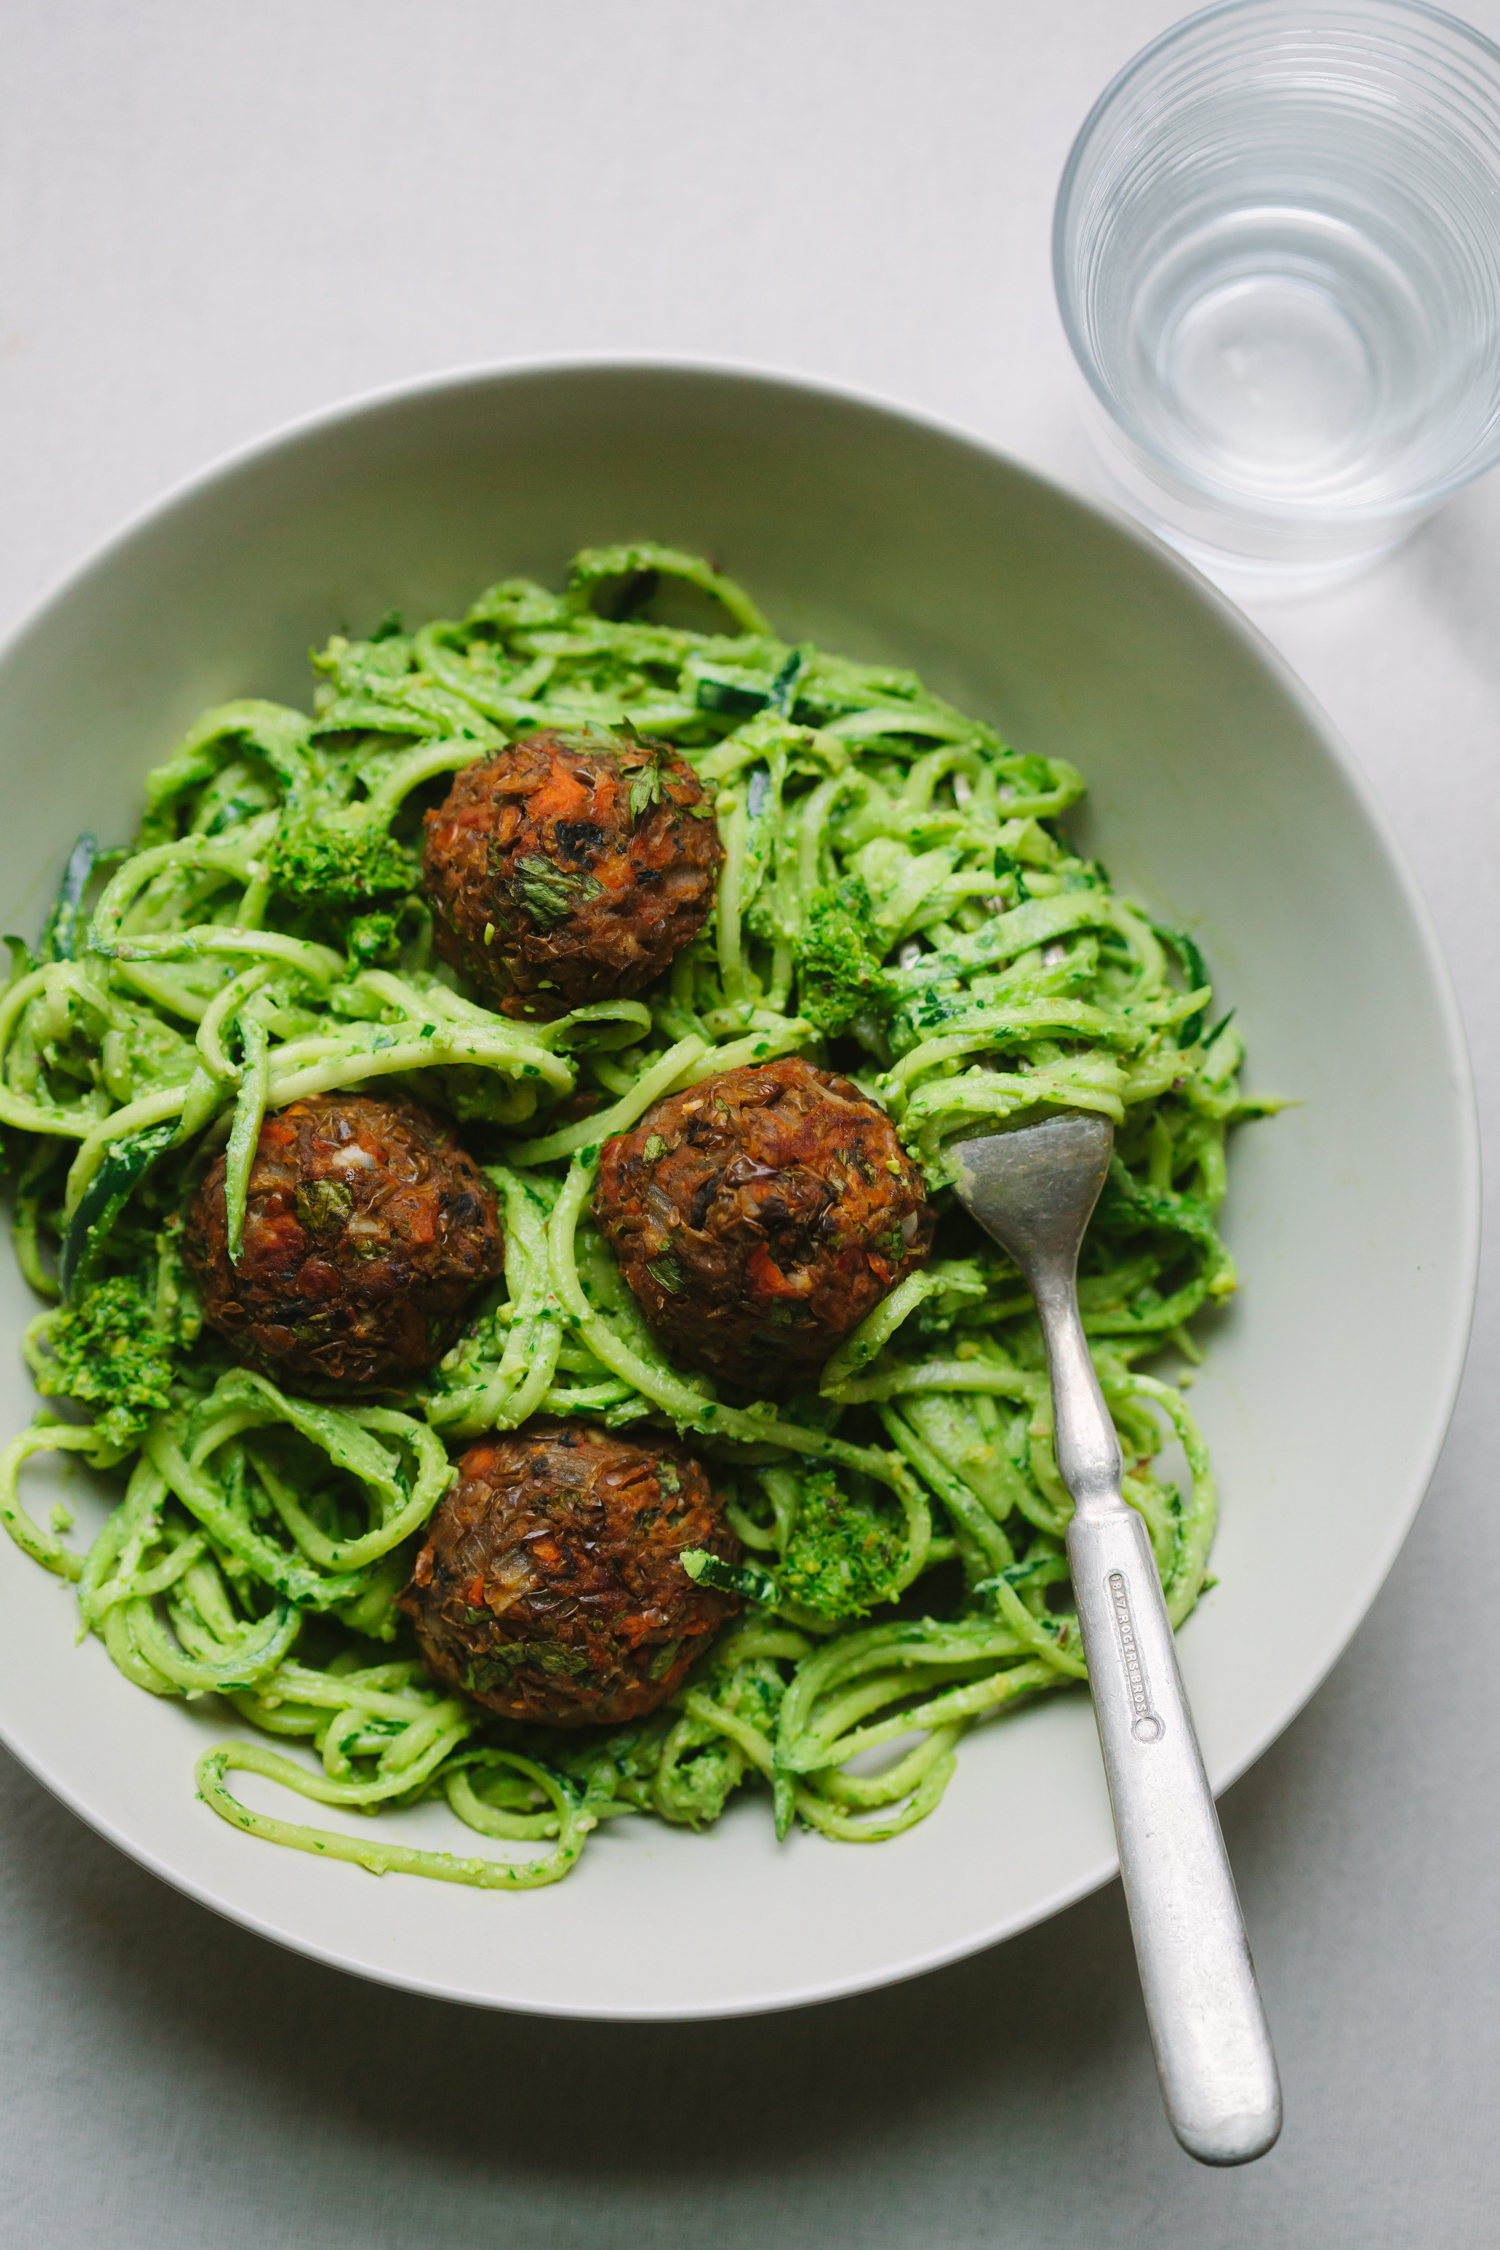
Italian-Style Lentil and Mushroom (Not)Meatballs from Pantry to Plate
by Anya
Read Recipe
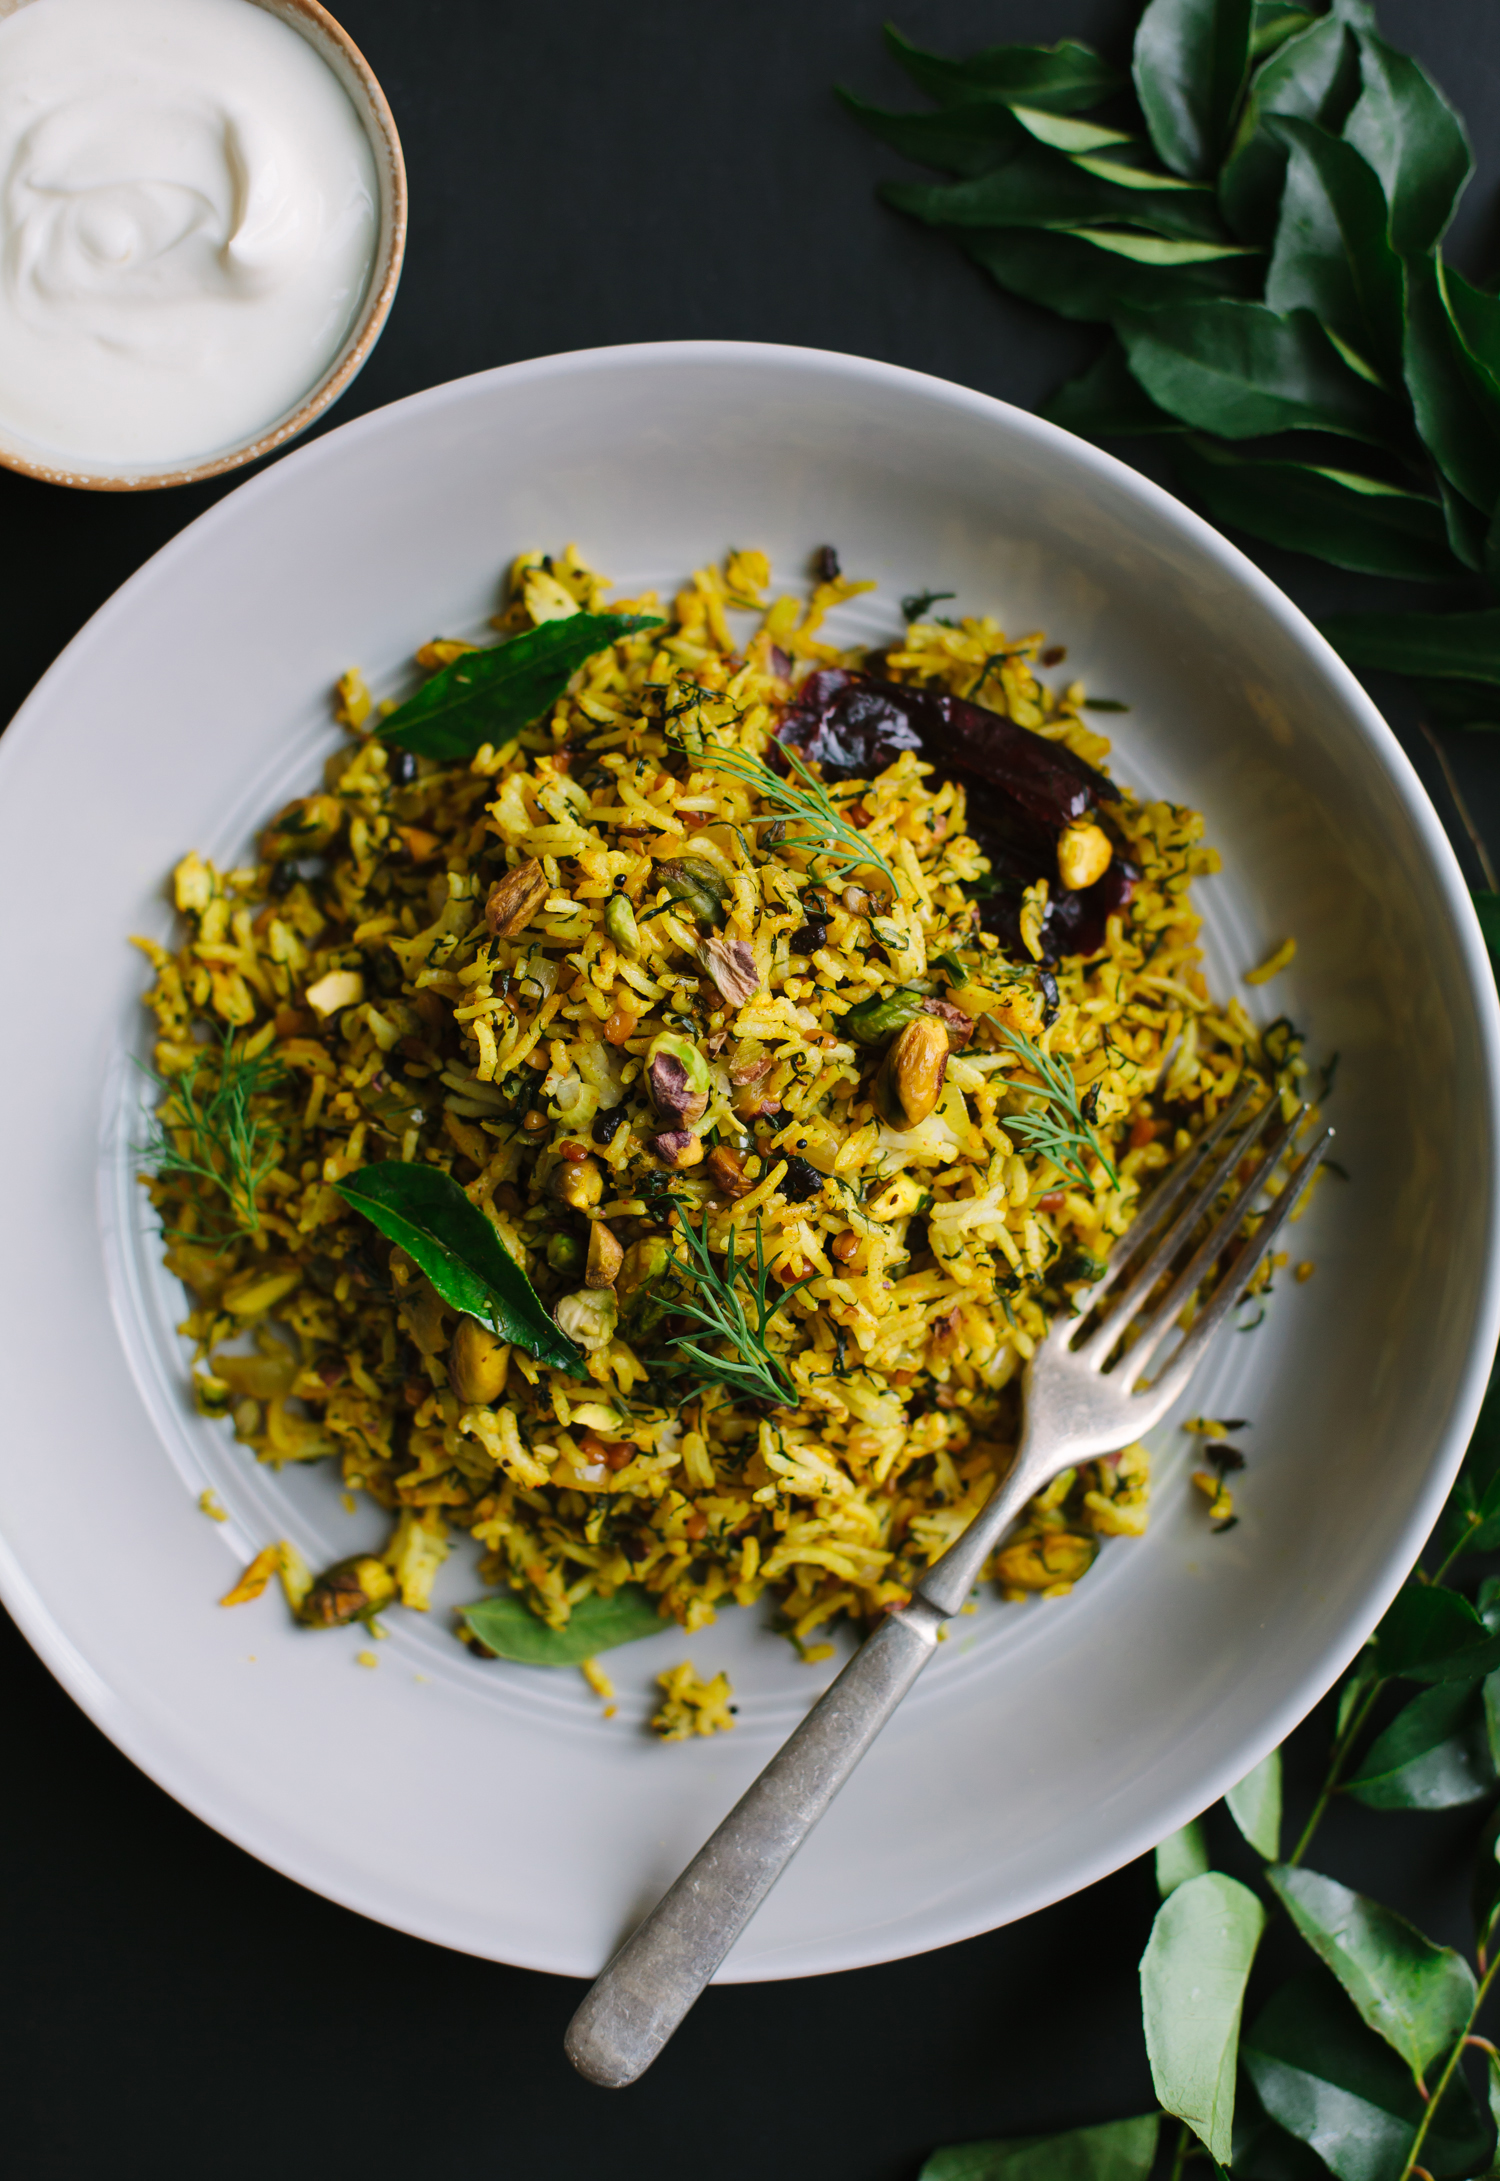
Lime and Dill Rice with Pistachios from Vibrant India + Giveaway
by Anya
Read Recipe
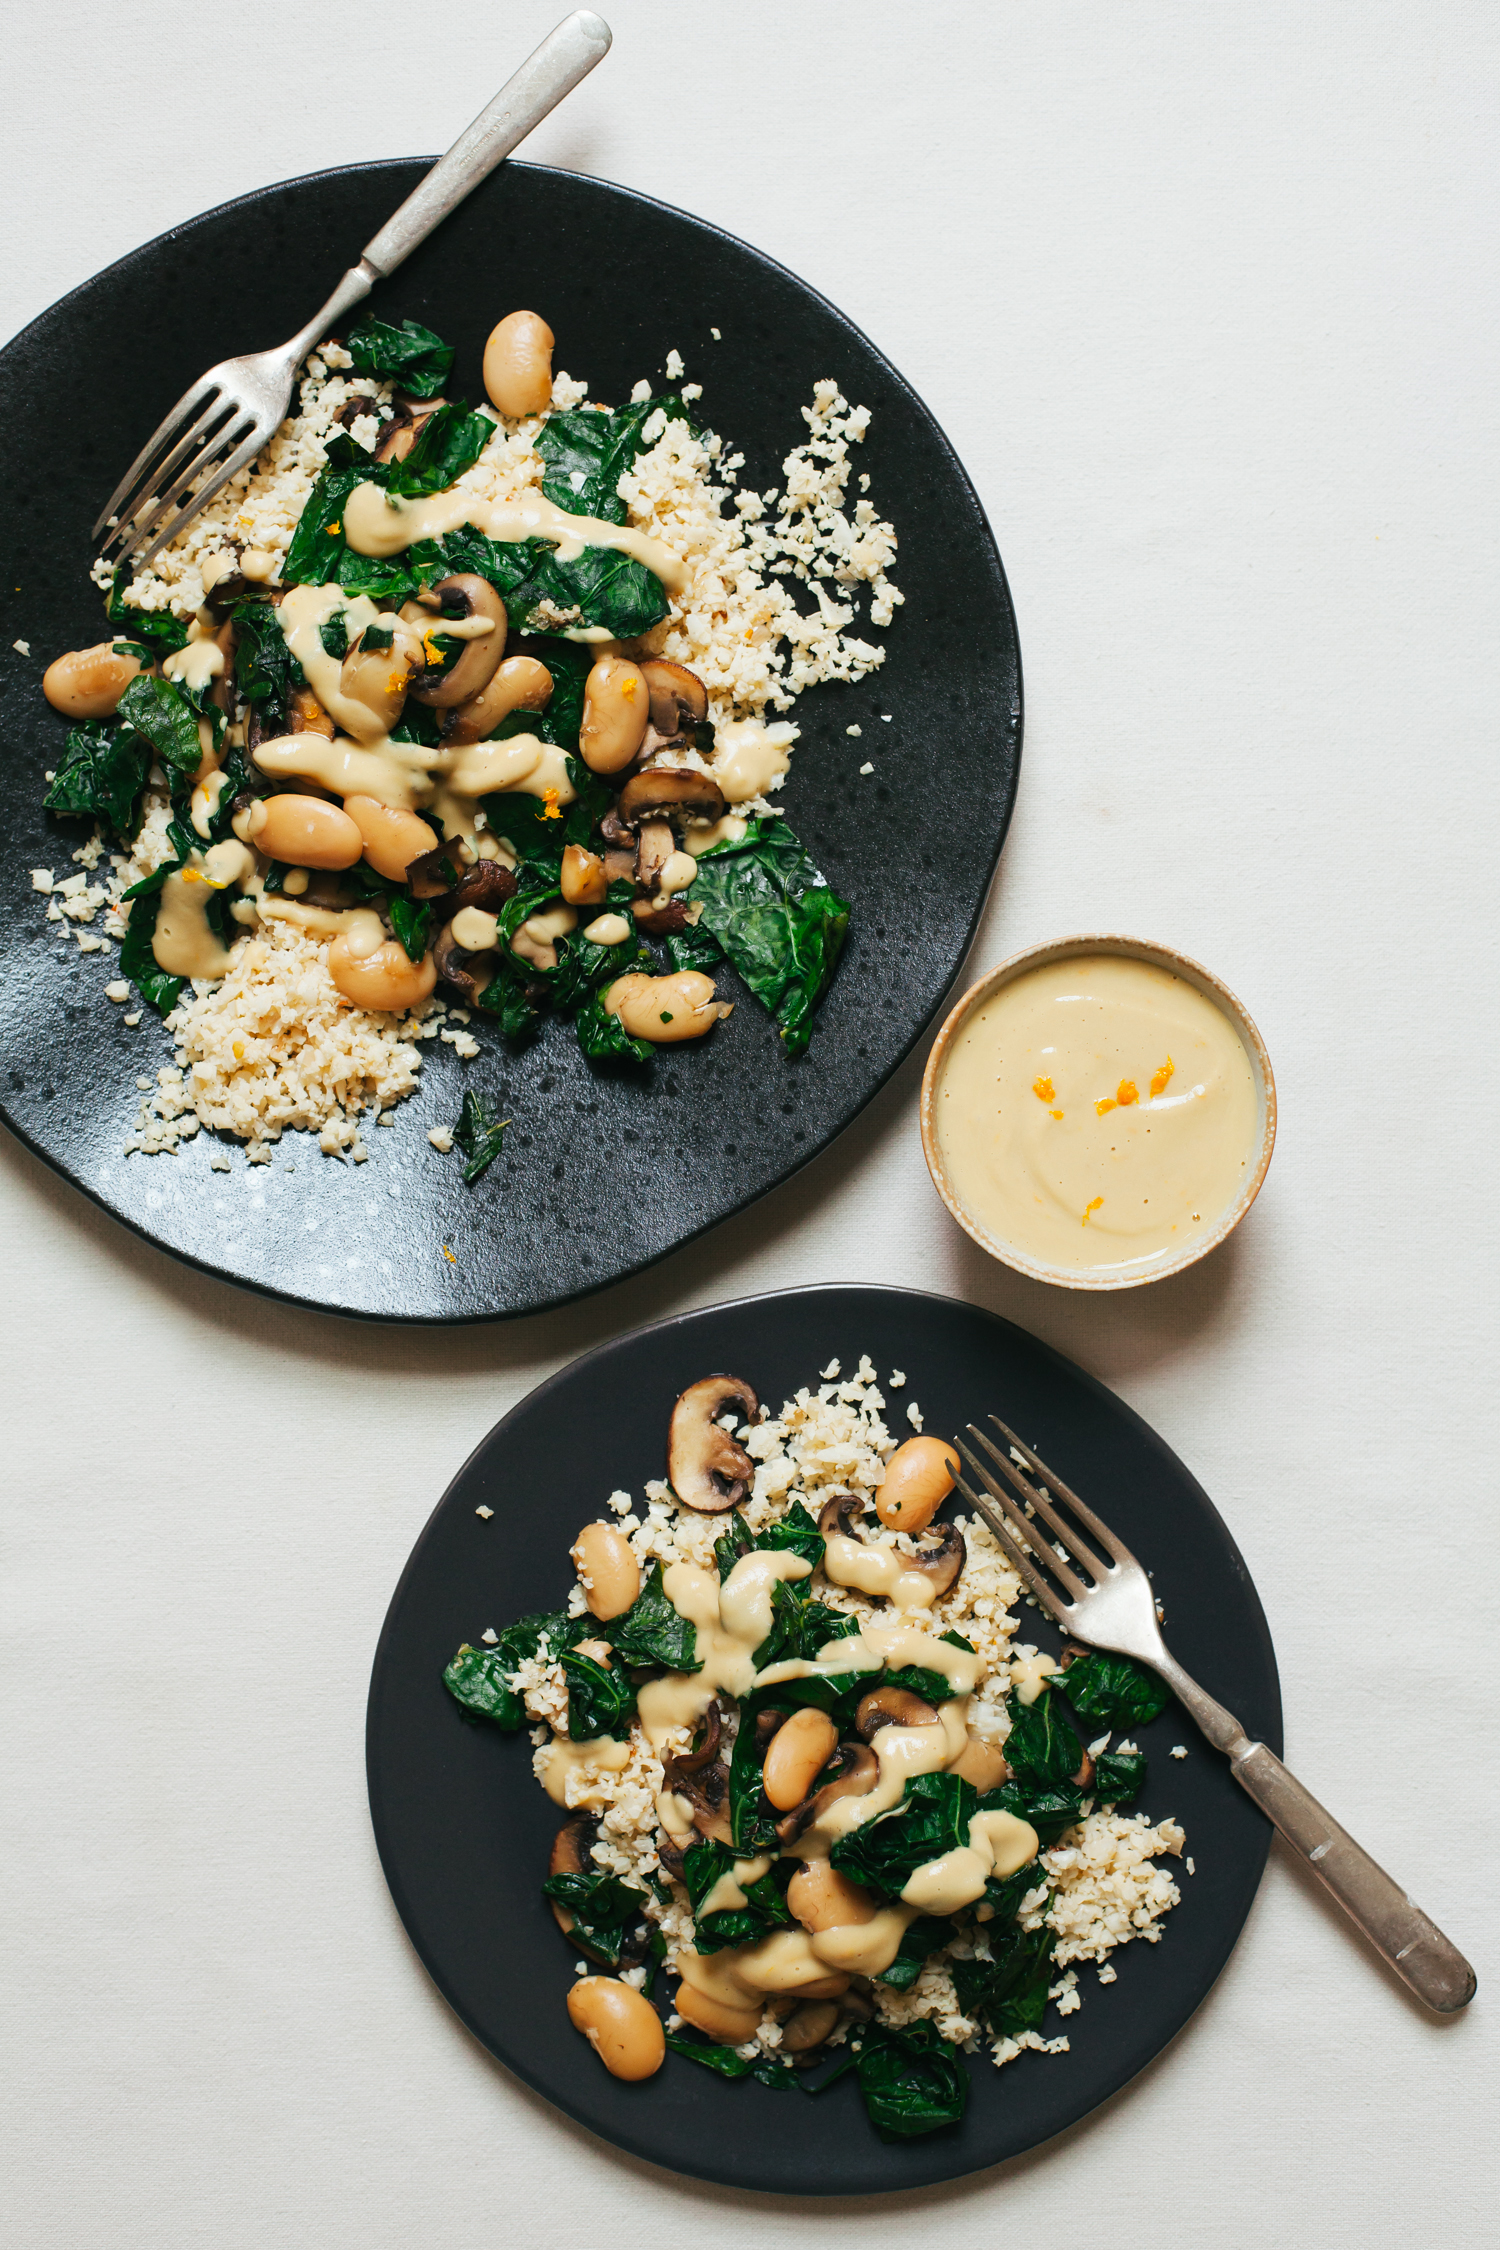
Cauliflower Rice with Zingy White Beans and Kale
by Anya
Read Recipe
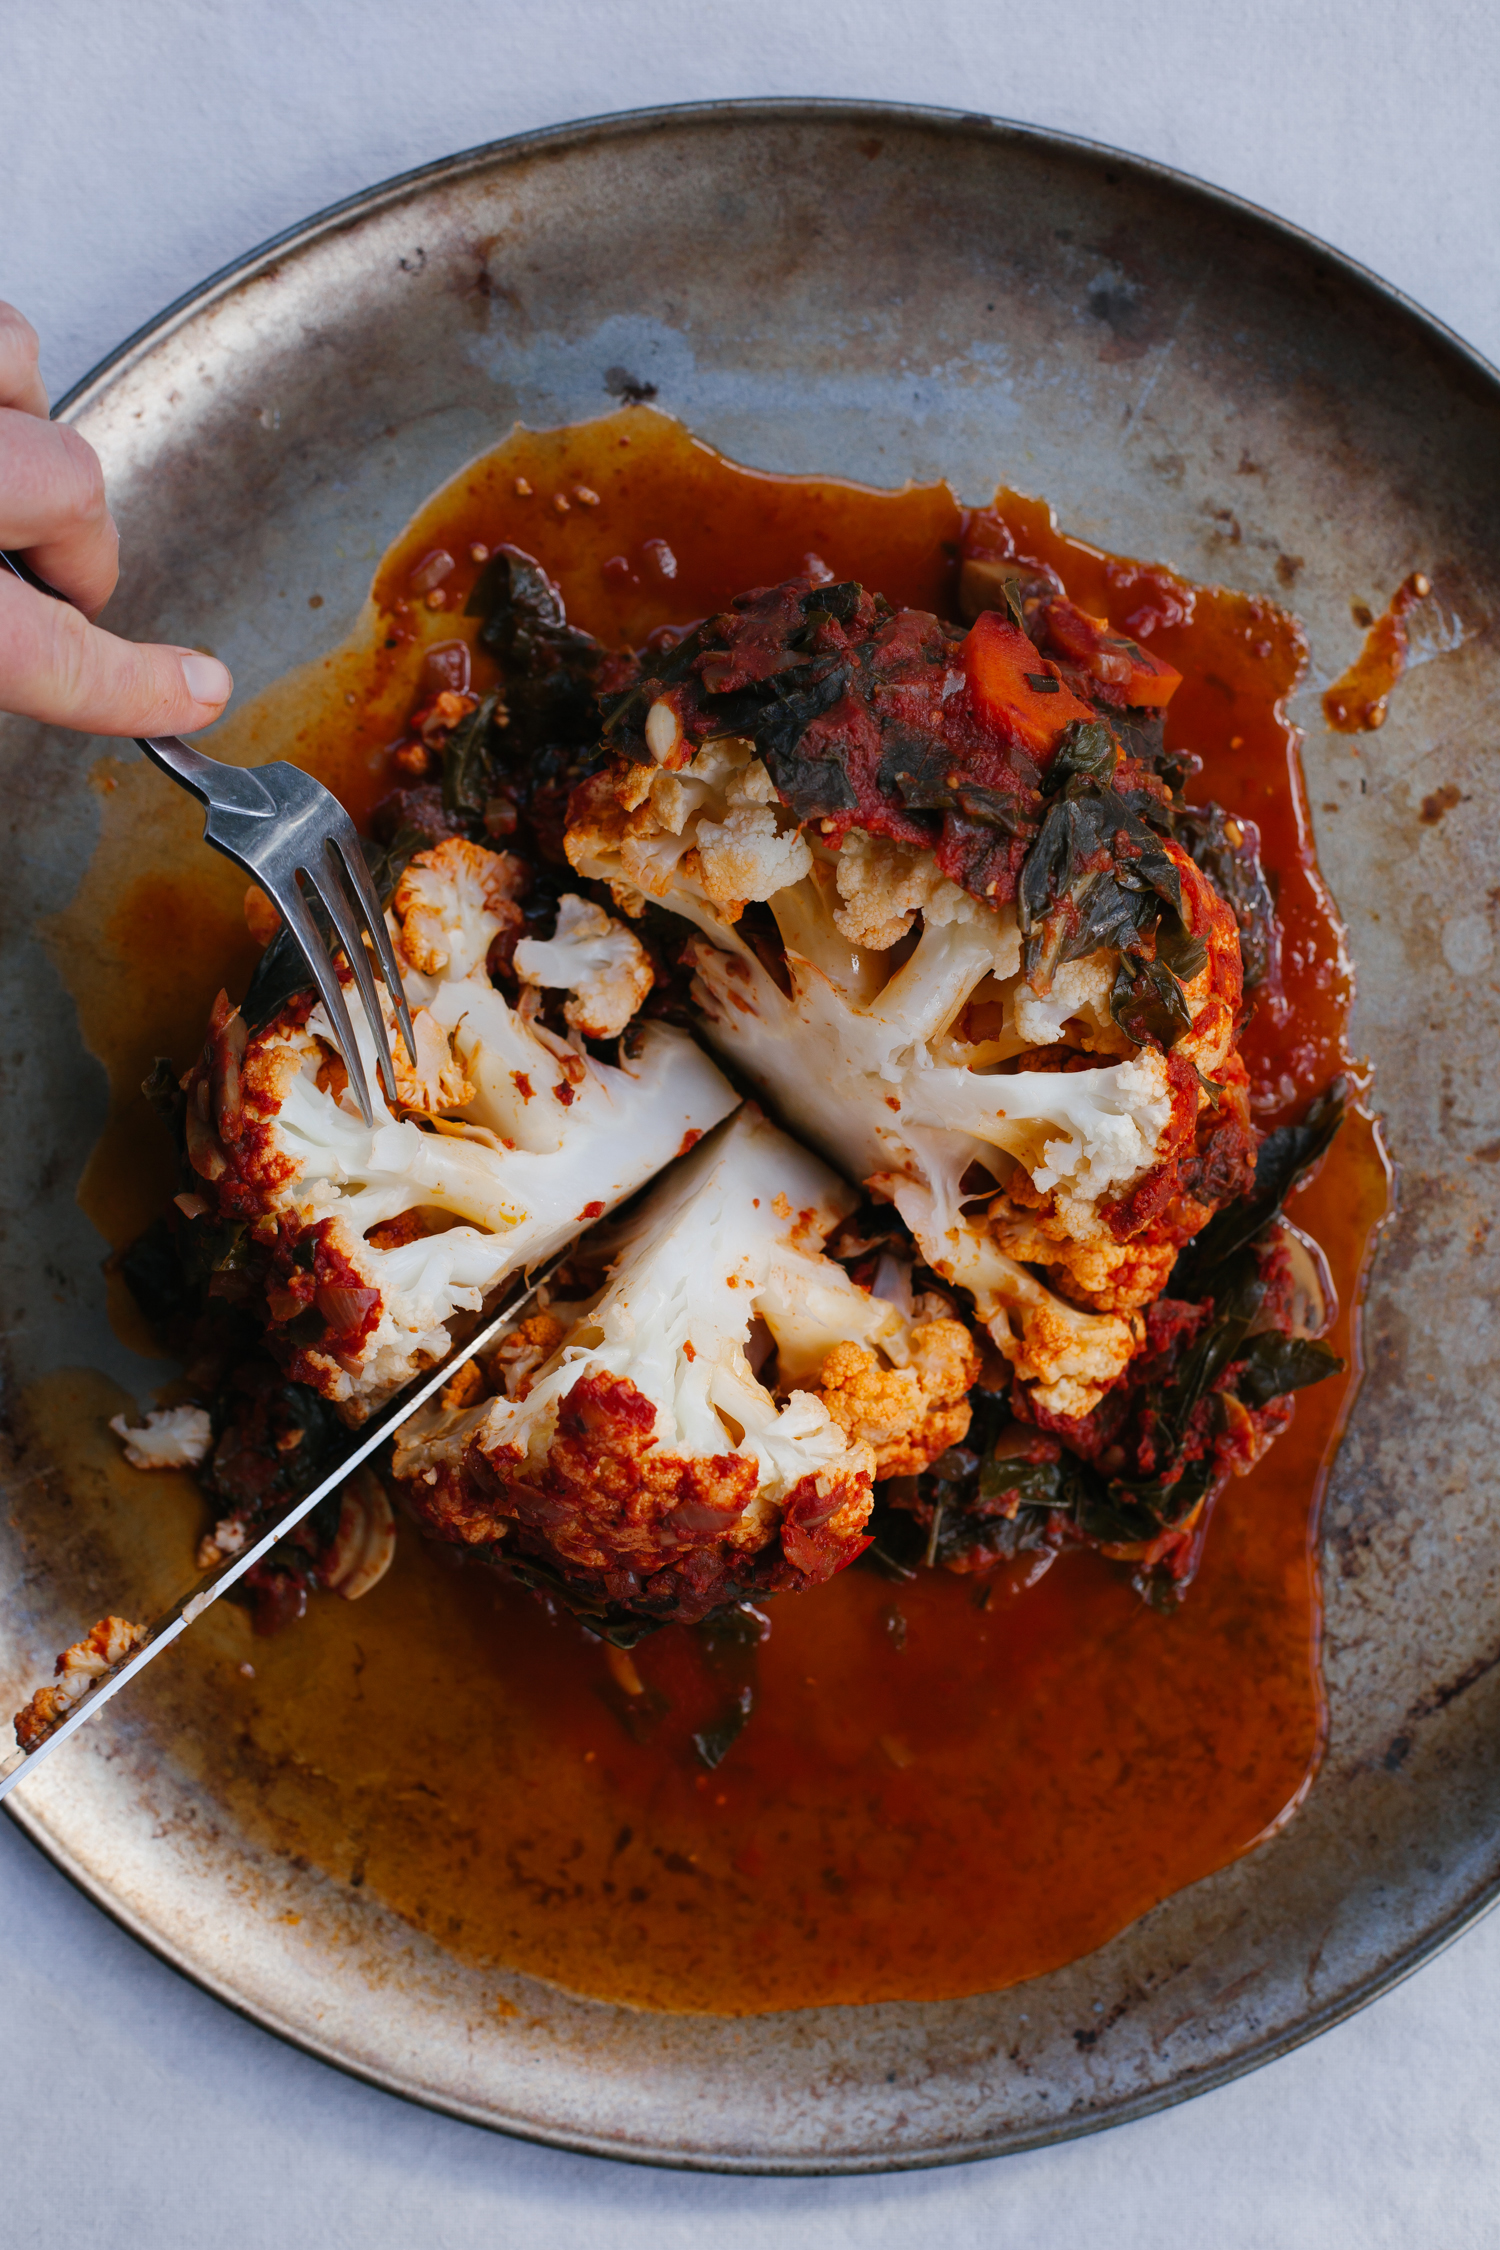
Whole Braised Holiday Cauliflower
by Anya
Read Recipe
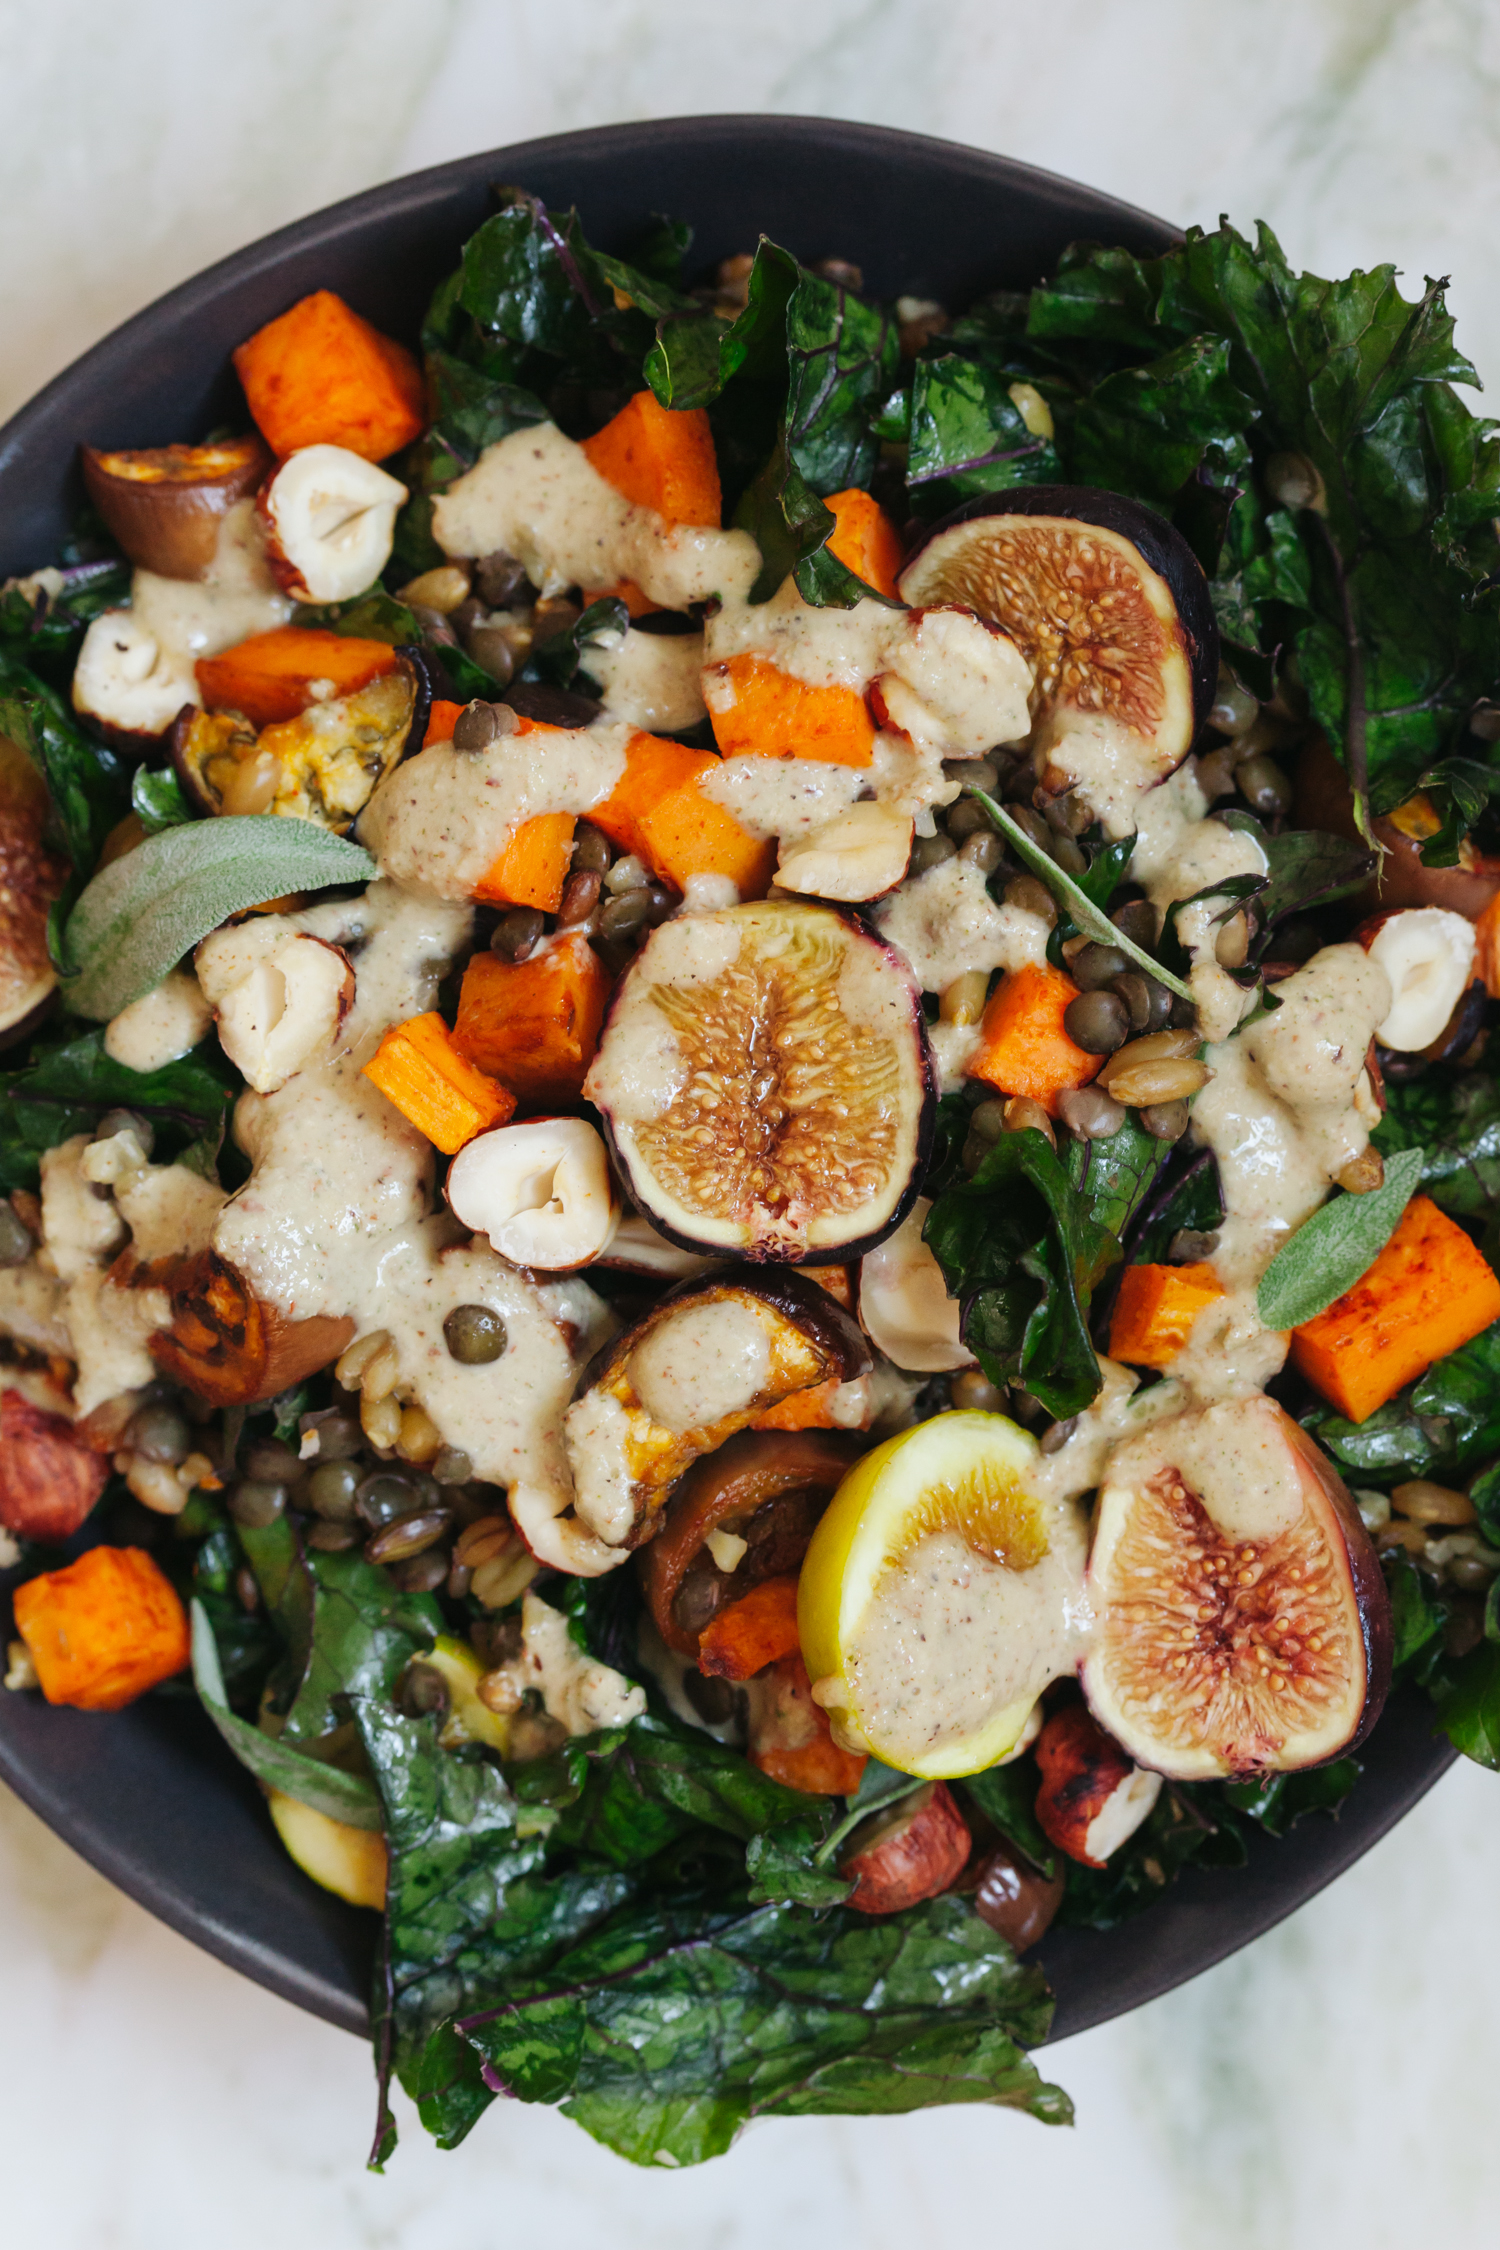
Sweet Potato, Fig and Eggplant Bowl with Hazelnut Vinaigrette
by Anya
Read Recipe
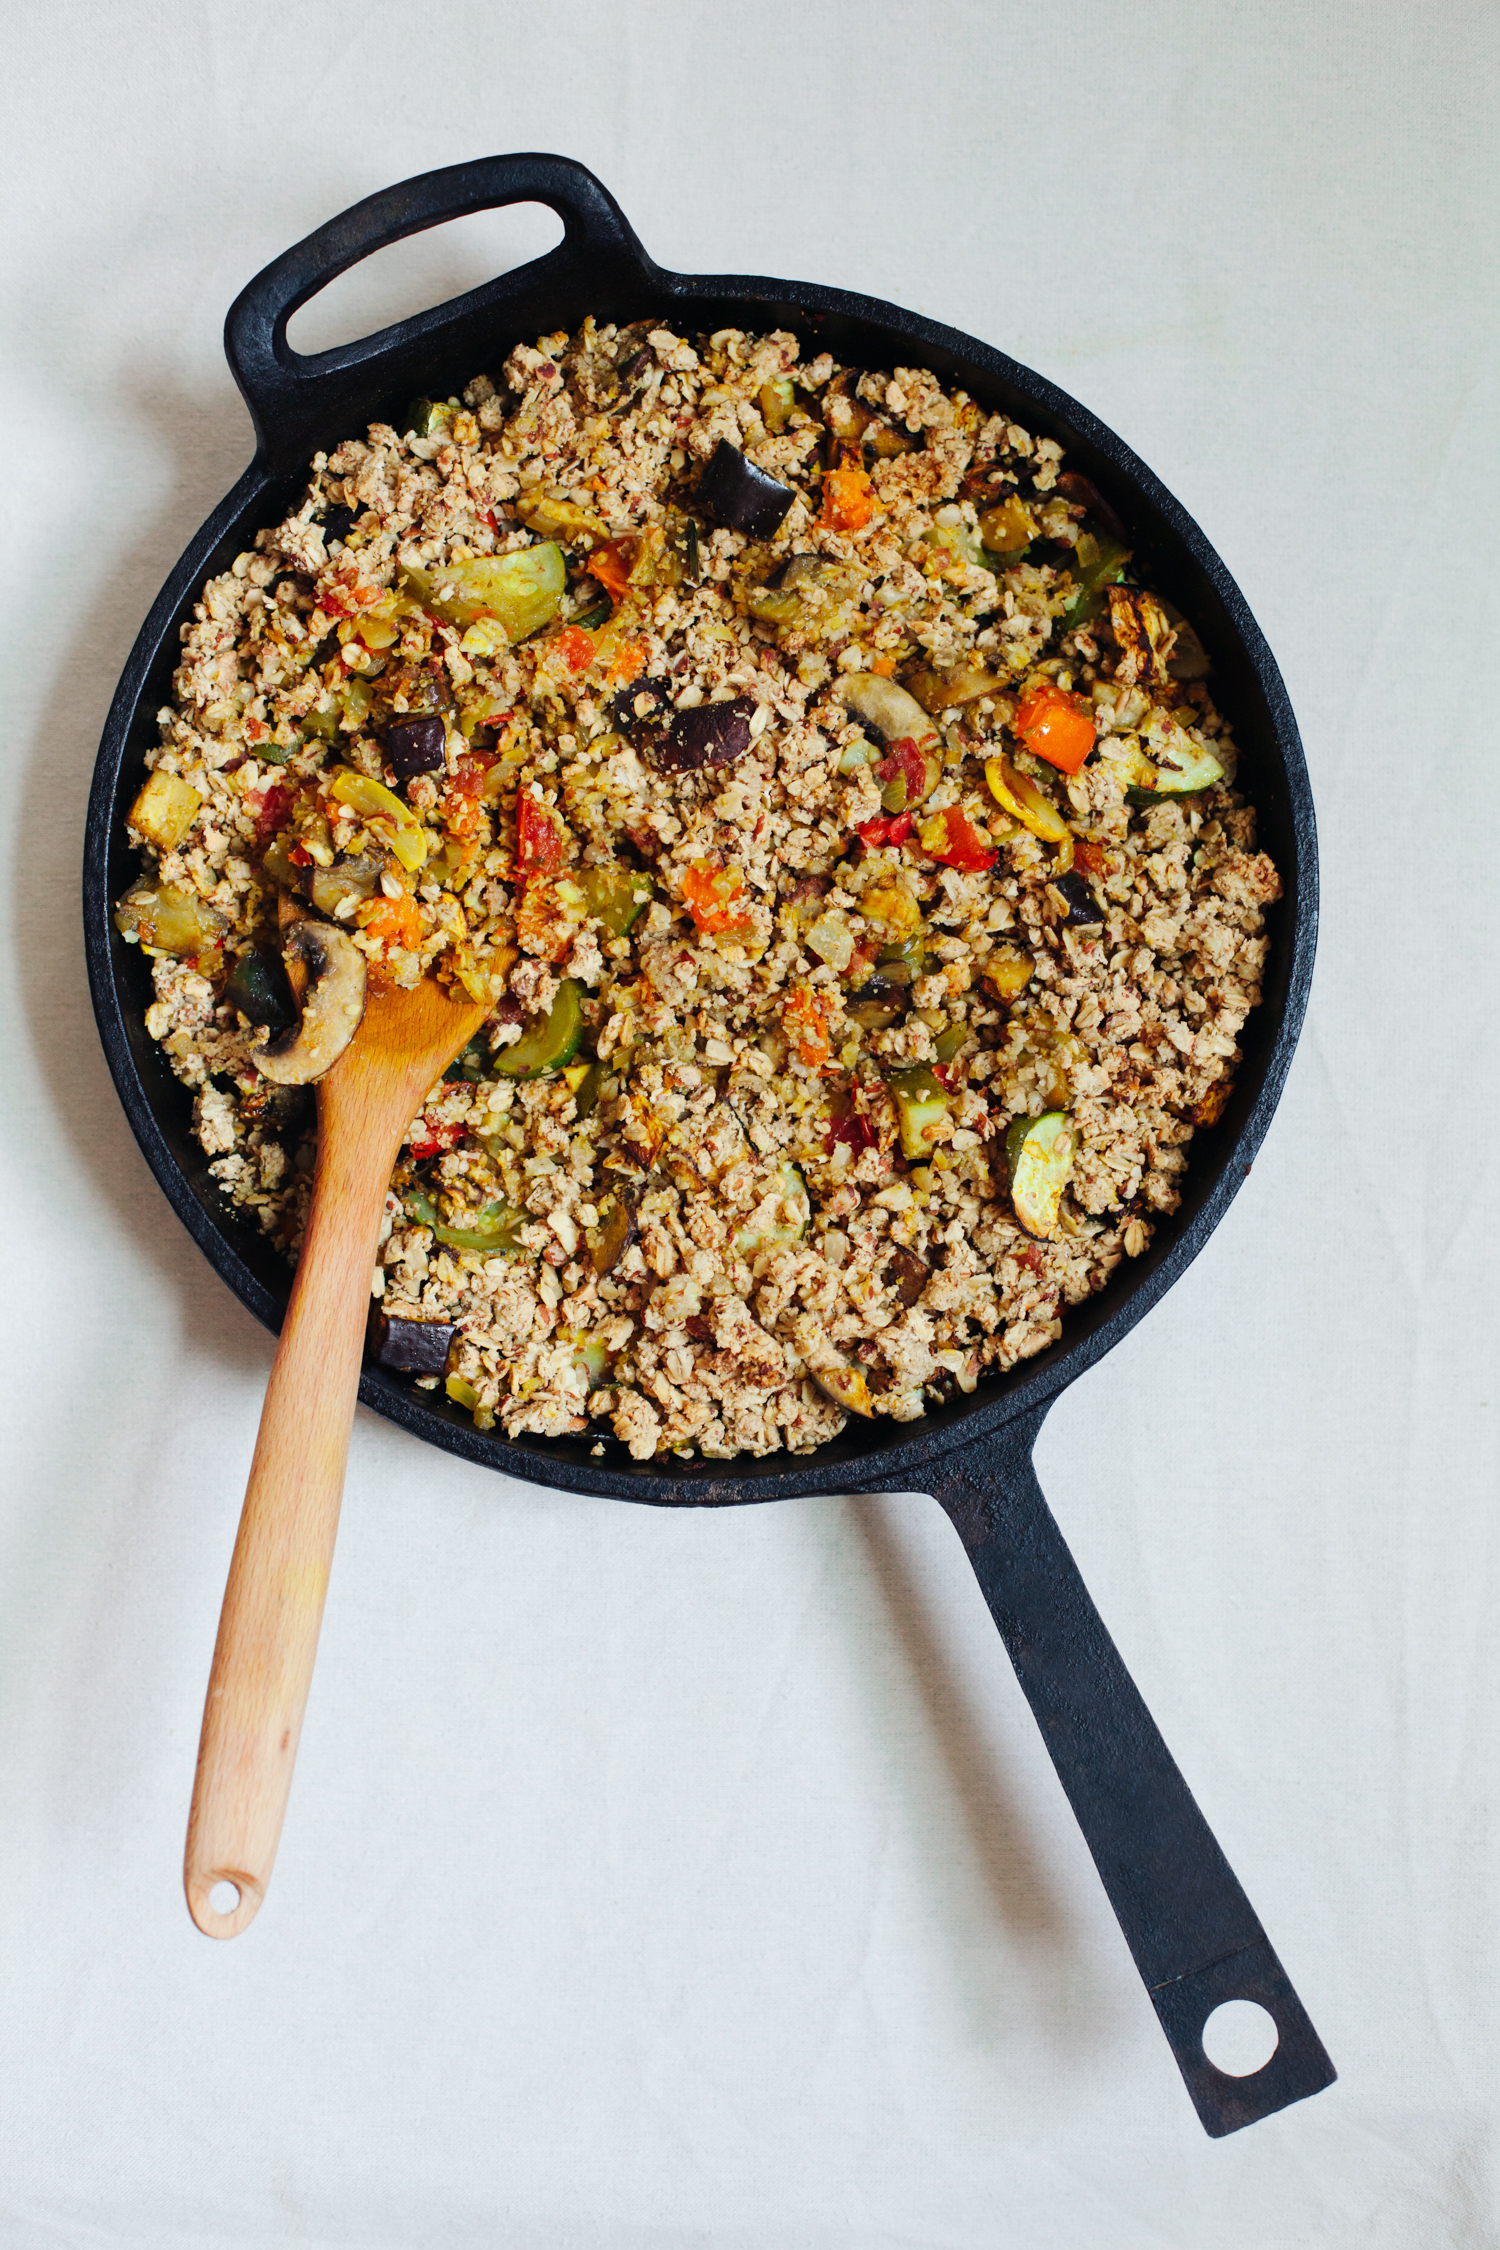
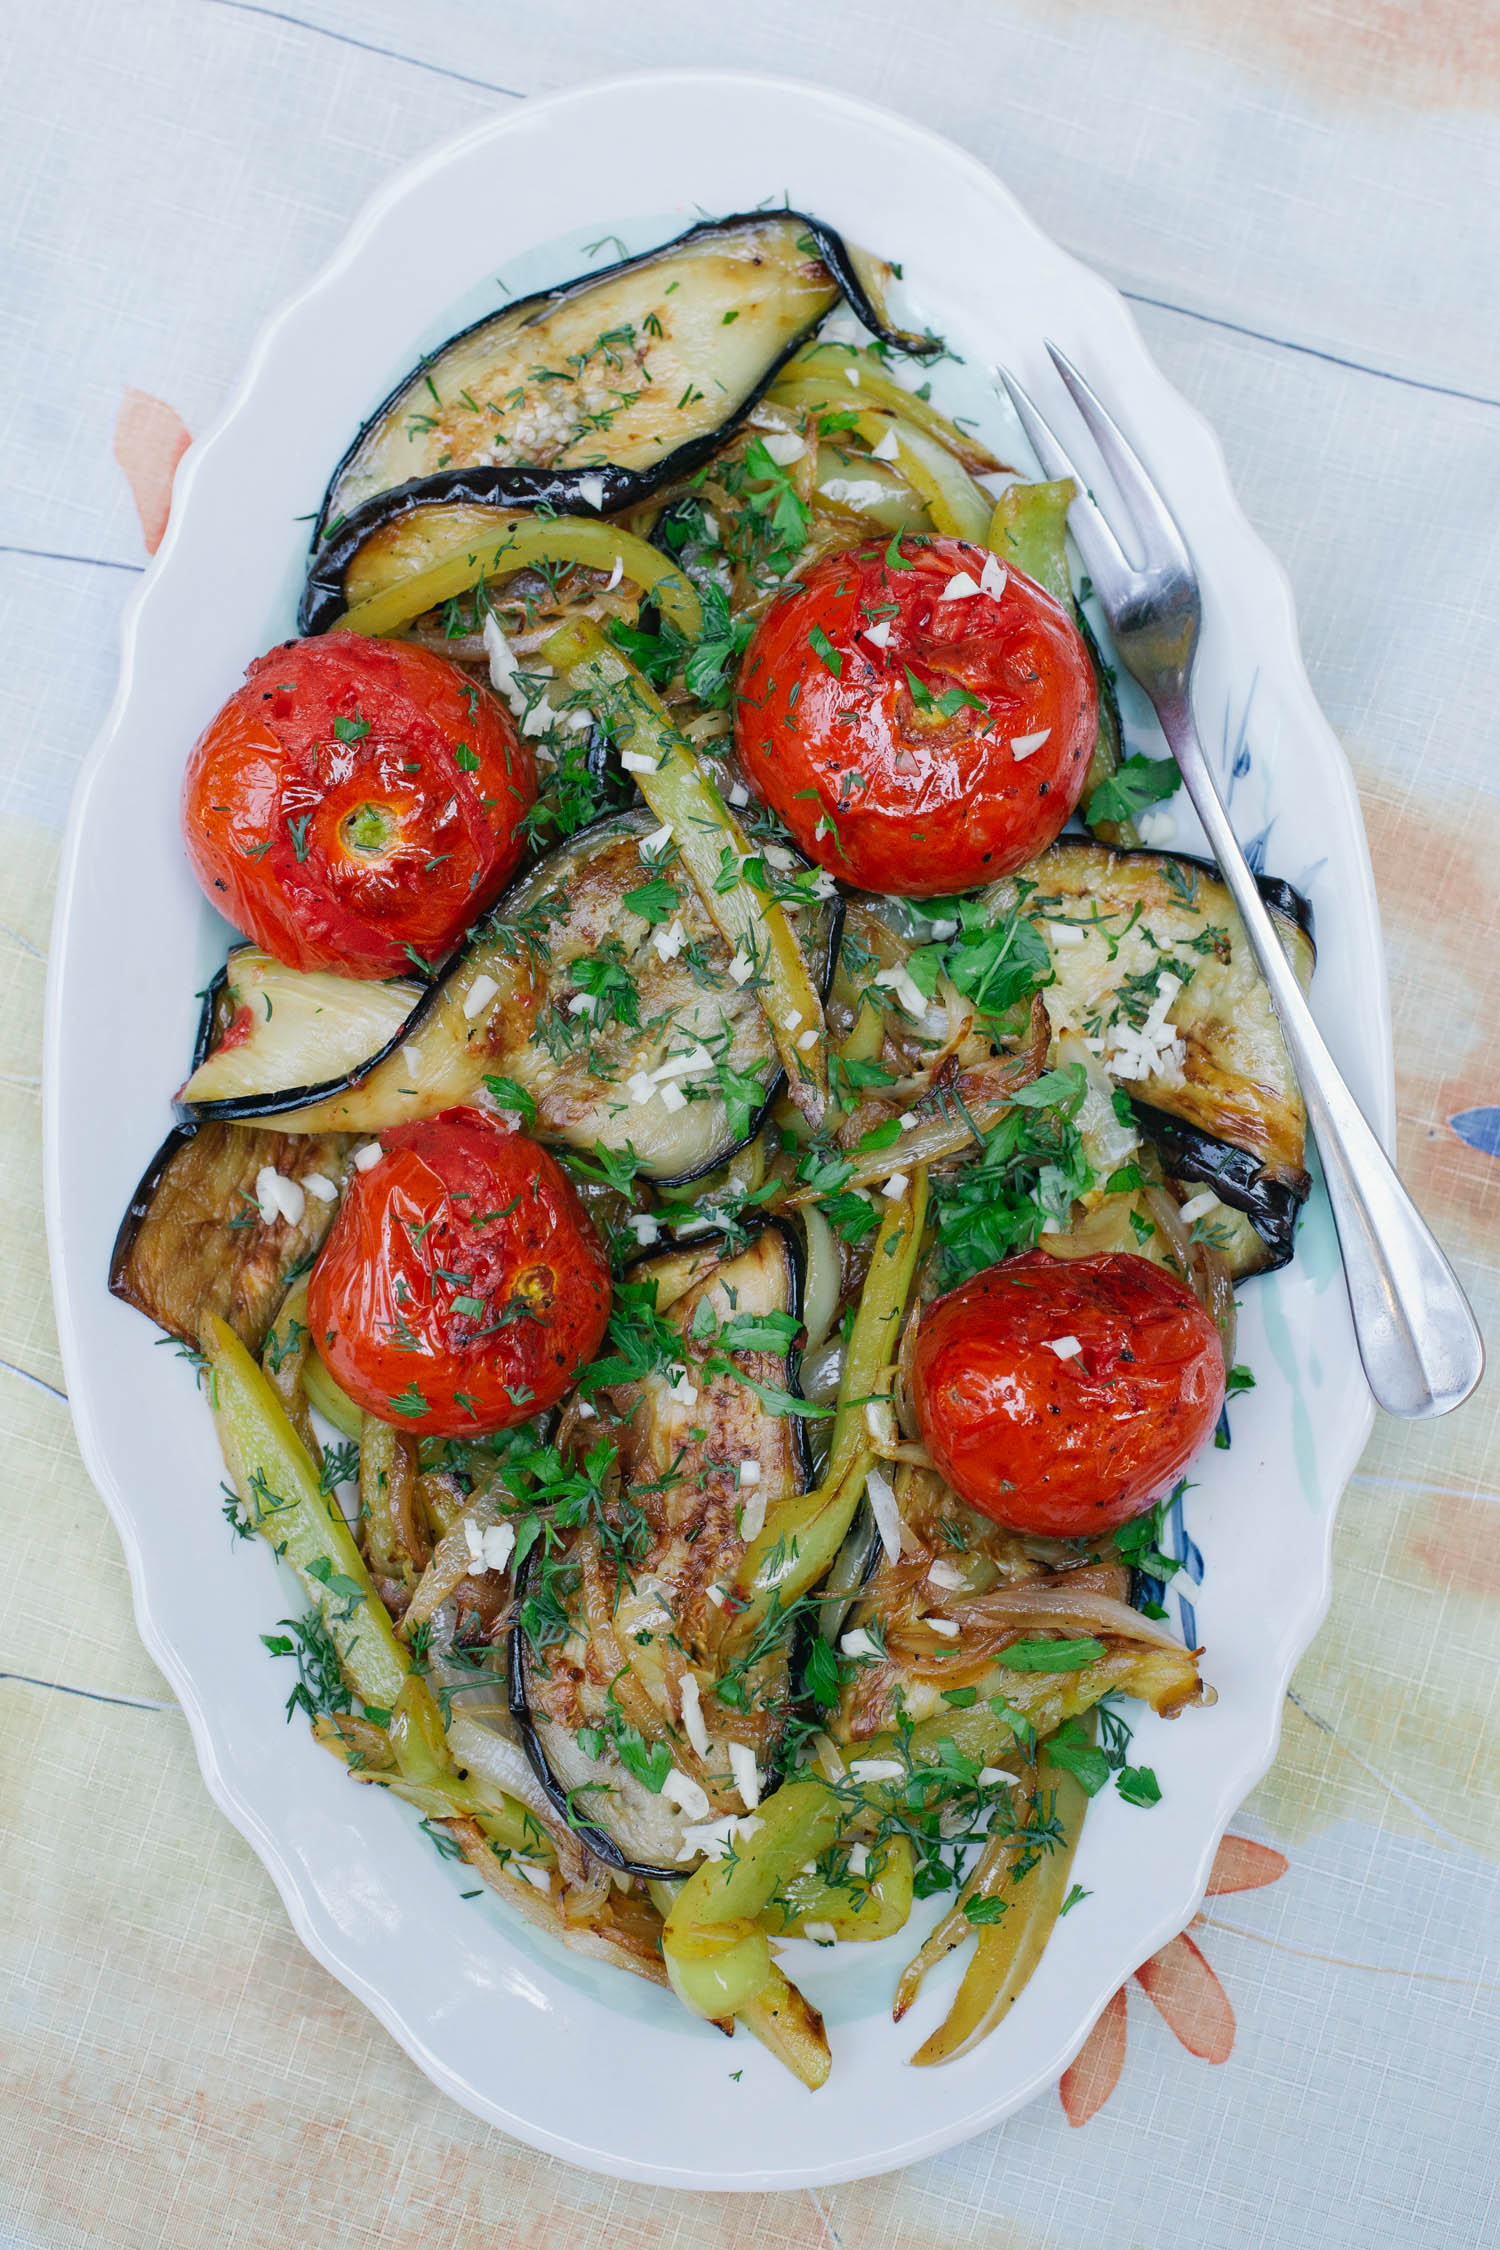
Savory Vegetable Crumble with Eggplant, Zucchini, Tomatoes and Mushrooms
by Anya
Read Recipe
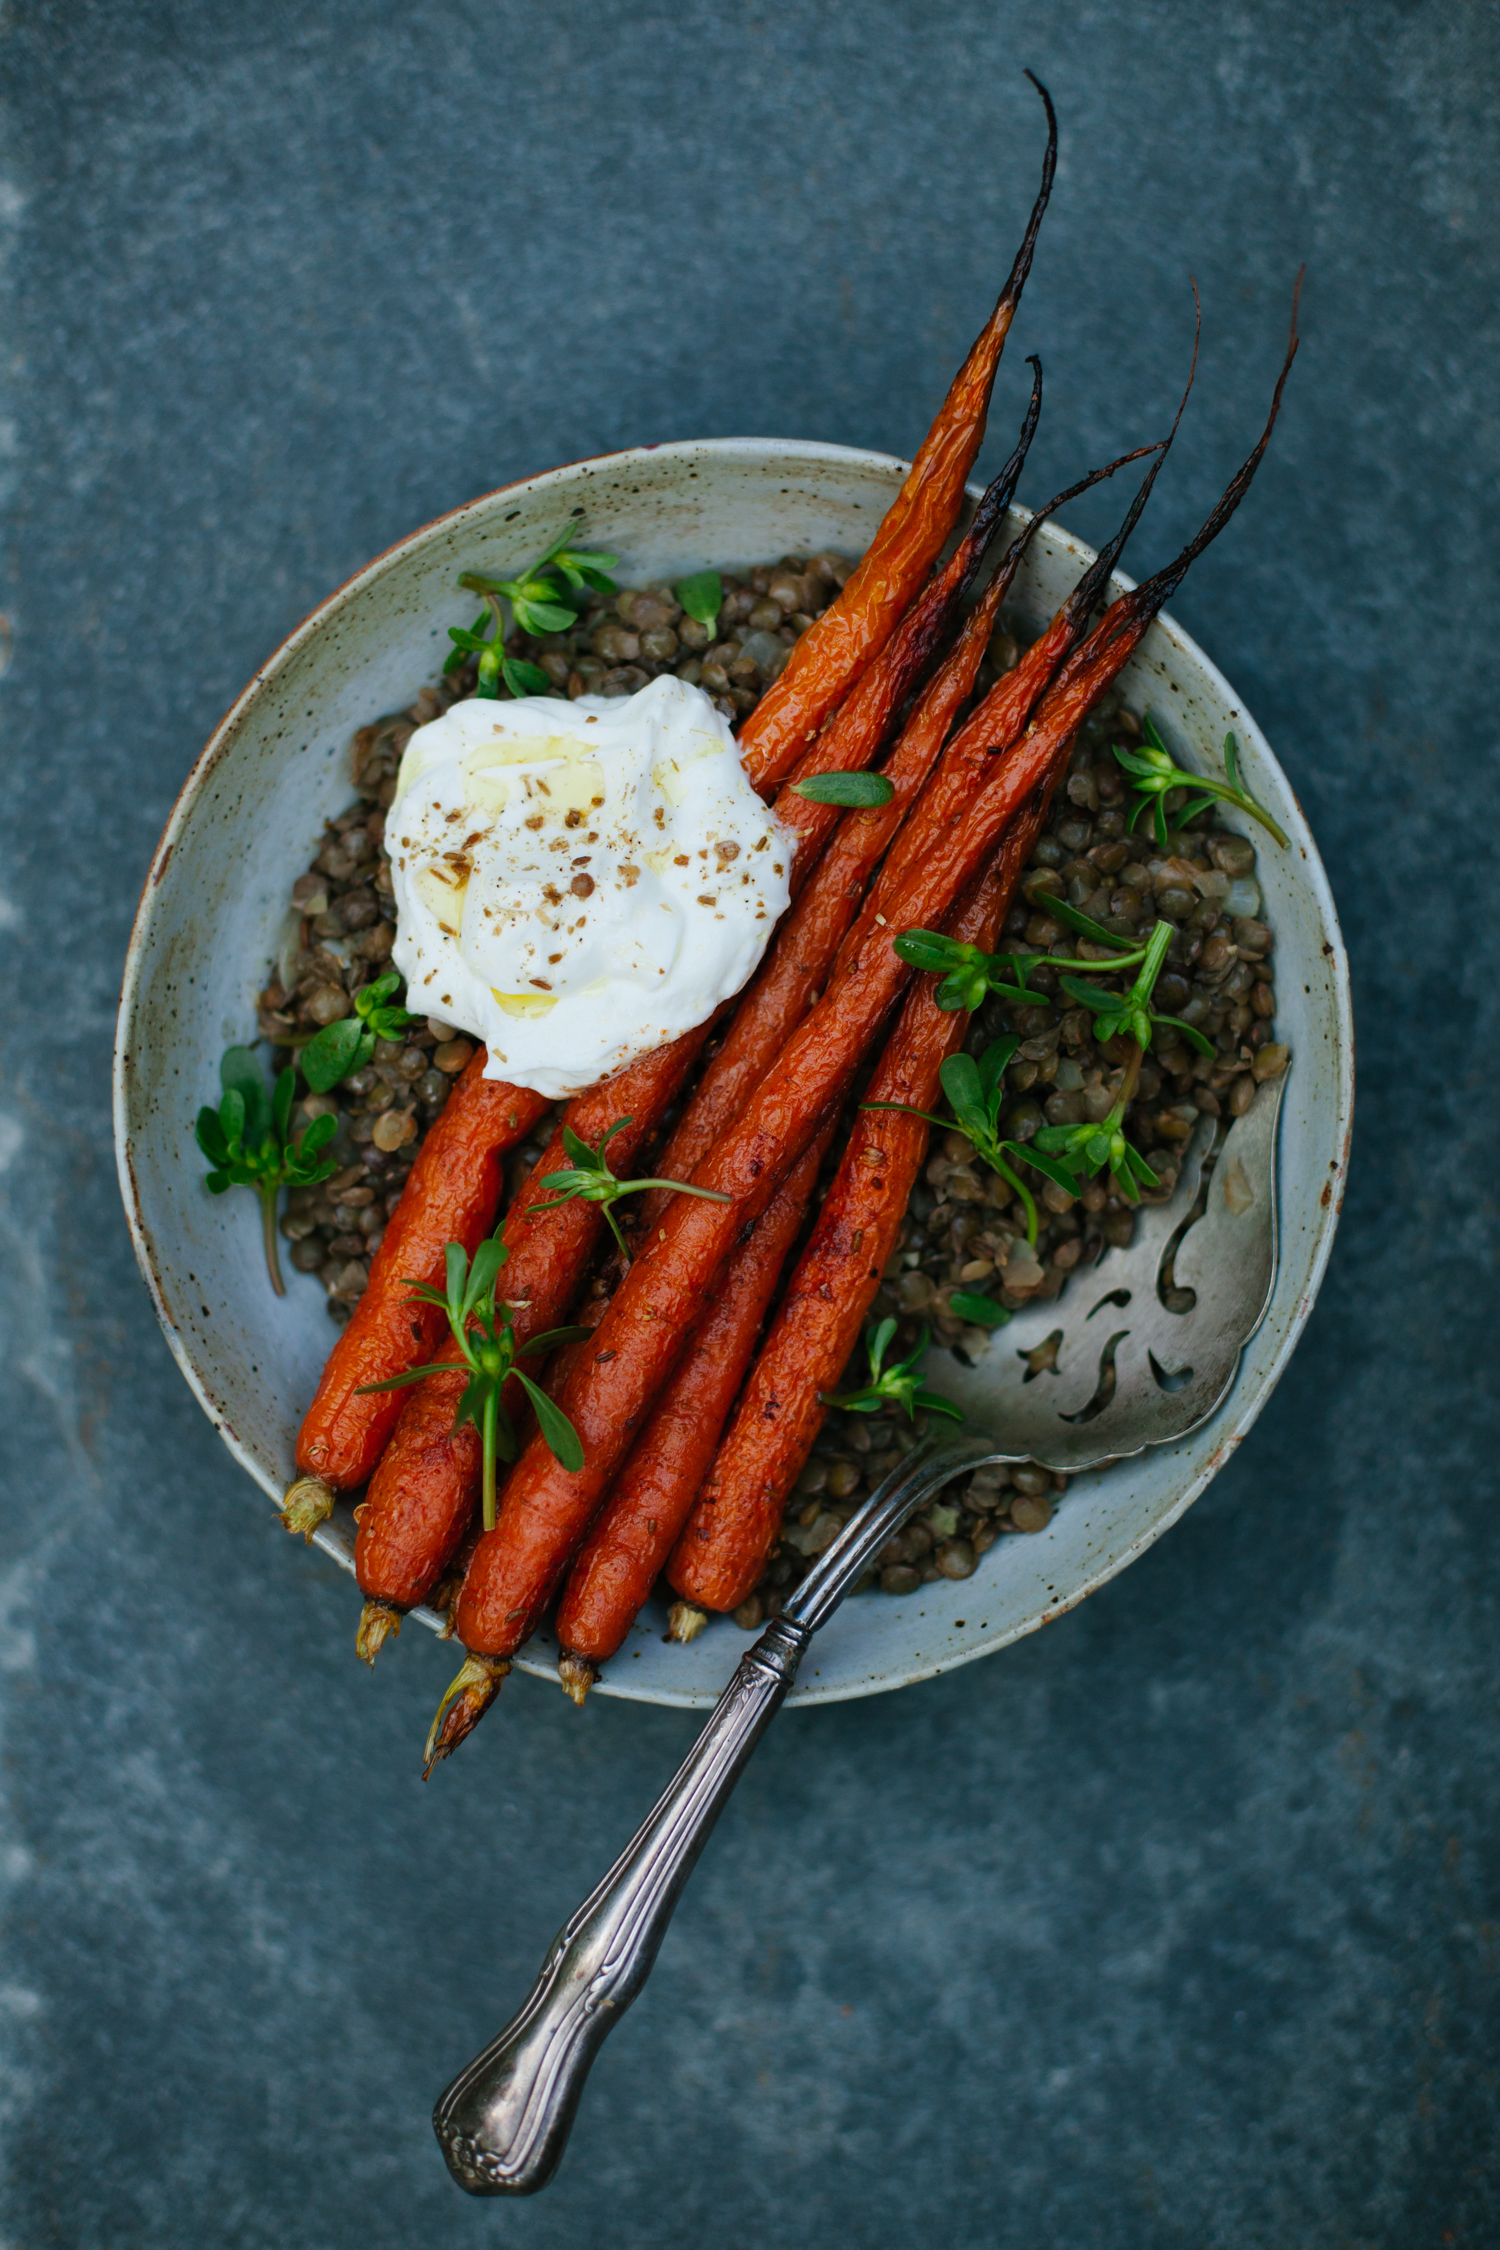
Spice-Roasted Carrots with Lentils from Modern Potluck (& a Giveaway)
by Masha
Read Recipe
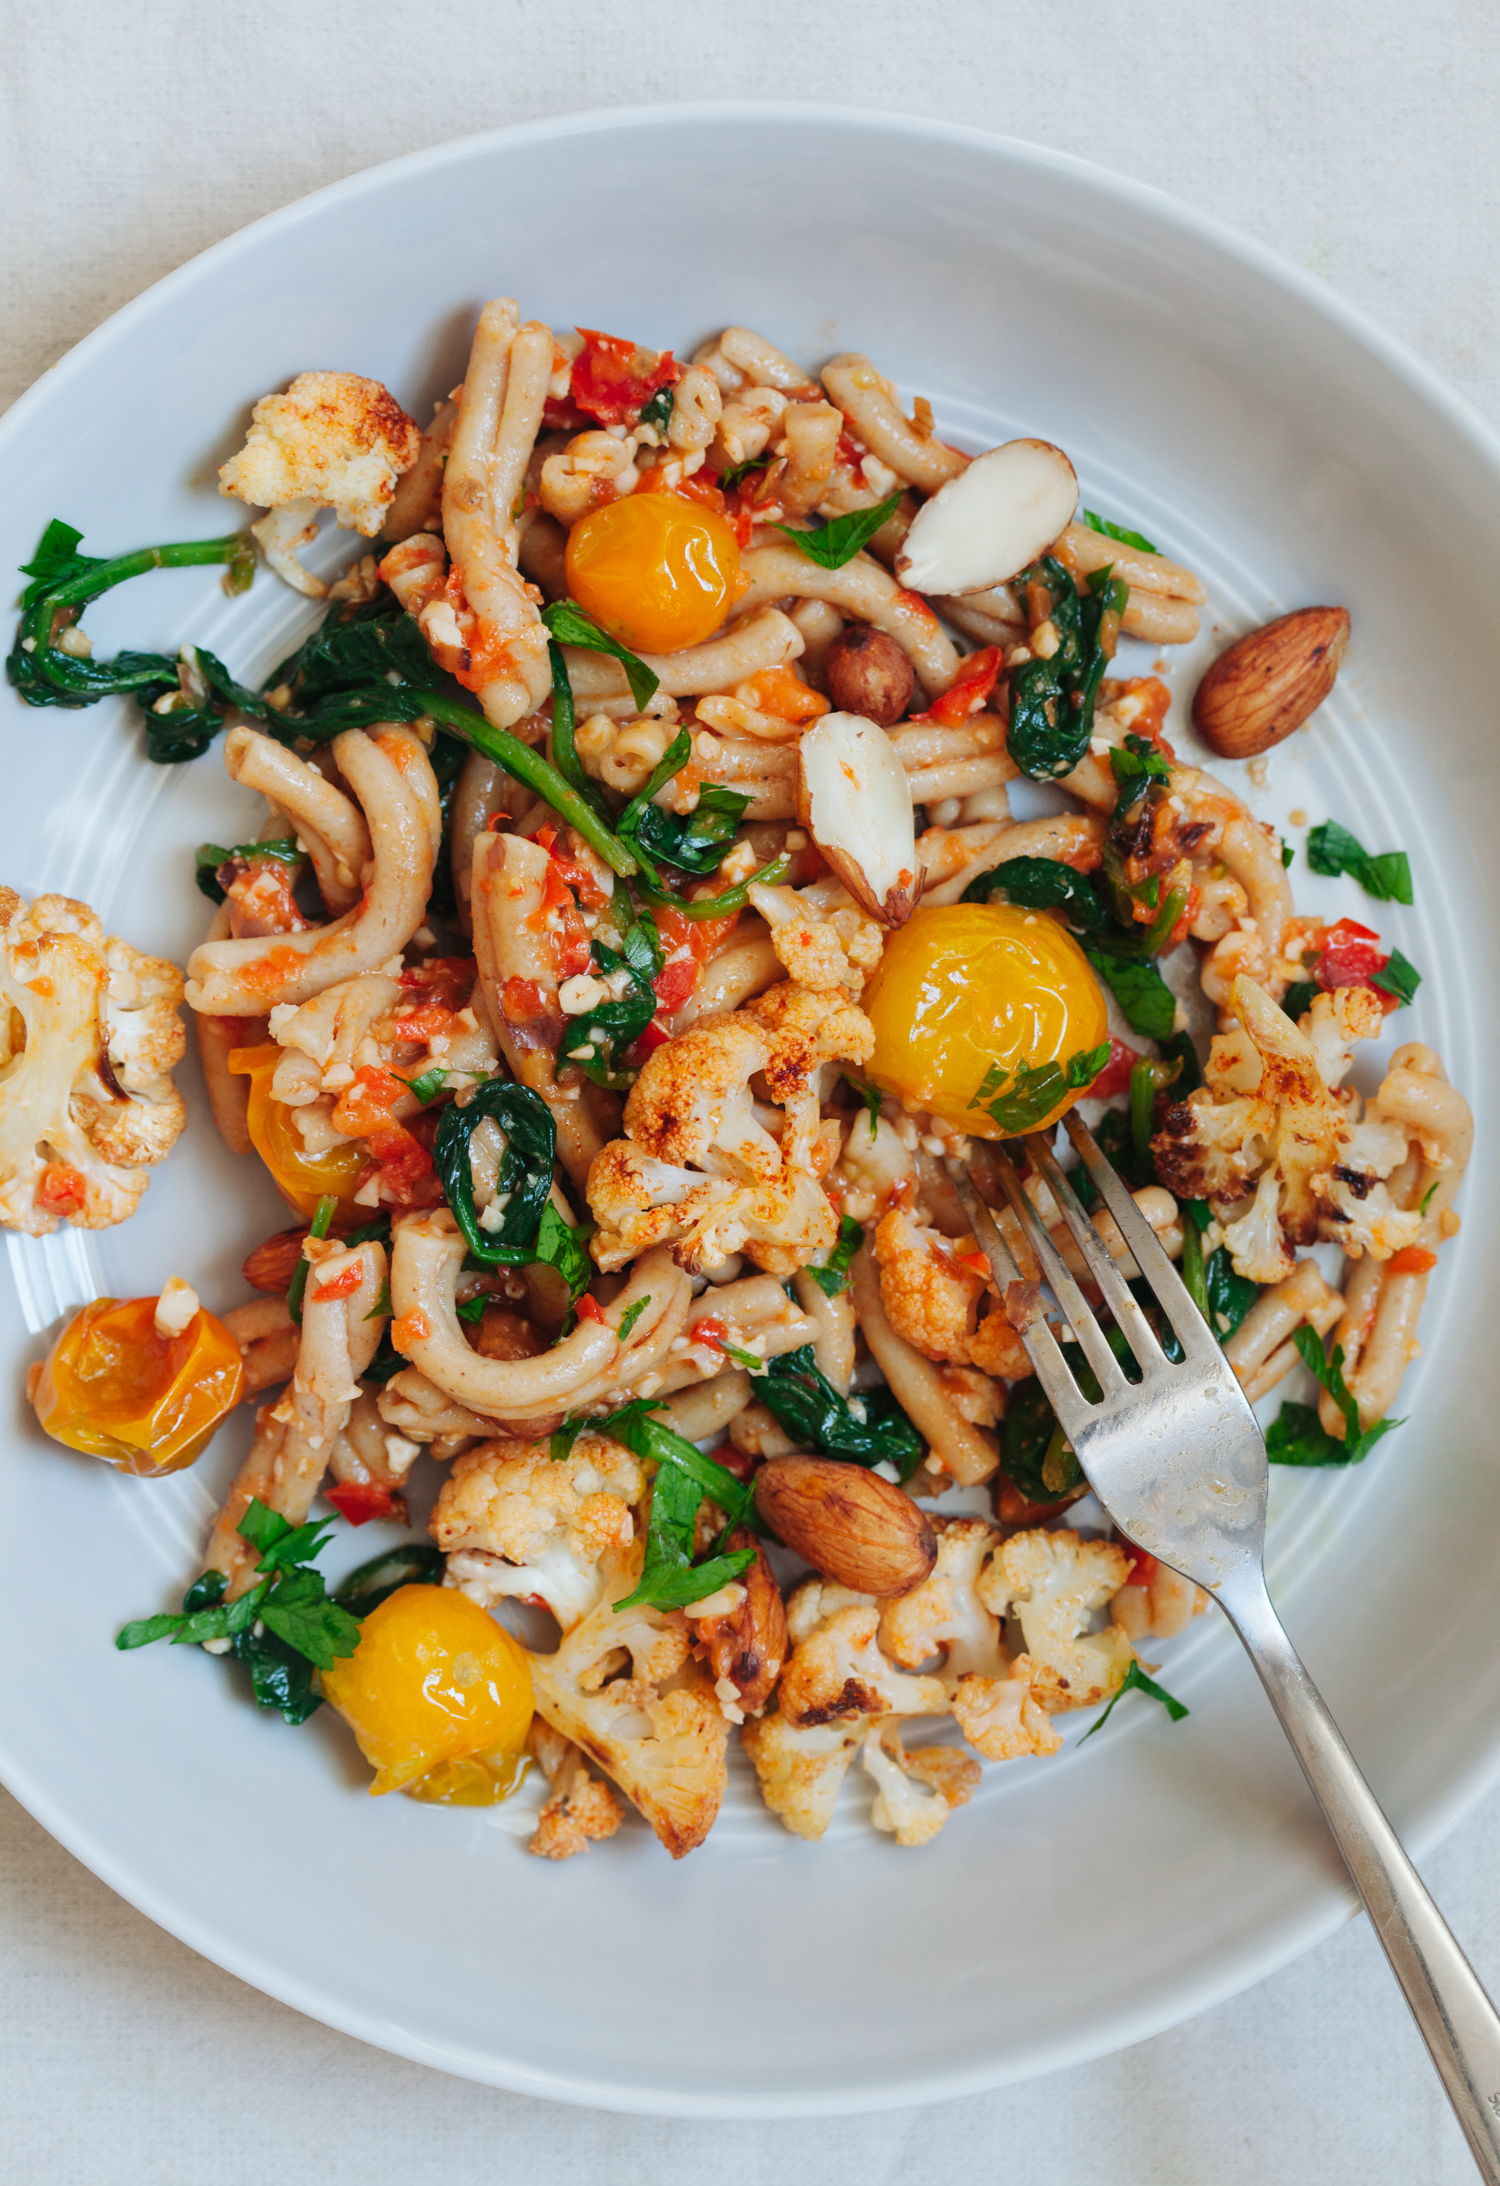
Sprouted Almond Romesco Pasta with Roasted Cauliflower and Blistered Tomatoes
by Anya
Read Recipe
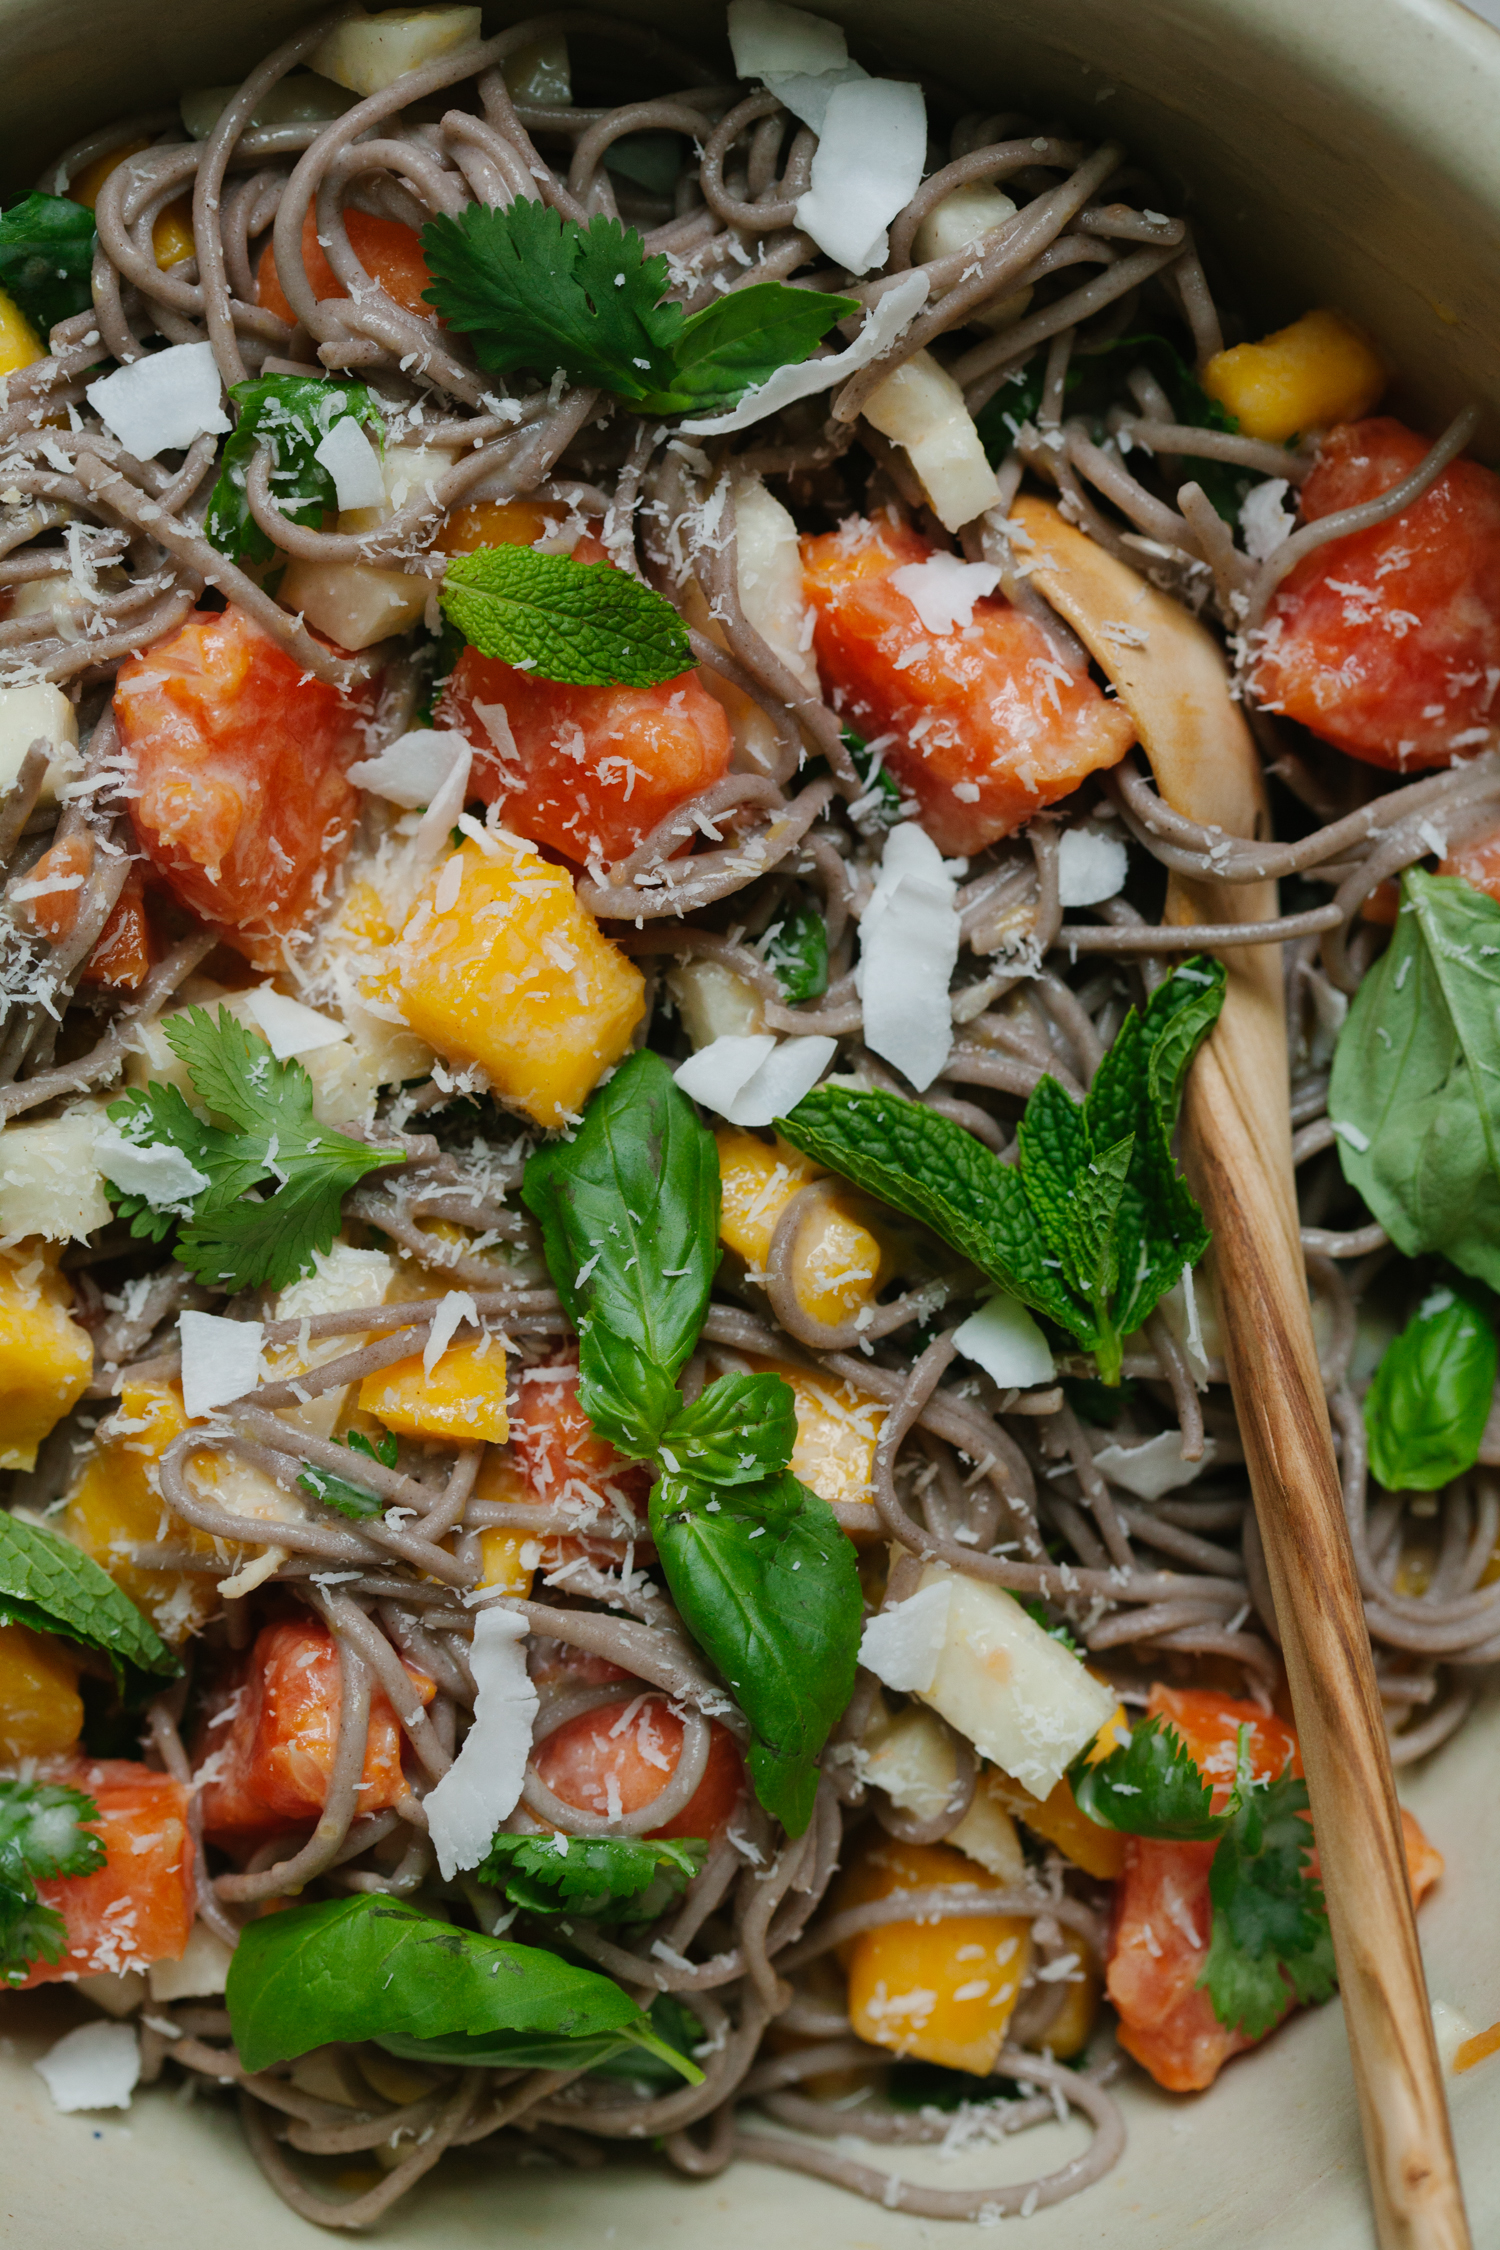
Tropical Soba
by Anya
Read Recipe
Taco Collard Green Rolls
by Anya
Read Recipe
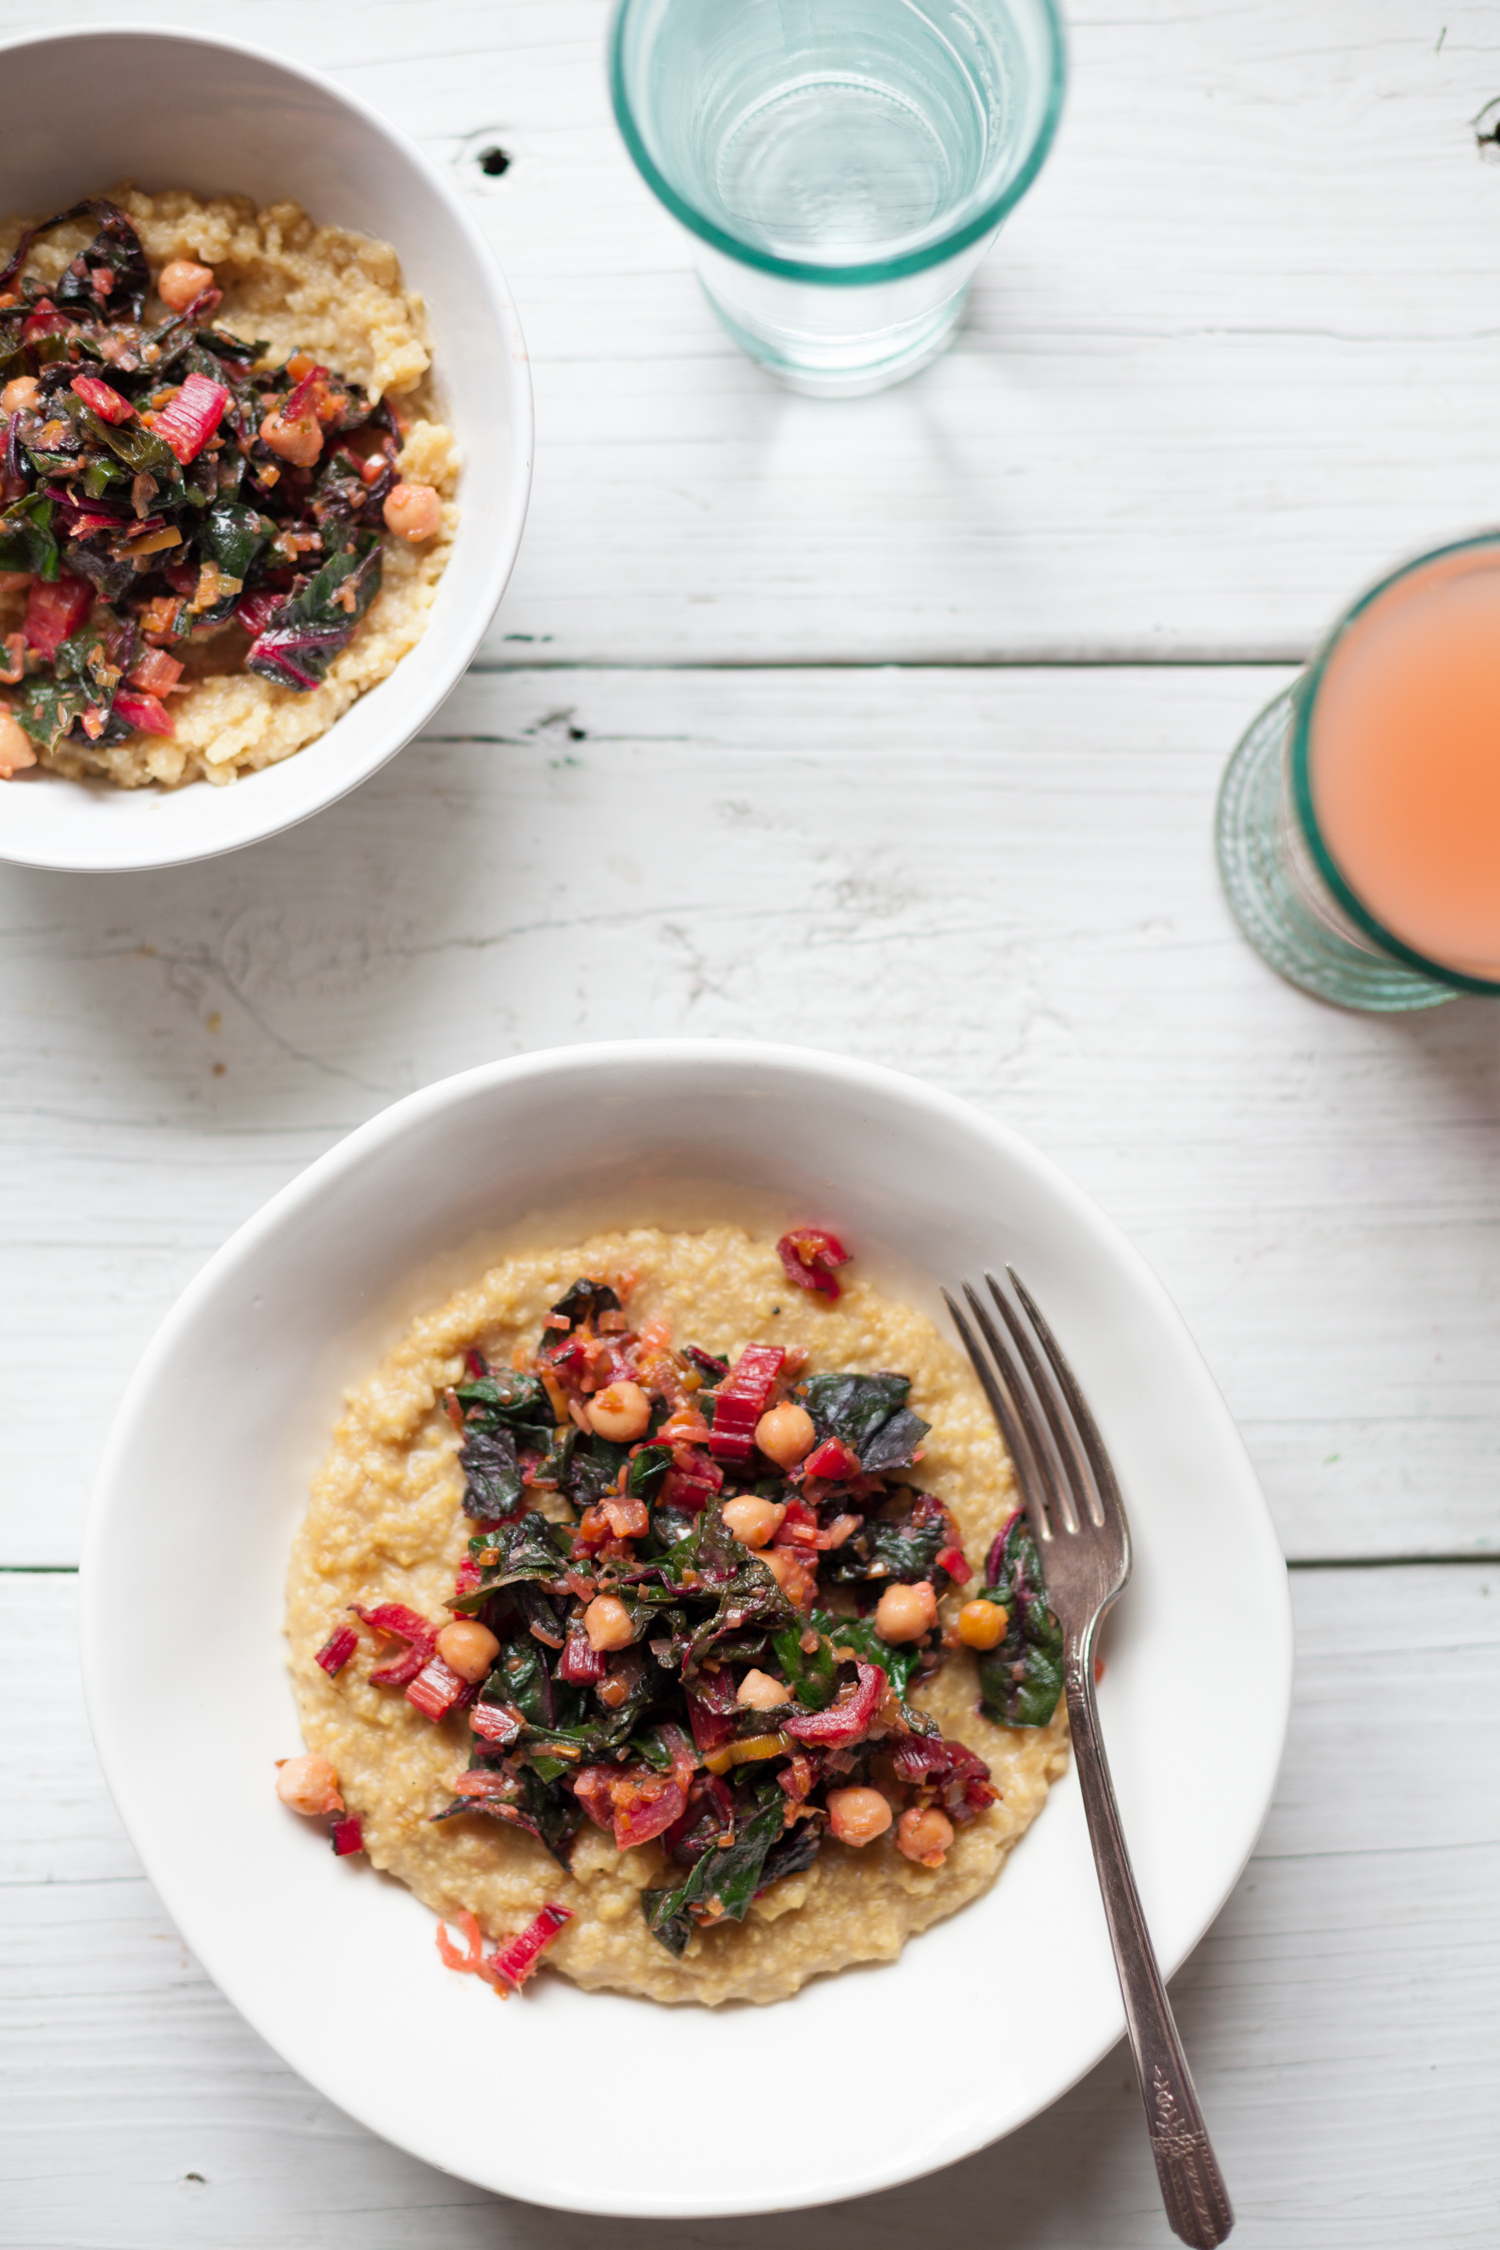
Creamy Millet Polenta with Rainbow Chard and Chickpeas
by Anya
Read Recipe
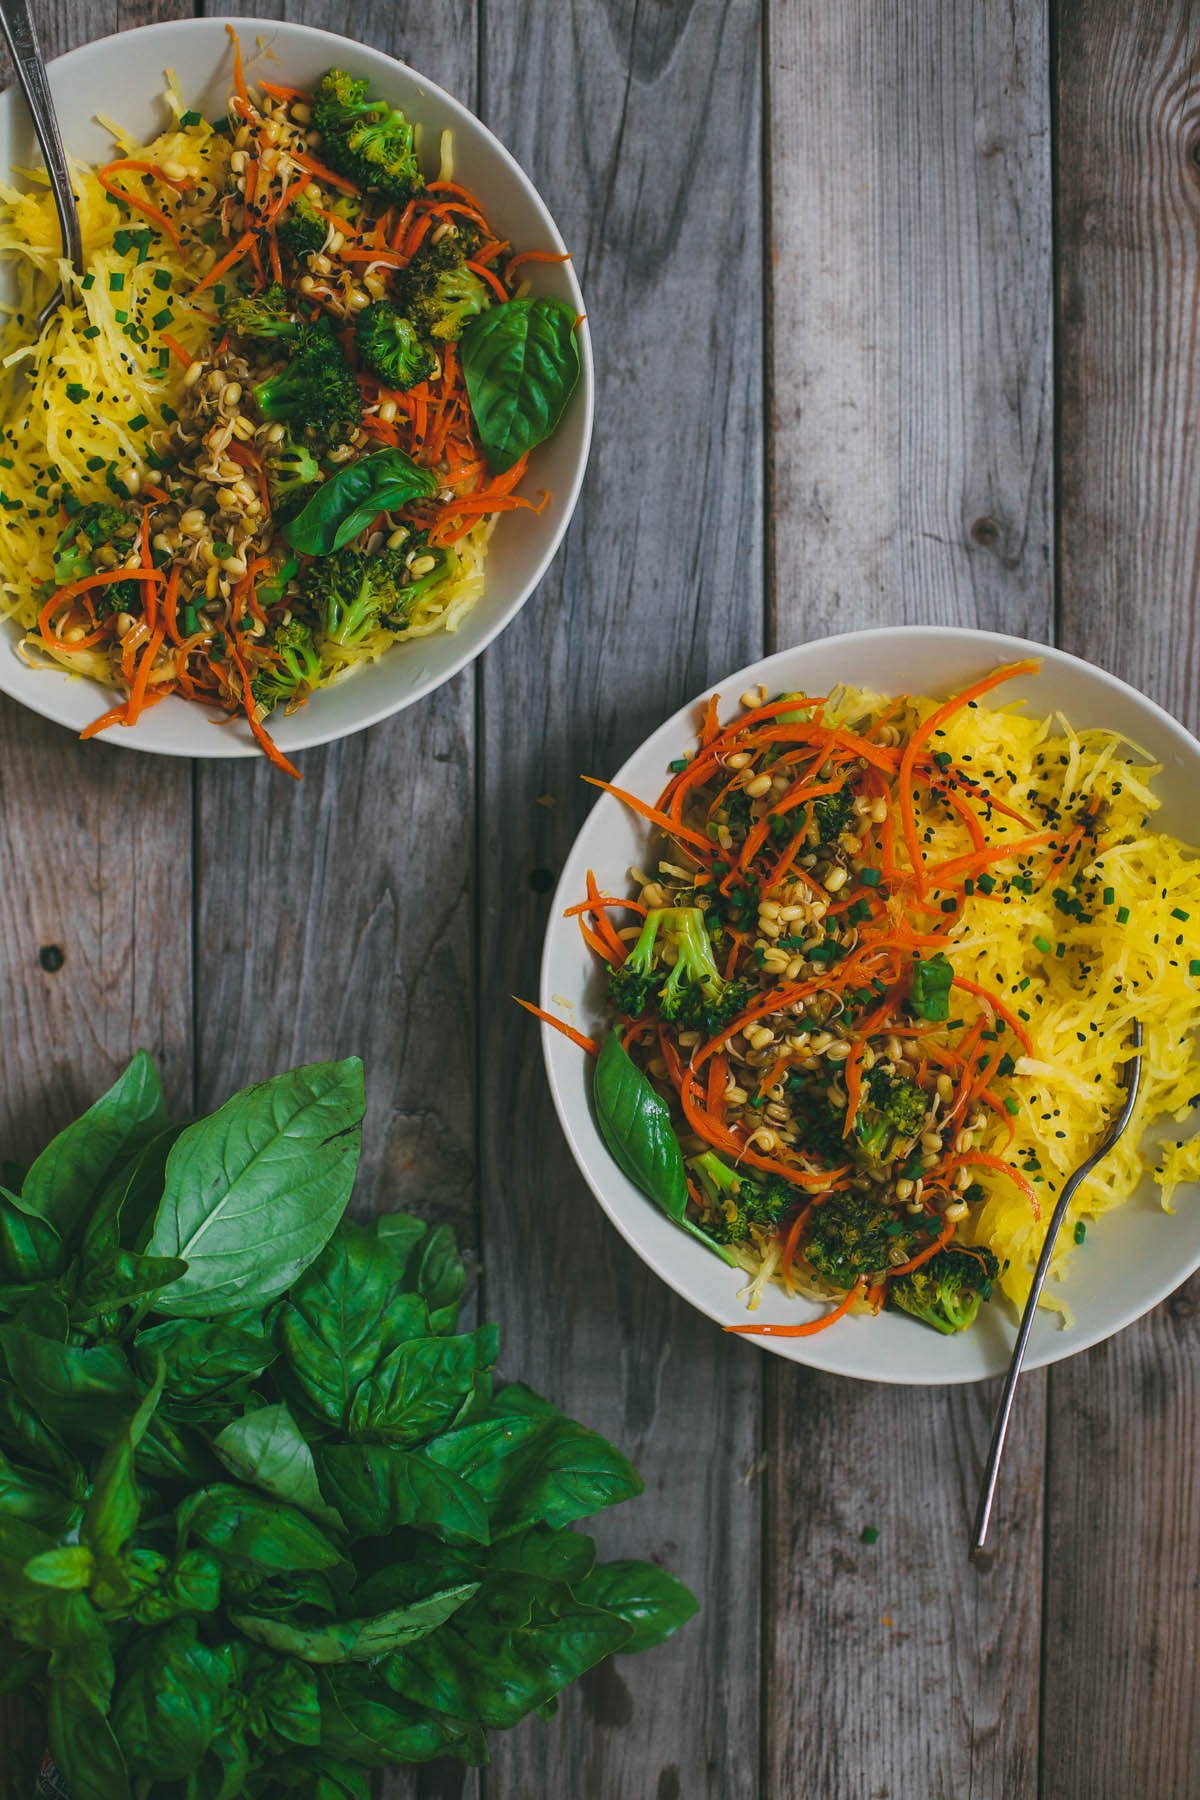
Simmered Squash Soba Bowl
by Anya
Read Recipe
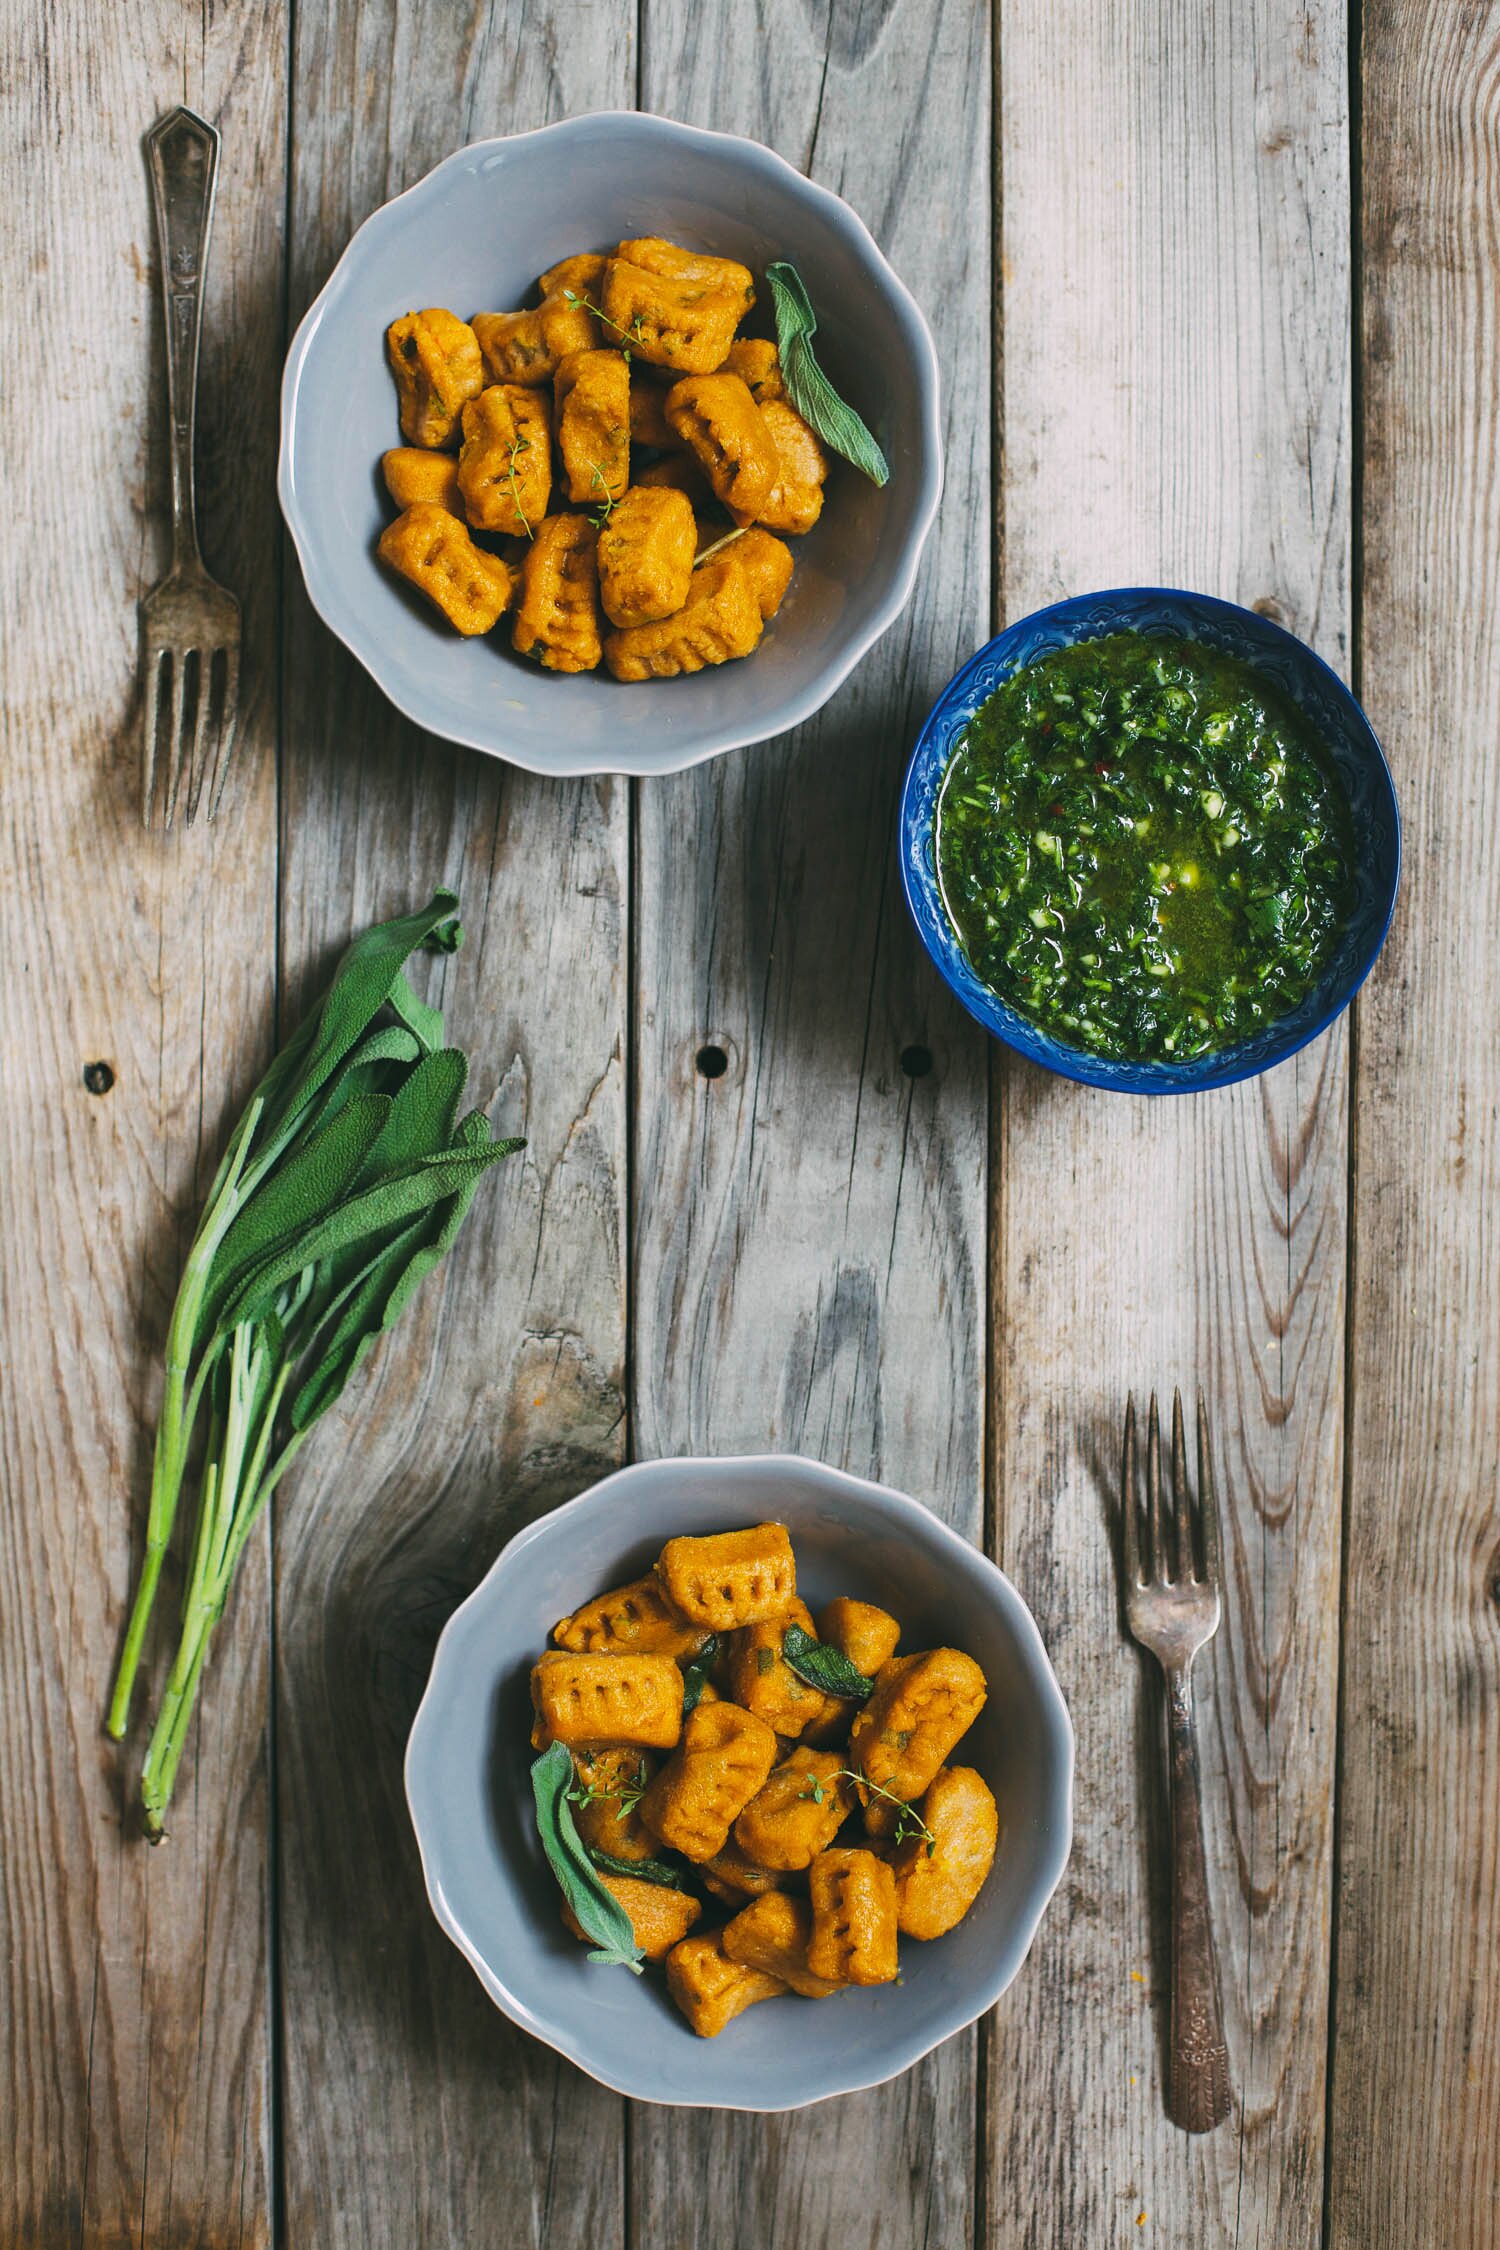
Gluten-Free Winter Squash Gnocchi
by Anya
Read Recipe
Summer Vegetable Saute
by Anya
Read Recipe
Lemongrass Mung Beans over Spaghetti Squash
by Anya
Read Recipe
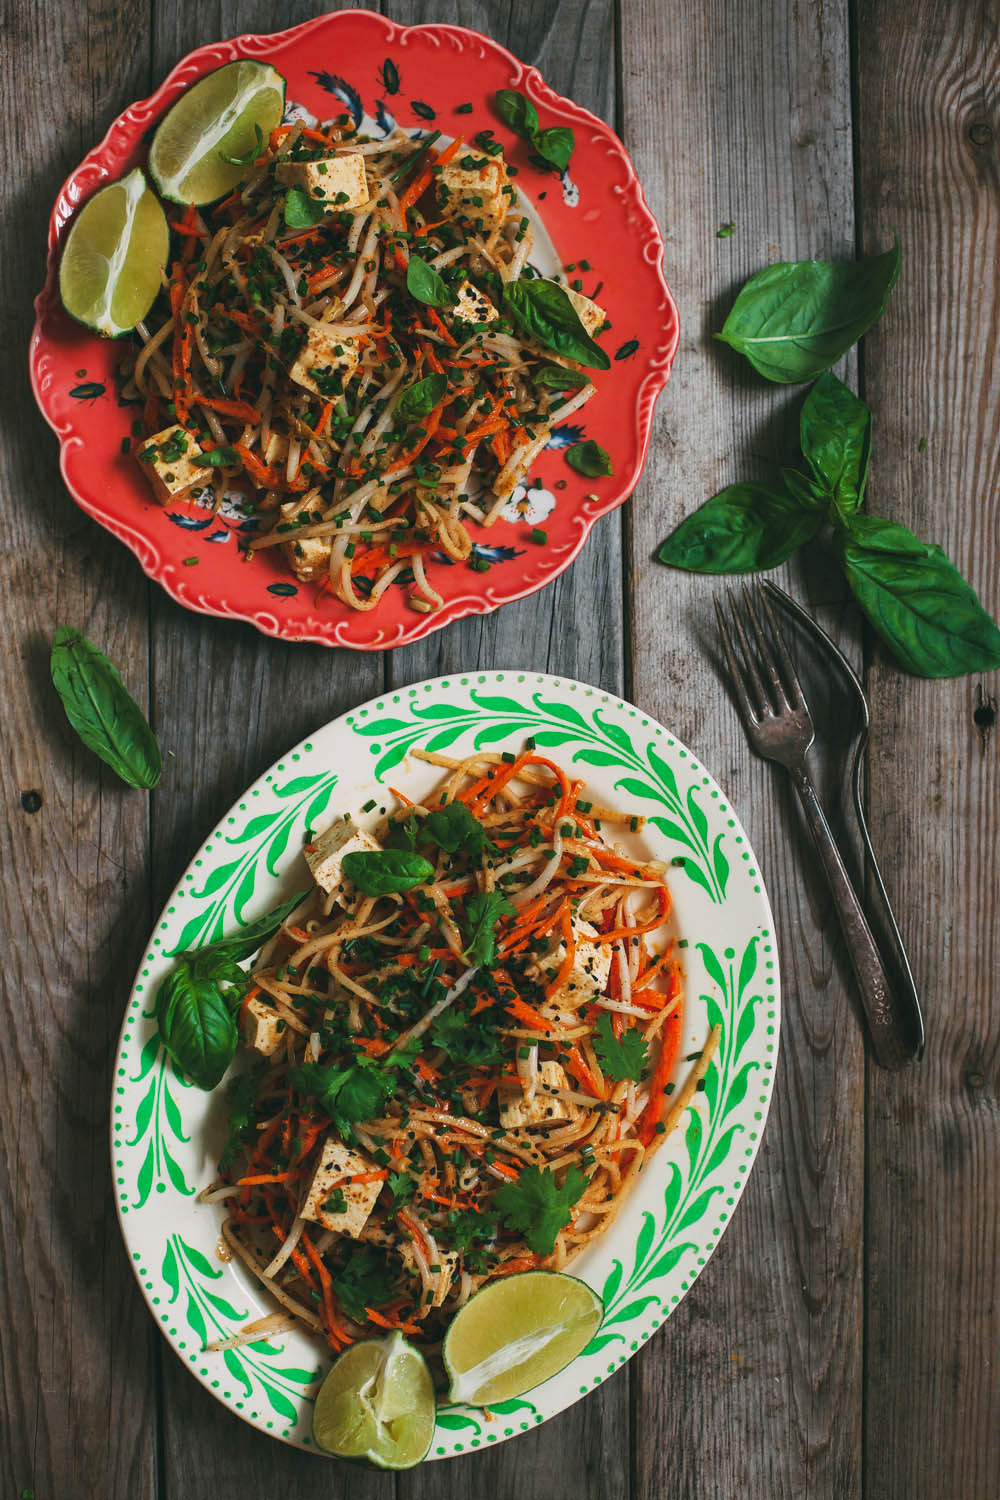
No Noodle Pad Thai
by Anya
Read Recipe
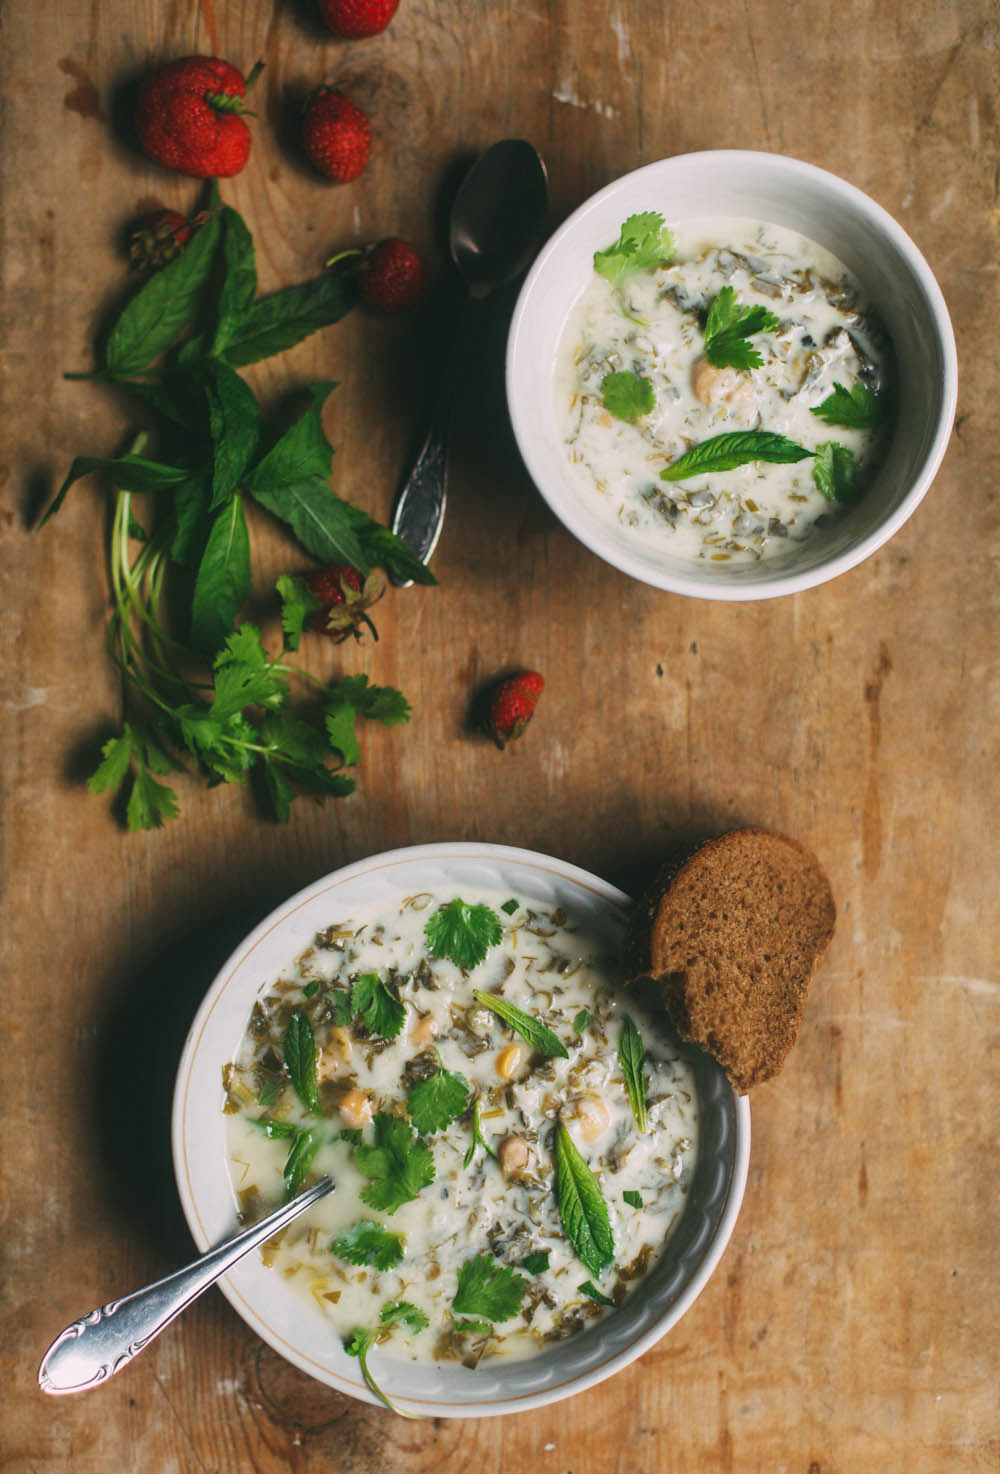
Dovga – Azerbaijani Wedding Soup
by Anya
Read Recipe
Squash Blossom Pizza
by Anya
Read Recipe
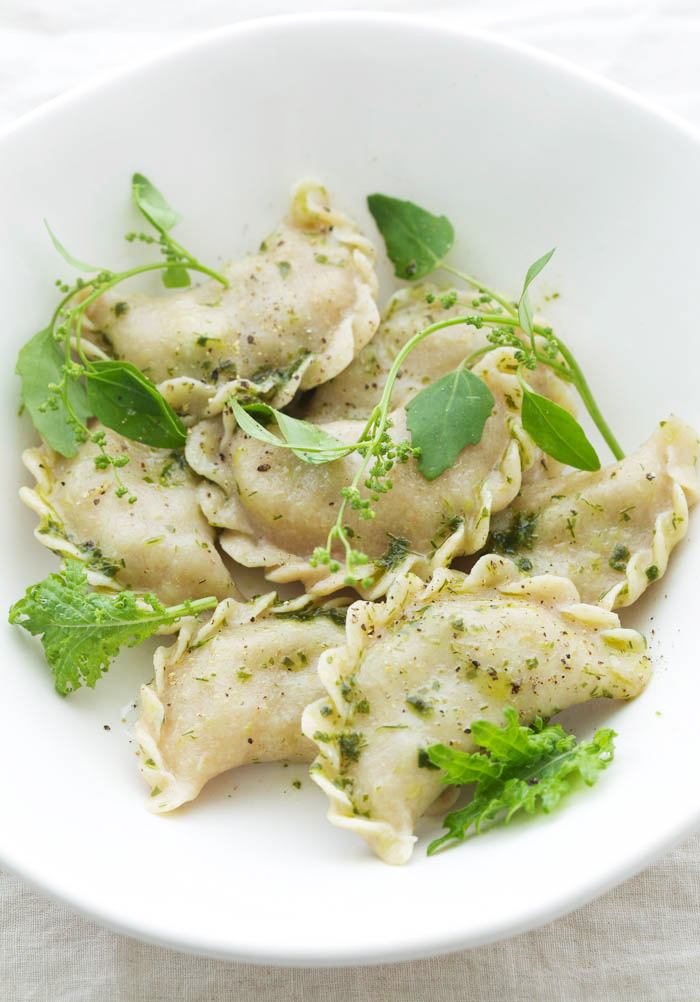
Spring Vareniki
by Anya
Read Recipe
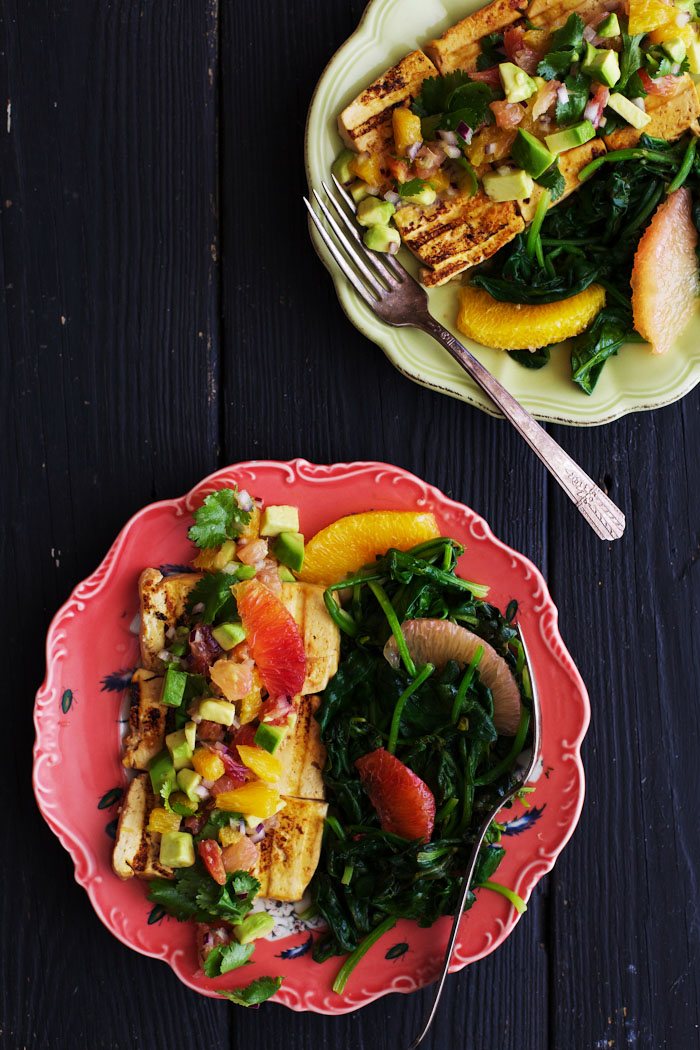
Ginger Marinated Tofu with Citrus Salsa
by Anya
Read Recipe
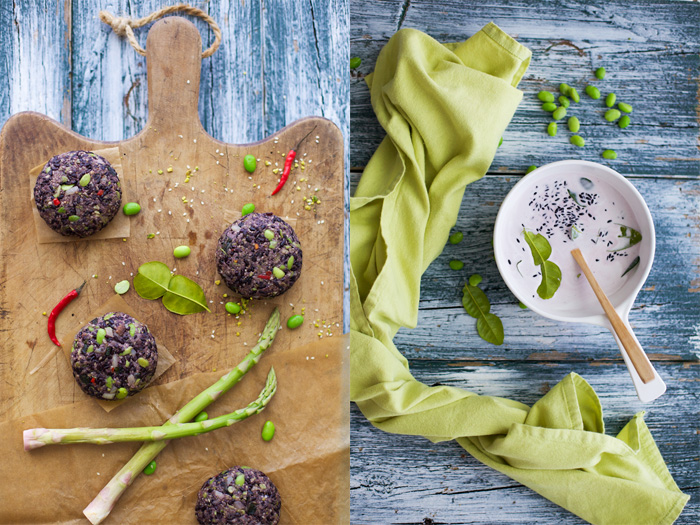
Broccoli Stem Riceless Risotto
by Anya
Read Recipe
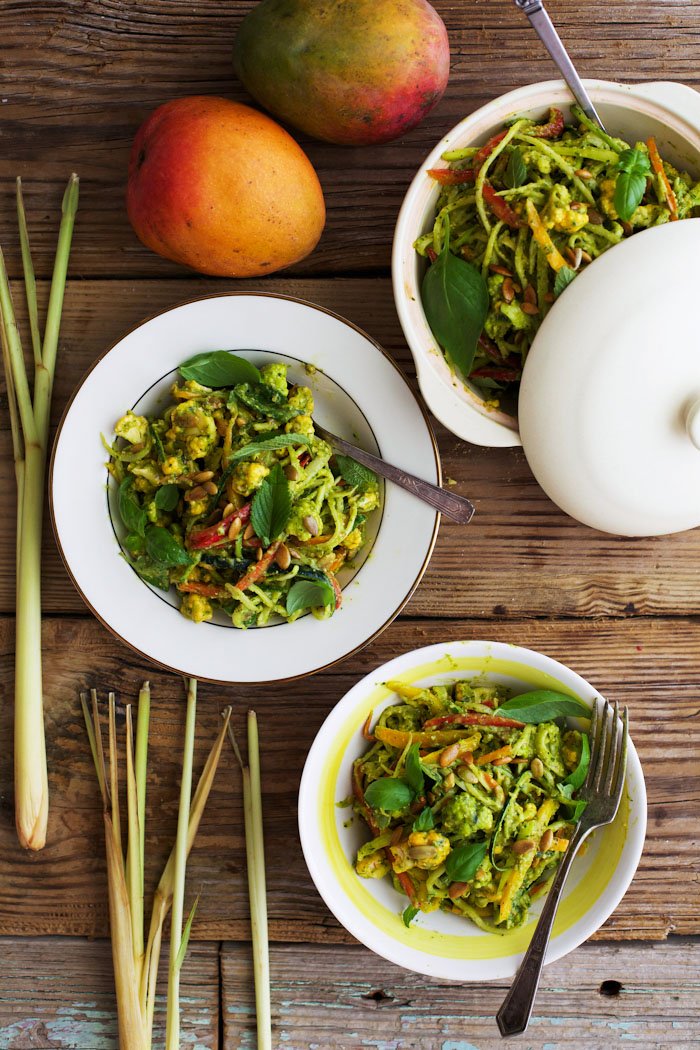
Lemongrass Mango Curry with Toasted Pumpkin Seeds
by Anya
Read Recipe
Cellophane Noodles with Crispy Vegetables and the Rainbow River
by Anya
Read Recipe
Asian Flavoured Veggie Burgers with Asparagus Fries
by Anya
Read Recipe
Flatbread Pizza
by Anya
Read Recipe
Roasted Pepper Lasagna
by Anya
Read Recipe
Mediterranean Dolma
by Anya
Read Recipe
Zucchini Spaghetti with Marinara Sauce
by Anya
Read Recipe
Green Market Salad
by Anya
Read Recipe
Lentil Soup
by Anya
Read Recipe
Raw Chili
by Anya
Read Recipe